How to Sew an Envelope Pillow Cover
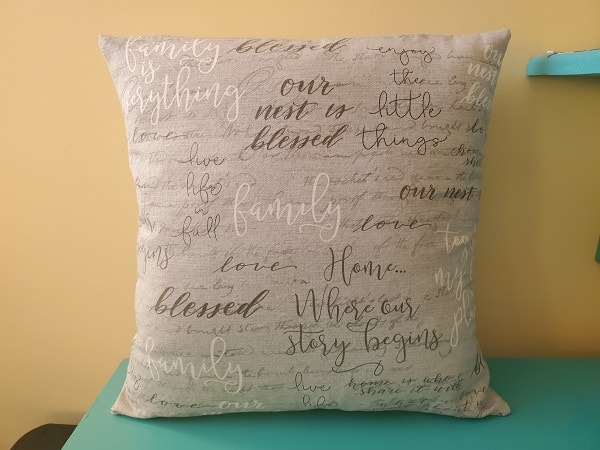
Envelope pillow covers are super easy to sew using this sewing tutorial with step-by-step instructions and pictures. Perfect for beginners.
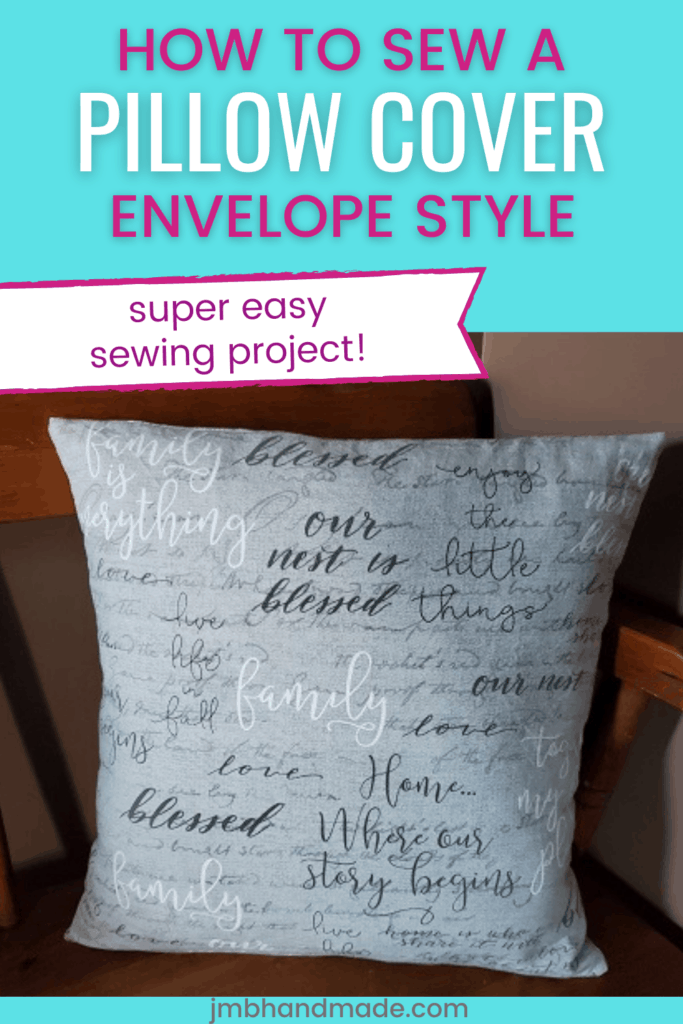
Super easy envelope pillow cover sewing tutorial to easily change the look of your room by simply removing the cover and adding a new one. Create a new cover for all the holidays for easy decorating.
I used 16″ x 16″ size pillow forms and cotton home decor fabric for this pillow cover pattern. Any size pillow form and the fabric of your choice will work for this sewing tutorial.
If you have leftover fabric, add easy fabric napkins and fabric placemats to your home decor sewing projects. You might also want to add a fun fabric rectangle basket for extra storage.
Here are the step-by-step instructions on how to make an envelope pillow cover.
This post contains affiliate links. Please see below disclosure for more information.
***You can find the ad-free, printable PDF version of this sewing tutorial available for purchase HERE. Includes 7-pages of step-by-step instructions with pictures. Print a copy to keep next to your sewing machine for easy reference.***
Envelope pillow cover supplies needed:
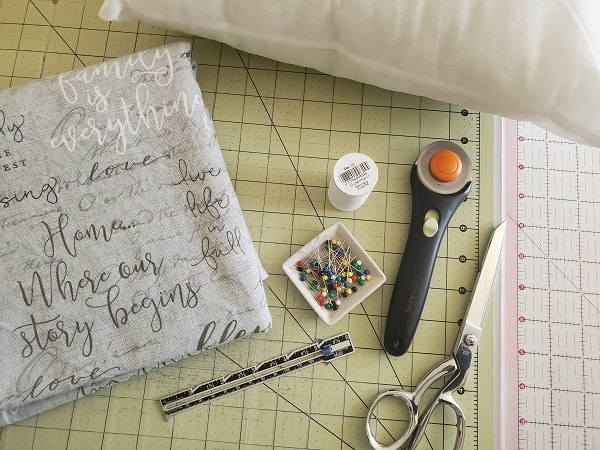
- Durable washable cotton fabric – 1 yard – my favorite fabric shop
- Pillow form (16″x16″ for this sewing project)
- Cutting mat
- Rotary cutter
- Clear ruler
- Sewing gauge
- Sewing scissors
- Matching thread
- Straight pins
- Sewing machine
Keep track of your sewing projects, like this one, with a sewing planner. This sewing planner is specifically designed for non-clothing sewing projects and helps you stay organized – fabric used, measurements, hardware used, notes, etc. Also included are pages such as sewing tips and fabric shops. Get your sewing planner HERE.
Measure and cut the fabric
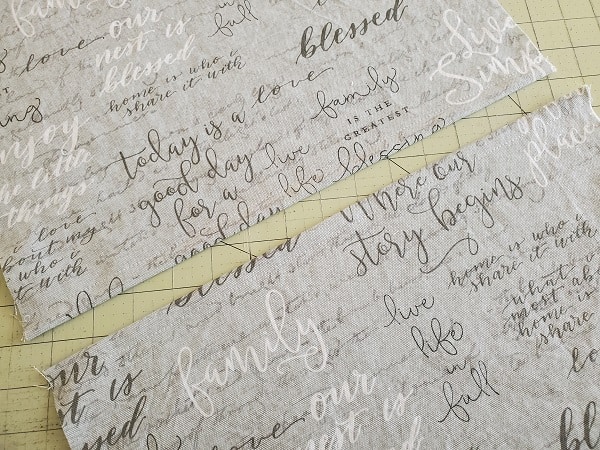
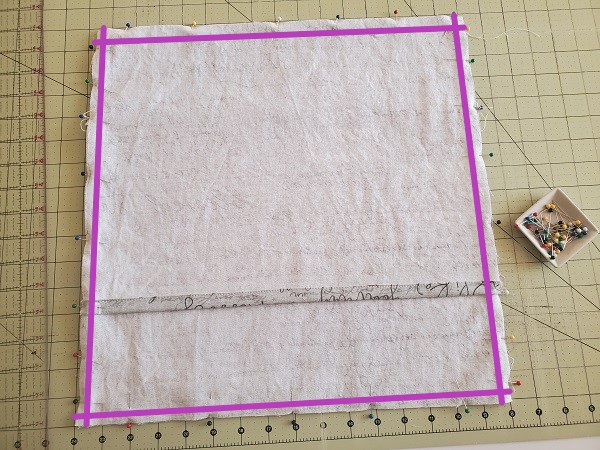
Using your cutting mat, clear ruler and rotary cutter, cut one piece of fabric measuring the same size as your pillow form. My pillow form is 16 inches by 16 inches therefore; I cut one piece of fabric 16″W x 16″H.
For the back of the pillow, you’re going to cut two pieces of fabric each measuring the same width of your pillow form by 1/2 of the height of your pillow form plus 5 inches. In this case, my pillow form is 16″W. the height of my pillow form is 16″H and 1/2 of 16″H = 8 then add 5″ to that number =13″H. I cut two pieces of fabric 16″W x 13″H.
Hem the fabric
You are going to hem the two fabric pieces for the back of the pillow cover (the 16″W x 13″H fabric pieces).
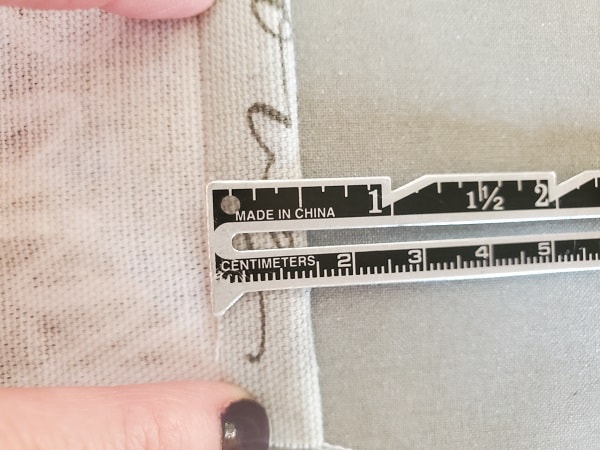
Fold the bottom of one of the fabric pieces 1/2 inch and press. If you are using fabric with a pattern, you’ll want to make sure the pattern is going in the proper direction.

Fold over again and press.
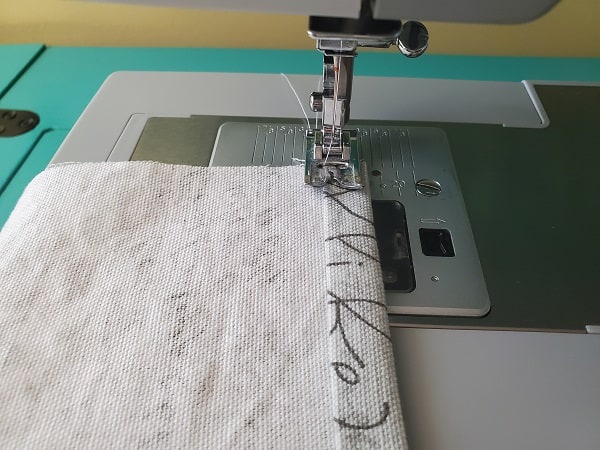
Straight stitch the hem.
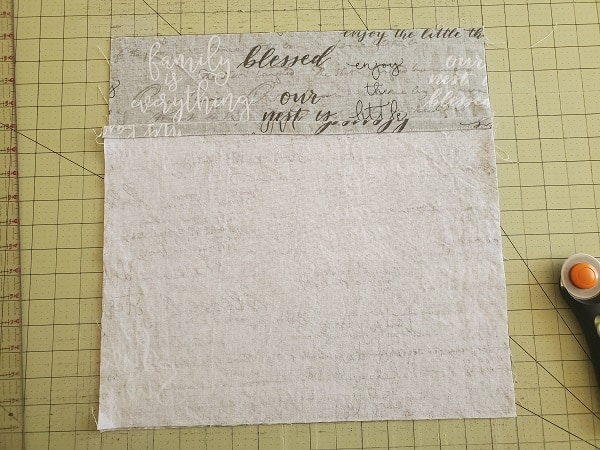
Hem the top of the other 16″W x 13″H fabric piece using the same steps as above.
***You can find the ad-free, printable PDF version of this sewing tutorial available for purchase HERE. Includes 7-pages of step-by-step instructions with pictures. Print a copy to keep next to your sewing machine for easy reference.***
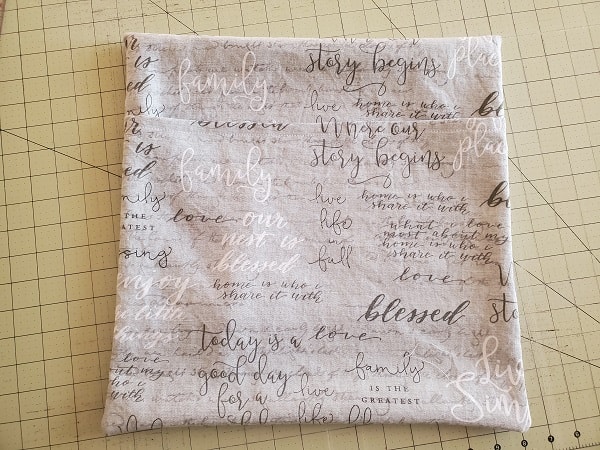
At this point, both 16″W x 13″H fabric pieces are hemmed – one bottom hem and one top hem, as shown in the above picture.
Sew it together
Place the fabric piece with the hem at the top on top of the larger fabric piece, right sides together, lining up the corners. Be sure to have the pattern going in the correct direction.
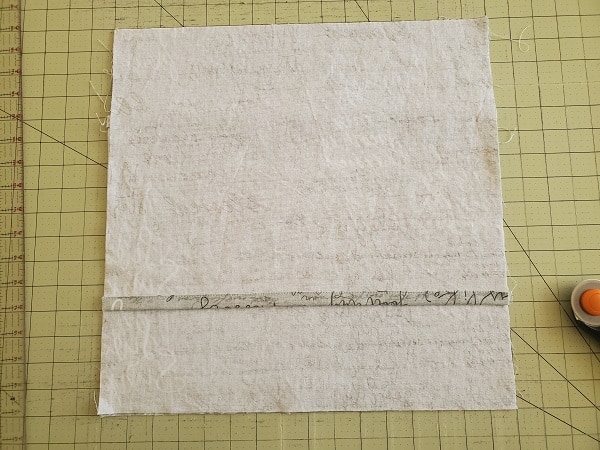
Now place the fabric piece with the bottom hem on top of the other two fabric pieces, right side down, lining up the corners. Again, make sure the fabric is going in the correct direction.
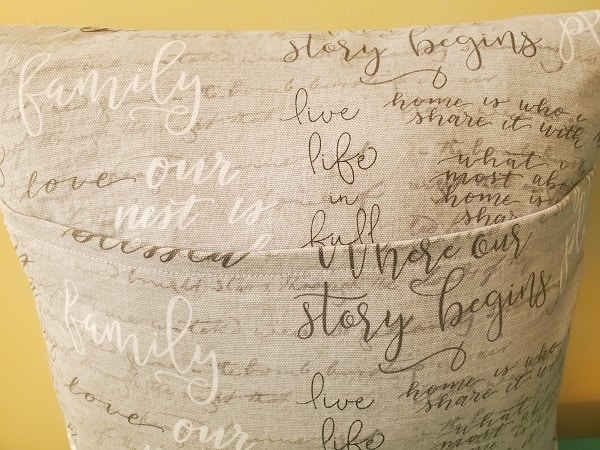
Pin all four sides together to hold in place. Sew all around using a 3/8″ seam allowance. Clip all four corners with your sewing scissors.
Turn right side out
Turn your envelope pillow cover right side out. Carefully push out the corners. Insert your pillow form.
***You can find the ad-free, printable PDF version of this sewing tutorial available for purchase HERE. Includes 7-pages of step-by-step instructions with pictures. Print a copy to keep next to your sewing machine for easy reference.***
You are finished!
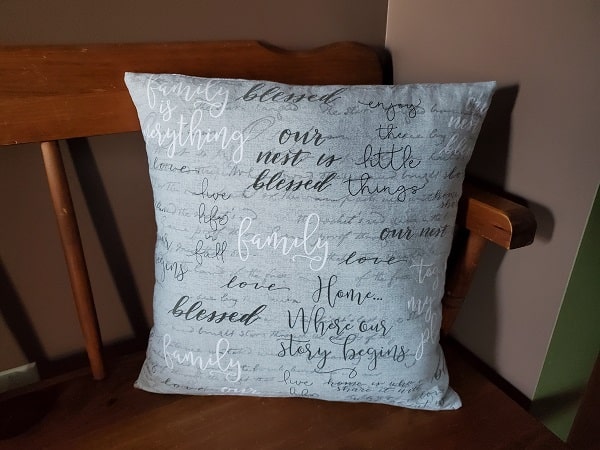
The pillow cover can easily be removed for washing. Bonus!
I hope you enjoyed this sewing tutorial! You can now make multiple decorative pillow covers to add to any room! Happy sewing!
Pin for later!
Other easy sewing projects:
- Easy Fabric Luggage Tag Sewing Project
- Tissue Holder Sewing Tutorial
- Fabric Bookmark Sewing Project
- Easy Sleep Mask Sewing Tutorial