How to Sew an Easy Travel Fabric Tissue Holder
Fabric tissue holders only take about 10 minutes to make and are the perfect sewing project for beginners!
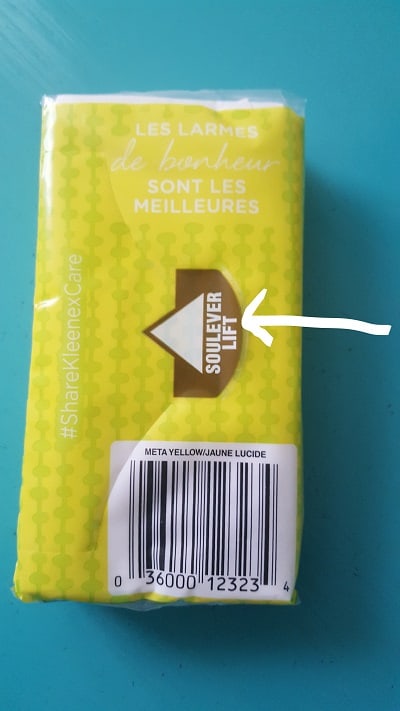
Do you use the travel tissues in the plastic wrapping and get frustrated when the sticky flap doesn’t stick anymore and then the wrapping starts to fall apart? Tissues end up all over your purse with little fuzzes on them. How about sewing a fabric tissue holder to eliminate that problem! It’s cute and also protects your tissues from all the stuff in your purse! Plus, you can use up some of those fabric scraps you have laying around.
Create a matching small zipper coin purse or fabric key fob to go with your tissue holder!
This post contains affiliate links. Please see disclosure for more information.
***You can find the AD-FREE, printable PDF version of this sewing tutorial available for purchase in my Etsy shop HERE. Includes 6 pages of step-by-step instructions with pictures. Print a copy to keep next to your sewing machine for easy reference.***
Tissue holder supplies needed:
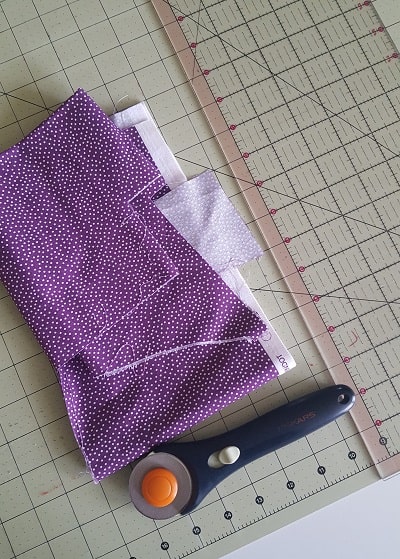
- Scrap fabric – enough for four 5 1/4″ x 4″ pieces – my favorite fabric shop
- Rotary cutter or scissors if you do not have a rotary cutter
- Clear ruler
- Cutting mat
- Straight pins
- Sewing scissors
- Thread
- Sewing machine
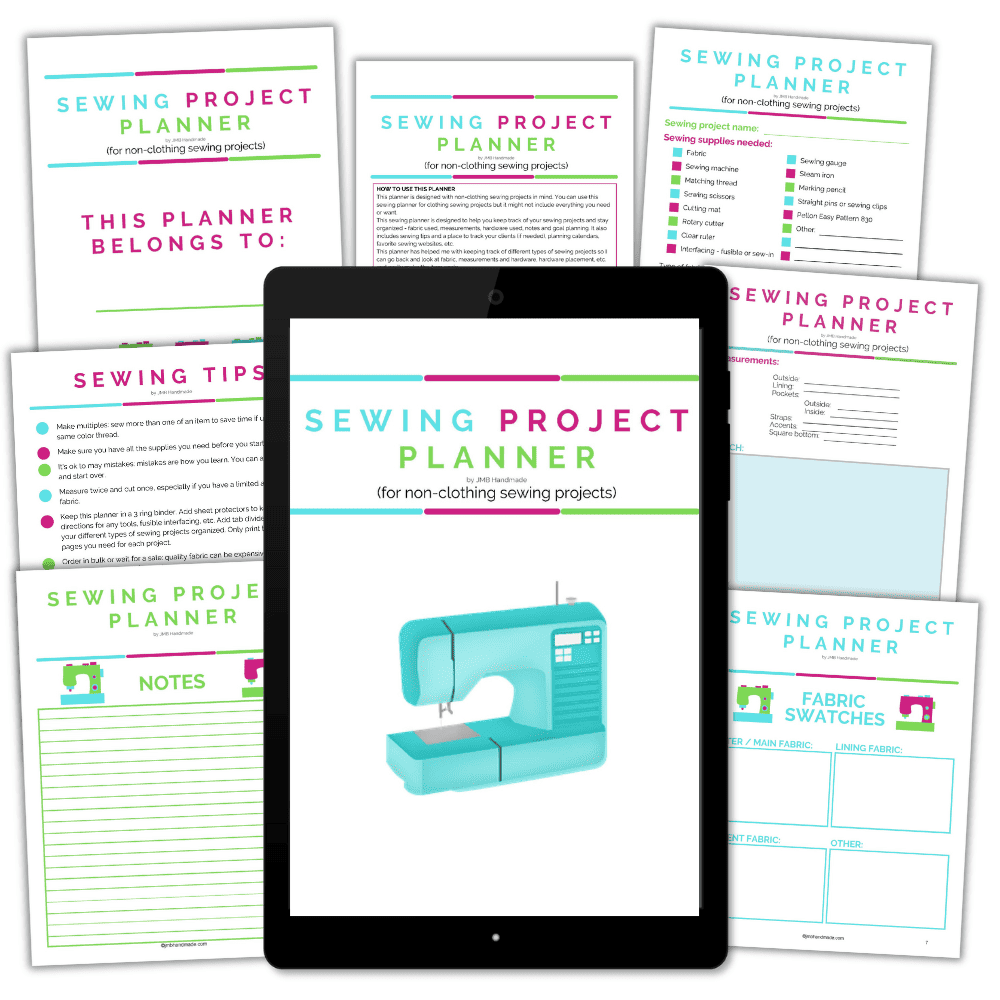
Keep track of your sewing projects, like this one, with a sewing planner. This sewing planner is specifically designed for non-clothing sewing projects and helps you stay organized – fabric used, measurements, hardware used, notes, etc. Also included are pages such as sewing tips and fabric shops. Get your sewing planner HERE.
Cut your fabric

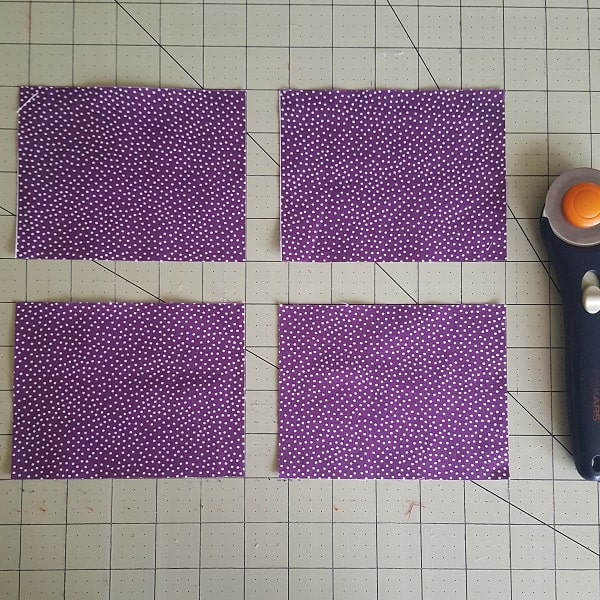
Using your rotary cutter, clear ruler and cutting mat, cut four pieces of fabric each measuring 5.25″W x 4″H.
Place fabric pieces together
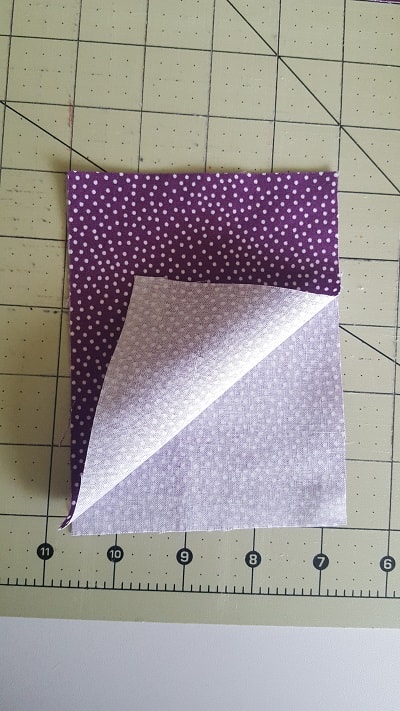
Place two of the fabric pieces wrong sides together.
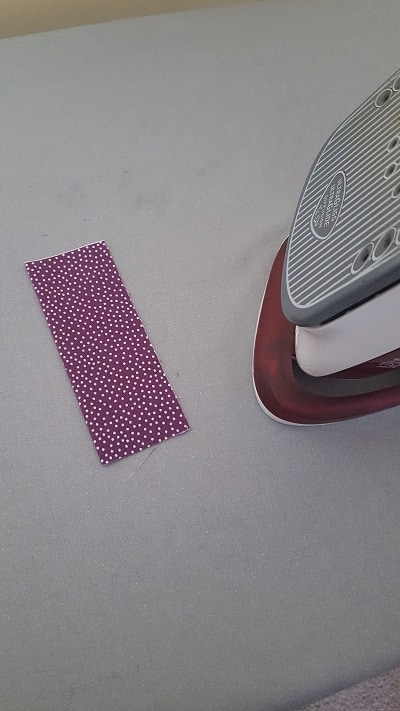
Fold the other two fabric pieces in half lengthwise and press.
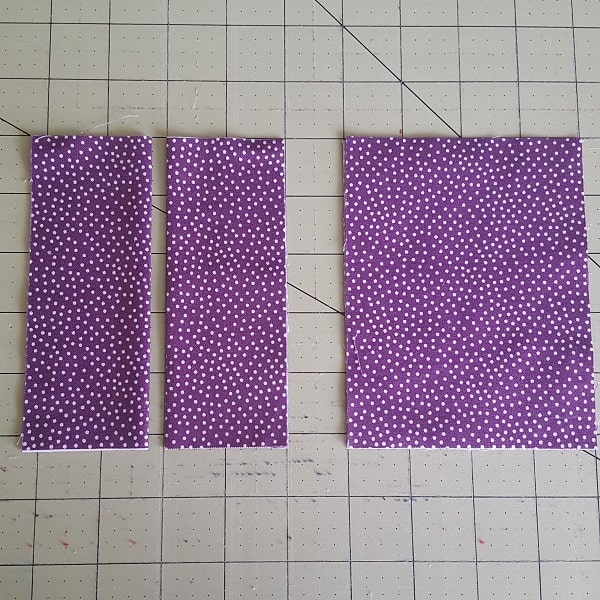
The above picture shows what your fabric pieces should look like at this point. The folded pieces will be the front of your tissue holder and the other fabric pieces will be the back.
Put it all together
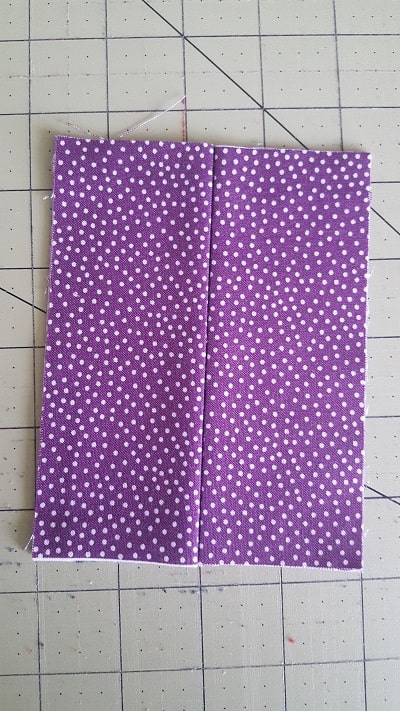
Next place the folded fabric pieces on top of the other two fabric pieces. The folded edges should be facing in.
Pin in place
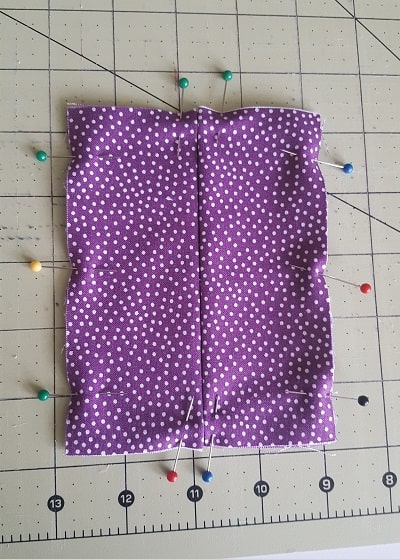
Pin all around the edges of your tissue holder to hold the fabric in place.
Time to sew
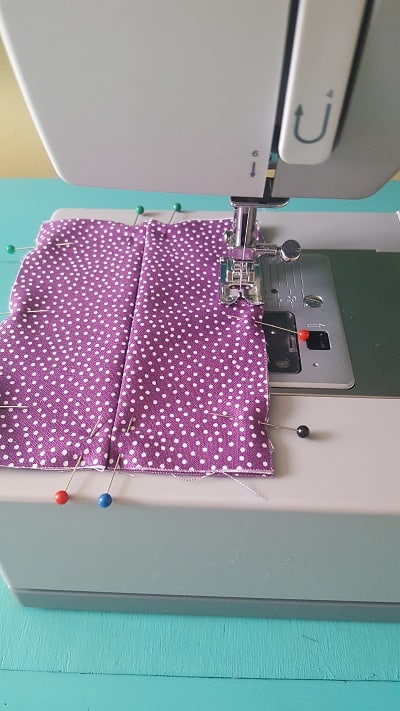

Sew all around the edges using 1/4″ seam allowance. Be sure to sew where the folds meet a couple times for extra durability. See above picture.
Then zigzag stitch all around to keep the fabric from fraying.
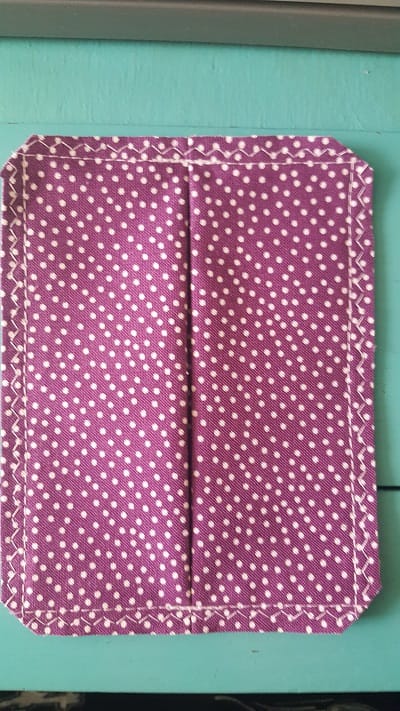
Use your sewing scissors to trim the fabric edges and clip the corners.
***You can find the AD-FREE, printable PDF version of this sewing tutorial available for purchase in my Etsy shop HERE. Includes 6 pages of step-by-step instructions with pictures. Print a copy to keep next to your sewing machine for easy reference.***
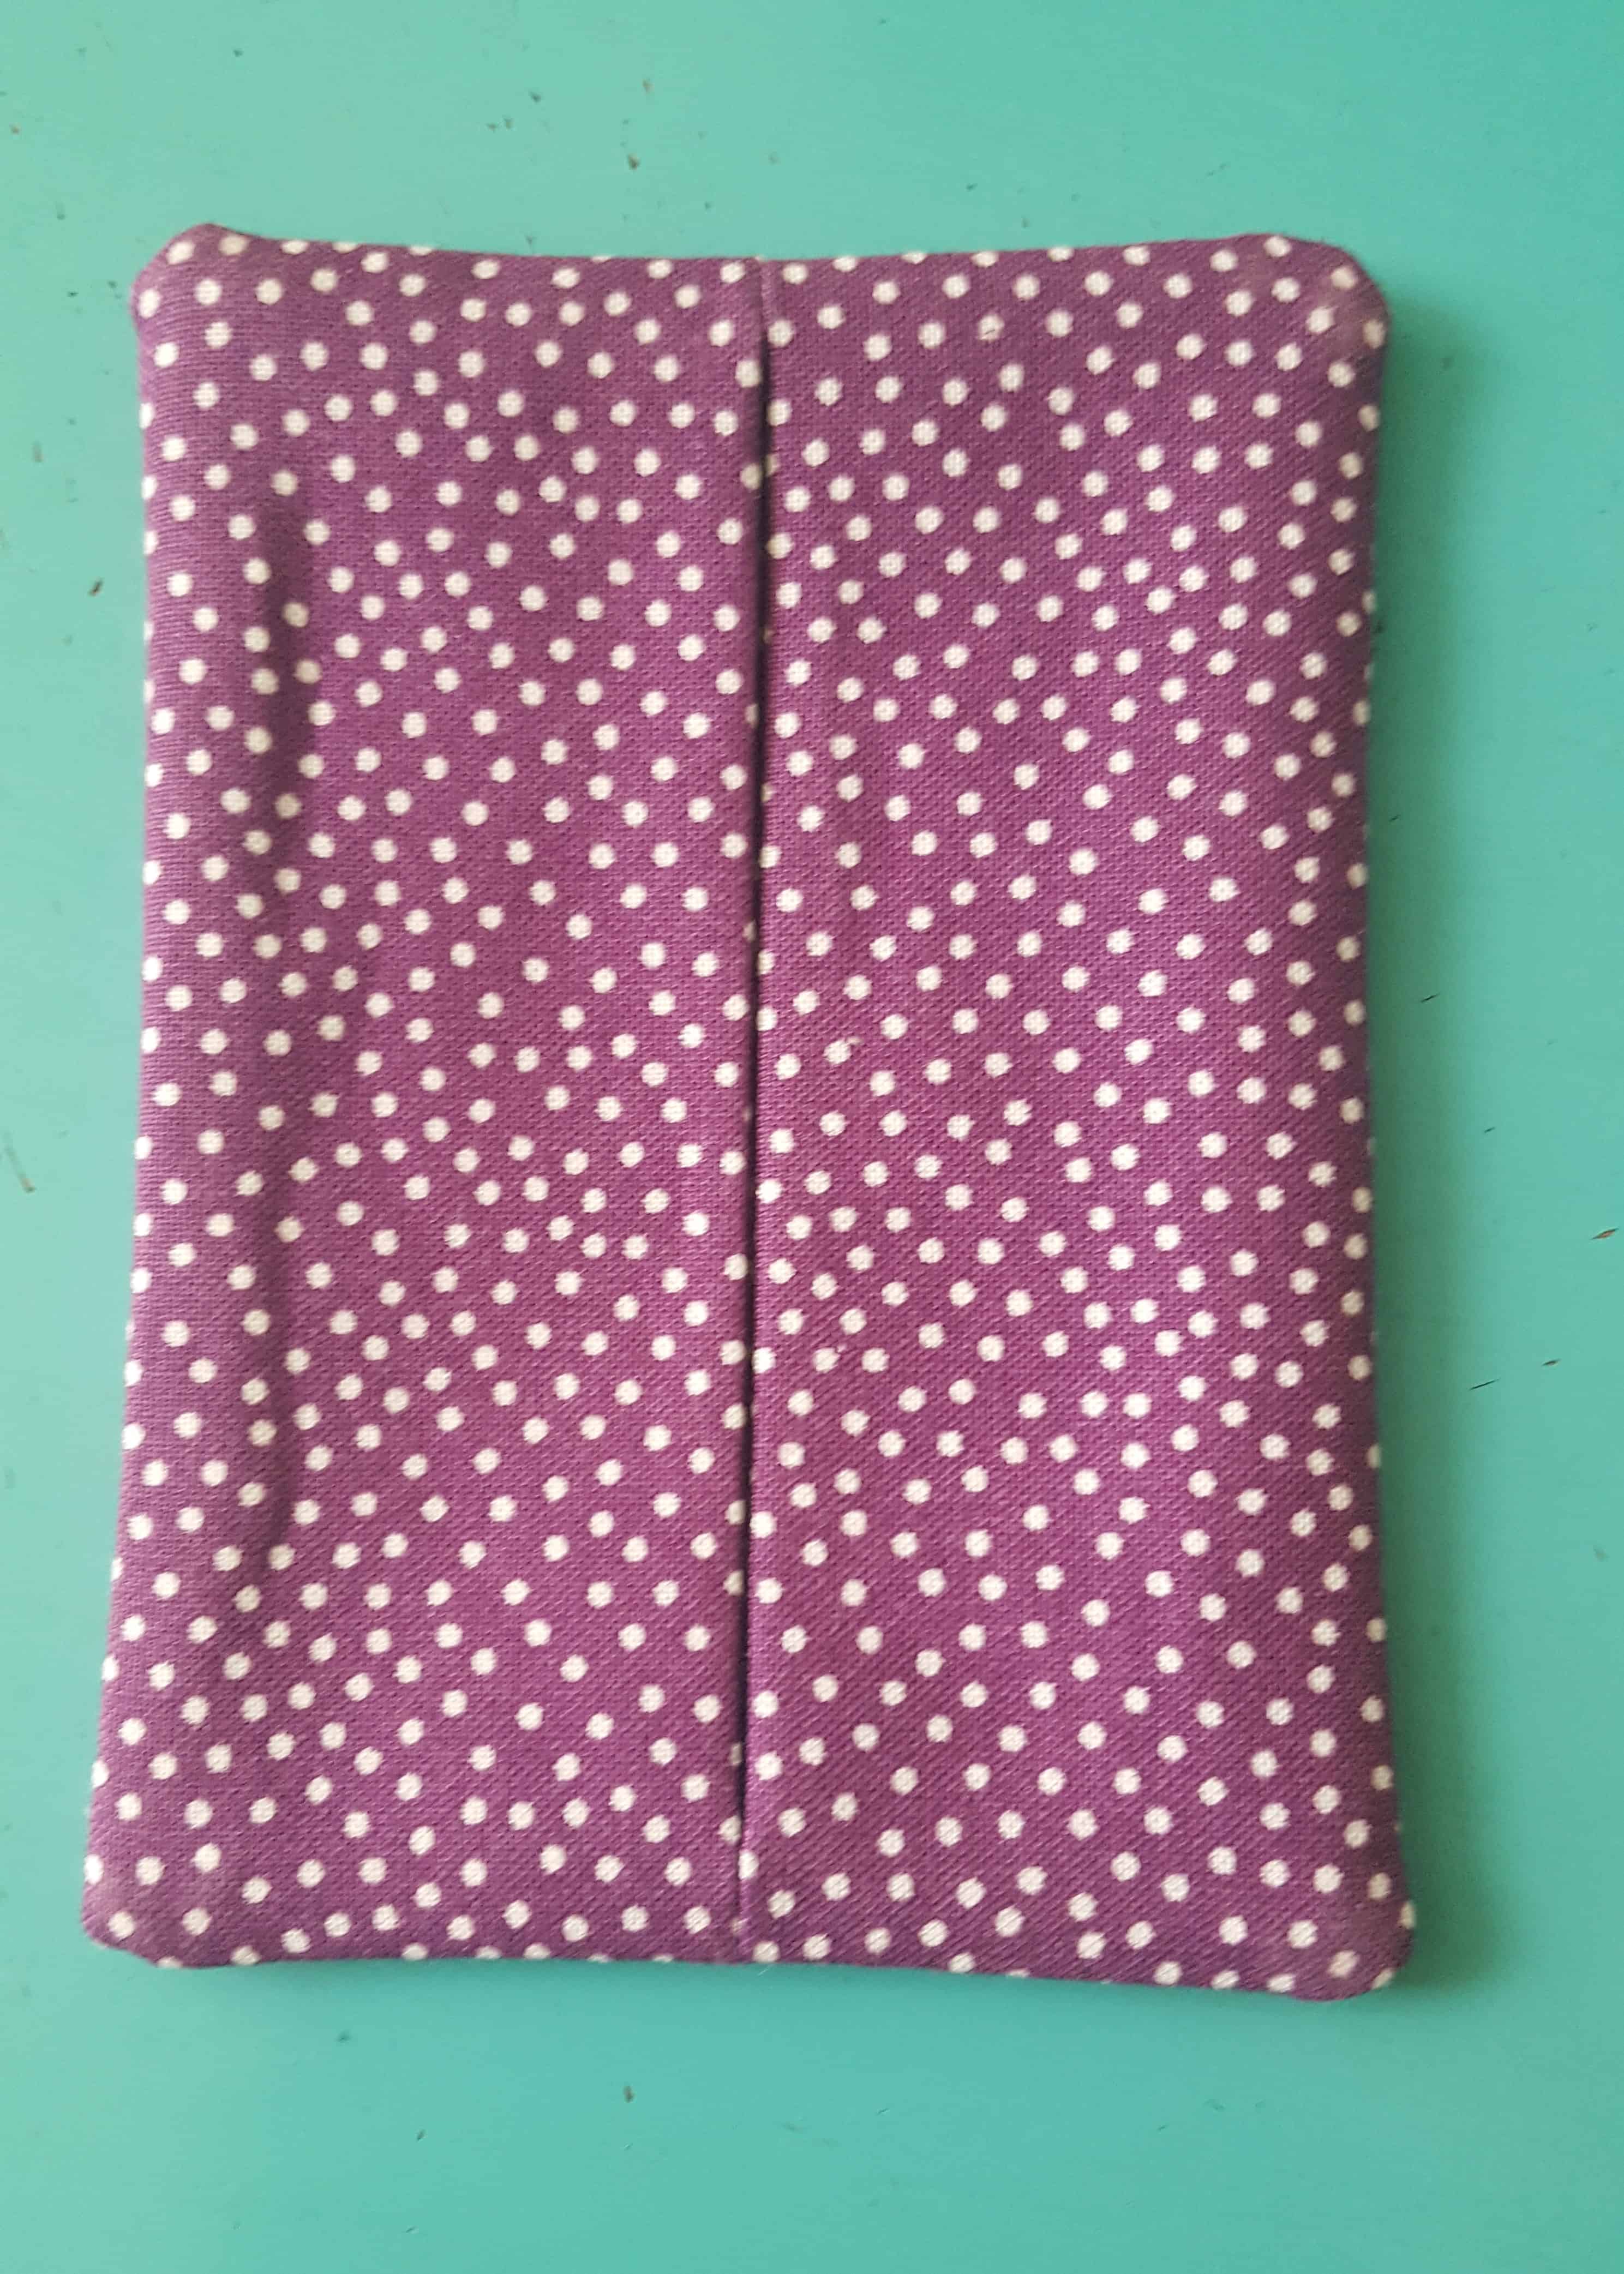
You are finished!
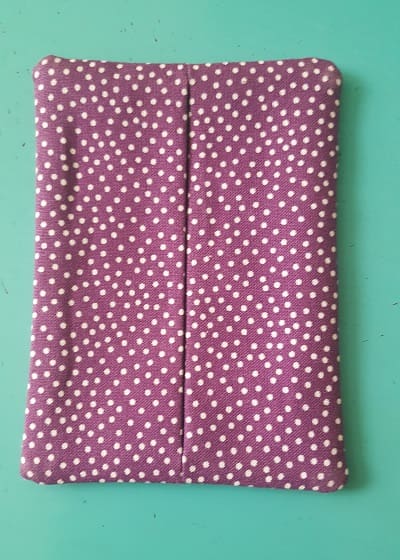
Turn your tissue holder right side out and press the edges for a finished look.
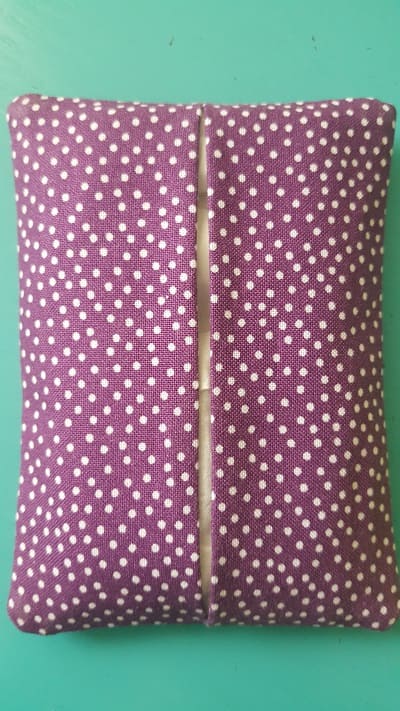
Fill your tissue holder with tissues and you are all set! Now you don’t have to worry about using dirty tissues!
I hope you enjoyed this easy fabric tissue holder tutorial. Happy sewing!
Related Small Sewing Projects:
- Travel Fabric Luggage Tag Tutorial
- Checkbook Cover Sewing Project
- Gift Card / Credit Card Holder Sewing Pattern
Pin for later!