Easy Placemat Sewing Tutorial
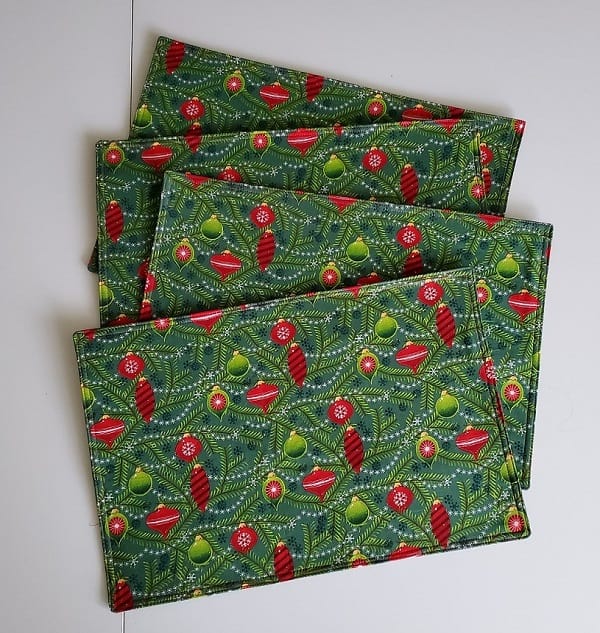
This placemat sewing project is super easy to make and the perfect tutorial for any beginner.
I created this placemat sewing tutorial because Christmas is my favorite time of the year! I love decorating my house and adding new decorations every year. This year, I’m sewing placemats to decorate my table. Be sure to check out how to make a drawstring gift bag for all your gifts this season! Use this Christmas stocking tutorial to make a fun stocking gift bag.
The nice thing about this pattern is you can use it for any occasion, not just the holidays! Change the fabric or make the placemats reversible using two different fabrics.
Placemats are easy sewing projects and perfect if you are a beginner. Sew a matching apron and quilted fabric coasters to go along with the placemats! Here is my place mat sewing pattern tutorial.
This post contains affiliate links. Please see disclosure for more information.
***You can find the ad-free, printable PDF version of this sewing tutorial available for purchase HERE. Includes 7 pages of step-by-step instructions with pictures. Print a copy to keep next to your sewing machine for easy reference.***
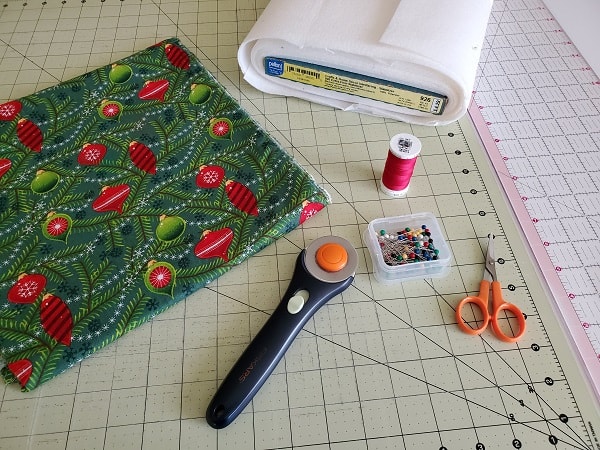
Placemat supplies needed:
- Cotton fabric – 2 yards for 4 placemats – my favorite fabric shop
- Interfacing – stabilizer – cotton batting also works
- Cutting mat
- Rotary cutter
- Clear ruler
- Matching thread
- Straight pins
- Sewing scissors
- Sewing machine
Cut your fabric
Using your cutting mat, rotary cutter and clear ruler, cut your fabric into two pieces measuring 19W x 13″H. You will need two fabric pieces for each placemat. The finished placemat will be approximately 18″W x 12″H. You can adjust these measurements to make your placemats any size you want.
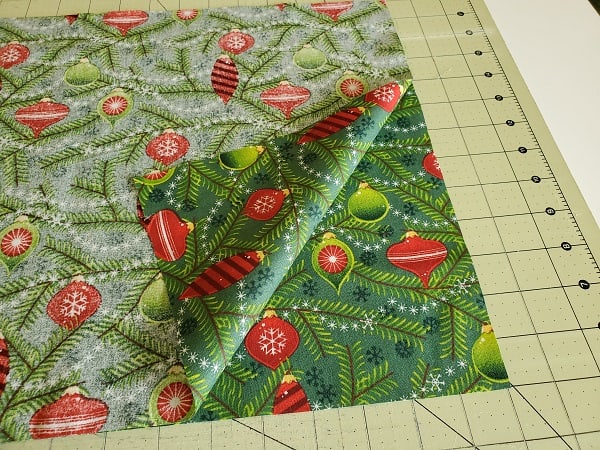
Place your fabric pieces right sides together.
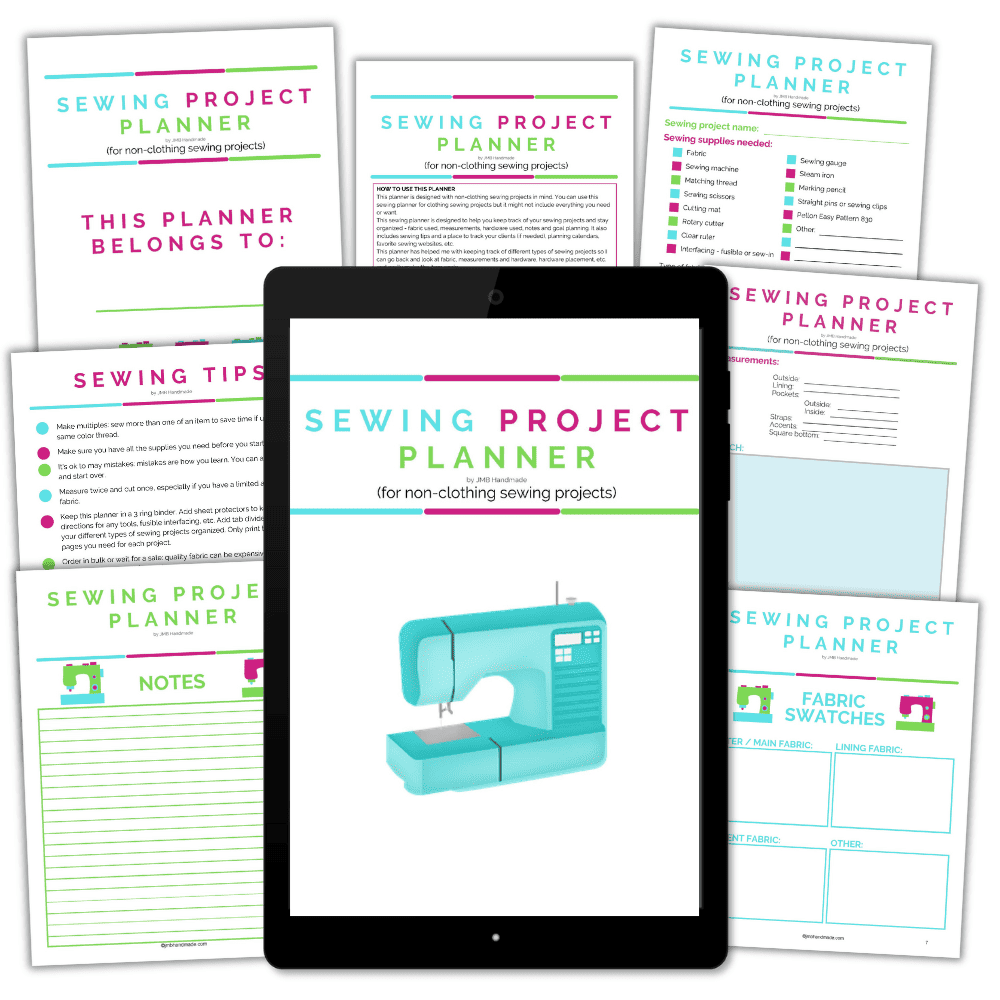
Keep track of your sewing projects, like this one, with a sewing planner. This sewing planner is specifically designed for non-clothing sewing projects and helps you stay organized – fabric used, measurements, hardware used, notes, etc. Also included are pages such as sewing tips and fabric shops. Get your sewing planner HERE.
Add the interfacing / stabilizer
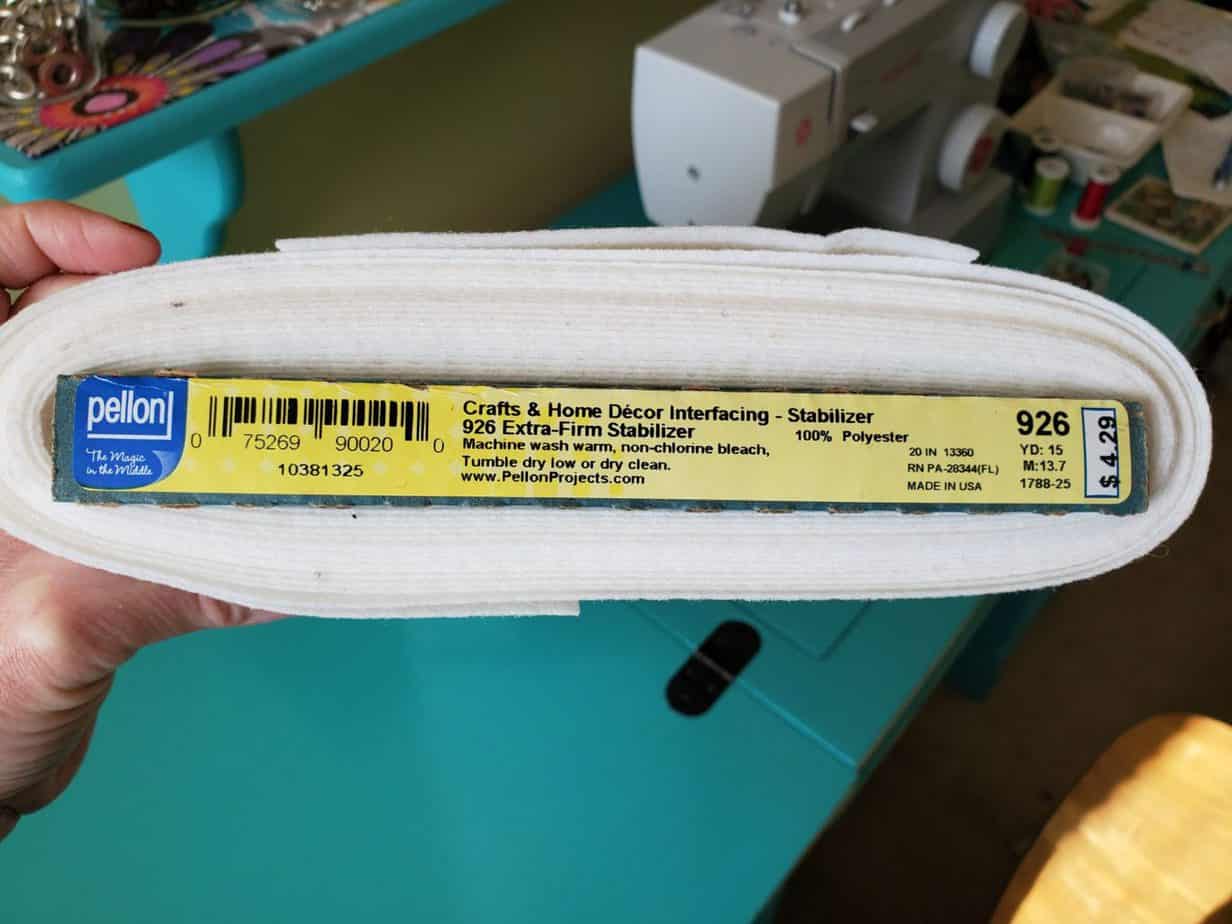
I am using an extra firm sew-in interfacing / stabilizer for these placemats just for a little more stiffness. The less flimsy the better. I use Pellon 926 Extra-Firm Sew-In Stabilizer. If you do not have the firm stabilizer, cotton batting is a good substitute.
Cut one piece of the stabilizer measuring 19″W x 13″H.
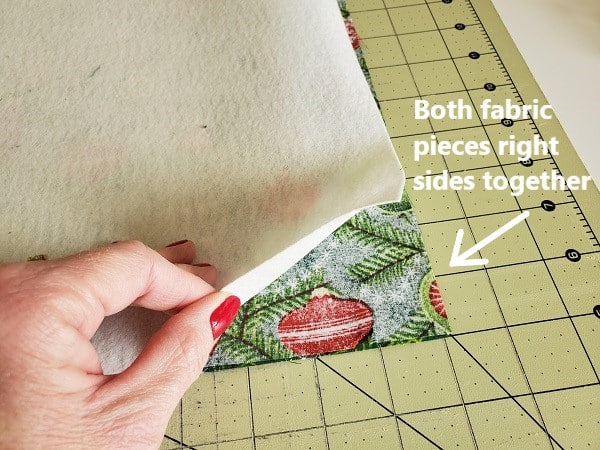
Place the stabilizer on top of the fabric as shown above. The stabilizer should be on top of the wrong side of the fabric.
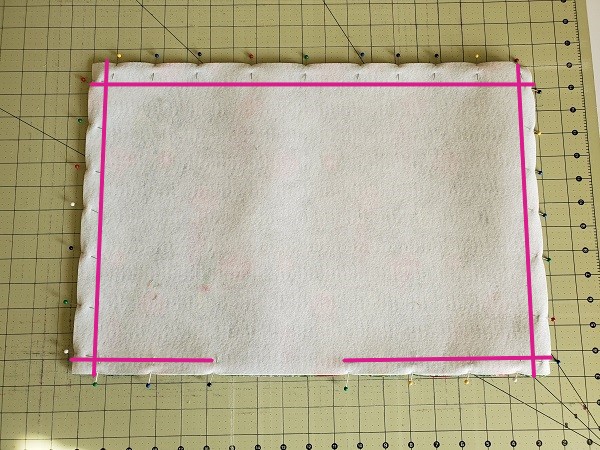
Pin in place.
Sew it together
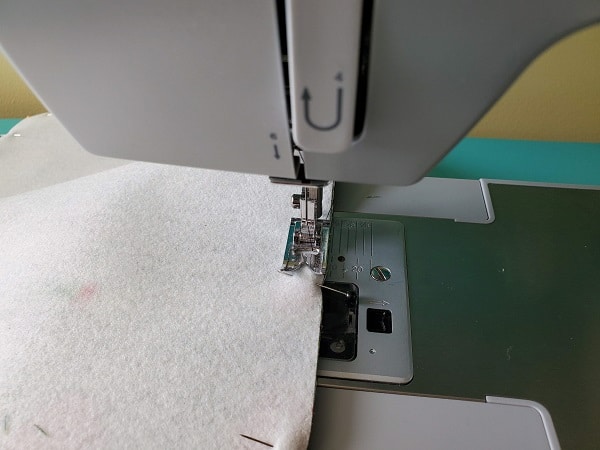
Use your sewing machine to sew around the perimeter using a 3/8″ seam allowance. Be sure to leave an opening for turning.
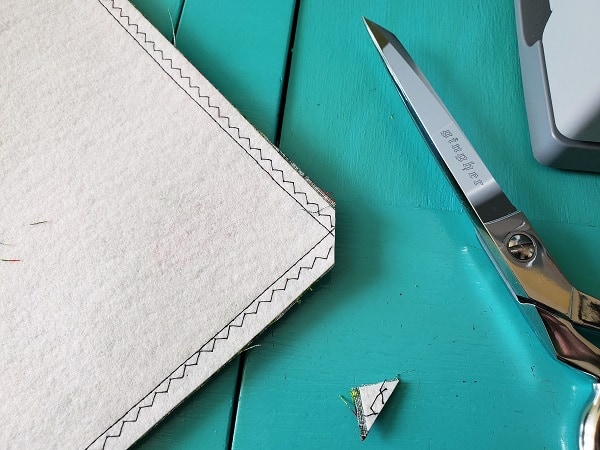
Clip all four corners using your sewing scissors.
***You can find the ad-free, printable PDF version of this sewing tutorial available for purchase HERE. Includes 7 pages of step-by-step instructions with pictures. Print a copy to keep next to your sewing machine for easy reference.***
Turn right side out
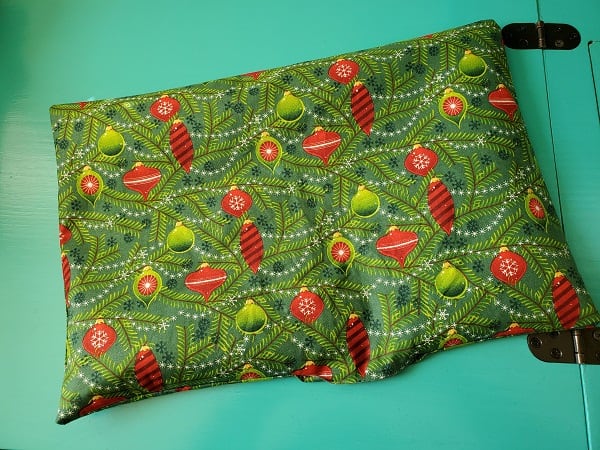
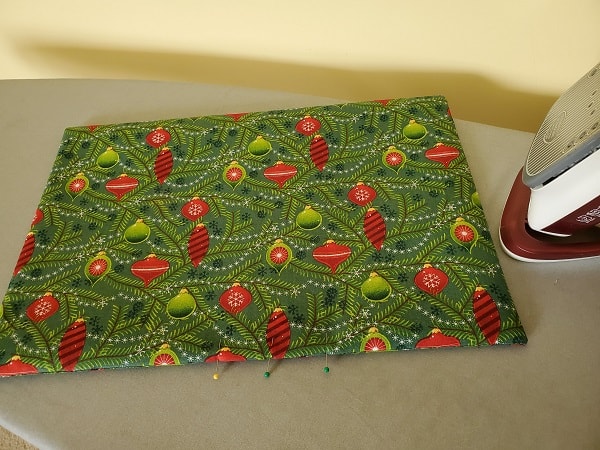
Turn your placemat right side out. Push out the corners and press with your clothes iron.
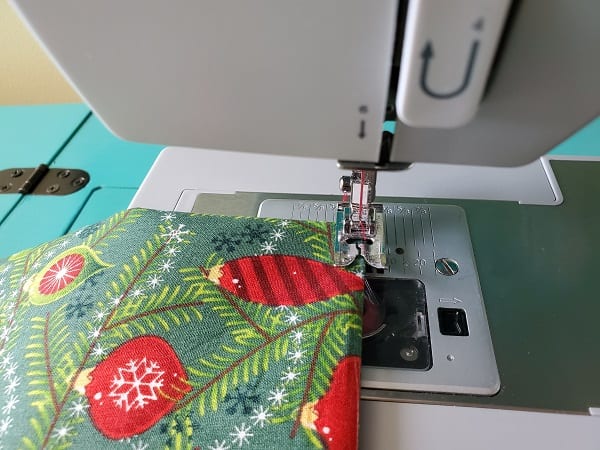
Top stitch about 1/8 inch all around the perimeter to give it a finished look and close the opening.
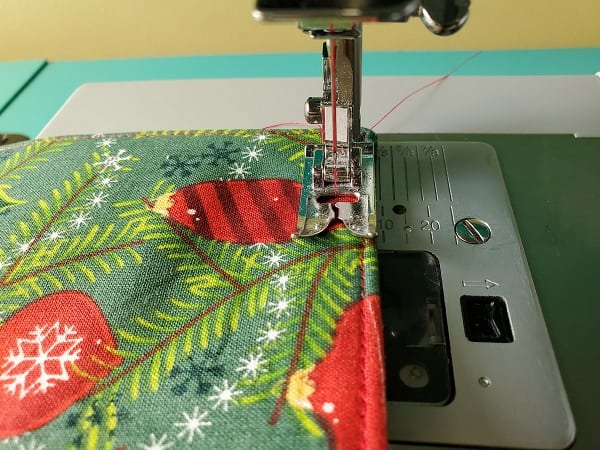
I like to add another row of top stitching, about 1/2 inch from the edge, all around to give it a decorative look.
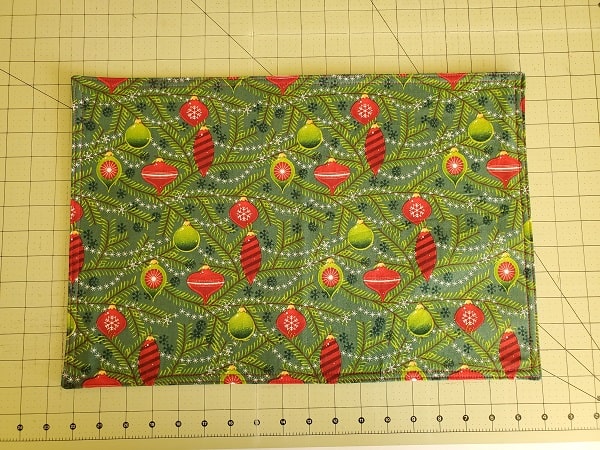
You are finished!
Pin for later!

Now you are ready to decorate your house with your own placemats that you created! I would love to see your finished sewing project – feel free to comment and share.
Happy sewing!
Related Easy Sewing Project Ideas
- Fabric Bookmark Tutorial
- Easy DIY Key Fob Pattern
- Business Card / Gift Card Holder Sewing Project
- Quilted Oven Mitt Sewing Tutorial