How to Sew an Adult Full-Size Apron
Create your own full-size apron with adjustable straps using this simple sewing pattern.
I love making aprons with pretty fabrics. I guess it’s because I’m not a fan of cooking and it makes me feel better wearing a pretty apron. This full-size adult apron makes a great gift and because it’s so easy to make, you can make multiples at a time. I especially love to give aprons as gifts. You can pair it with some matching placemats and fabric napkins for a wedding gift or Christmas gift! With the apron’s adjustable strap, it fits any size. Here are my instructions for the full-size apron with adjustable strap.
This post contains affiliate links. Please see disclosure for more information.
***You can find the AD-FREE, printable PDF version of this sewing tutorial available for purchase in my Etsy shop HERE. Includes 12 pages of step-by-step instructions with pictures. Print a copy to keep next to your sewing machine for easy reference.***
Full-Size Apron Supply List
- 1 1/2 yards of fabric – my favorite fabric shop
- 3 yards of 1-inch cotton twill webbing (for the strap)
- Pellon 830 Easy Pattern to make the template if using
- Sewing scissors
- Sewing gauge
- Straight pins
- Clothes iron
- Matching thread
- Sewing machine
- Cutting mat (optional)
- Clear ruler (optional)
- Rotary cutter (optional)
Create Your Apron Template
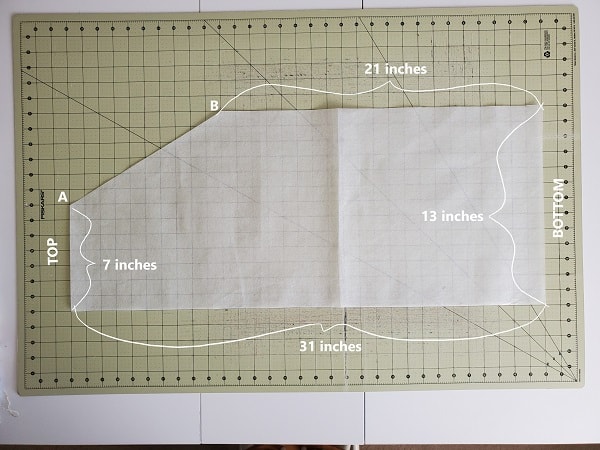
Start by making a template for your apron. I use Pellon 830 Easy Pattern because you can pin it over and over again and it lasts forever. Paper or cardboard work as well. You can also just do the measurements right on the fabric without a template.
See above picture. The template is half of your apron (you will be folding the fabric in half). For the top of the apron template, draw a line 7 inches across and mark an A at the end of the 7 inches. The top of the apron to the bottom of the apron template measures 31 inches – this long edge will be the middle of your apron. At the bottom of the apron, measure 13 inches across for the width of your apron. At the end of the 13 inches, measure up 21 inches and mark a B. Draw a line from A to B for the diagonal. Cut out your template.
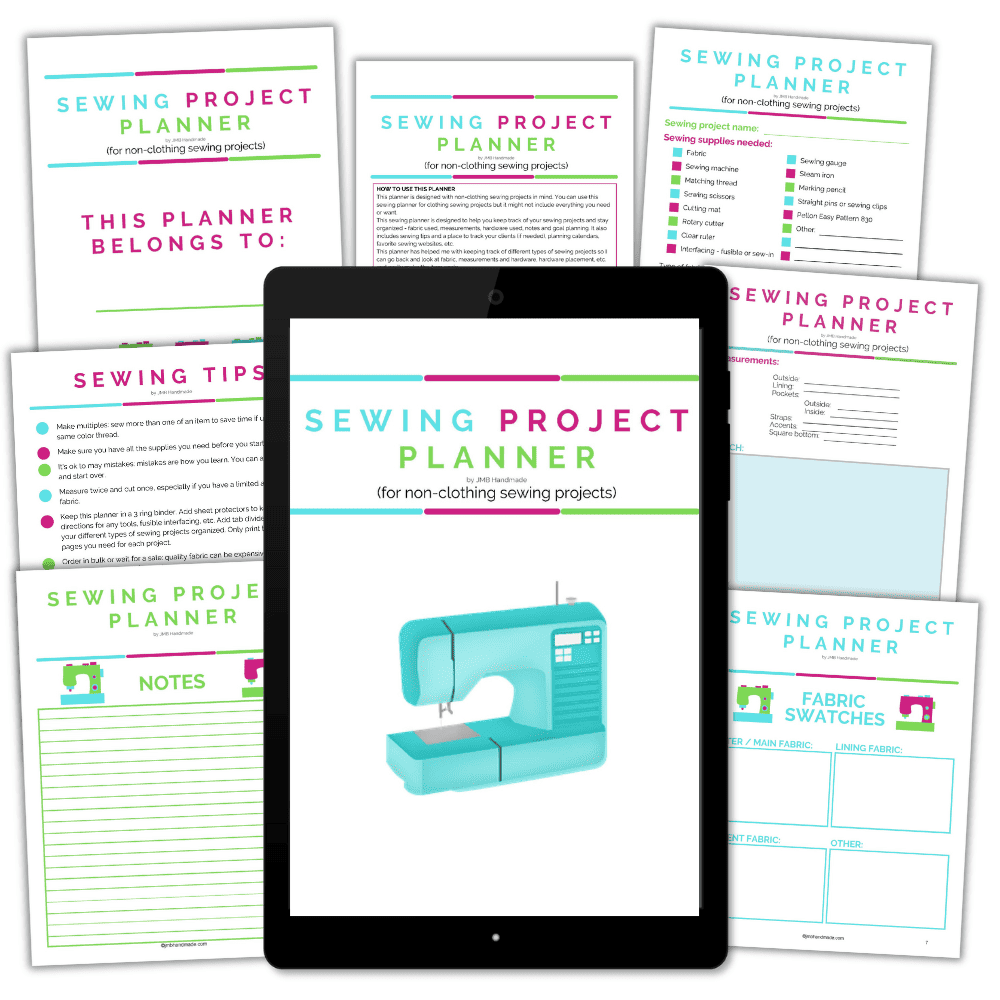
Keep track of your sewing projects, like this one, with a sewing planner. This sewing planner is specifically designed for non-clothing sewing projects and helps you stay organized – fabric used, measurements, hardware used, notes, etc. Also included are pages such as sewing tips and fabric shops. Get your sewing planner HERE.
Cut out your apron
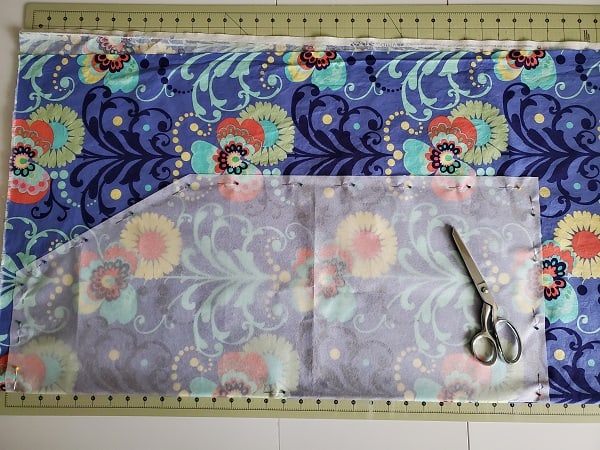
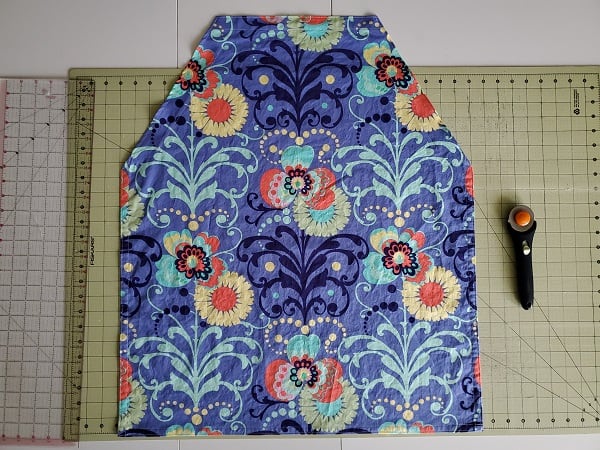
Fold your fabric in half lengthwise. Place your template on top of the fabric with the longest side at the edge of the fabric fold. Be sure your fabric design is in the right direction. Cut around your apron template using your sewing scissors. If you are not using a template, use your cutting mat, rotary cutter and clear ruler to cut your fabric following the above measurements.
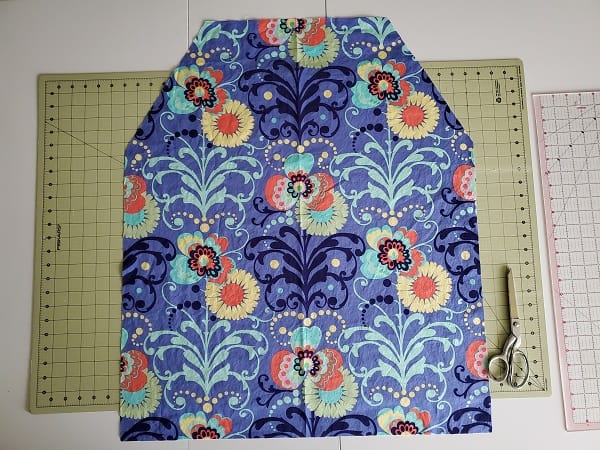
Unfold your fabric after you are finished cutting. The above picture shows what your apron should look like at this point.
Time to hem your apron
In this sewing tutorial, (with wrong side facing up), hemming the apron will be in the following order:
- Right side
- Left side
- Bottom
- Top
- Diagonals
Place your apron right side down on your ironing board. Starting with the right side, fold the fabric over 1/2 inch. Press. Then fold over again and press.

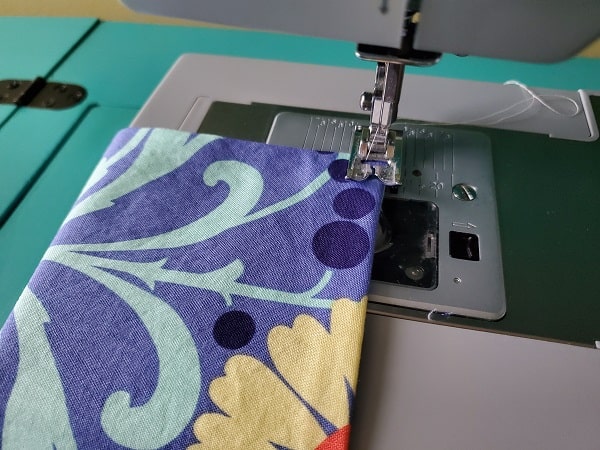
With your sewing machine, sew along the inner edge, close to the edge, using matching thread.
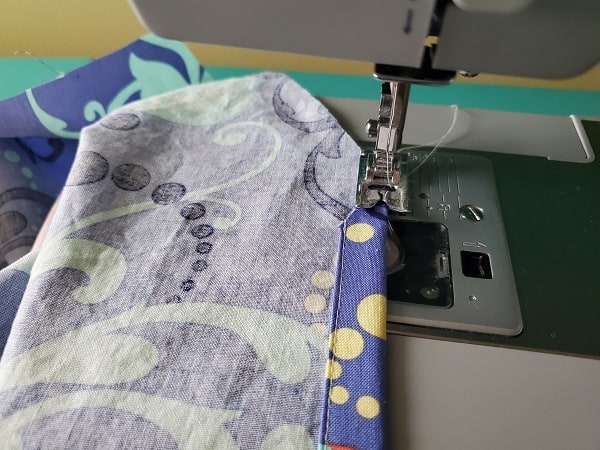
Now sew along the outer edge, close to the edge.
Do the same steps for the left side of the apron.
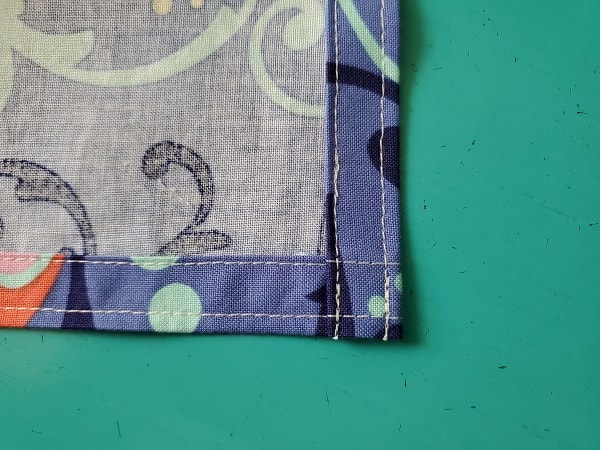
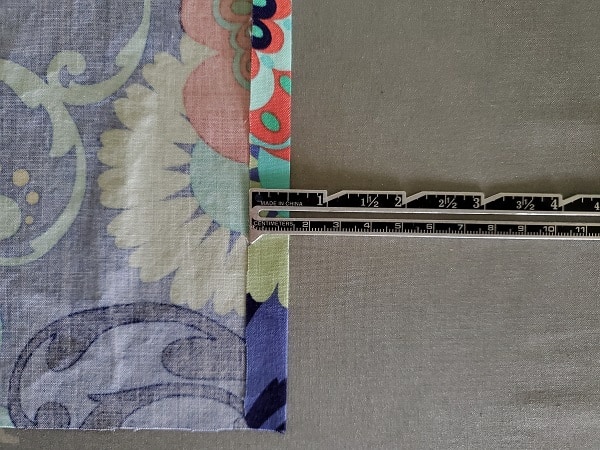
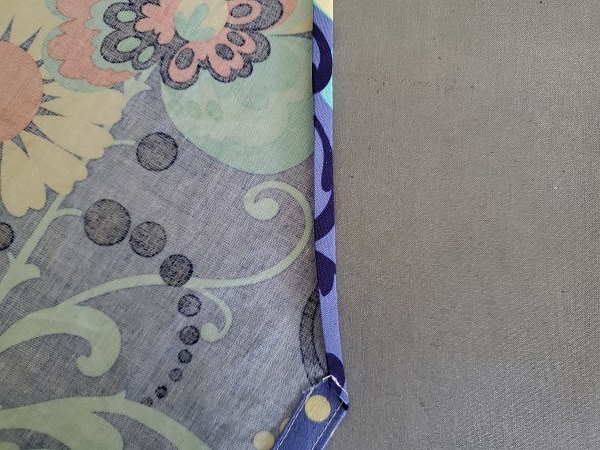
Next you are going to hem the bottom of the apron. Hem 1/2 inch like you did for the sides but make sure both ends are lined up with the sides. The above picture shows what your bottom hem should look like.
For the top hem, you are going to fold over 1/2 inch and press.
Then fold over 1 inch and press. Sew along the inner and outer edges.
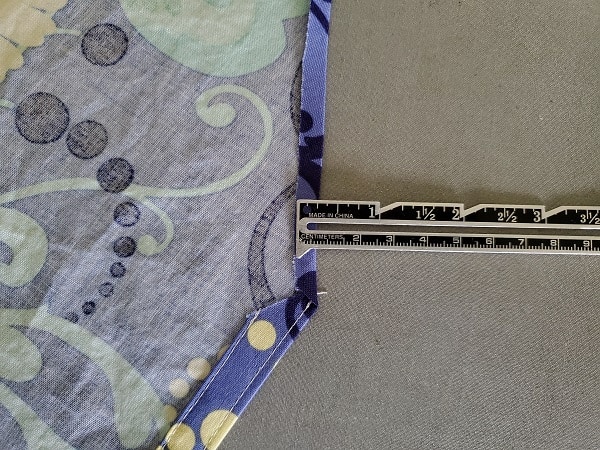
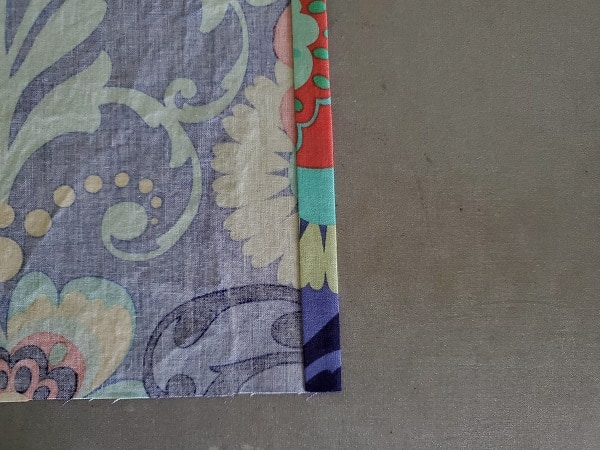
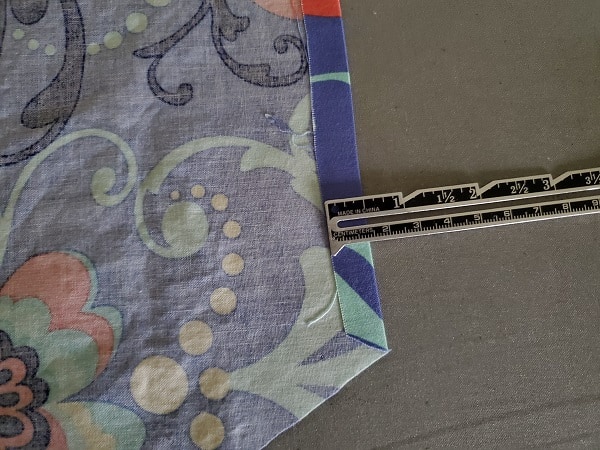
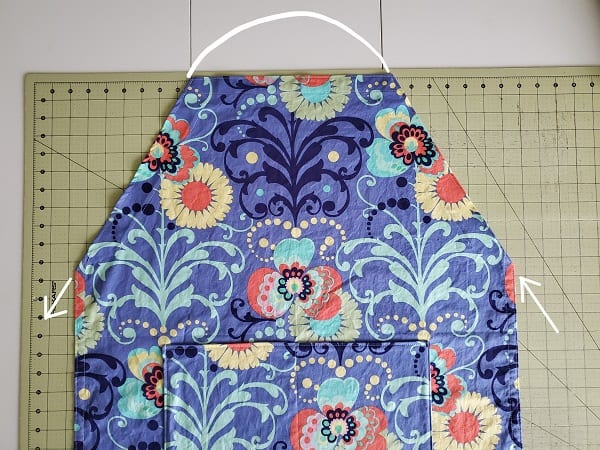
Hemming the diagonals will be slightly different. First, fold over 1/4 inch and press.
Fold over again and press.
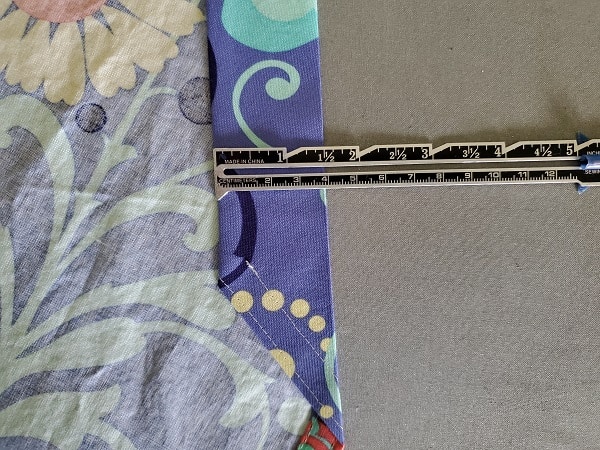
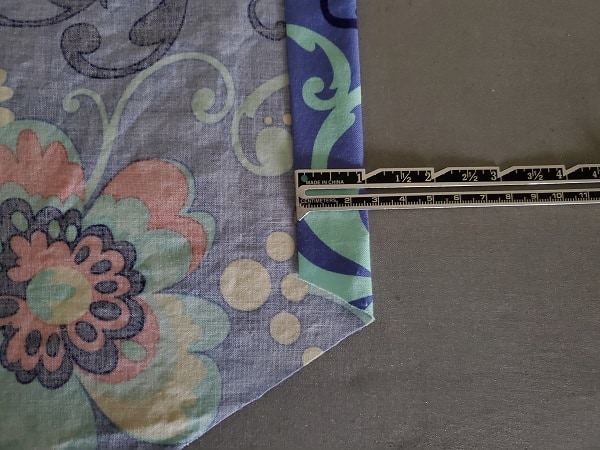
Then fold over again 1 1/2 inches and press. Sew along the inner edge close to the fold and outer edge using about 1/4 inch seam allowance. In this step you are creating the strap slots.
The above picture shows what your hemmed apron should look like.
***You can find the AD-FREE, printable PDF version of this sewing tutorial available for purchase in my Etsy shop HERE. Includes 12 pages of step-by-step instructions with pictures. Print a copy to keep next to your sewing machine for easy reference.***
Add pockets to your apron
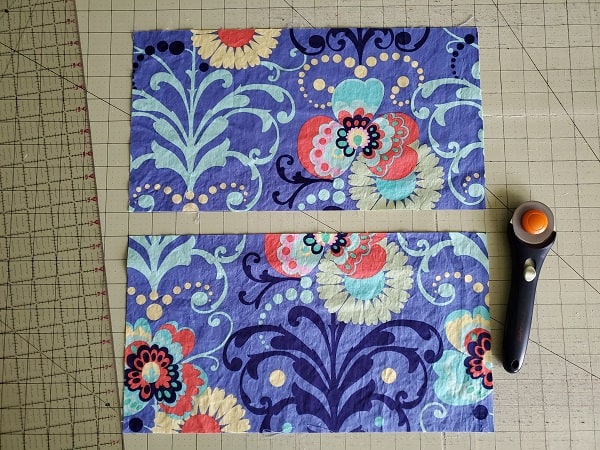
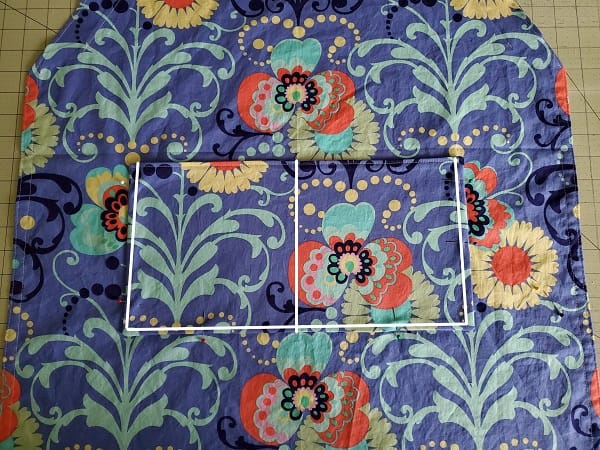
Using your cutting mat, rotary cutter and clear ruler, cut two pieces of fabric 15 inches wide by 8 inches long.
Place the fabric pieces on top of each other, right sides together.
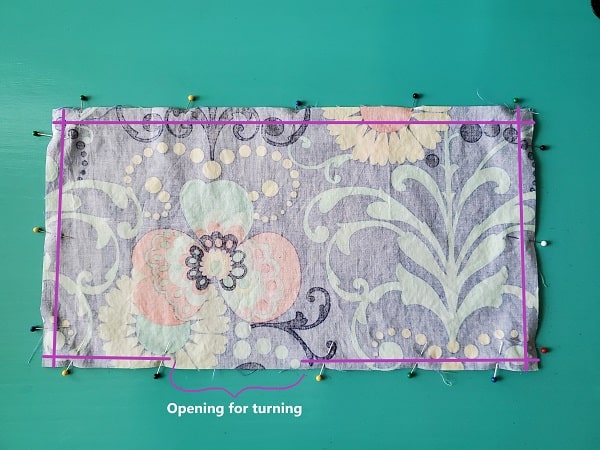
Pin the fabric together and sew around the perimeter, leaving a small opening at the bottom for turning.
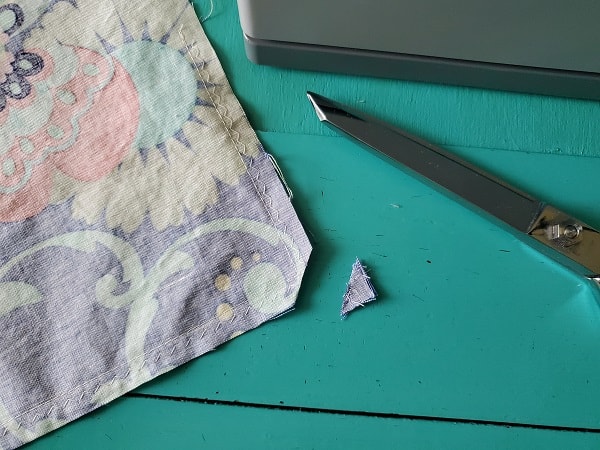
Clip all four corners using your sewing scissors.
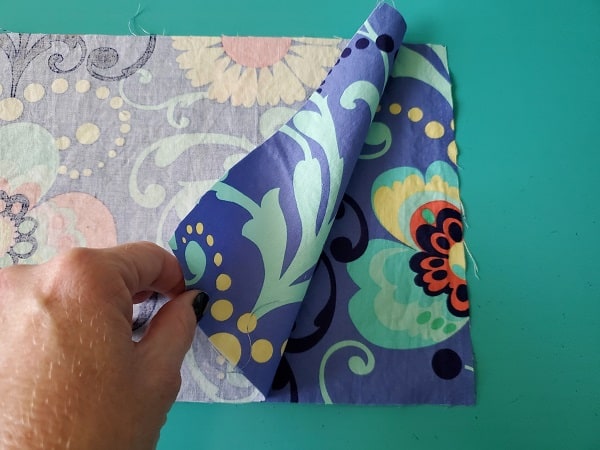
Turn right side out, pushing out the corners and press.
Top stitch across the top of the pocket piece to give it a finished look. The opening used for turning will be stitched closed when you sew the pocket onto the apron.
Sew the pockets onto the apron

Fold your apron in half from top to bottom. Lightly press down with your hand along the fold to mark the middle of the apron.
Place your apron pocket just below the fold you just made and evenly spaced on both sides (about 5 inches on both sides). Pin in place.
Next, find the center of your pocket and mark the top and bottom with a marking pencil. Starting at the bottom of the pocket where your pencil mark is, straight stitch to the top where your other pencil mark is, back stitch the beginning and end. This line is creating 2 pockets on your apron. You might need to smooth out your pockets and repin the sides and bottom.
Now sew the sides and bottom of the pockets, pivoting the corners. Be sure to back stitch the beginning and end. Your pockets are now attached and the opening for turning is closed.
Add the adjustable strap
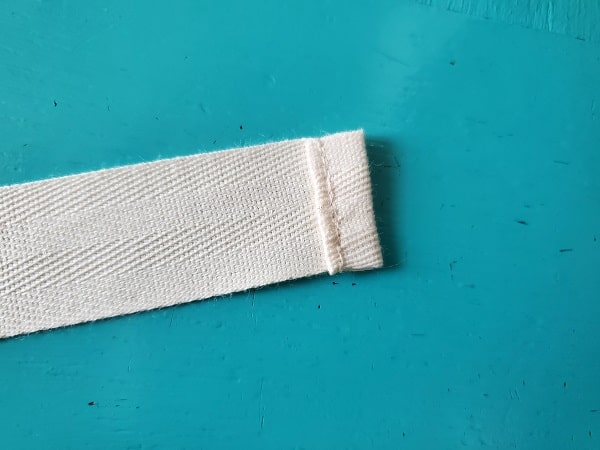
If you haven’t already done so, measure out 3 yards of the cotton webbing you are using for your strap. Hem the strap ends by folding over twice and stitching across as shown in above picture.
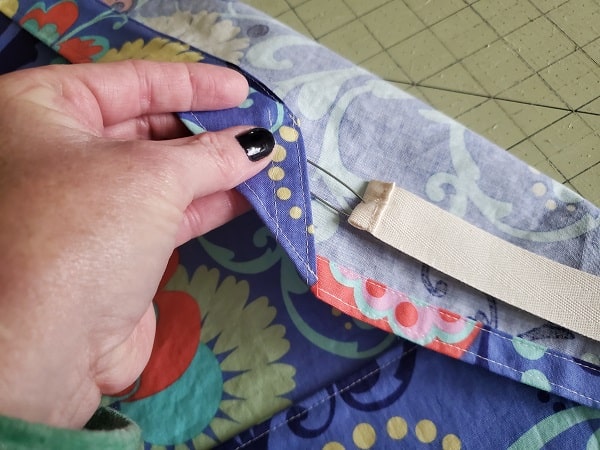
Attach a bobbie pin to one end of your strap.
Starting on the right side of the apron, feed your strap through the strap slot you created then back down the other side. Adjust so both sides are even.
***You can find the AD-FREE, printable PDF version of this sewing tutorial available for purchase in my Etsy shop HERE. Includes 12 pages of step-by-step instructions with pictures. Print a copy to keep next to your sewing machine for easy reference.***
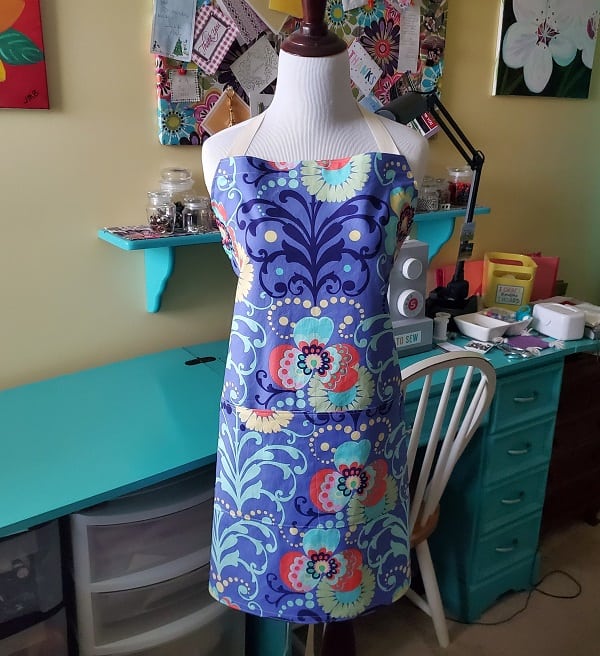
You are finished!
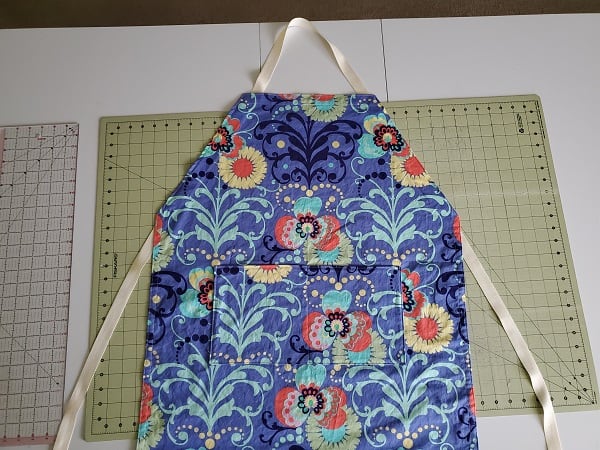
The above picture shows the finished apron with the adjustable strap.
Now you have a fun apron to make cooking even more enjoyable! Happy sewing!
Pin for later!