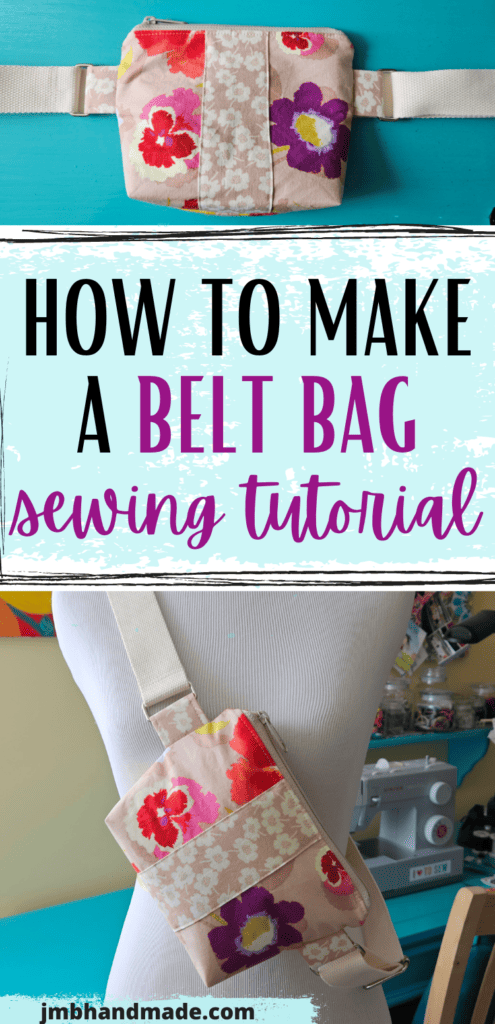
How to Make a Belt Bag Sewing Tutorial
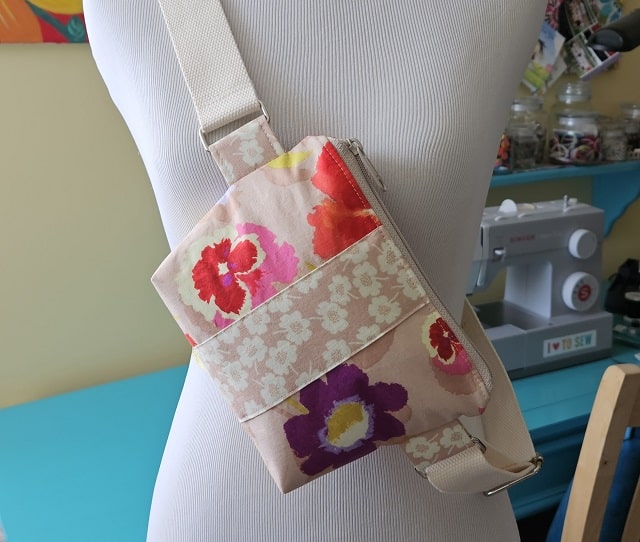
Sew a belt bag of your own with this easy sewing tutorial.
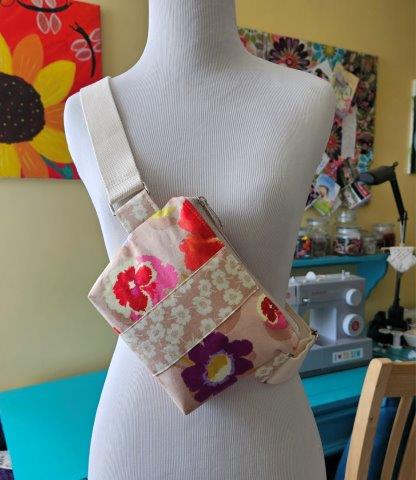
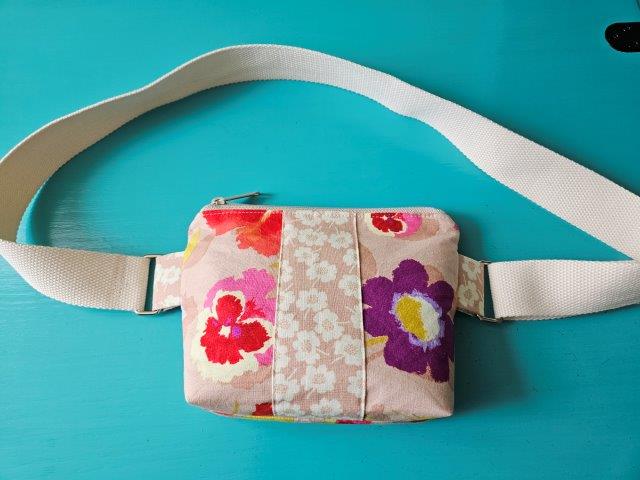
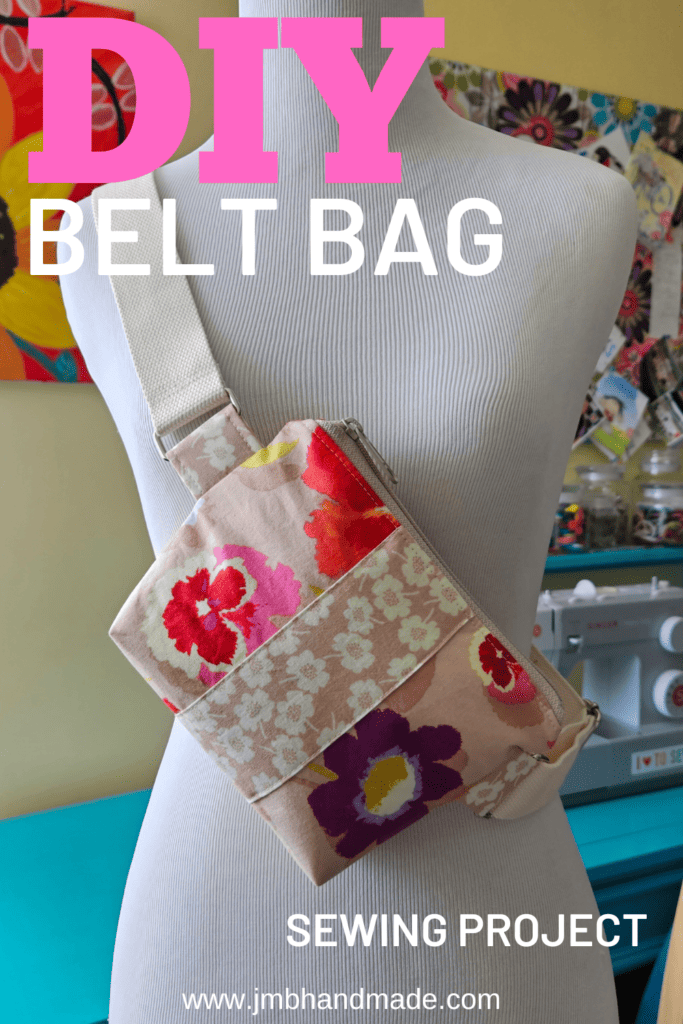
The belt bag (or sling bag as some call it) with adjustable strap is perfect for hands free shopping or anytime you don’t want to carry a big purse. This belt bag is surprisingly roomy for such a small bag because of the square bottom feature. Sew up a matching small zipper pouch which is just the right size to hold your cash and credit cards and fits perfectly inside the belt bag.
Let’s get started with the belt bag sewing project!
This post contains affiliate links. Please see below disclosure for more information.
***You can find the ad-free, printable PDF version of this sewing tutorial available for purchase in my Etsy shop HERE. Includes 20 pages of step-by-step instructions with pictures and templates. Print a copy to keep next to your sewing machine for easy reference.***
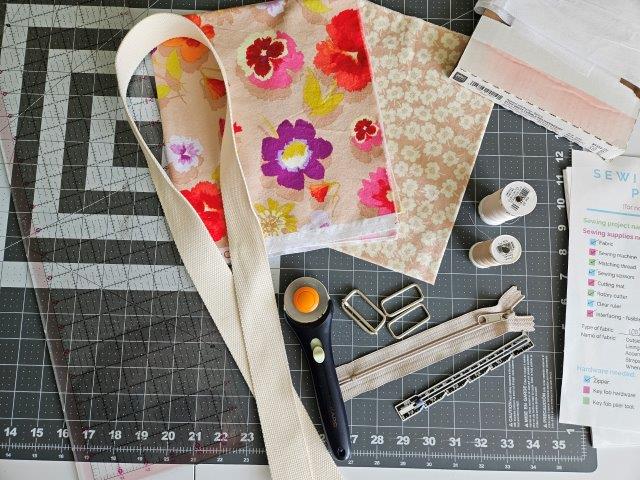
Belt bag sewing supplies needed:
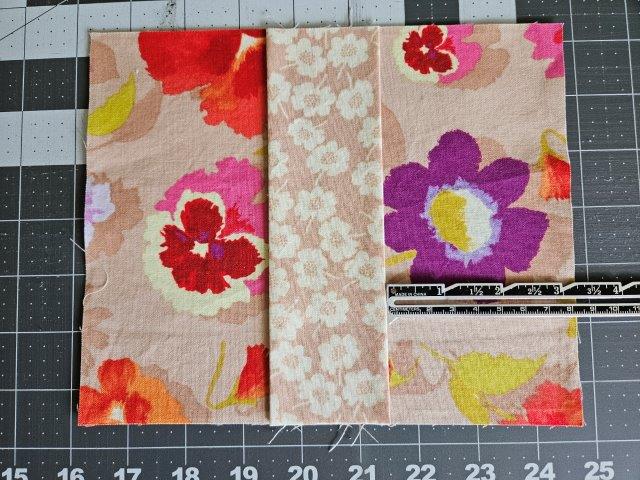
- Cotton fabric – two coordinating fat quarter fabric pieces work great for this sewing project – my favorite fabric shop
- Cutting mat
- Rotary cutter
- Clear ruler
- Sewing scissors
- Marking pencil
- Fusible interfacing – Pellon 911FF Fusible Interfacing
- 7″ zipper – my favorite zipper shop
- Two 1.5 inch rectangle rings
- One 1.5 inch rectangle slide
- 1.5 inch heavy cotton webbing – 42 inches or enough to fit with some room for adjustment
- Matching thread
- Fray check
- Sewing gauge
- Sewing machine
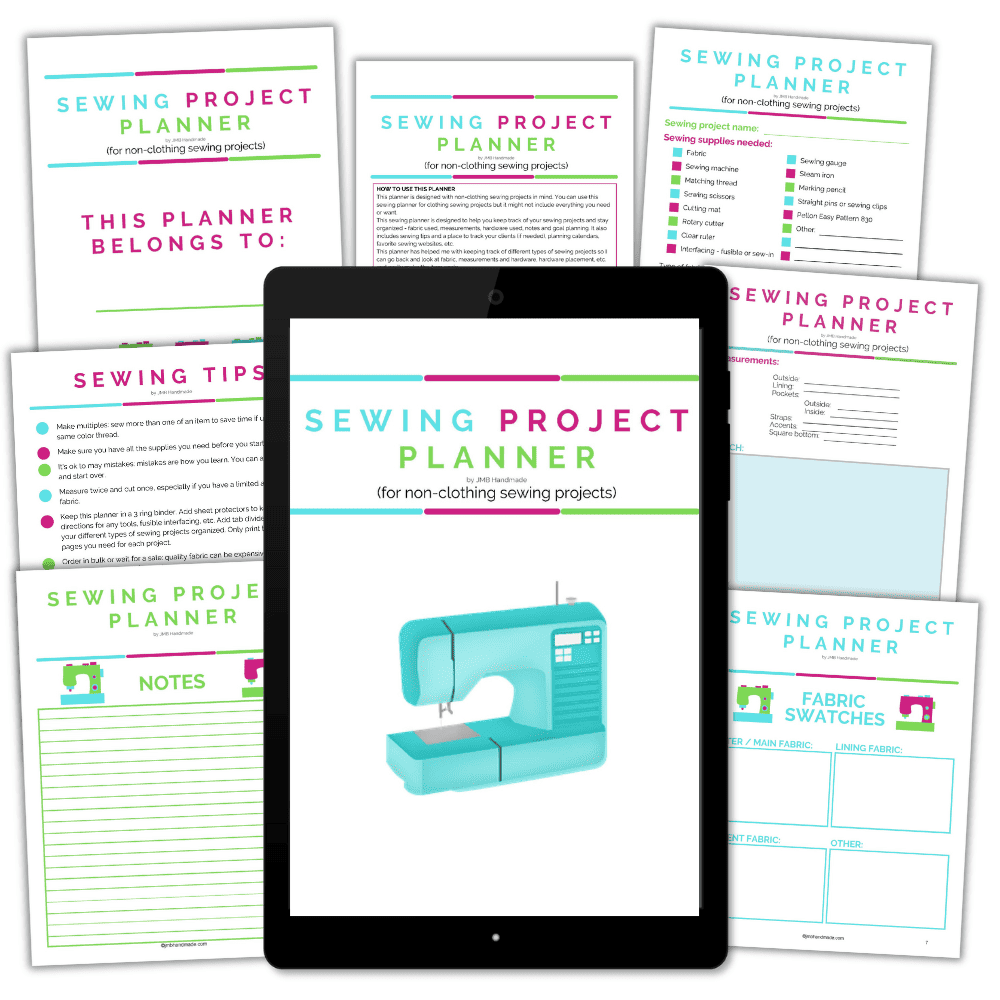
Keep track of your sewing projects, like this one, with a sewing planner. This sewing planner is specifically designed for non-clothing sewing projects and helps you stay organized – fabric used, measurements, hardware used, notes, etc. Also included are pages such as sewing tips and fabric shops. Get your sewing planner HERE.
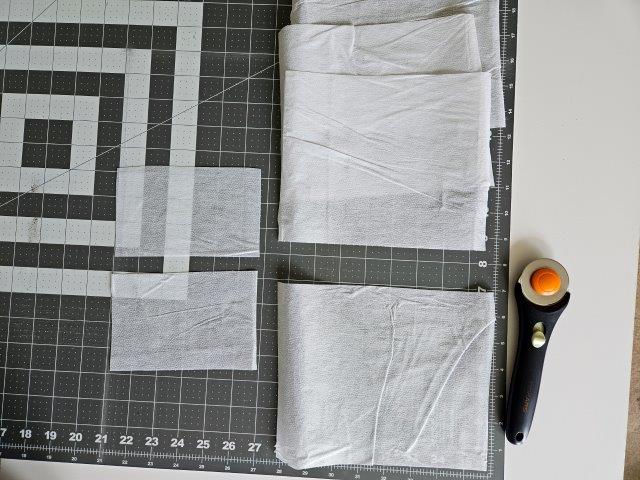
Measure and cut your fabric
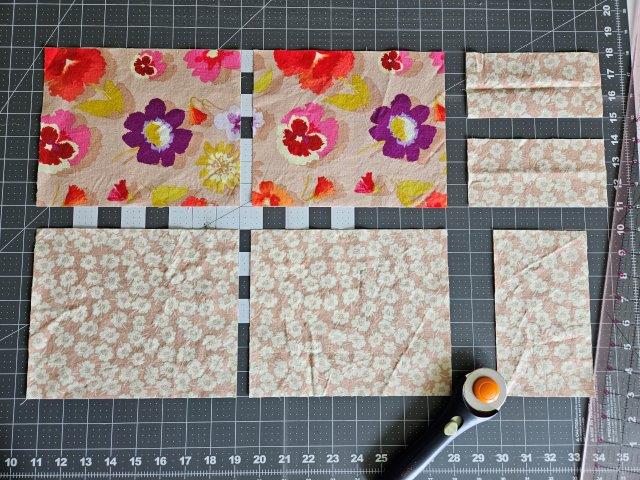
Using your cutting mat, clear ruler, and rotary cutter, cut two pieces of the belt bag outer fabric and two pieces of the belt bag lining fabric measuring 8 1/2 inches by 7 inches. For the short straps, cut two pieces of the lining fabric measuring 6 inches by 3 inches. For the accent piece, cut one piece of lining fabric (or coordinating fabric) measuring 4 inches by 7 inches.
Attach the fusible interfacing
My favorite fusible interfacing is Pellon 911FF Fusible Interfacing. It’s my go to for all my handbags and accessories sewing projects.
Cut four pieces of the fusible interfacing measuring 8 1/2 inches by 7 inches for the belt bag outer and lining fabric pieces. Cut two pieces of fusible interfacing measuring 6 inches by 3 inches for the short straps.
Follow the package instructions for attaching the interfacing to the fabric.
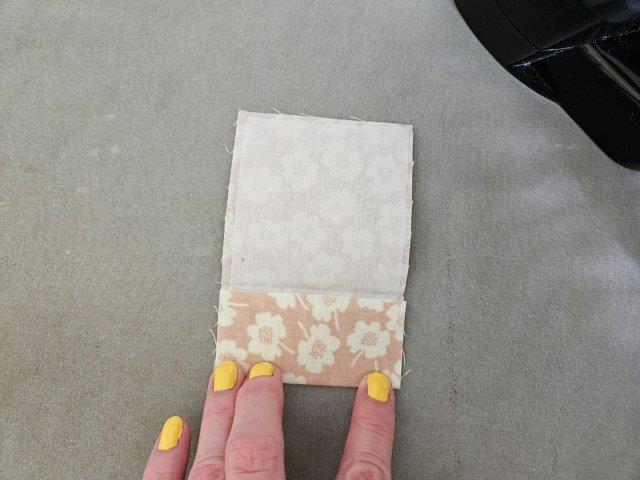
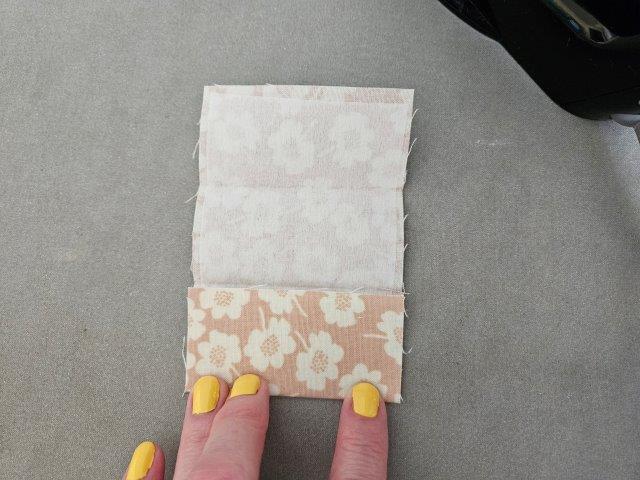
Add the accent fabric
Place the accent fabric piece right side down on your ironing board.
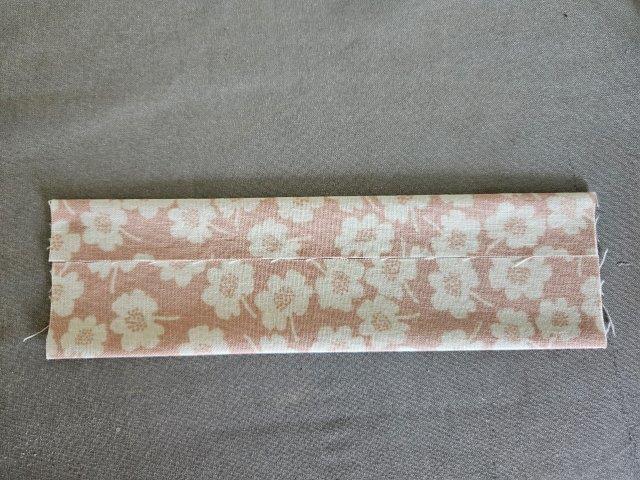
Fold in each long side until the sides meet and then press. The folded accent piece should measure two inches wide.
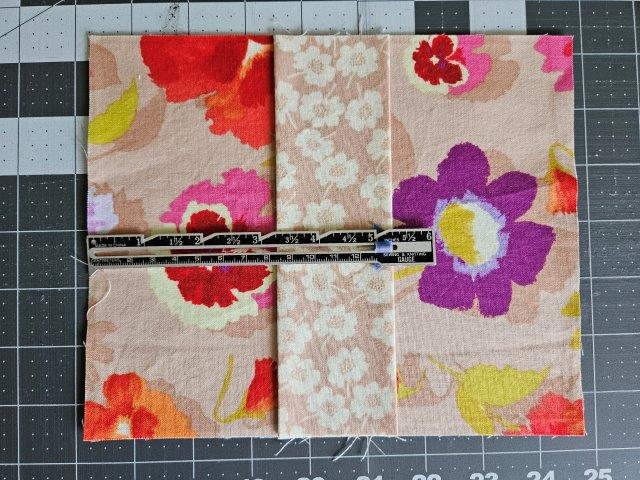
Now place the accent piece, edges face down, on top of one of the outer fabric pieces. Use your sewing gauge to find the middle.
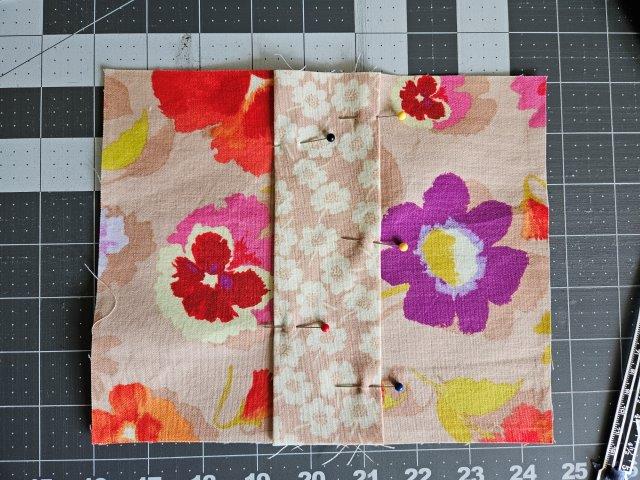
Pin in place.
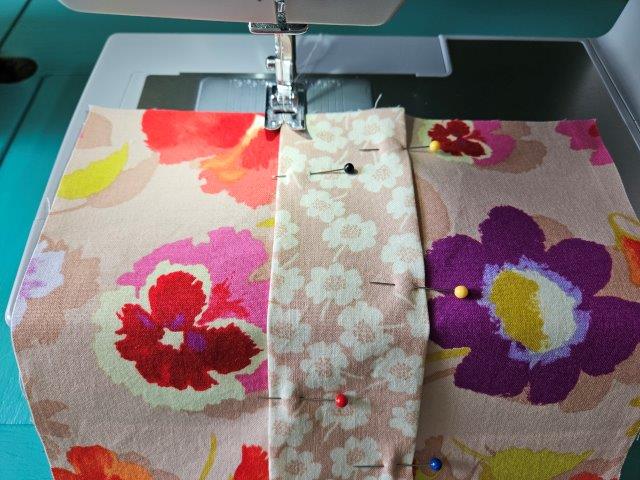
Sew along each long edge as close to the edge as possible.
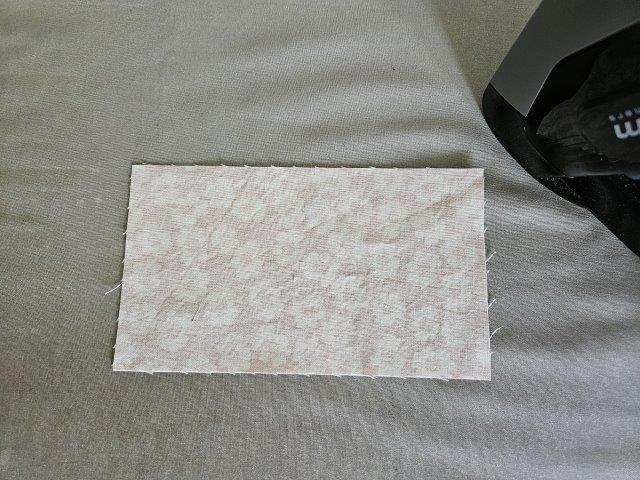
Make the belt bag short straps
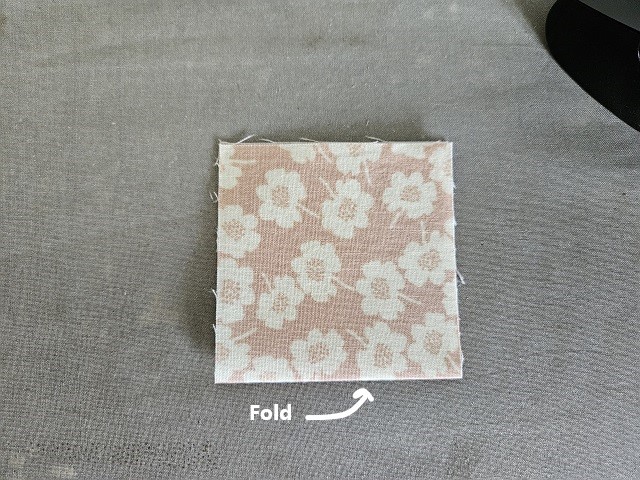
Fold each strap in half lengthwise (3-inch sides together) and press along the fold.
Open back up and fold the outside edge to the center and press.
Turn the strap around and fold the other outside edge to the center and press.
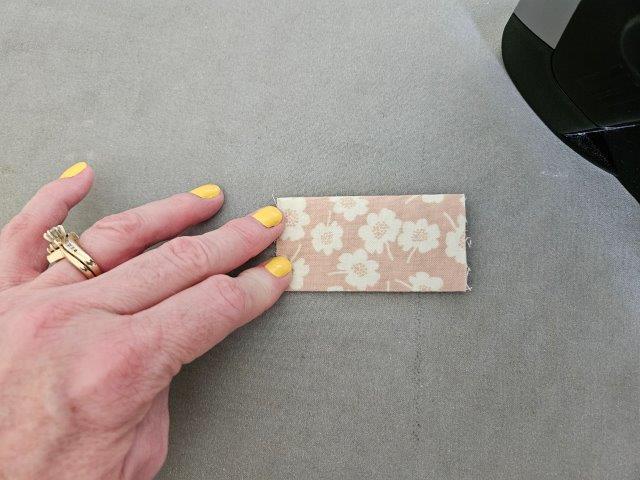
Fold in half again and press.
Repeat with the other belt bag short strap.

Sew each strap along the folded edges.
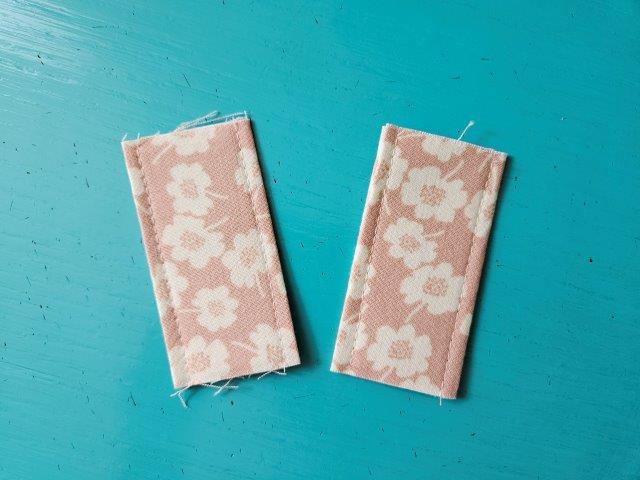
The finished straps are 1.5 inches wide.
Rule of thumb: the width of the finished strap will be the width of the cut fabric divided by 4. For example, if you want your finished straps to be 2 inches wide, you’ll need to cut your fabric 8 inches wide.
These straps will be added after the zipper is attached.
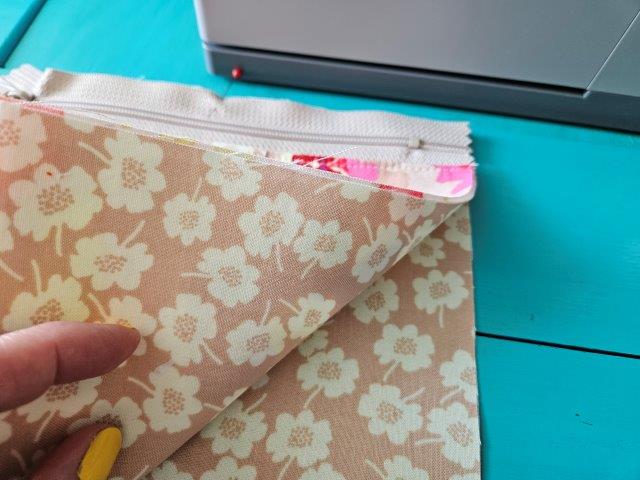
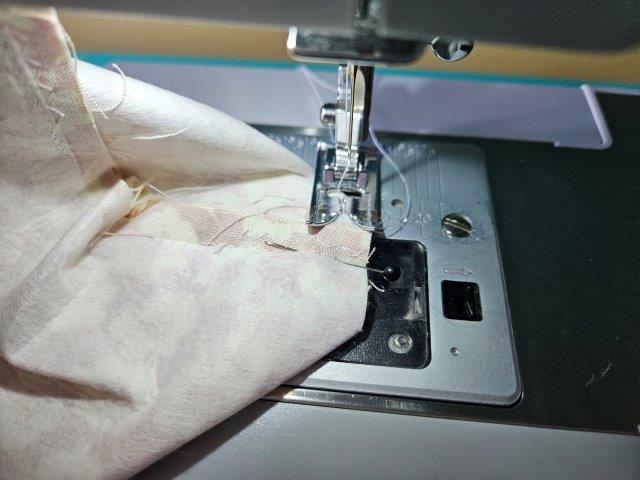
Add the zipper
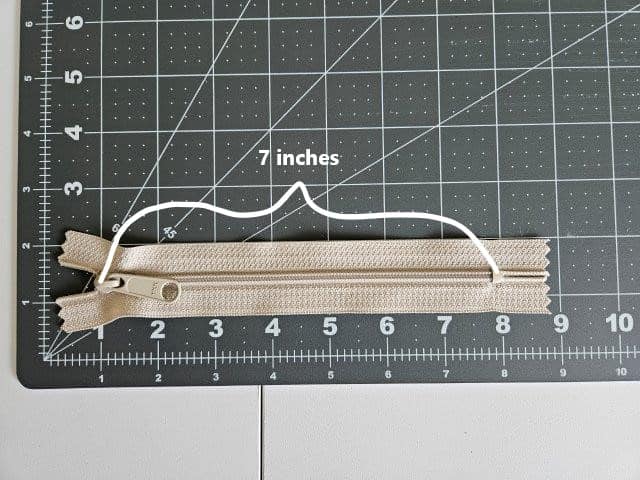
I’m using a 7-inch zipper with a long pull for this belt bag. The zipper is measured from the top metal stop to the bottom metal stop.
Rule of thumb: the width of your fabric should be 1.5 inches wider than the length of your zipper.
If you have a zipper that is too long, follow these instructions to shorten your zipper.
Place your zipper face down on the outer fabric piece with the accent. Pin to hold in place.
Then place one of your belt bag lining pieces on top of the zipper. Pin in place. The zipper should be face down, sandwiched between the outer fabric piece and lining fabric piece right sides together.
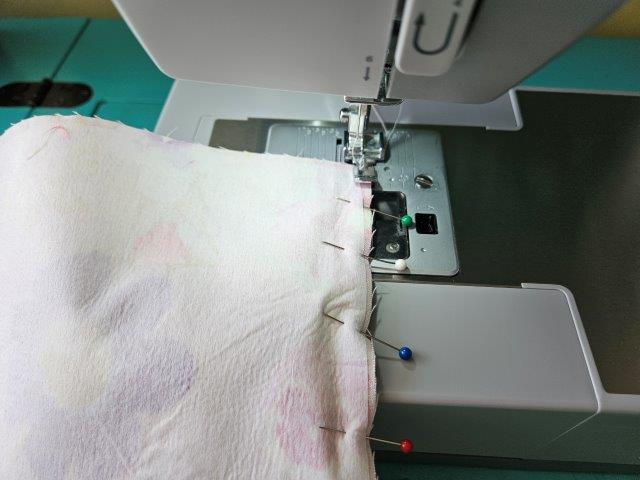
Sew the zipper
Be sure the upper thread matches the outer fabric and the bobbin thread matches the lining fabric.
Before sewing the zipper, open the zipper up about an inch – this will help with smooth line of sewing.
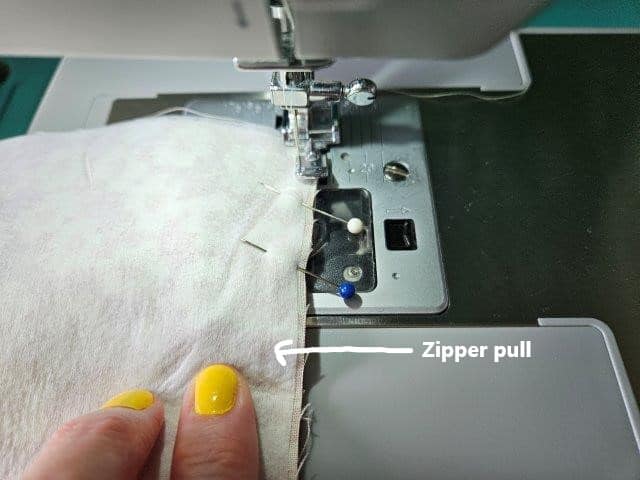
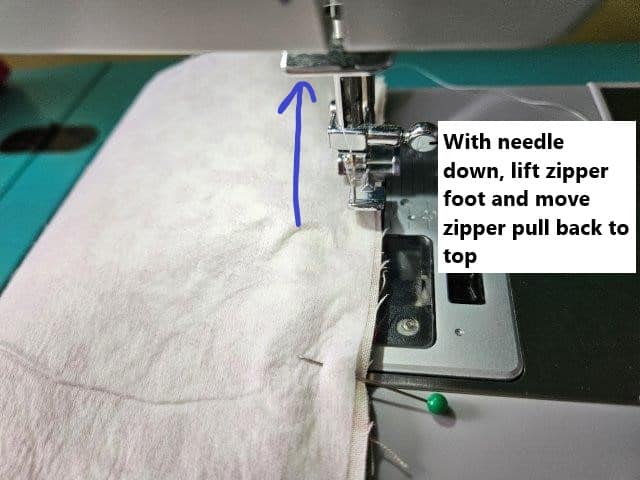
Use your zipper foot for sewing the zipper. Begin sewing the zipper, then when you get to the place almost to the zipper pull, with the needle down, lift the zipper foot and move the zipper pull back to the top. Then lower the foot and continue sewing.
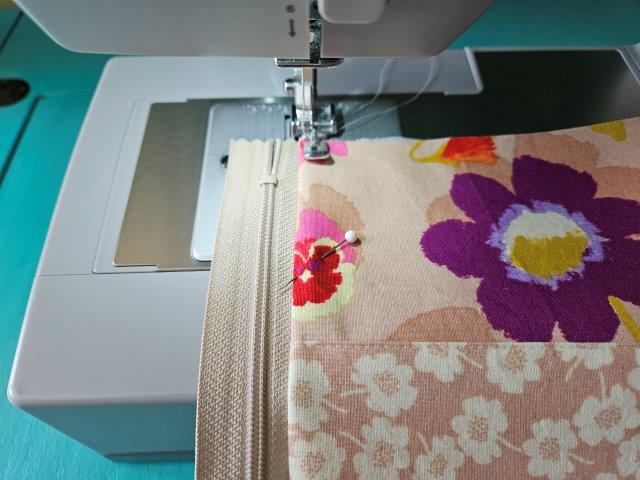
Top stitch along the zipper – be sure the corners and edges are lined up. This gives the belt bag a finished look and keeps the fabric from getting caught in the zipper.
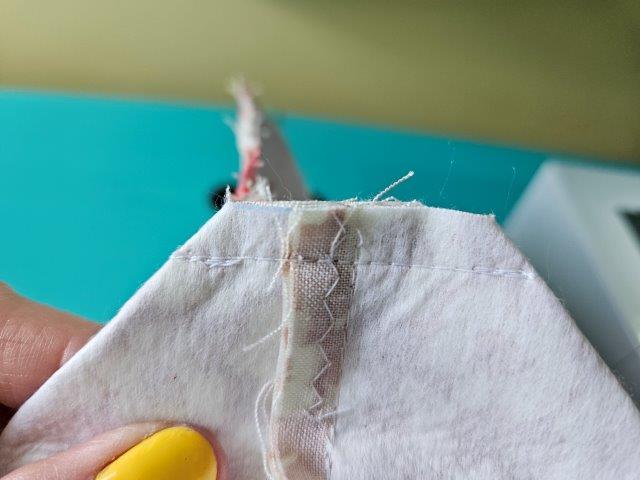
You now have one side of your belt bag zipper finished!
***You can find the ad-free, printable PDF version of this sewing tutorial available for purchase in my Etsy shop HERE. Includes 20 pages of step-by-step instructions with pictures and templates. Print a copy to keep next to your sewing machine for easy reference.***
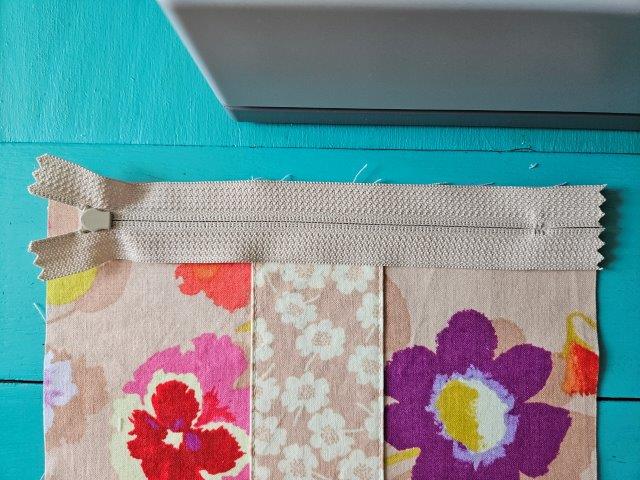
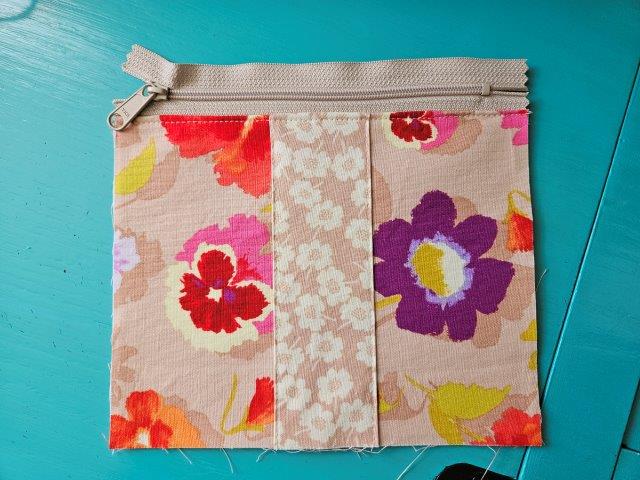
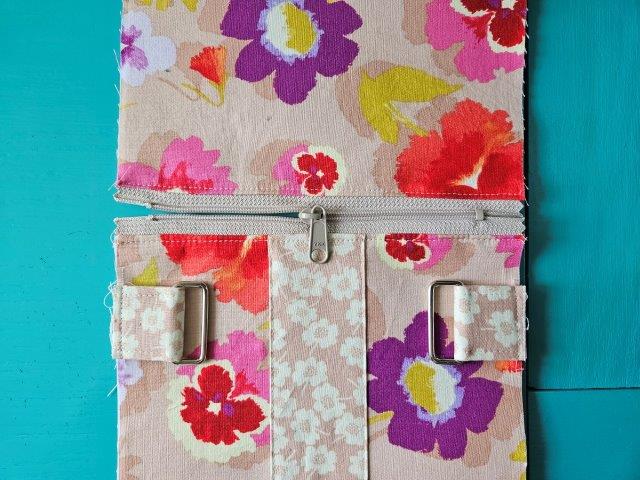
Repeat with other fabric pieces
Now you’re going to repeat the same process to sew the other side of the belt bag zipper.
Place the zipper on top of the other lining fabric piece – lining fabrics right sides together. Pin to hold in place.
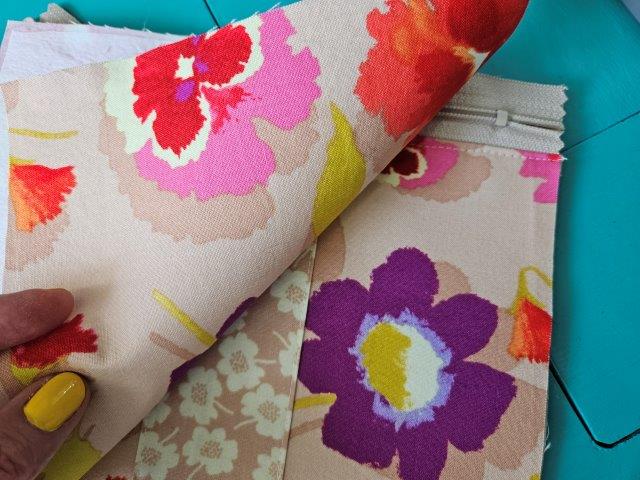
Place the other outer fabric piece on top of the zipper – outer fabric pieces right sides together.
Sew the zipper – repeating the same process of opening and closing the zipper to sew a smooth line.
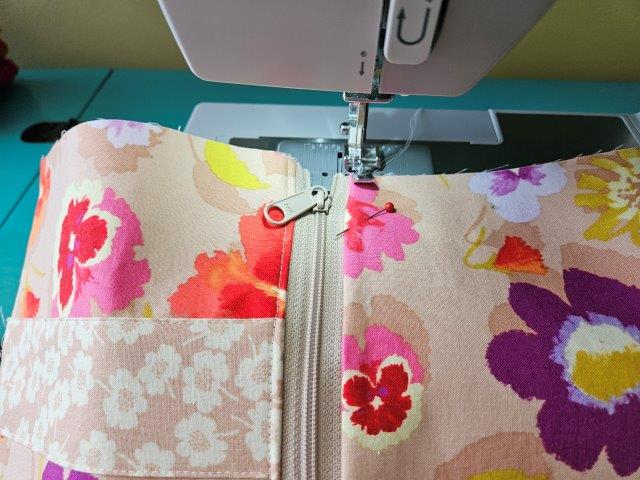
Top stitch along the zipper.
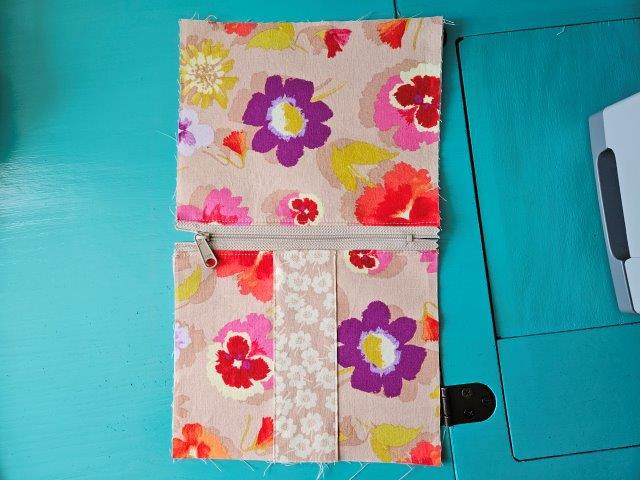
The above picture shows what your belt bag should look like at this point.
Attach the belt bag short straps
The process of attaching the short straps is similar to attaching the short strap in our wristlet purse tutorial.
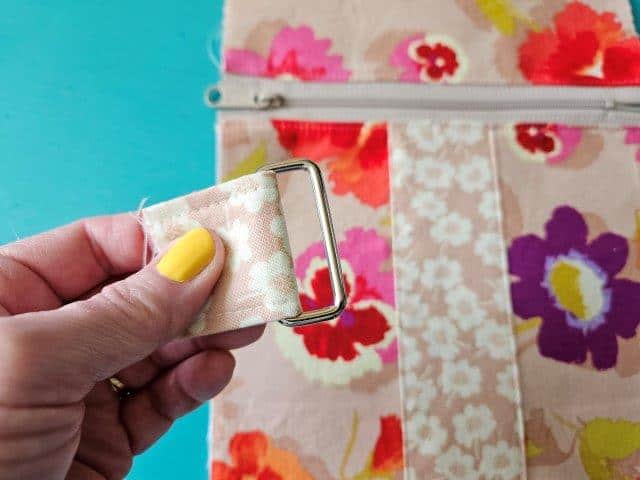
Slide one of the short straps through one of the rectangle rings and fold over.
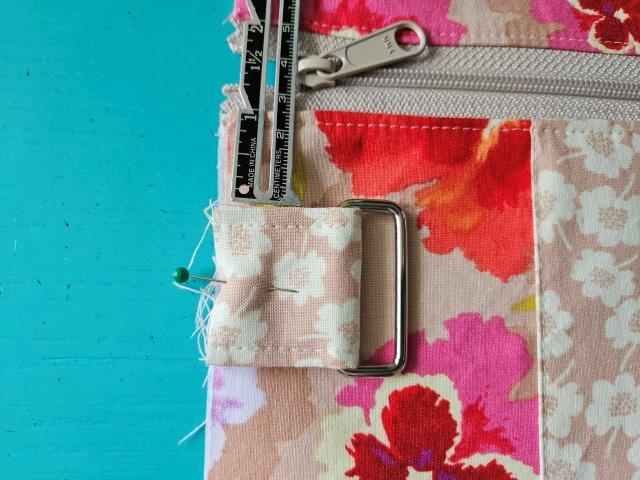
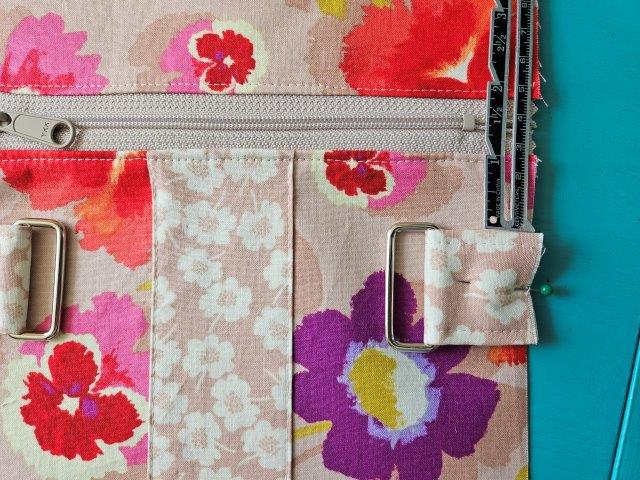
Pin the strap an inch below the zipper on the front of the belt bag with the ring facing in. Repeat with the other strap and rectangle ring.
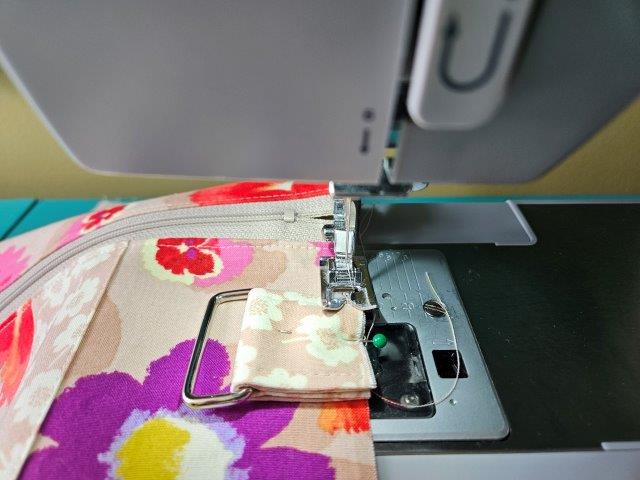

Baste both straps to the front of the bag. Be sure you are only basting to the front outer piece of the belt bag and not the lining fabric piece.
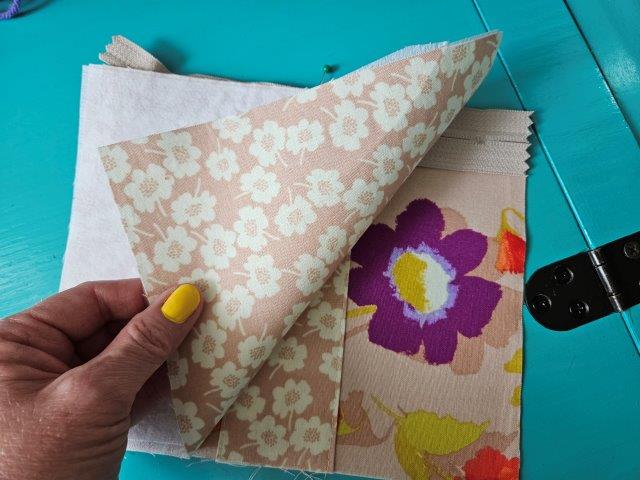
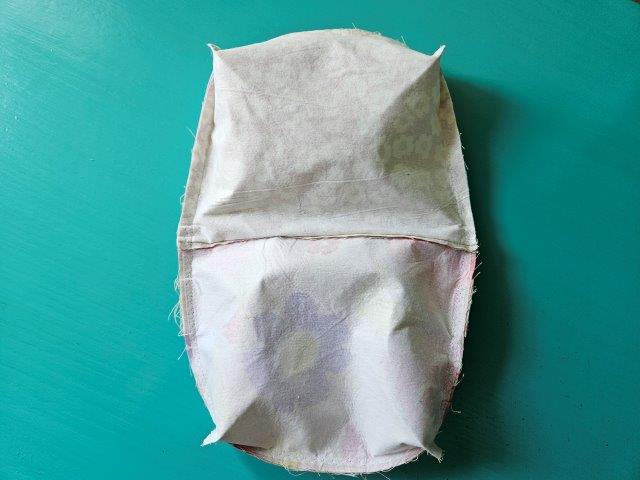
Time to sew the belt bag together
Open the zipper to about halfway. Opening the zipper helps with turning the bag right side out.
Fold the belt bag so the outer fabric pieces are right sides together and the lining pieces are right sides together.
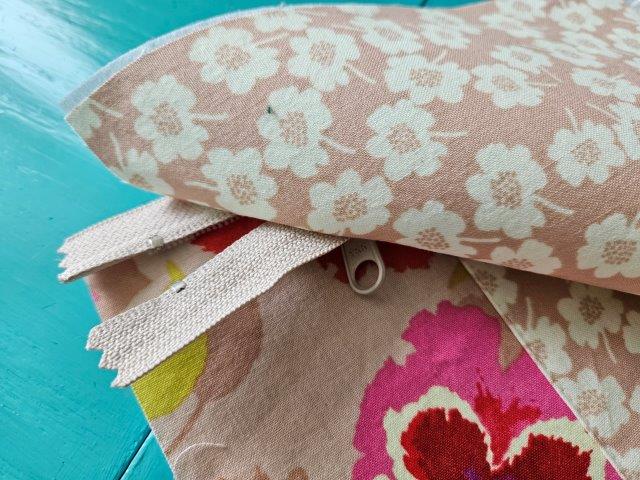
Pinch the zipper so the teeth are facing towards the lining of the bag and pin in place.
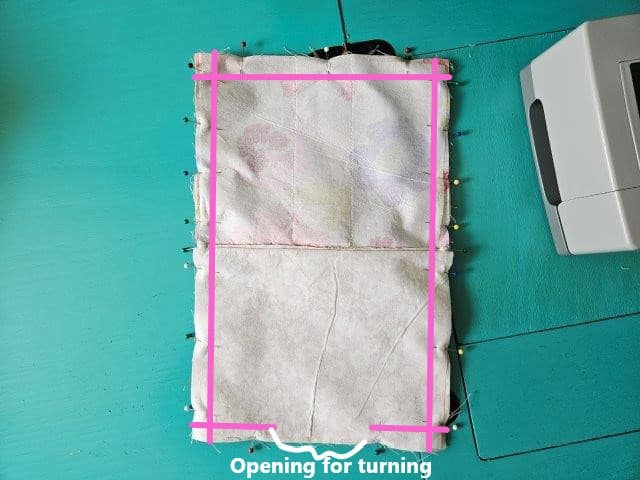
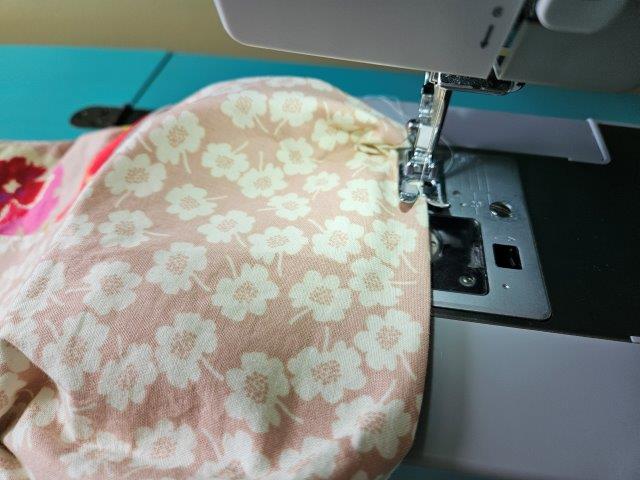
Sew around the perimeter of the belt bag, going over the straps a couple times for extra durability. Leave an opening at the bottom of the lining fabric for turning. Then zigzag stitch around to keep the fabric from fraying.
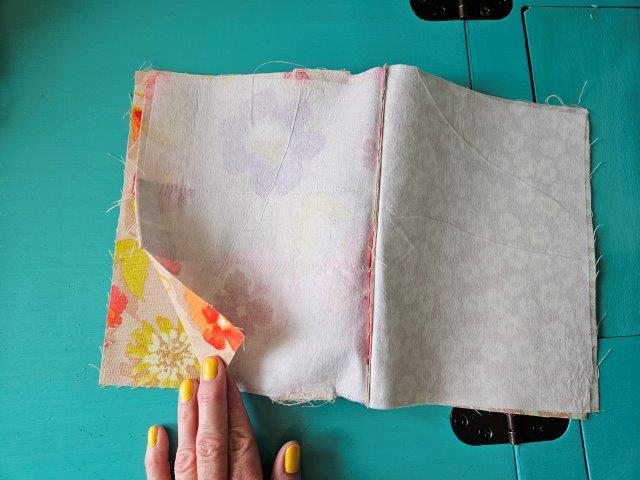
Square the bottom of the belt bag
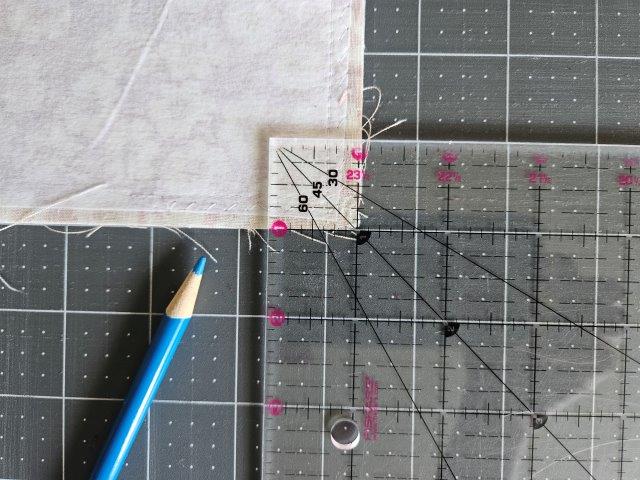
Using your clear ruler and marking pencil, make a 1-inch square at the bottom corner of each side of the lining fabric. Repeat with the outer fabric corners.
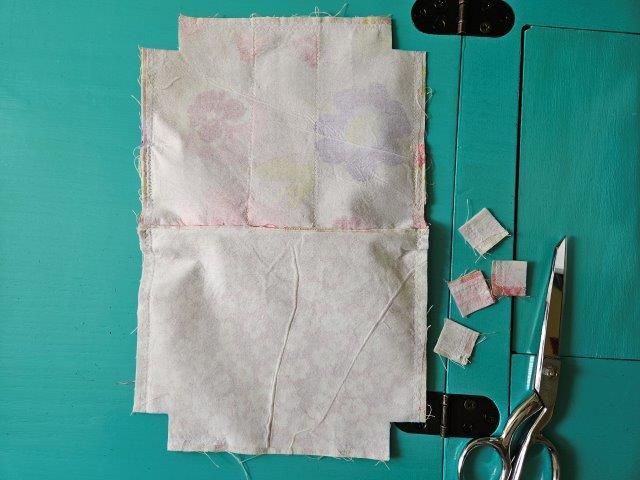
Use your sewing scissors to cut out the squares along the blue lines.

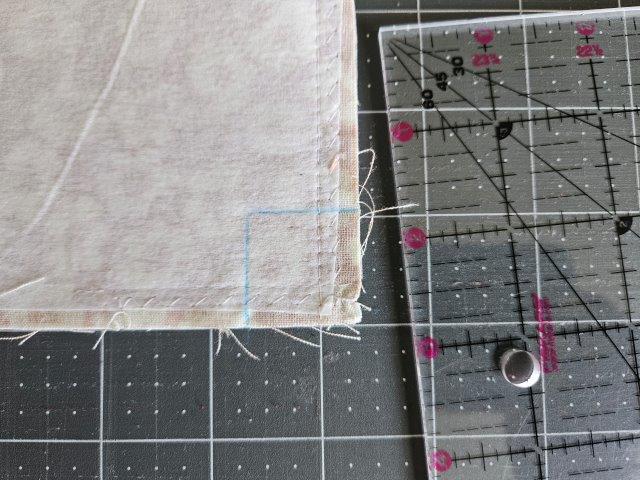
Pinch together and line up the seams.
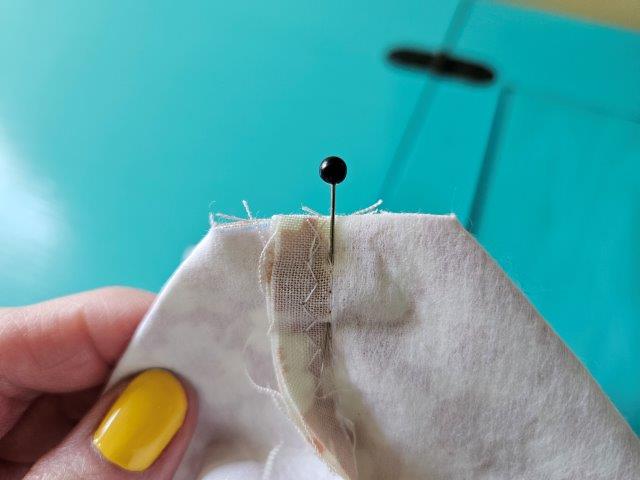
Pin in place and sew along the edge. Repeat with the other 3 corners.
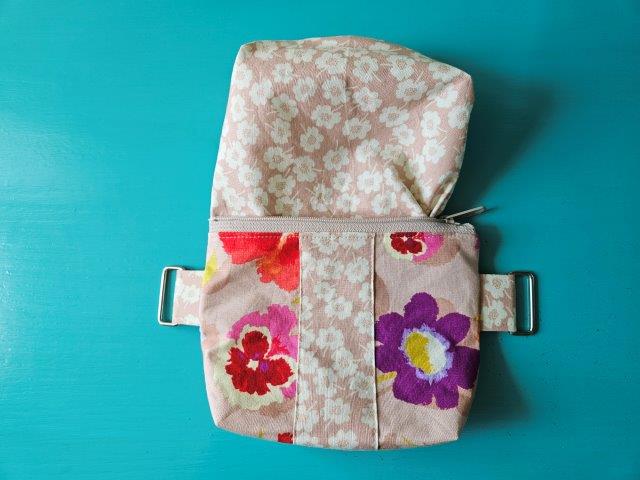
The above picture shows what your belt bag looks like at this point.
Turn right side out
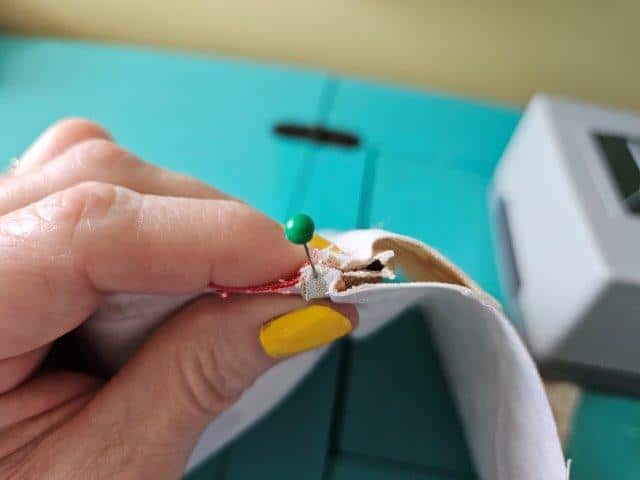
Through the bottom opening, reach inside and open the zipper all the way then turn right side out. Push out the corners and press the opening.
Straight stitch to close the opening. Push the lining fabric inside the bag and press.
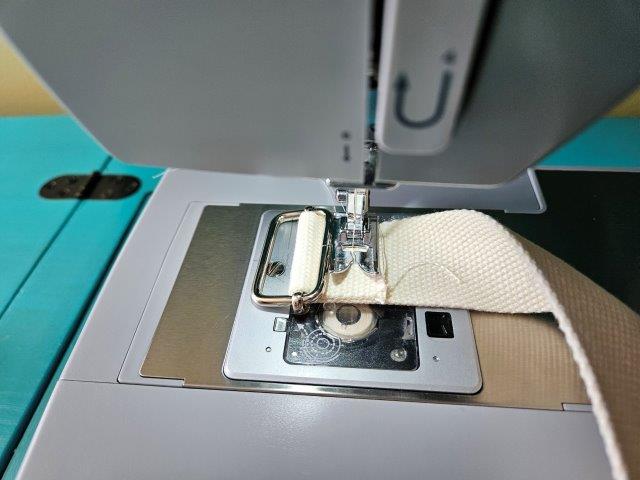
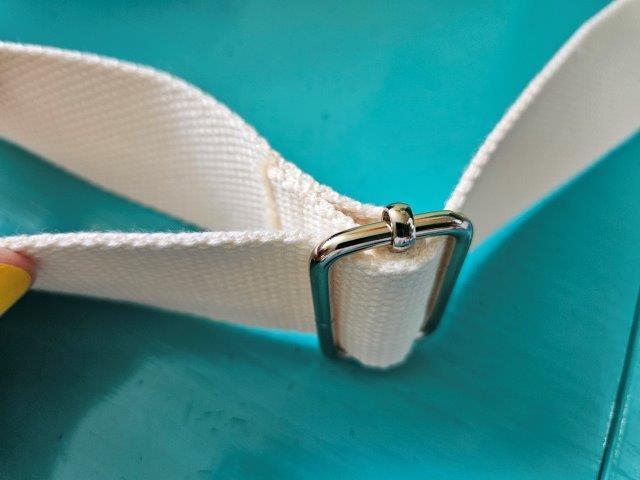
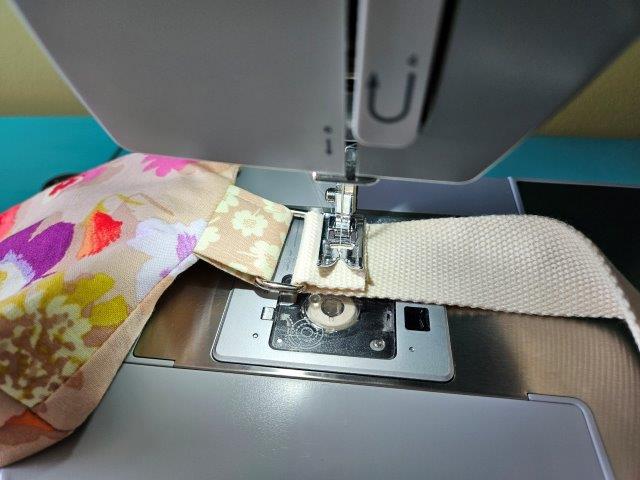
Attach the cotton webbing strap
Cut a piece of 1.5 inch heavy cotton webbing measuring 42 inches long or long enough to fit with room for adjustment.
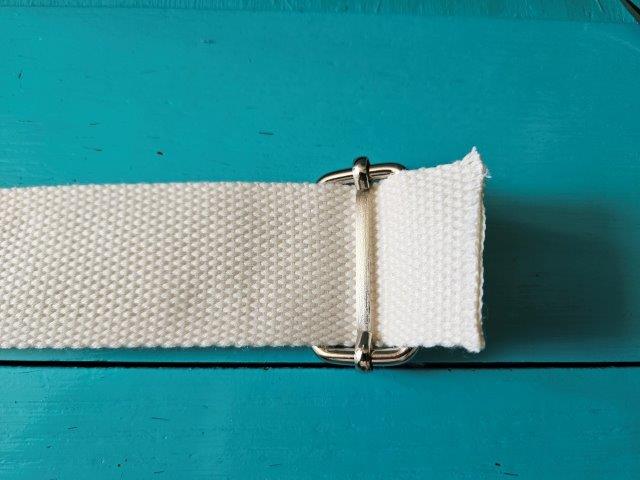
The rectangle slide is used to make the strap adjustable. Slip the webbing through the rectangle slide as shown in the above picture and fold over.
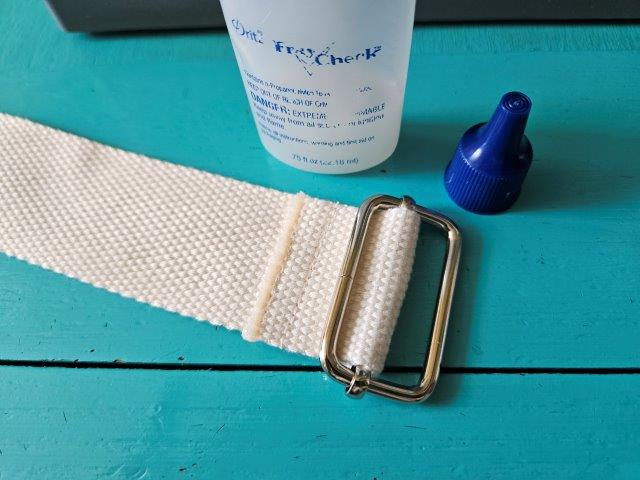
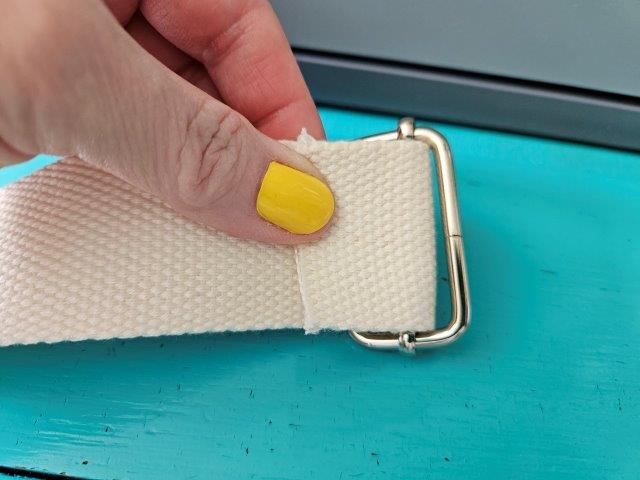
Sew the strap to attach the slide. I start in the middle and go backwards then forwards then back to the middle. This keeps the strap lined up and prevents it from moving around. I sew two lines for extra durability. Add Fray Check to keep the edge of the webbing from fraying.
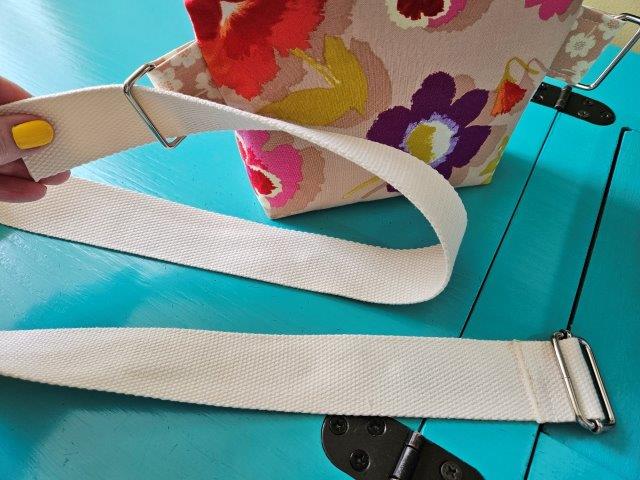
With the stitching facing up, slide the other end of the strap through the rectangle ring to the left when looking at the back of the bag.
Then slide it through the rectangle slide. The stitching should be hidden under the strap.
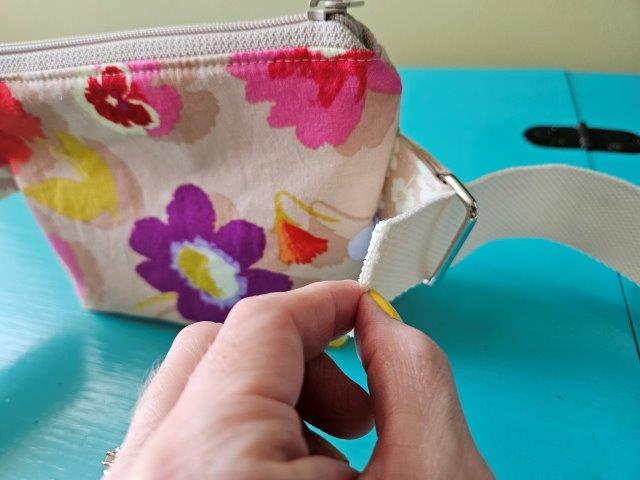
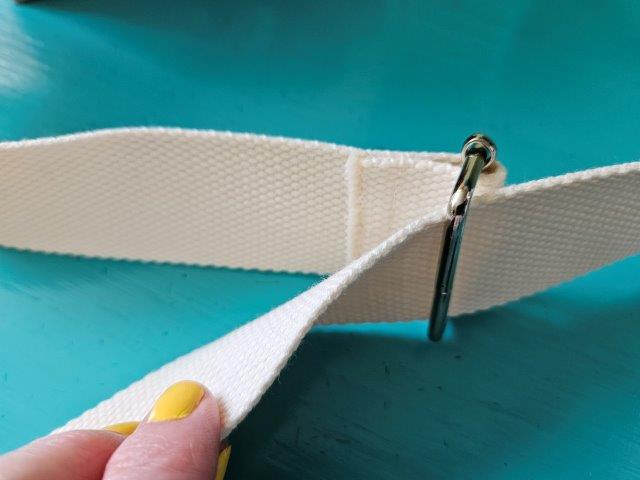
Now take the end and slide it through the other rectangle ring, entering the ring through the front. Be sure the strap isn’t twisted.

Fold over the strap. Sew two lines to attach the strap. Add Fray Check to the edge of the webbing.
***You can find the ad-free, printable PDF version of this sewing tutorial available for purchase in my Etsy shop HERE. Includes 20 pages of step-by-step instructions with pictures and templates. Print a copy to keep next to your sewing machine for easy reference.***
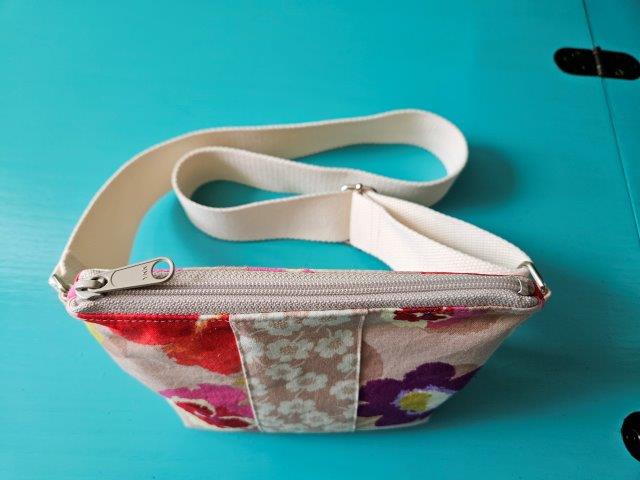
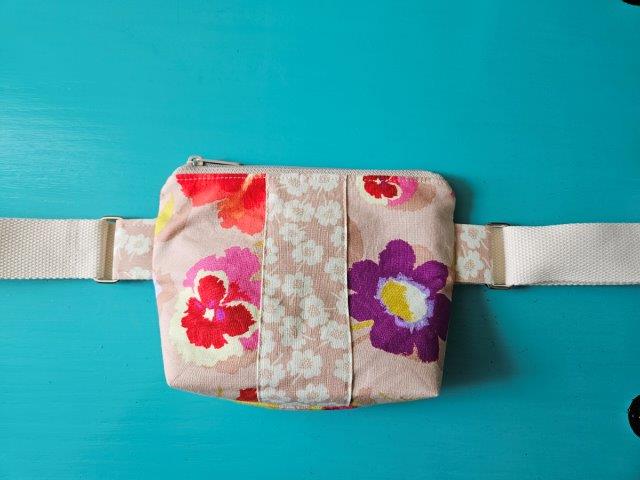
You are finished!
I hope you enjoyed this belt bag sewing tutorial and use this pattern to make your own belt bag!
Pin for later!
Related handbag sewing projects:
- Curved Top Shoulder Bag Sewing Pattern
- How to Make a Simple Tote Bag
- How to Sew a Lined Zipper Pouch
- DIY Messenger Sling Bag Sewing Tutorial