How to Sew a Fabric Luggage Tag
Make a fun fabric luggage tag with this easy to sew pattern.
Fabric luggage tags are super fun to sew and a great way to use up some of those fabric scraps. This luggage tag pattern is designed to fit your business card. Be sure to check out our pattern for a matching passport cover!
This post contains affiliate links. Please see disclosure for more information.
***You can find the ad-free, printable PDF version of this sewing tutorial available for purchase HERE. Includes 9-pages of step-by-step instructions with pictures. Luggage tag inserts included. Print a copy to keep next to your sewing machine for easy reference.***
Luggage tag supplies needed:
- Two fabric pieces measuring 5″W x 3.5″H – my favorite fabric shop
- One fabric piece measuring 12″W x 2″H for the strap
- Fusible interfacing
- Cutting mat
- Rotary cutter
- Clear Ruler
- Sewing clips
- Straight pins
- Clear vinyl – low gauge
- Sewing scissors
- Sewing machine
Cut your fabric

Using your rotary cutter, clear ruler, and cutting mat, cut two fabric pieces measuring 5″W x 3.5″H and one fabric piece measuring 12″W x 2″H for the luggage tag strap.
Attach fusible interfacing

Cut two pieces of fusible interfacing just smaller than your fabric pieces. I use Pellon 911FF Fusible Interfacing for all of my handmade handbags and accessories for extra durability.
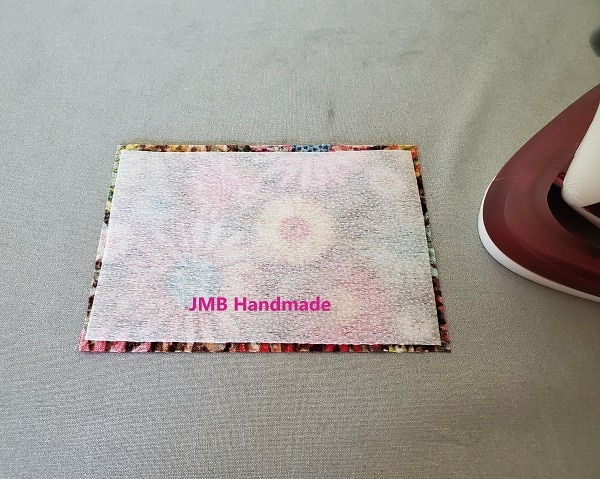
Place one piece of interfacing on the wrong side of one of the fabric pieces. Be sure to have the bumpy side down. Follow the package instructions to attach. I just flip it over and press with my iron on the cotton steam setting until the interfacing is attached.
Repeat with other fabric piece. Attaching interfacing to the strap is optional.
Make the strap
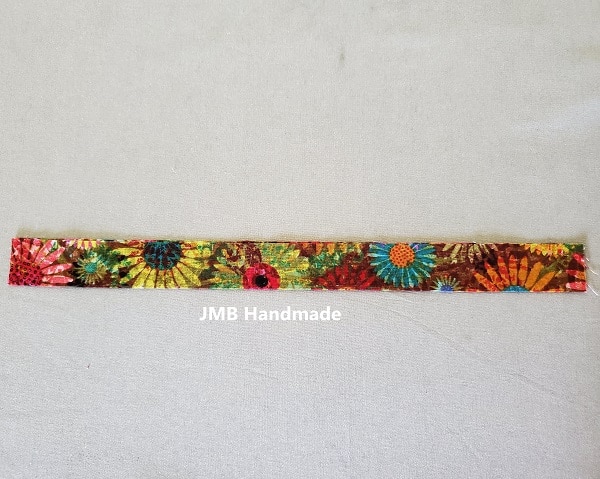
Fold the strap in half lengthwise as shown above.
Open up the strap and fold each side to the middle and press.
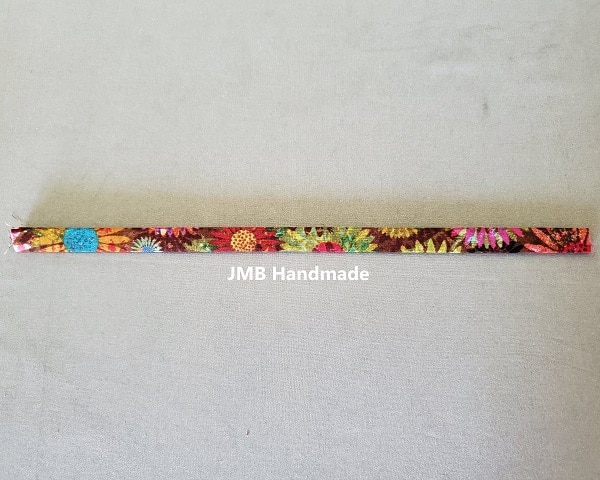
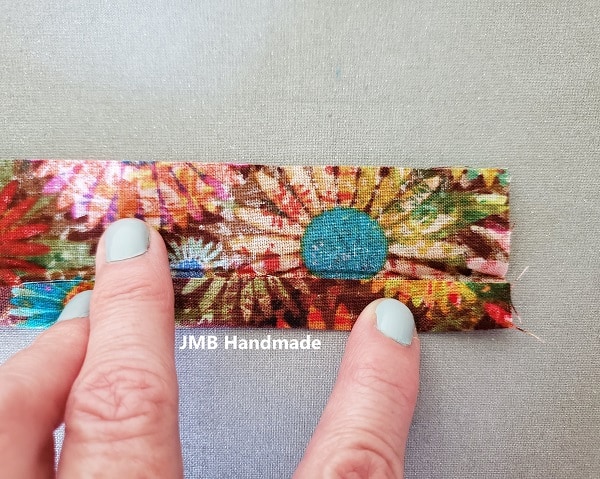
Fold in half again and press.
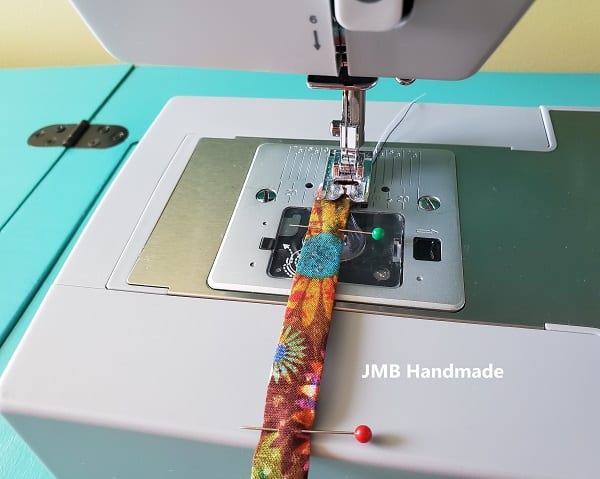
Pin in place. Straight stitch the luggage tag strap along each side lengthwise.
***You can find the ad-free, printable PDF version of this sewing tutorial available for purchase HERE. Includes 9-pages of step-by-step instructions with pictures. Luggage tag inserts included. Print a copy to keep next to your sewing machine for easy reference.***
Time to sew

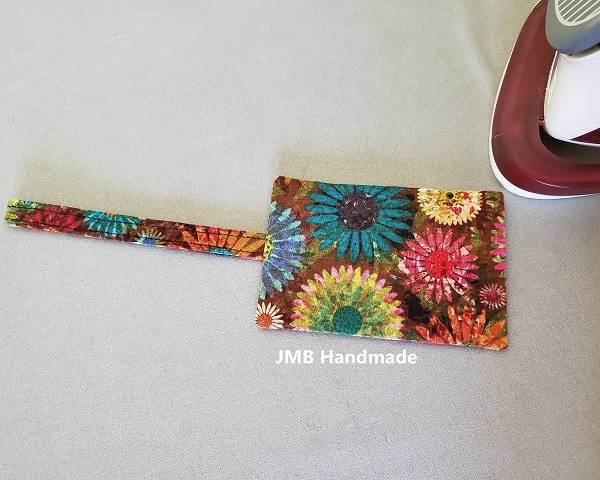
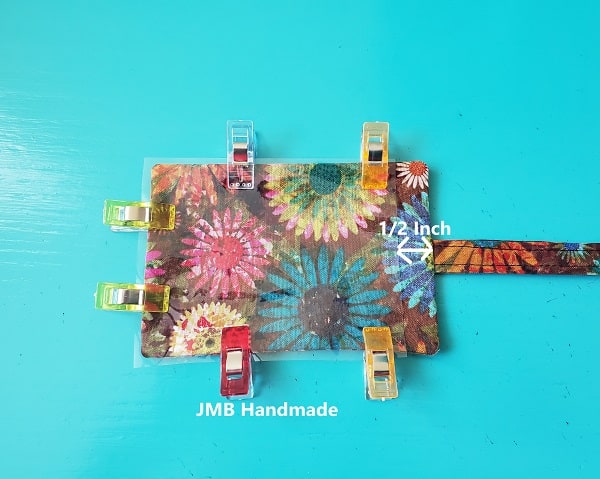
Fold the strap in half, short ends together and pin in place to the short end of one of the fabric pieces with the end sticking out about 1/2 inch. Place the other fabric piece on top, right sides together. Pin in place leaving a small opening for turning.
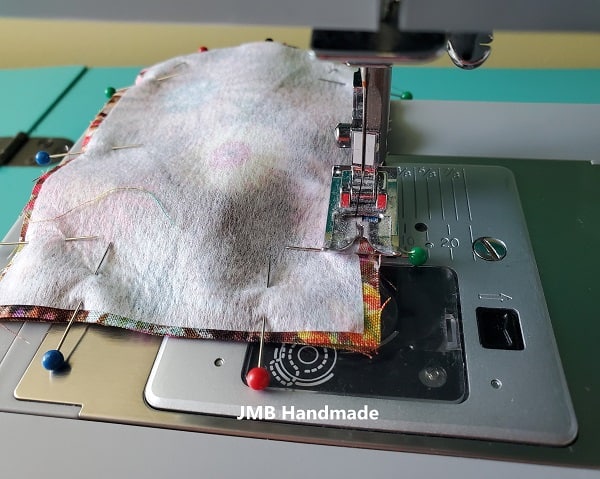
Sew all around using the straight stitch, then zigzag stitch to prevent fraying. Be sure your luggage tag strap is tucked inside.

This is what it looks like after sewing.

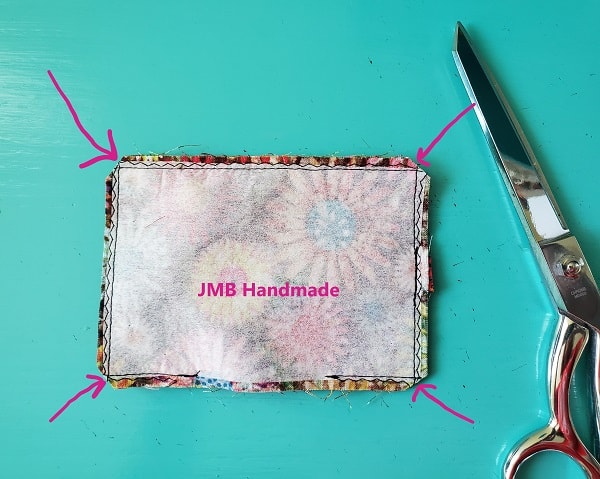
Cut the end of the strap and all four corners with your sewing scissors.
Turn right side out and press.
Add the clear vinyl
Cut your vinyl a little bit larger than your luggage tag. Place on top of the luggage tag about 1/2 inch down from the strap. Hold in place with your sewing clips (binder clips will also work).
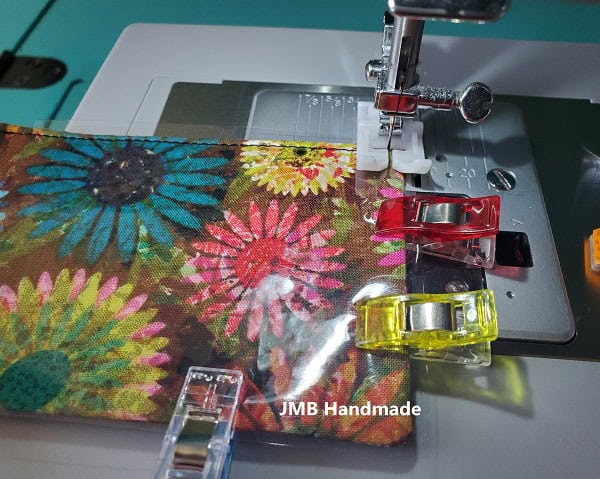
Top stitch all around using about 1/8 inch seam allowance. This will close the opening made for turning and attach 3 sides of the vinyl. Top stitch around on three sides the size of your business card or card stock – about 1/4 – 1/2 inch seam allowance. Or you can top stitch all around but careful not to sew over the vinyl opening. Trim the excess vinyl.
TIP: Use a non-stick presser foot when sewing on vinyl.
***You can find the ad-free, printable PDF version of this sewing tutorial available for purchase HERE. Includes 9-pages of step-by-step instructions with pictures. Luggage tag inserts included. Print a copy to keep next to your sewing machine for easy reference.***
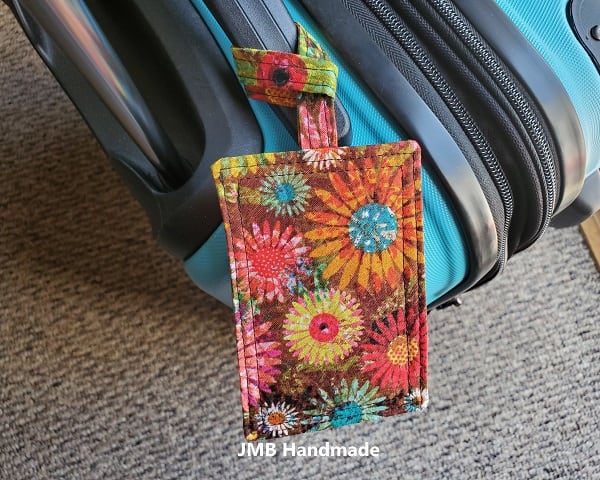
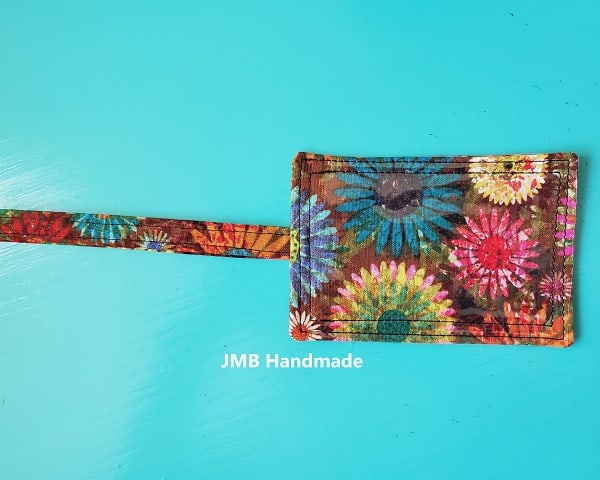
You are finished!

Now you have a stylish new fabric luggage tag to attach to any bag! Hope you enjoyed this tutorial. Feel free to share your finished project or comment below. Happy sewing!
Pin for Later!
Related easy fabric sewing patterns:
- How to Make a Simple Tote Bag
- Easy Small Zipper Pouch Coin Purse Tutorial
- Fabric Bookmark Sewing Tutorial
- Curling Iron Travel Case Pattern