Easy Fabric Bookmark Tutorial

Fabric bookmarks are super easy to make with this simple sewing tutorial.
Fabric bookmarks are also a perfect beginner sewing project and a great way to use up fabric scraps and ribbon. I love giving bookmarks as gifts for teachers, kids or anyone who loves to read! Pair it up with a simple tote bag for books or small zipper pouch for more gift ideas!
Here are the instructions on how to sew a fabric bookmark:
This post contains affiliate links. Please see disclosure for more information.
***You can find the ad-free, printable PDF version of this sewing tutorial available for purchase HERE. Includes 8-pages of step-by-step instructions with pictures and templates. Print a copy to keep next to your sewing machine for easy reference.***
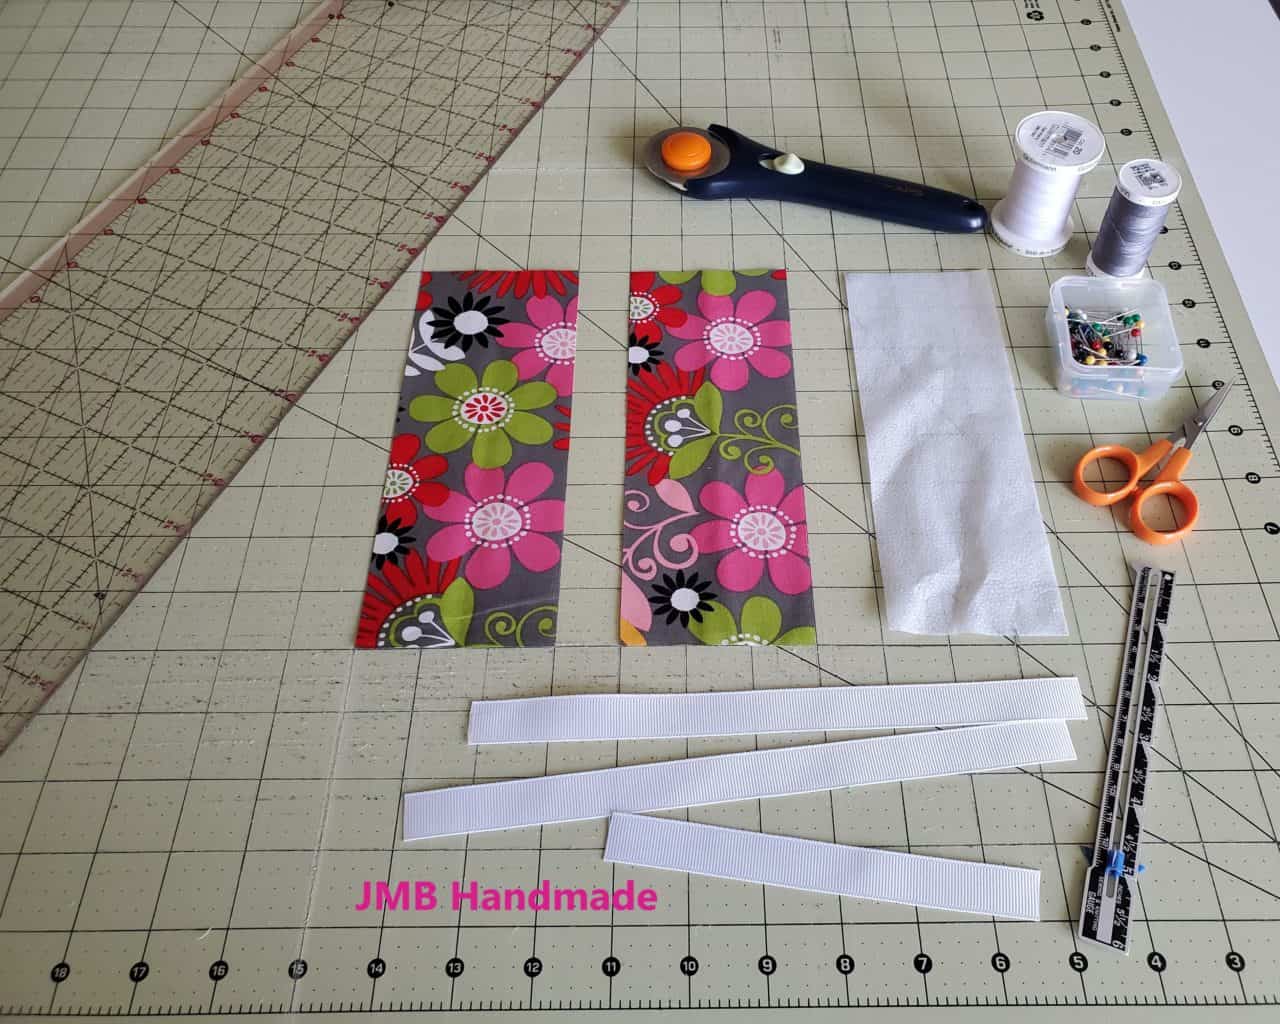
Bookmark supplies needed:
- Cotton fabric – 2 pieces measuring 3″W x 8″H – my favorite fabric shop
- Fusible Interfacing – 1 piece
- Ribbon – 3 pieces with 2 of them longer than the fabric pieces
- Cutting mat
- Rotary cutter
- Clear ruler
- Matching thread
- Straight pins
- Sewing gauge
- Sewing scissors
- Fray check
- Sewing machine
Cut your fabric
Cut two pieces of fabric measuring 3″W x 8″H using your cutting mat, rotary cutter and clear ruler.
Attach the interfacing
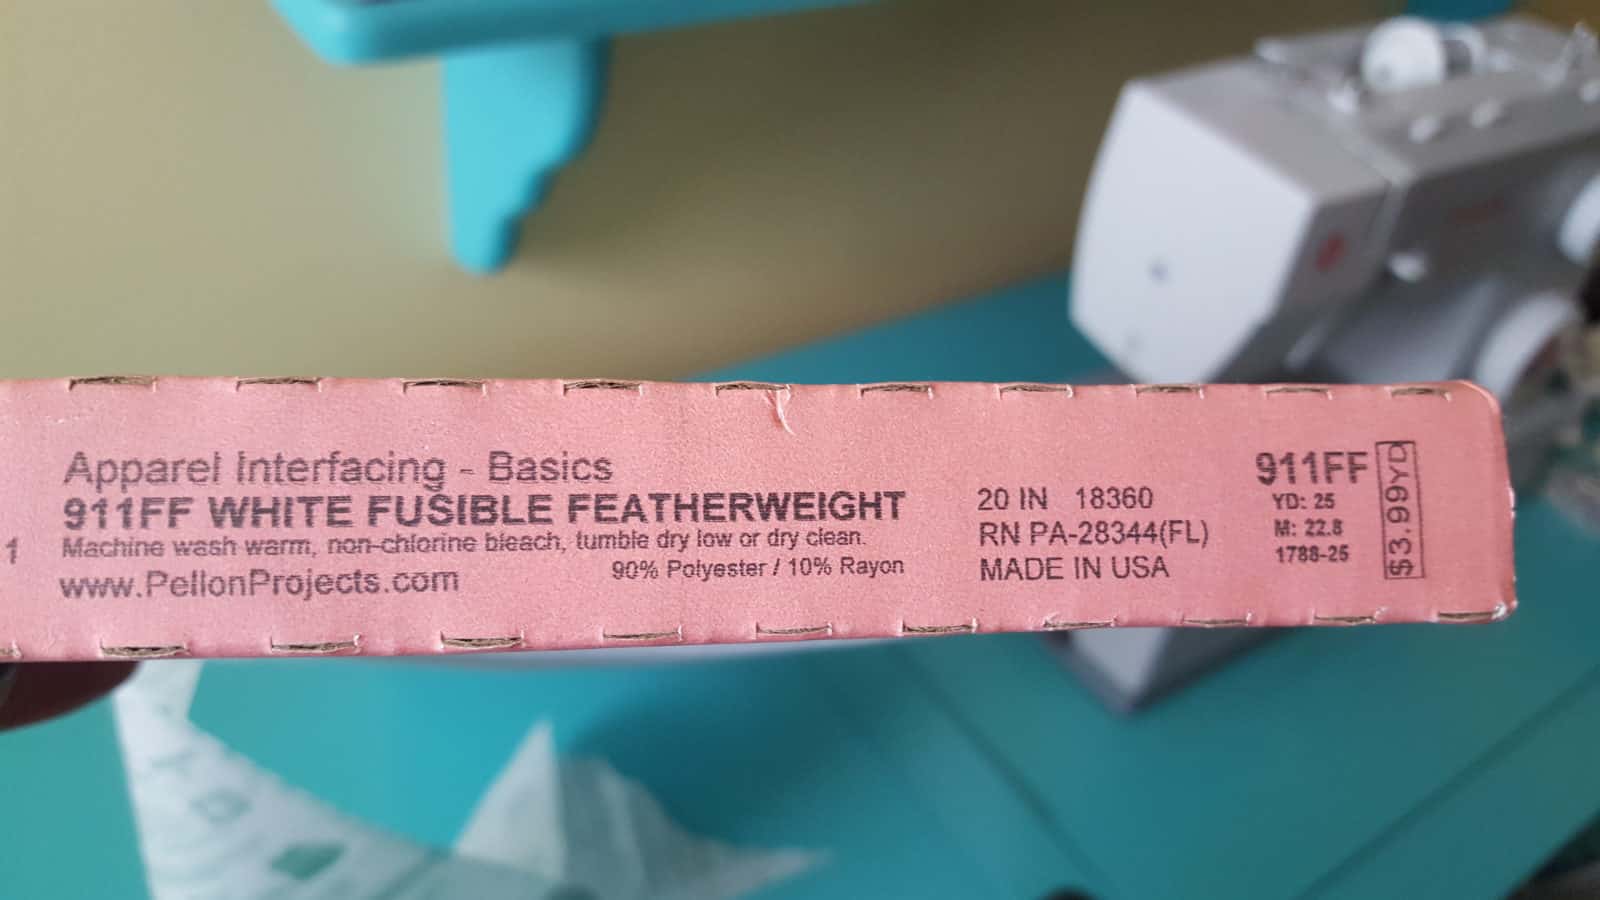
Next, cut one piece of fusible interfacing just smaller than your fabric pieces. I use Pellon 911FF Fusible Interfacing. It’s the perfect weight to add that extra durability.
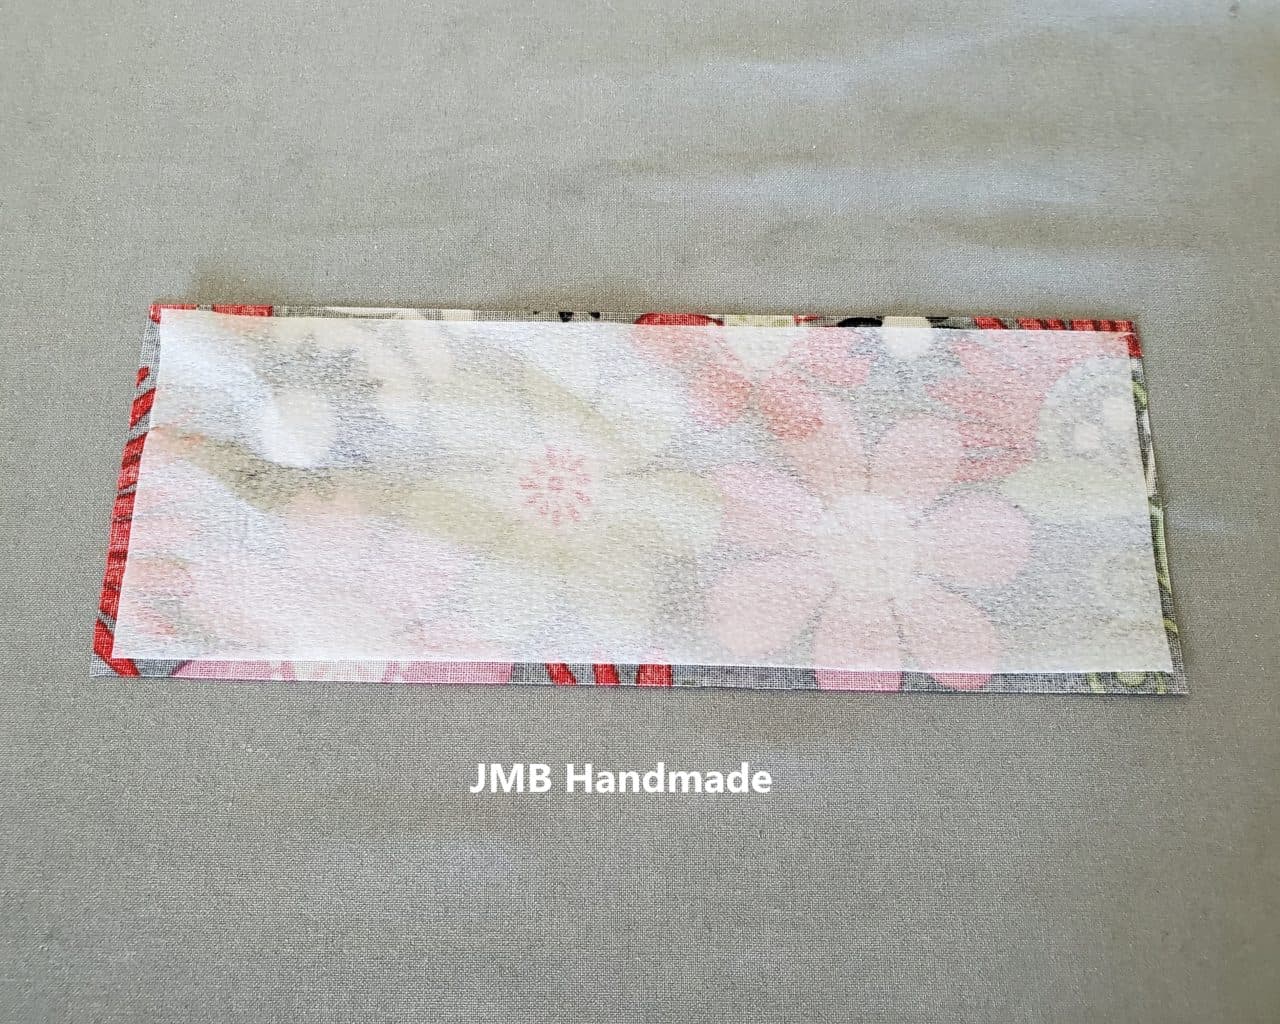
Place the piece of interfacing on the wrong side of one of the fabric pieces and attach by following the package instructions.
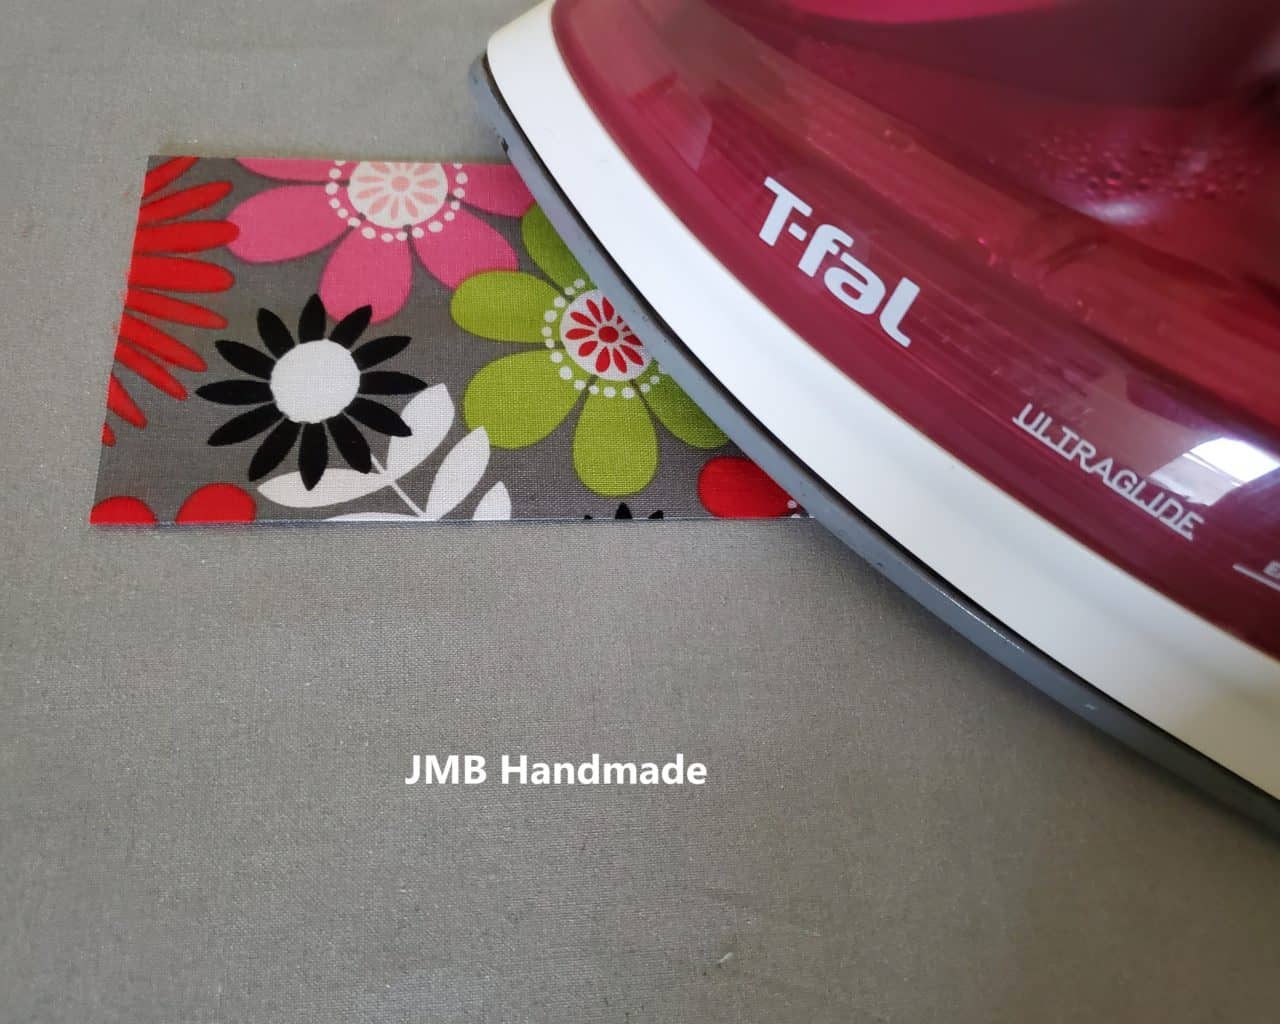
I attach the interfacing by flipping over the fabric and, with the clothes iron on the steam setting, press the fabric until the interfacing is attached.
Add the ribbon
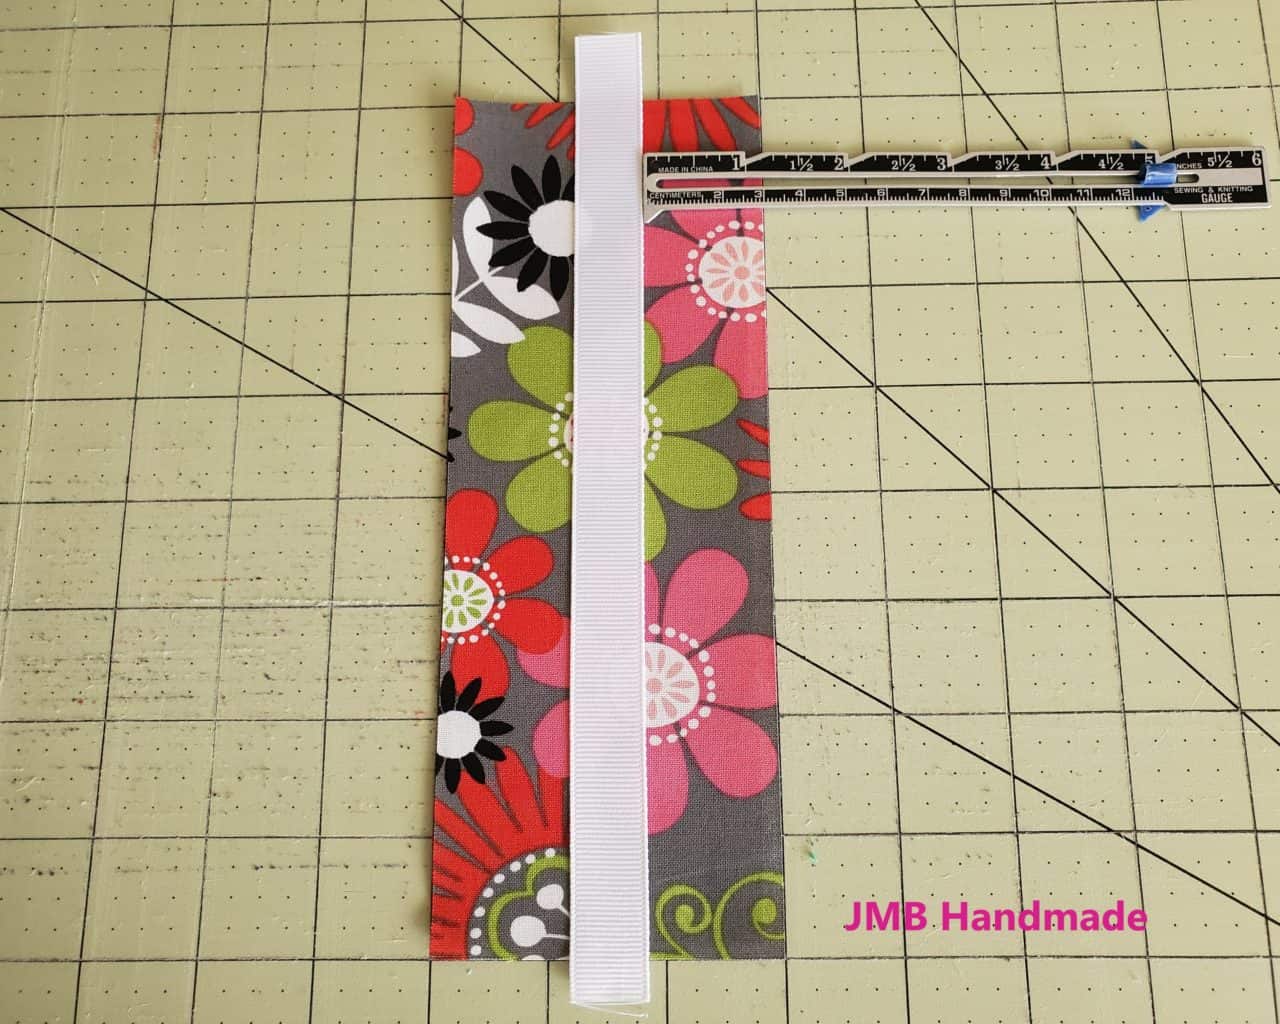
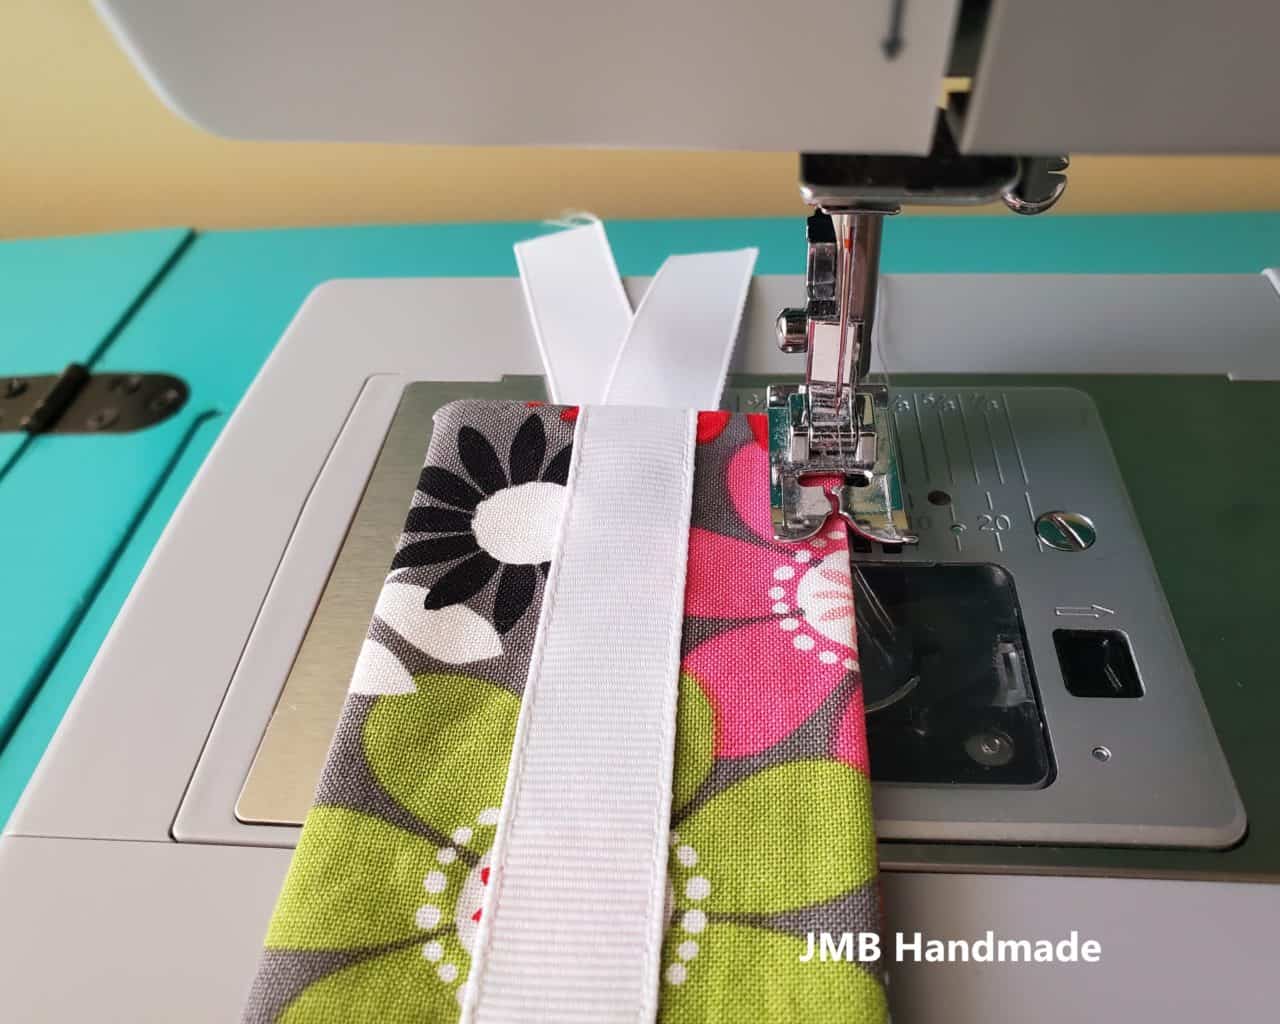
Place one of the long pieces of ribbon lengthwise on top of the right side of your fabric piece.
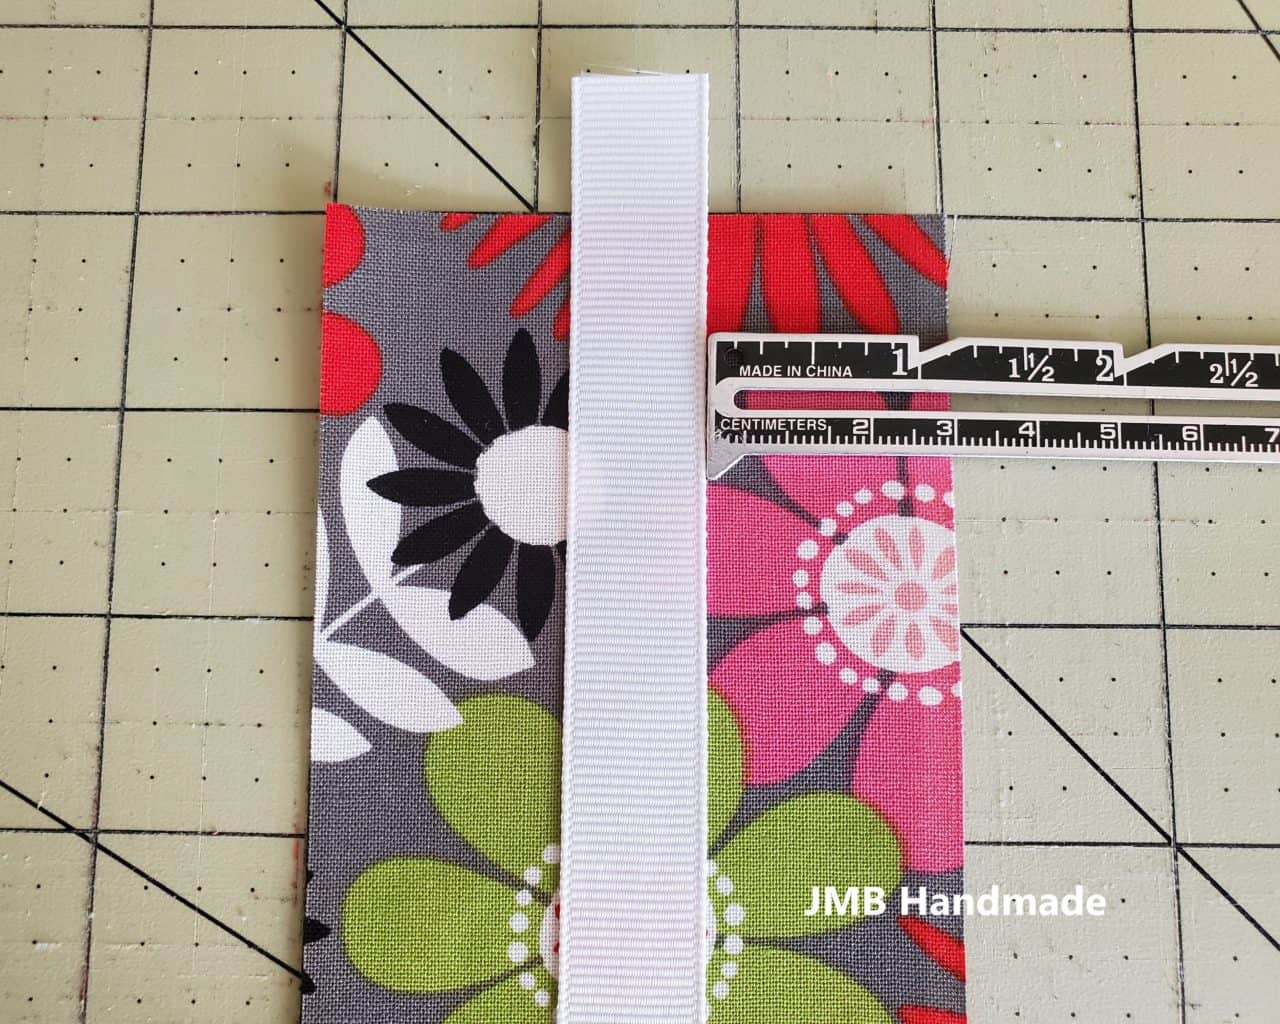
Use your sewing gauge to make sure the ribbon is centered.
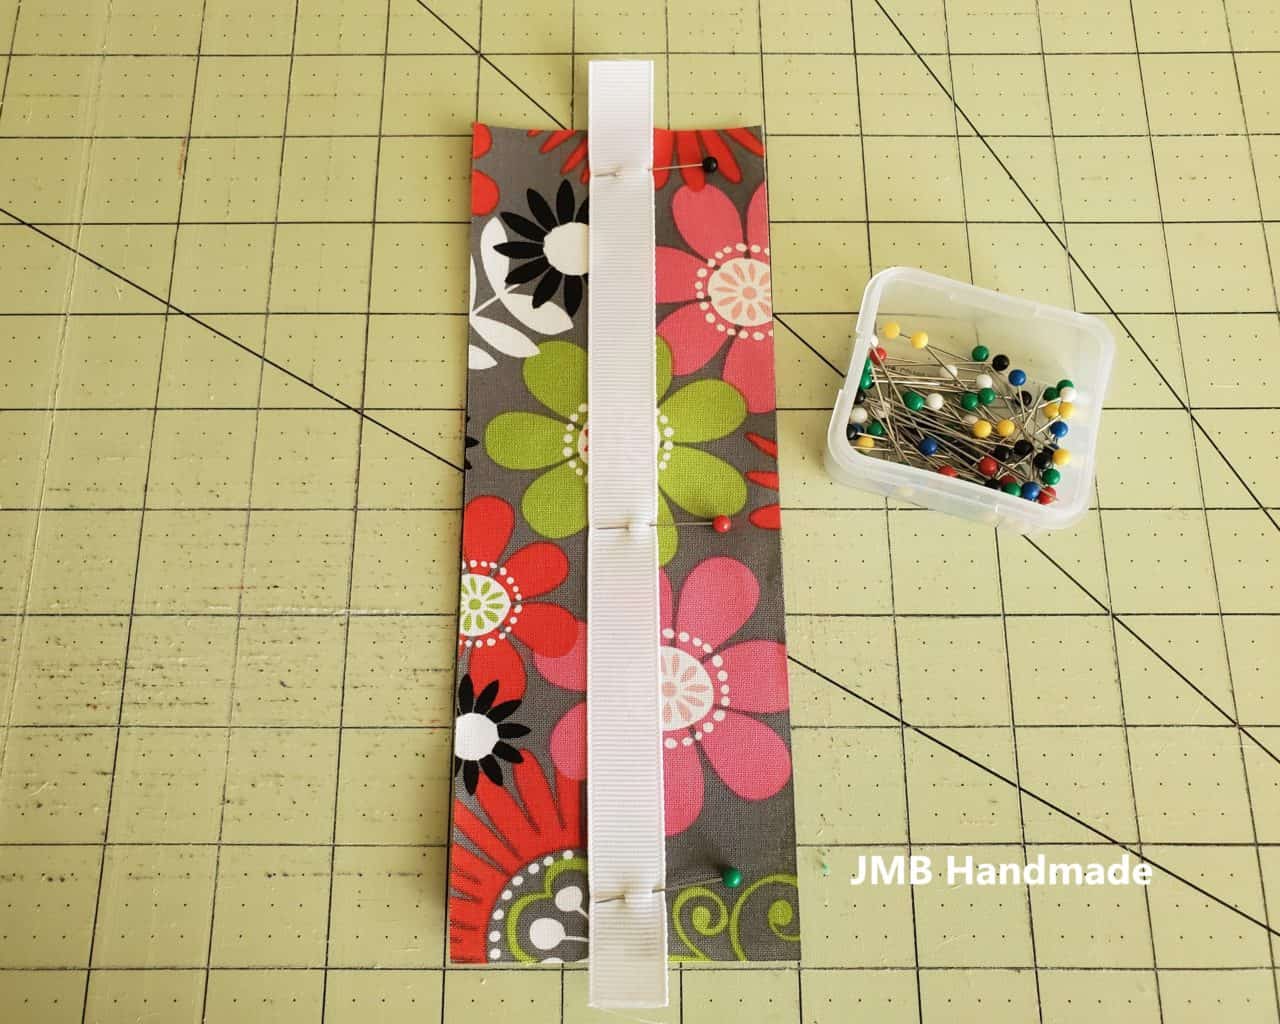
Pin the ribbon to hold in place.
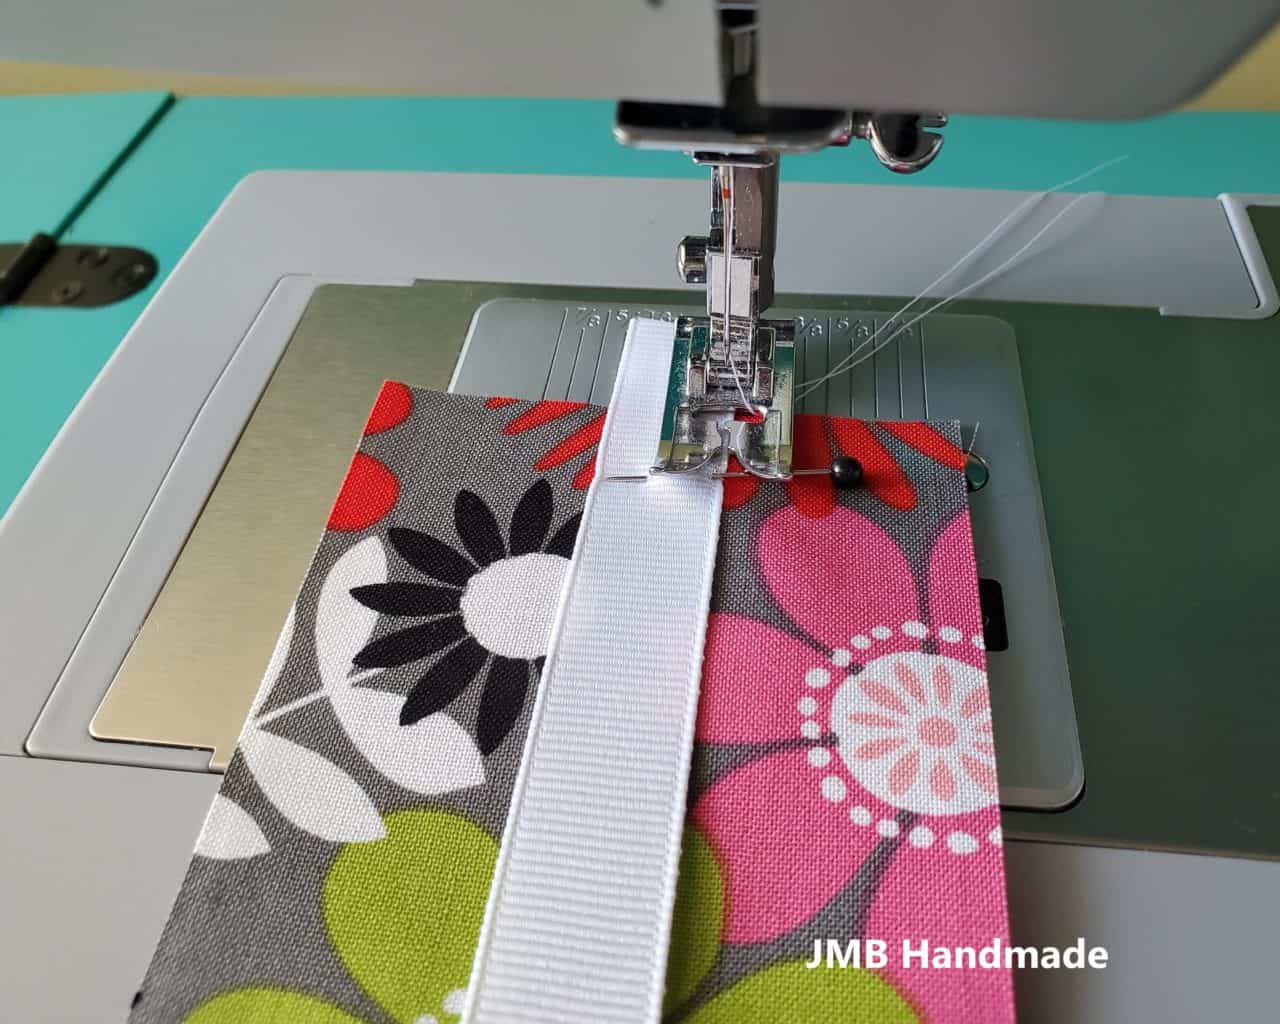
With your sewing machine, straight stitch the ribbon to the fabric with matching thread. Add the other long piece of ribbon to the right side of the other fabric piece.
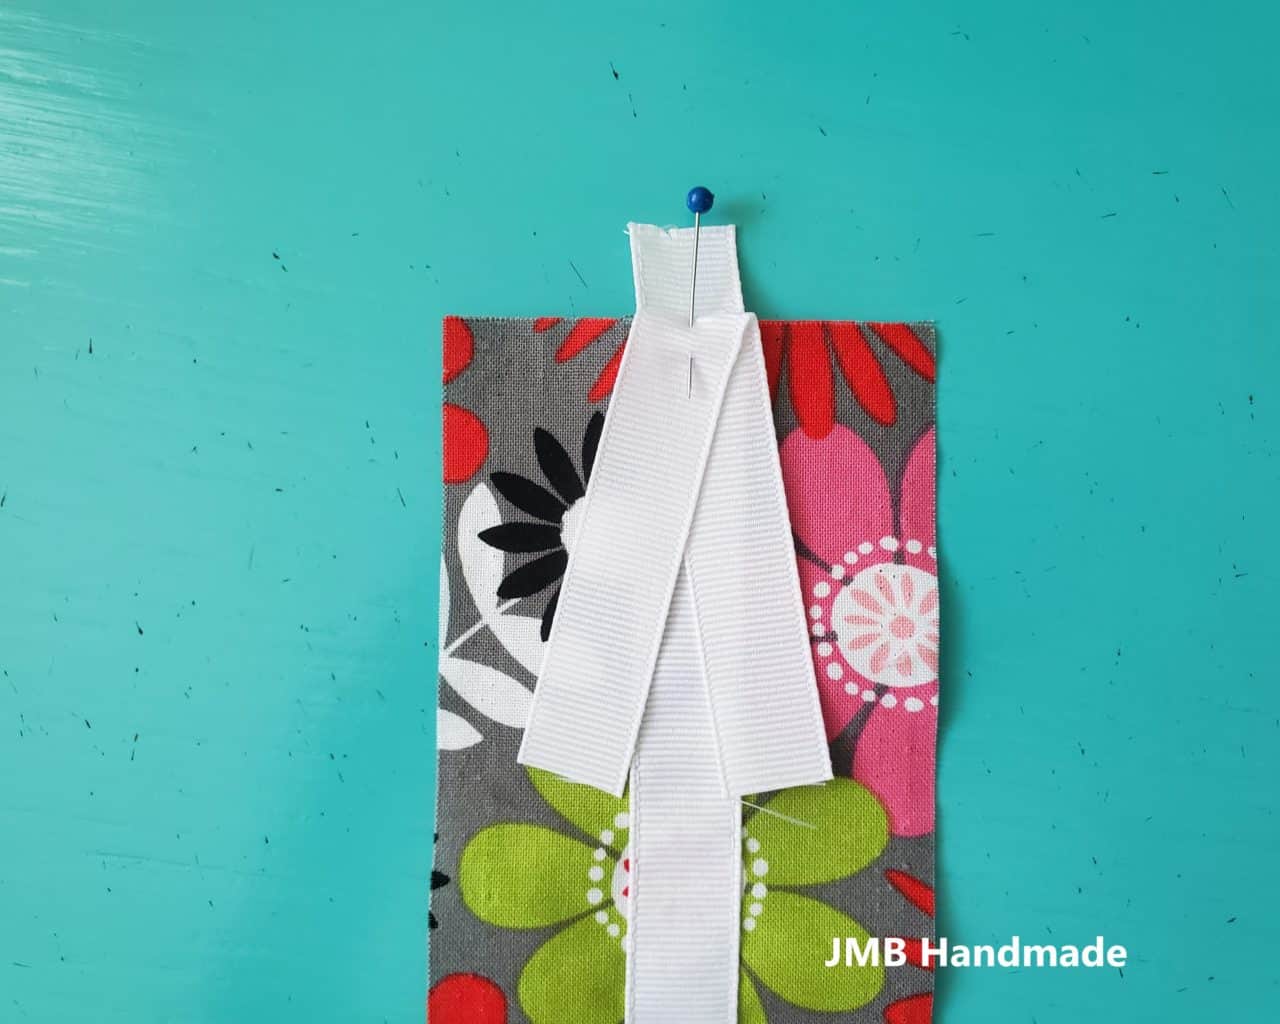
Fold the 3rd piece of ribbon in half and pin to the top of the bookmark as shown above. This is the ribbon that will be sticking out of the top of the fabric bookmark once finished.
***You can find the ad-free, printable PDF version of this sewing tutorial available for purchase HERE. Includes 8-pages of step-by-step instructions with pictures and templates. Print a copy to keep next to your sewing machine for easy reference.***
Sew it all together
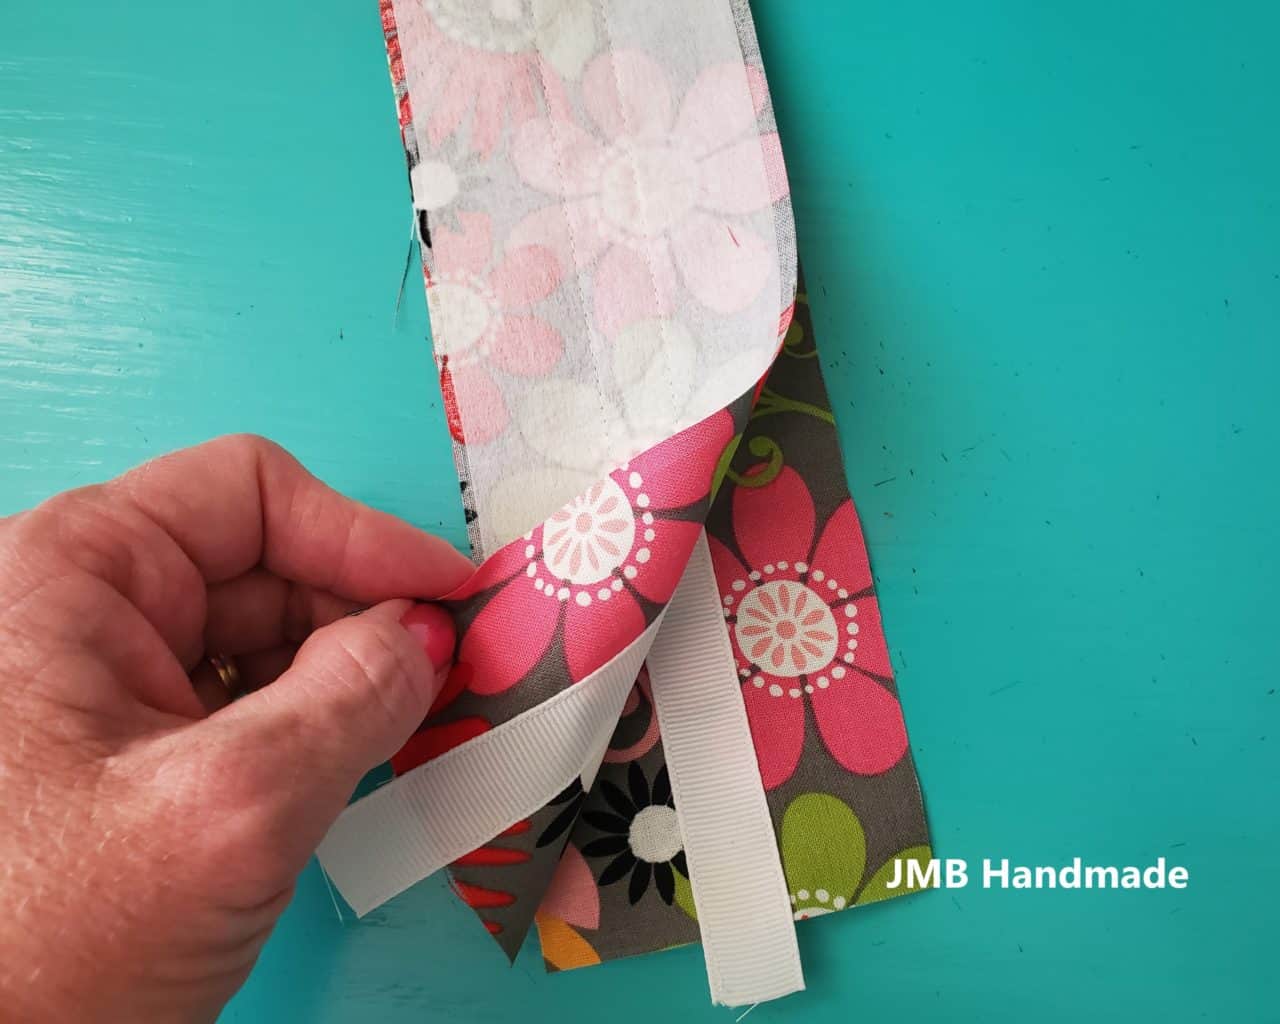
Place the bookmark fabric pieces right sides together. Be sure to line up the ribbon.
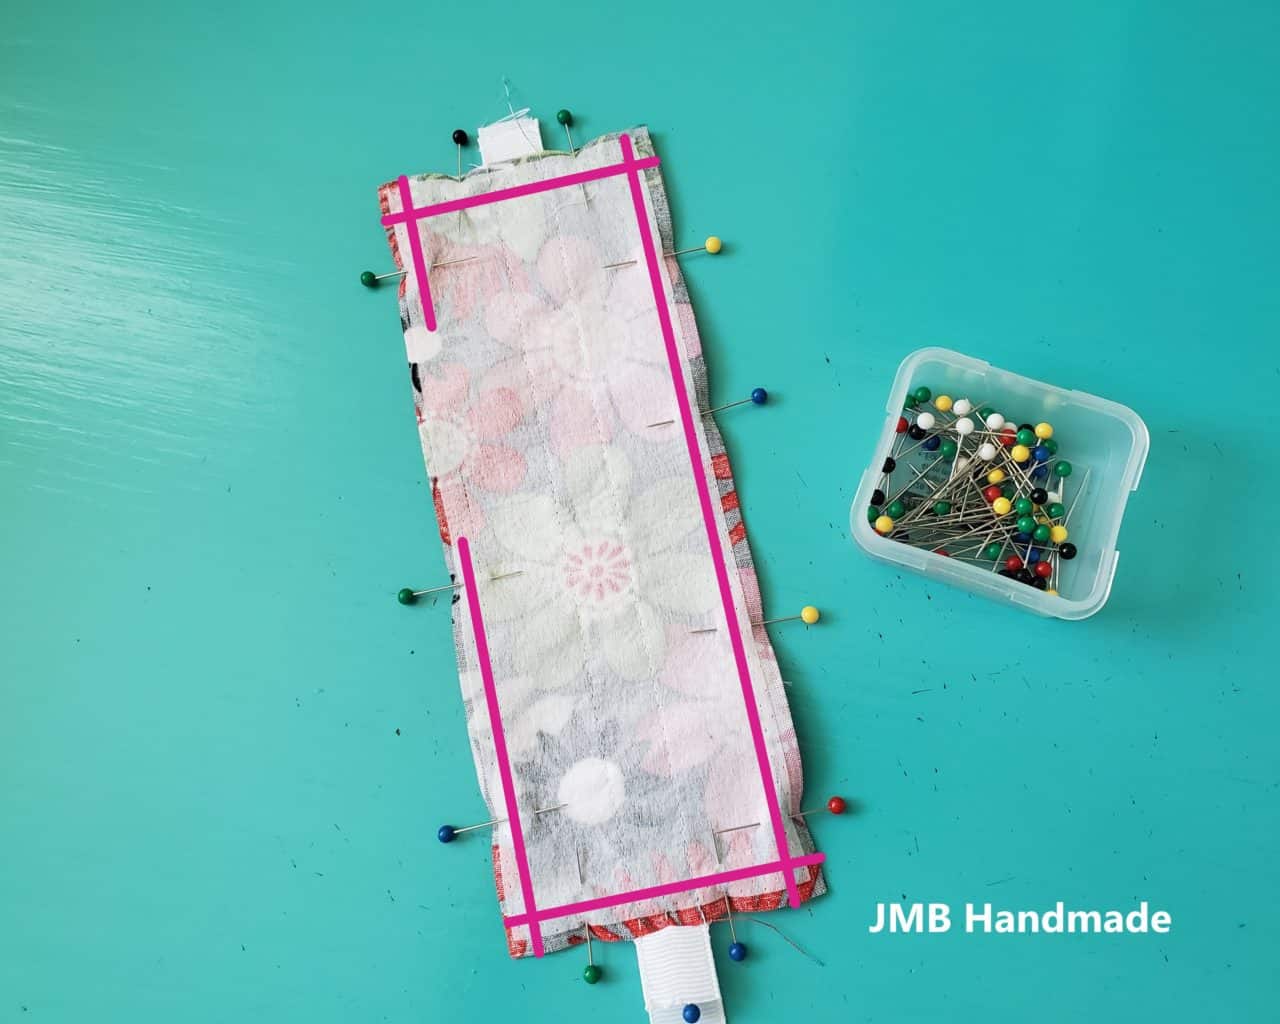
Pin all around, leaving a small opening for turning.
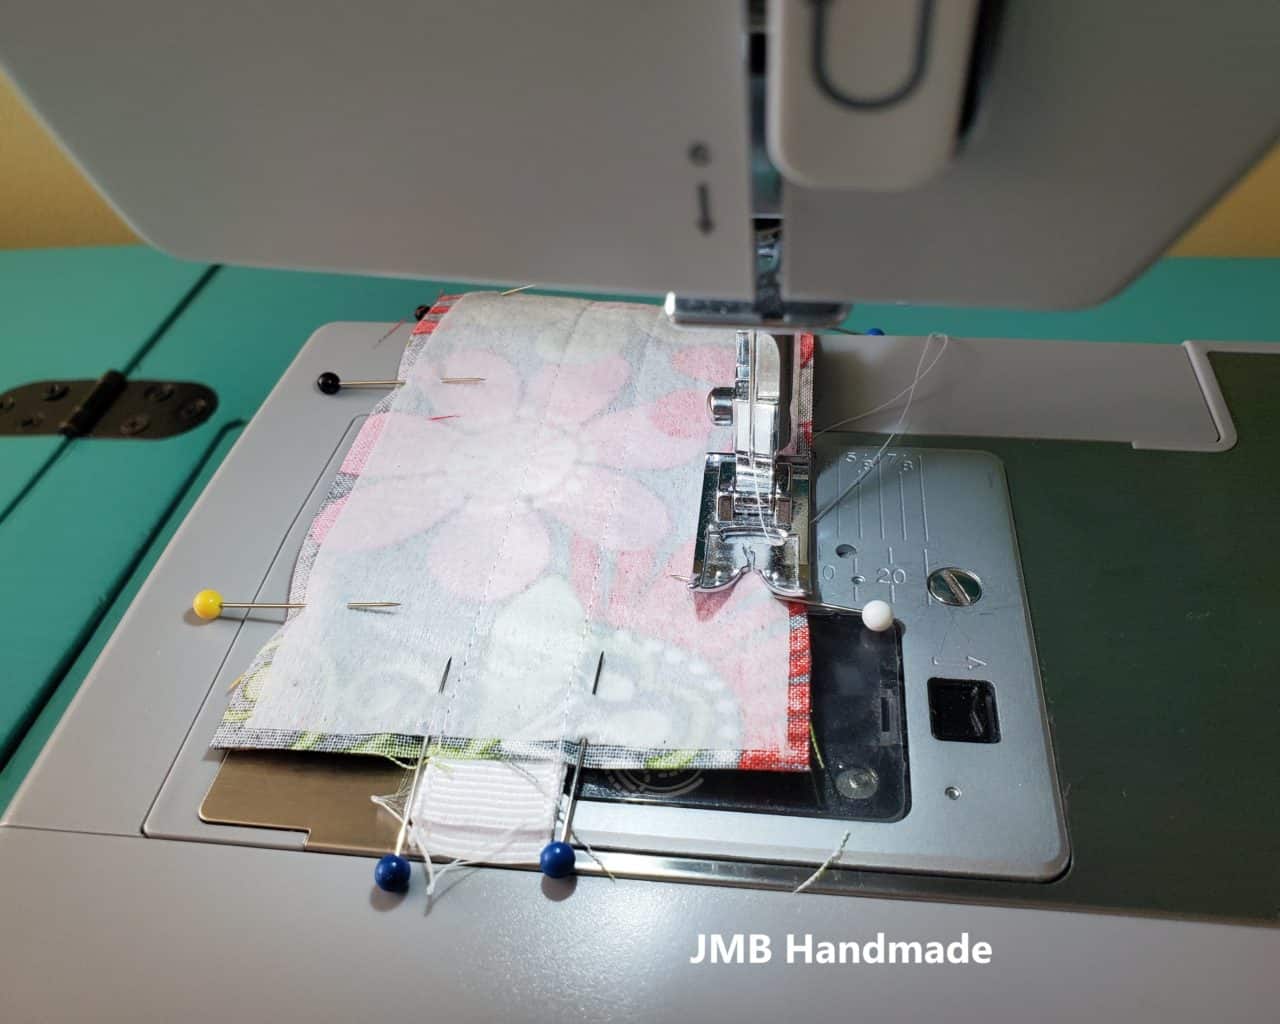
Sew all around using a 3/8″ seam allowance, leaving an opening for turning.
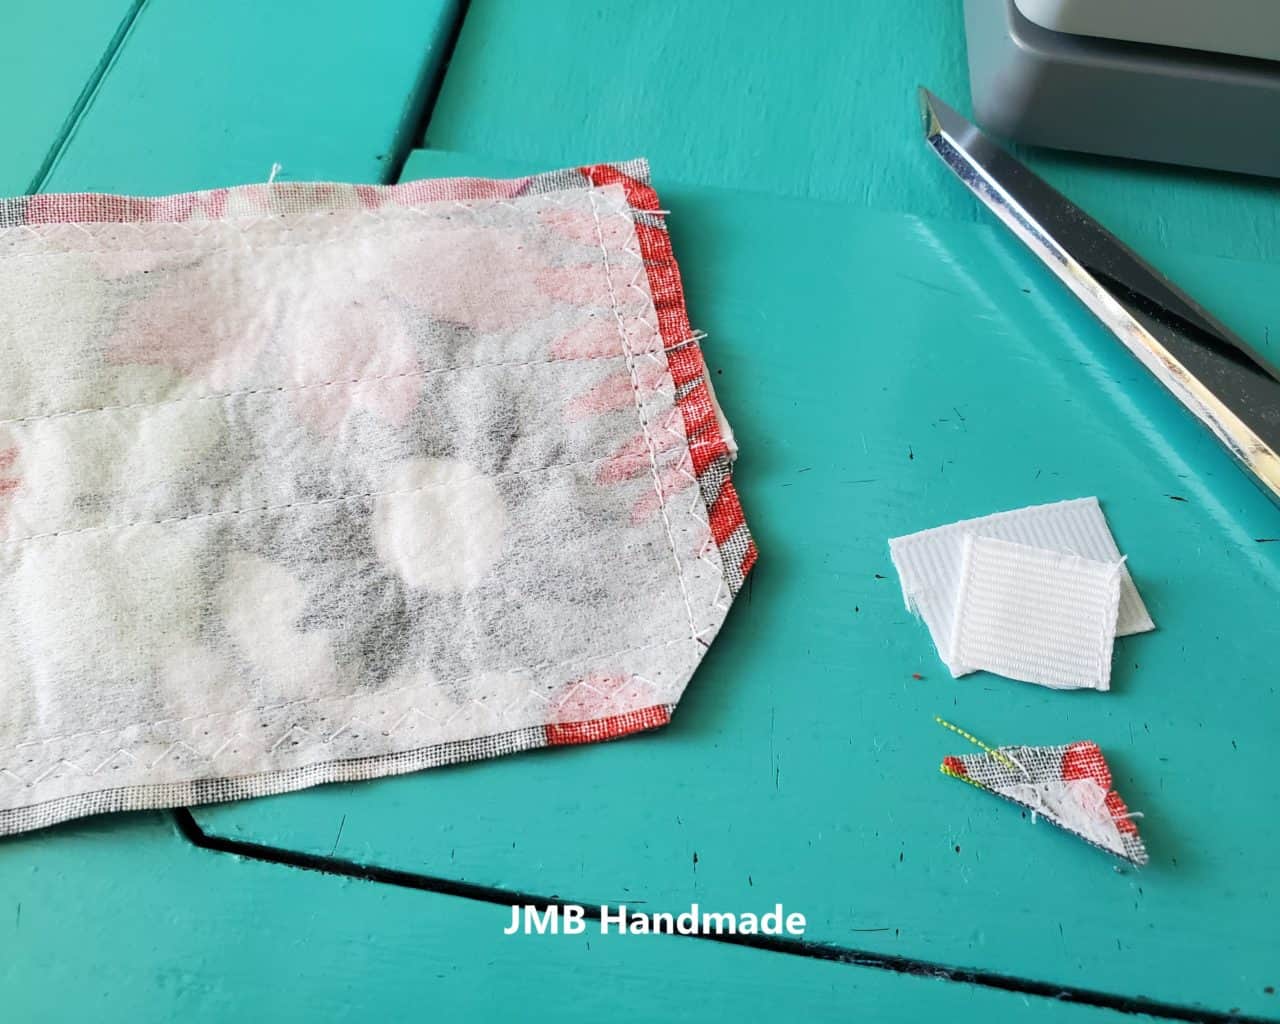
Clip the corners and cut the extra ribbon with your sewing scissors.
Turn right side out
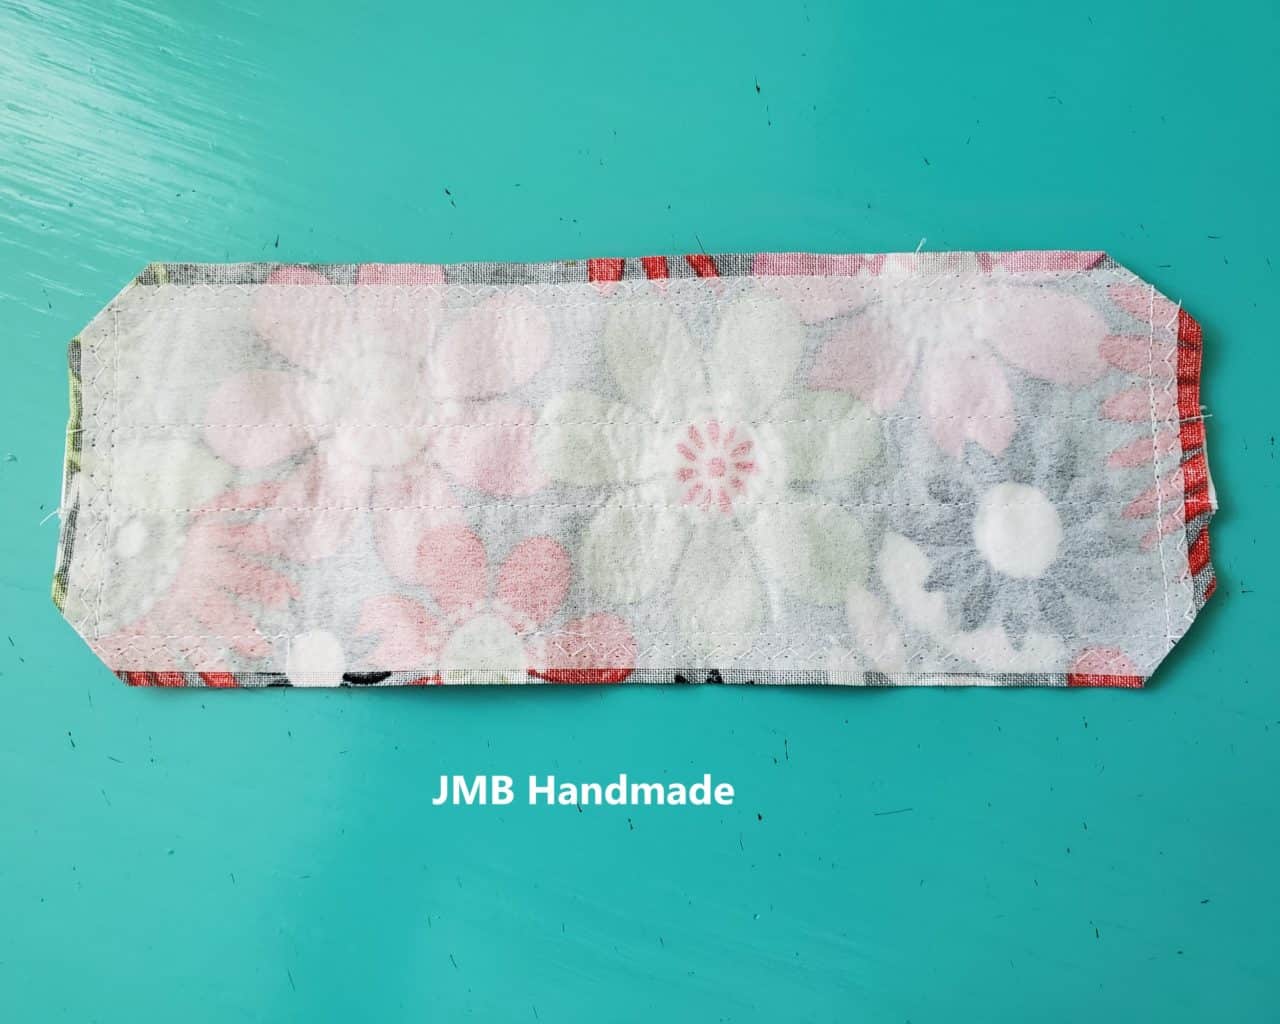
This is what it should look like before turning.
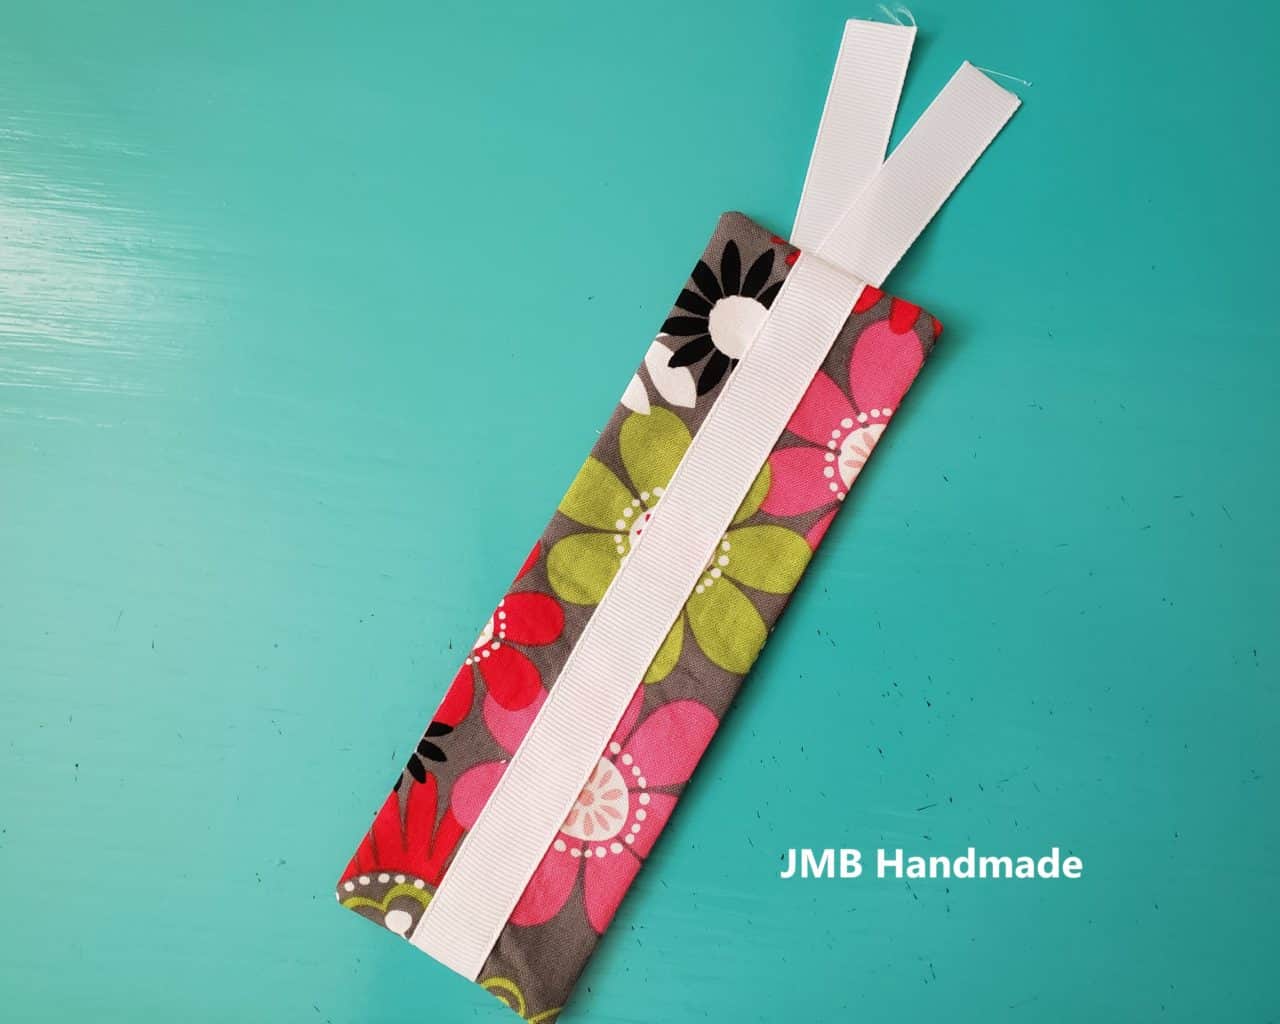
Turn the fabric bookmark right side out. Press.
Top stitch all around with a coordinating thread using a 1/8 inch seam allowance. This gives it a finished look and sews the opening closed.
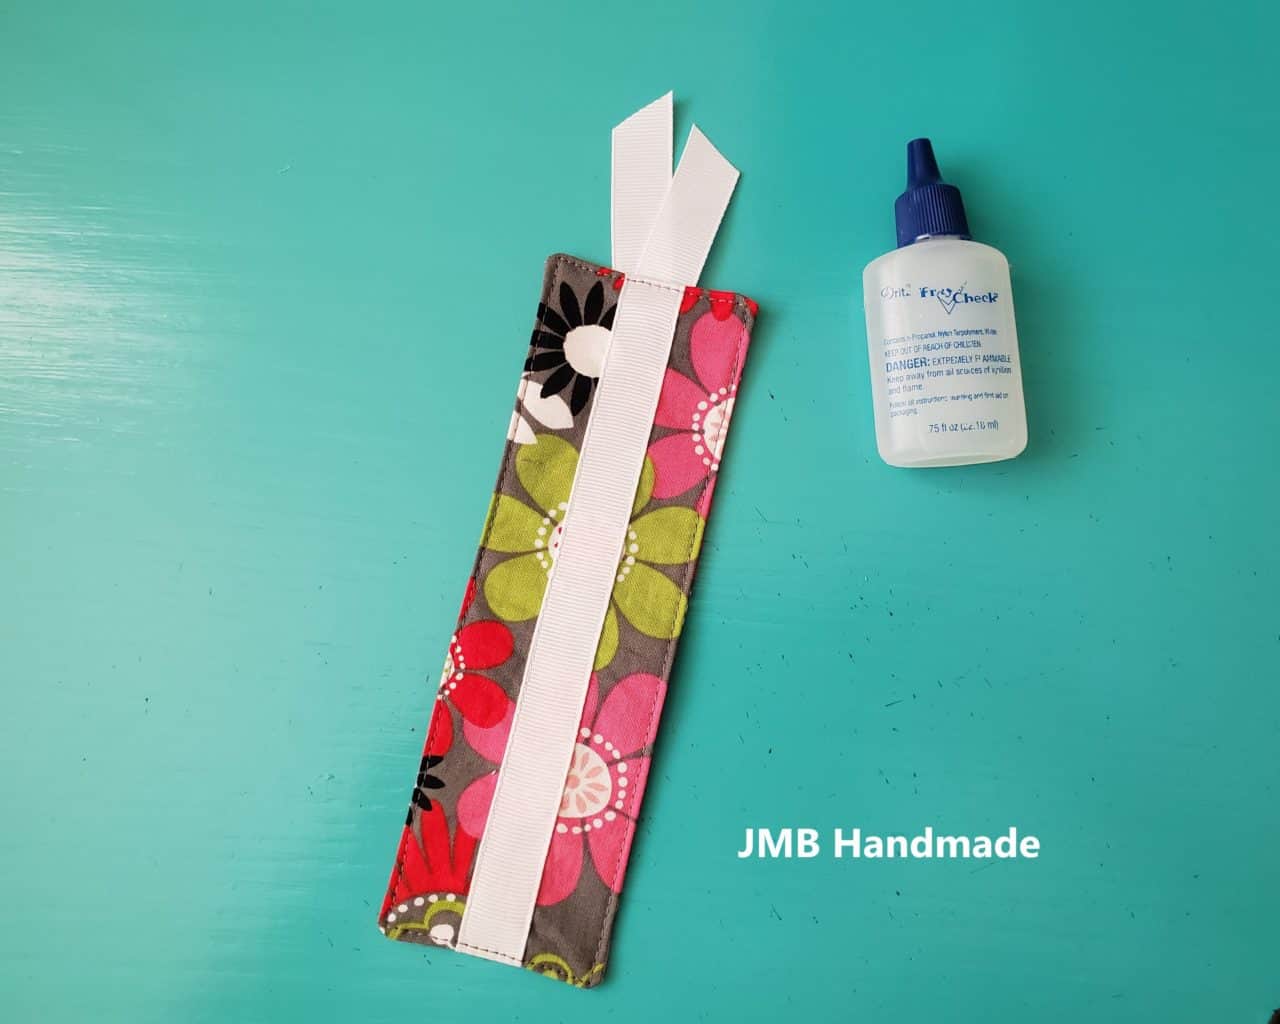
Use your sewing scissors to cut the tops of the ribbon at an angle. Apply fray check to keep the ribbon from fraying.
***You can find the ad-free, printable PDF version of this sewing tutorial available for purchase HERE. Includes 8-pages of step-by-step instructions with pictures and templates. Print a copy to keep next to your sewing machine for easy reference.***
You are finished!
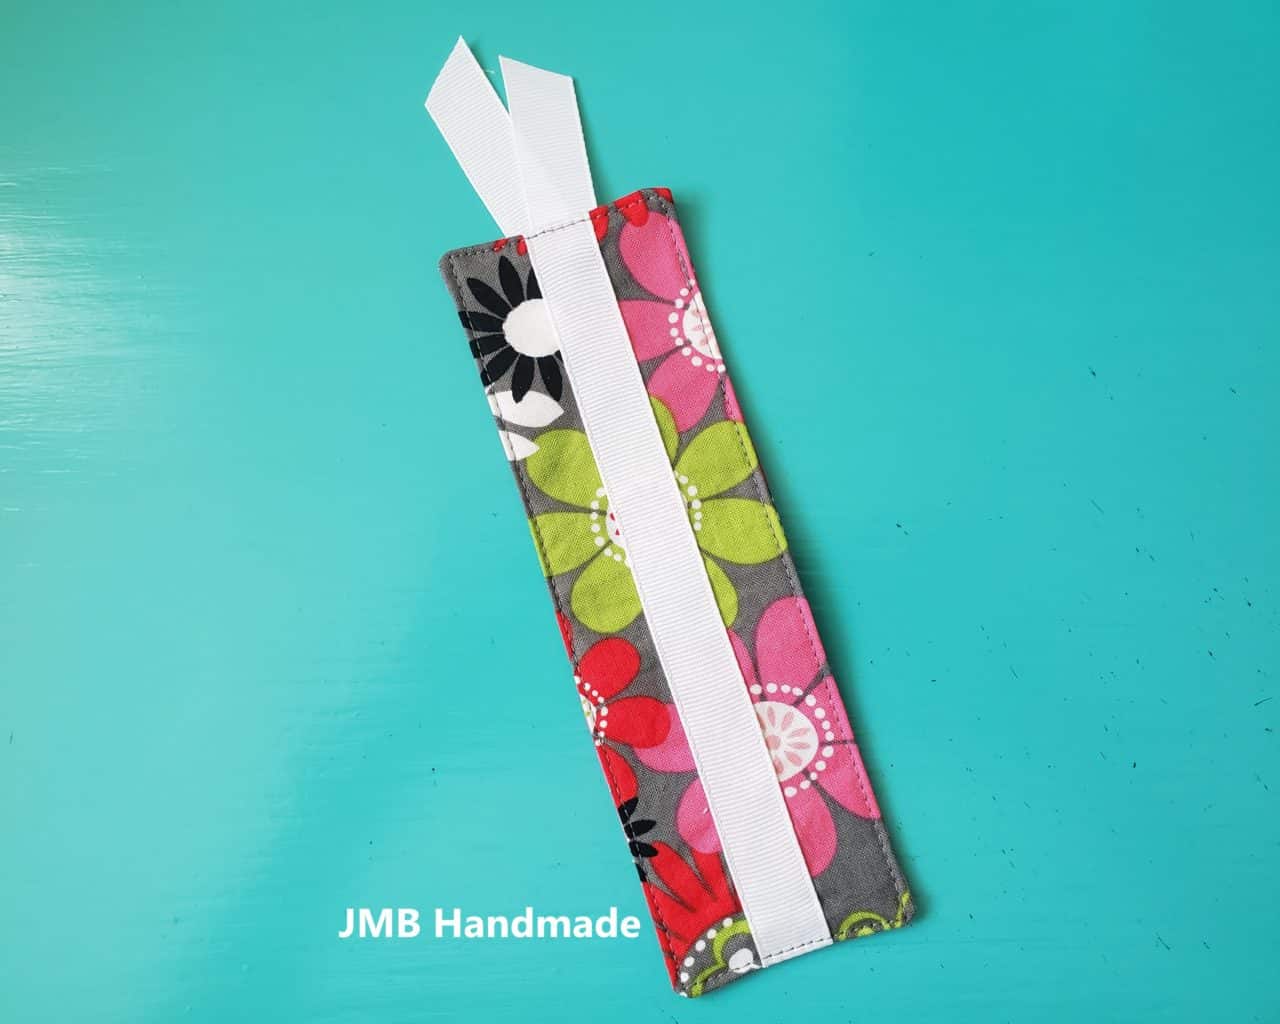
Hope you enjoyed this fabric bookmark sewing tutorial! Happy sewing!
Pin for later!
Related Easy Sewing Projects
- Easy DIY Key Fob Tutorial
- Fabric Checkbook Cover
- Scrap Fabric Bookmark – no sewing required
- Fabric Luggage Tag