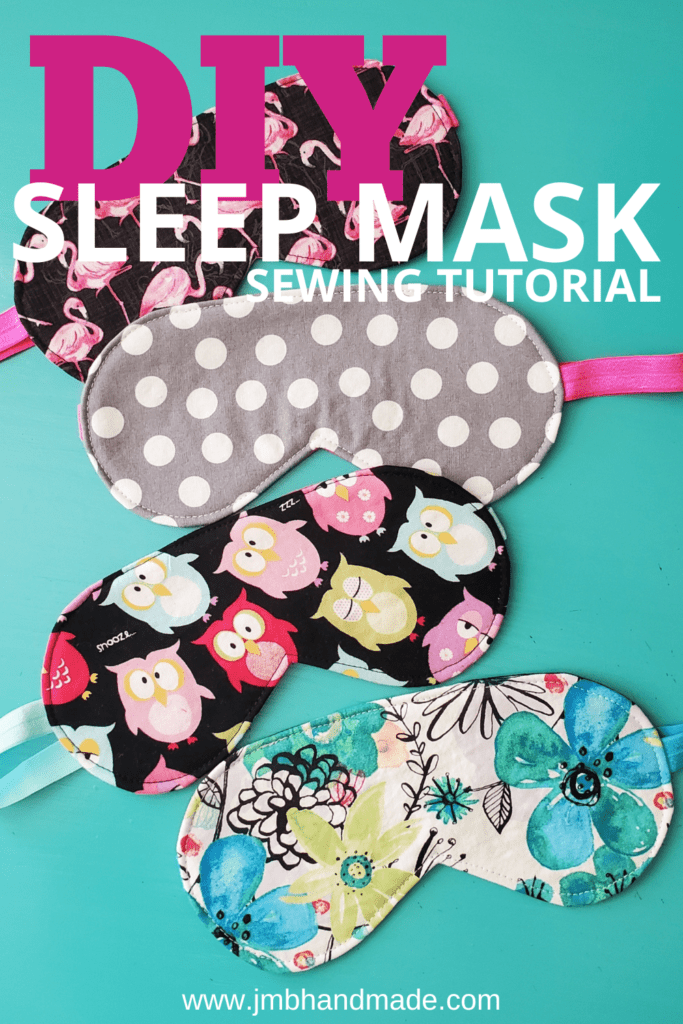
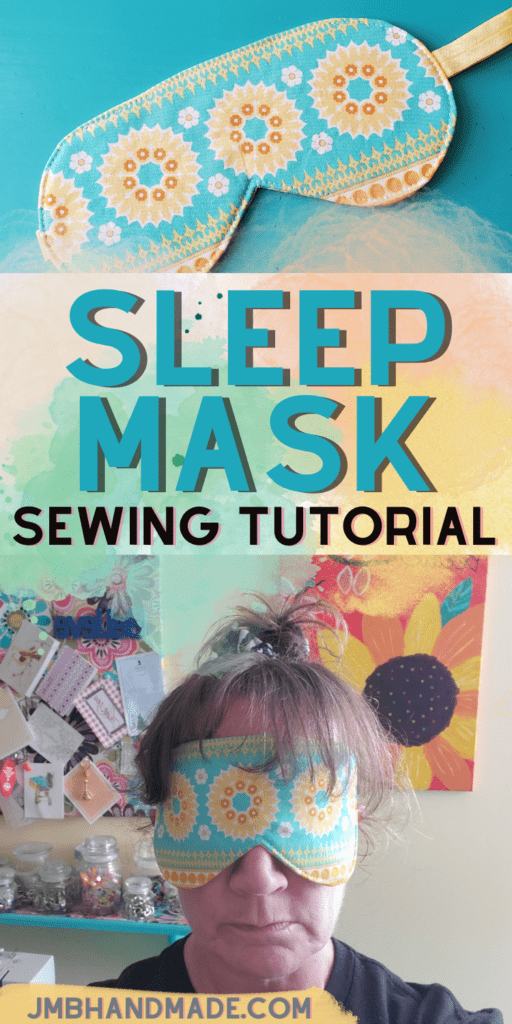
Easy Sleep Mask Sewing Tutorial

Sleep masks are super easy to make and help with getting a better night’s sleep!
Wearing a sleep mask helps me fall asleep and stay asleep longer. I need complete darkness and my husband likes to have a nightlight on so he can see when he comes to bed. This sleep mask is super comfortable and quick and easy to make! Here are my step-by-step instructions.
For other easy sewing projects, check out our tissue holder and fabric napkins tutorials.
This post contains affiliate links. Please see below disclosure for more information.
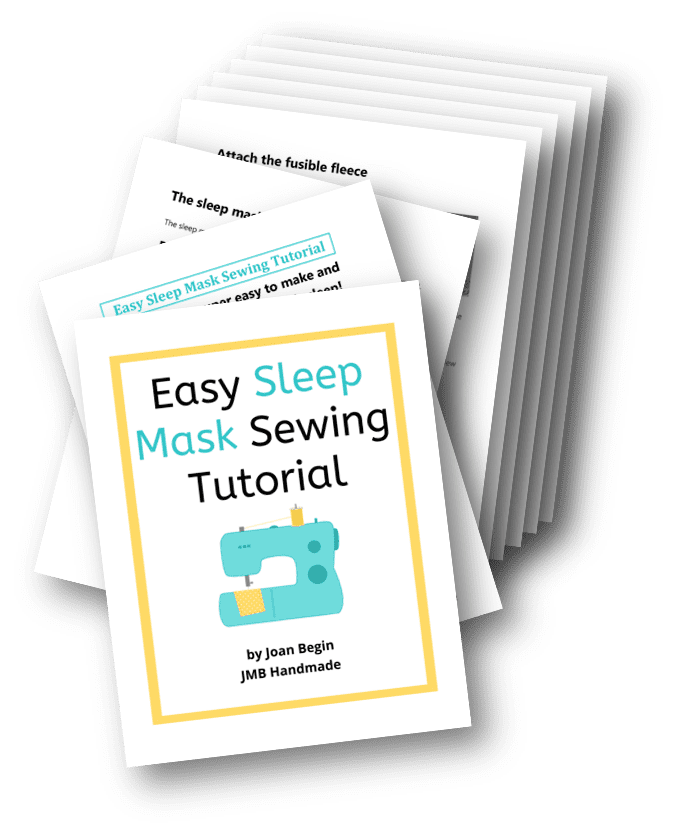
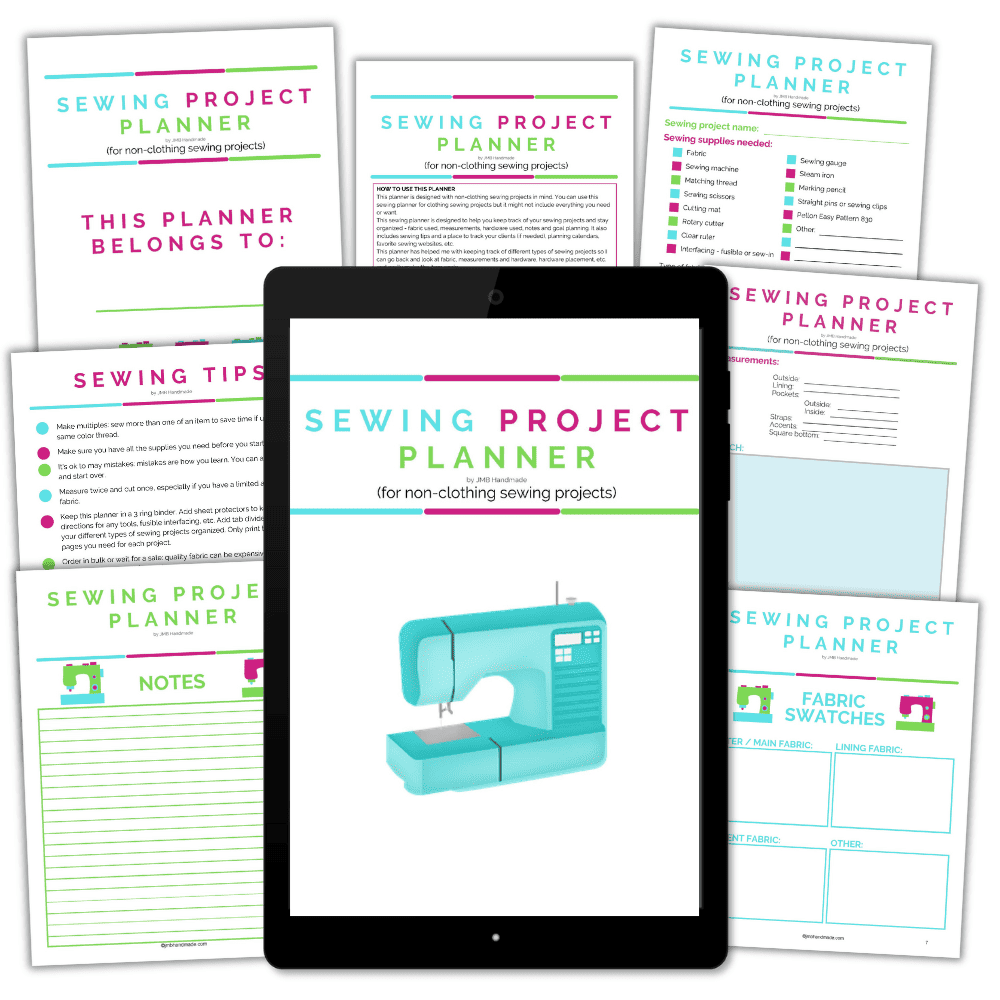
***You can find the ad-free, printable PDF version of this sewing tutorial available for purchase HERE. Includes 9-pages of step-by-step instructions with pictures and templates. Print a copy to keep next to your sewing machine for easy reference.***
Sleep mask sewing supplies needed:
- Cotton fabric – my favorite fabric shop
- Sleep mask pattern – download the pattern below
- Pellon Easy Pattern 830 (optional)
- Fusible fleece
- Elastic – fold over 5/8 inch – measuring 13-14 inches
- Matching thread
- Sewing scissors
- Sewing machine
Download the sleep mask pattern
Keep track of your sewing projects, like this one, with a sewing planner. This sewing planner is specifically designed for non-clothing sewing projects and helps you stay organized – fabric used, measurements, hardware used, notes, etc. Also included are pages such as sewing tips and fabric shops. Get your sewing planner HERE.
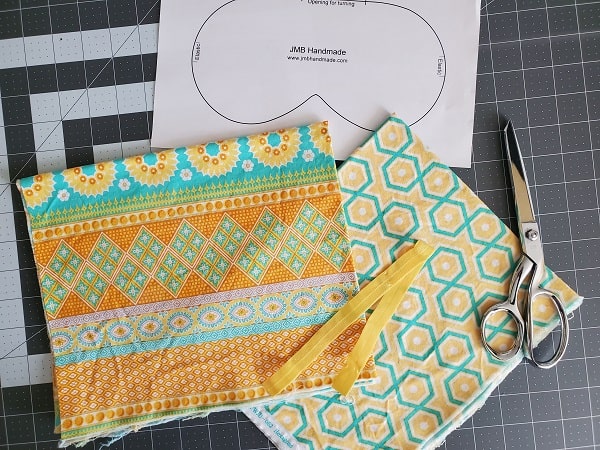
Cut the pattern template
Click on the template button below and print. Your printer setting should be set to print actual size.

Once you have the sleep mask pattern downloaded and printed, cut out the pattern with paper scissors.
Trace the pattern onto Pellon Easy Pattern 830 or use the paper version. Pellon Easy Pattern will keep your template lasting much longer if you plan on making multiple sleep masks.
Mark the elastic lines on the easy pattern, if using.
Attach the fusible fleece
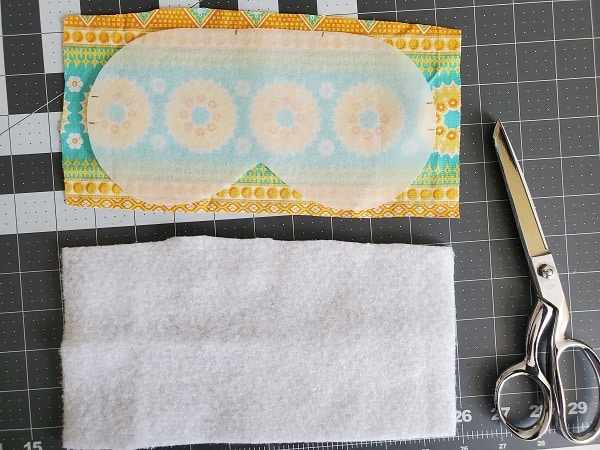
Place the pattern on top of the fabric you’re using for the front of your sleep mask then cut a rectangle around the pattern with your fabric scissors.
Cut a piece of fusible fleece the same size as your front fabric piece.
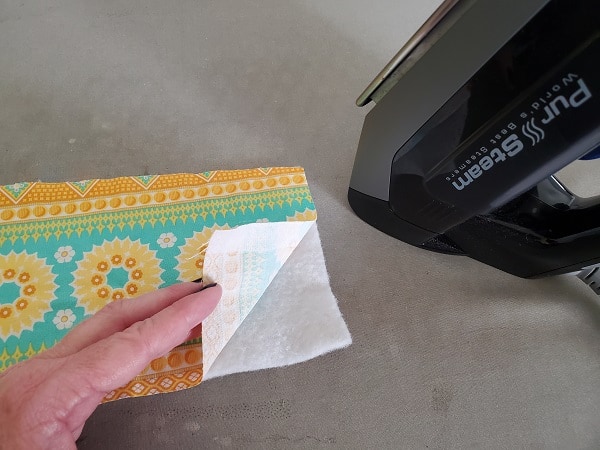
Attach the fusible fleece to the wrong side of the front fabric using your steam iron and following package instructions. Sometimes you have to press over it a few times to get out the wrinkles (if any).
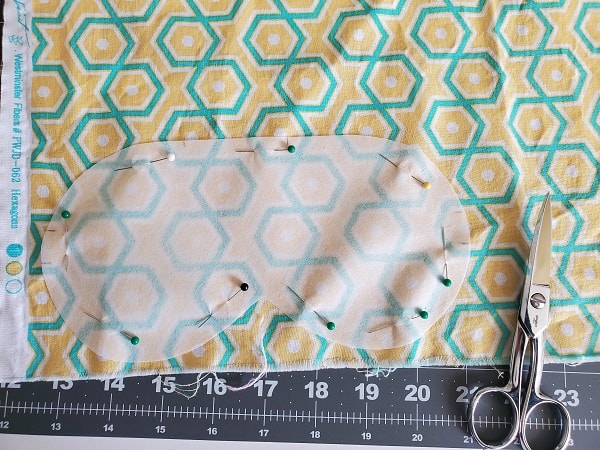
Cut out your sleep mask
Once you have your fusible fleece attached, pin the template onto the front fabric piece and cut. I like to use my smaller fabric scissors (see above picture) for more precise cutting but any fabric scissors will work.
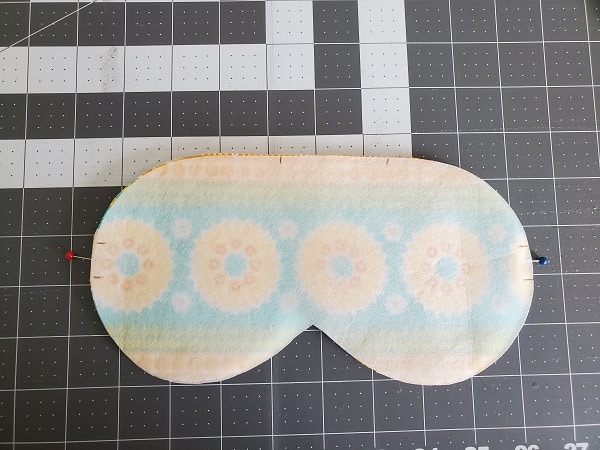
Now cut out the lining fabric piece. I like to use a coordinating fabric. You do not need to attach the fusible fleece to the lining fabric.
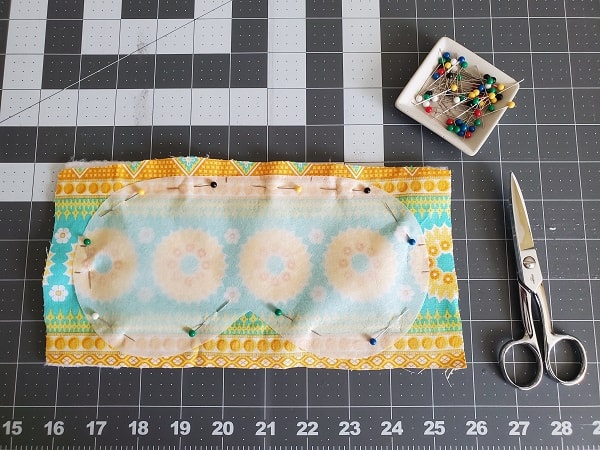
Place pins on the front fabric piece in the middle of the marks where the elastic is to be attached.
***You can find the ad-free, printable PDF version of this sewing tutorial available for purchase HERE. Includes 9-pages of step-by-step instructions with pictures and templates. Print a copy to keep next to your sewing machine for easy reference.***
Attach the elastic
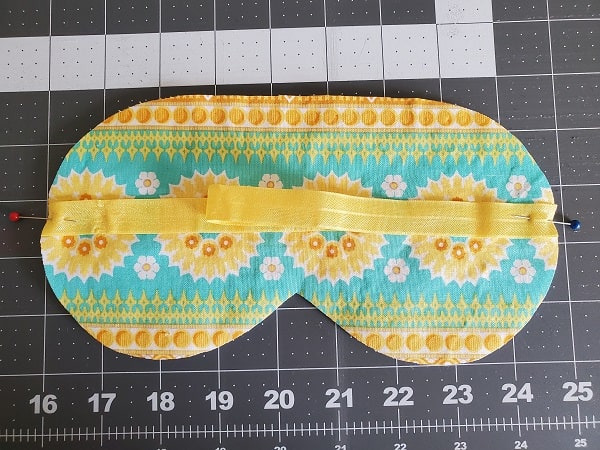
Measure out a strip of fold over elastic measuring 13 inches to 14 inches depending on how tight you want your sleep mask.
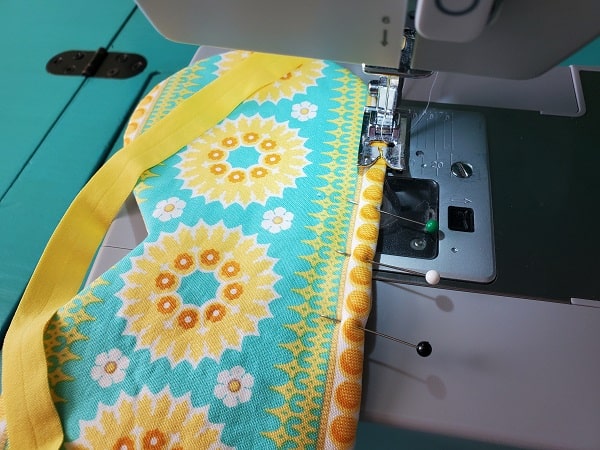
Use those pins from the previous step to attach the elastic to the right side of the front fabric, as shown in the above picture.
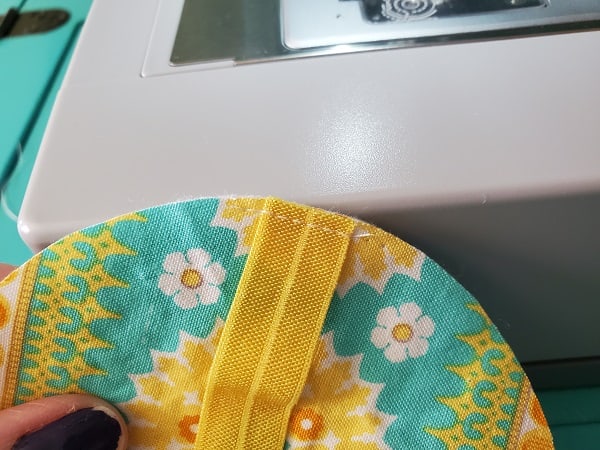
Baste each end of the elastic to hold in place.
Sew it together
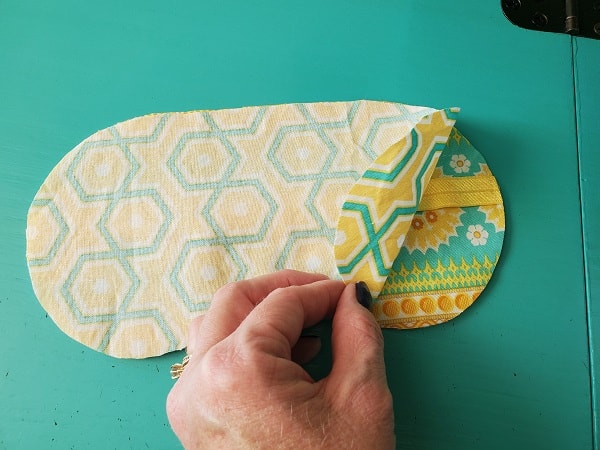
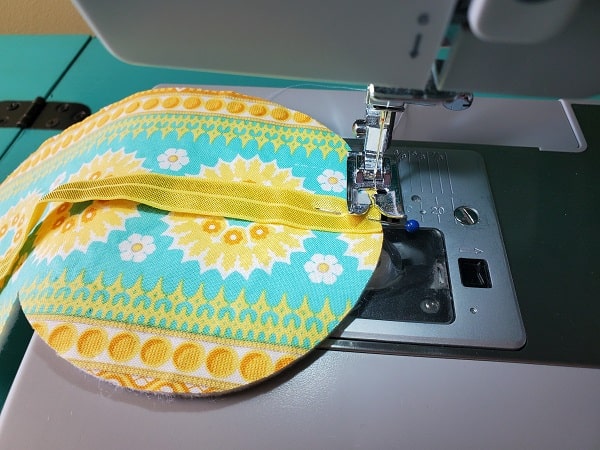
Place the lining fabric piece on top of the front fabric piece, right sides together. Pin in place, leaving an opening at the top for turning.
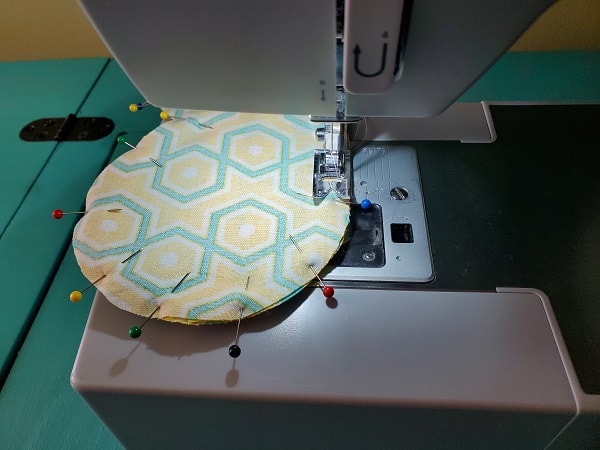
Starting at the top, sew together, leaving open the space for turning. Sew over the elastic a couple times for extra durability. Then use the zigzag stitch to keep the fabric from fraying.
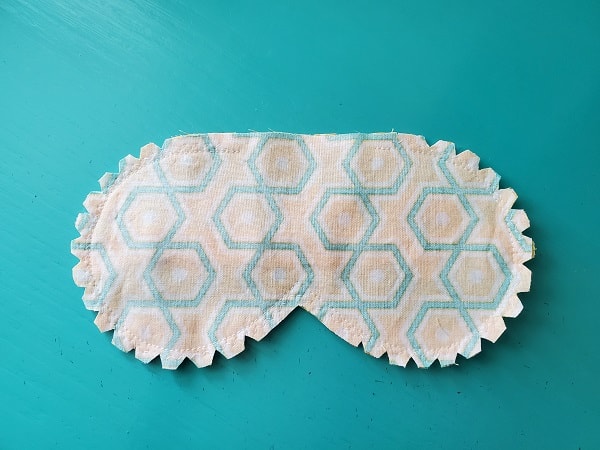
Make little triangle cuts around the curves.
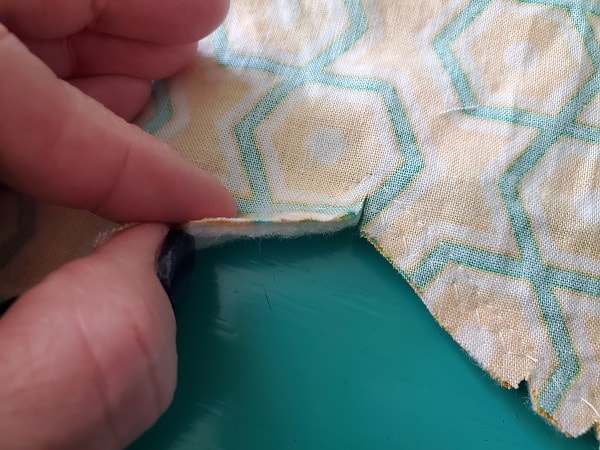
Cut a slit in the sharp corner.
Turn the sleep mask right side out and press. Top stitch all around the mask to give it a finished look and sew the opening closed.
***You can find the ad-free, printable PDF version of this sewing tutorial available for purchase HERE. Includes 9-pages of step-by-step instructions with pictures and templates. Print a copy to keep next to your sewing machine for easy reference.***
You are finished!
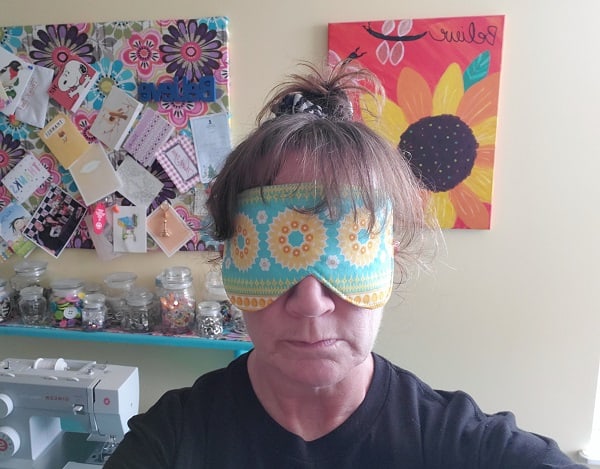

I hope you’ve enjoyed sewing your own sleep mask using this tutorial! Happy sewing!
Pin for later!