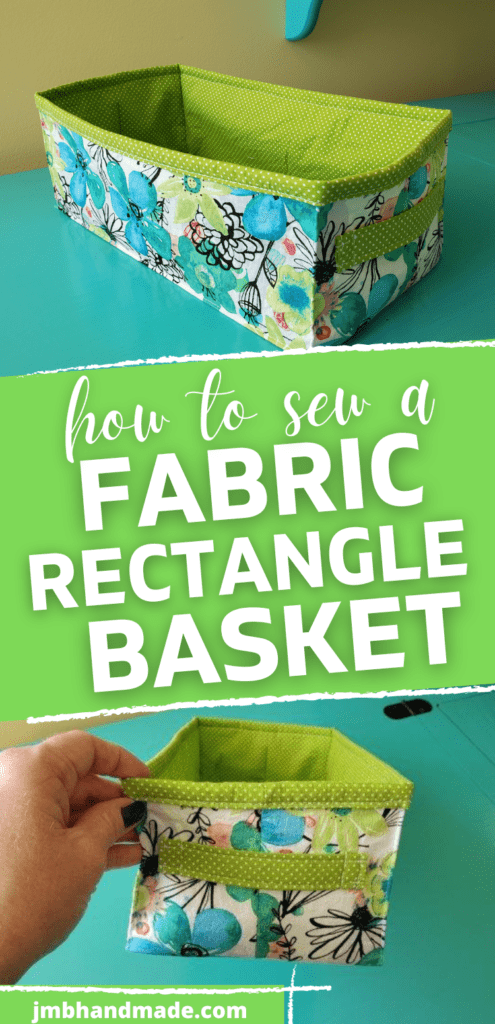
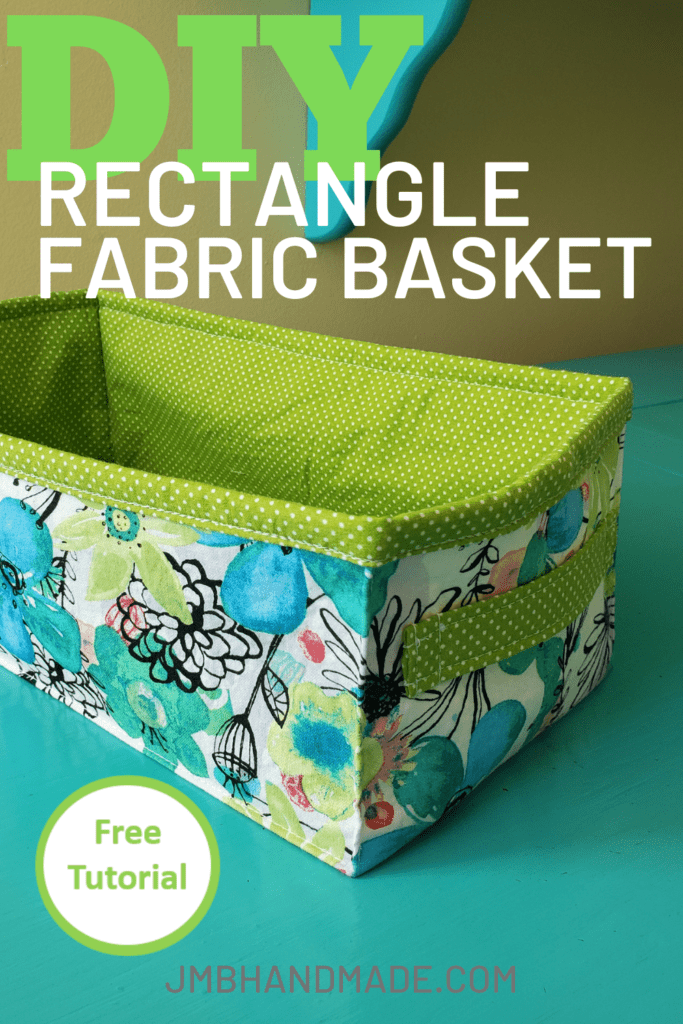
Easy DIY Fabric Rectangle Basket

Sew a fun rectangle fabric basket to add some storage to your home with this easy to follow sewing tutorial.
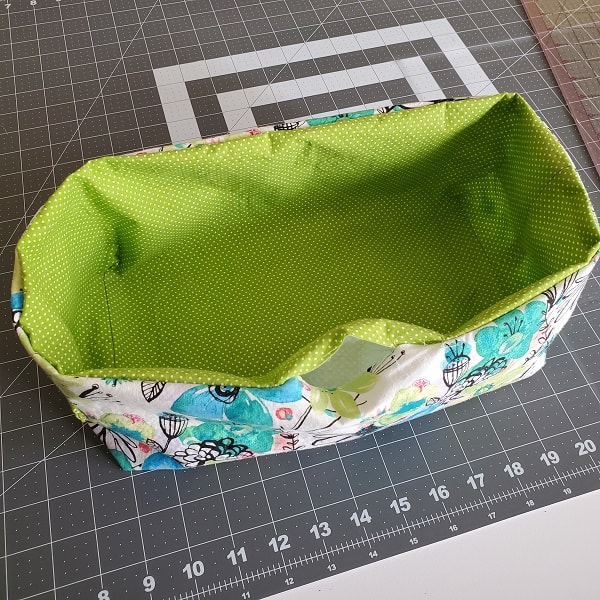
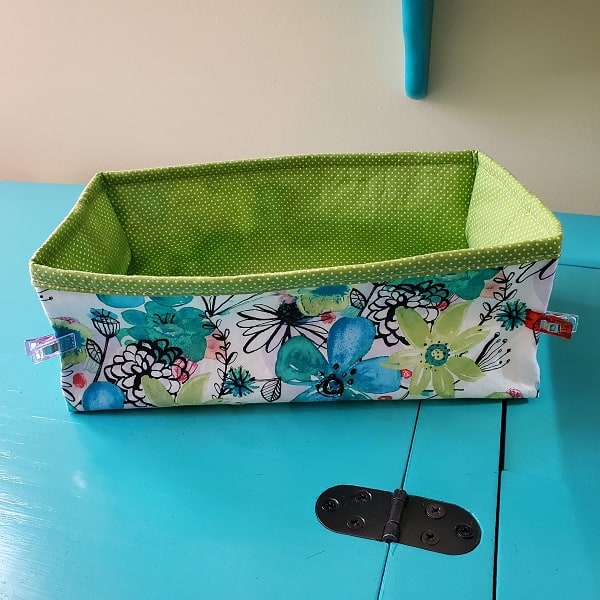
This fabric rectangle basket is perfect for storing sewing supplies, yarn and yarn supplies, sewing patterns, and so many other possibilities! The handles on each end along make it easy to carry and adds cute accents to the basket. Add the mesh bottom to make this fabric basket extra sturdy.
The pattern size for this basket can be adjusted to fit your needs by making the measurements smaller or larger. Pair it up with a fabric Easter basket for matching storage. The finished basket is approximately 6” W x 11.5” D x 4” H. Here are my instructions on how to make a fabric rectangle basket.
NOTE: This fabric basket pattern is NOT for a super stiff basket. If you want to make the basket stiff, substitute the fusible interfacing for a stiff interfacing and/or use a cotton home decor fabric in place of the cotton quilting fabric.
This post contains affiliate links. Please see below disclosure for more information.
***You can find the ad-free, printable PDF version of this sewing tutorial available for purchase in my Etsy shop HERE. Includes 21-pages of step-by-step instructions with pictures and templates. Print a copy to keep next to your sewing machine for easy reference.***
Fabric basket supplies needed:
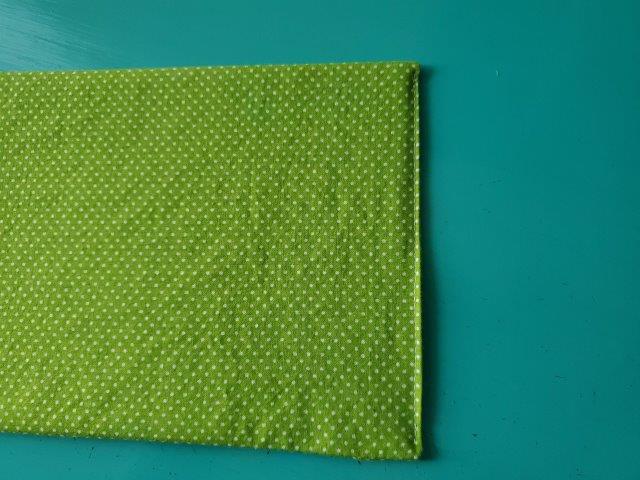
- One piece outer cotton fabric measuring 18 inches by 16 inches – my favorite fabric shop
- One piece lining fabric measuring 18 inches by 16 inches
- Fusible interfacing – Pellon 911FF Fusible Interfacing
- Cutting mat
- Rotary cutter
- Clear ruler
- Sewing scissors
- Fabric marking pencil
- Craft mesh sheet
- Sewing clips
- Sewing gauge
- Sewing machine
Cut the fabric
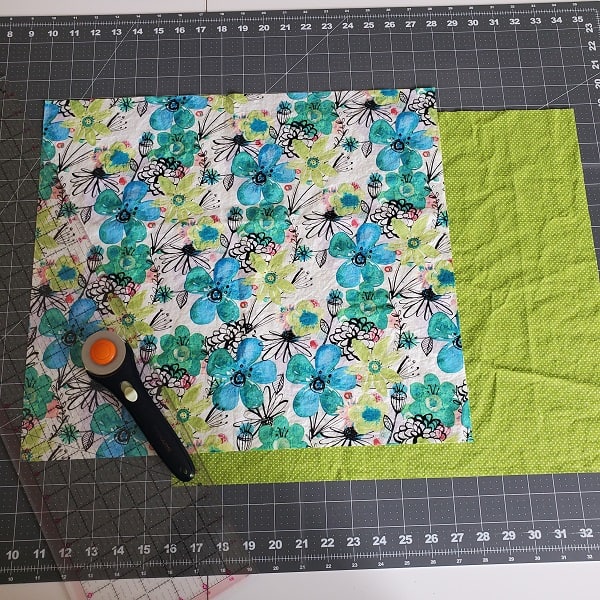
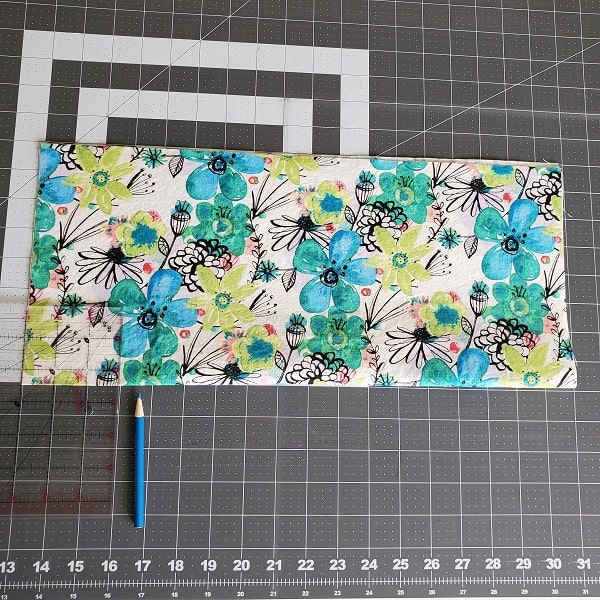
Using your cutting mat, rotary cutter and clear ruler, cut one outer fabric piece and one lining fabric piece, each measuring 18 inches wide by 16 inches long.
Keep track of your sewing projects, like this one, with a sewing planner. This sewing planner is specifically designed for non-clothing sewing projects and helps you stay organized – fabric used, measurements, hardware used, notes, etc. Also included are pages such as sewing tips and fabric shops. Get your sewing planner HERE.
Attach the fusible interfacing
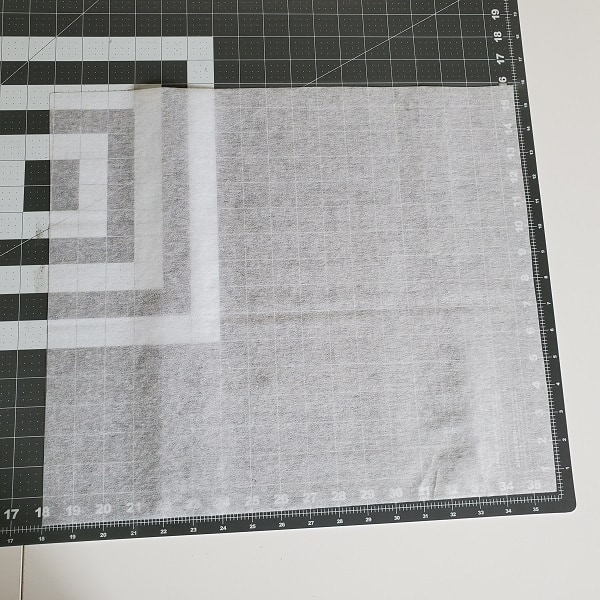
Cut two pieces of Pellon 911ff Fusible Interfacing about 1/4-inch smaller than your fabric pieces.
Attach the interfacing to the wrong sides of both the outer fabric and the lining fabric using your clothes iron and following the package instructions.
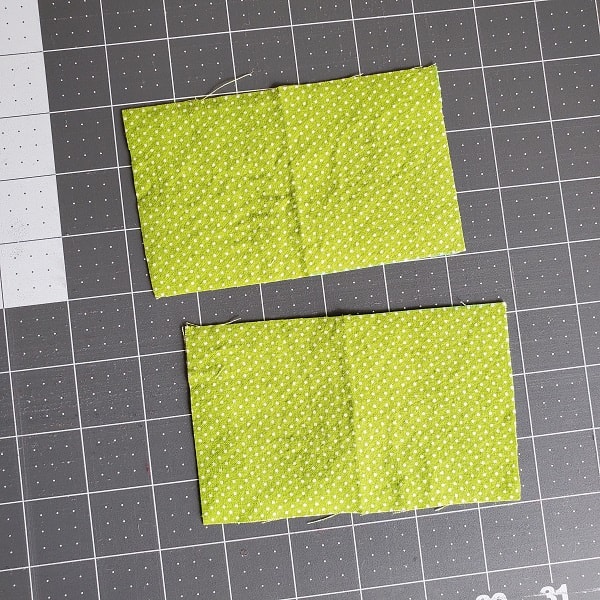
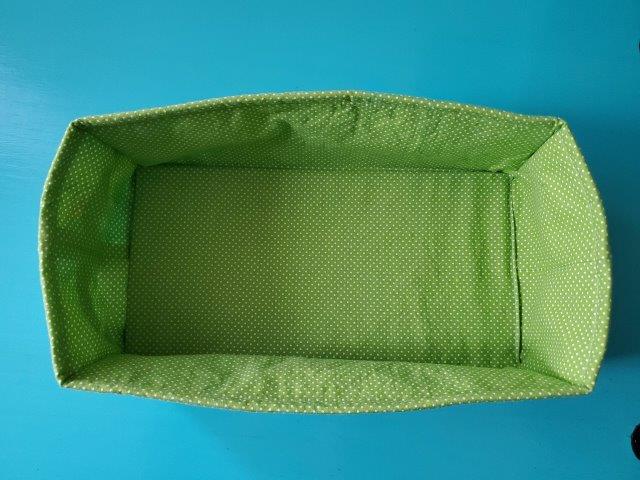
Make the bottom of the basket
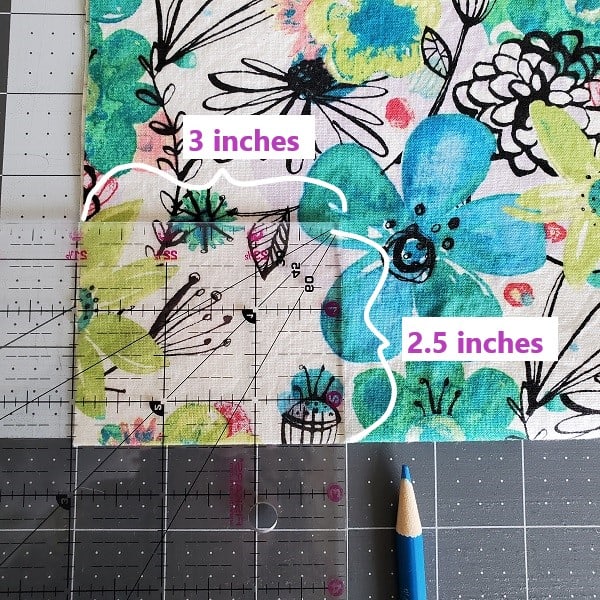
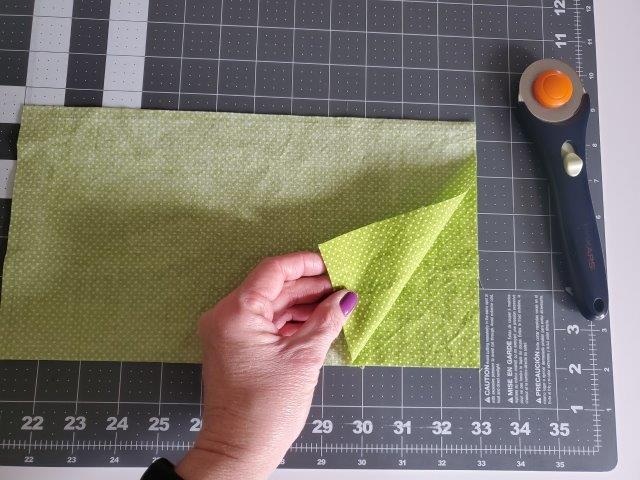
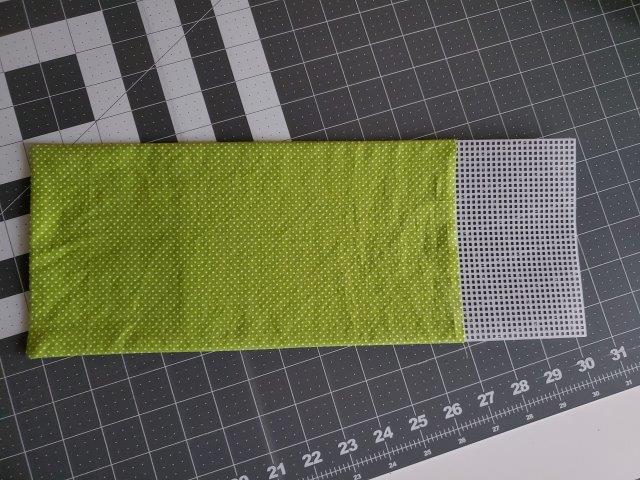
Fold the outer fabric piece in half lengthwise (long sides together). Using your clear ruler and marking pencil, mark 3 inches by 2 1/2 inches on each bottom corner. Cut out using your sewing scissors.
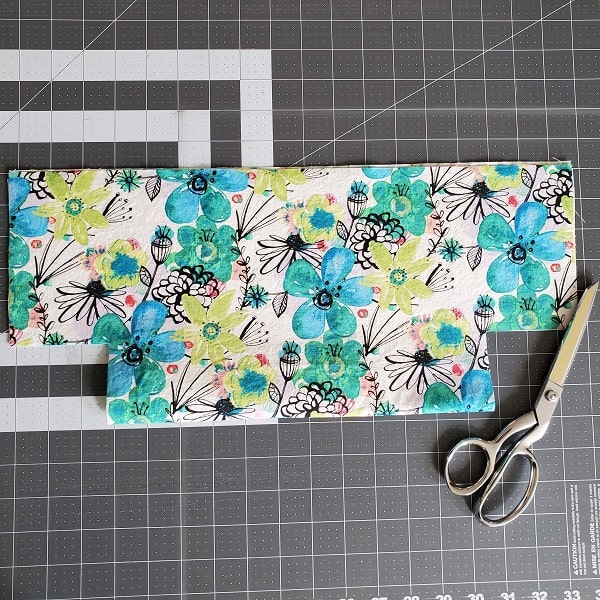
The above picture shows what your outer fabric piece should look like at this point.
Repeat this step with your lining fabric piece.
Save the pieces you just cut from the bottom of the lining piece. You’ll be using those later for the basket handles.
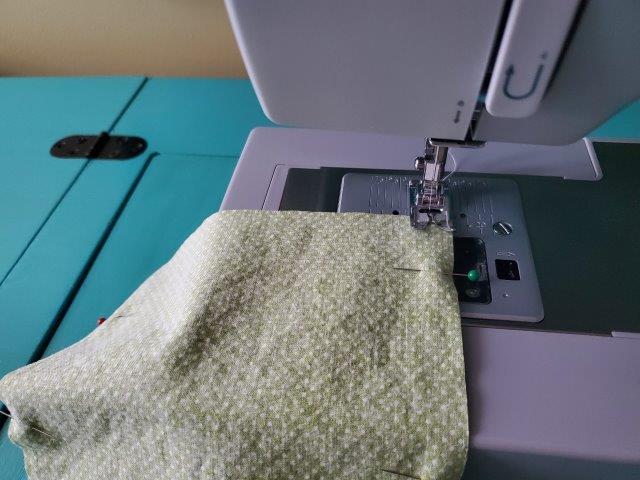
Sew the rectangle basket together
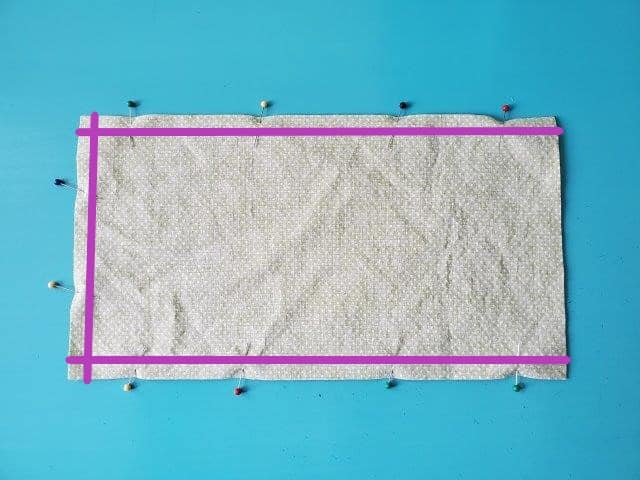
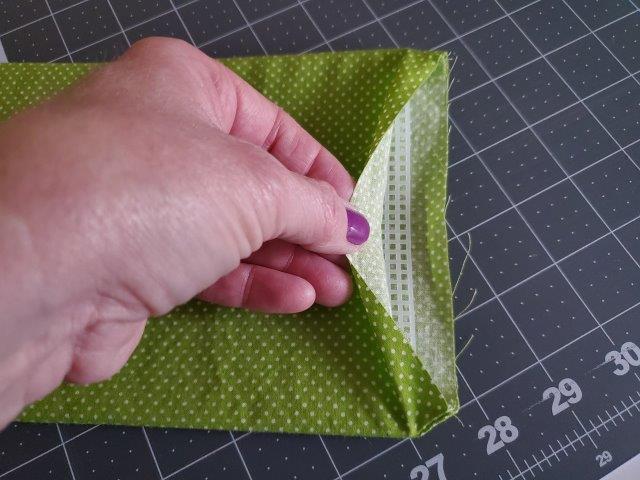
Place your outer fabric right sides together lengthwise as shown in above picture.

Pin and sew along the sides using 1/2-inch seam allowance. See purple lines in above picture.
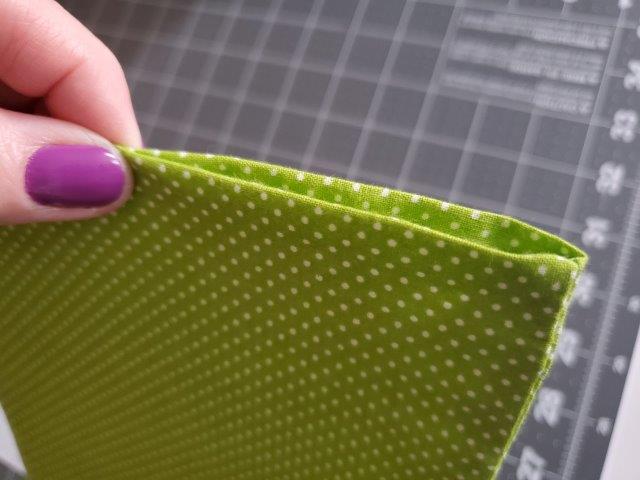
Press the seams flat with your clothes iron.
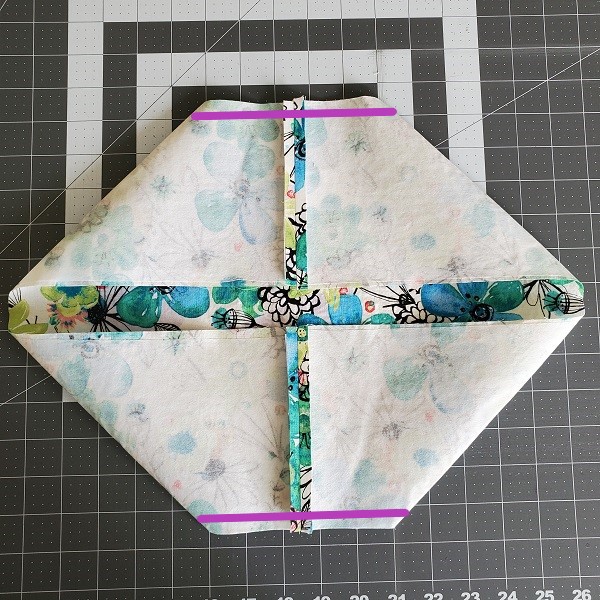

Now fold the basket the other way. Pin and sew using a 1/2-inch seam allowance – see purple lines in above picture.
Repeat these steps with the basket lining fabric pieces.
At this point, you should have an outer fabric basket and a lining fabric basket.
***You can find the ad-free, printable PDF version of this sewing tutorial available for purchase in my Etsy shop HERE. Includes 21-pages of step-by-step instructions with pictures and templates. Print a copy to keep next to your sewing machine for easy reference.***
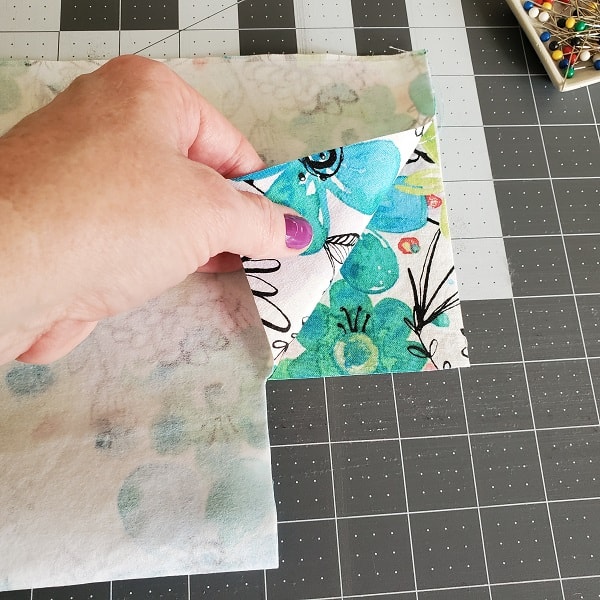
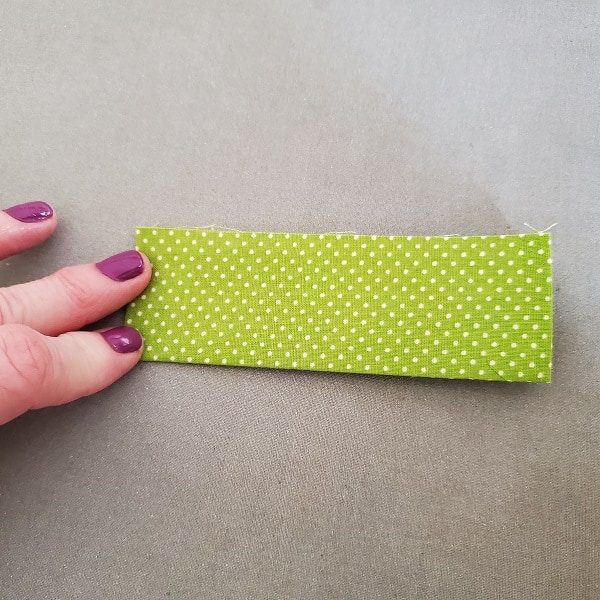
Sew the basket handles
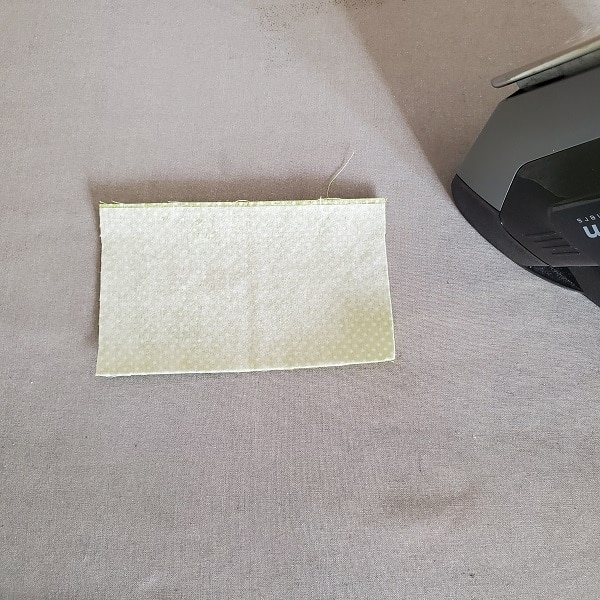
Grab the fabric pieces you cut out of the lining bottom. These are going to be the basket handles. Place them wrong side up on your ironing board.
Fold both short ends in 1/4-inch and press.
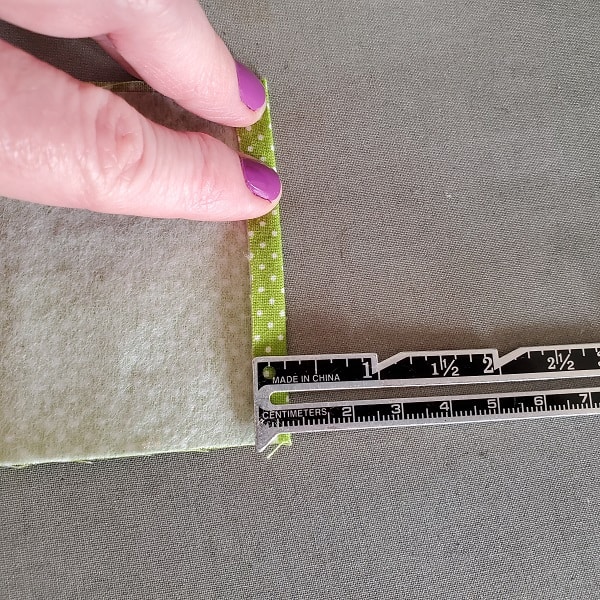
Next fold each handle in half lengthwise and press along the fold.
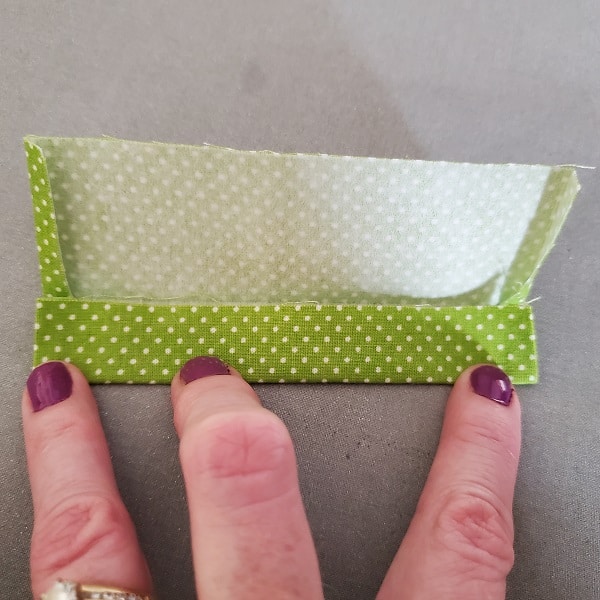
Open back up and fold the outside edge to the center and press along the fold.
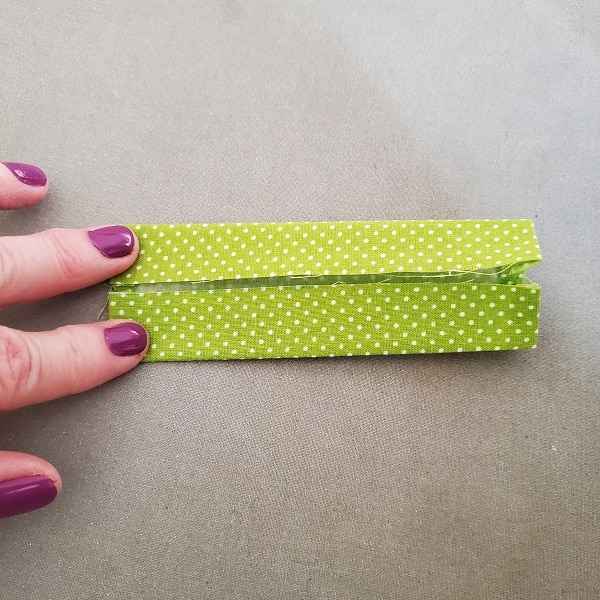
Turn the handle around and fold the other outside edge to the center and press.
Fold the handle in half and press.
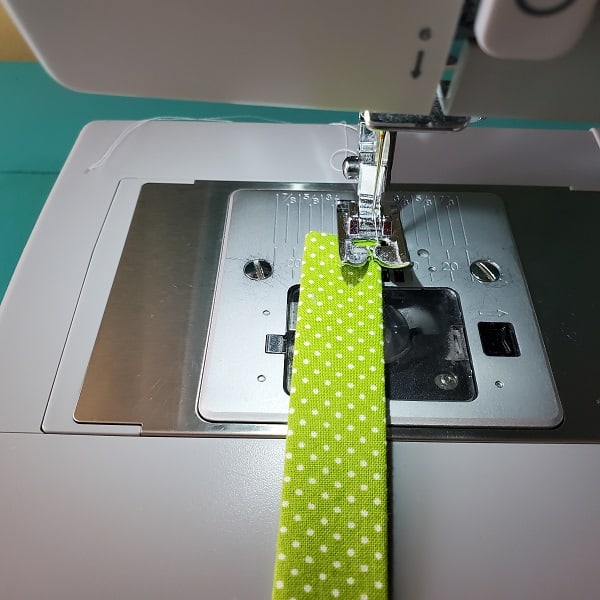
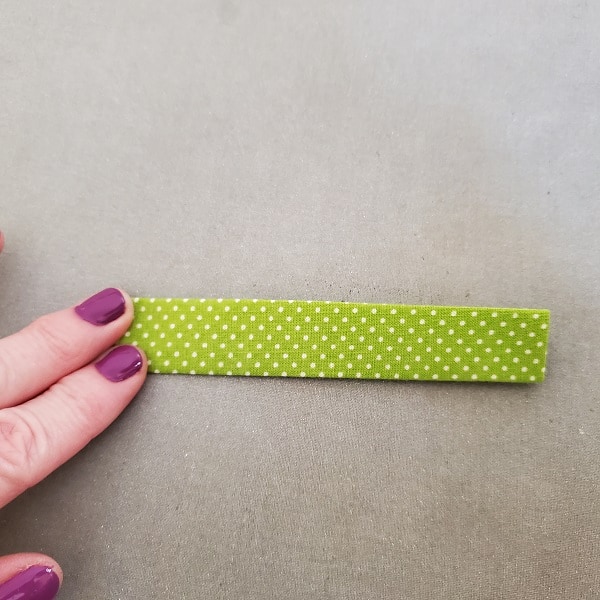
Straight stitch each long edge of the handle.
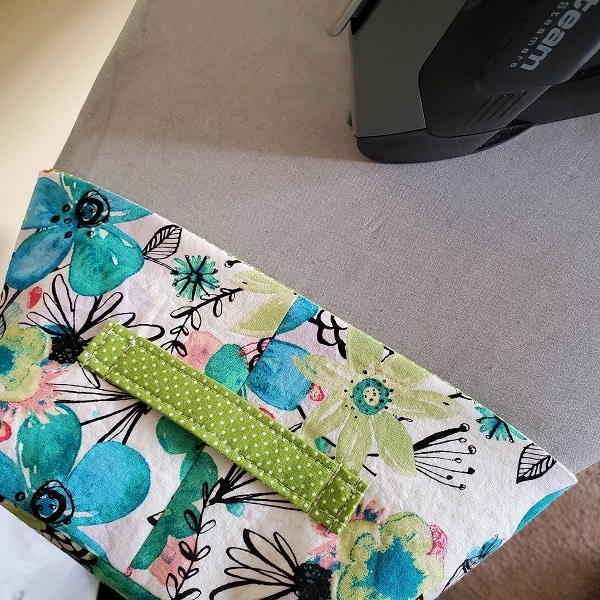
You should now have two sewn handles for the fabric basket – one for each end of the basket.
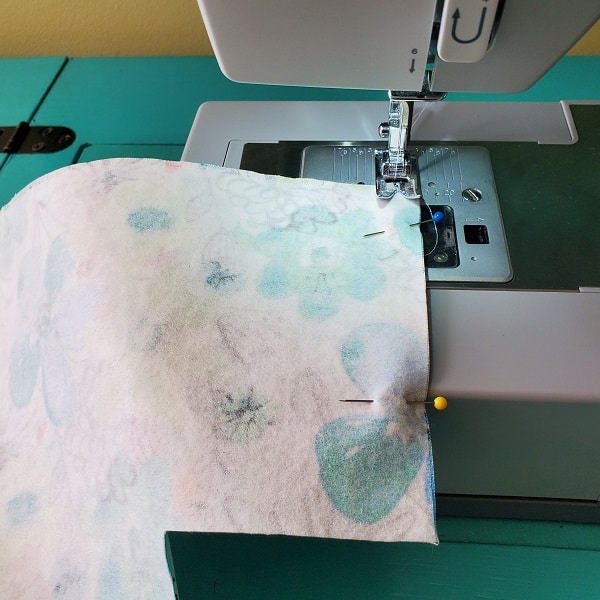
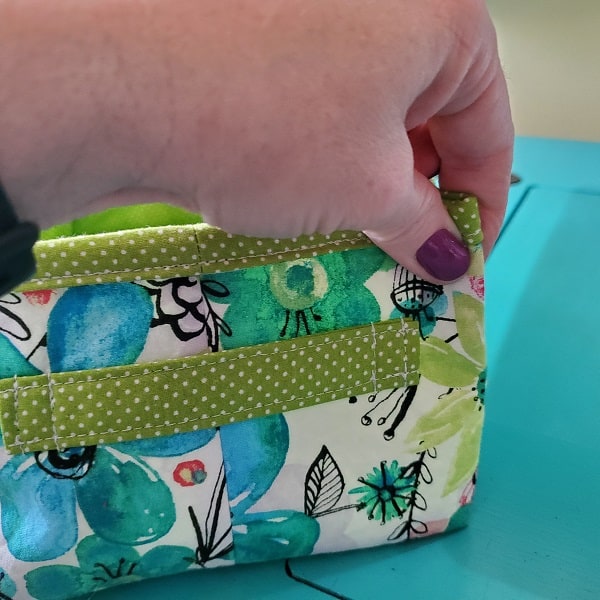
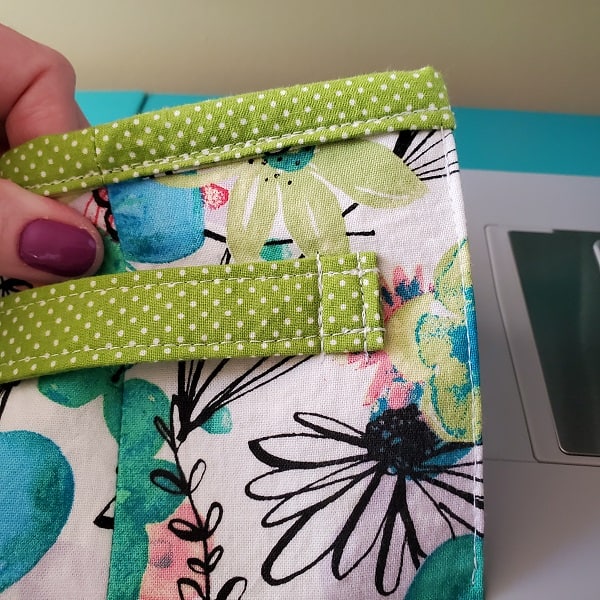
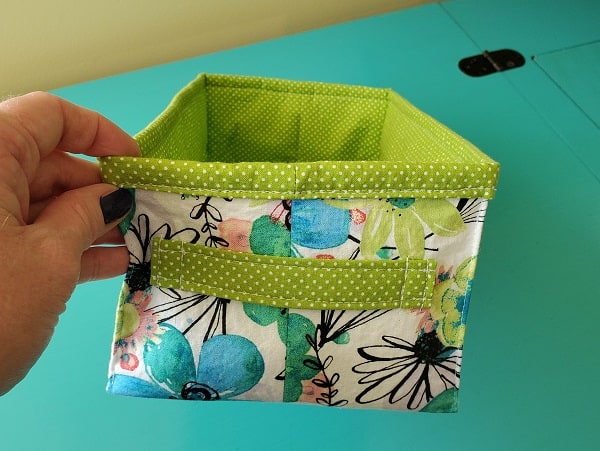
Attach the handles to the basket
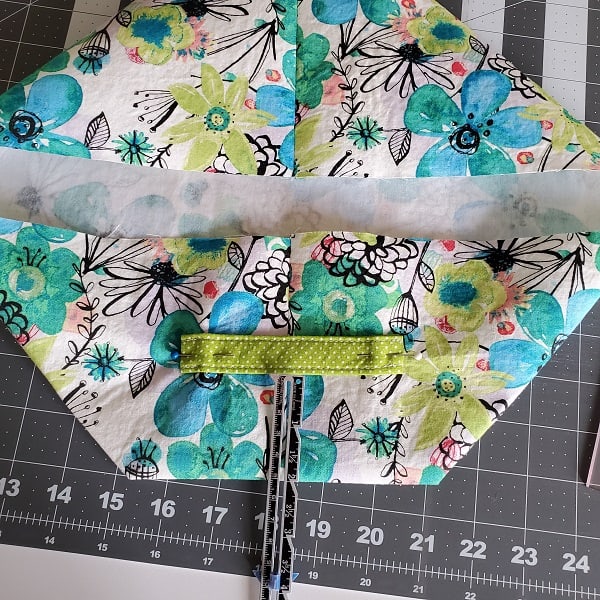
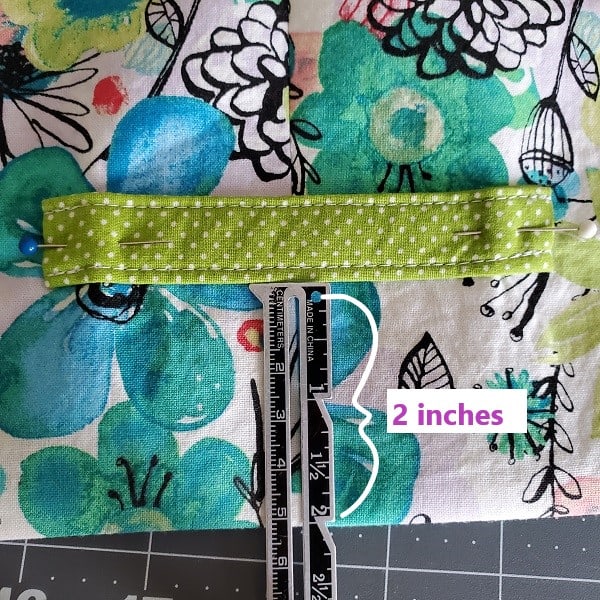
Center the basket handle across the seam on one short side of the fabric basket measuring 2 inches from the bottom. Pin in place.
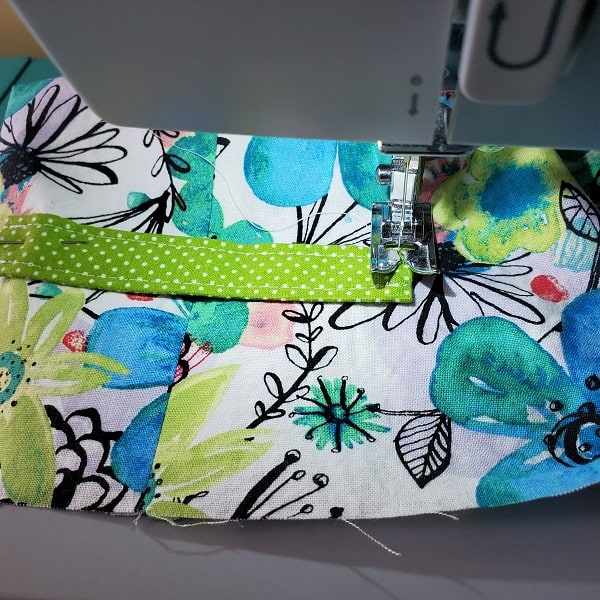
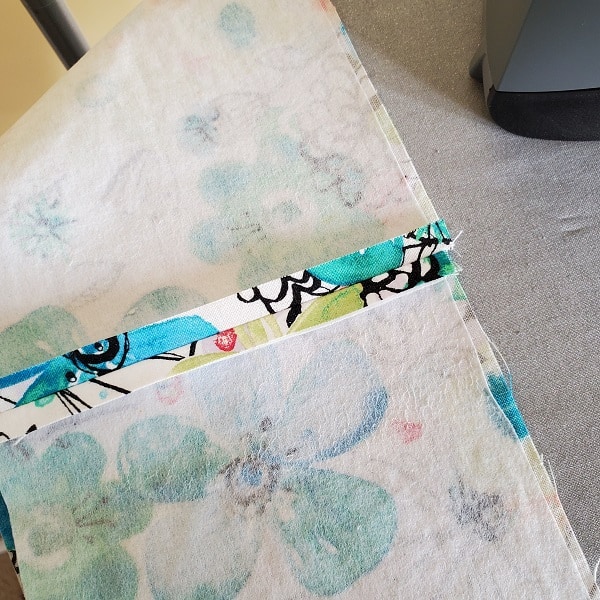
Sew each end of the handle about 1/8-inch from the edge.
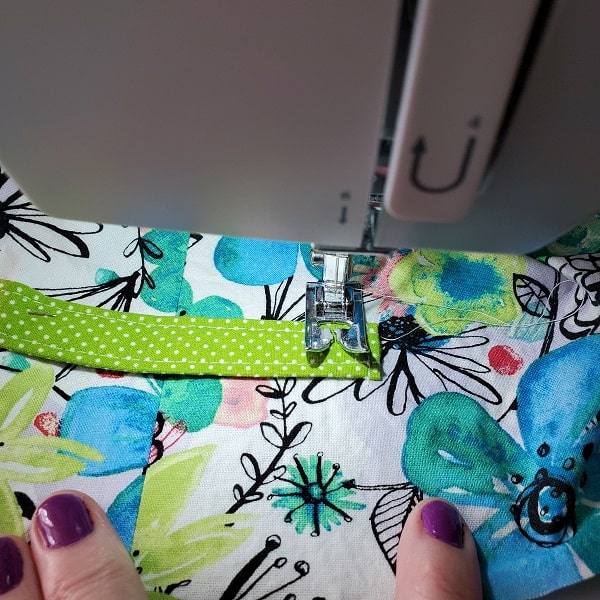
Then sew again using the first set of stitches as a guide along the edge of your presser foot.
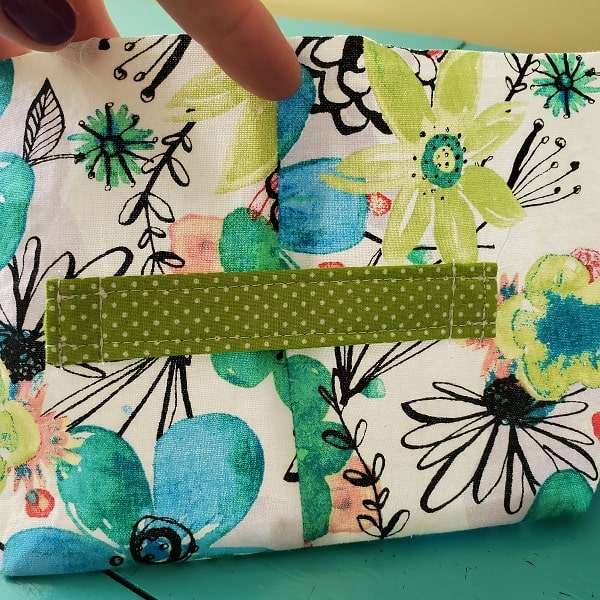
The picture above shows the attached handle. Repeat by attaching the other handle to the opposite end of the fabric basket.
Sew the fabric rectangle basket together
Once you have the basket handles attached, it’s time to sew it all together.
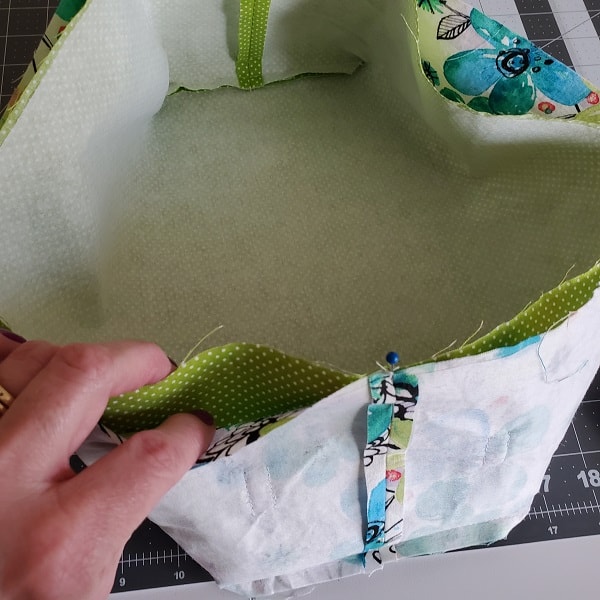
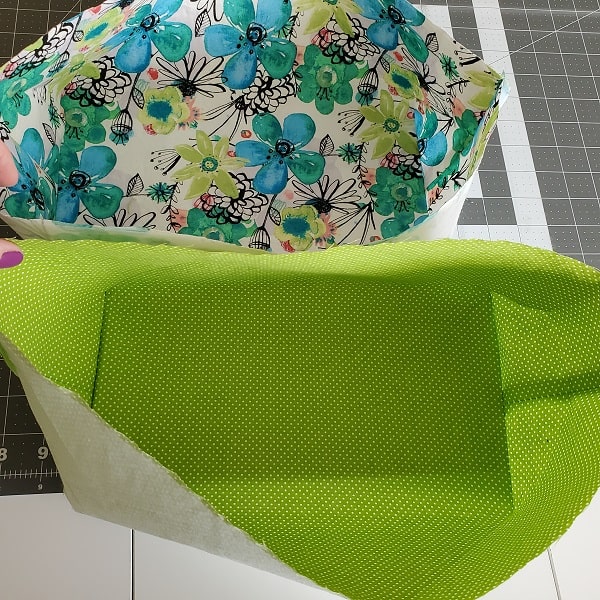
Place the lining basket (right side out) inside the outer basket (inside out). The right sides should be facing each other.
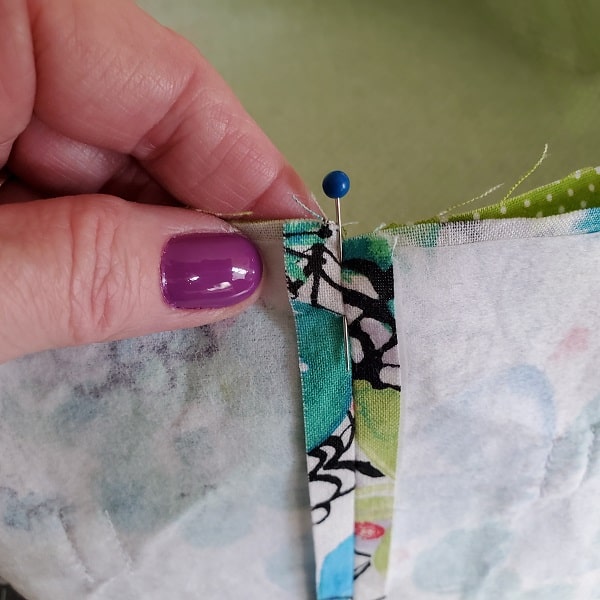
Line up the seams and pin in place.


Pin all around and sew, leaving an opening for turning.
Turn your fabric basket right side out.
Press around the top of the basket.
Top stitch all around. This gives the basket a finished look and sews the opening closed.
***You can find the ad-free, printable PDF version of this sewing tutorial available for purchase in my Etsy shop HERE. Includes 21-pages of step-by-step instructions with pictures and templates. Print a copy to keep next to your sewing machine for easy reference.***
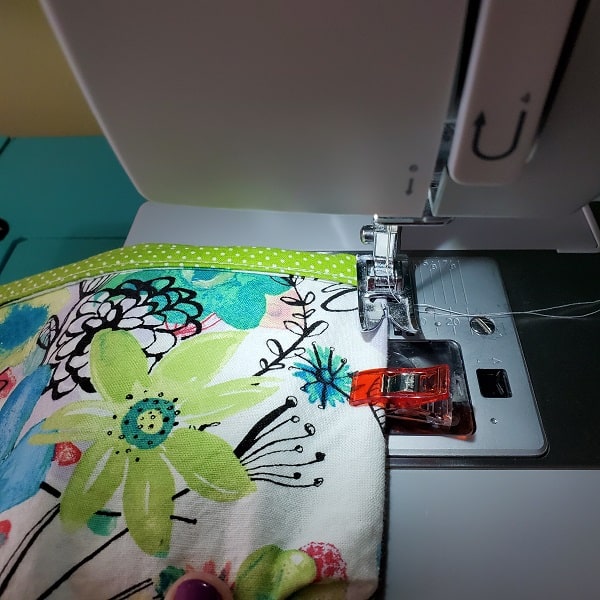
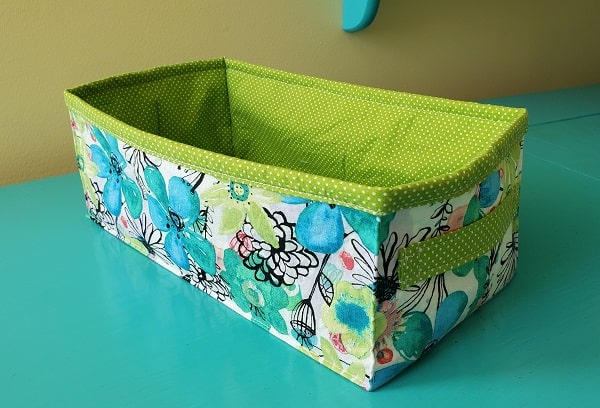
Fold over the top of the basket
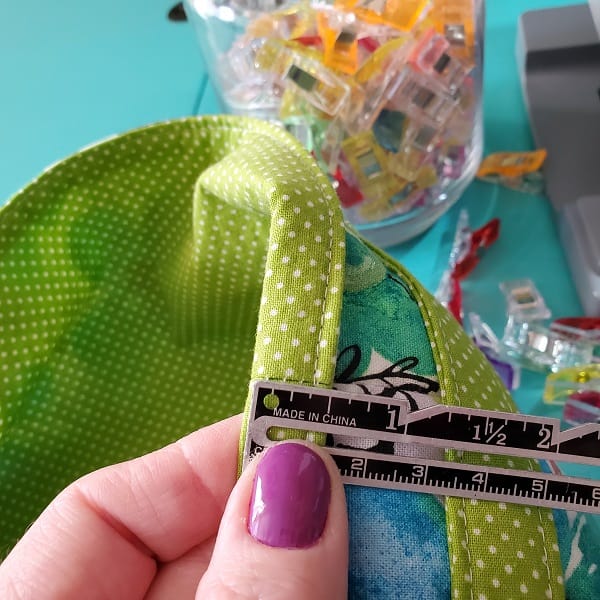
Fold over the top of the basket 1/2 inch.
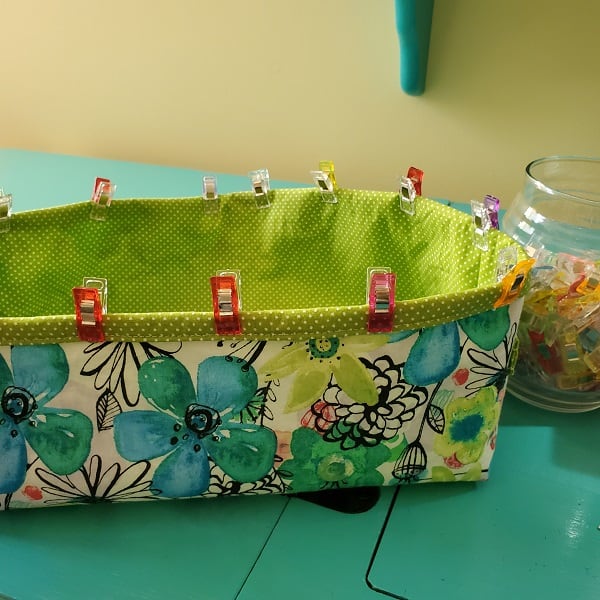
Hold in place using your sewing clips. If you don’t have sewing clips, binder clips or straight pins will work as well.
Sew all around on top of the straight stitch you already sewed.
The above picture shows what your fabric basket should look like at this point. I like doing the fold over at the top to create an accent and it also matches your handles.
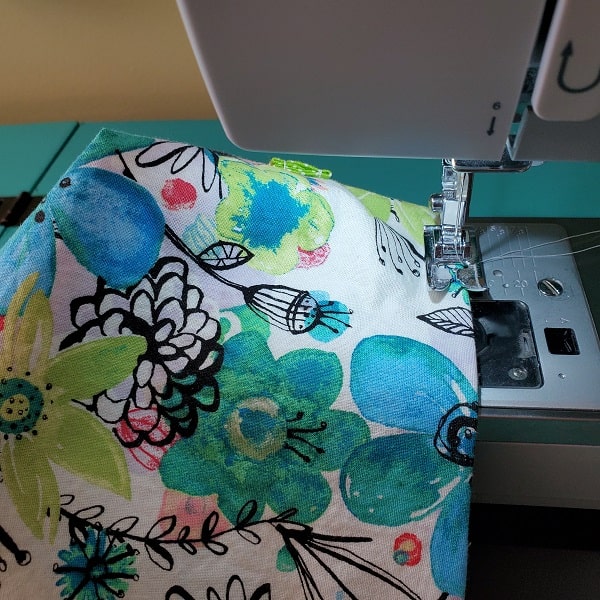
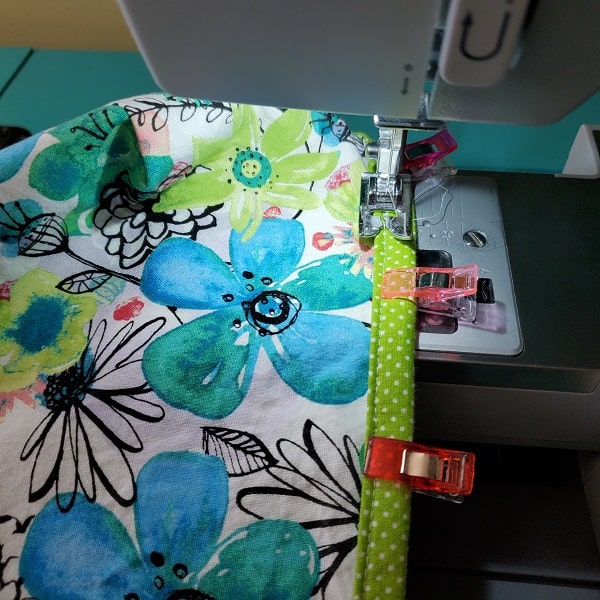
Sew the vertical edges and bottom edges
Pinch the side corner edges together and secure with a sewing clip.
Starting at the bottom of where the top is folded over, sew as close to the edge as possible and stopping at the bottom corner.
The above picture shows what the corner edge looks like after sewing. Repeat with the other three corners of your basket.
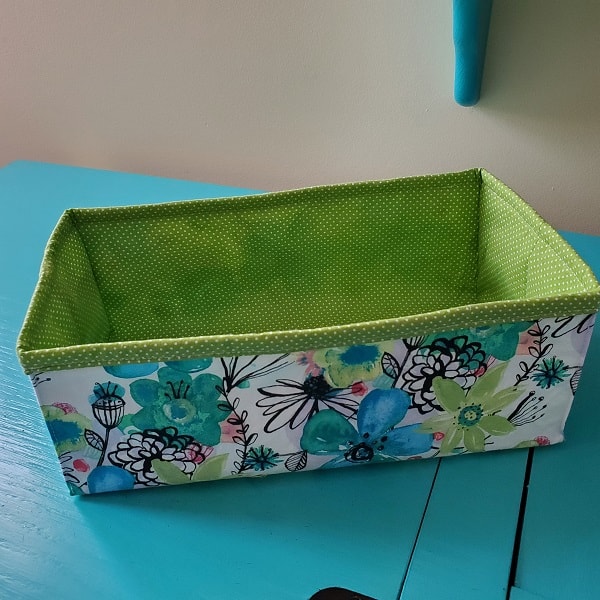
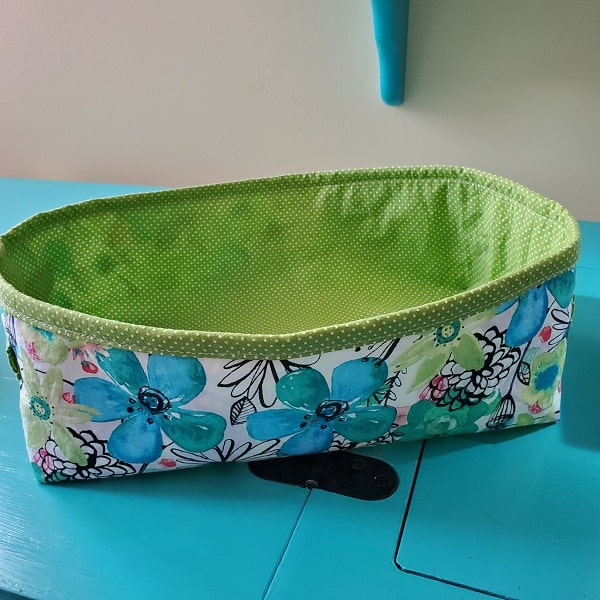
Sew along the two bottom long edges as well using the same steps as the vertical edges.

The picture above shows what your fabric basket should look like at this point.
Add the removable bottom
Adding the covered mesh bottom is optional. However, I do recommend it to make the basket a little sturdier.
Measure the bottom and side of the basket. This basket is approximately 11 1/2 inches by 6 inches.
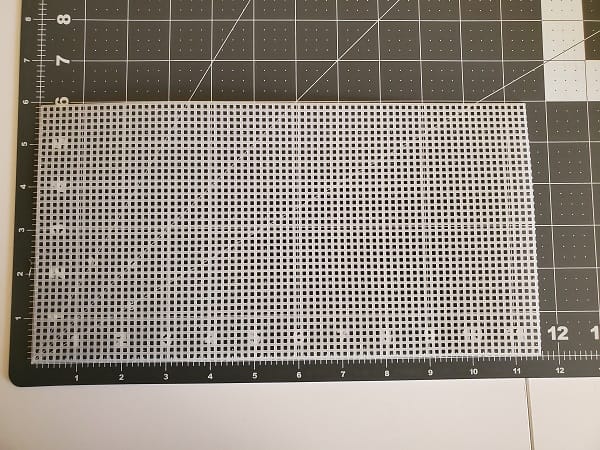
Cut a piece of craft mesh the same measurements as your basket.
Place the piece of mesh down inside your basket. The mesh will most likely be too big. See in the picture above the mesh is curled a little bit.

Trim off a row or two on the long side and a row or two on the short side. Keep trimming down until it easily fits. The mesh I cut ended up measuring approximately 11 inches by 5 3/4 inches.
Sew the mesh bottom cover
Now that you have your craft mesh cut, use your cutting mat, rotary cutter and clear ruler to cut two pieces of the lining fabric measuring one inch longer and 3/4 inches wider than your mesh piece. I cut two pieces of fabric measuring 12 inches by 6 1/2 inches.
Place the mesh cover fabric pieces right sides together.
Sew three sides together, leaving one of the short sides open.

Clip the corners with your sewing scissors.
Turn right side out. Push out the corners and press.
Insert the mesh through the top that’s open. It should be a snug fit.
There should be about 1/2-inch of extra fabric between the mesh and the end of the fabric.

Fold in the fabric at the top to hem, leaving room to sew closed. Press the fold.

Top stitch across as close to the edge as possible without sewing into the mesh.
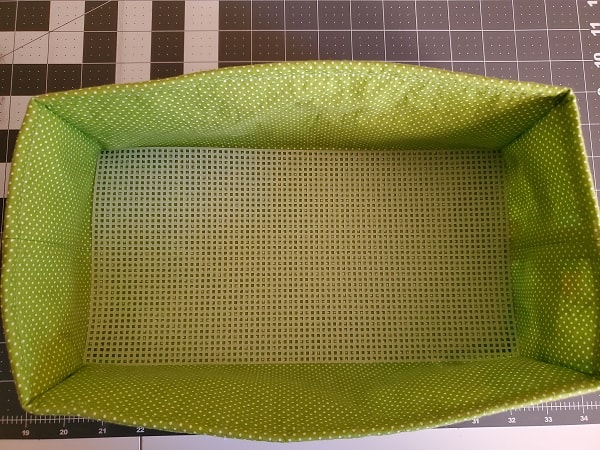
The above picture shows the finished removable bottom.
Place the mesh bottom into the fabric basket.
***You can find the ad-free, printable PDF version of this sewing tutorial available for purchase in my Etsy shop HERE. Includes 21-pages of step-by-step instructions with pictures and templates. Print a copy to keep next to your sewing machine for easy reference.***
You are finished!
I hope you enjoyed making this fabric rectangle basket and find some lovely things to store in it. Happy sewing!
I am currently using this basket to store all my crochet earrings! When I sell a pair, I can easily grab my basket and find the earrings!

Pin for later!