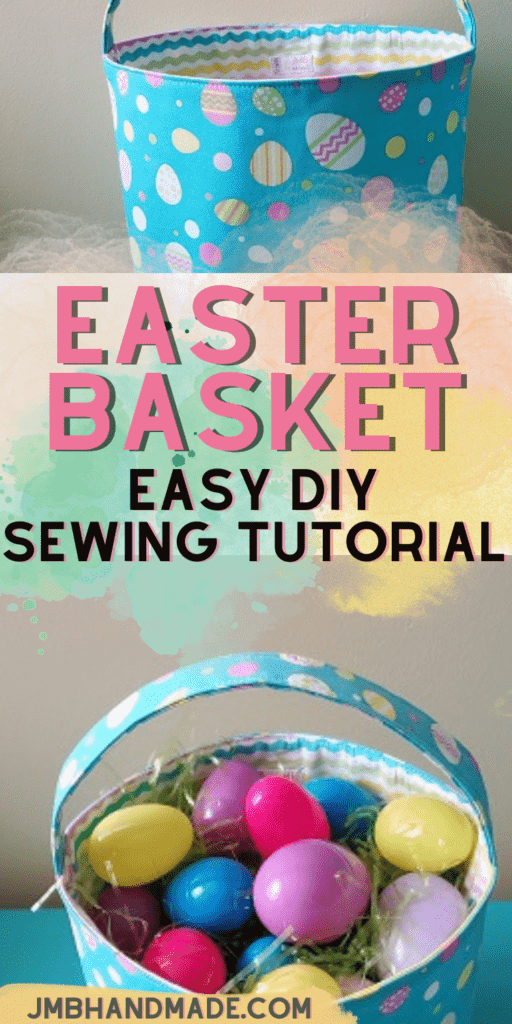
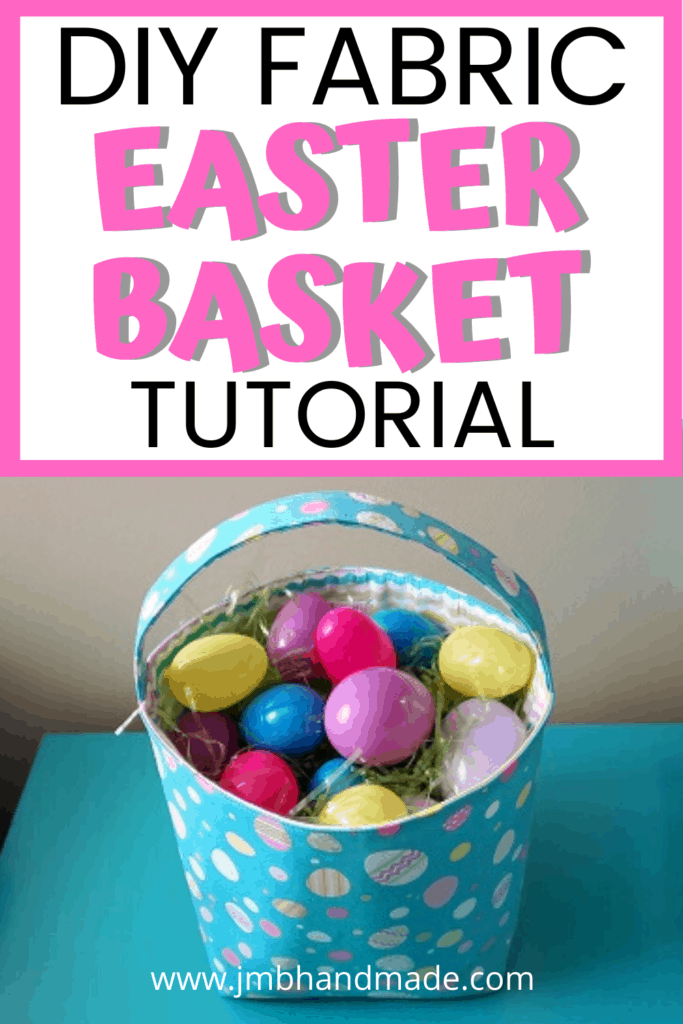
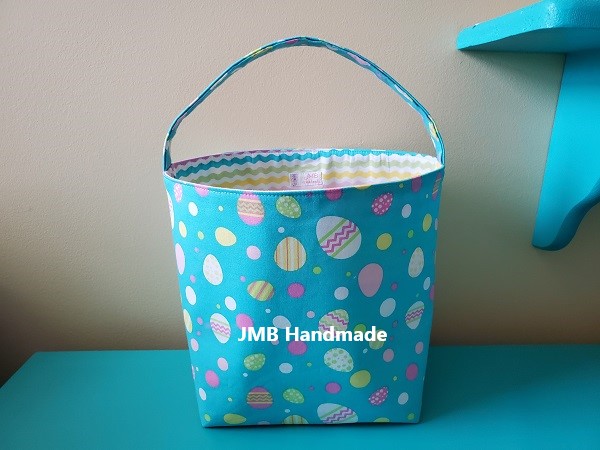
How to Make a Fabric Easter Basket
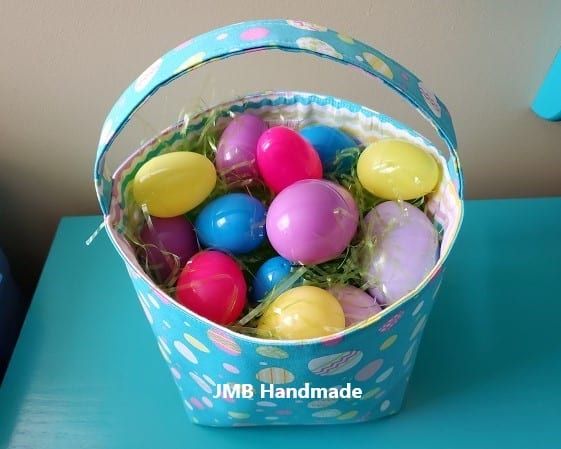
Learn how to sew a fabric Easter basket with this simple sewing tutorial.
Easter is one of my favorite holidays. One of the reasons is because it means getting together with family. I like to decorate my house when it is my turn to host, no matter what holiday it is. I decided to sew a fabric Easter basket this year for a table centerpiece. You can create a simple fabric Easter basket too to decorate, give to friends, family or co-workers, or fill with candy and give to your children. So many fun ideas!
Create a small coin purse and fill with candy to put in your basket or create some reversible Easter placemats to add to your table.
This Easter basket sewing tutorial is similar to my tote bag tutorial except this basket only has one strap. The finished basket is approximately 10.5” W (at its widest part) x 8.5” H x 6” D. You can change the measurements if you want your Easter basket bigger or smaller.
Here are the Easter basket step-by-step instructions:
This post contains affiliate links. Please see disclosure for more information.
***You can find the ad-free, printable PDF version of this sewing tutorial available for purchase HERE. Includes 14-pages of step-by-step instructions with pictures. Print a copy to keep next to your sewing machine for easy reference.***
Fabric Easter basket sewing supply list:
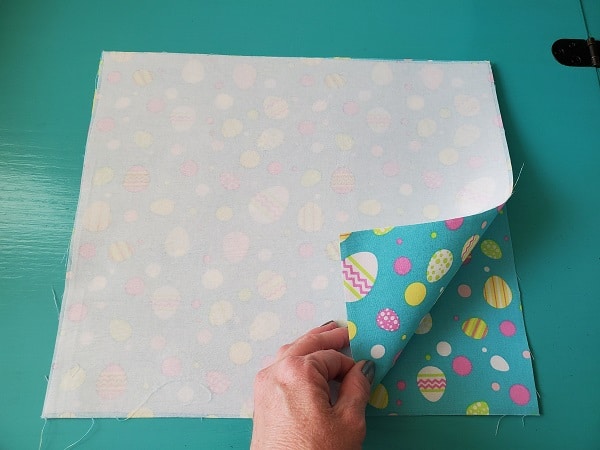
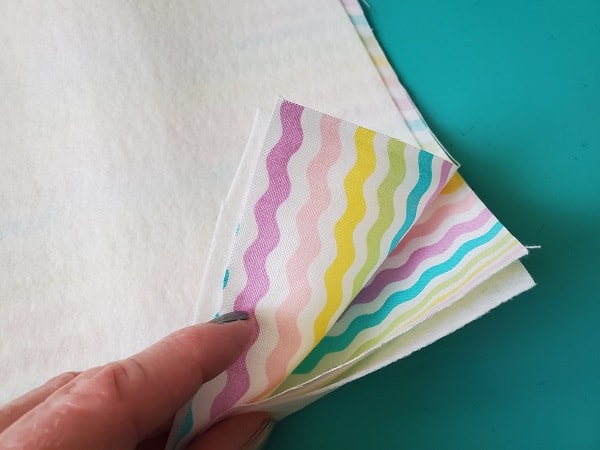
- Two outer fabric pieces and two lining fabric pieces each measuring 14” W x 12” H – my favorite fabric shop
- One fabric piece measuring 5 inches by 14 inches for the basket strap
- Fusible interfacing – I use Pellon 911FF Fusible Interfacing
- Extra firm stabilizer – I use Pellon 926 Sew-In Extra-Firm Stabilizer for Crafts
- Cutting mat
- Clear ruler
- Rotary cutter
- Sewing scissors
- Matching thread
- Straight pins
- Marking pencil
- Steam iron
- Sewing machine
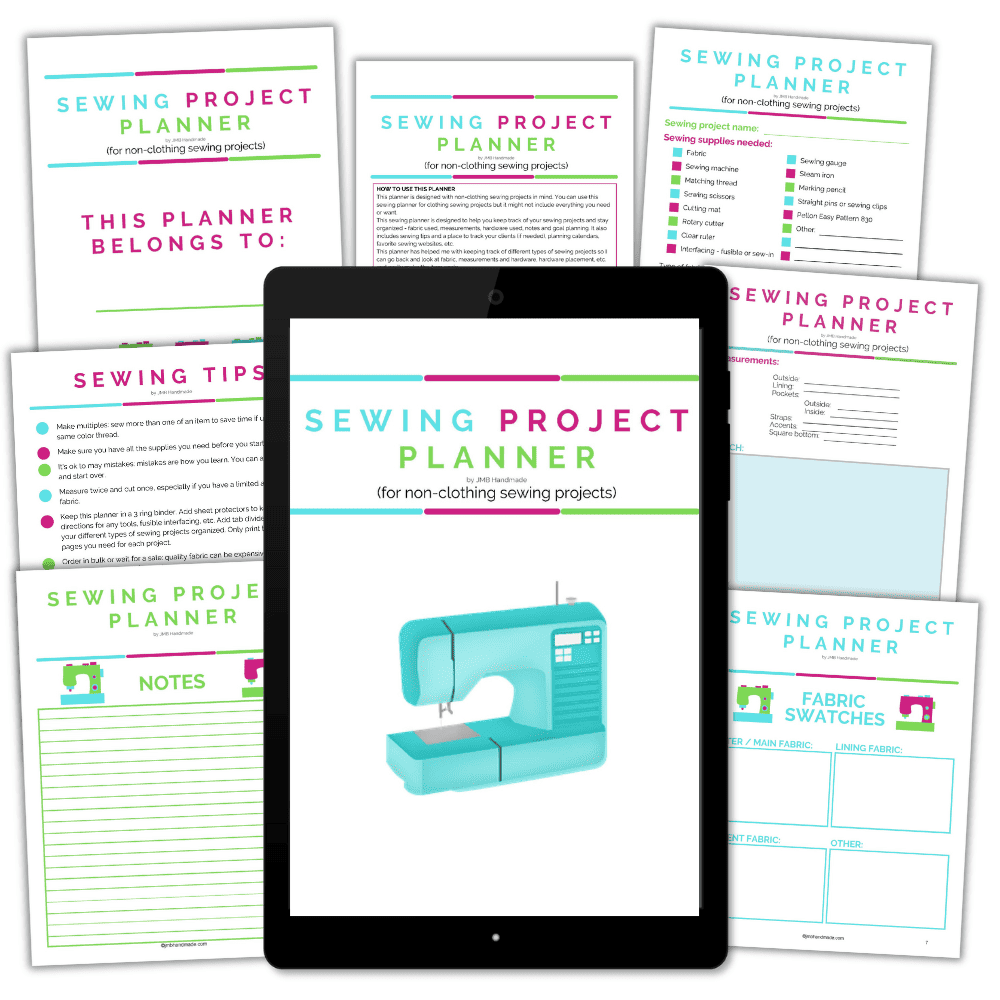
Keep track of your sewing projects, like this one, with a sewing planner. This sewing planner is specifically designed for non-clothing sewing projects and helps you stay organized – fabric used, measurements, hardware used, notes, etc. Also included are pages such as sewing tips and fabric shops. Get your sewing planner HERE.
Cut the fabric
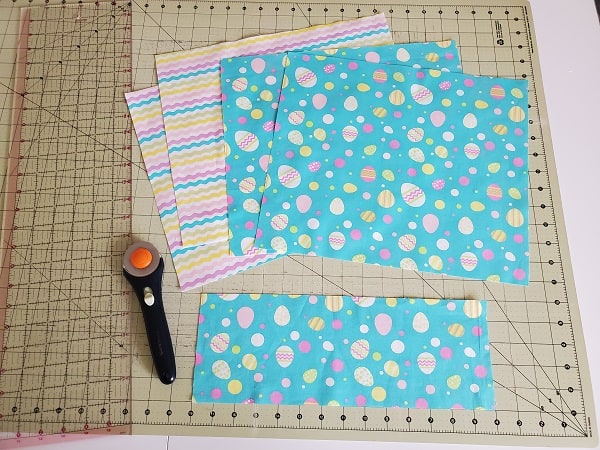
Using your cutting mat, clear ruler and rotary cutter, cut two outer fabric pieces and two lining fabric pieces measuring 14” W x 12” H. Cut one piece of the outer fabric measuring 5 inches by 14 inches for the strap.
Attach the fusible interfacing
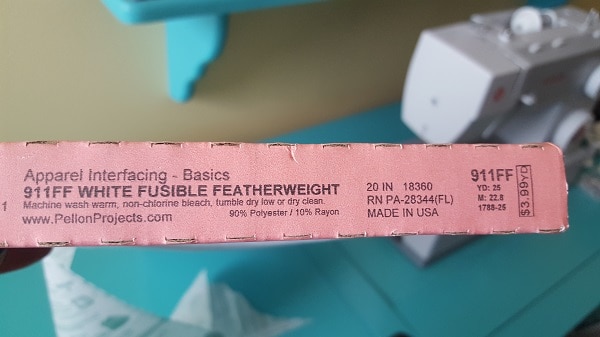
You will be using the fusible interfacing on the outer fabric pieces and the strap. I use Pellon 911FF Fusible Interfacing for my handbags and accessories sewing projects for extra durability.
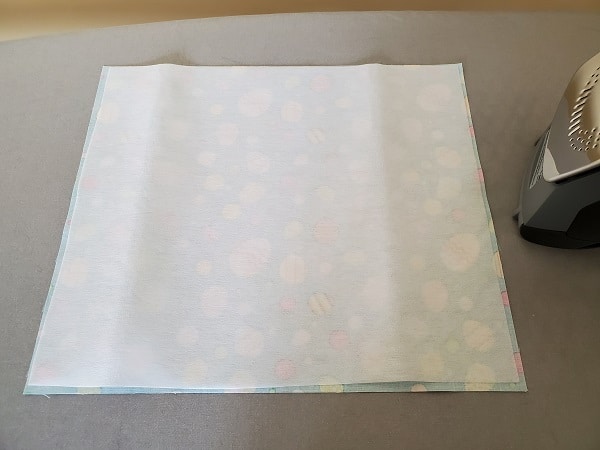

Cut the interfacing just smaller than your fabric pieces. Follow the package instructions to fuse to the fabric. You will need a steam iron to fuse the interfacing onto the fabric.
Make the basket strap
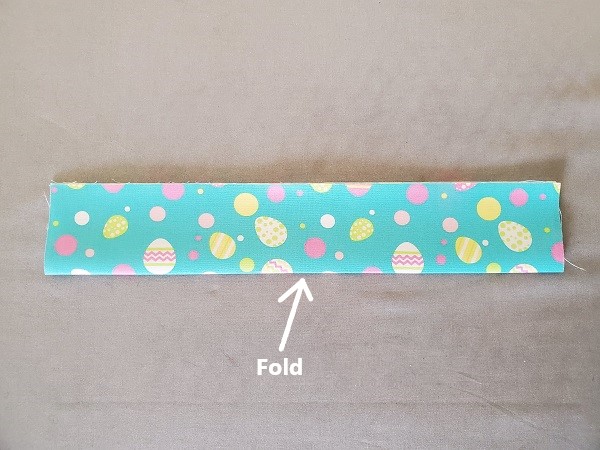
Once you have the interfacing on the strap fabric piece, fold the strap in half lengthwise and press along the fold.
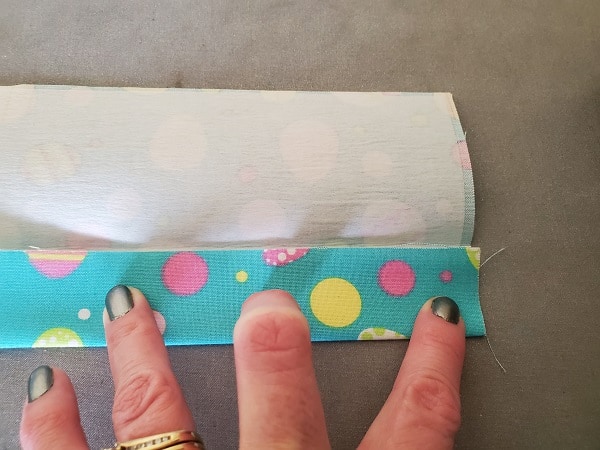
Next, open the strap back up and then fold the outside edge of strap to the center fold you just made and press. Repeat with the other outside edge.

Fold the strap in half and press as shown in the above picture.
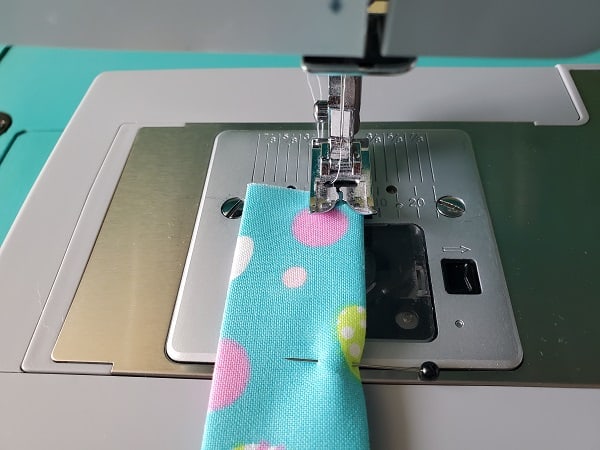
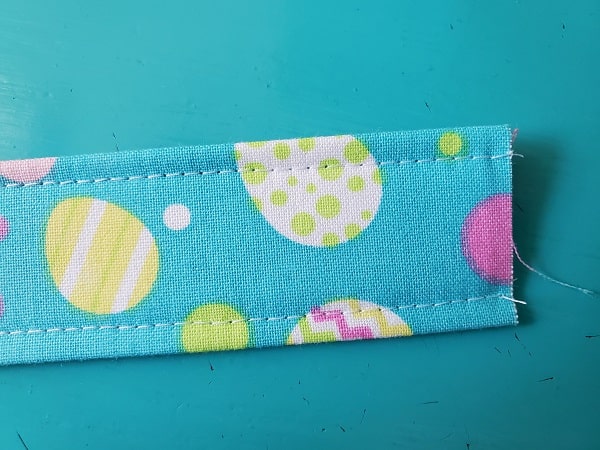
Use your sewing machine to straight stitch both sides lengthwise with matching thread using about 1/4-inch seam allowance.
***You can find the ad-free, printable PDF version of this sewing tutorial available for purchase HERE. Includes 14-pages of step-by-step instructions with pictures. Print a copy to keep next to your sewing machine for easy reference.***
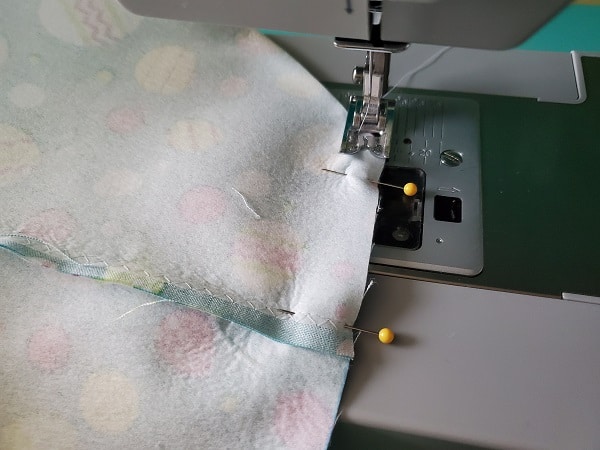
Sewing the basket together
Place your outer fabric basket pieces right sides together.
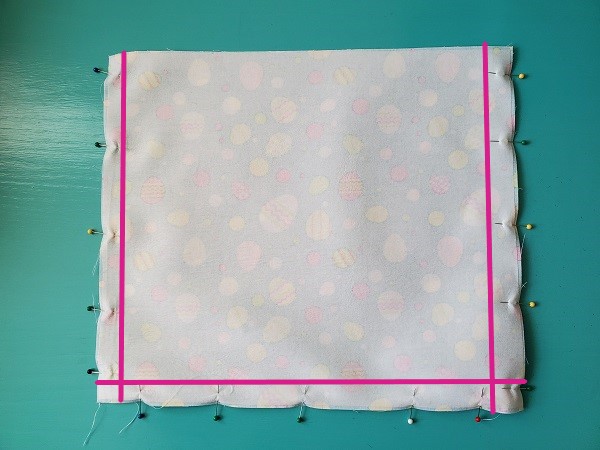
Pin the sides and bottom, leaving the top open. Straight stitch then zigzag stitch the three sides. Be sure to back stitch at the top to keep from separating.
Add the extra-firm stabilizer

For the lining, use an extra-firm stabilizer. The stabilizer will allow the basket to stand up on its own without sagging. I use Pellon 926 Sew-In Extra-Firm Stabilizer. This type of stabilizer is not fusible; you just sew it right into your sewing project.
You’ll need to cut the stabilizer just smaller than the lining fabric pieces.
Place one lining fabric piece right side up on top of one of the stabilizer pieces. Then place the other lining fabric piece on top right side down so the fabric pieces are right sides together, lining up the corners. Last, place the other stabilizer piece on top of the second lining fabric piece. The order should be – stabilizer / lining fabric right side up / lining fabric right side down / stabilizer.
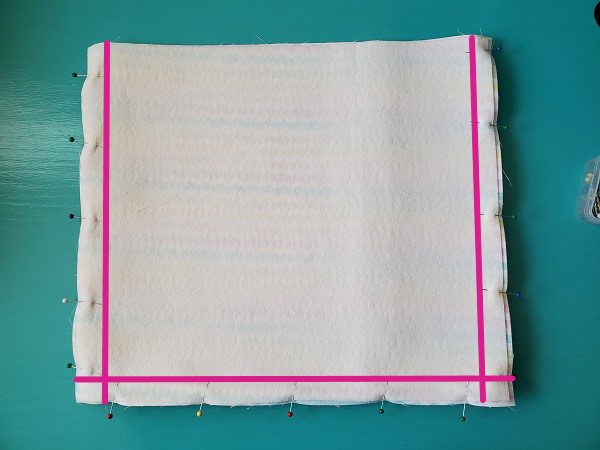
Follow the same instructions to sew the lining fabric basket as you did for the outer fabric basket.
Square the basket bottom
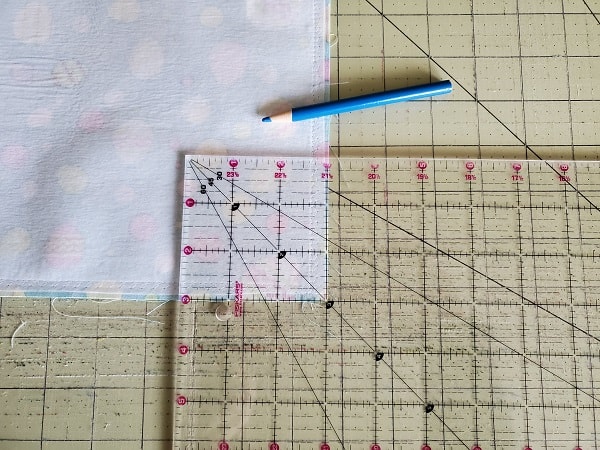
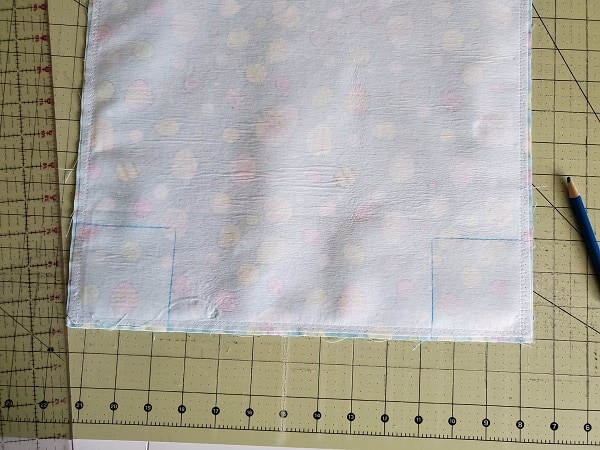
Use your clear ruler and marking pencil to draw a 3 inch square at the bottom corner on each side. Rule of thumb – your basket bottom will be twice as wide as the square you cut. For this tutorial, the bottom will be 6 inches wide. If you want the bottom to be 4 inches wide, cut your square 2 inches by 2 inches.
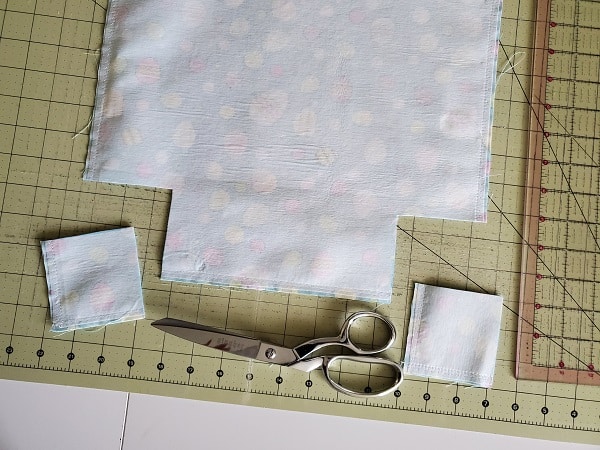
Use your sewing scissors to cut along the pencil lines.
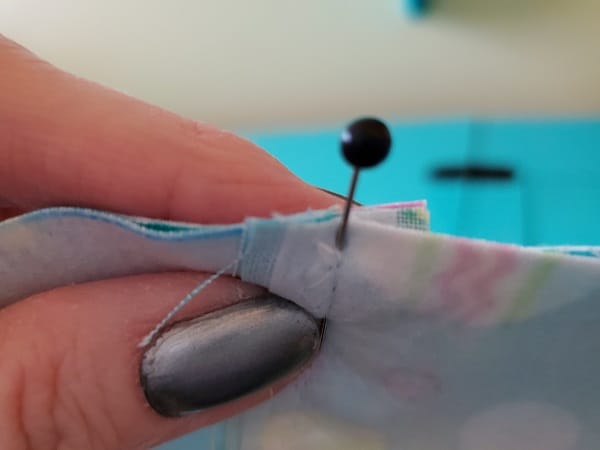
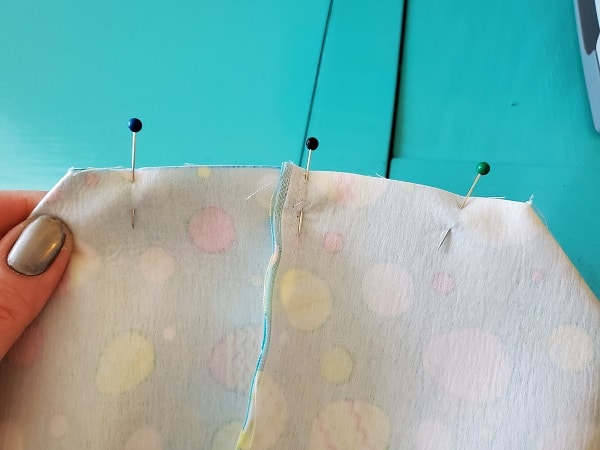

Pinch together and line up the seams. Pin in place.
Sew using the straight stitch then zigzag stitch.
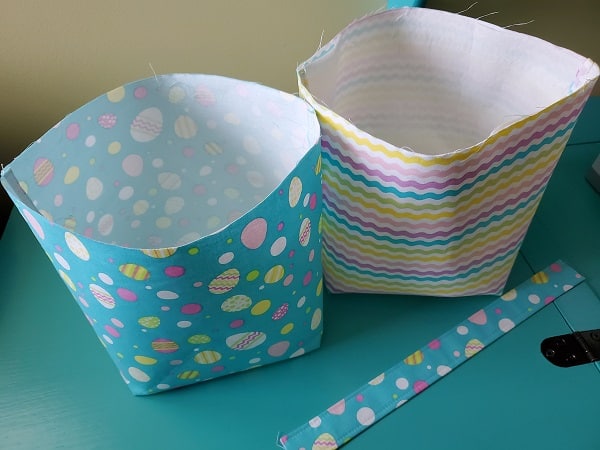
You now have two fabric baskets – one outer basket and one lining basket.
Add the strap
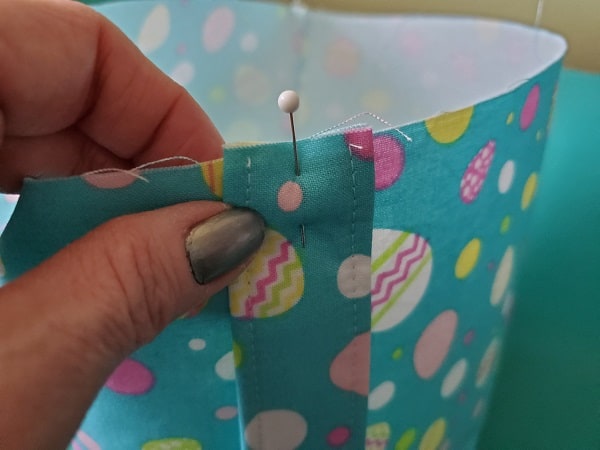
Line up the strap on the outer fabric so that the seam is in the center of the strap. Pin in place.
Baste the strap onto the outer fabric to hold in place. Repeat on the other side. Since this strap is a little bit smaller in length, you will have to play with it a little. Just be sure the strap is not twisted and is on the “outside” of the outer basket.
***You can find the ad-free, printable PDF version of this sewing tutorial available for purchase HERE. Includes 14-pages of step-by-step instructions with pictures. Print a copy to keep next to your sewing machine for easy reference.***
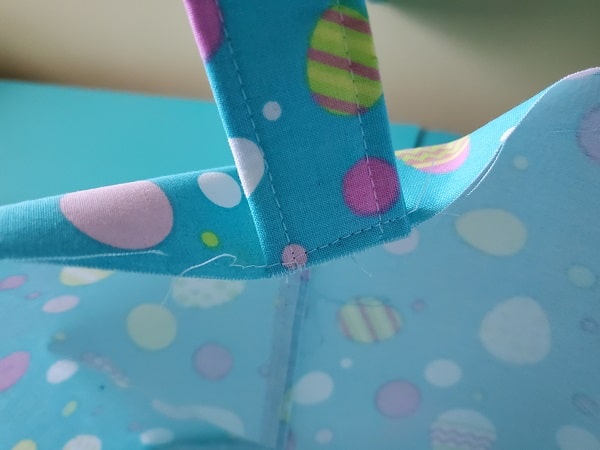
Sew the basket together
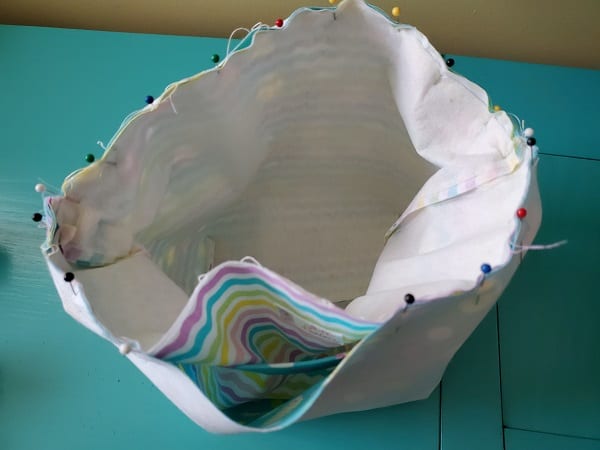
Turn the outer fabric basket inside out and keep the lining fabric basket right side out. Place the lining basket INSIDE the outer basket and pin in place, leaving an opening for turning. The strap should be in between the lining and the outer baskets. Be sure to line up the seams.
You might have to fight with the fabric a little bit to get it lined up correctly because the strap is going to cause the fabric to bunch together. Keep at it and use lots of pins.
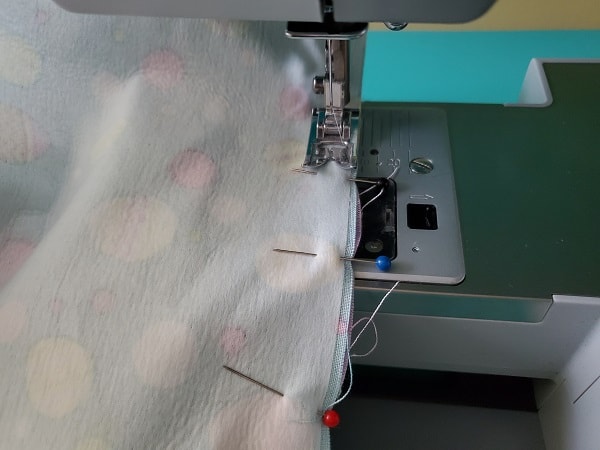
Using the arm of your sewing machine, sew around the top using the straight stitch and then the zigzag stitch.
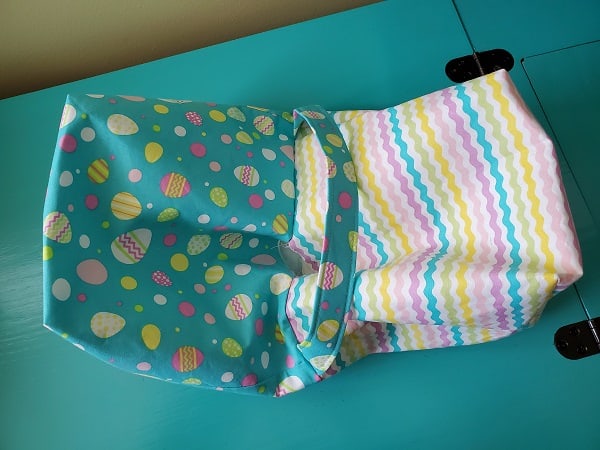
Turn your basket right side out. Push the lining down inside the bag.
Press around the top of the bag and pin the opening closed.
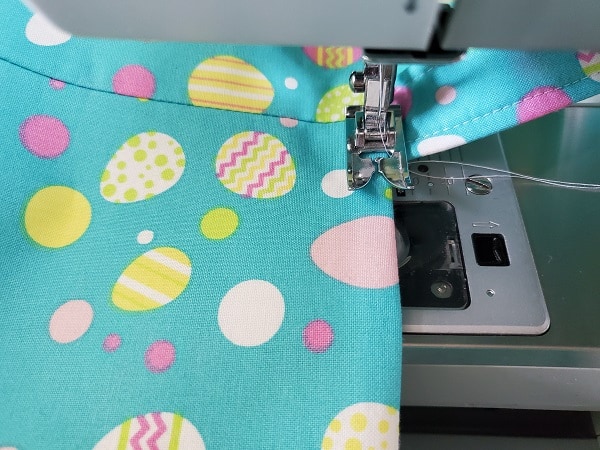
Top stitch all around the top of your Easter basket. This gives it a finished look and closes the opening.
You are finished!
I hope you have enjoyed this sewing tutorial and add it to your list of sewing projects! Please feel free to share your finished basket with me or comment below with any ideas. Happy sewing!
Pin for later!