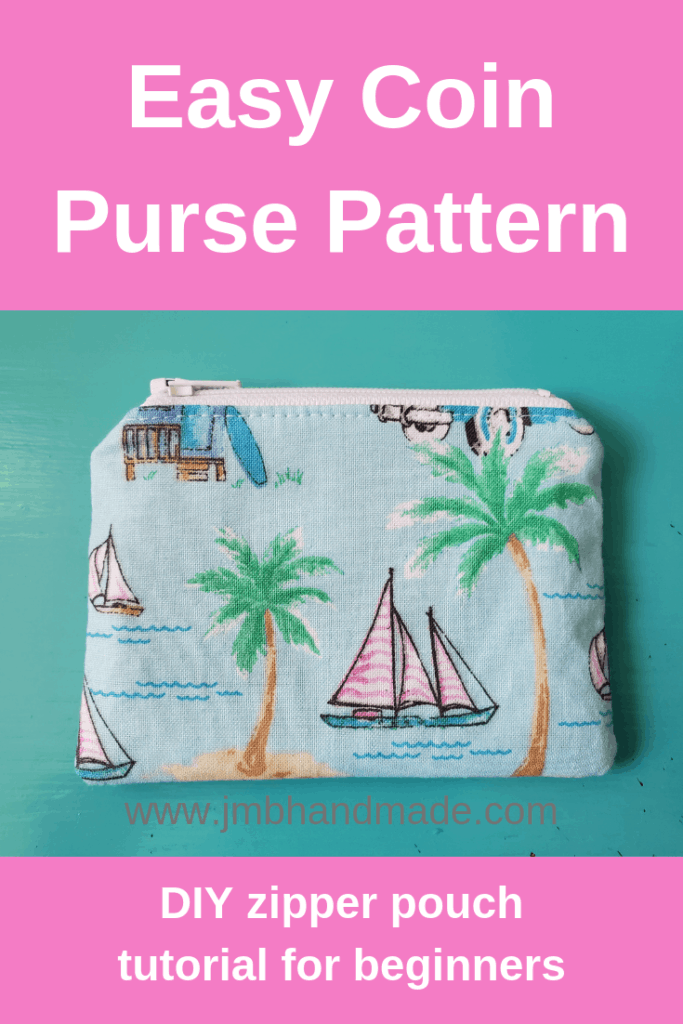
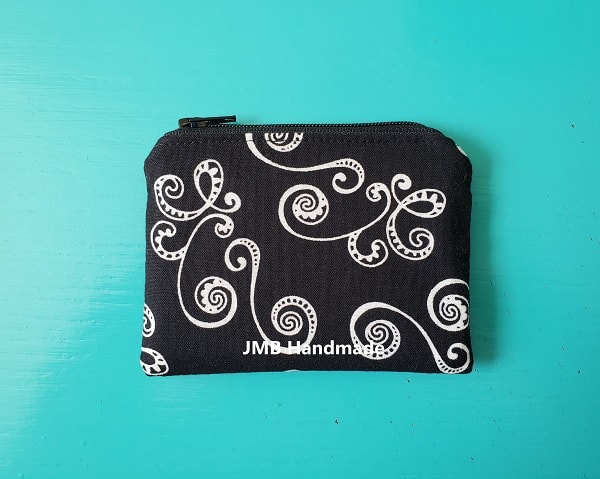
Easy Small Zipper Pouch Coin Purse Tutorial
Learn how to make your own small zippered coin purse with these easy step-by-step instructions.
I tend to just throw change in my purse when I get it so then I end up with coins everywhere! Then I get annoyed when I can’t find the change when I need it! I made a small zipper pouch coin purse so I can keep all my coins in one place. If you are like me, it’s easy to fix by making one of these quick and easy coin zipper pouches.
Make a matching simple wristlet for those times when you don’t want to carry a big purse. The small zippered pouch fits perfectly inside along with your phone.
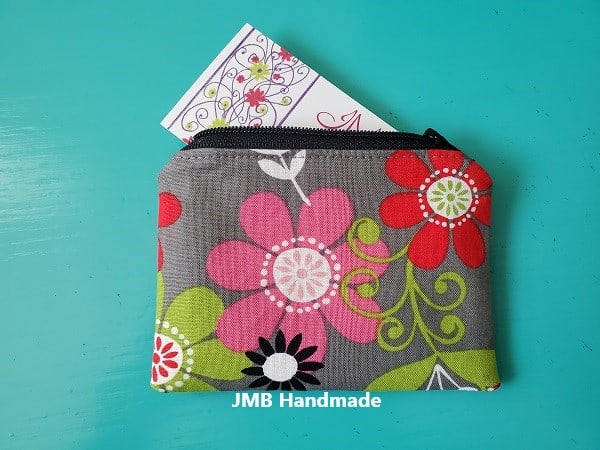
Try out these easy tutorials to create a matching gift card / credit card holder or business card holder with your leftover fabric.
This post contains affiliate links. Please see disclosure for more information.
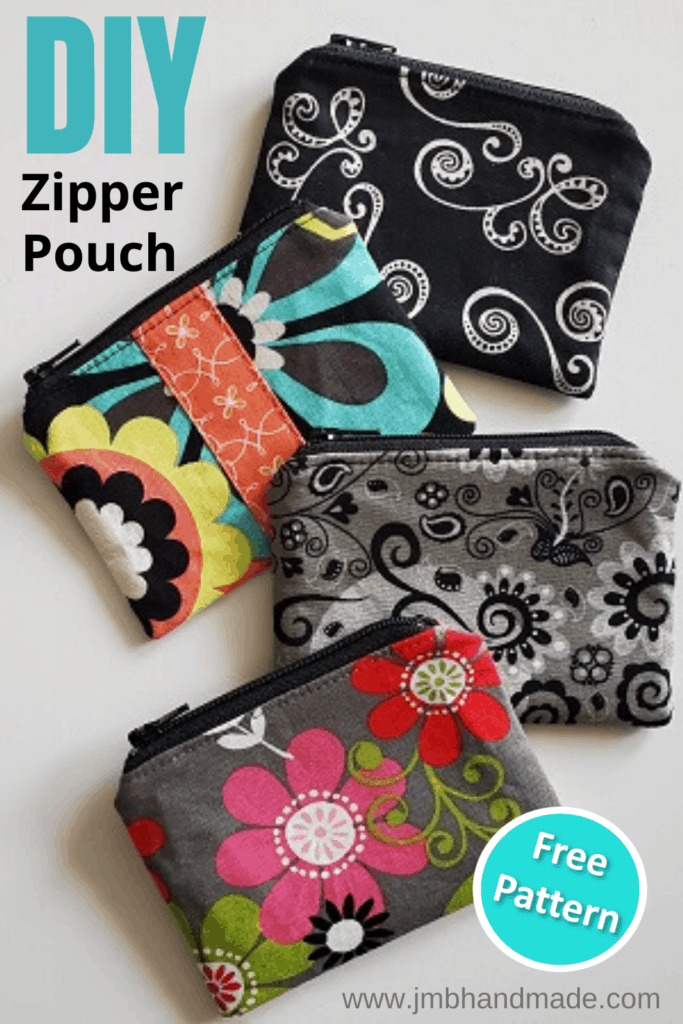
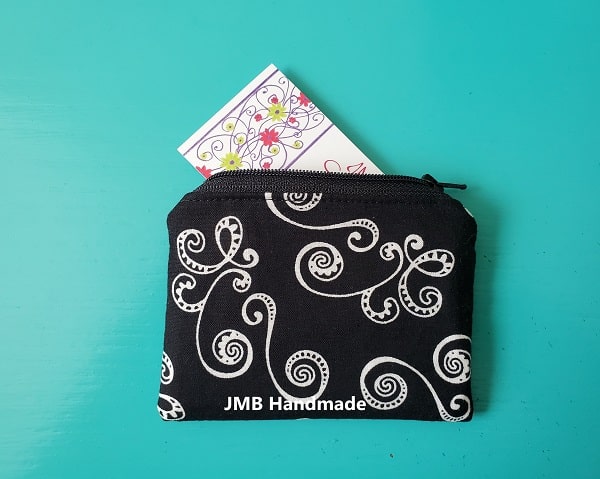
Here are the instructions. These little zipper pouches are also perfect for credit cards, gift cards and business cards!
***You can find the ad-free, printable PDF version of this sewing tutorial available for purchase HERE. Includes 12-pages of step-by-step instructions with pictures. Print a copy to keep next to your sewing machine for easy reference.***
Supplies needed
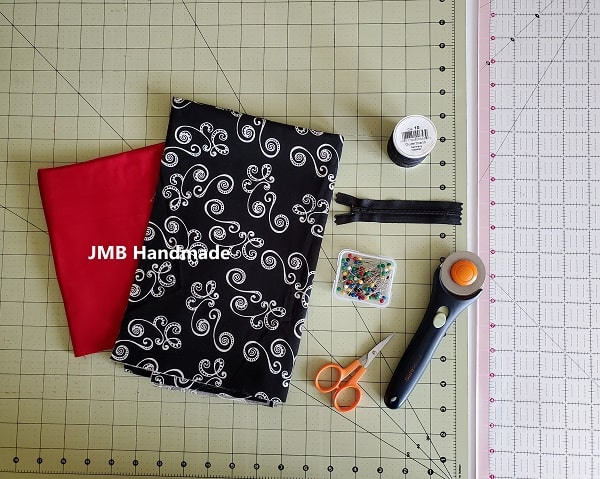
- Outer fabric 5.5″W x 4″H – my favorite fabric shop
- Lining fabric 5.5″W x 4″H
- 4 inch zipper
- Fusible interfacing
- Thread
- Rotary cutter
- Cutting mat
- Clear ruler
- Sewing scissors
- Straight pins
- Sewing machine
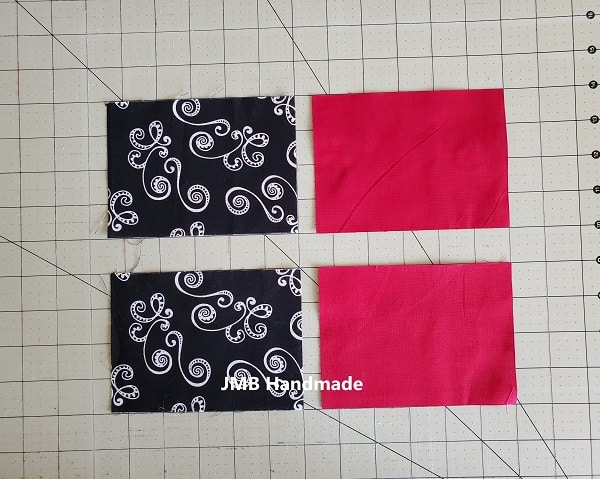
Using your cutting mat, clear ruler and rotary cutter, cut two pieces of your outer fabric and two pieces of your lining fabric each measuring 5.5″W x 4″H. If you do not have these tools, you can make a template measuring 5.5″W x 4″H, pin to your fabric and use sewing scissors to cut out the pieces.
Attach your fusible interfacing

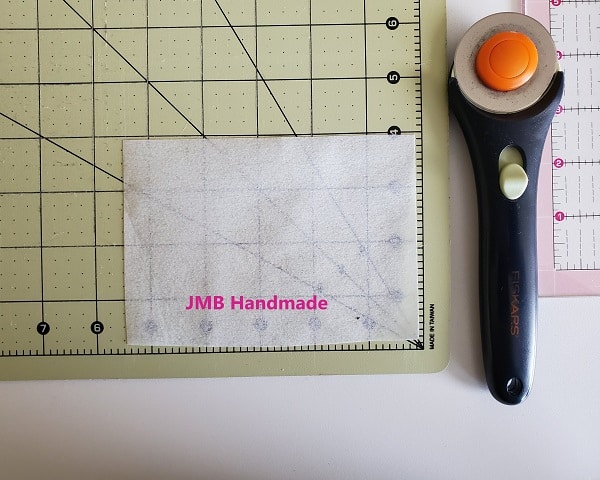
Cut four pieces of the fusible interfacing just smaller than your fabric pieces. My go to brand is Pellon for all my interfacing. The Pellon 911FF is the perfect weight for sewing zipper pouches, handbags and similar sewing projects.
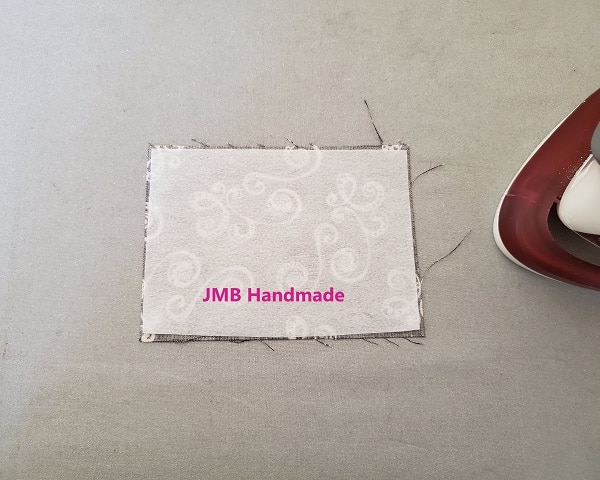
Place the interfacing on the wrong side of the fabric. Be sure the little bumps are face down!
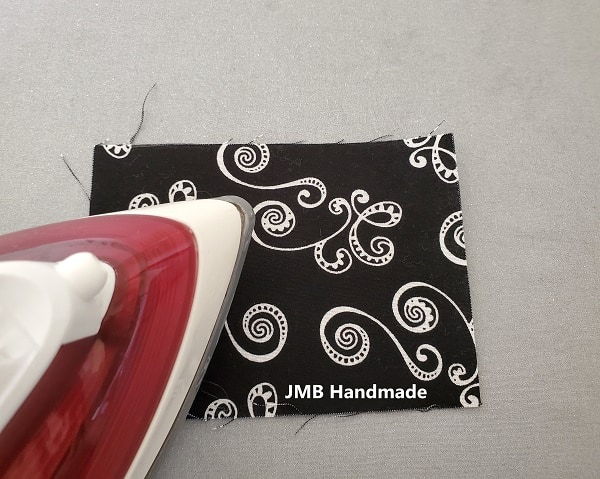
Flip the fabric with the interfacing over and press using the cotton steam setting on your iron until fused. Do this for all four fabric pieces.
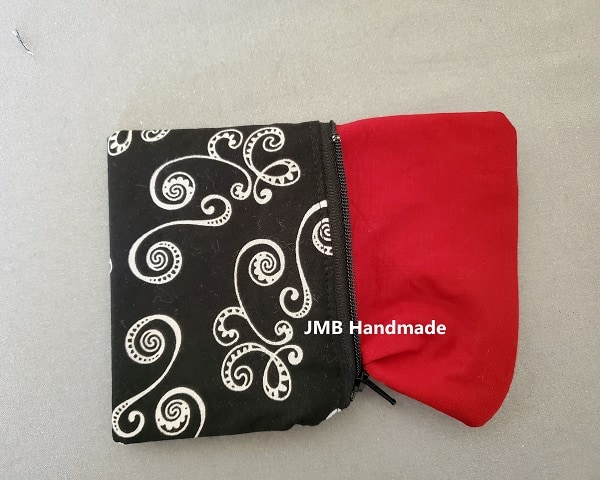
Add the zipper
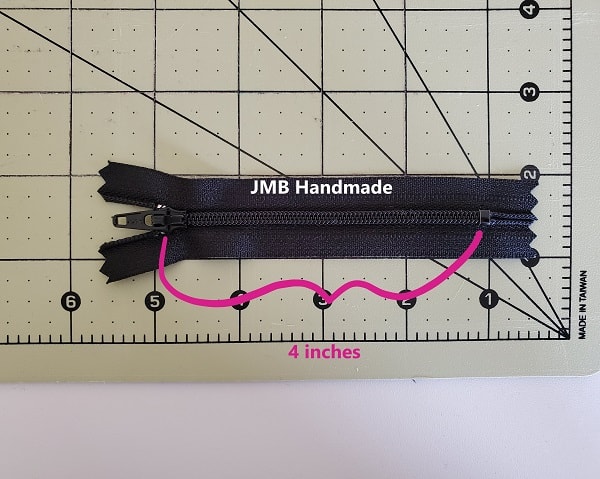
Time to add the zipper. This zipper is 4 inches and is measured from the top metal stop to the bottom metal stop as shown above. Rule of thumb – your fabric pieces are 1 1/2 inches wider that the length of your zipper. If you were to use a 7 inch zipper, for example, your fabric should measure 8 1/2 inches wide.
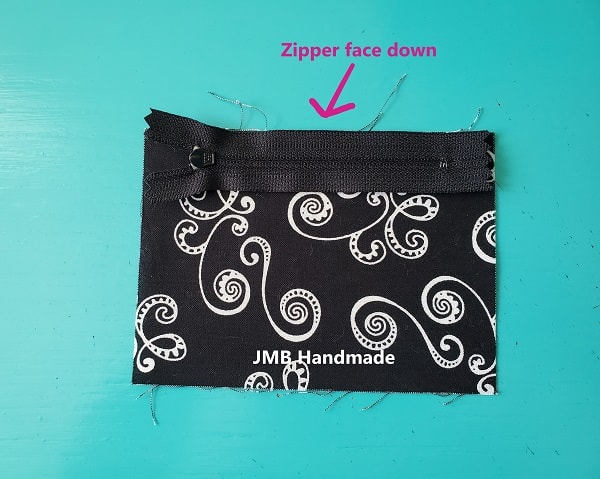
Place your zipper face down on the top of one of the outer fabric pieces.
Pin to hold in place.
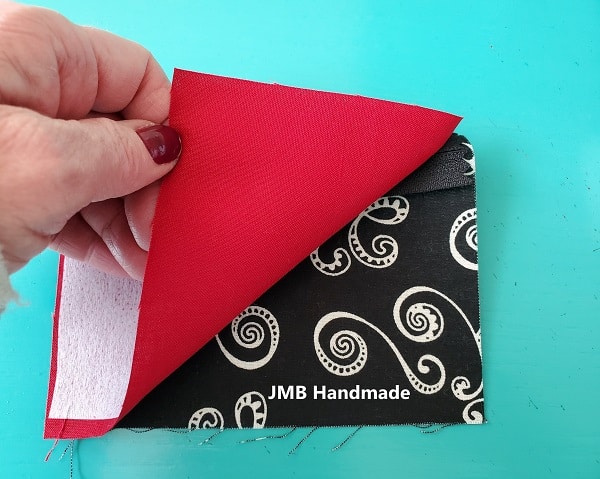
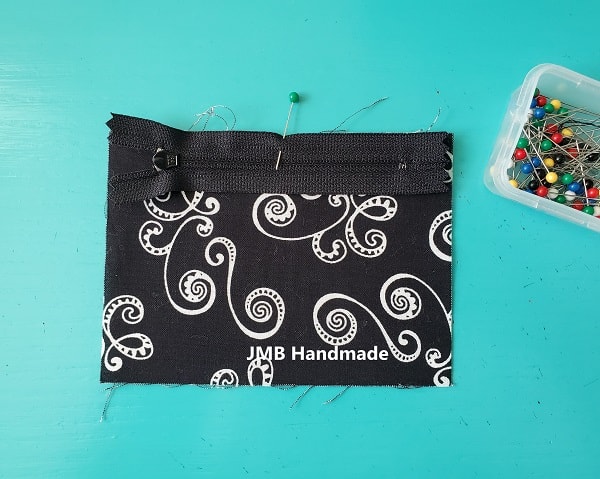
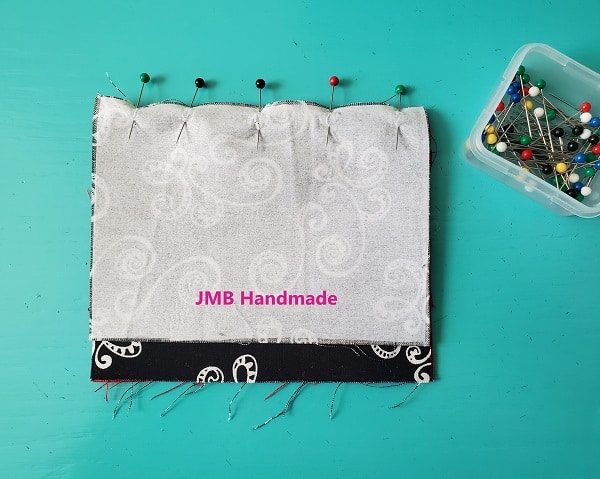
Place one of the lining fabric pieces on top of the zipper as shown above.
Pin in place – the zipper should be sandwiched in between the outer fabric piece and the lining fabric piece, right sides together.
***You can find the ad-free, printable PDF version of this sewing tutorial available for purchase HERE. Includes 12-pages of step-by-step instructions with pictures. Print a copy to keep next to your sewing machine for easy reference.***
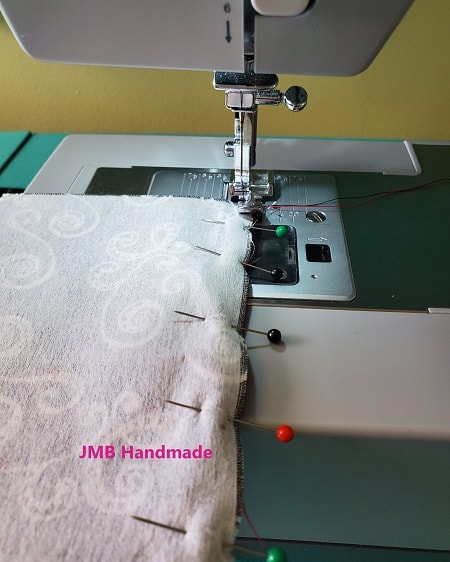
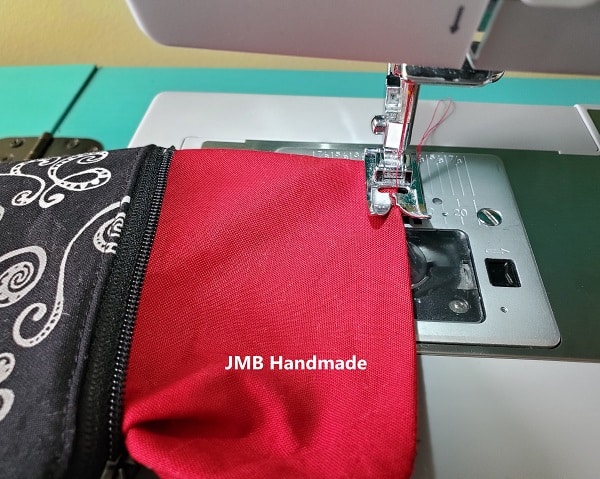
Sew the zipper
Using your sewing machine and zipper foot, stitch the zipper to the fabric.
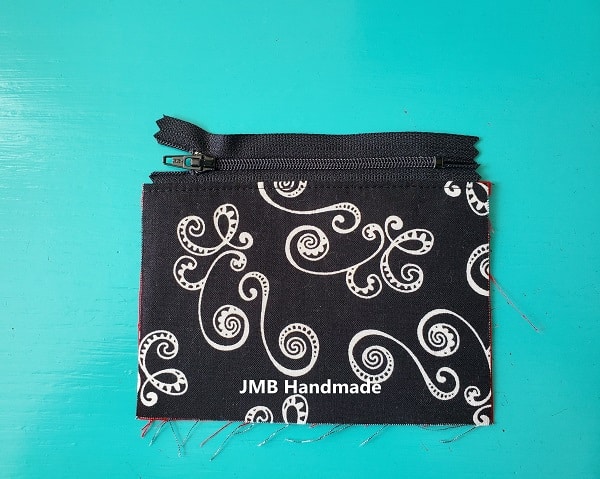
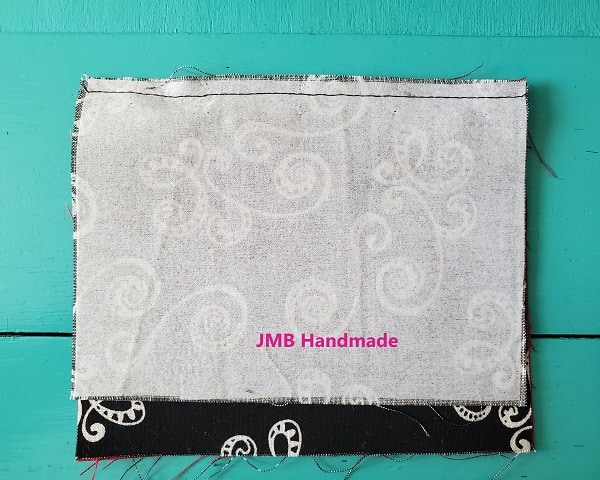
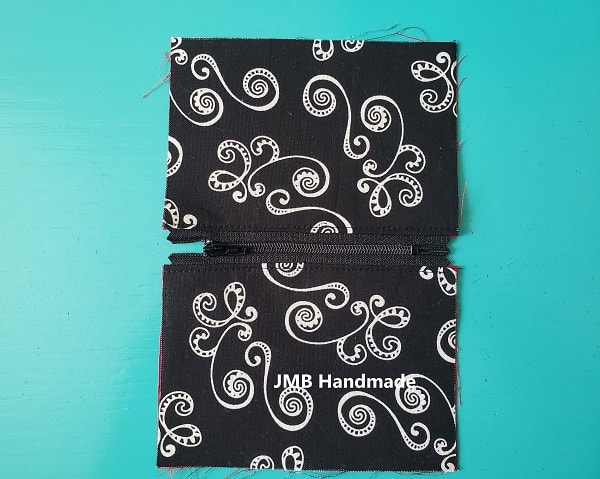
The picture above shows what the zipper pouch coin purse looks like so far.
Fold each fabric piece down so the wrong sides are facing each other and straight stitch along the top. This gives it a finishing touch and keeps the fabric from bunching up and getting caught in the zipper.
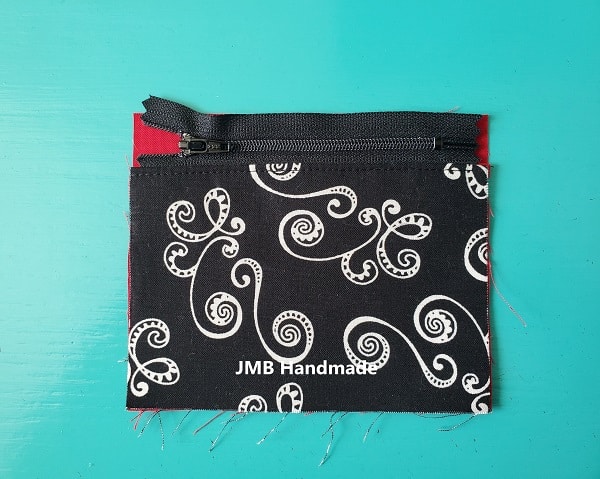
The zipper pouch coin purse should look like the above picture at this point.
Repeat with the other fabric pieces
Now you are going to repeat the same process with the other side of the zipper.

Place the zipper on top of the other piece of lining fabric – lining fabrics right sides together.
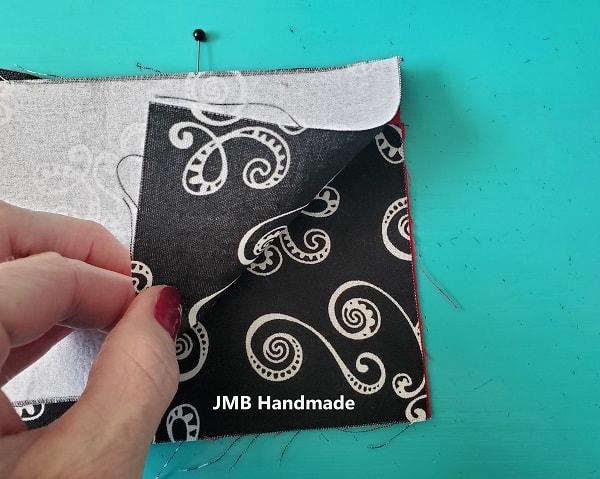
Place the other outer piece of fabric on top of the zipper – right sides of outer fabric facing together.
Pin in place.
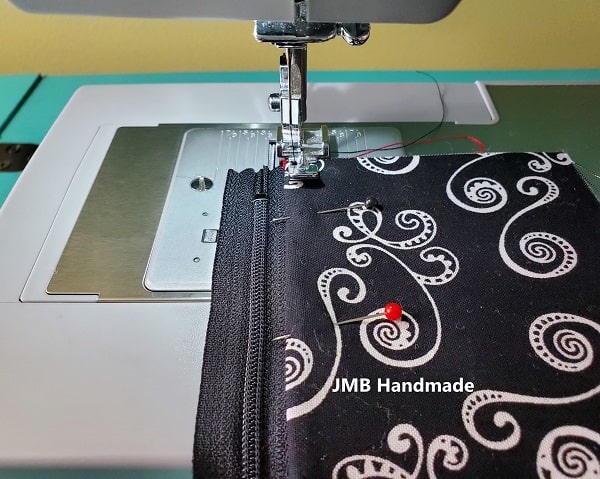
Using the zipper foot, stitch again.
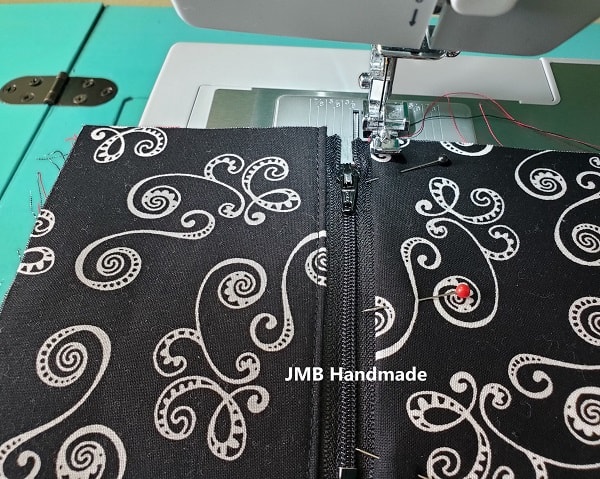
Fold the outer fabric and lining fabric down, wrong sides together and straight stitch.
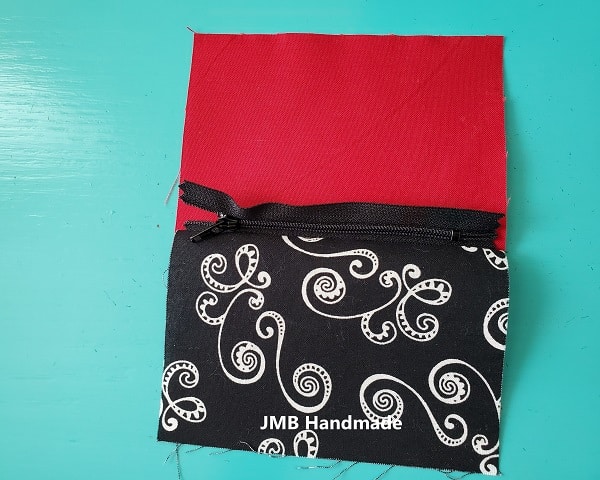
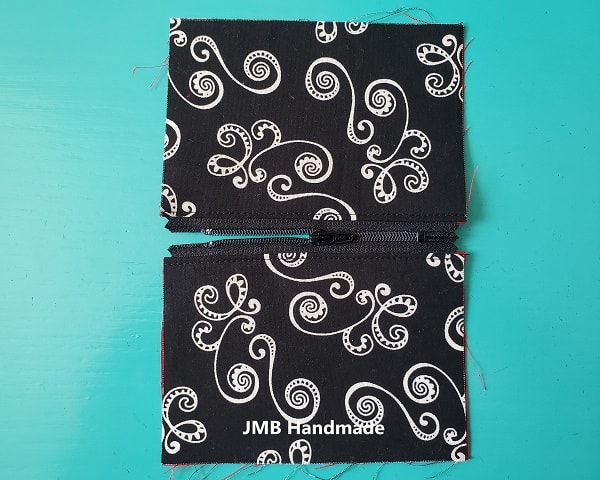
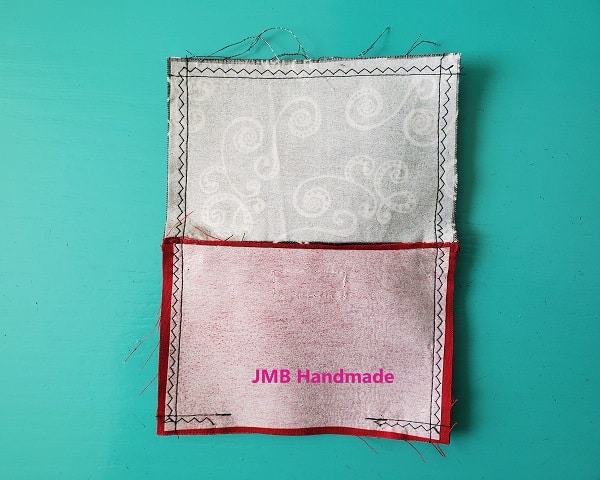
The picture above shows what it looks like on the outside.
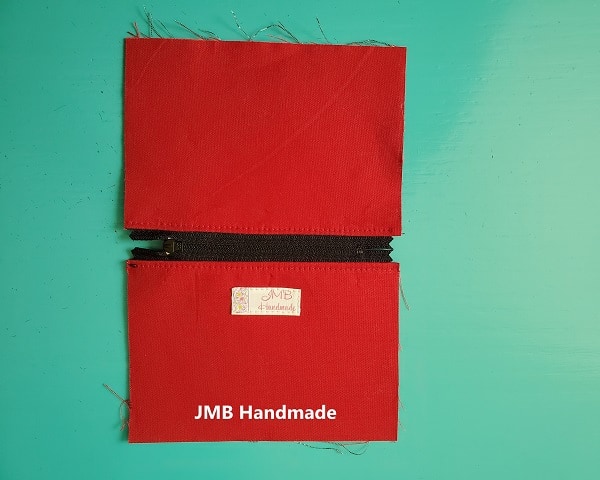
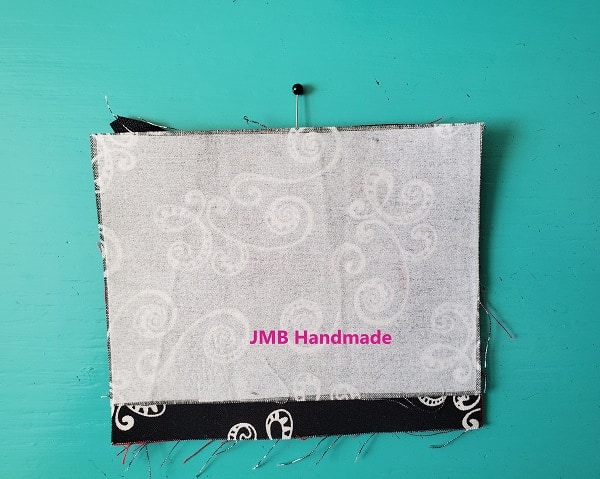
This is what the inside should look like.
Time to sew
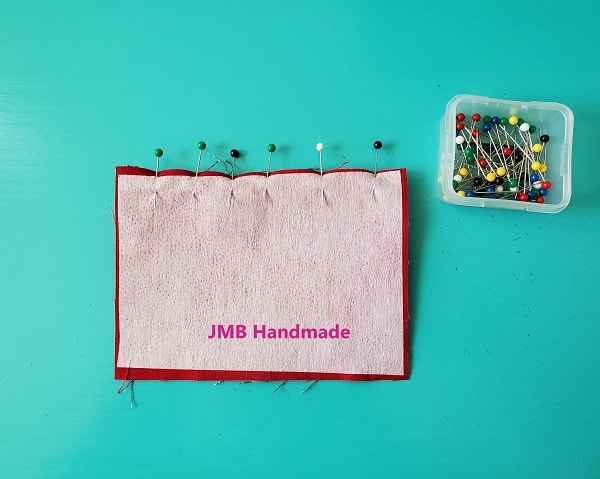
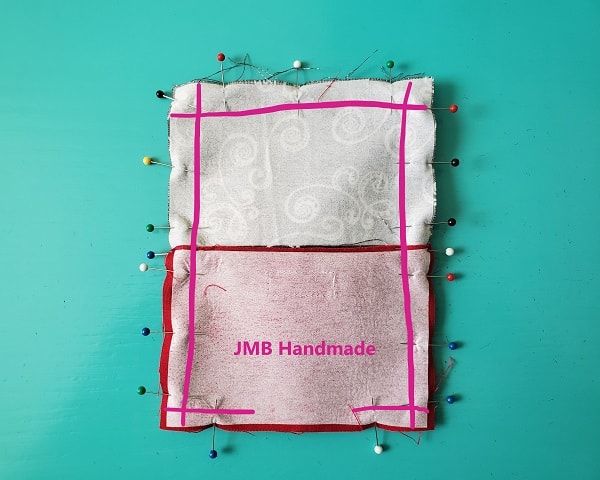
Open or unzip the zipper about half way – you will need this opening for turning. Fold the zipper pouch coin purse so the outer fabric pieces are right sides together and lining pieces are right sides together.
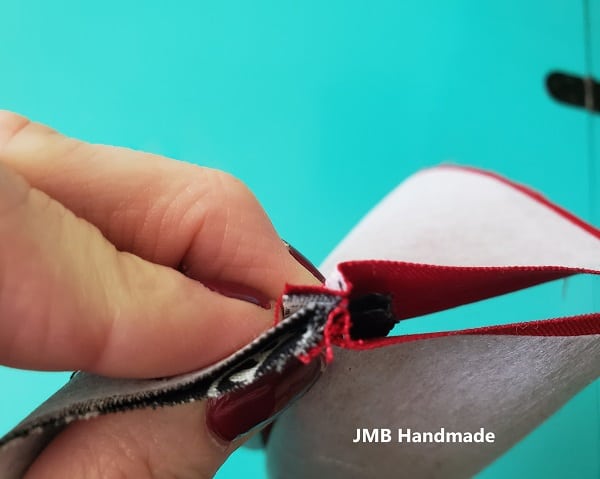
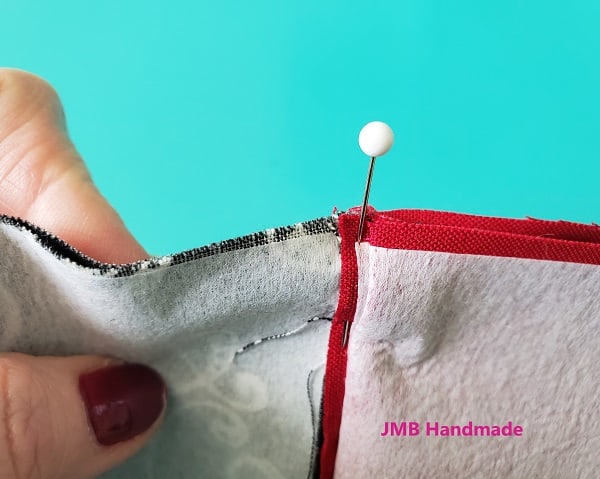
Pinch the zipper so the teeth are facing towards the lining of the pouch and pin in place.
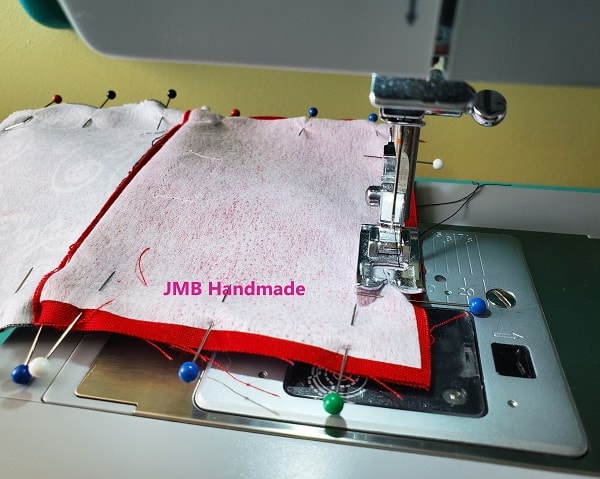
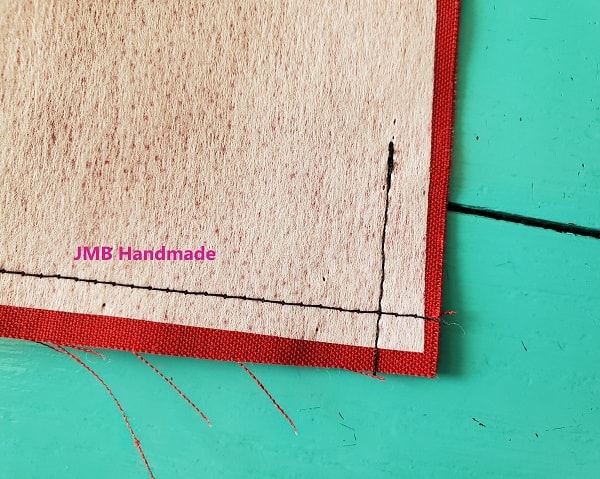
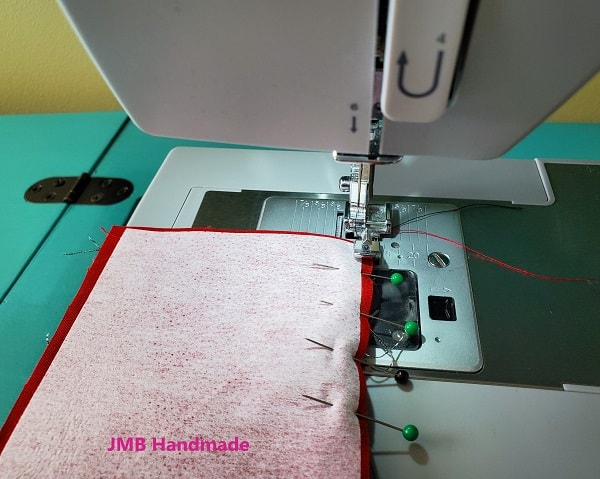
Sew around the perimeter of the pouch – edge to edge as shown above. Leave a small opening at the bottom of the lining fabric for turning.
Zigzag stitch all around to prevent the fabric from fraying. If you are interested in squaring the bottoms of this zipper pouch, instructions on how to do this can be found in my post How to Sew a Lined Zipper Pouch.
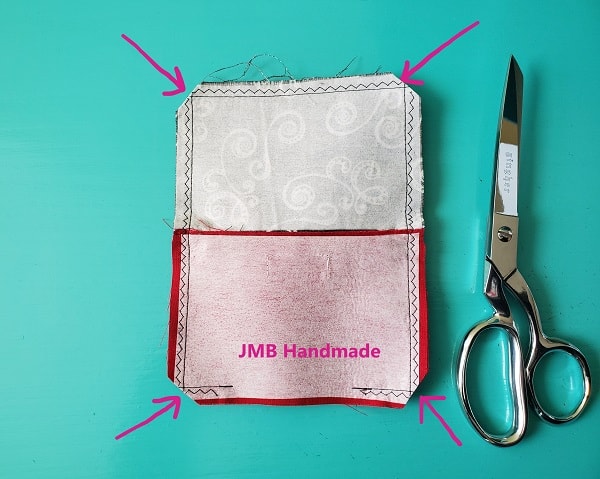
Clip the corners using your sewing scissors.
Turn right side out. Push out the outer fabric corners. Press the opening.

Straight stitch to close the opening. Push the lining inside the pouch.
***You can find the ad-free, printable PDF version of this sewing tutorial available for purchase HERE. Includes 12-pages of step-by-step instructions with pictures. Print a copy to keep next to your sewing machine for easy reference.***
You are finished!
Press the zipper pouch to give it a finished professional look.
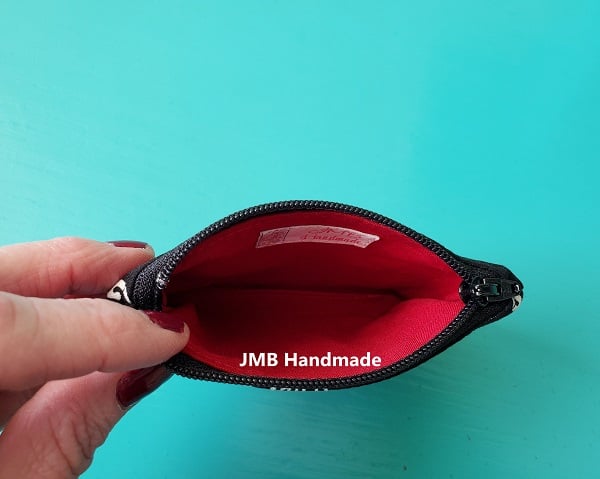
Go gather up those coins! You are finished!
Hope this tutorial was helpful to you. I would love to see your finished zipper pouch project or comment with any questions! Happy sewing!
Pin for later!