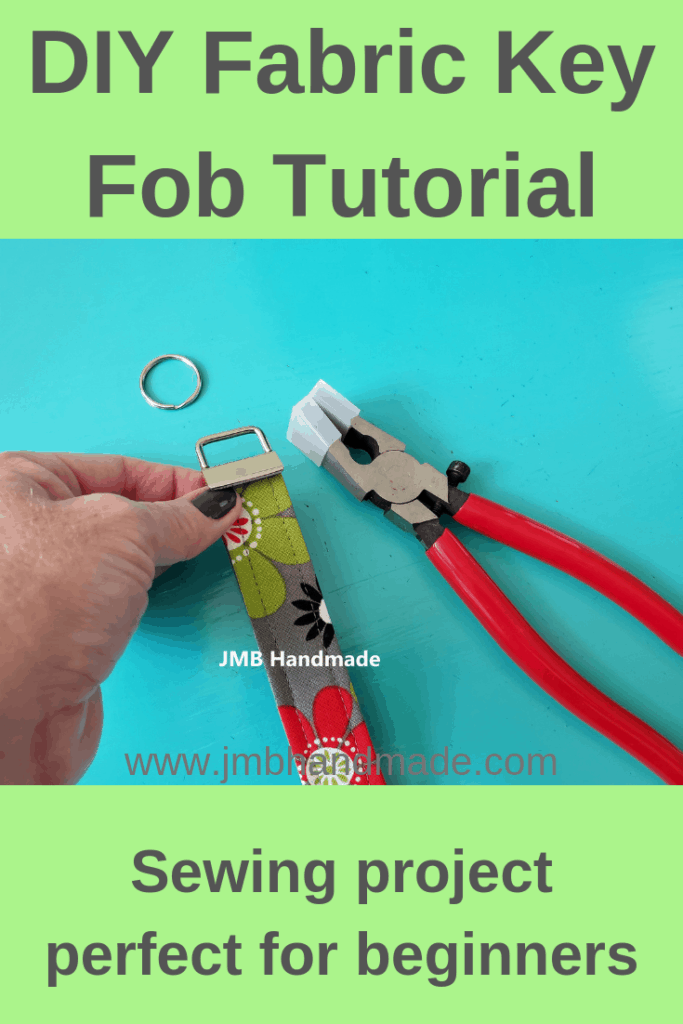
Easy DIY Key Fob Tutorial
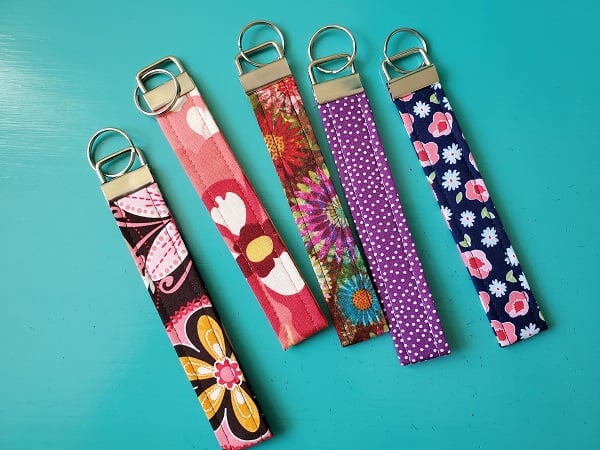
Key fobs are super easy to make and a great way to use up your fabric scraps!
Do you ever have a hard time finding your keys in your purse? I know I do! That’s why I love having my keys on a key fob because it makes them so much easier to find. Plus, the hardware is really cheap. Here are the easy step-by-step instructions on how to make your own fabric key fob.
Key fobs make great gifts! Make a fabric drawstring gift bag to put the key fob in and give to all your friends, family and teachers.
This post contains affiliate links. Please see disclosure for more information.
***You can find the ad-free, printable PDF version of this sewing tutorial available for purchase HERE. Includes 9 pages of step-by-step instructions with pictures. Print a copy to keep next to your sewing machine for easy reference.***
Key fob supply list

- Fabric piece measuring 4″W x 12″H – my favorite fabric shop
- Cutting mat
- Rotary cutter
- Clear ruler
- Straight pins
- Thread
- 1 inch Key Fob hardware
- Fusible interfacing
- Key Fob Pliers Tool
- Sewing machine
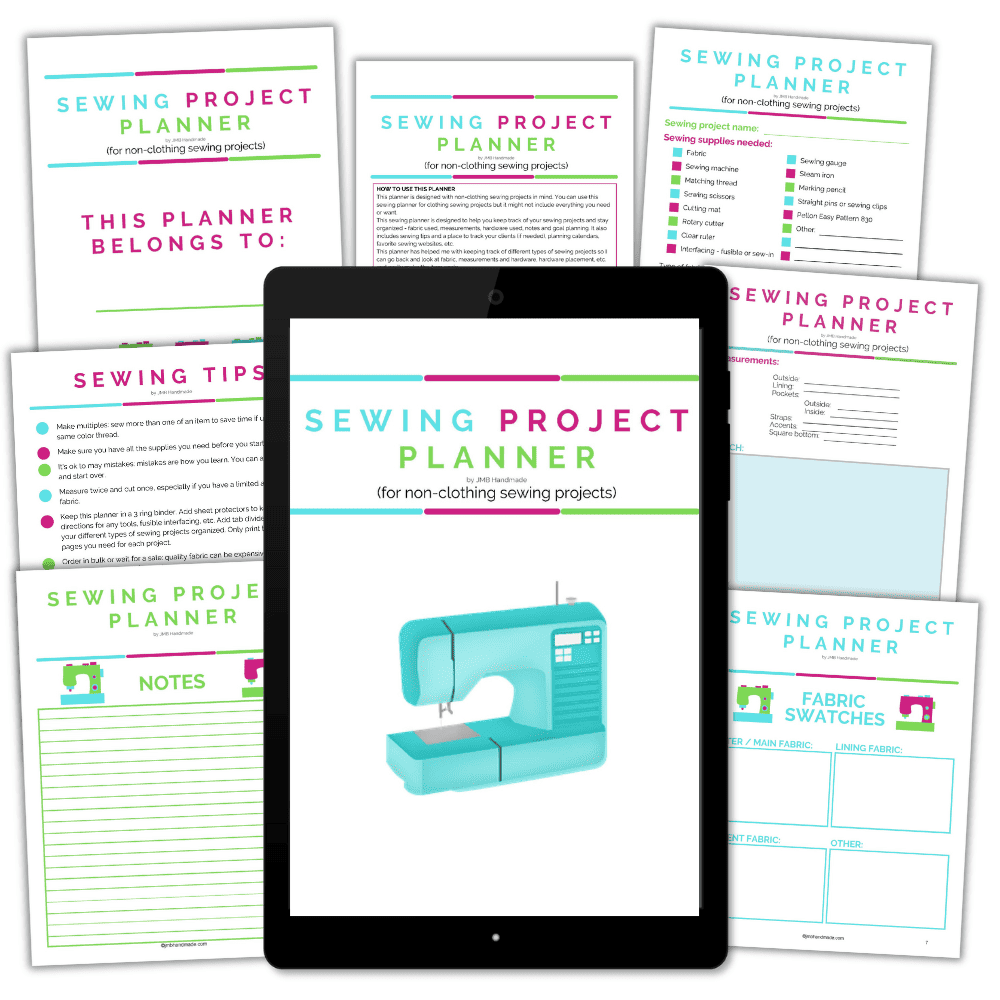
Keep track of your sewing projects, like this one, with a sewing planner. This sewing planner is specifically designed for non-clothing sewing projects and helps you stay organized – fabric used, measurements, hardware used, notes, etc. Also included are pages such as sewing tips and fabric shops. Get your sewing planner HERE.
Cut your key fob fabric
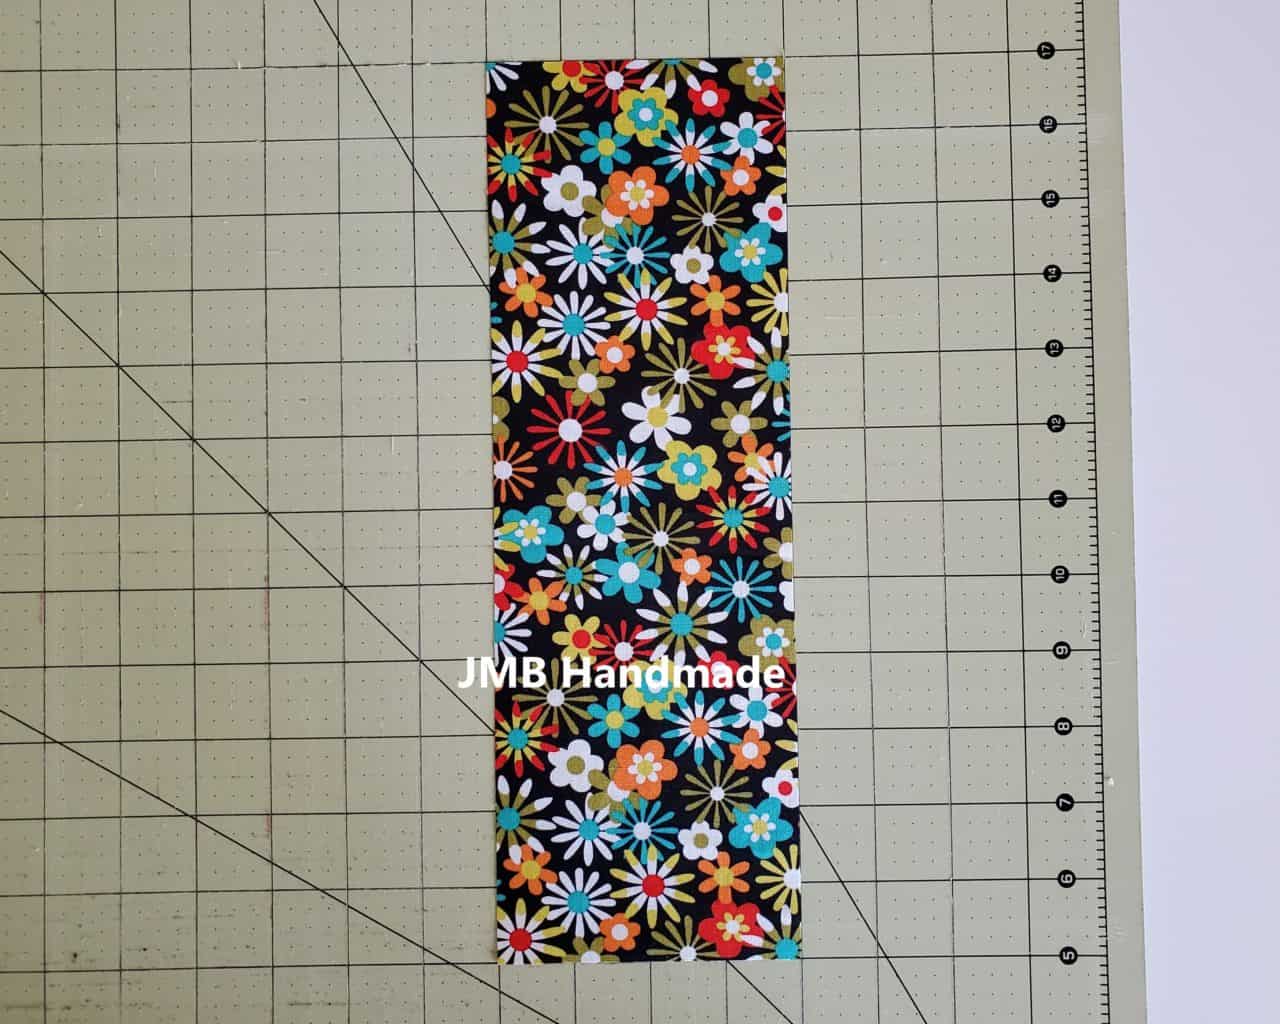
Using your cutting mat, clear ruler, and rotary cutter, cut your fabric 4″W x 12″H.
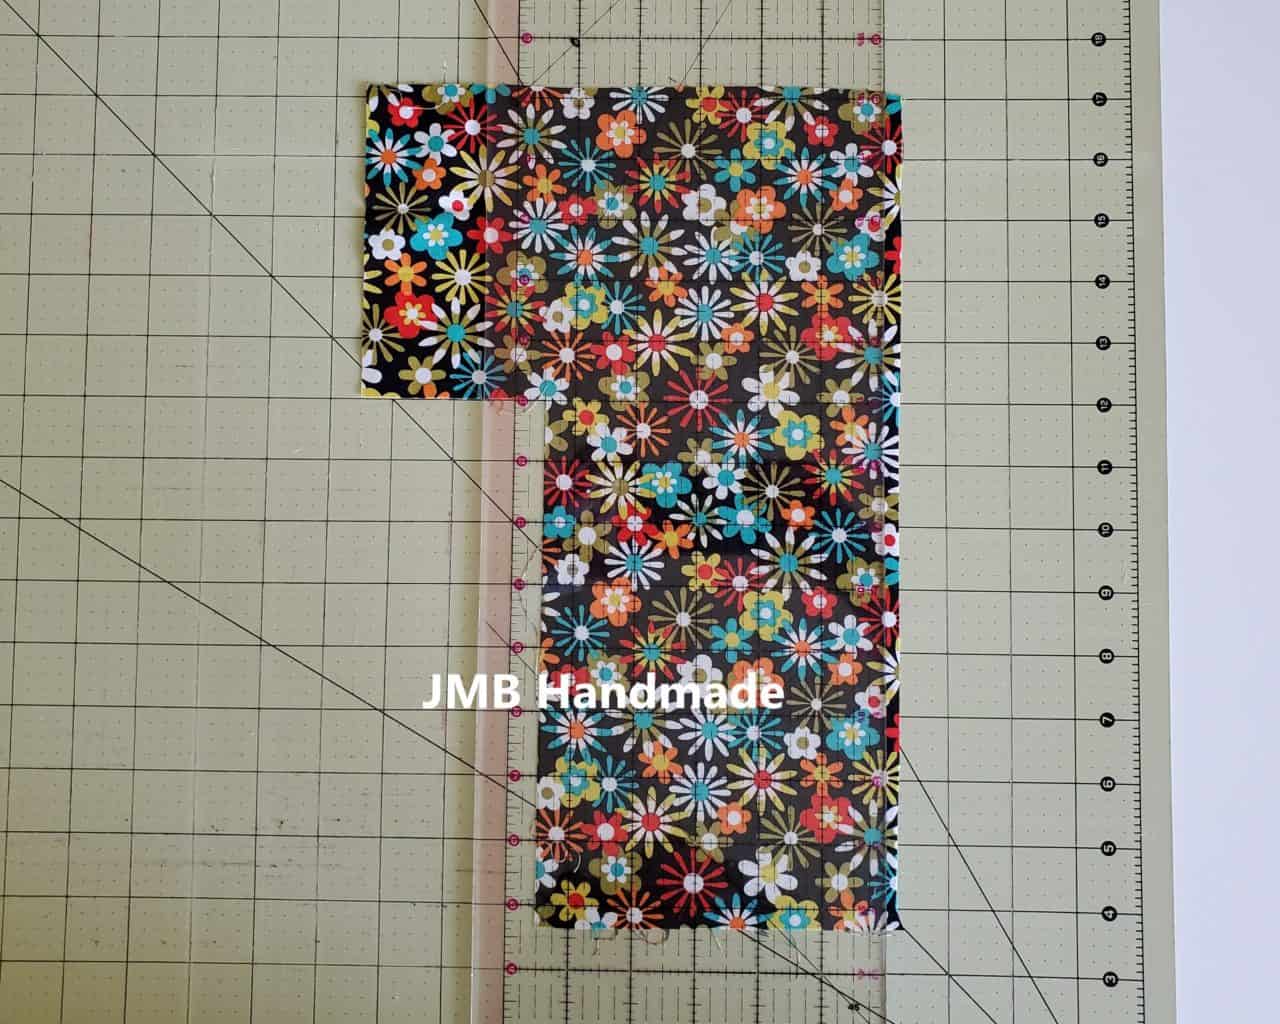
Attach the fusible interfacing
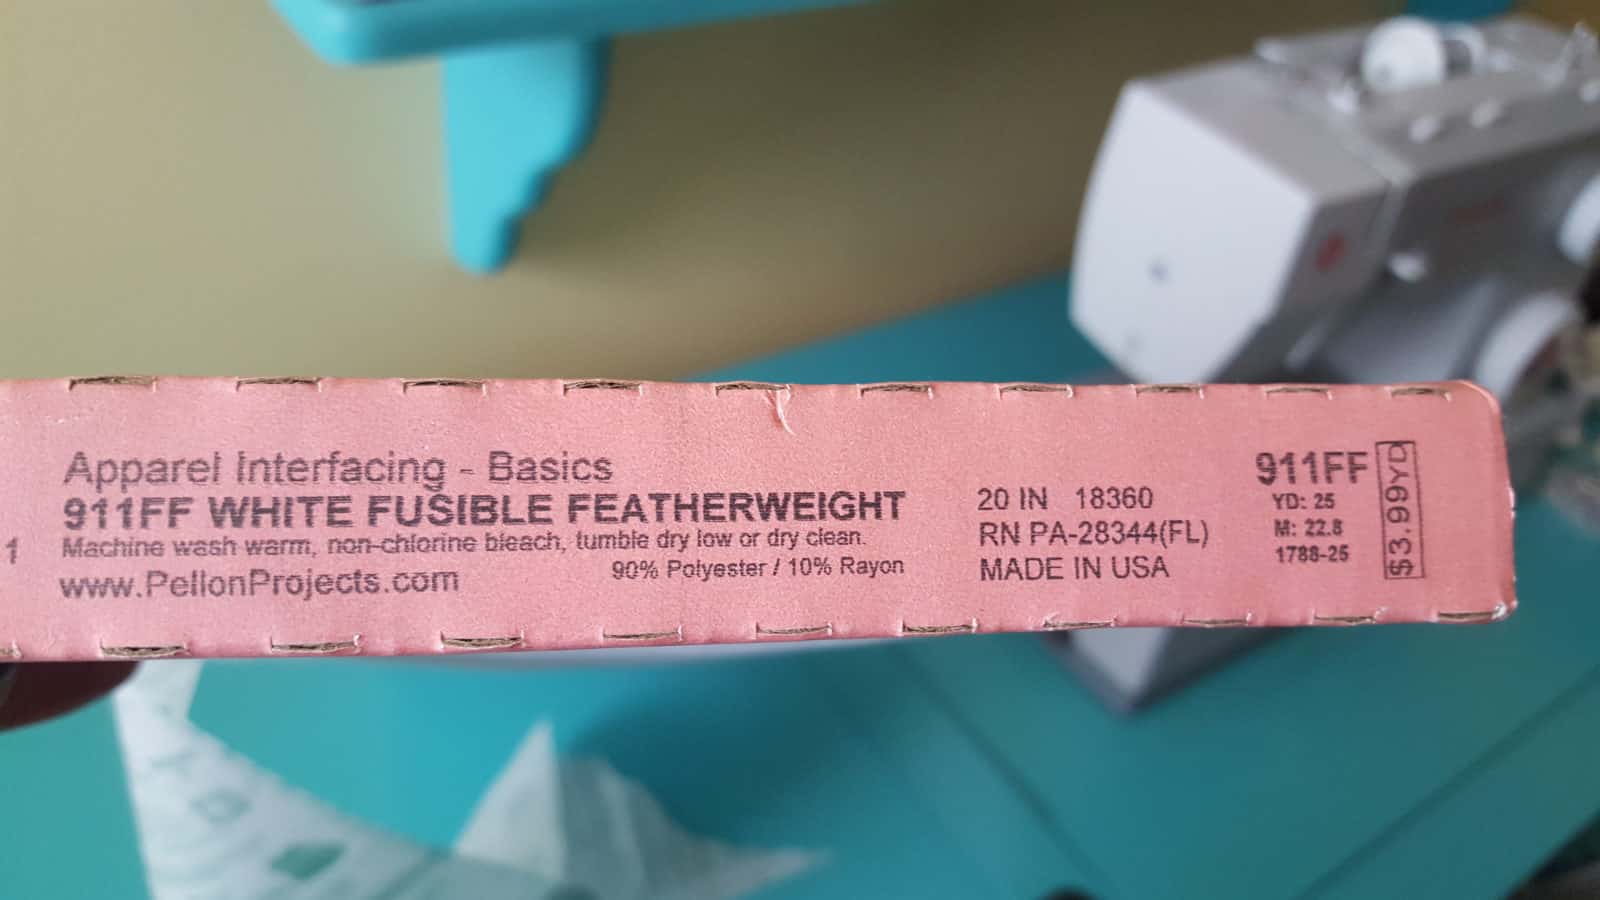
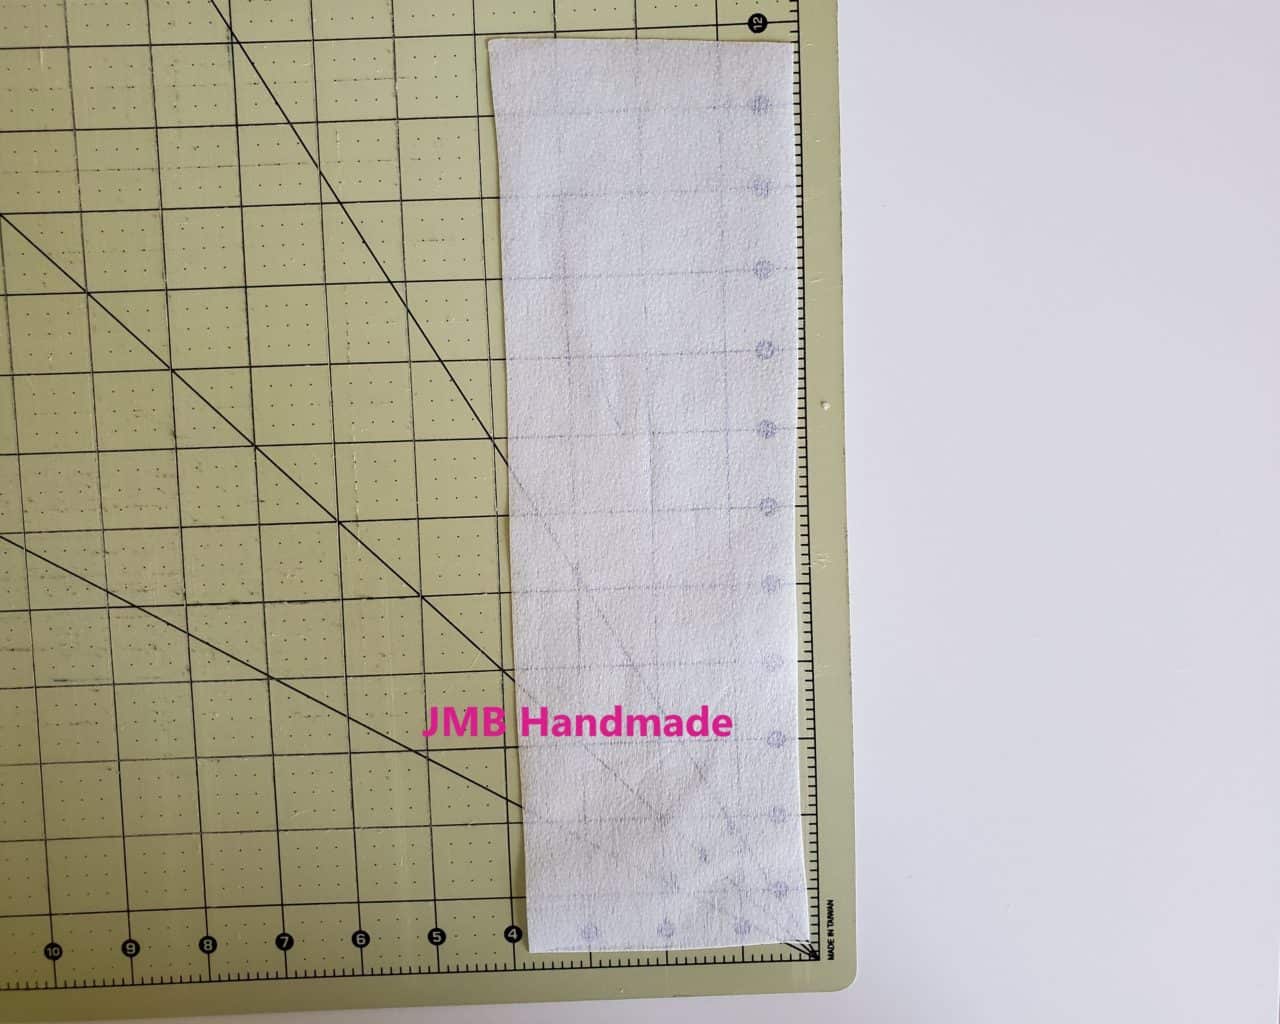
Cut your fusible interfacing just smaller than your fabric piece as shown above. I use Pellon 911FF Fusible Interfacing for all my sewing projects like handbags, checkbook covers etc. It’s a medium weight and helps stabilize the fabric while adding durability.
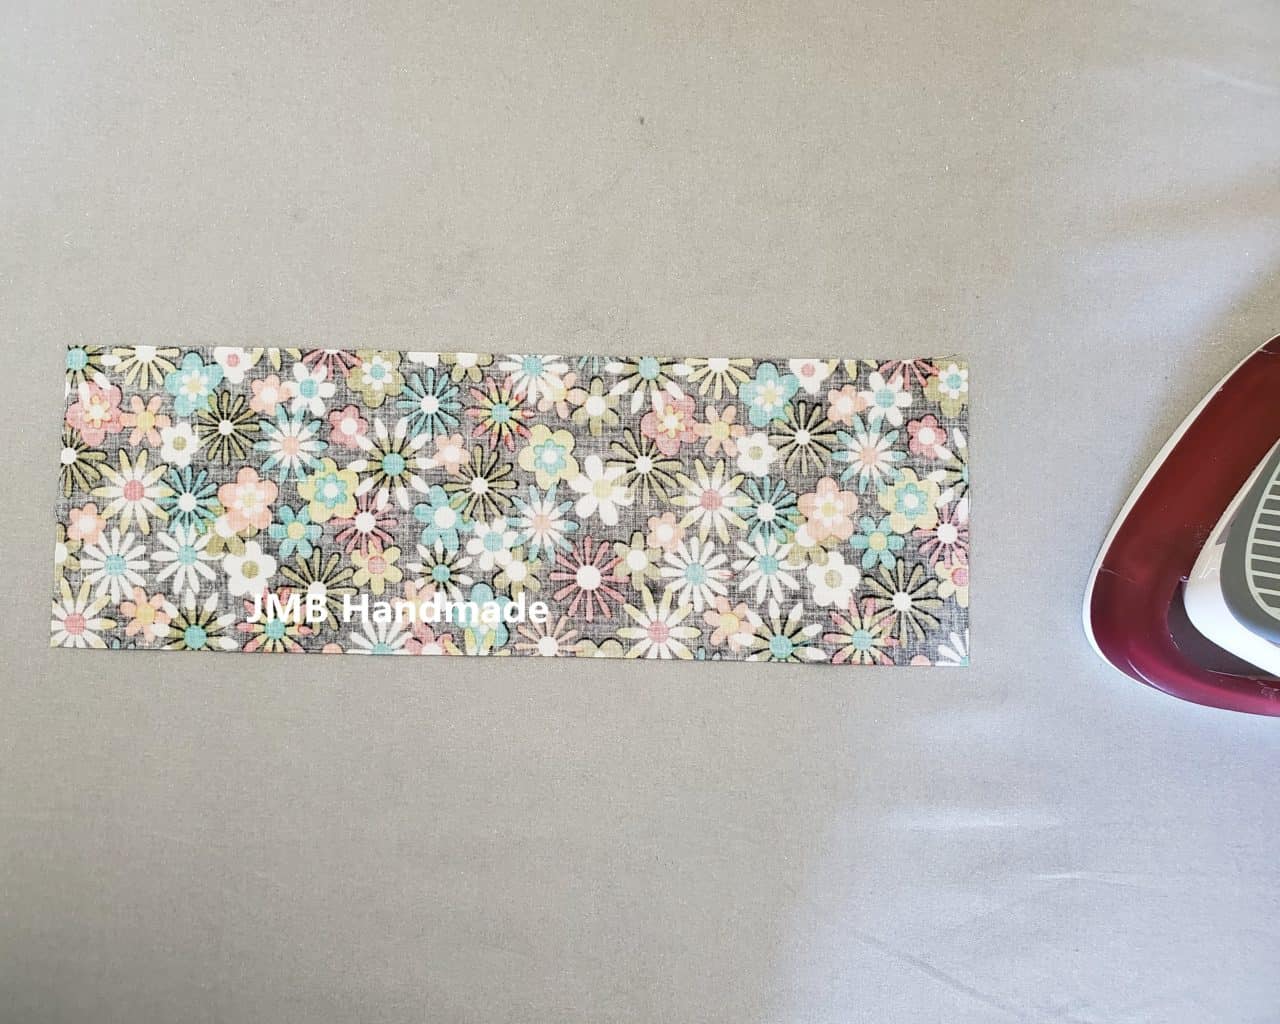
Place your fabric piece on your ironing board, wrong side up.
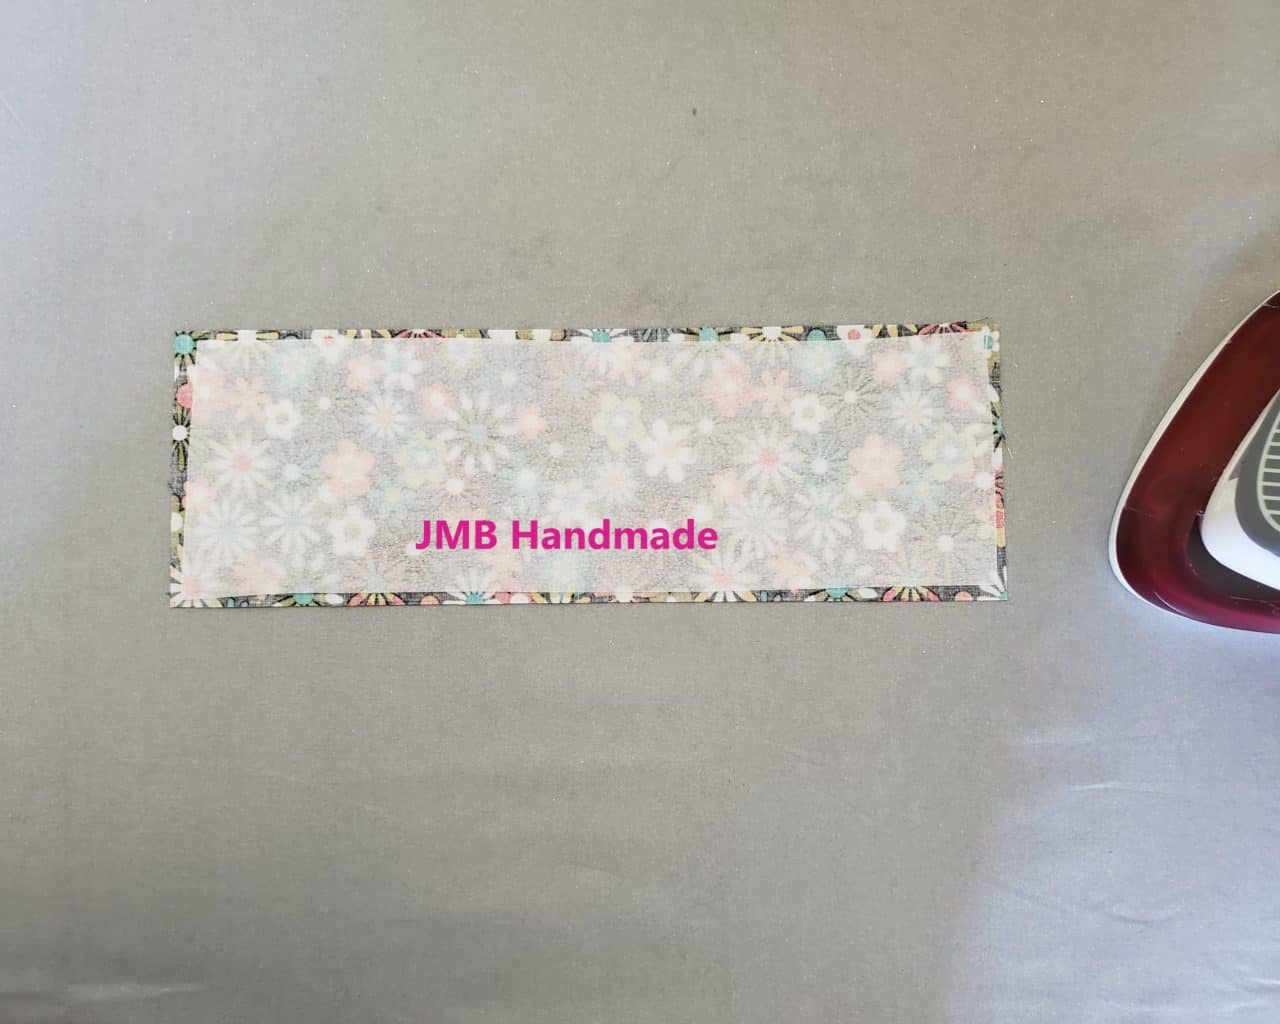
Now place the fusible interfacing on top of the fabric, the bumpy side face down.
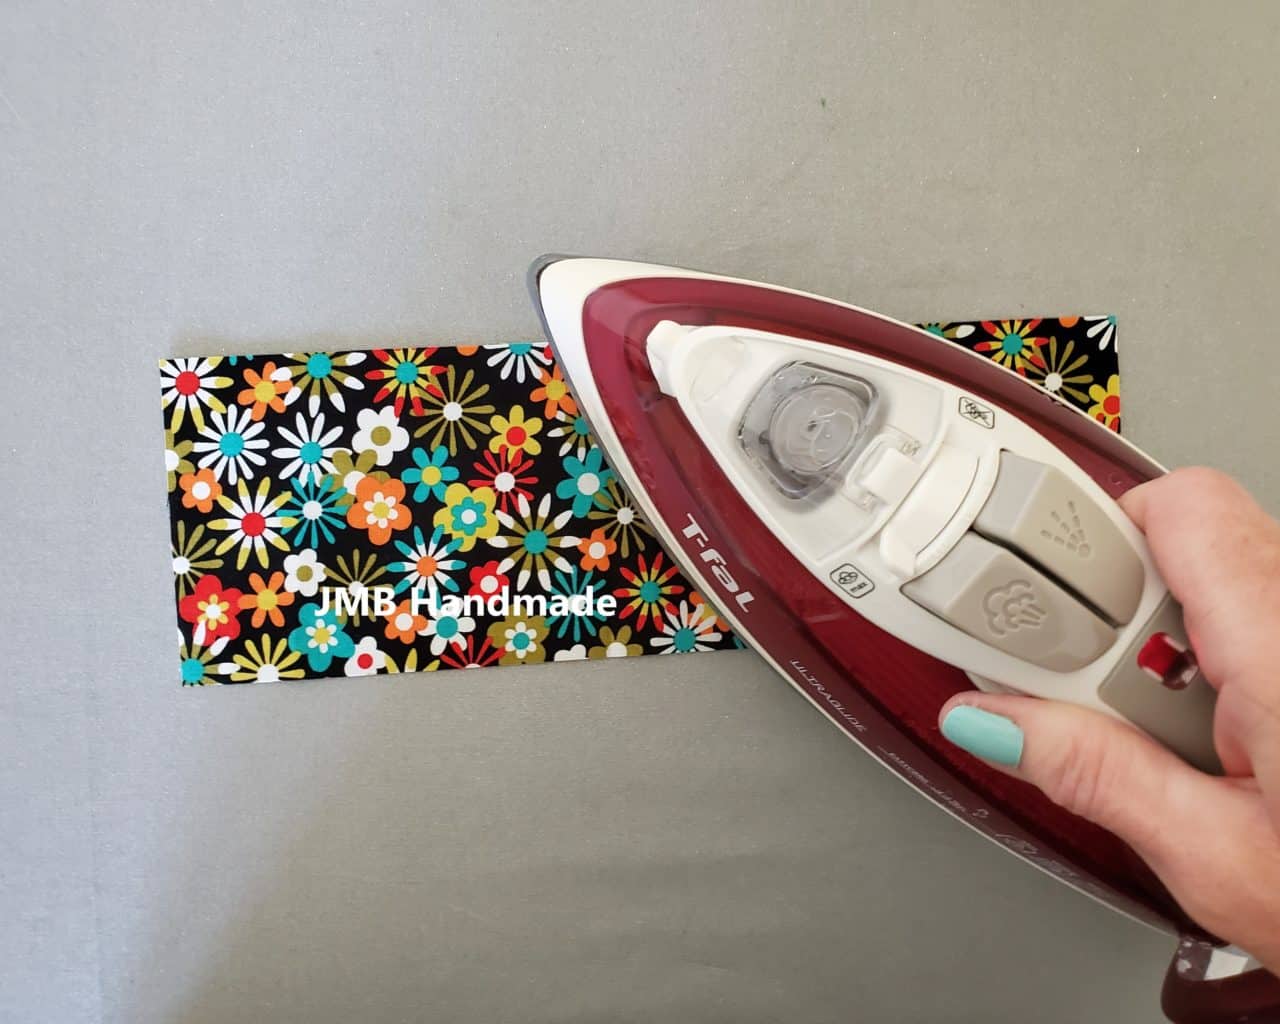
With your iron on the steam setting, flip the fabric and interfacing over and press until the fusible interfacing is attached. If you are using a different brand of interfacing, be sure to follow the package directions.
Time to fold

Fold your fabric piece in half lengthwise and press the fold.
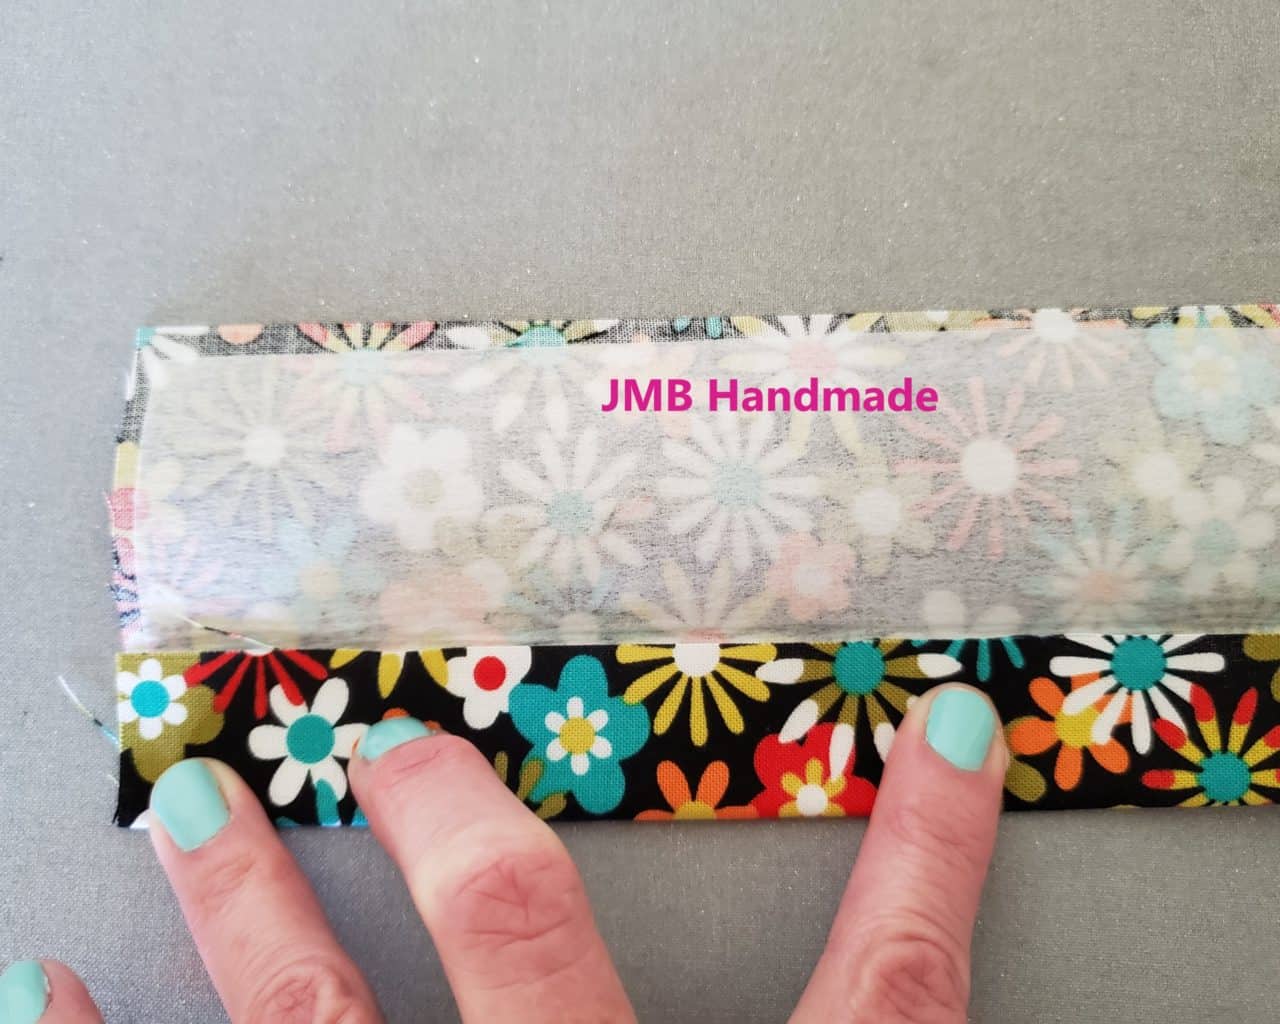
Open it up and fold one end lengthwise so the edge of the fabric is up to the folded line. Press the fold. Basically, you are folding the fabric piece in fourths.
Do the same for the other side.
Now fold together. Press once again. Your folded fabric piece should be 1 inch wide.
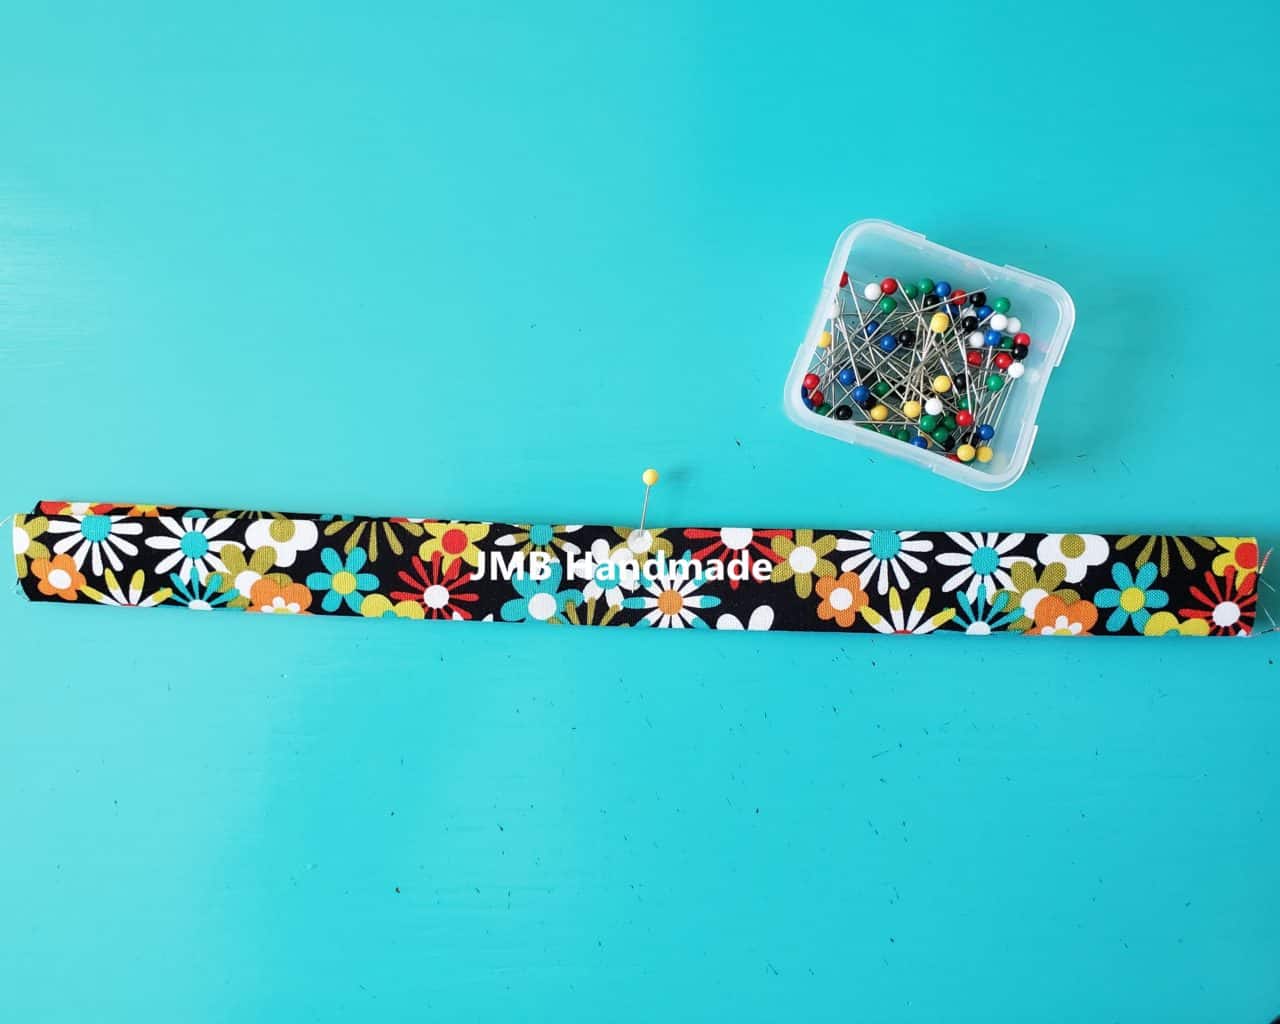
Using your straight pins, pin in place. I usually just use one pin and that does the trick holding it together.
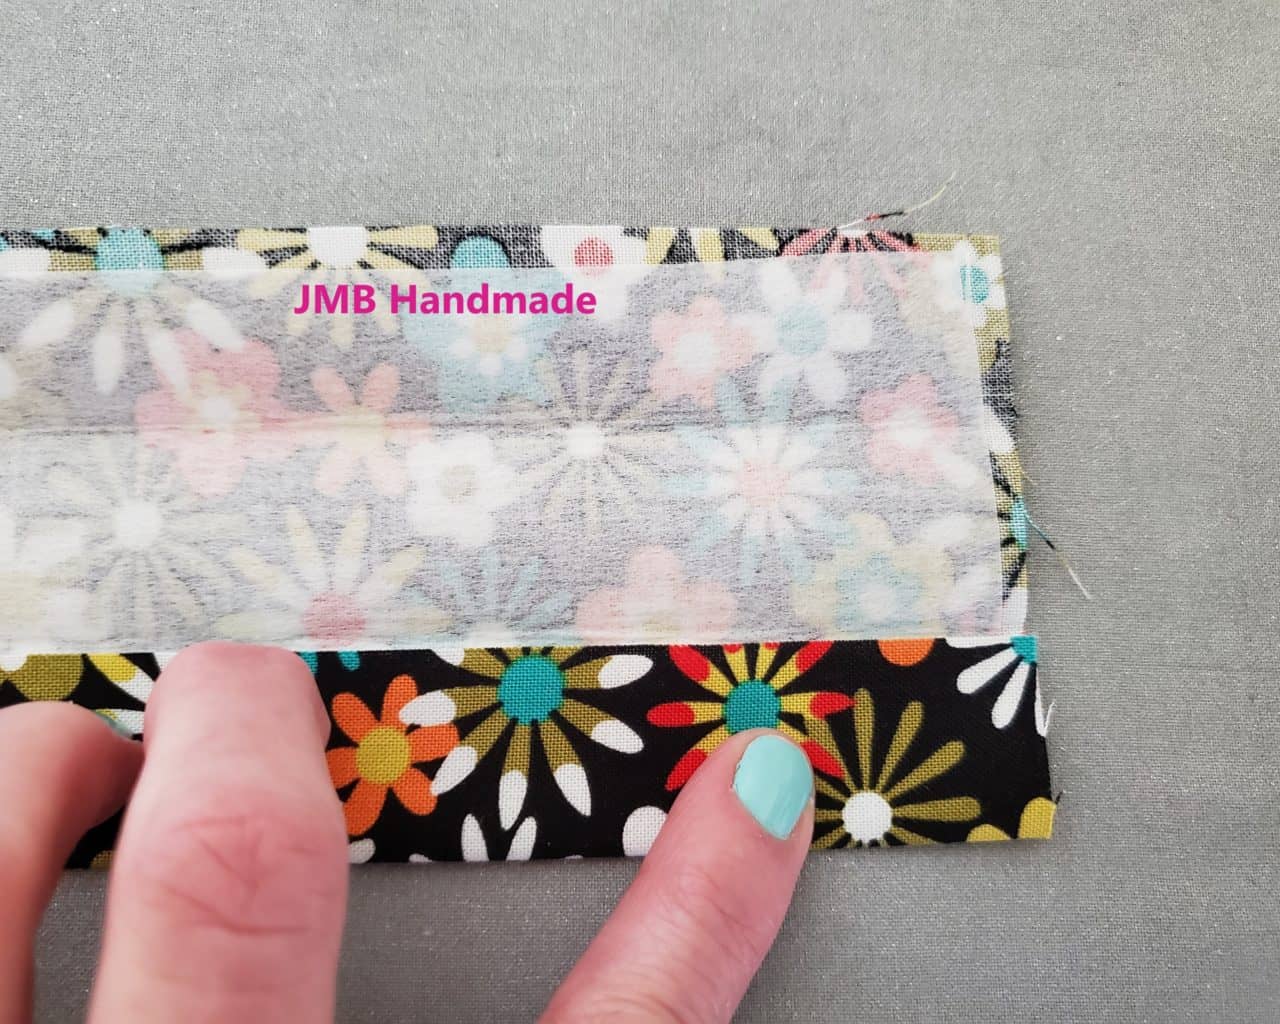
Sew together
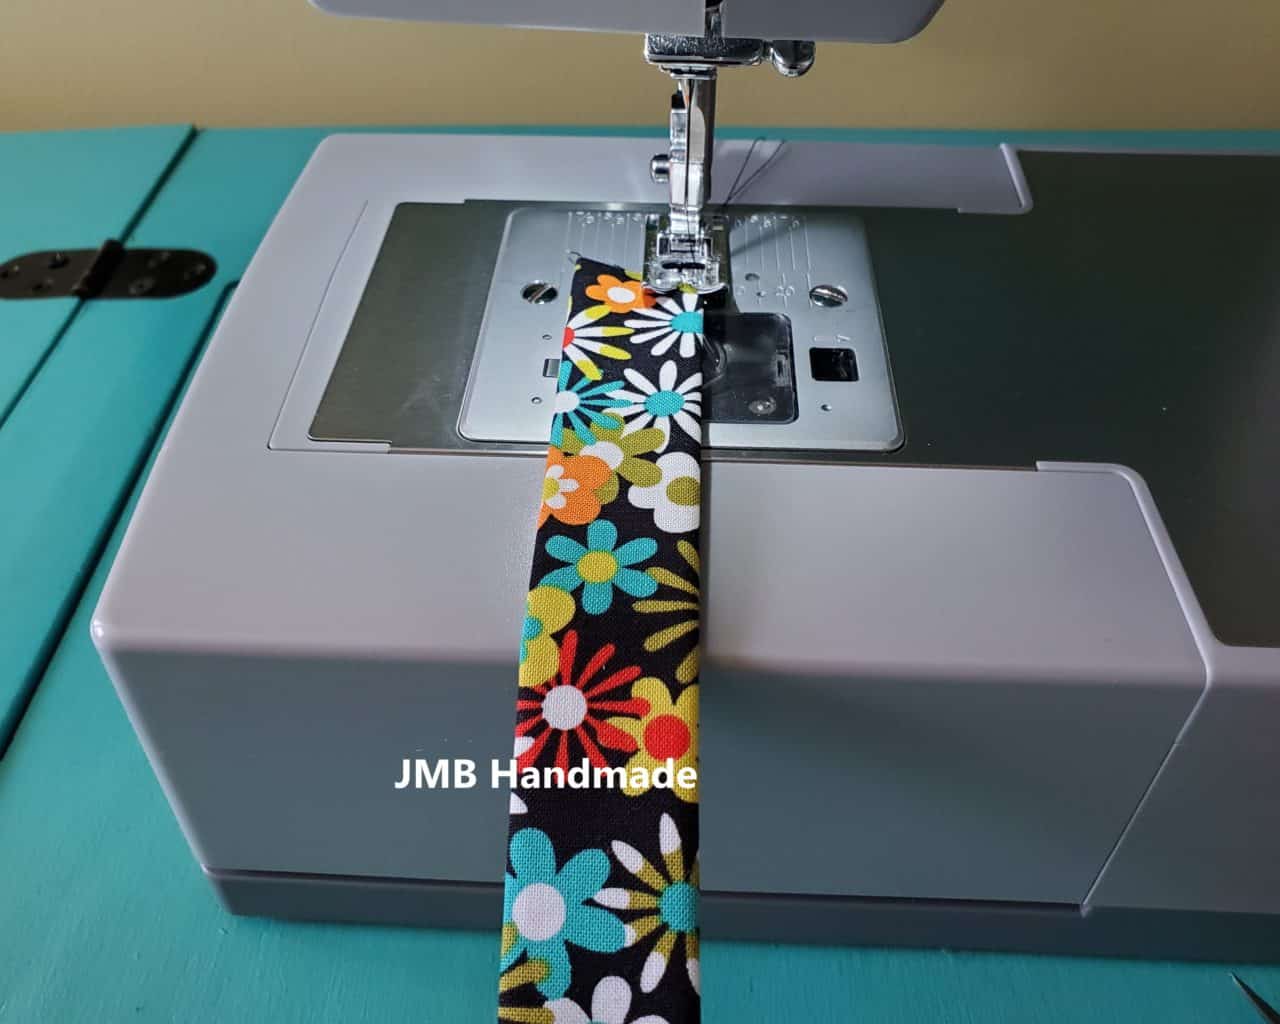
Sew using the straight stitch with about a 1/4 inch seam allowance.
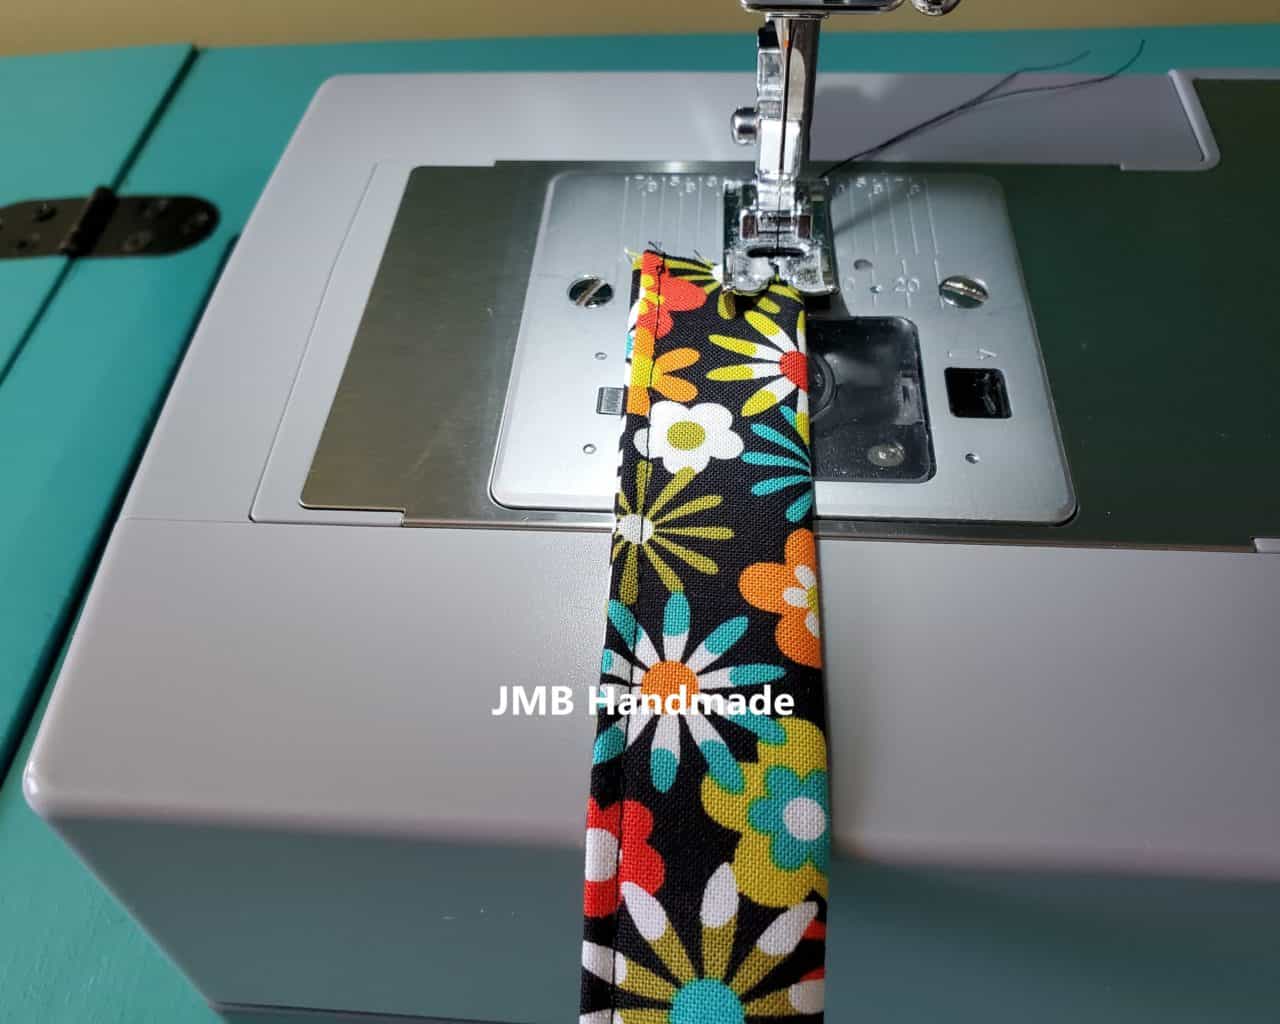
Repeat along the other side.
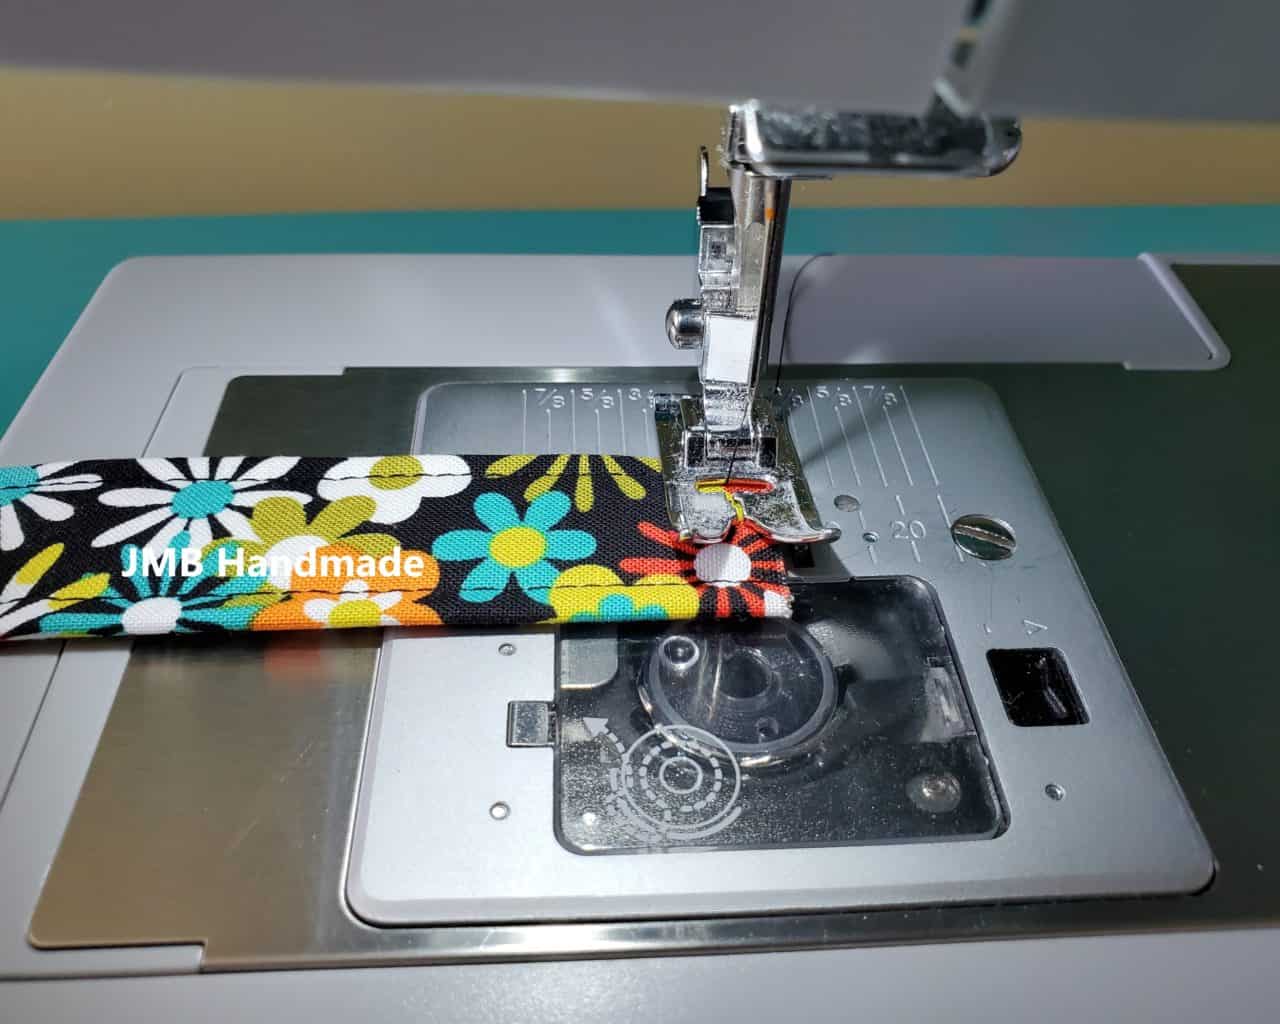
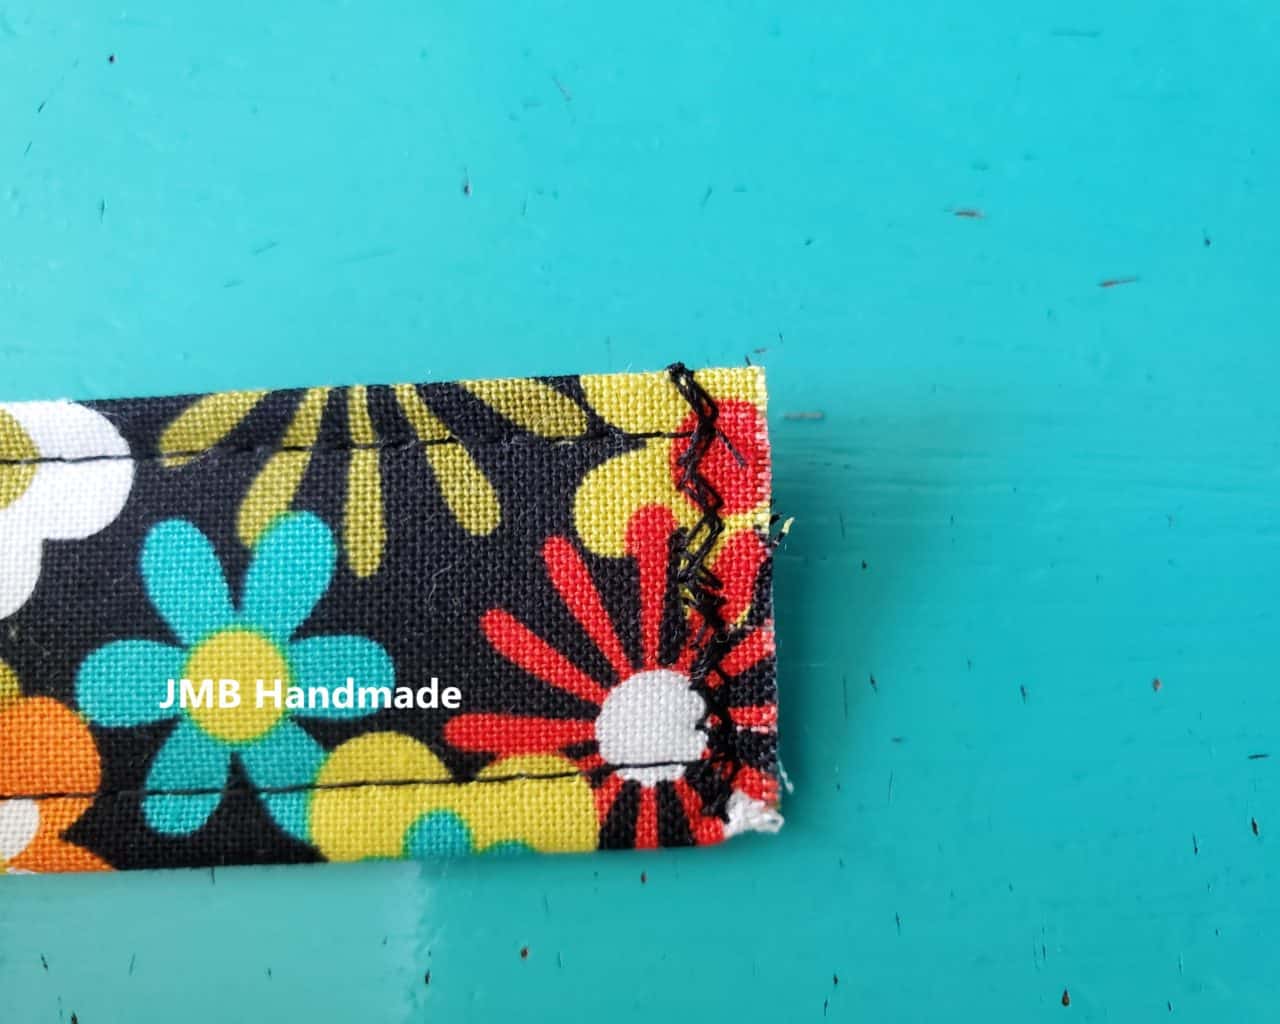
To keep the ends from fraying, sew using the zigzag stitch back and forth a couple times.
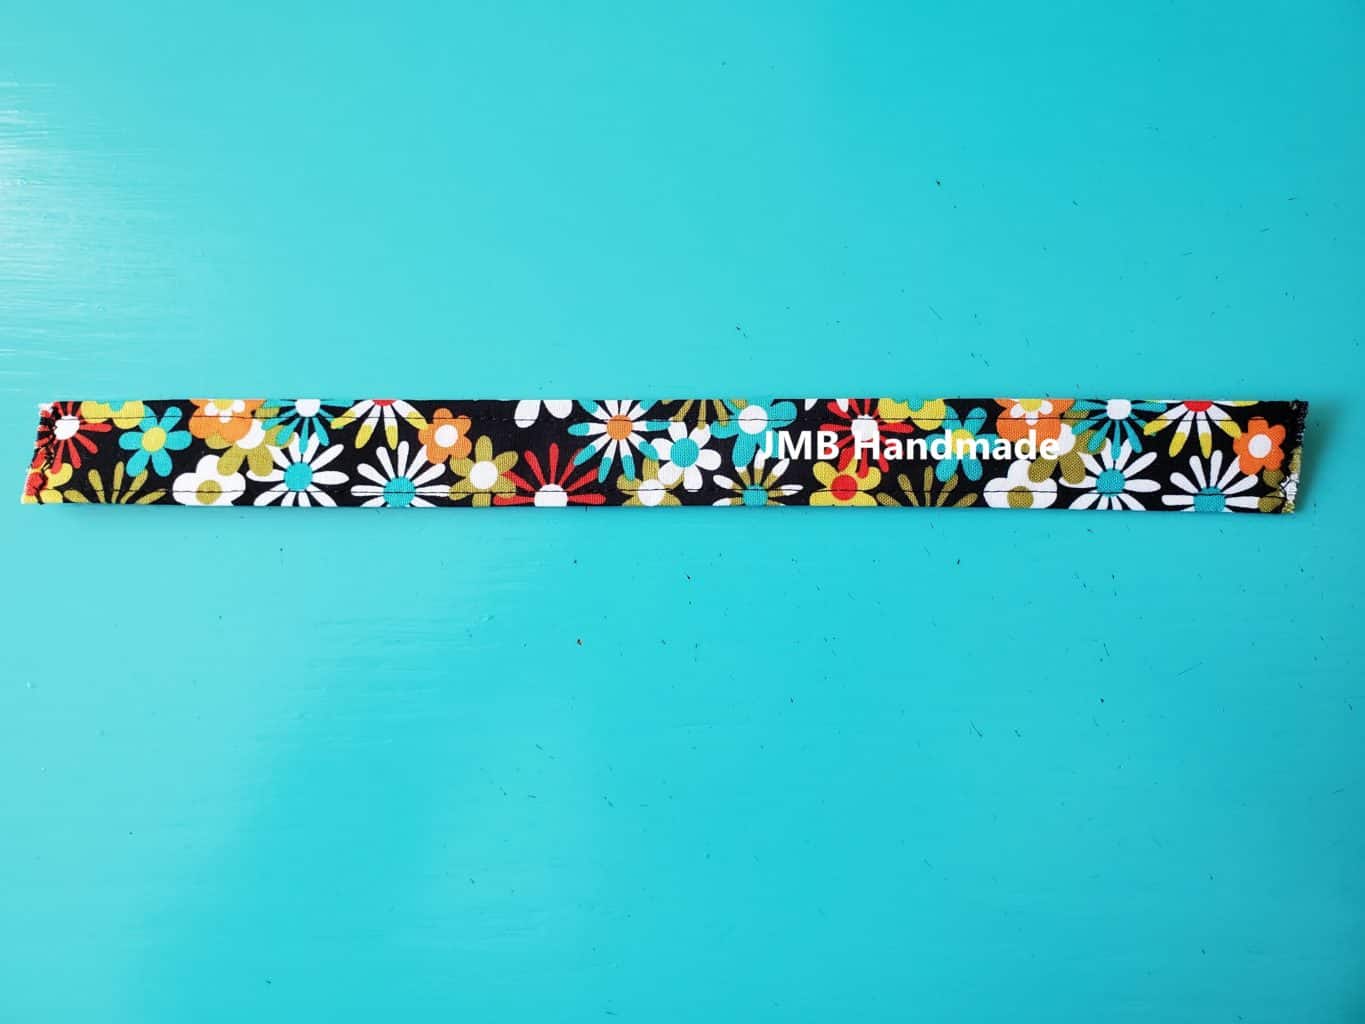
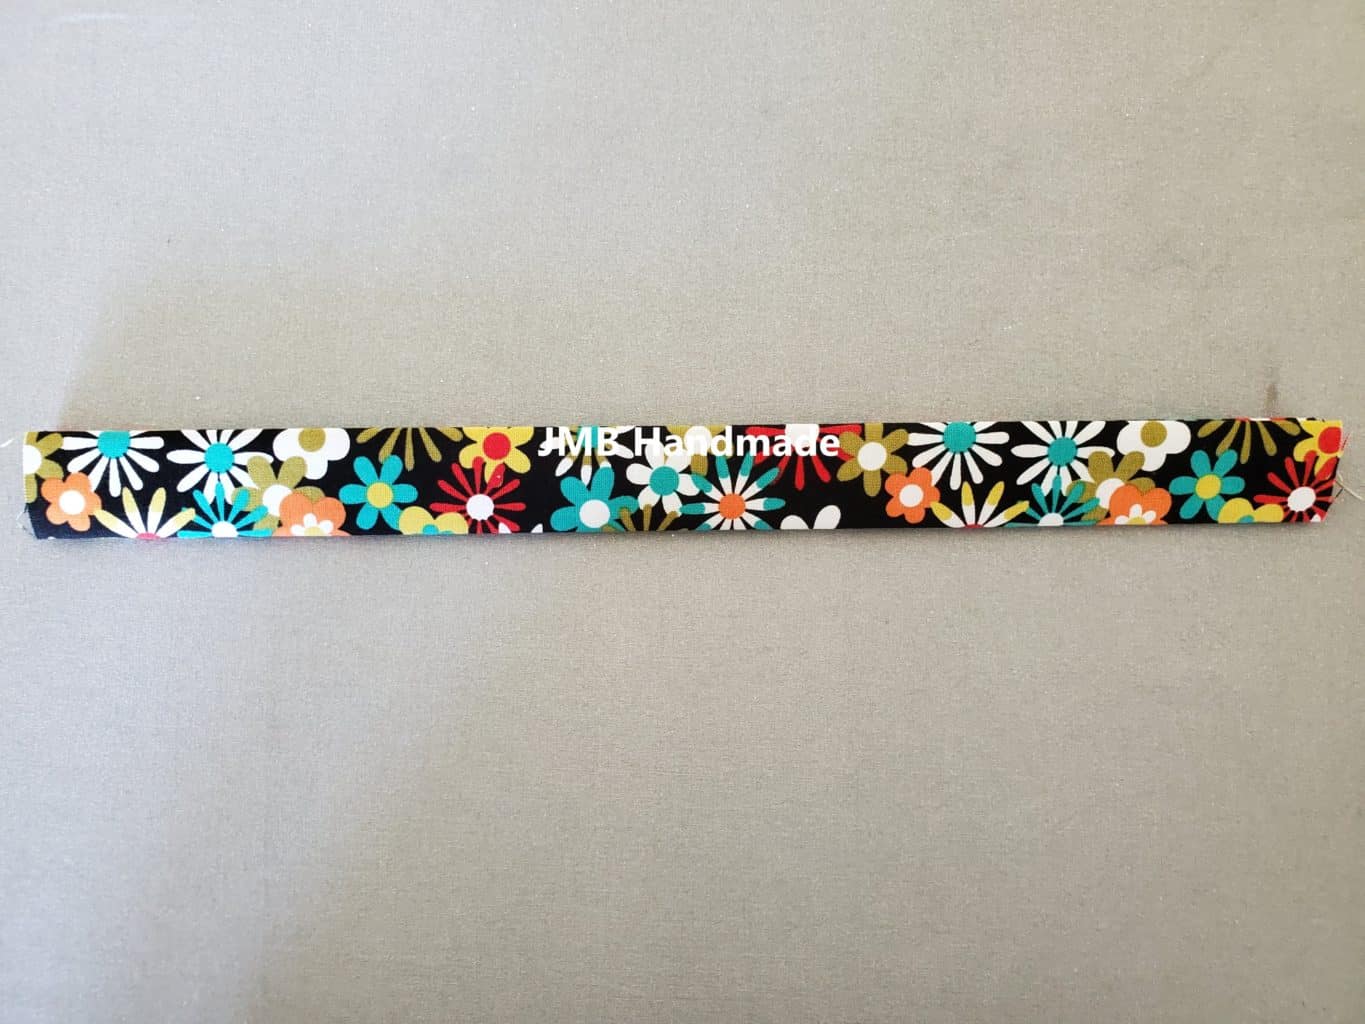
This is what it looks like when sewn together.
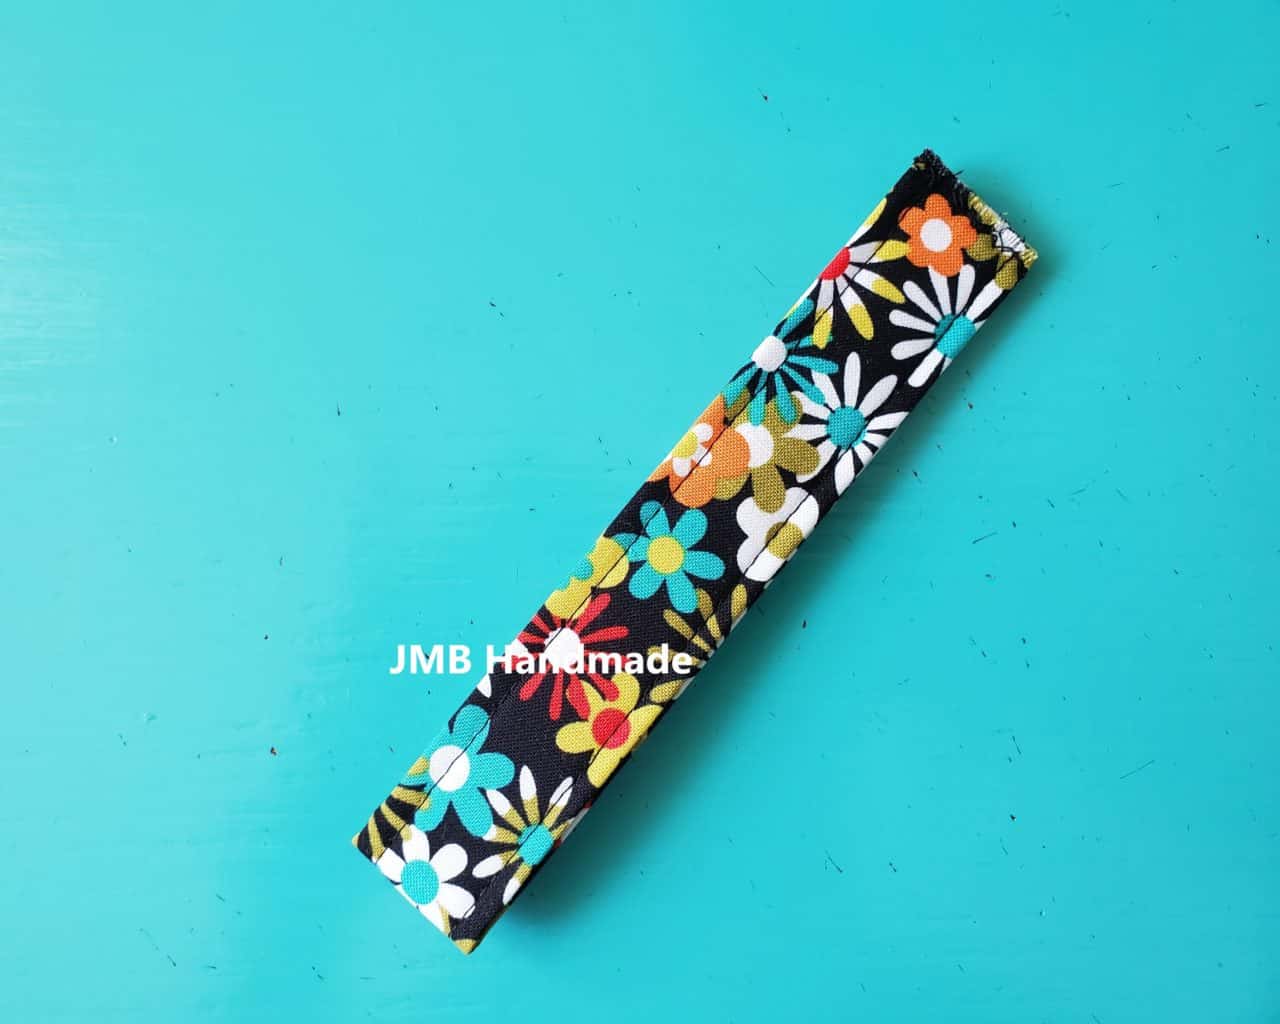
Fold in half bringing the shorts ends together as shown above.
Add the key fob hardware
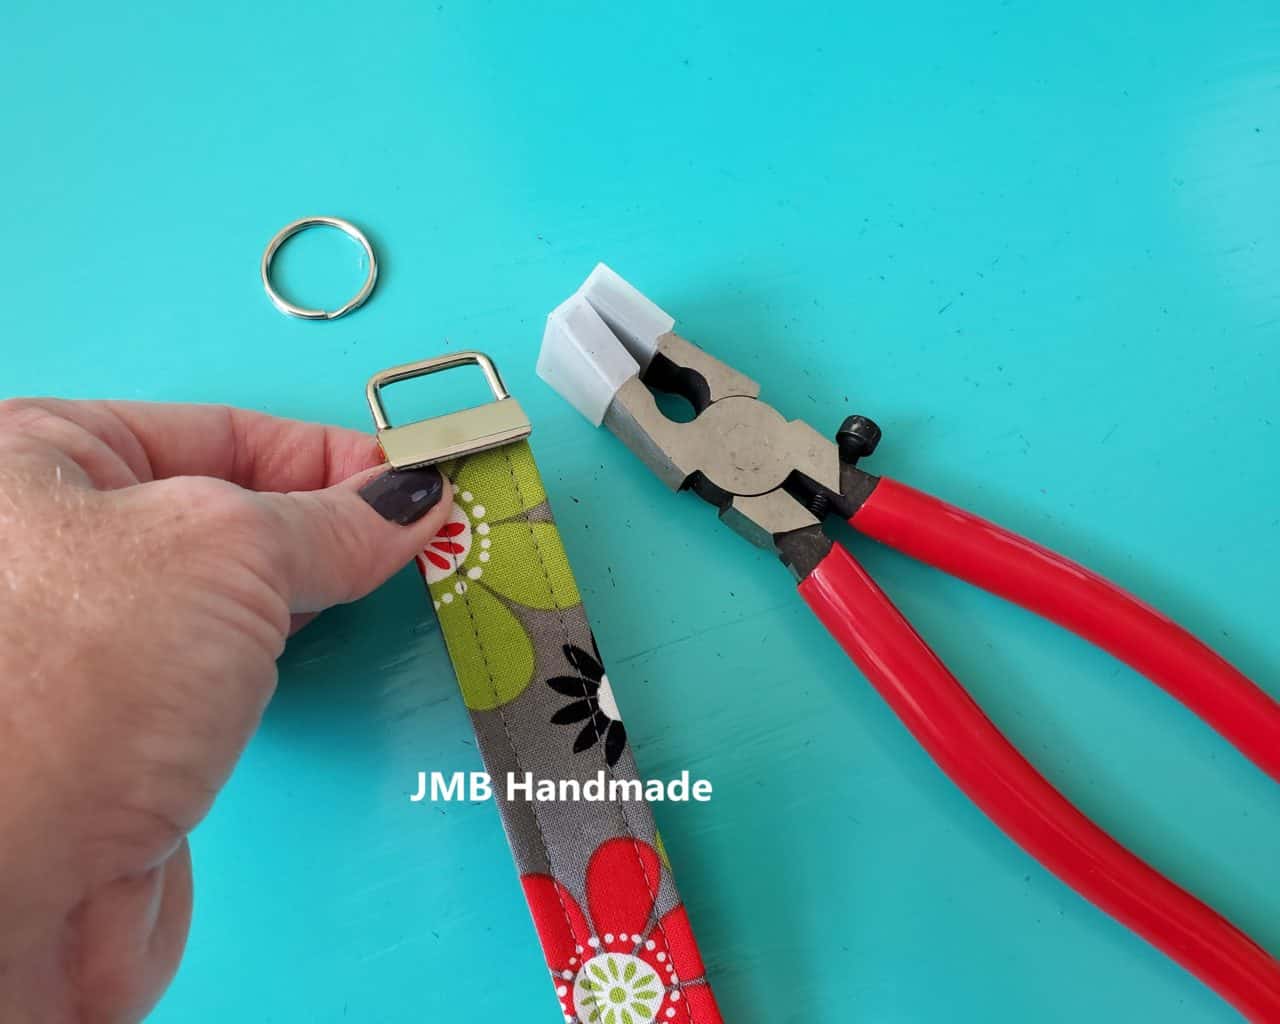
Hold the key fob hardware or clamp with your fingers to hold in place, tucking the ends into the key fob clamp. Line up the edges of the fabric with the clamp.
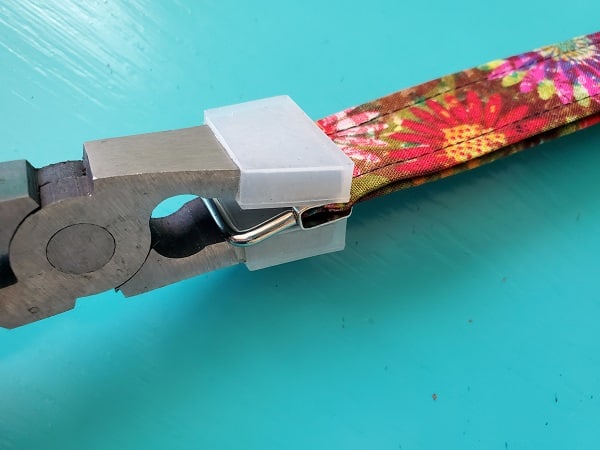
Pinch the hardware together using your key fob pliers. Make sure the hardware is secure with the pointy pieces attached to the fabric.

The silicone covers hold the hardware in place. Now you can attach the ring onto the clamp.
***You can find the ad-free, printable PDF version of this sewing tutorial available for purchase HERE. Includes 9 pages of step-by-step instructions with pictures. Print a copy to keep next to your sewing machine for easy reference.***
You are finished!
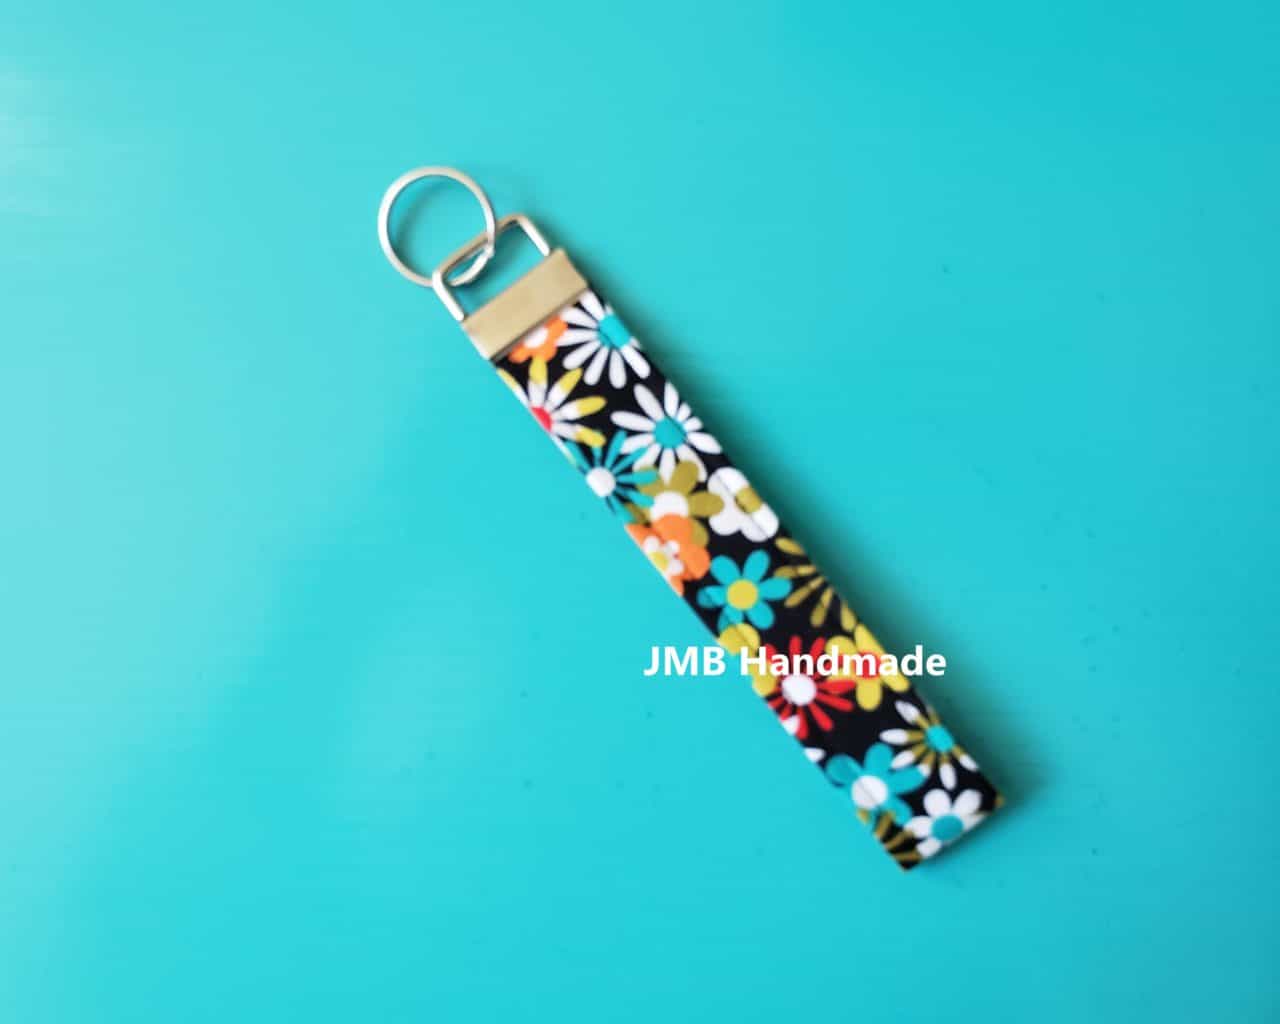
Now you can attach your keys and carry them on your wrist or throw them in your purse without the worry of them getting lost! Happy sewing! Feel free to share your project or comment below.
Pin for later!
Related DIY Sewing Tutorials
- How to Make a Simple Tote Bag
- How to Sew an Easy Fabric Checkbook Cover
- Mini Zipper Pouch Key Chain Sewing Tutorial