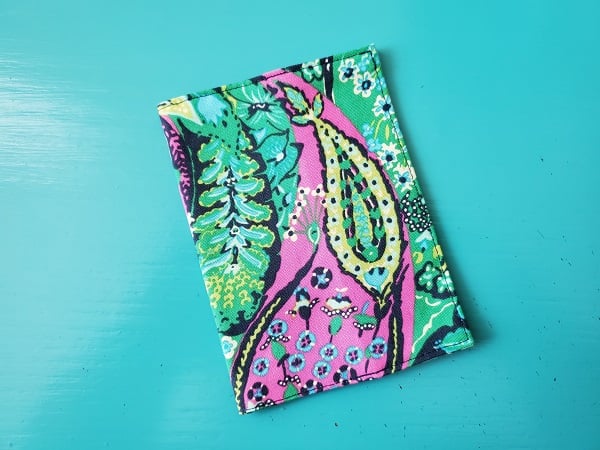
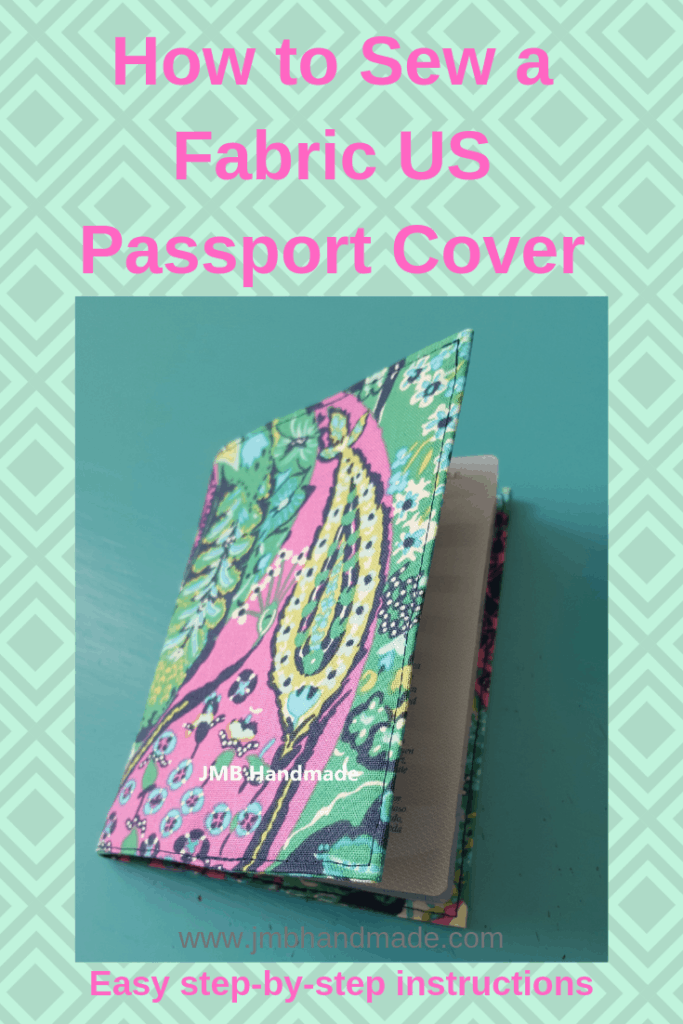
How to Sew an Easy Fabric Passport Cover
Fabric passport covers are super easy to make with these step-by-step instructions.
I just received my US passport the other day! If you have a passport, you know they are good for 10 years right? So why not protect it with a cute fabric passport cover! These covers only take about 15 minutes and are super easy to make! Be sure to check out our pattern for a matching fabric luggage tag!
This post contains affiliate links. Please see disclosure for more information.
***You can find the ad-free, printable PDF version of this sewing tutorial available for purchase HERE. Includes 7-pages of step-by-step instructions with pictures and templates. Print a copy to keep next to your sewing machine for easy reference.***
Passport cover supplies needed:
- Fabric – leftover scraps work great for this project. My favorite fabric shop.
- Clear Ruler
- Rotary Cutter
- Cutting mat
- Straight pins and thread
- Sewing scissors
- Sewing machine
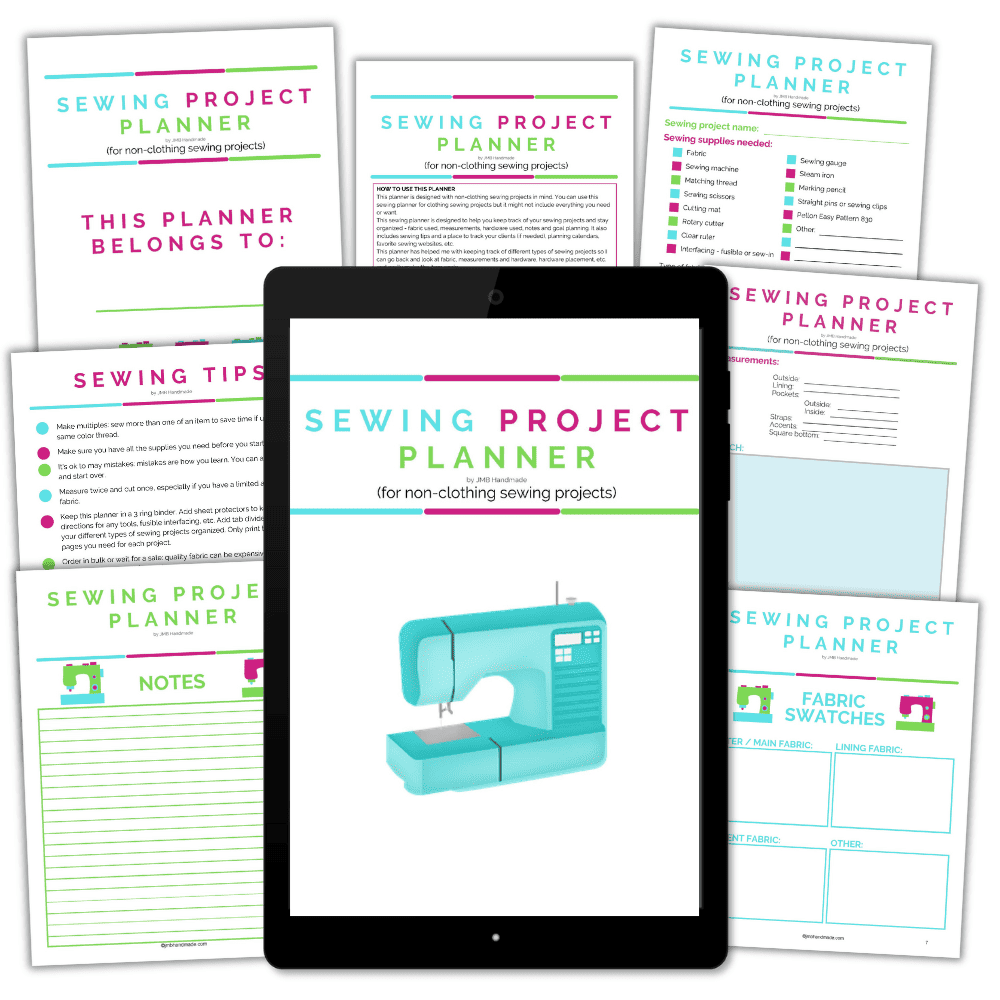
Keep track of your sewing projects, like this one, with a sewing planner. This sewing planner is specifically designed for non-clothing sewing projects and helps you stay organized – fabric used, measurements, hardware used, notes, etc. Also included are pages such as sewing tips and fabric shops. Get your sewing planner HERE.
Cut your fabric
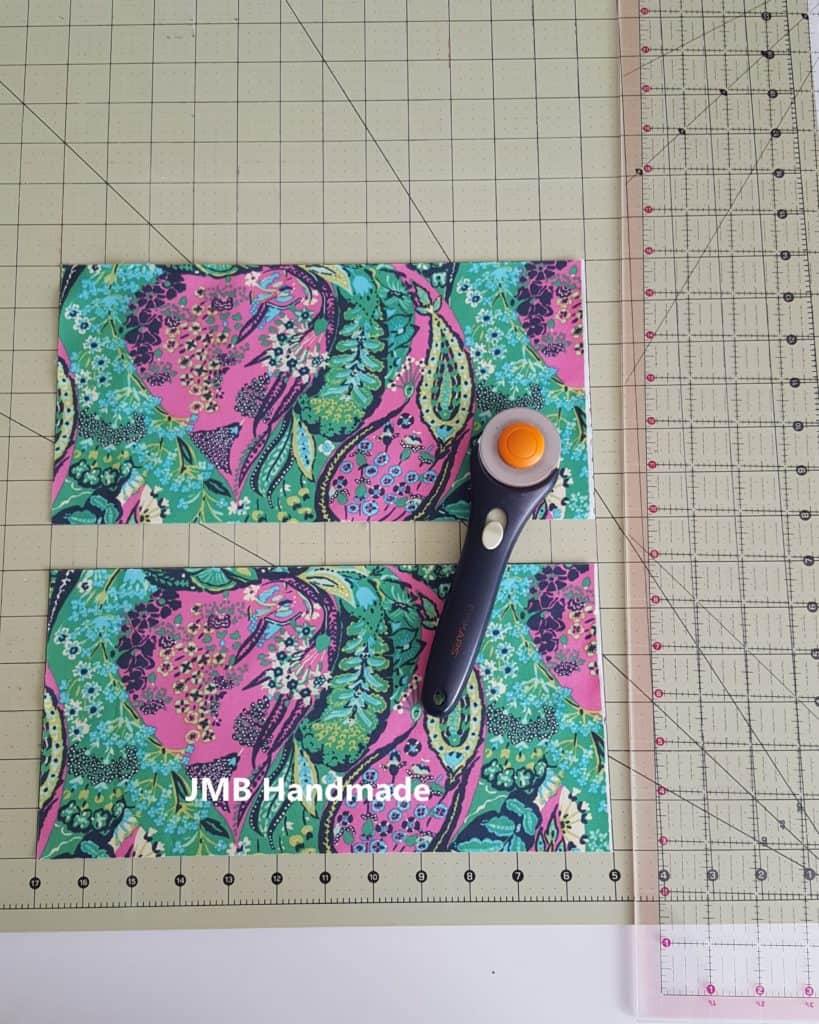
Cut two pieces of fabric 12 inches wide by 6 inches long using your clear ruler, rotary cutter and cutting mat.
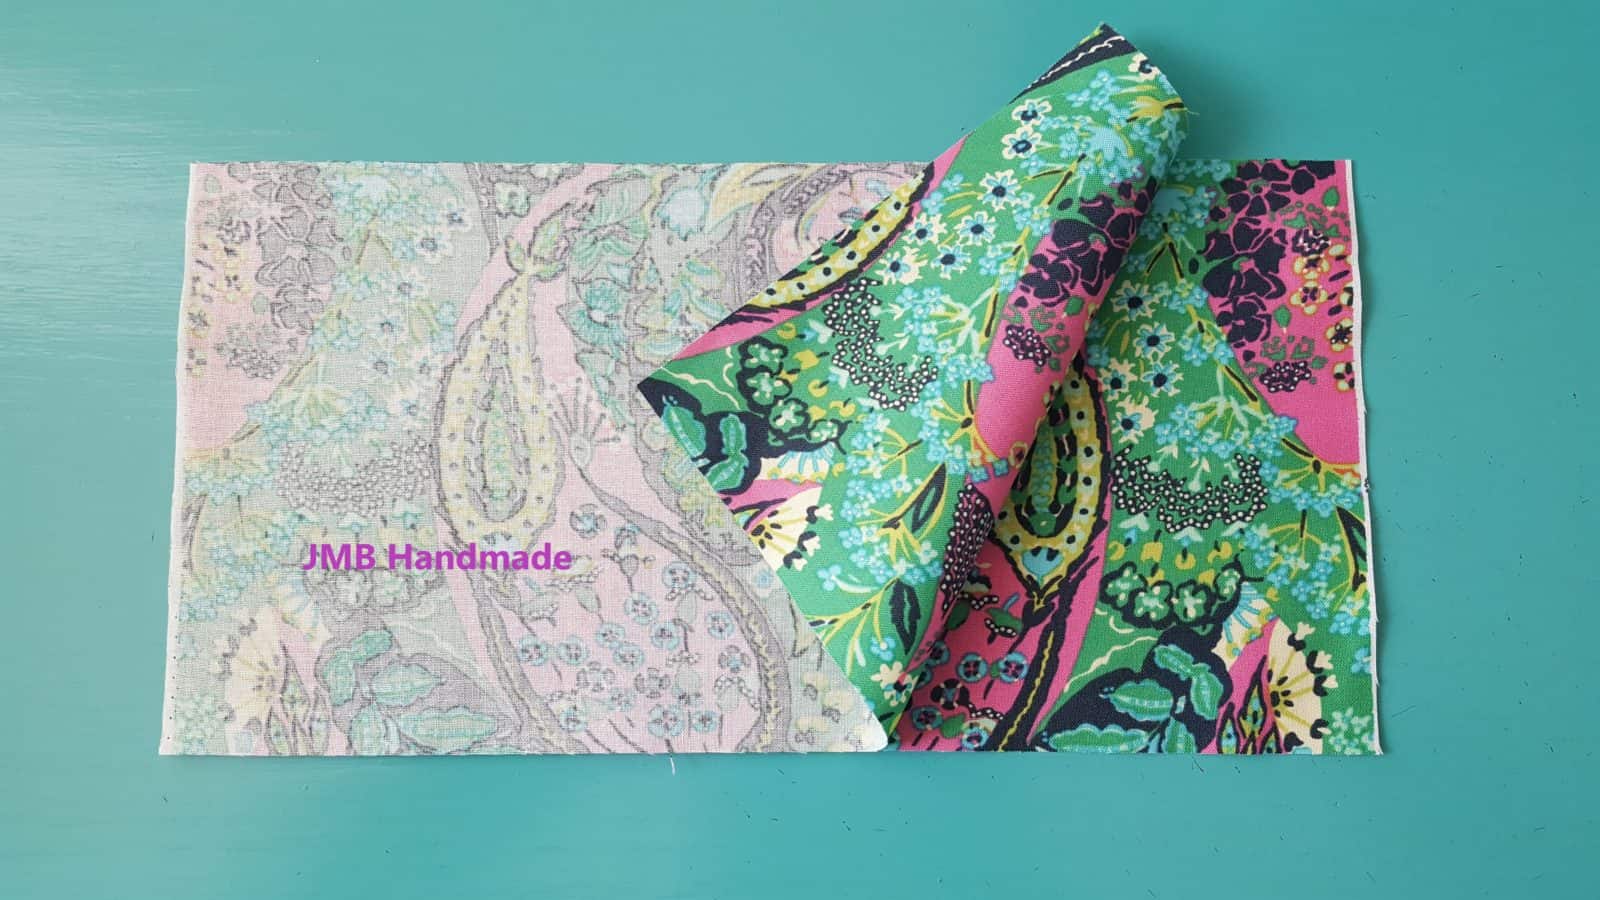
Place the two pieces of fabric on top of each other, right sides together.
Sew your passport cover together
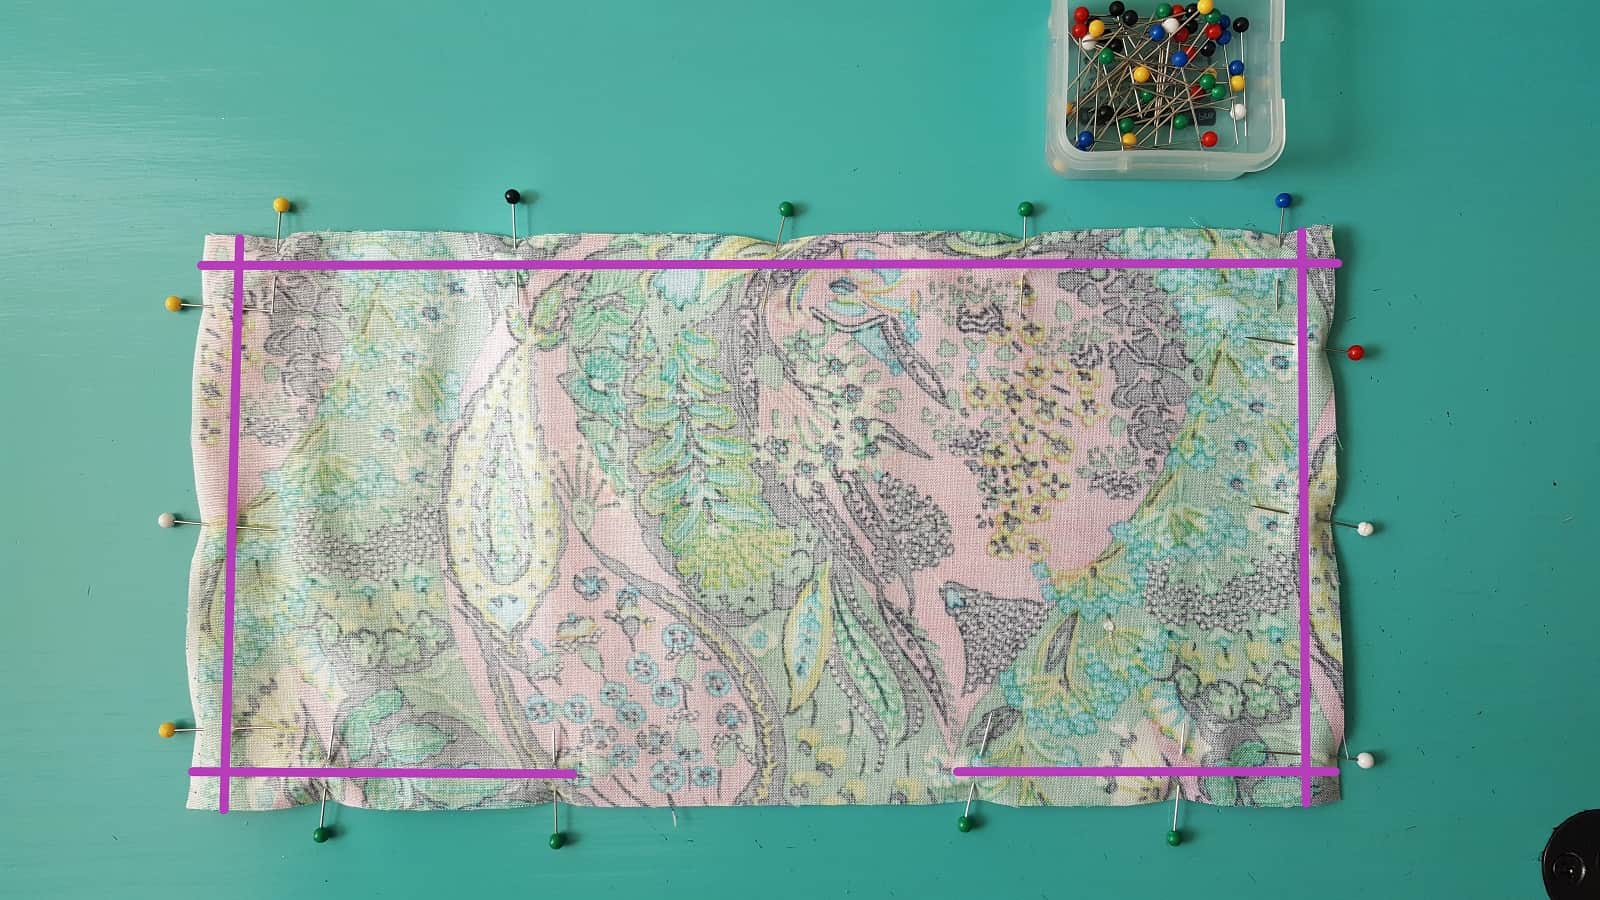
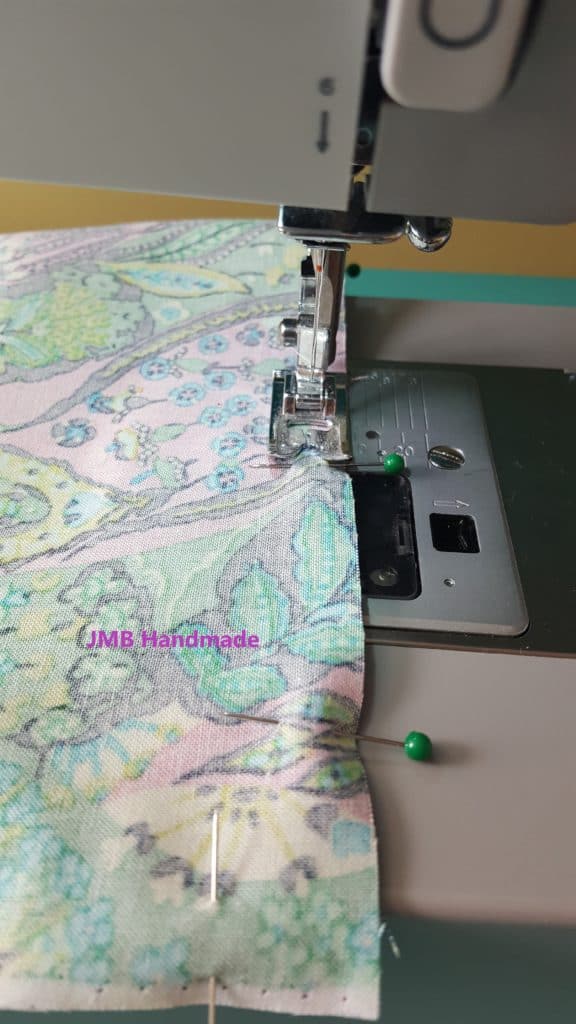
Pin the fabric and sew all the way around, leaving a small opening at the bottom for turning. As for the seam allowance – I place the edge of my sewing foot along the edge of the fabric and use that as my guide. Then use the zigzag stitch all around to keep the fabric from fraying.
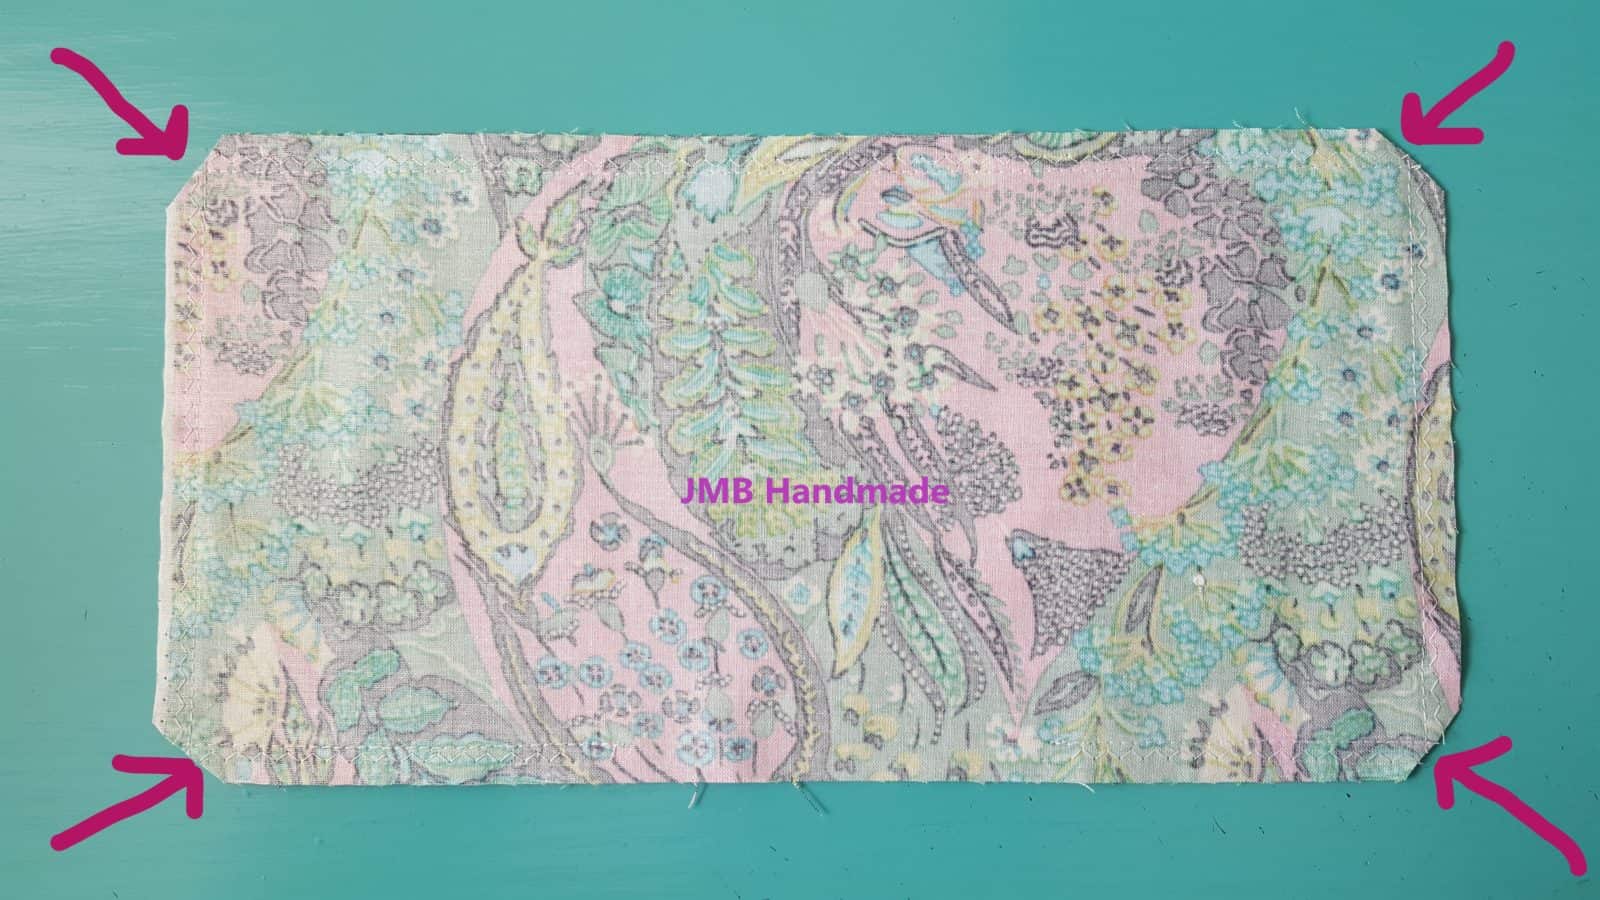
Clip the corners with your sewing scissors.
Turn right side out
Turn the fabric right side out and poke the corners out (I use an old knitting needle). Be sure not to poke through the fabric. Press the edges.
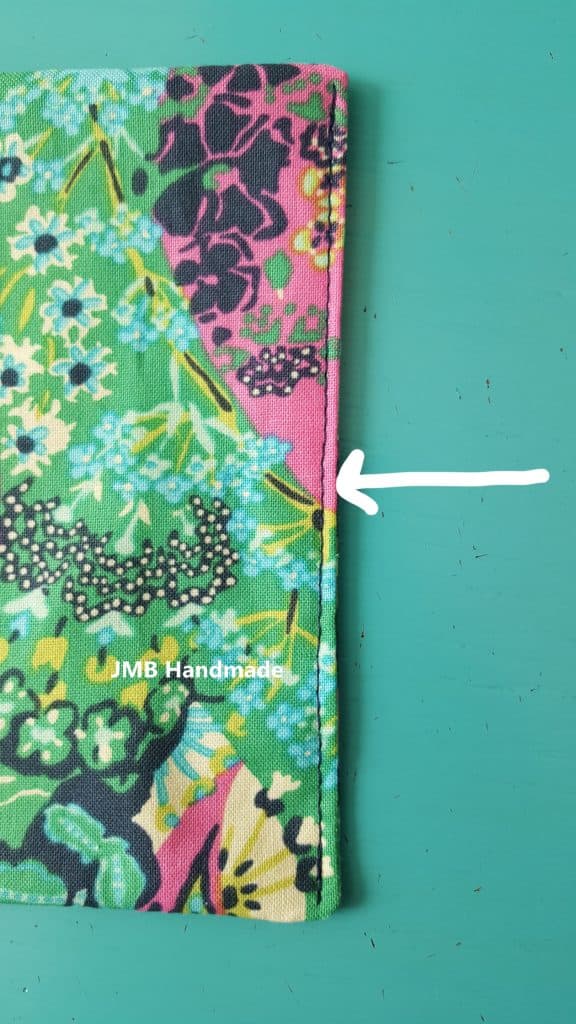
Straight stitch the short ends for a finished look as shown above. I use about a 1/8-inch seam allowance.
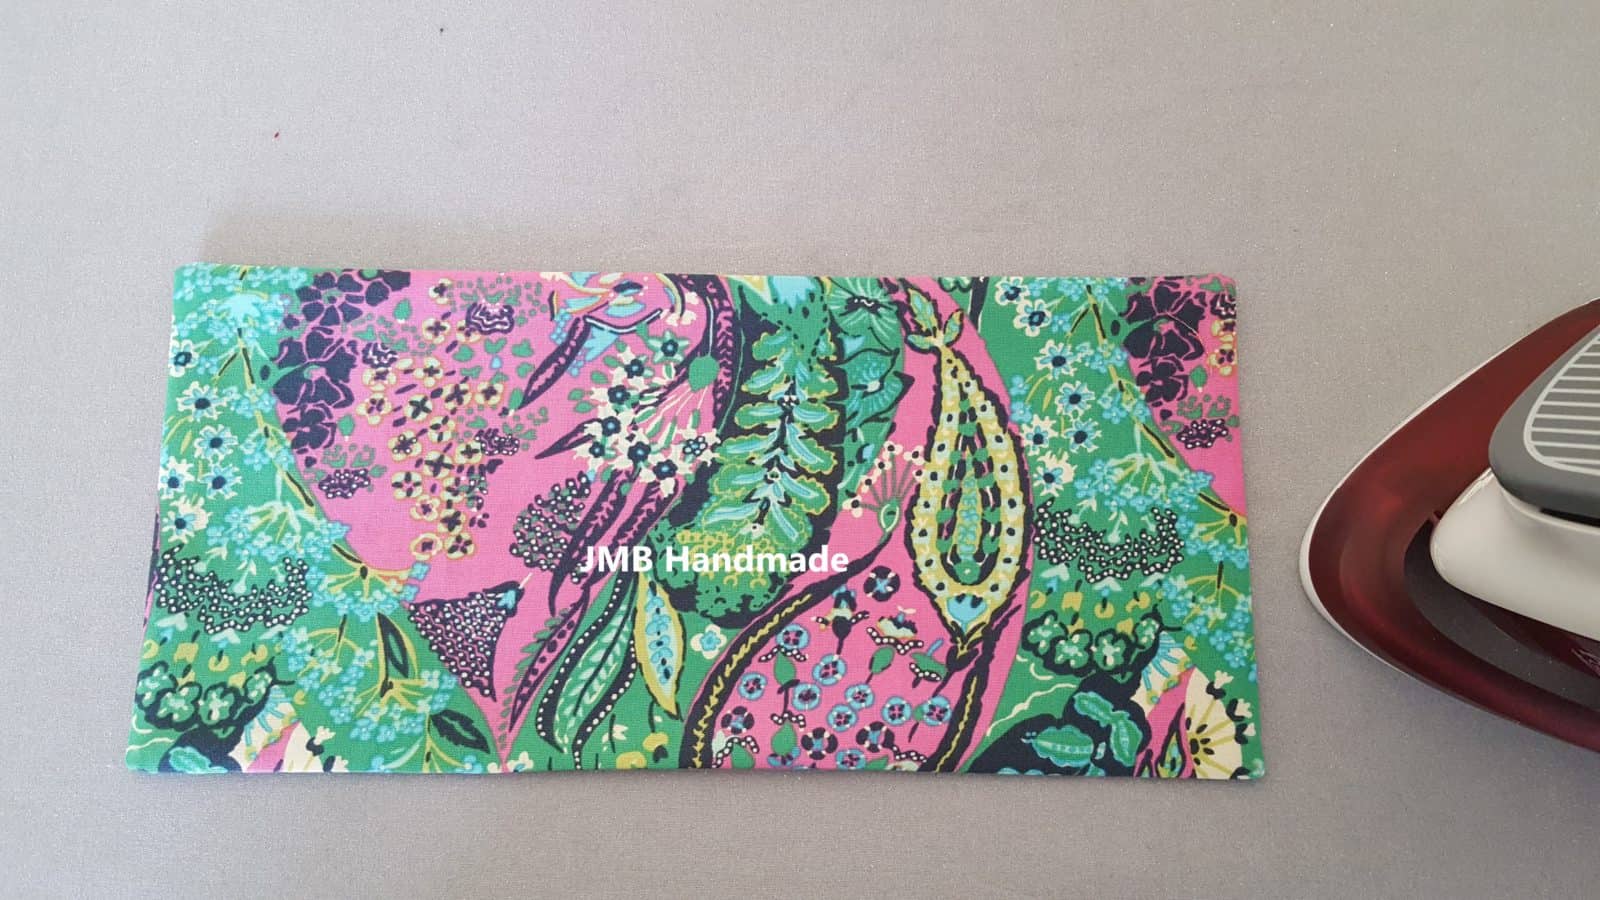
Fold the cover in half
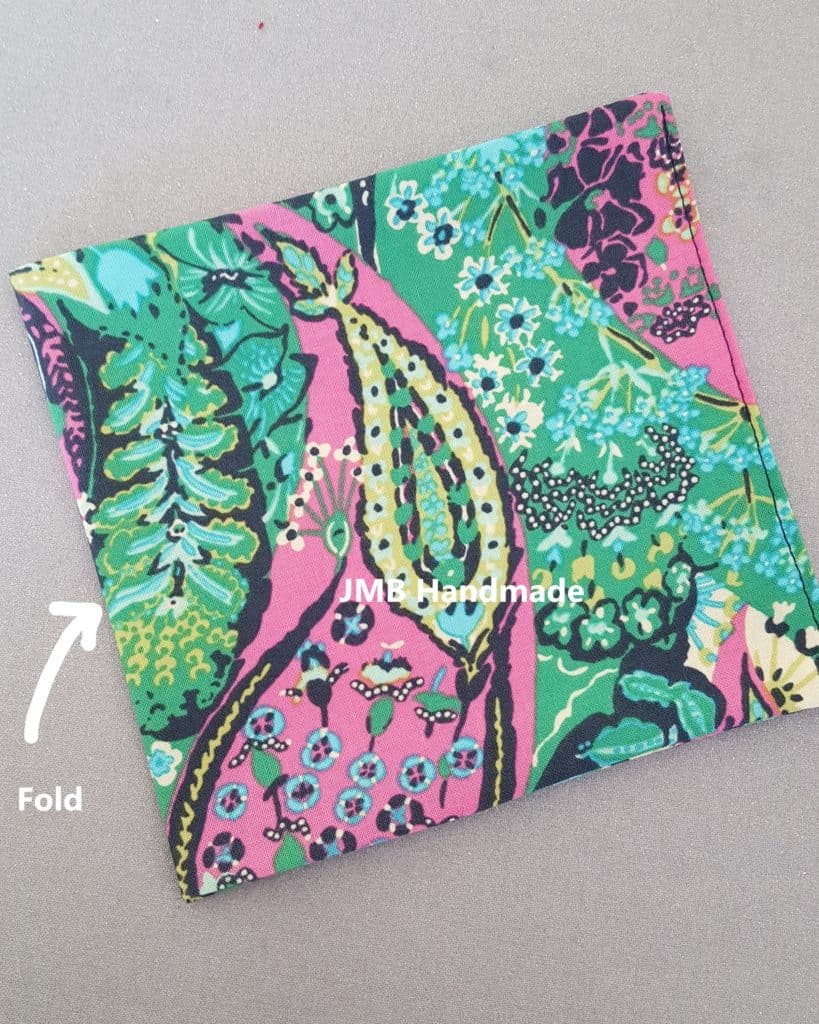
Fold the cover in half width wise. This will be your center line. Press the fold.

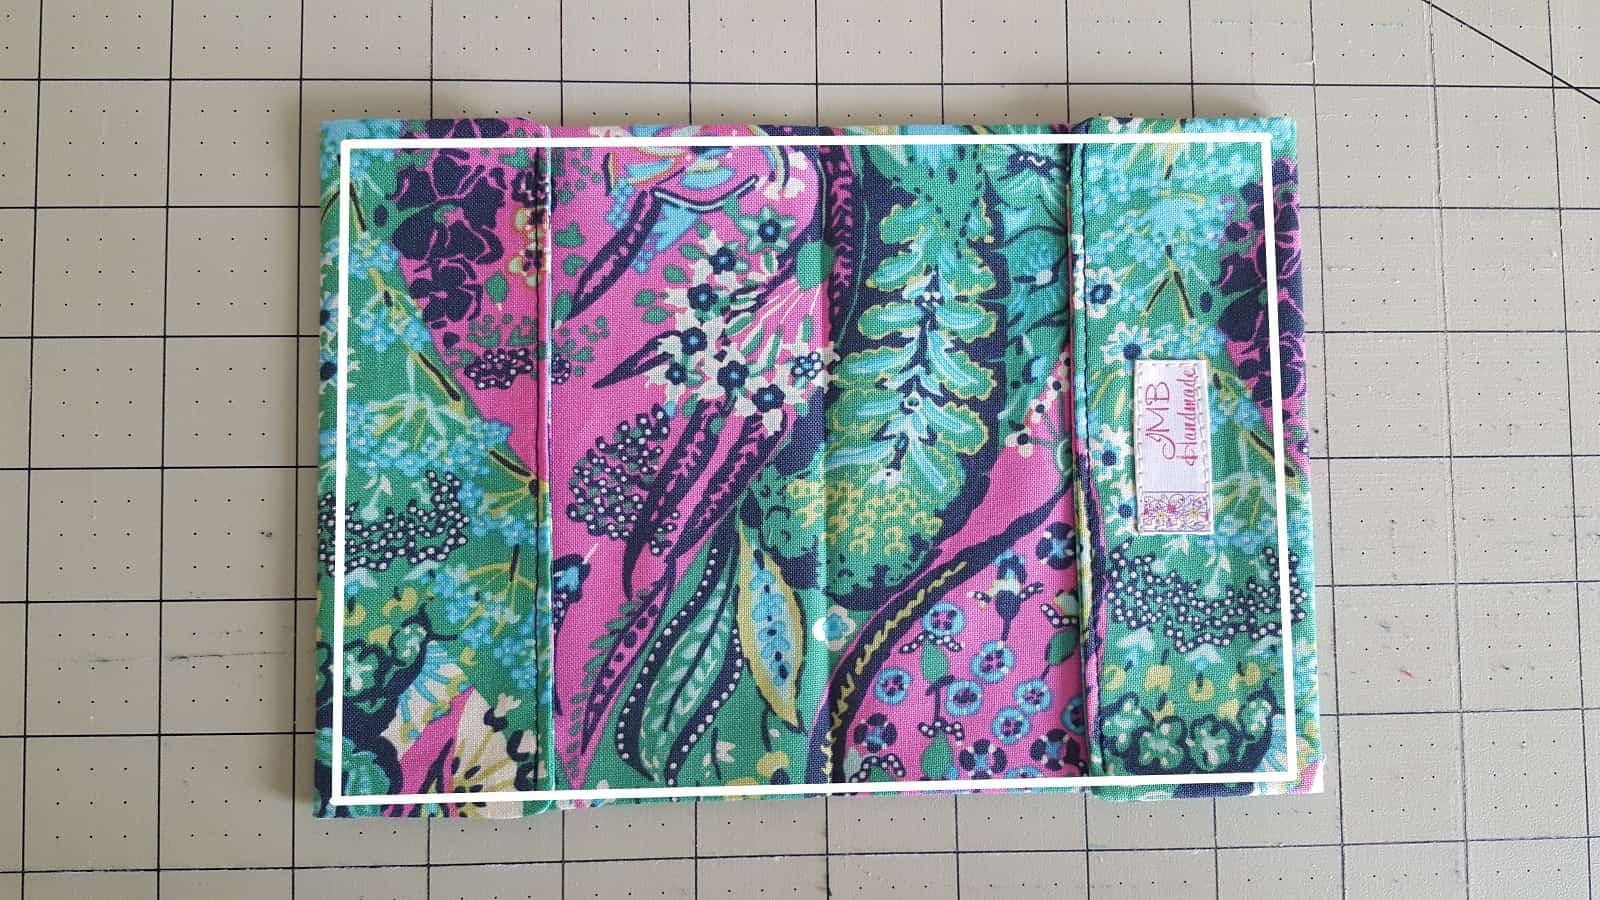
Open it back up and fold each end in 1 3/4-inches as shown above. Press the folds.
Sew it all together
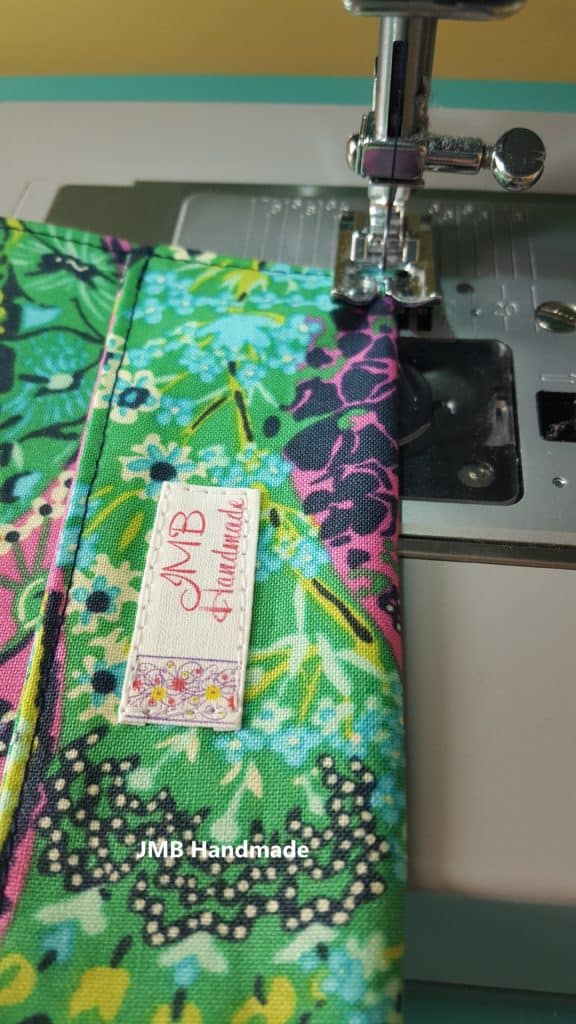
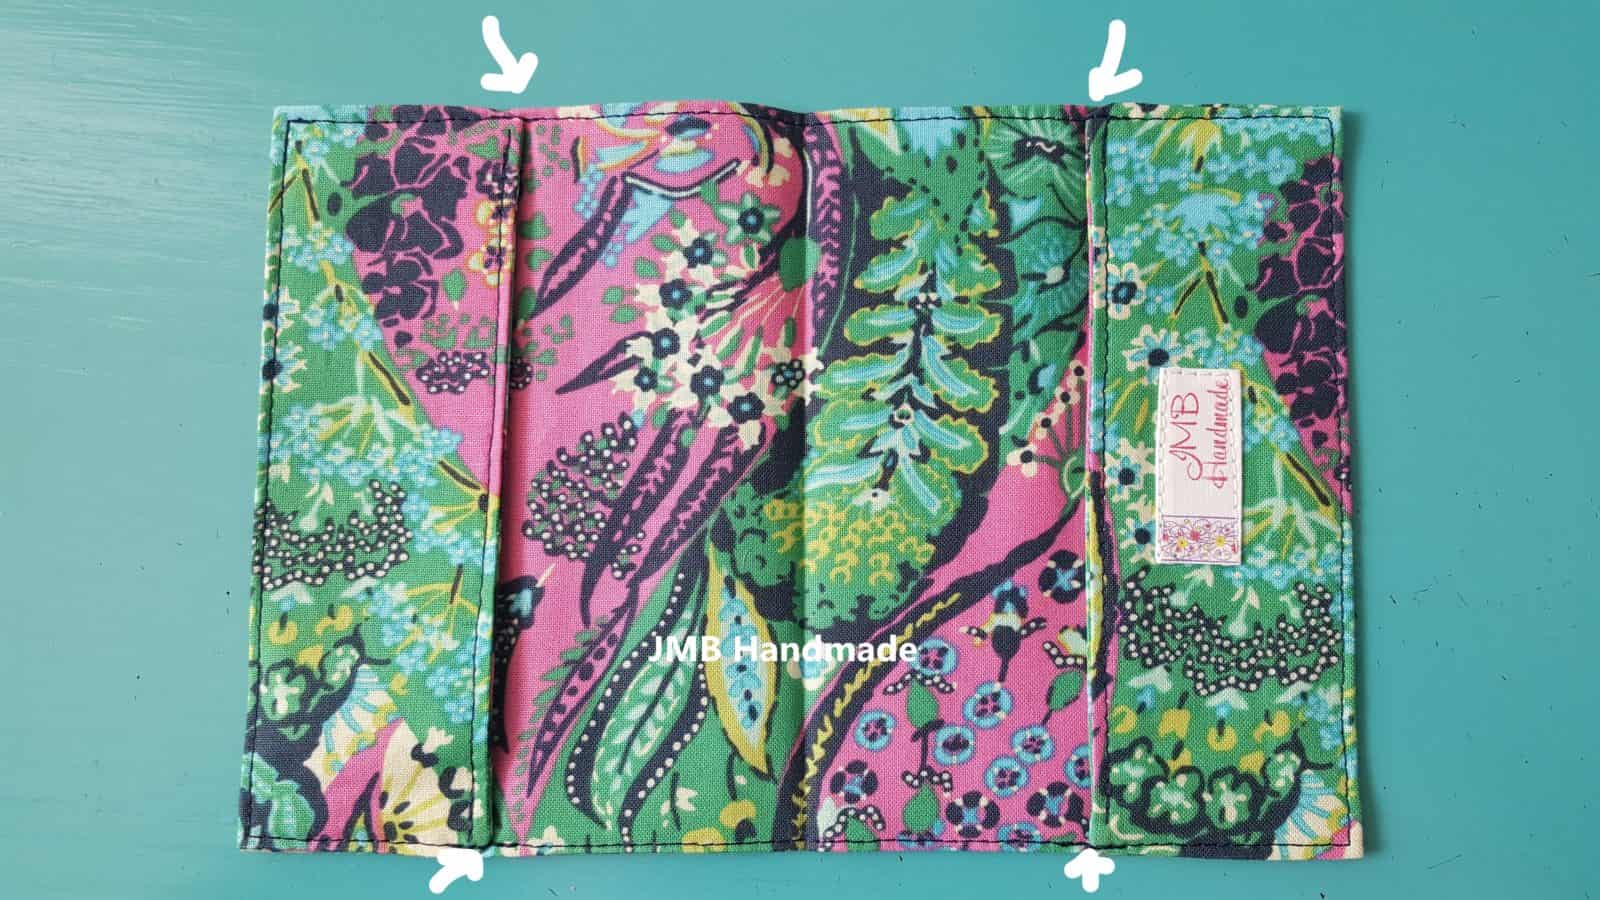
Straight stitch all around the perimeter to attach the flaps and close the opening using a 1/8-inch seam allowance. Pivot the corners. Be sure to go over the flaps a couple times for extra durability (see arrows). Press when finished.

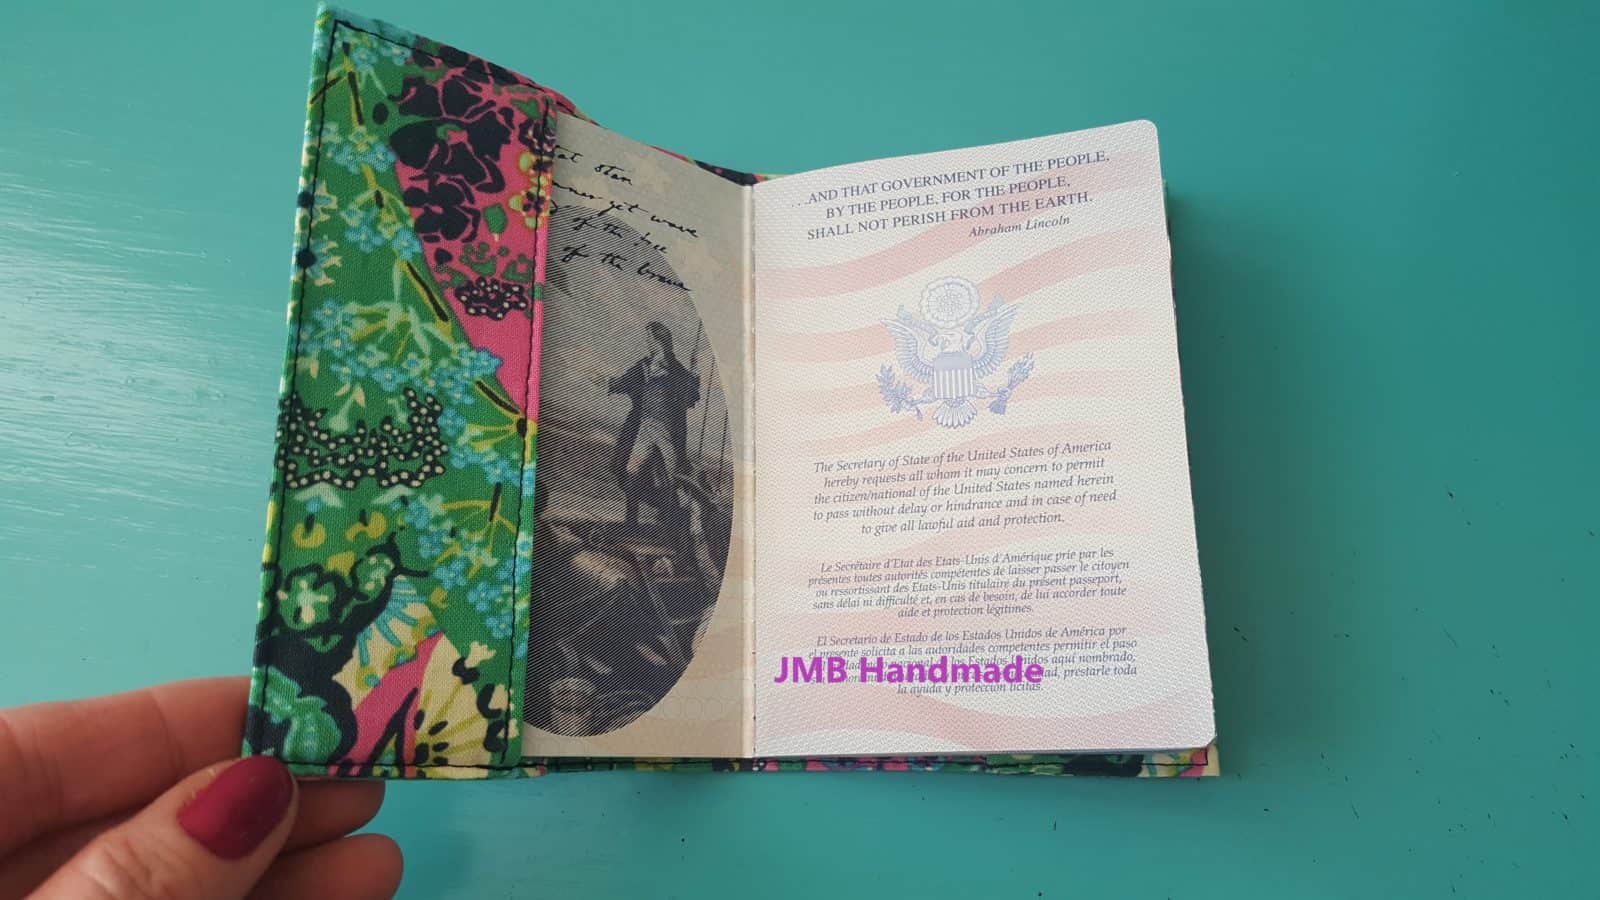
Insert your passport as shown above.
***You can find the ad-free, printable PDF version of this sewing tutorial available for purchase HERE. Includes 7-pages of step-by-step instructions with pictures and templates. Print a copy to keep next to your sewing machine for easy reference.***
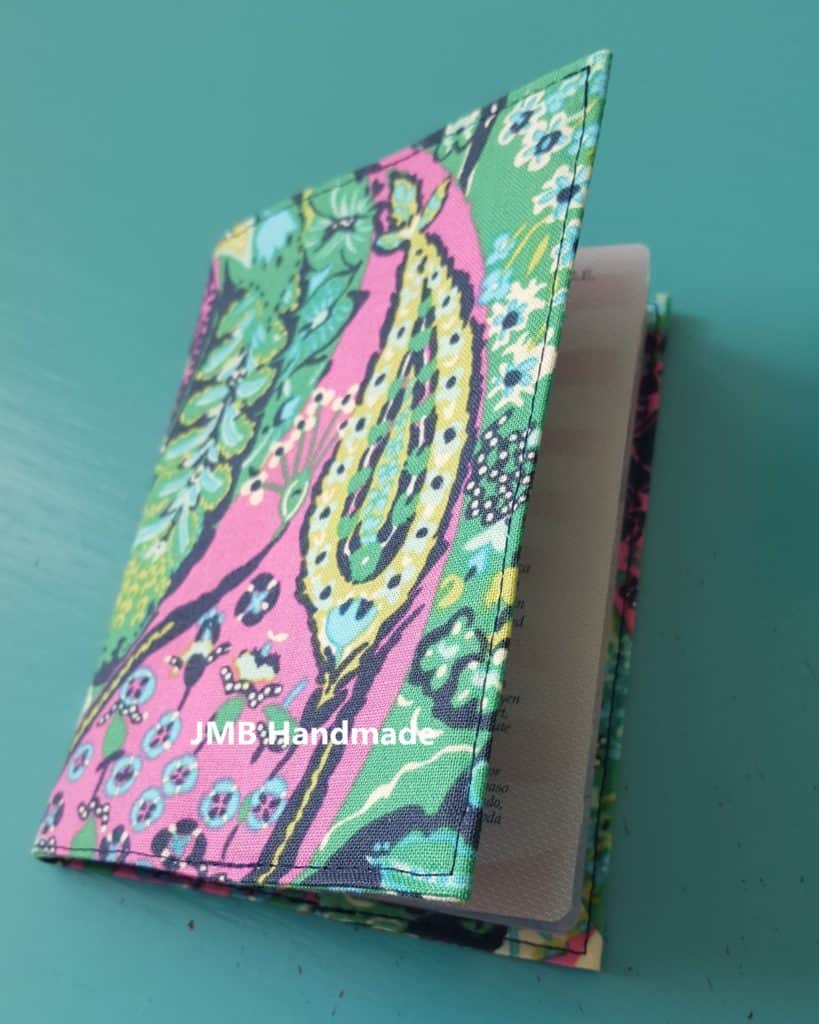
You are finished!
This is a really easy project to use up some of those fabric scraps. And they make great gifts! Happy sewing!
Pin for later!
Related fabric cover tutorial articles:
- How to Sew an Easy Fabric Checkbook Cover
- Easy to Sew Fabric Business Card / Gift Card Holder
- DIY Fabric Gift Card Credit Card Holder