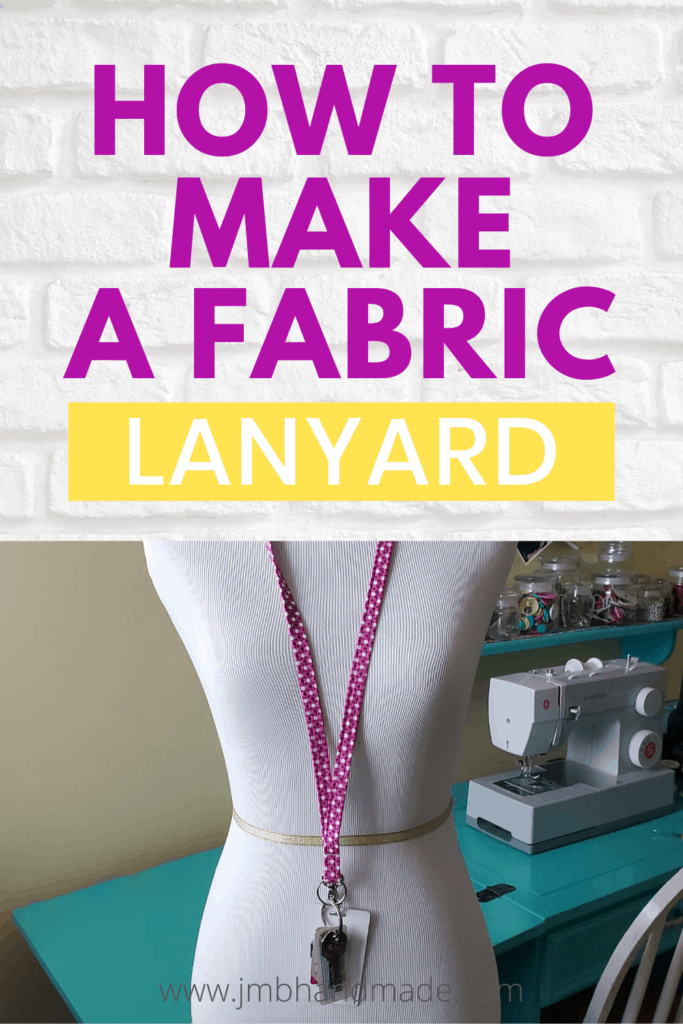
How to Make a Fabric Lanyard
A fabric lanyard is super easy to sew with this step-by-step tutorial.
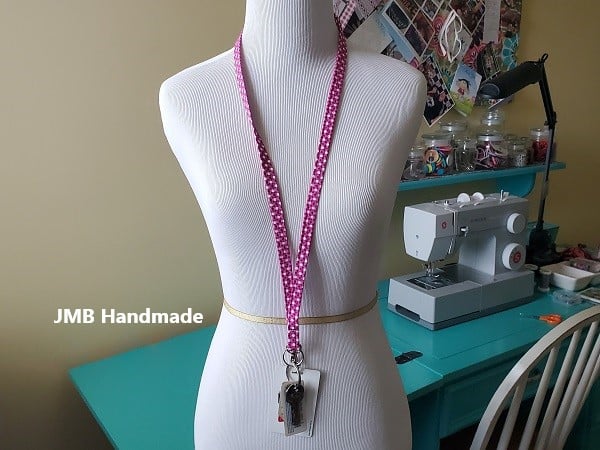
Create your own fabric lanyard to use to carry your keys or your work ID or both! You’ll always know your keys and ID are – around your neck! Plus, lanyards make great gifts!
If you have leftover fabric, try sewing a matching fabric key fob or fabric scrunchie! Or make a mini zipper pouch key chain to attach to your lanyard!
Here are the instructions on how to sew a fabric lanyard:
This post contains affiliate links. Please see disclosure for more information
***You can find the ad-free, printable PDF version of this sewing tutorial available for purchase HERE. Includes 9 pages of step-by-step instructions with pictures. Print a copy to keep next to your sewing machine for easy reference.***
Sewing tools needed for making a lanyard:
- Cotton Fabric – enough to measure 2 inches wide by approximately 44 inches long – my favorite fabric shop
- Fusible interfacing – Pellon 911FF Fusible Interfacing is my favorite
- Rotary cutter
- Cutting mat
- Clear ruler
- Sewing clips or straight pins if you don’t have clips
- Steam iron
- 1/2-inch wide swivel snap hook and 1-inch key ring
- Matching thread
- Sewing machine
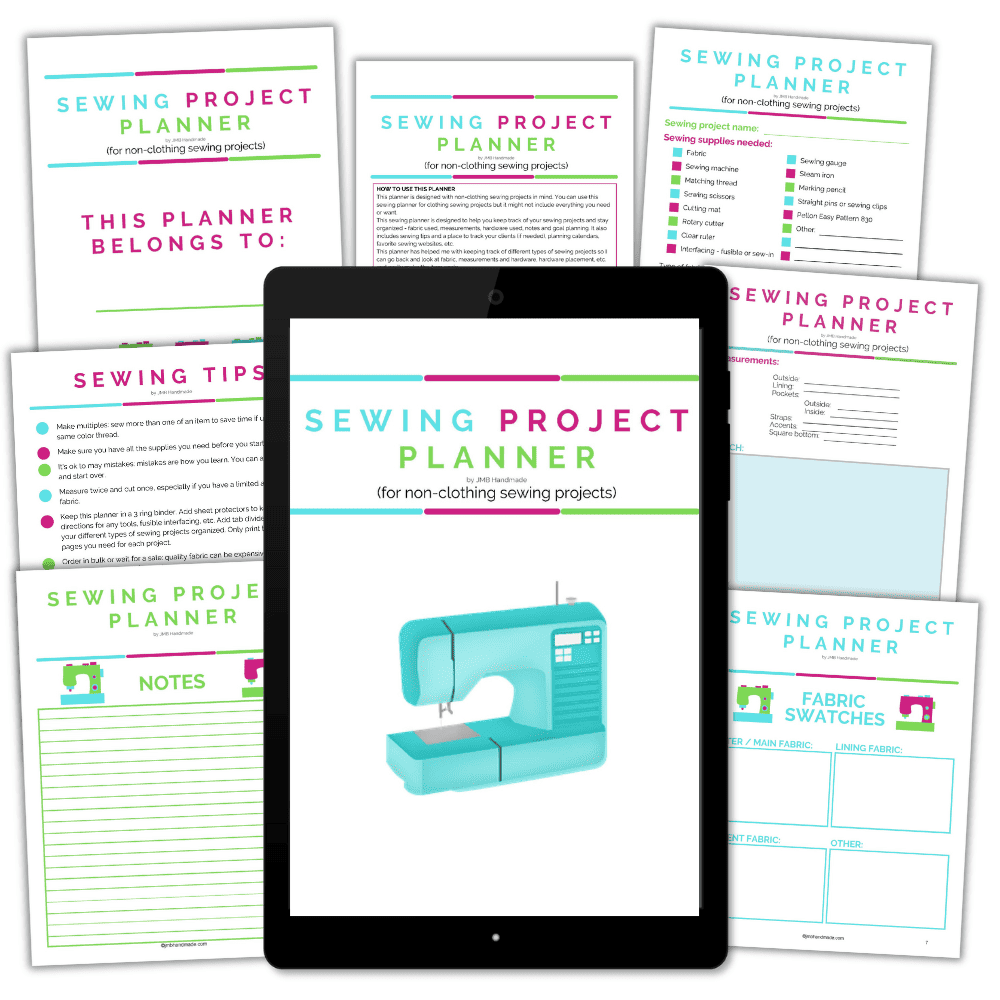
Keep track of your sewing projects, like this one, with a sewing planner. This sewing planner is specifically designed for non-clothing sewing projects and helps you stay organized – fabric used, measurements, hardware used, notes, etc. Also included are pages such as sewing tips and fabric shops. Get your sewing planner HERE.
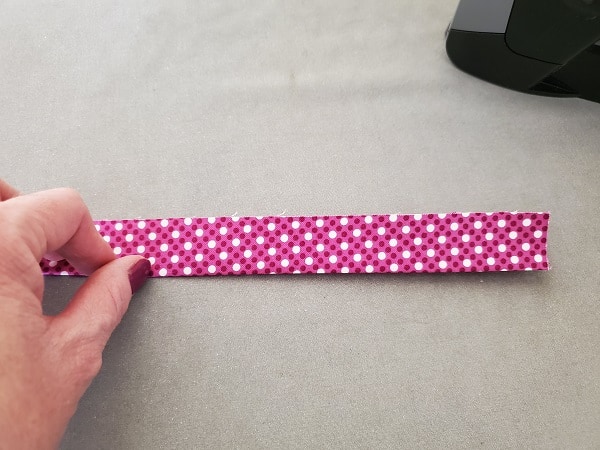
Cut the fabric
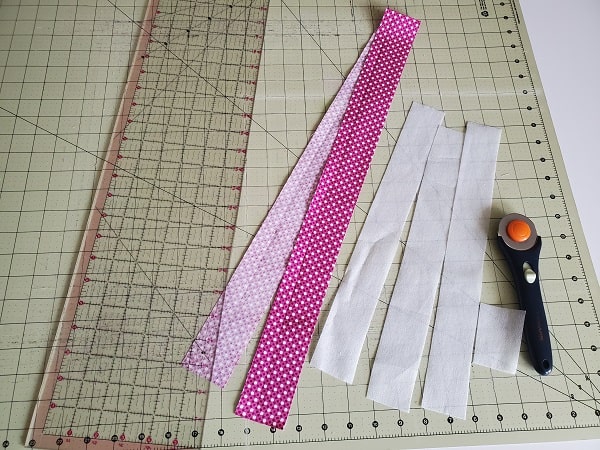
Use your rotary cutter, clear ruler and cutting mat to cut a strip of fabric 2 inches wide by approximately 44 inches long. The length can vary by an inch or two longer or shorter.
The finished lanyard will be 1/2-inch wide. If you want your lanyard to be wider, just take the width of how wide you want your lanyard to be and multiply by 4. That will be the width you want to cut your fabric. For example, if you want your finished lanyard to be 1-inch wide, cut your fabric 4 inches wide.
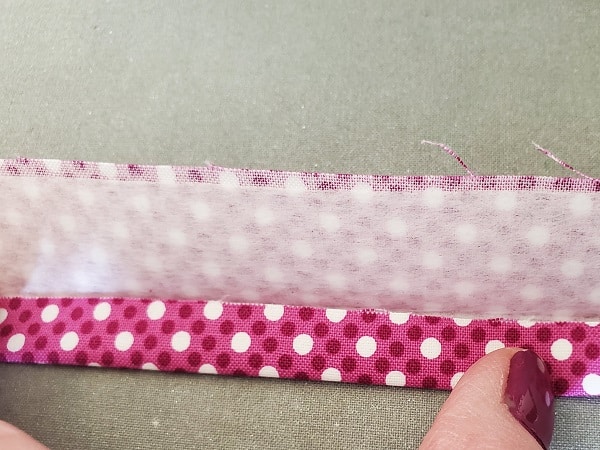
Attach the interfacing
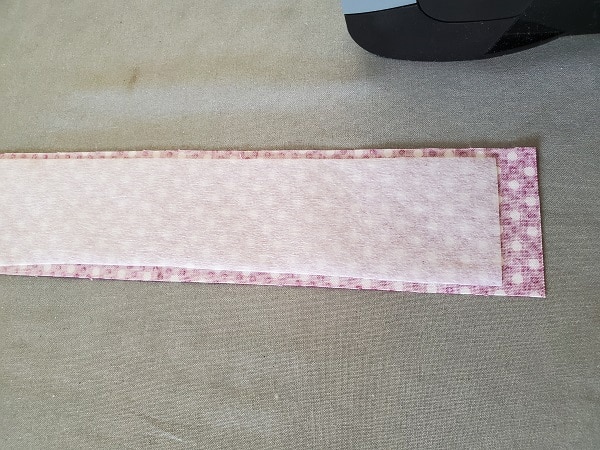
I use Pellon 911FF Fusible Interfacing for all of my handbag and accessories sewing projects for extra durability.
Cut your fusible interfacing just smaller than your fabric strip and about 1/2-inch shorter than your fabric on each end (you’ll be hemming the ends later.) Follow the package instructions to attach the interfacing. I used a few short strips of interfacing because I did not have one piece long enough.
Fold the lanyard strap
Fold the fabric strip in half lengthwise and press along the fold.
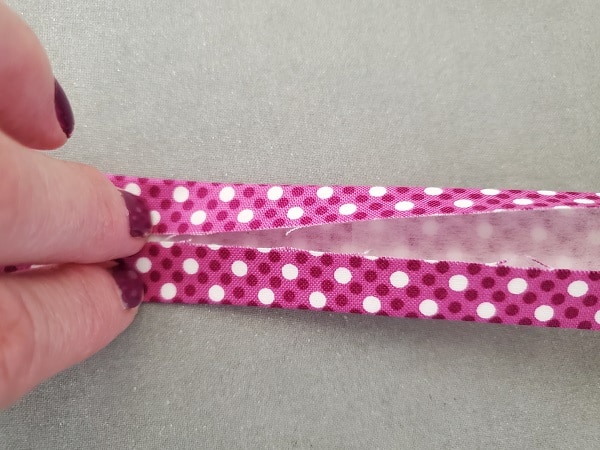
Take the outside edge and fold to the center and press. Repeat with the other side.
Now fold in half again.
Hem the short ends
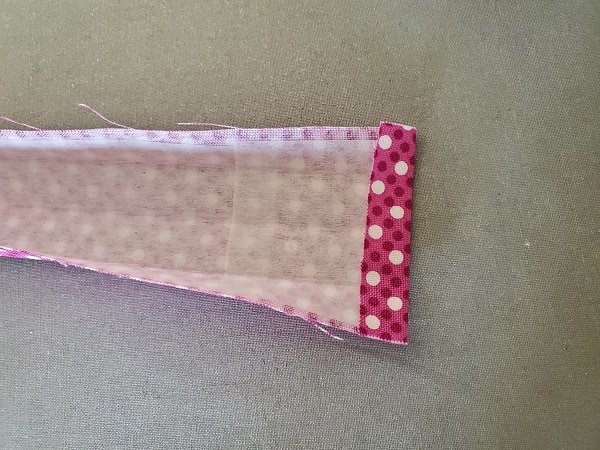
Fold the short end about 1/2-inch – up to where the interfacing ends and press the fold.
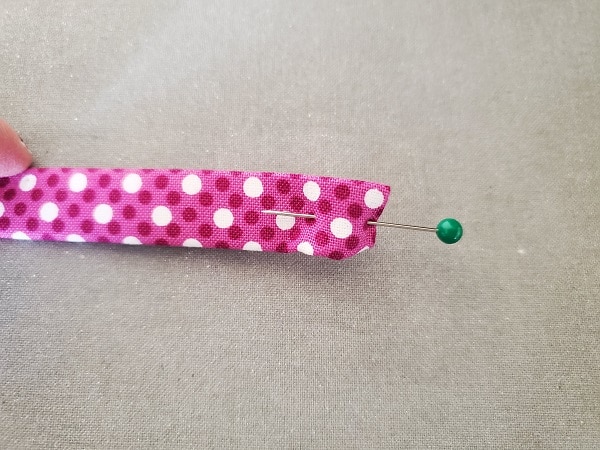
Then fold back together and pin to hold in place. Repeat with the other short end.
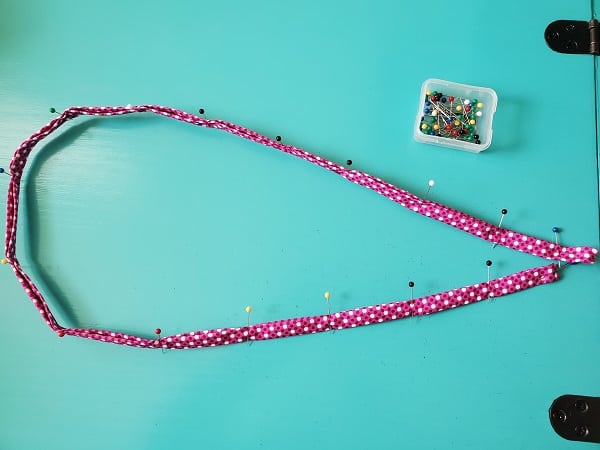
Pin your lanyard to hold in place. Or you can use your sewing clips to hold the lanyard together.
***You can find the ad-free, printable PDF version of this sewing tutorial available for purchase HERE. Includes 9 pages of step-by-step instructions with pictures. Print a copy to keep next to your sewing machine for easy reference.***
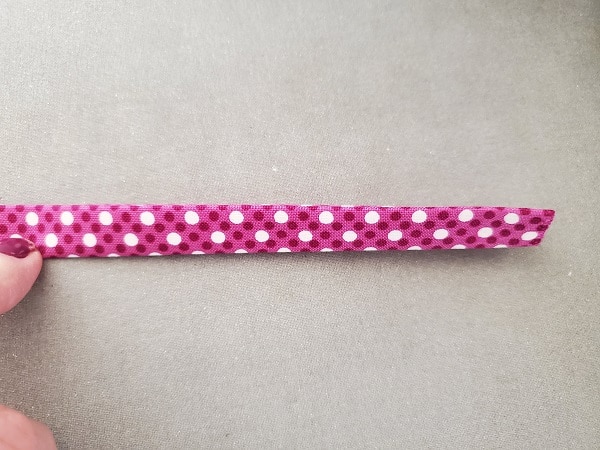
Time to sew
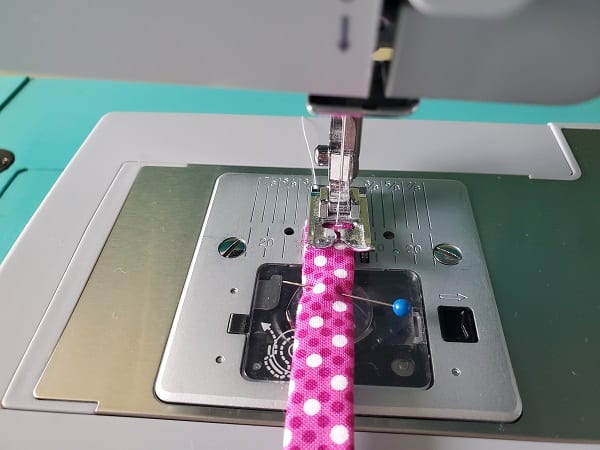
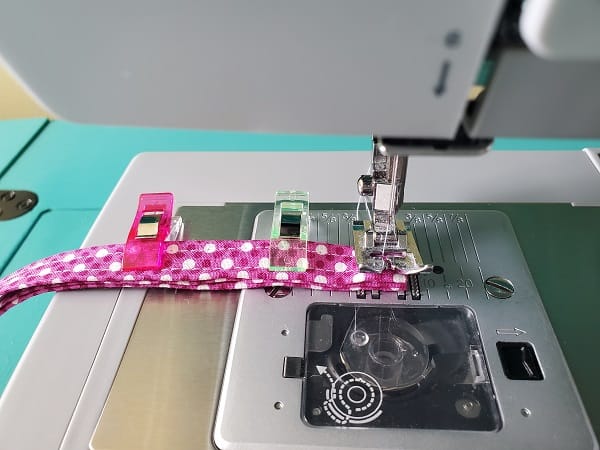
Use your sewing machine to straight stitch each side lengthwise with a 1/8 inch or so seam allowance.
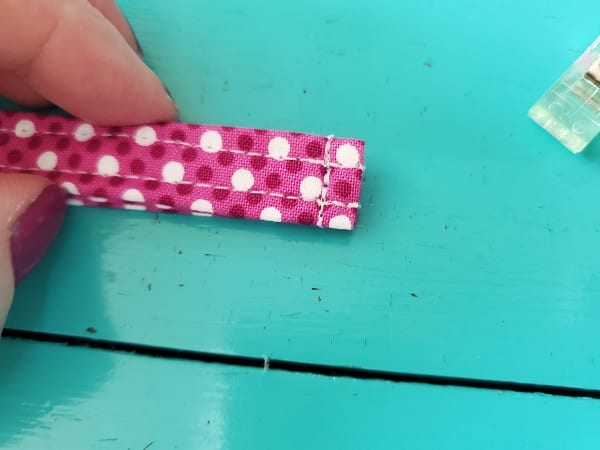
The picture above shows the sewn lanyard.
Attach the lanyard hardware

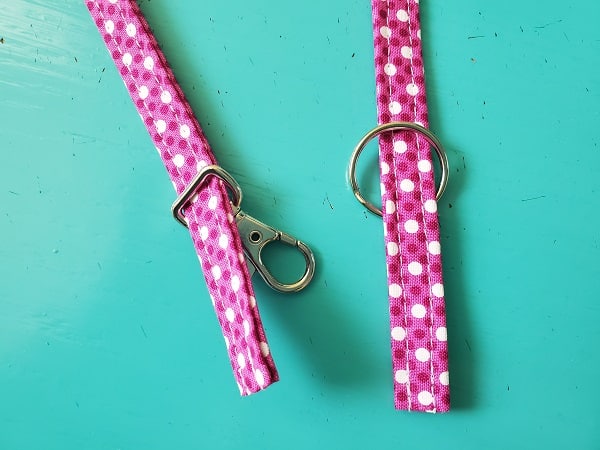
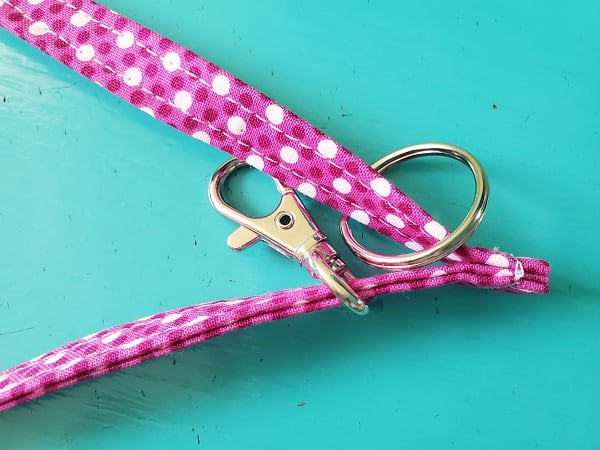
Now slide your swivel snap hook onto the lanyard – be sure the clip is on the outside of the lanyard. On the other end of the lanyard, slip on the key ring.
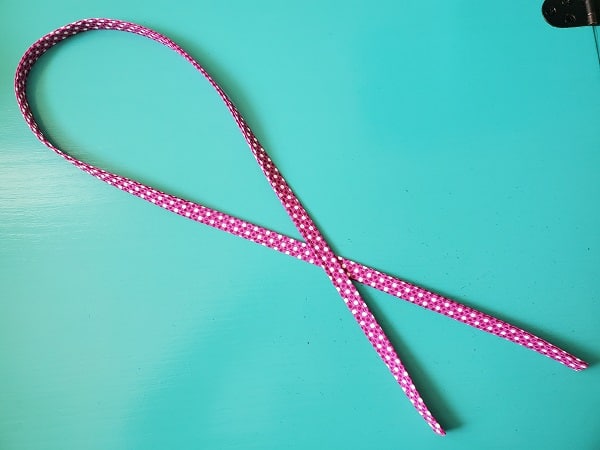
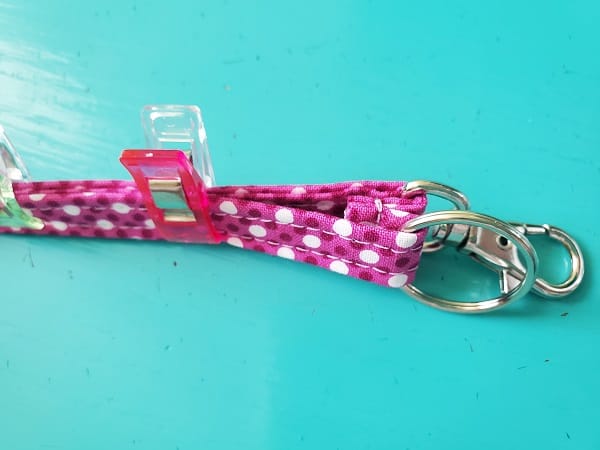
Fold the lanyard in half inside out with the short ends meeting. Hold in place using your sewing clips. (If you don’t have sewing clips, small binder clips or straight pins work just as well.) Then sew the short ends of the lanyard together with about 1/8 – 1/4 inch seam allowance.
The above picture is how your fabric lanyard should look at this point.
Turn your lanyard right side out and clip together. Be sure the swivel snap hook and key ring are in the folds as shown in above picture.
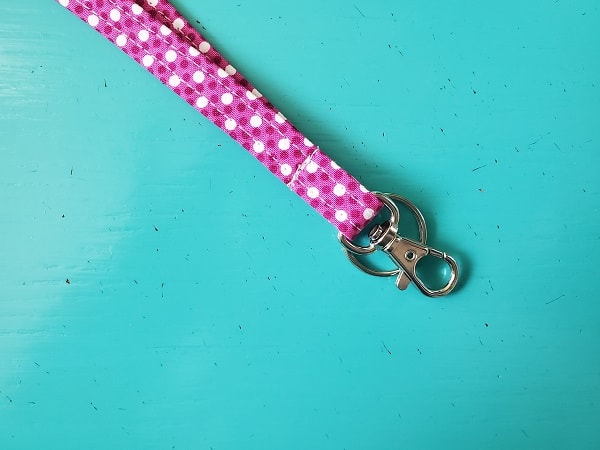
Sew both straps together as shown in above picture.
***You can find the ad-free, printable PDF version of this sewing tutorial available for purchase HERE. Includes 9 pages of step-by-step instructions with pictures. Print a copy to keep next to your sewing machine for easy reference.***
Your fabric lanyard is finished!
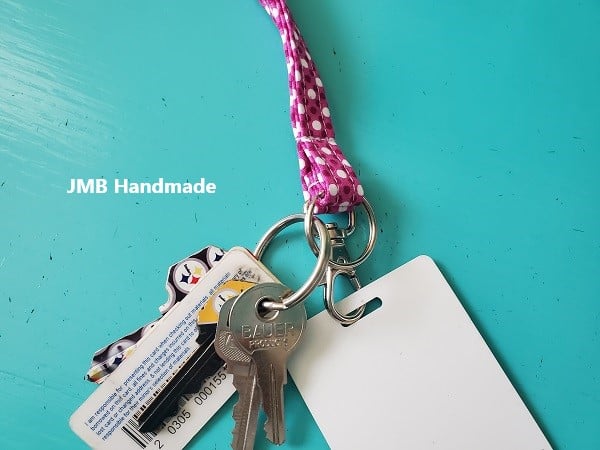
Now you can attach your keys and work ID, if you have it. I hope you enjoyed this fabric lanyard tutorial. Please feel free to share your finished project or comment below. Happy sewing!
Pin for later!
Other Sewing Project Tutorials:
- How to Make a Business Card Holder
- DIY Simple Tote Bag Pattern
- Lined Zipper Pouch Tutorial with flat bottom