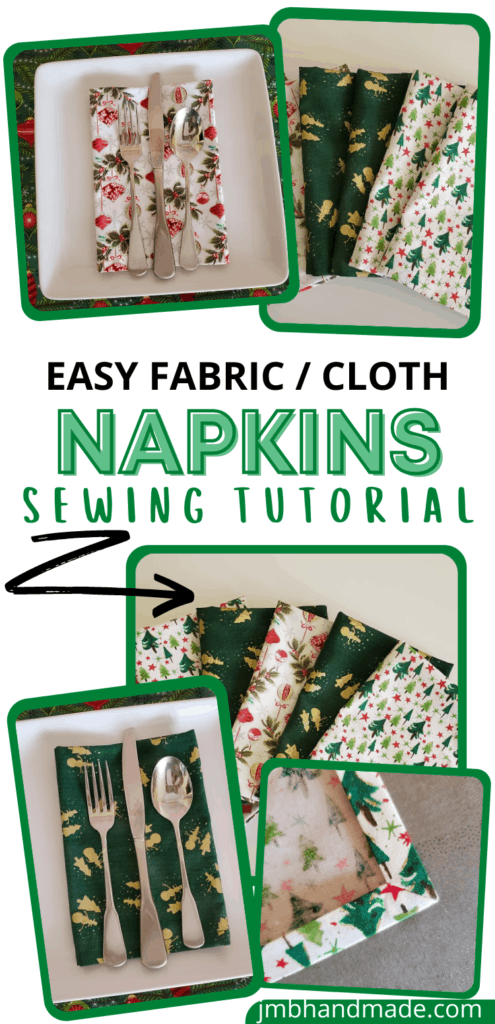
Easy Fabric Napkin Sewing Tutorial
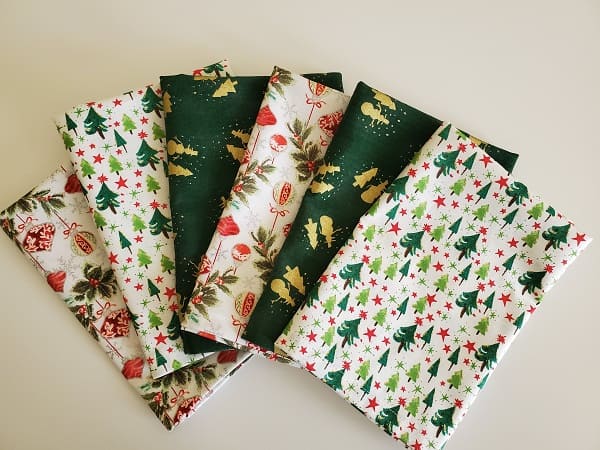
Fabric napkins are super easy to make and dress up any table!
You’ll have your table looking beautiful in no time by dressing it up using this easy sewing tutorial for fabric napkins. Add matching fabric placemats and quilted fabric coasters for an even better look!
Here are the step-by-step instructions on how to sew fabric napkins:
This post contains affiliate links. See disclosure below for more information.
***You can find the ad-free, printable PDF version of this sewing tutorial available for purchase HERE. Includes 8-pages of step-by-step instructions with pictures. Print a copy to keep next to your sewing machine for easy reference.***
Sewing supplies needed for fabric napkins:
- Cotton fabric measuring 18 inches by 18 inches – fat quarters are great for this sewing project – my favorite fabric shop
- Cutting mat
- Rotary cutter
- Clear ruler
- Sewing gauge
- Sewing scissors
- Clothes iron
- Matching thread
- Sewing machine
Keep track of your sewing projects, like this one, with a sewing planner. This sewing planner is specifically designed for non-clothing sewing projects and helps you stay organized – fabric used, measurements, hardware used, notes, etc. Also included are pages such as sewing tips and fabric shops. Get your sewing planner HERE.
Cut the fabric
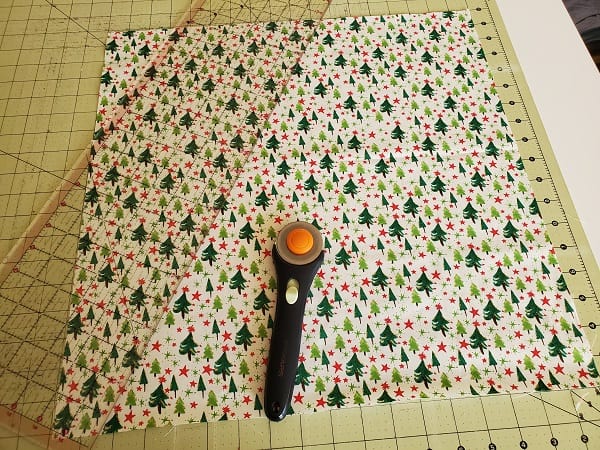
Cut your fabric 18 inches by 18 inches (or any size square big enough for a napkin) using your cutting mat, rotary cutter and clear ruler.
Hem the fabric edges
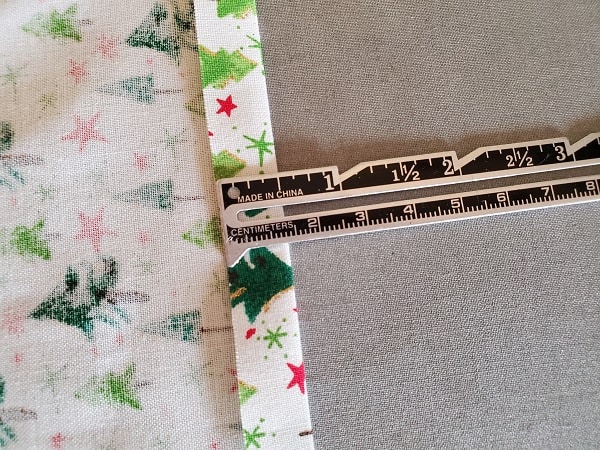
Place your fabric right side down on your ironing board. Fold one side over 1/2-inch using your sewing gauge to measure. Press the fold.
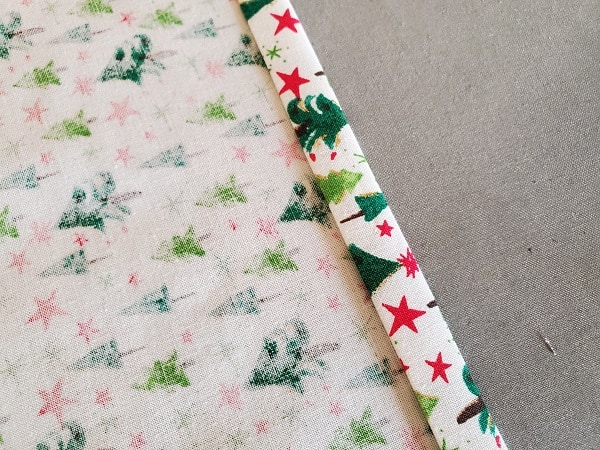
Fold over again and press.
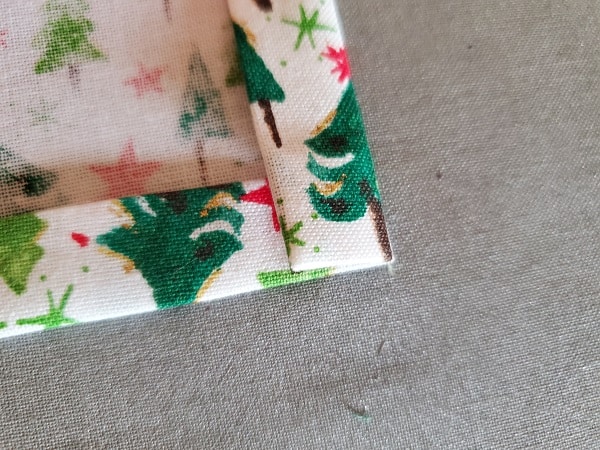
Repeat hemming with the other three sides of the fabric. After hemming is complete, the corners of your fabric napkin should look like the above picture.

***You can find the ad-free, printable PDF version of this sewing tutorial available for purchase HERE. Includes 8-pages of step-by-step instructions with pictures. Print a copy to keep next to your sewing machine for easy reference.***
Miter the corners
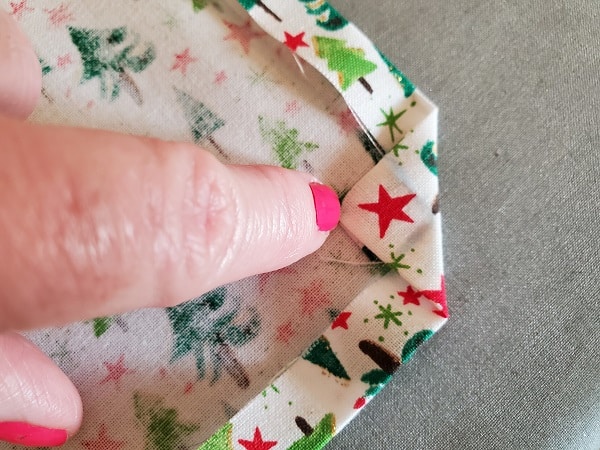
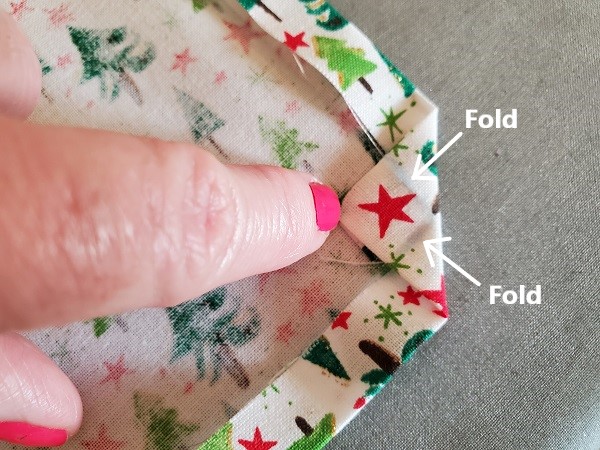
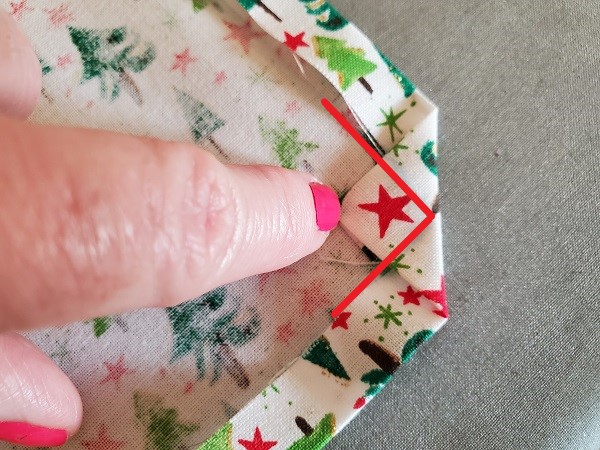
Now open up the second fold only. Fold in the corner so the fold creases line up as shown in above pictures.
The red lines show the creases lined up. Press the corner fold to make a crease – you will need this crease in the next step.
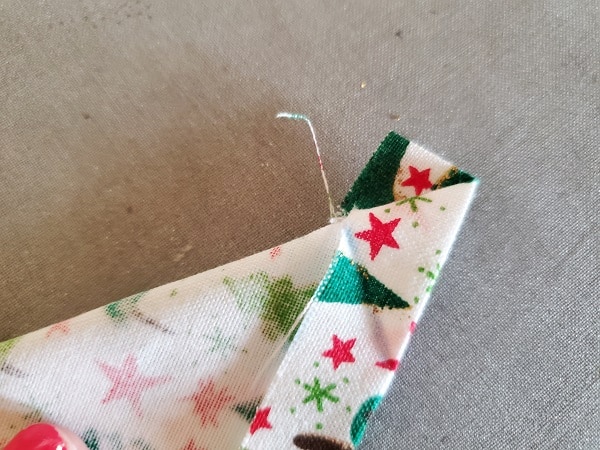
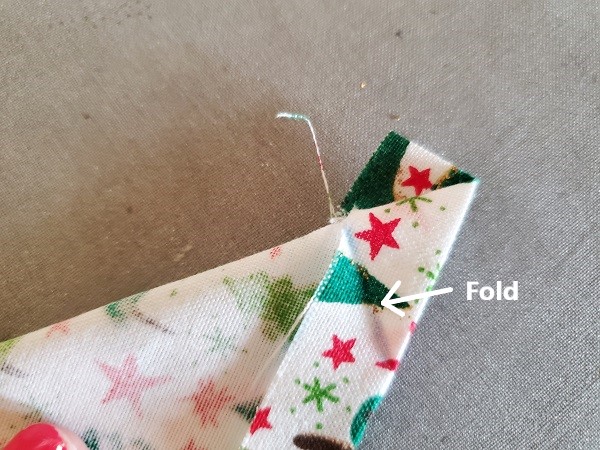
Open back up and fold right sides together with the outer edges lined up. The corner fold crease you just made should be lined up as well. See the above picture. (The blue line from the marking pencil does not show up very well in the above picture – red line below better illustrates the crease.)
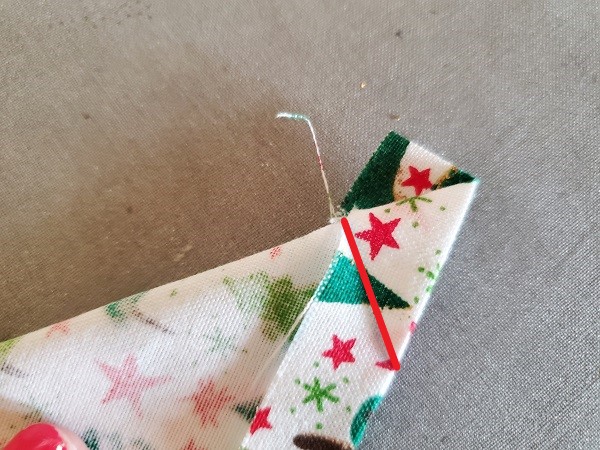
The red line above shows the corner fold crease made in the previous step. You are going to stitch along this line.
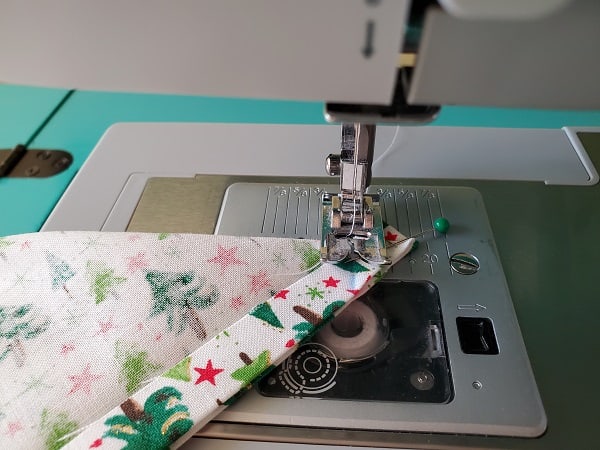
Use your sewing machine to straight stitch along the crease. Be sure to reverse stitch at beginning and end. You can hand sew this step if you don’t have a sewing machine.
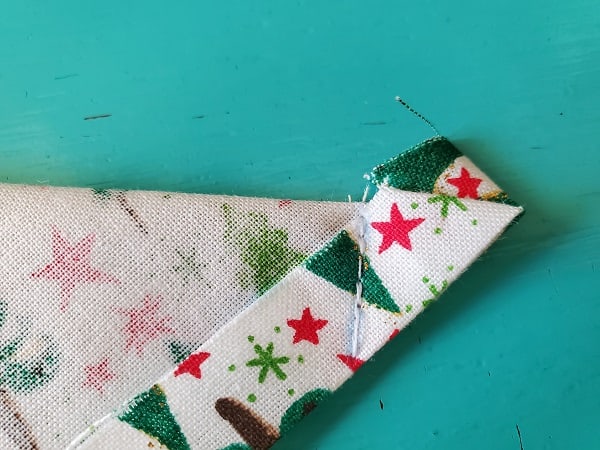
The finished stitches in above picture.
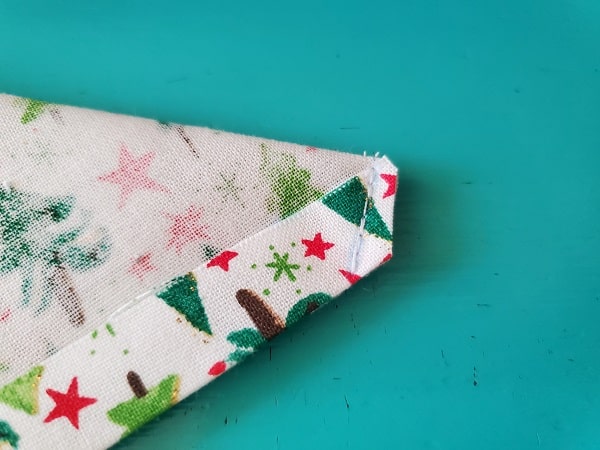
Clip the corner using your sewing scissors.
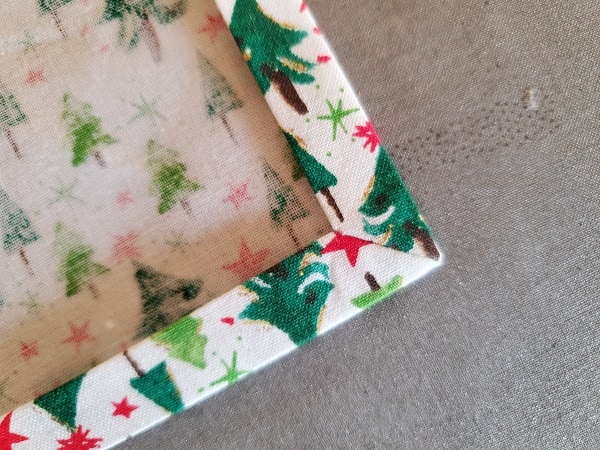
Turn the corner right side out. The corner should be nicely mitered. Press.
Repeat these steps with the other three corners. Press all around.
Sew all together
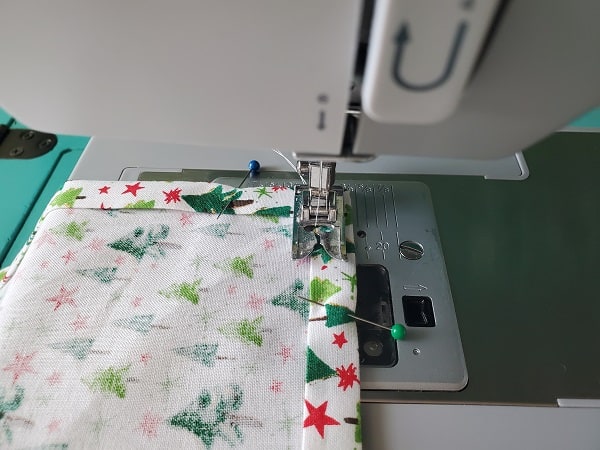
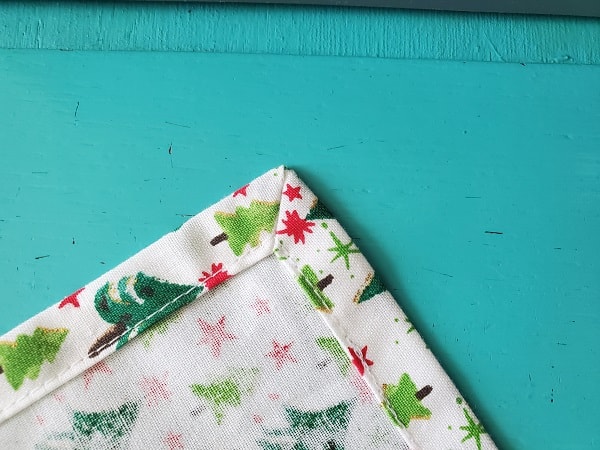
Straight stitch all around the inner edge of your fabric napkin, pivoting the corners, then press. This gives the napkin a finished look and holds the folds in place.
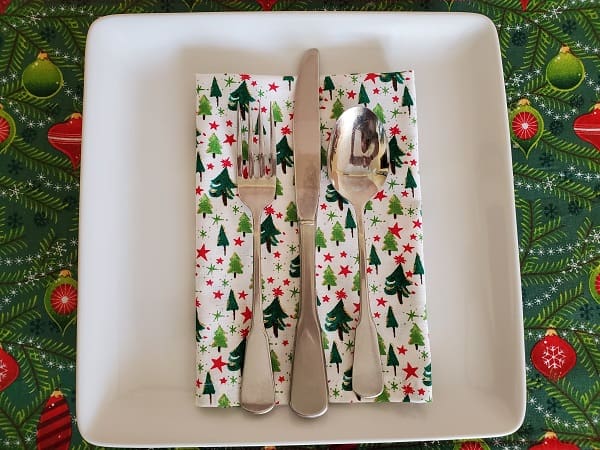
You are finished!
I hope you enjoyed this sewing tutorial! Now you can sew as many fabric napkins as you need to dress up your table. Happy sewing!


***You can find the ad-free, printable PDF version of this sewing tutorial available for purchase HERE. Includes 8-pages of step-by-step instructions with pictures. Print a copy to keep next to your sewing machine for easy reference.***
Pin for later!
