Easy DIY Quilted Fabric Coasters Sewing Tutorial – Two Styles
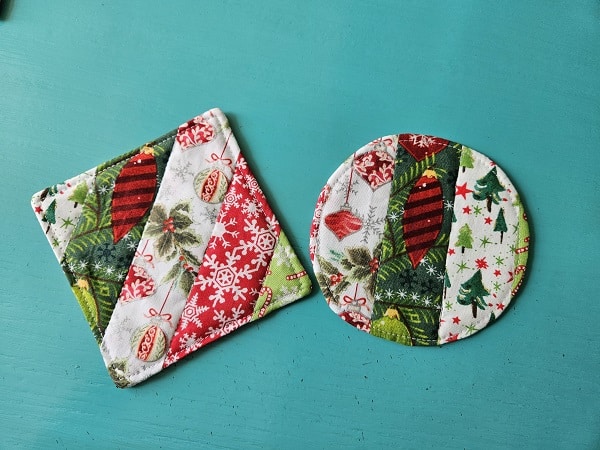
Quilted fabric coasters are the perfect DIY sewing project to use up those fabric scraps.
Sewing quilted fabric coasters is an easy way to use up those fabric scraps and to dress up your tables. I chose Christmas fabric for this sewing tutorial because I have so many scraps and I love the fabrics! Plus, Christmas is the holiday I decorate for the most and the more ways to add Christmas decorations, the better! You can use this sewing pattern for any fabric scraps and keep the quilted coasters out all year round!
Create some matching placemats and fabric napkins to add some more fun items to your home decor.
This post contains affiliate links. Please see below disclosure for more information.
***You can find the ad-free, printable PDF version of this sewing tutorial available for purchase in my Etsy shop HERE. Includes 14-pages of step-by-step instructions with pictures and templates. Print a copy to keep next to your sewing machine for easy reference.***
Fabric coaster supplies needed:
- Square coaster template
- Circle coaster template
- Fabric scraps – enough for 10 2-inch strips at least 7 inches in length – my favorite fabric shop
- Two fabric pieces – each 5 inches by 5 inches
- Batting – enough for two pieces measuring 5 inches by 5 inches
- Pellon 830 Easy Pattern – optional
- Cutting mat
- Clear ruler
- Rotary cutter
- Sewing scissors
- Thread
- Straight pins
- Sewing machine
Download and print coaster templates
Click on the buttons below to download the fabric coaster templates. Print the templates. Be sure your printer is set to print actual size.
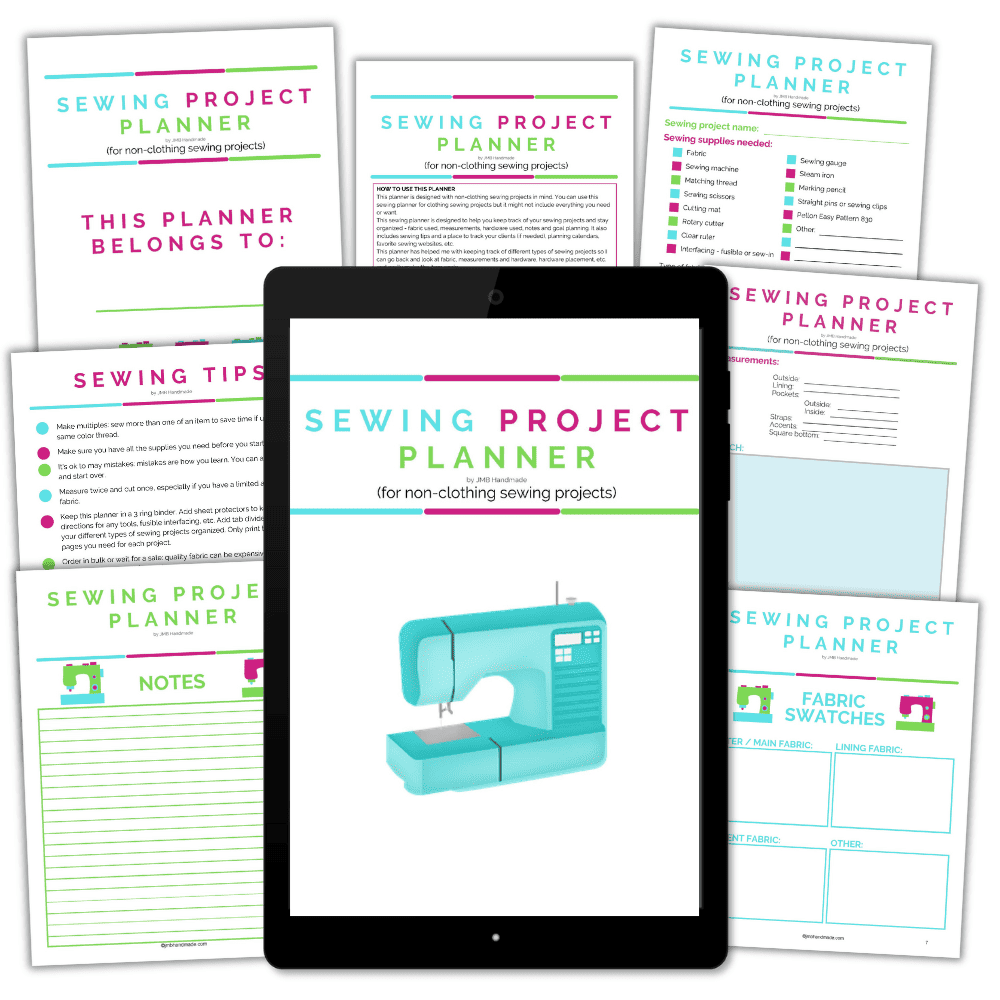
Keep track of your sewing projects, like this one, with a sewing planner. This sewing planner is specifically designed for non-clothing sewing projects and helps you stay organized – fabric used, measurements, hardware used, notes, etc. Also included are pages such as sewing tips and fabric shops. Get your sewing planner HERE.
Cut out your coaster templates
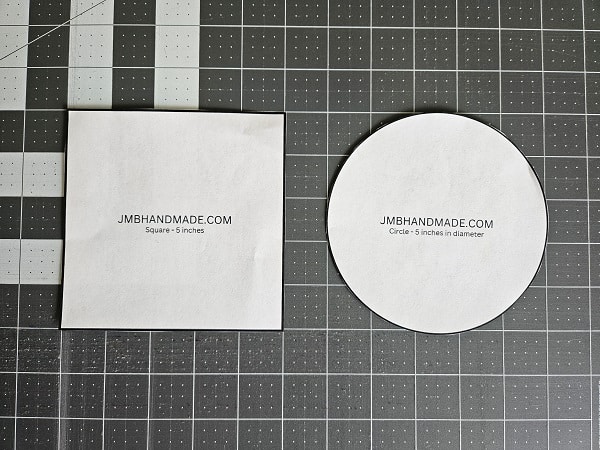
Cut out your coaster templates using paper scissors. You can use the paper templates for your coasters or you can trace them onto Pellon 830 Easy Pattern. I taped the paper patterns onto the easy pattern and cut out the templates. I like to use the easy pattern because I am planning on making multiple fabric coasters and the easy pattern templates will last much longer.
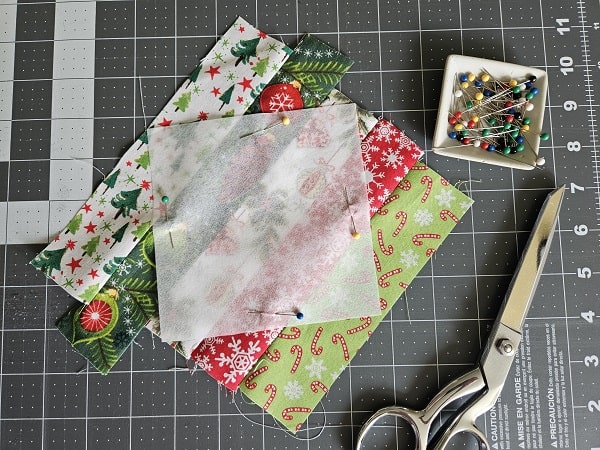
Gather your fabric scraps and cut
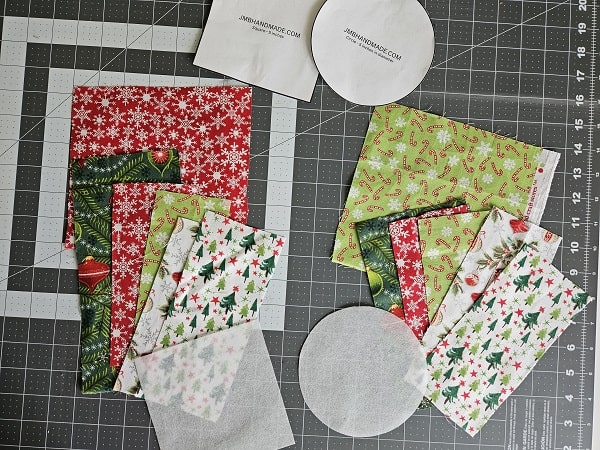
Now that you have your templates cut and ready to go, it’s time to gather your fabric scraps.
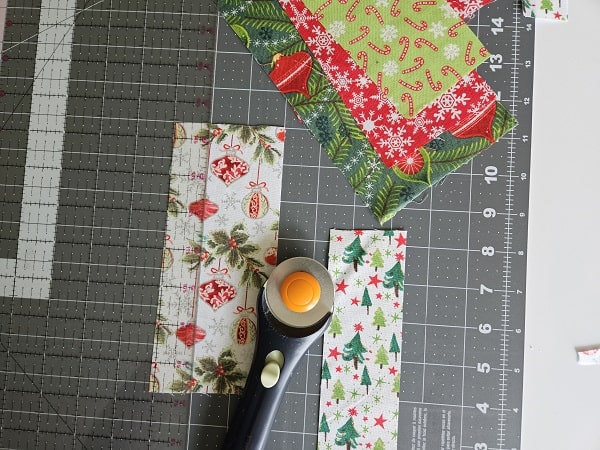
Using your cutting mat, clear ruler, and rotary cutter, cut a total of 10 2-inch strips of fabric. The length of the strips should be at least 7 inches long. You’ll use 5 strips for each coaster.
Style #1 – Square Coaster
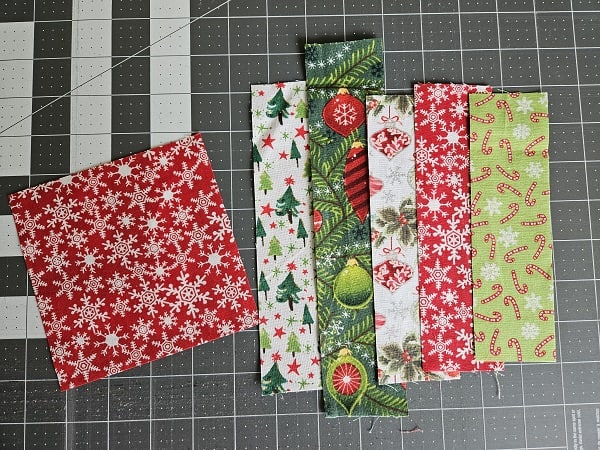
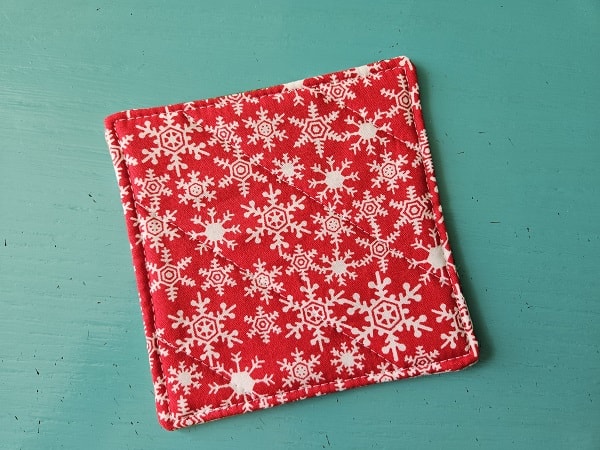
Cut fabric square measuring 5 inches by 5 inches for the back of the square coaster.
Cut a piece of batting measuring 5 inches by 5 inches.
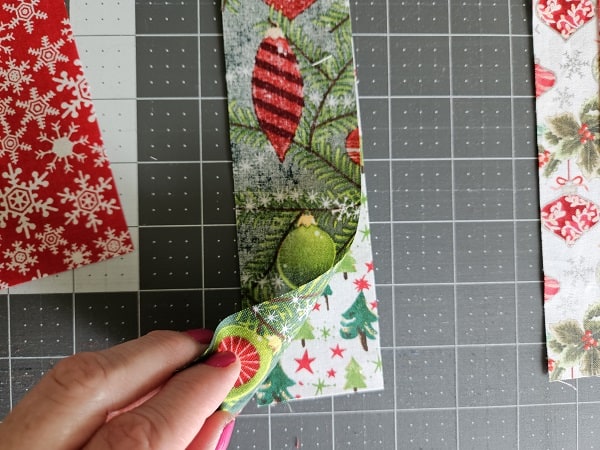
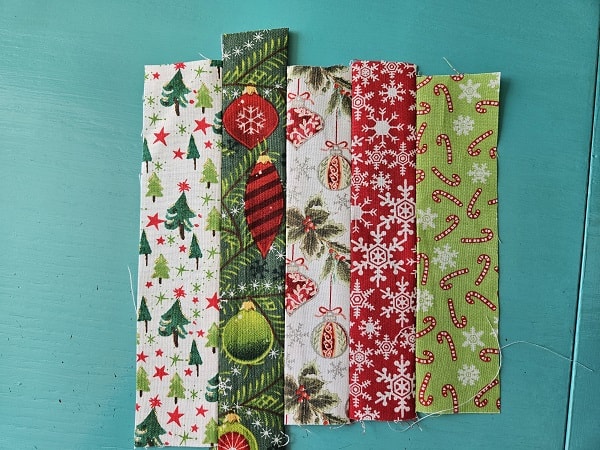
Grab 5 of the 2-inch strips and lay them out in the order you would like them for your coaster.
Sew the strips together
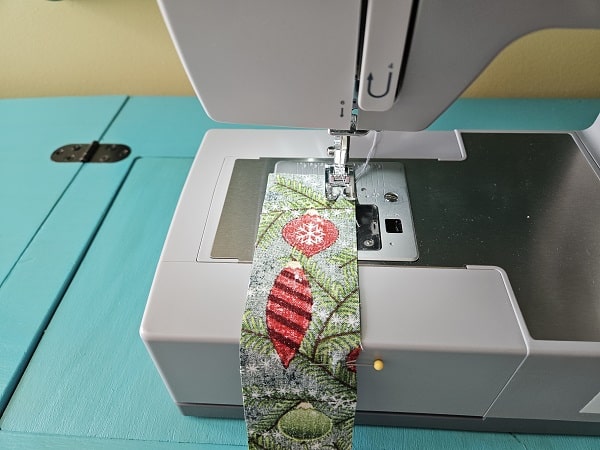
Place the 2nd strip of fabric on top of the first strip of fabric, right sides together. Pin in place. Sew along the right edge lengthwise.
Now place the 3rd strip on top of the 2nd strip and sew along the edge lengthwise.
Repeat with the other 2 fabric strips.

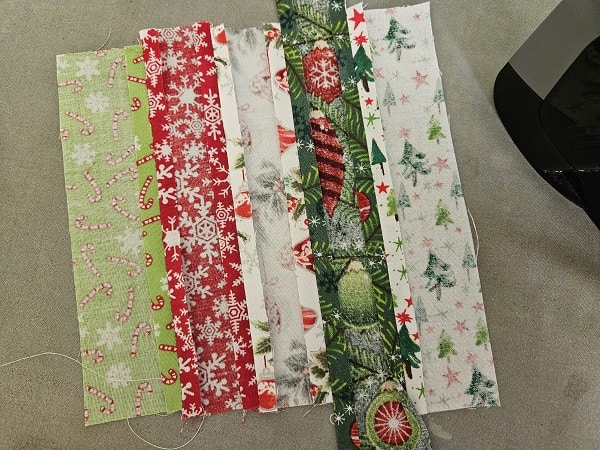
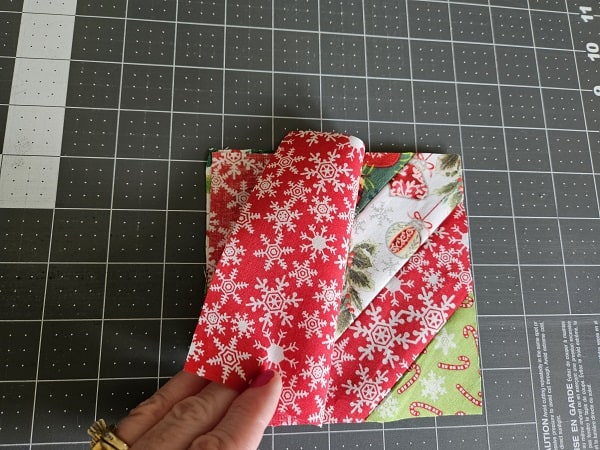
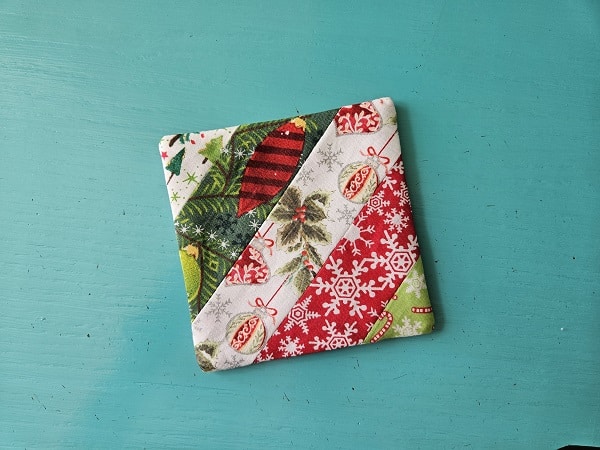
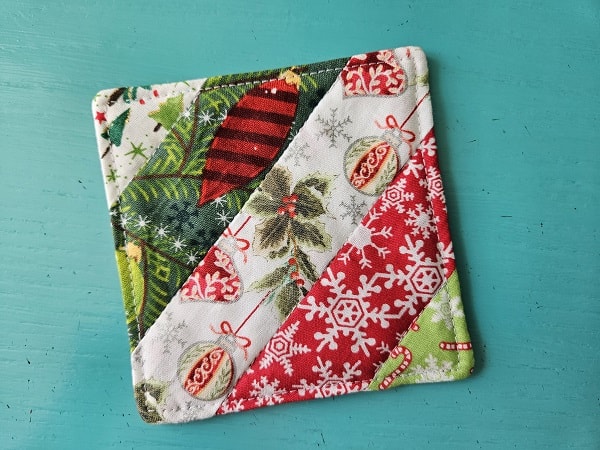
After all 5 fabric strips are sewn together, press the seams flat as shown in the above picture.
The above picture shows what your fabric coaster looks like at this point.
Time to sew together
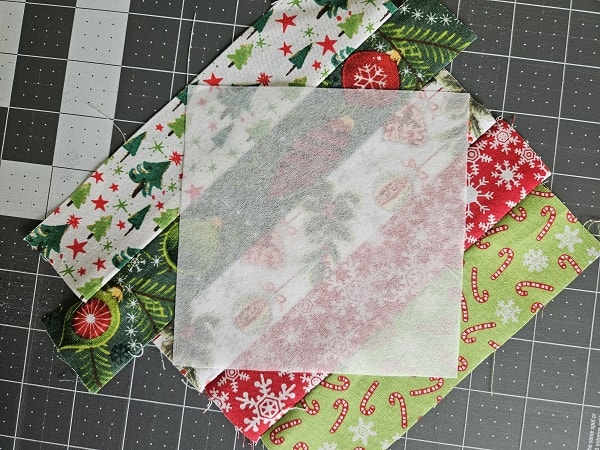
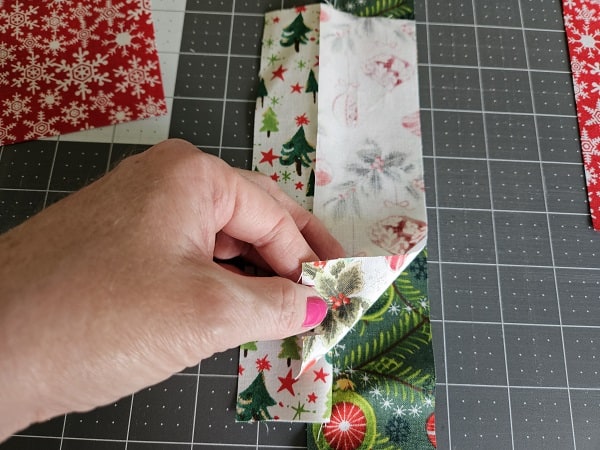
Place the square coaster template on top of the fabric strips. I chose to put my template in a diagonal position to show more of the fabric pieces. Pin in place and cut the fabric using your sewing scissors.
Now place the coaster back fabric on top of the strips of fabric, right sides together.
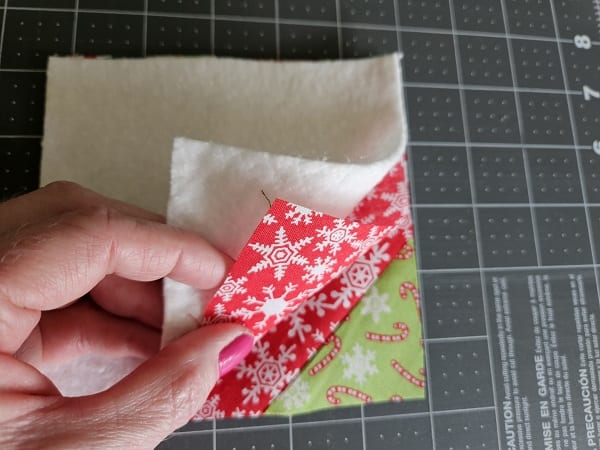
Next place the batting on top of the wrong side of the fabric back. Pin in place.

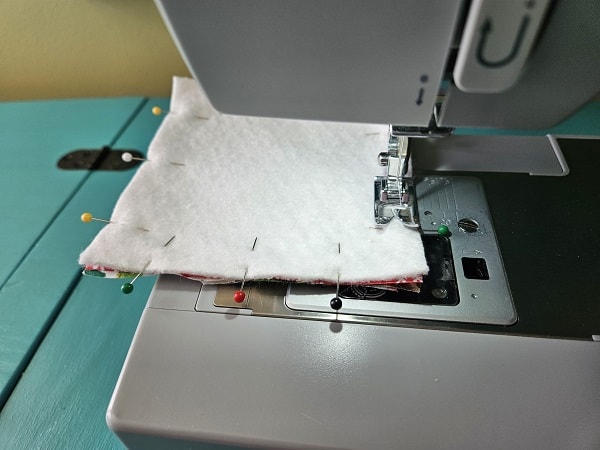
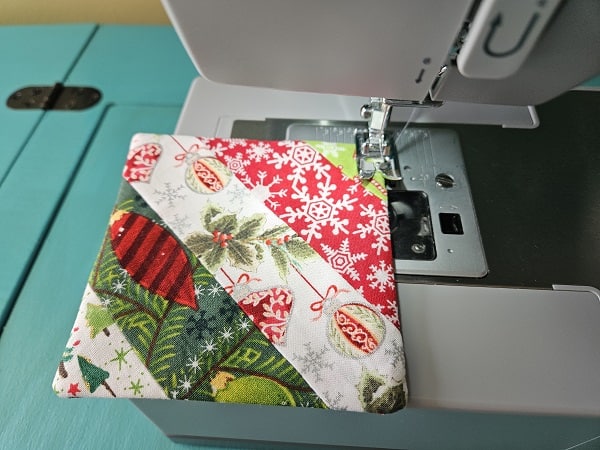
Sew around the perimeter, leaving an opening for turning. See above pictures.
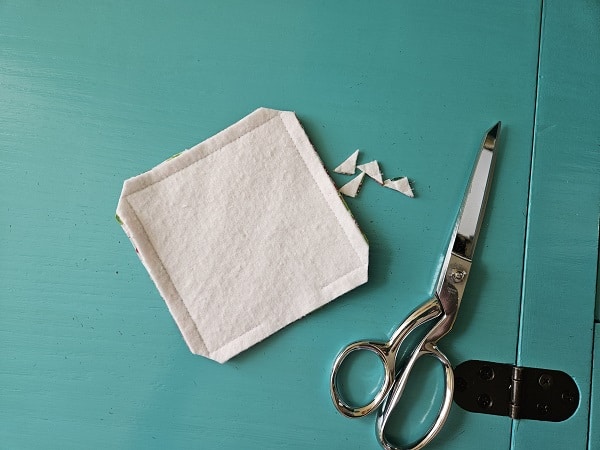
Clip the corners using your sewing scissors.
Turn right side out and push out the corners. Press.
Top stitch around the outer edge with about 1/4 inch seam allowance, pivoting the corners. This will give it a finished look and sew the opening closed.
Quilt the fabric coaster
Now it’s time to quilt the fabric coaster. I like to quilt it because it keeps the fabric from bunching up when using the coaster for a hot beverage.
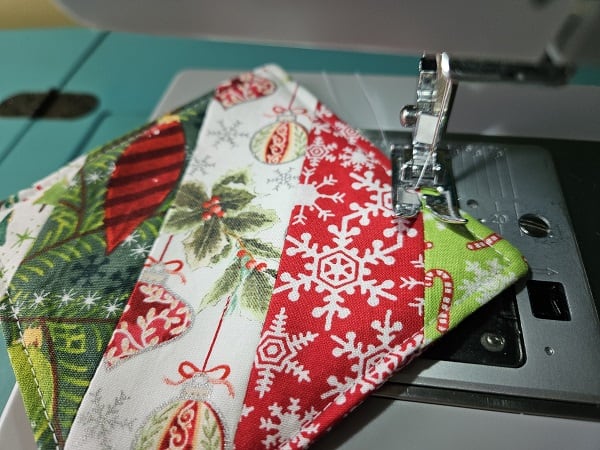
Starting at the edge of the top stitch, sew along the seams of your fabric scraps.
You are finished with the square coaster!
***You can find the ad-free, printable PDF version of this sewing tutorial available for purchase in my Etsy shop HERE. Includes 14-pages of step-by-step instructions with pictures and templates. Print a copy to keep next to your sewing machine for easy reference.***
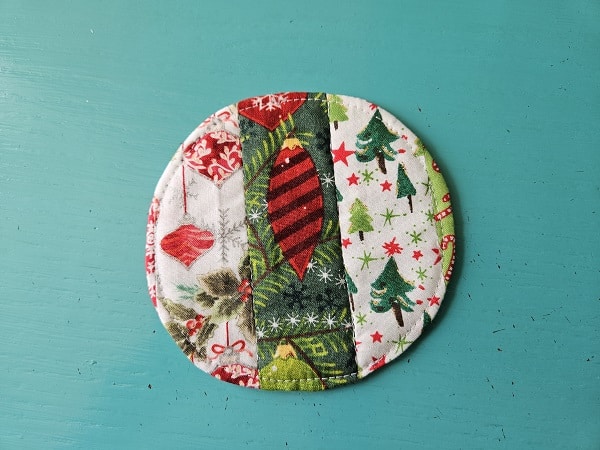
Style #2 – Circle Coaster
Grab the other 5 fabric strips and sew together following the same steps as the square coaster.
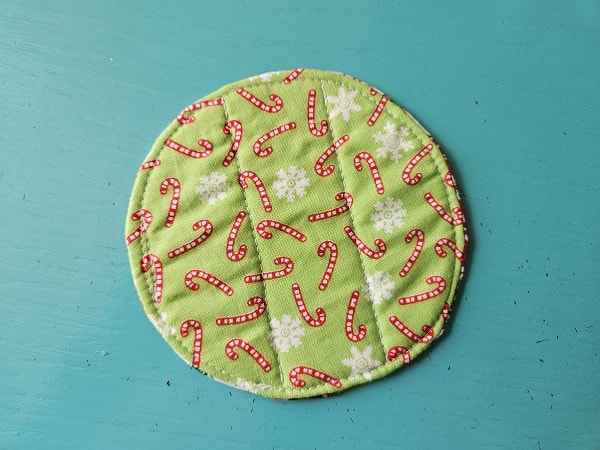
Cut a piece of fabric for the back of the circle coaster measuring at least 5 inches by 5 inches. Cut a piece of batting the same size.
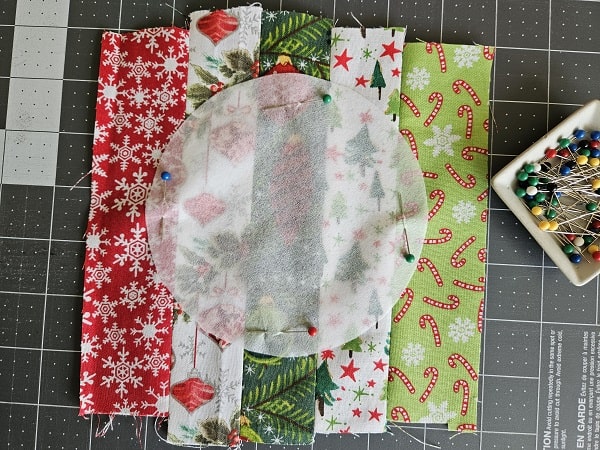
Place your circle coaster template on top of the sewn fabric strips and pin in place. Cut the fabric with your sewing scissors.
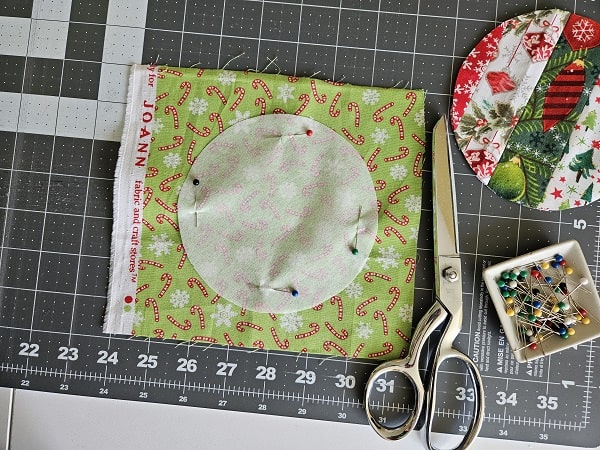
Use your circle template to cut out the back of the coaster and the batting.
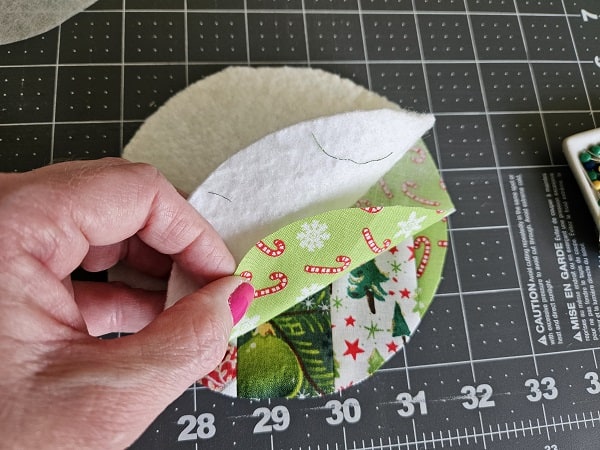
Place your fabric pieces right sides together and add the batting on top. Pin in place.
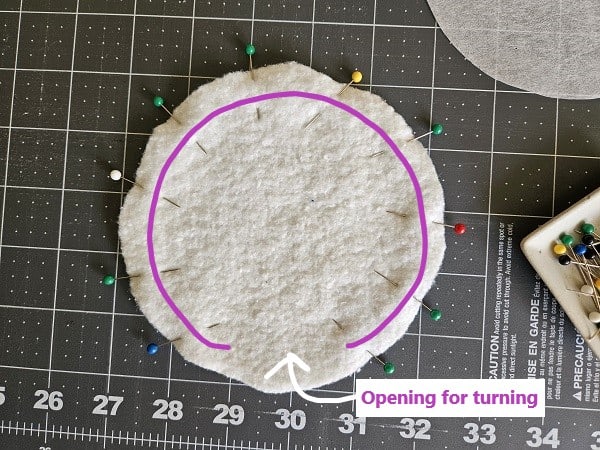
Sew around the circle, leaving an opening for turning.
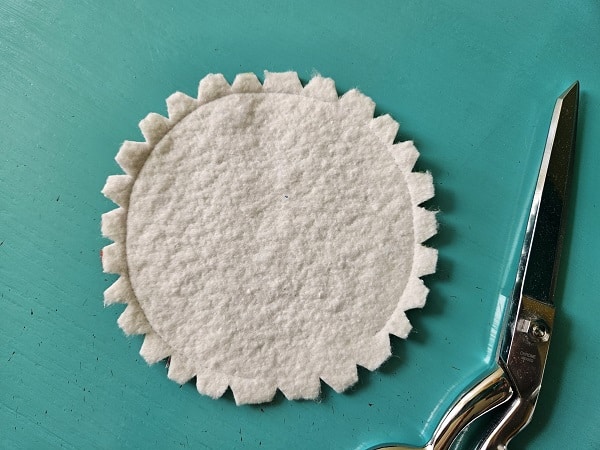
Make little triangle cuts around the circle using your sewing scissors.
Turn right side out. Press.
Top stitch around using about a 1/4 inch seam allowance.
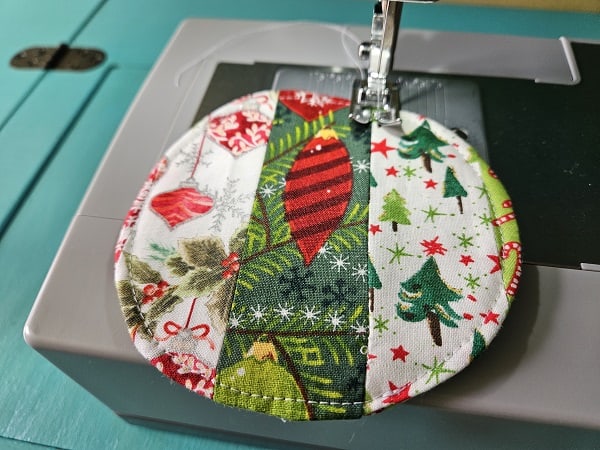
Quilt the circle coaster following the same steps as the square coaster. Press.
***You can find the ad-free, printable PDF version of this sewing tutorial available for purchase in my Etsy shop HERE. Includes 14-pages of step-by-step instructions with pictures and templates. Print a copy to keep next to your sewing machine for easy reference.***
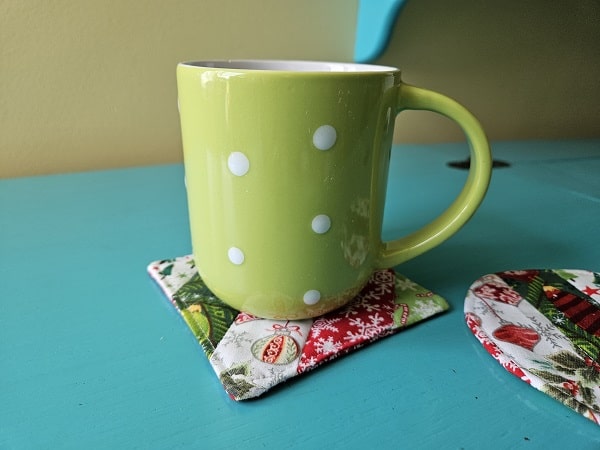
You are finished!
I hope you enjoyed this fabric quilted coaster sewing tutorial! Now you can use up all those fabric scraps and make coasters for any holiday or for all year round. Happy sewing!
Pin for later!
Related easy sewing projects
- DIY Envelope Pillow Cover Sewing Pattern
- Fabric Key Fob Sewing Tutorial
- Easy Luggage Tag Sewing Project
- Easy Checkbook Cover Sewing Tutorial