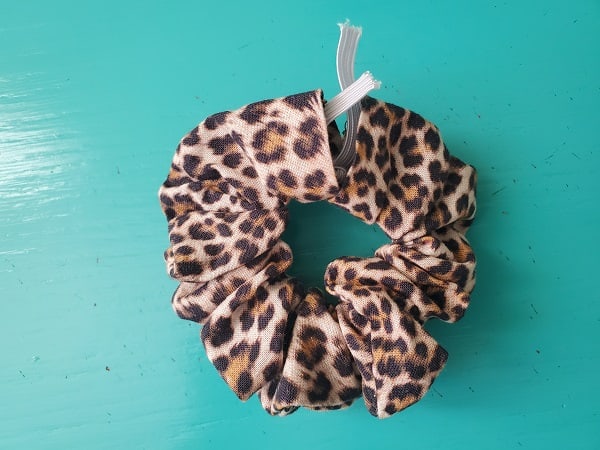
DIY Fabric Scrunchie Sewing Tutorial
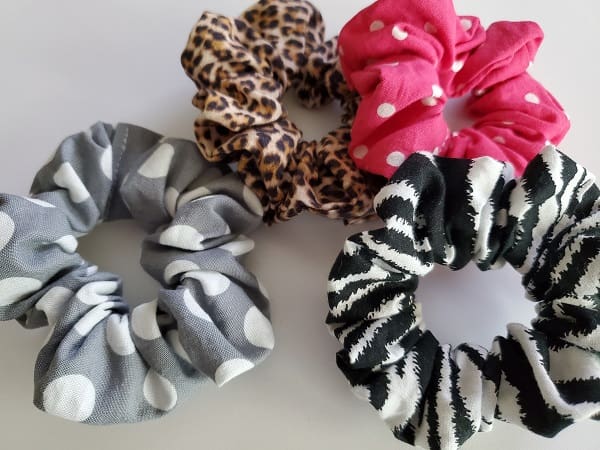
DIY fabric scrunchies are super quick and easy to make and a great way to use up some of those fabric scraps.
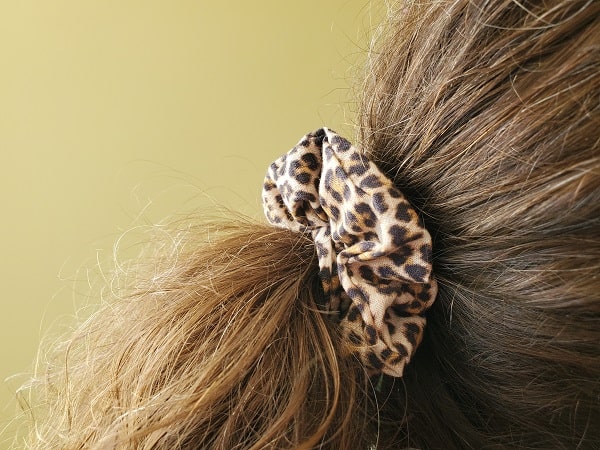
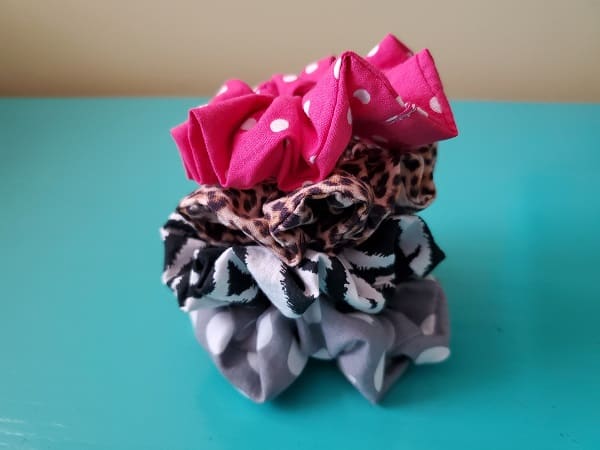
These DIY fabric scrunchies are all I wear in my hair now. They are super easy to make and they do not pull my hair. I’ve made a ton of them and now I am selling them to friends and family and even their friends. Bonus! If you’re just starting to sew, you’ll love this sewing tutorial.
Check out my checkbook cover and small zipper pouch coin purse sewing tutorials to use up even more of those fabric scraps!
Here are the simple step-by-step instructions on how to make your own fabric scrunchies.
This post contains affiliate links. Please see the disclosure below for more information.
***You can find the ad-free, printable PDF version of this sewing tutorial available for purchase HERE. Includes 8 pages of step-by-step instructions with pictures. Print a copy to keep next to your sewing machine for easy reference.***
Supplies needed to make DIY fabric scrunchies:
- Cotton fabric measuring 3 1/2 inches by 22 inches – my favorite fabric shop
- One piece of 1/4 inch elastic measuring 9 inches long
- Cutting mat
- Rotary cutter
- Clear ruler
- Matching thread
- Straight pins
- Safety pin
- Sewing scissors
- Sewing machine
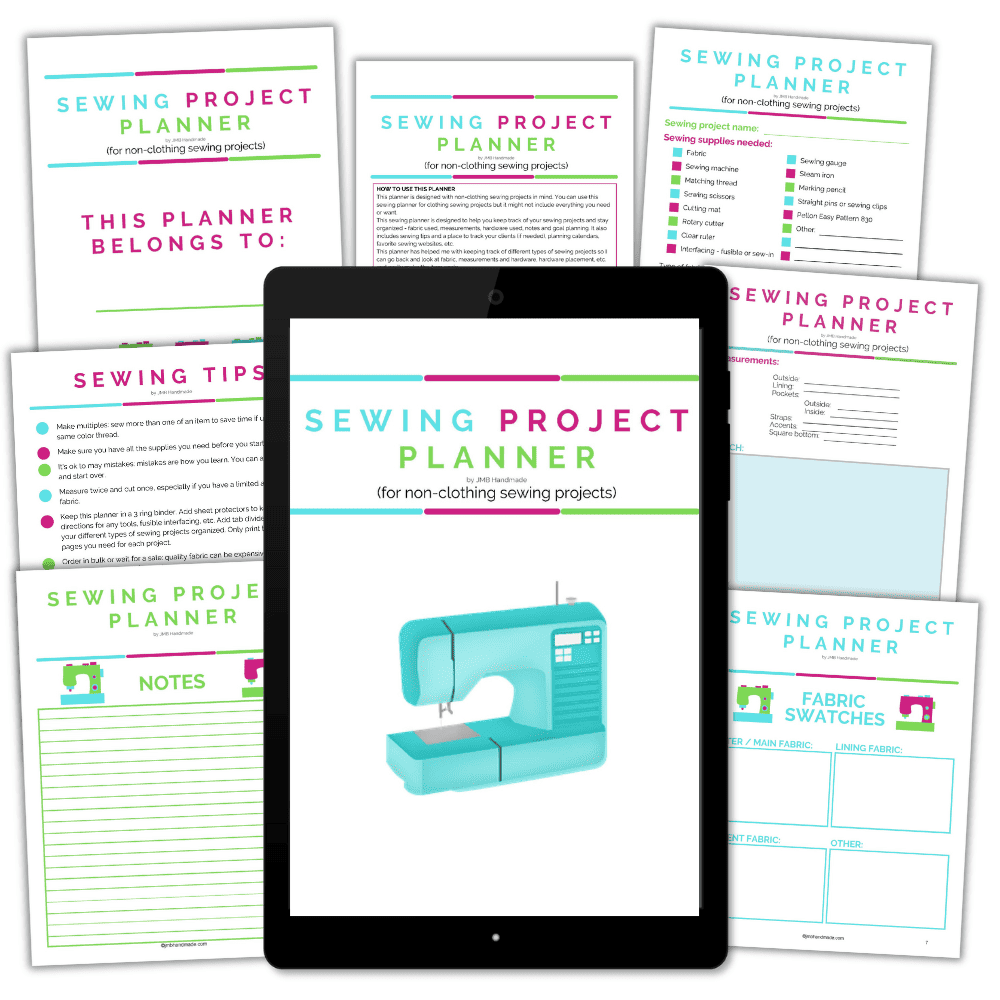
Keep track of your sewing projects, like this DIY fabric scrunchie, with a sewing planner. This sewing planner is specifically designed for non-clothing sewing projects and helps you stay organized – fabric used, measurements, hardware used, notes, etc. Also included are pages such as sewing tips and fabric shops. Get your sewing planner HERE.
Measure and cut your fabric
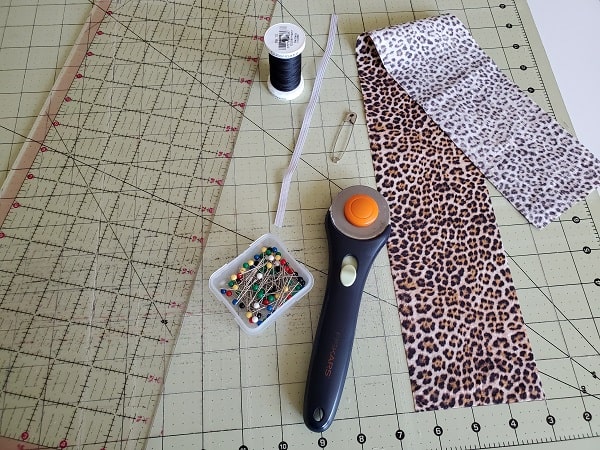
Lay your fabric out on your cutting mat. Using your rotary cutter and clear ruler, cut your piece of fabric measuring 3 1/2 inches wide by 22 inches long.
Hem the fabric scrunchie ends
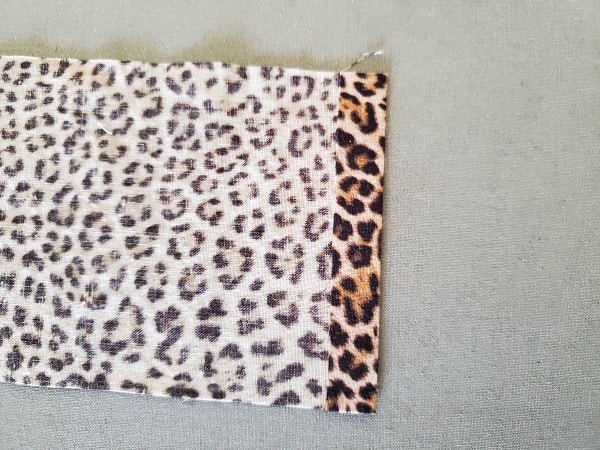
Place your fabric wrong side up on your ironing board. Fold in each short end of the fabric scrunchie by about 1/2 inch and press. This step makes it easier later on.
Fold and sew your fabric scrunchie
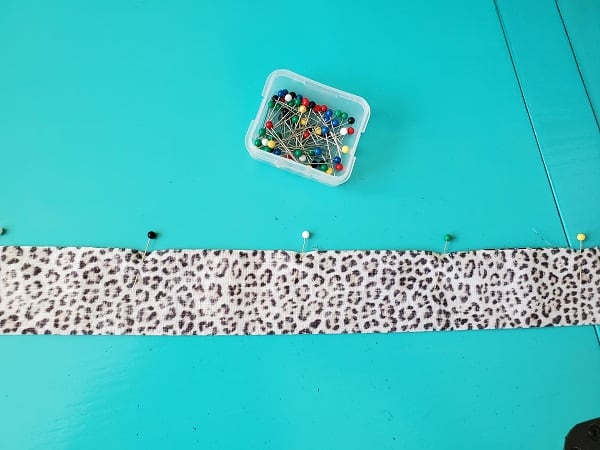
Now fold your fabric in half lengthwise, right sides together and press. Pin in place.
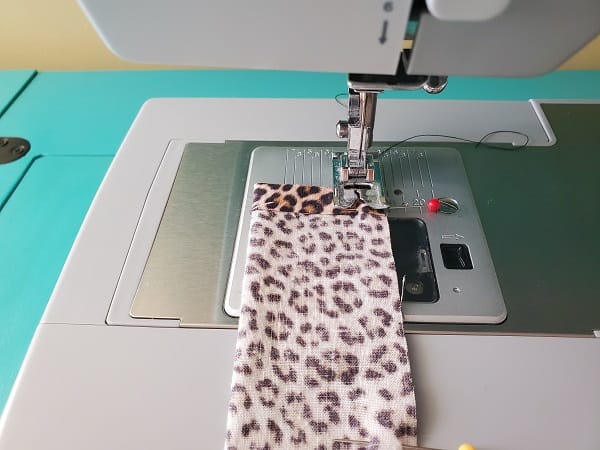
Using your sewing machine, straight stitch along the edge lengthwise. I use the edge of my straight stitch presser foot as a guide, which is about 1/4-inch seam allowance. Remember to reverse stitch at each end.

Turn right side out.
***You can find the ad-free, printable PDF version of this sewing tutorial available for purchase HERE. Includes 8 pages of step-by-step instructions with pictures. Print a copy to keep next to your sewing machine for easy reference.***
Insert the elastic
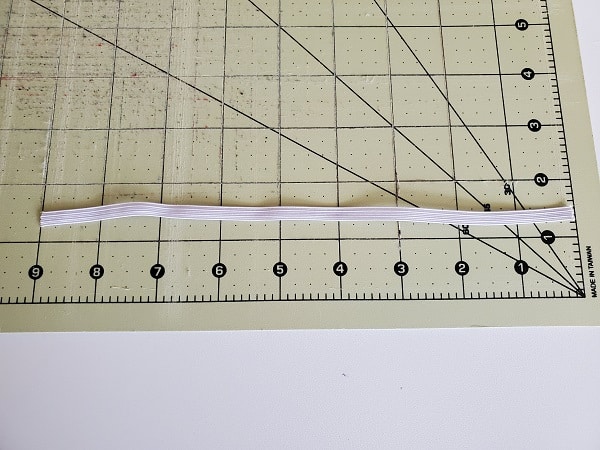
Cut a piece of 1/4 inch wide elastic measuring 9 inches in length.
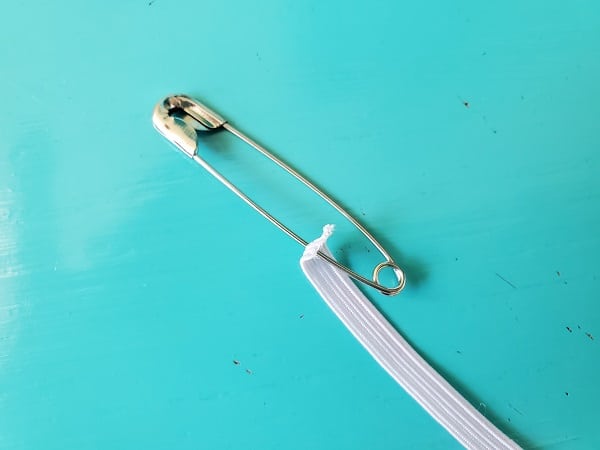
Attach your safety pin to one end of the elastic. Using a safety pin will make it much easier to thread the elastic through your scrunchie.
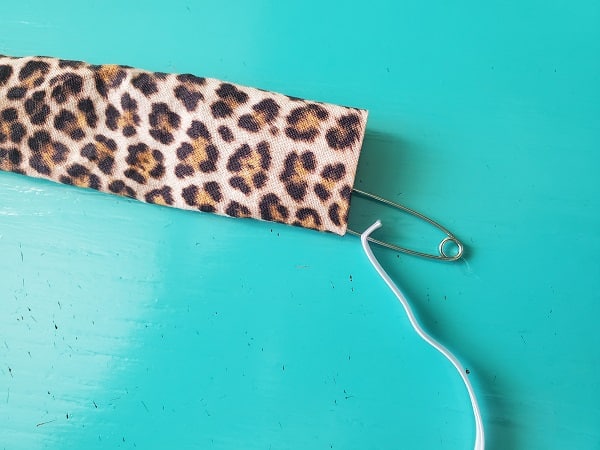
Thread your elastic through the tube and stop just when the other end of the elastic reaches the end of the tube.
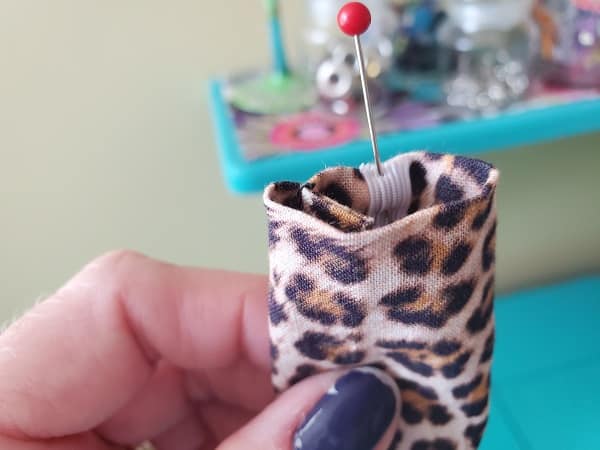
Pin the elastic to hold it in place.
Feed the safety pin through until it comes out the other side.
Carefully remove the safety pin and straight pin. Then tie the elastic into a knot.
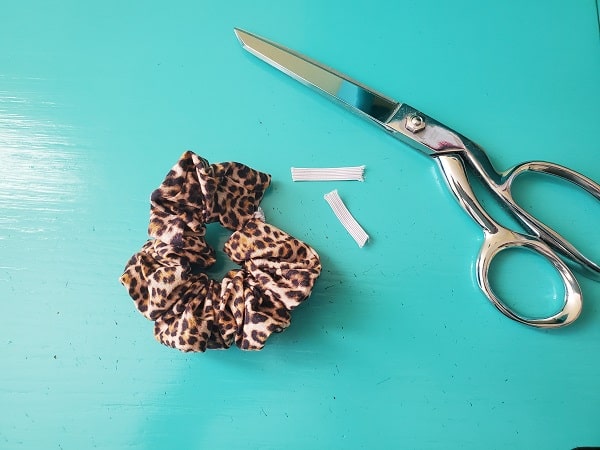
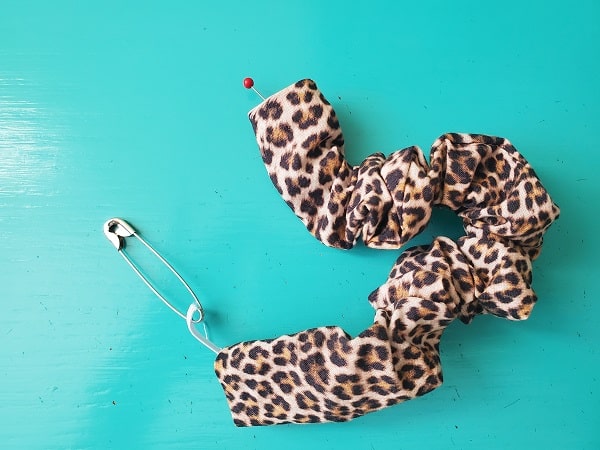
Using your sewing scissors, cut off the extra elastic.
Thread the elastic through so the knot is not at the opening. You don’t want it in the way when you sew the ends together.
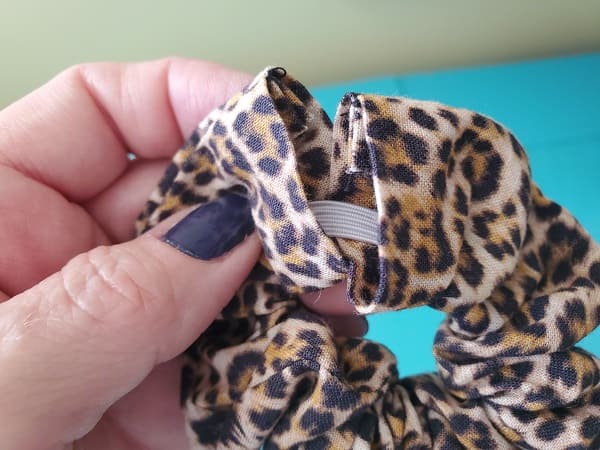
Sew the scrunchie closed
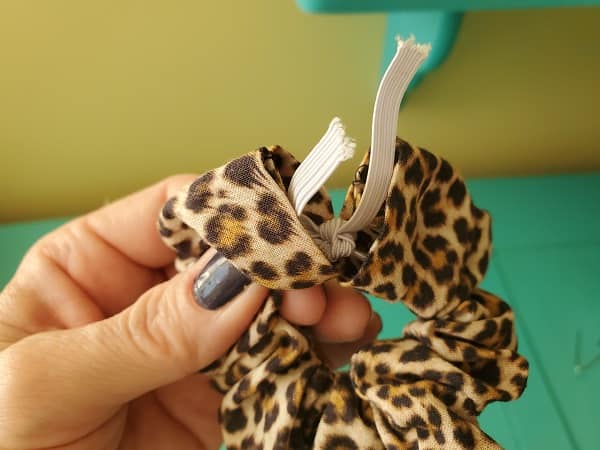
Tuck one end of the fabric scrunchie inside the other end as shown above. Hemming the ends of the fabric makes this step much easier.
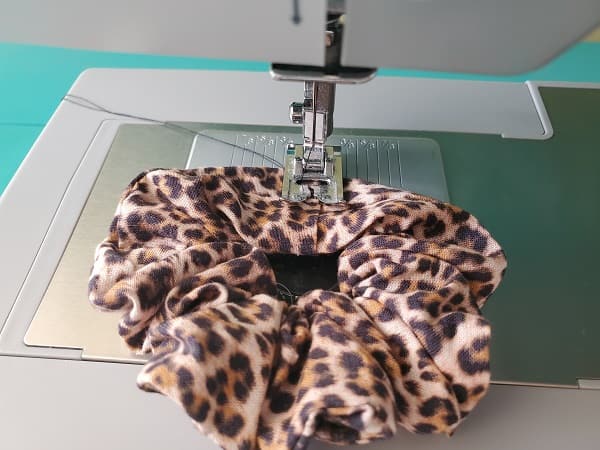
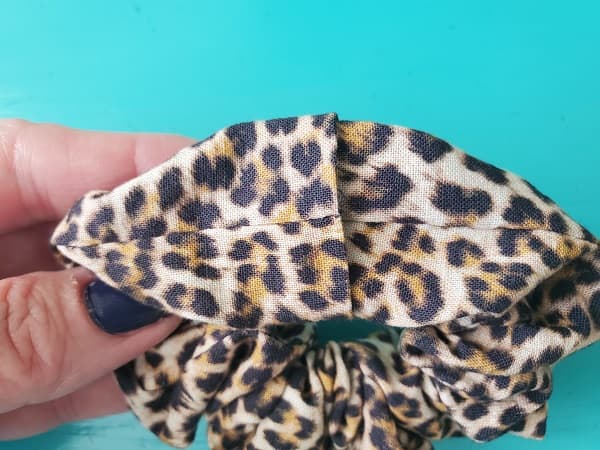
Sew the scrunchie closed using the straight stitch and matching thread. Be sure to reverse stitch at each end.
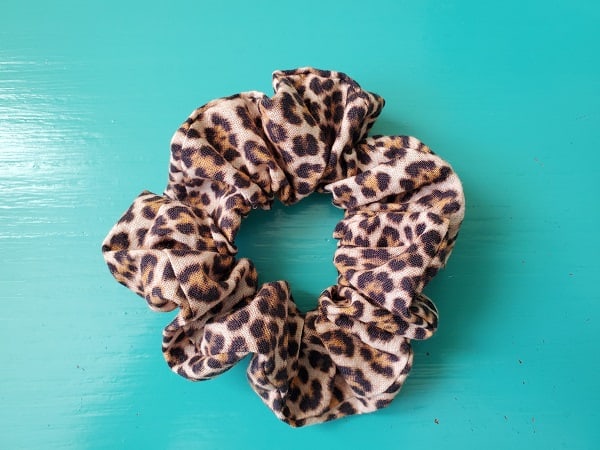
You are finished!
Now that you’ve made one fabric scrunchie, you can make as many as you want and use up all of those fabric scraps! Your hair will thank you! Happy sewing!
Pin for later!
