Easy to Sew Fabric Business Card / Gift Card Holder
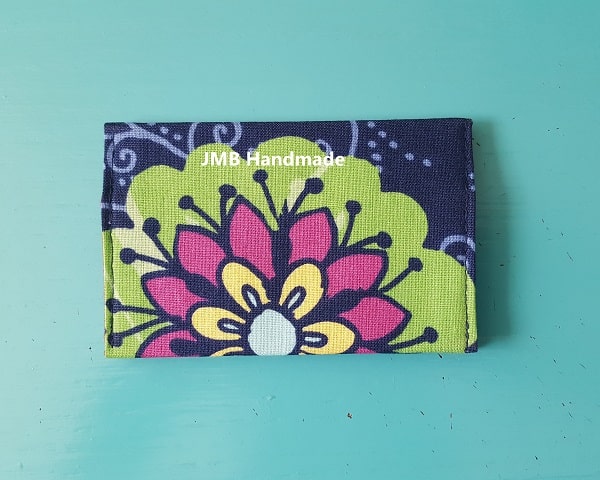
Create a fabric business card holder with these easy to follow instructions.
I’m not a fan of the plastic business card holders because most of the time they fall apart. I created this pattern for a fabric business card holder, or credit card holder or gift card holder so I could get rid of my plastic one! Plus you can use some fun fabric and even give it as a gift. This pattern is similar to my Fabric Checkbook Cover, just adjusted for size.
If you want a card holder with more pockets, the gift card / credit card holder has six pockets and a button closure.
This post contains affiliate links. Please see disclosure for more information.
Supplies needed
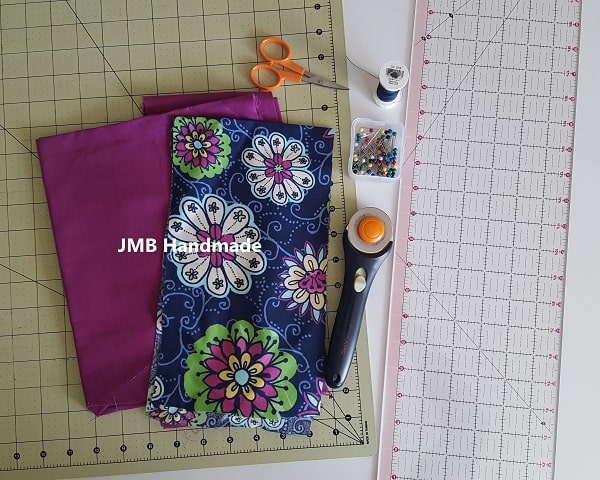
- Two fabric pieces measuring 4 3/4 inches wide by 9 1/2 inches long – my favorite fabric shop
- Fusible interfacing – I use Pellon 911FF Fusible Interfacing
- Rotary cutter
- Cutting mat
- Clear ruler
- Thread
- Straight pins
- Sewing scissors
- Sewing machine
Cut your fabric
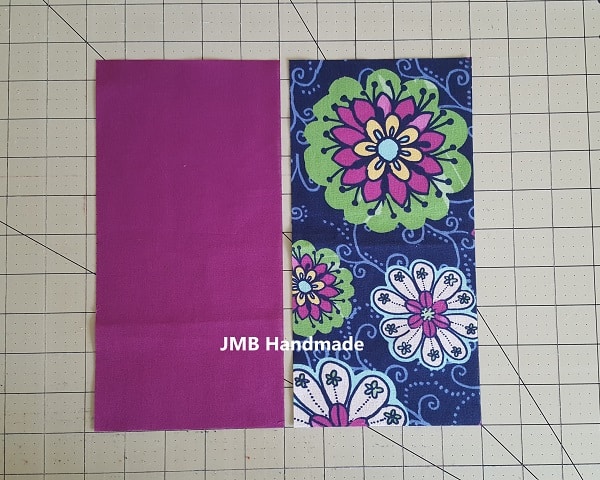
Using your rotary cutter, clear ruler and cutting mat, cut two pieces of fabric – one outer piece and one lining piece – measuring 4 3/4 inches wide by 9 1/2 inches long.
Attach the fusible interfacing
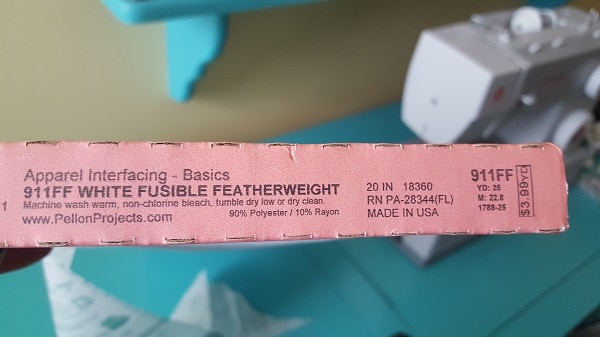
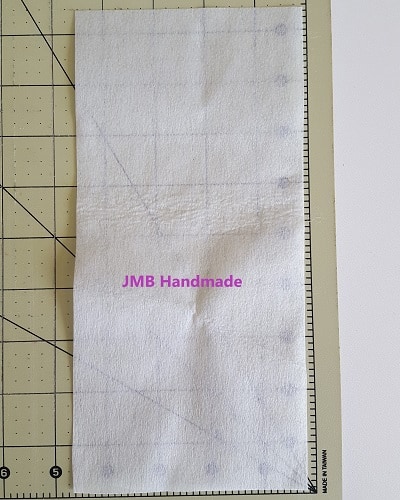
Cut one piece of the fusible interfacing just smaller than your outer fabric piece. I use the Pellon 911FF Fusible Interfacing for all of my handbags and accessories sewing projects.
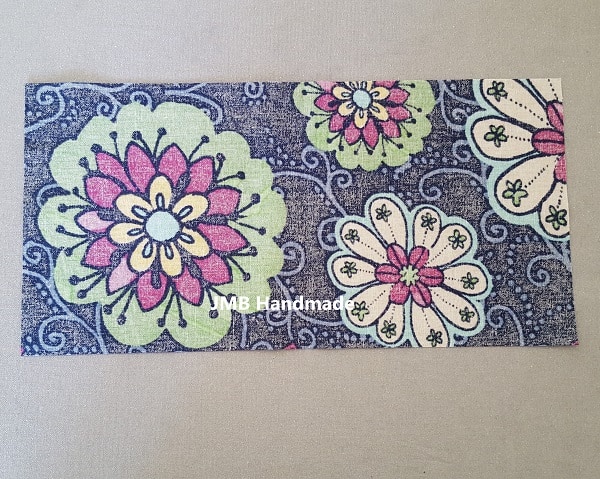
Lay your outer fabric wrong side up on your ironing board.
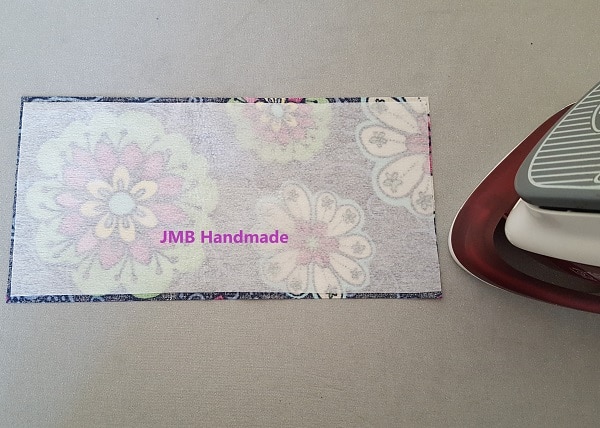
Place the fusible interfacing on top of the fabric. Be sure the little bumps are face down.
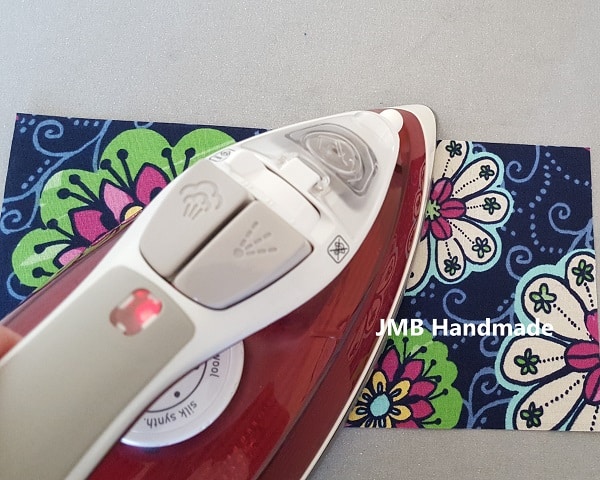
Flip the fabric with the interfacing over so the right side is facing up. With the iron on the steam setting, press the fabric until the interfacing is attached.
Time to sew
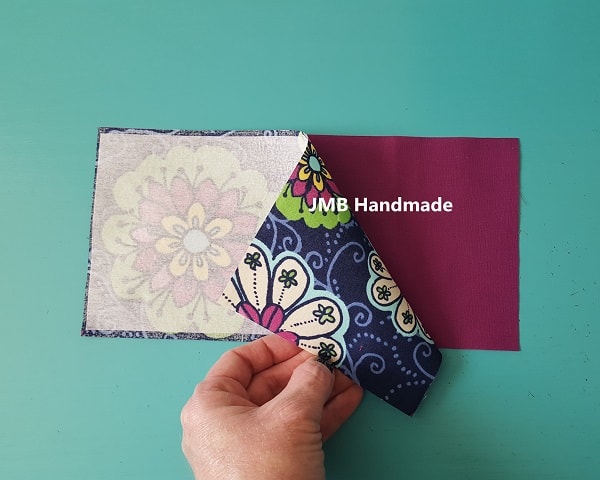
Place the outer fabric on top of the lining fabric, right sides together.
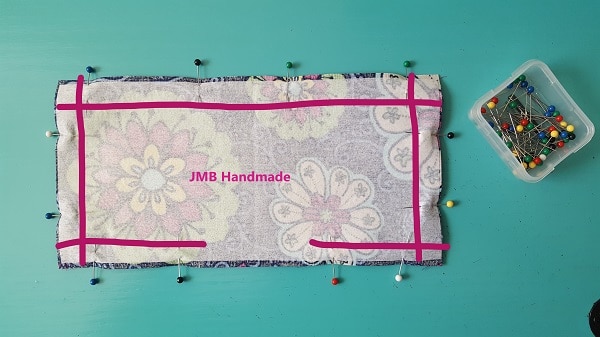
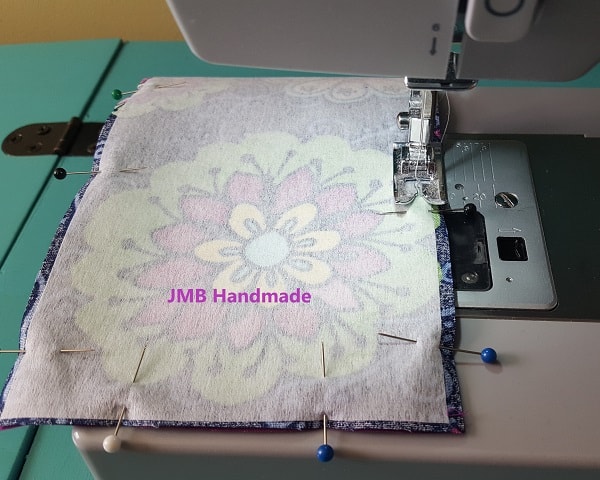
Pin all around. Leave a small opening at the bottom for turning. Sew the outer perimeter using the straight stitch. I line up the edge of the fabric with the straight foot and use that as my seam allowance. It is around 1/2 inch. After sewing the straight stitch, sew the zigzag stitch all around as well to prevent the fabric from fraying.
Cut the corners
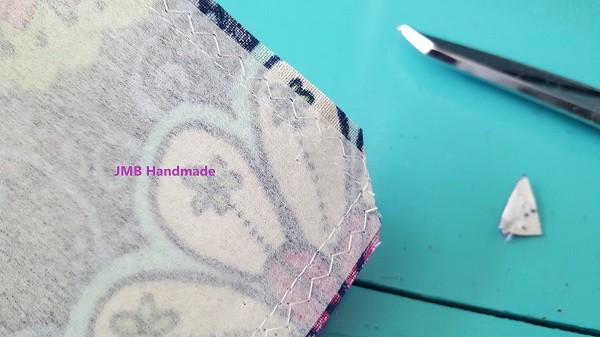
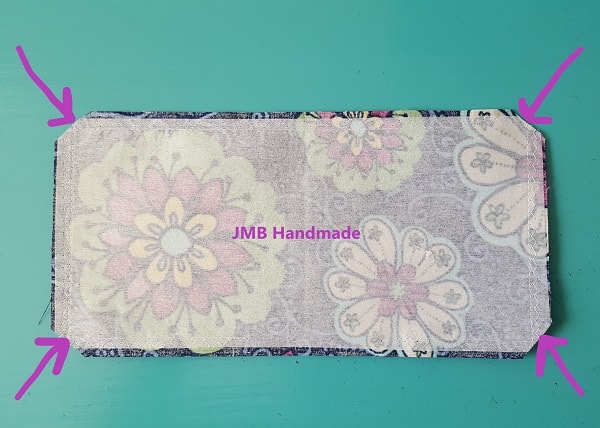
Cut the corners with your sewing scissors.
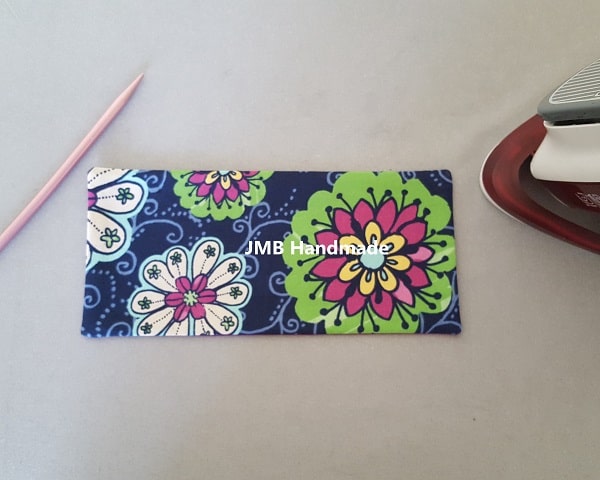
Turn right side out and push out the corners. I use and old knitting needle to push out the corners. Be sure not to push through the stitches you just sewed! Press all around.
Finishing touches
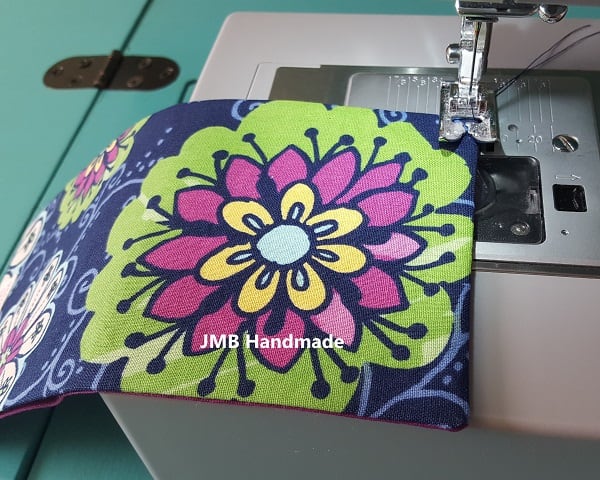
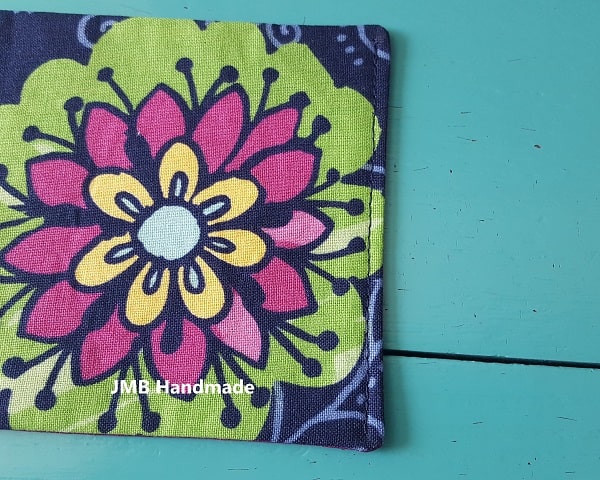
Straight stitch the short ends to give it a finished look.
Time to fold
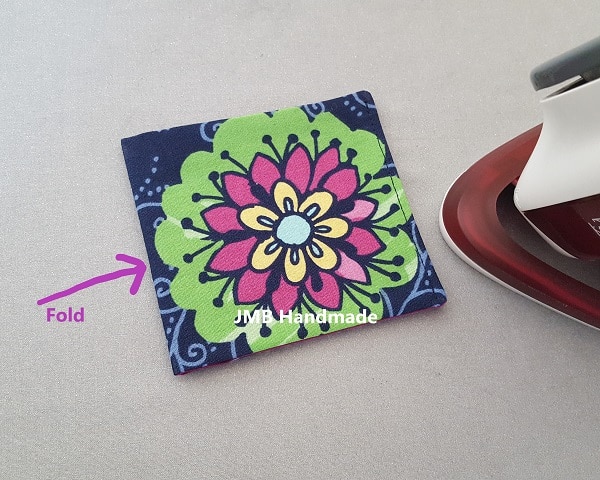
Fold in half with the short ends together and press the fold.
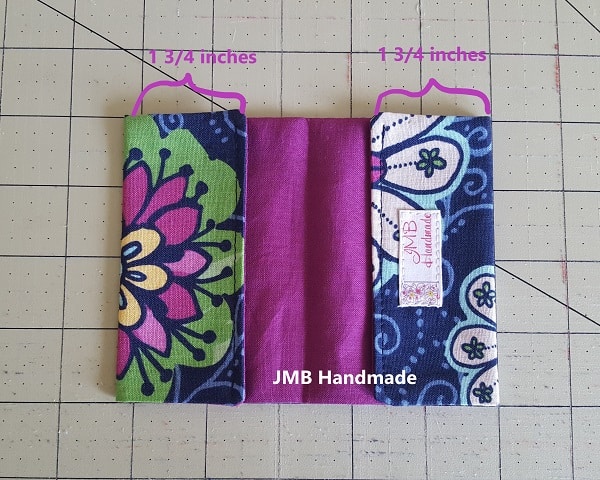
Fold each end in 1 3/4 inches and press the folds.
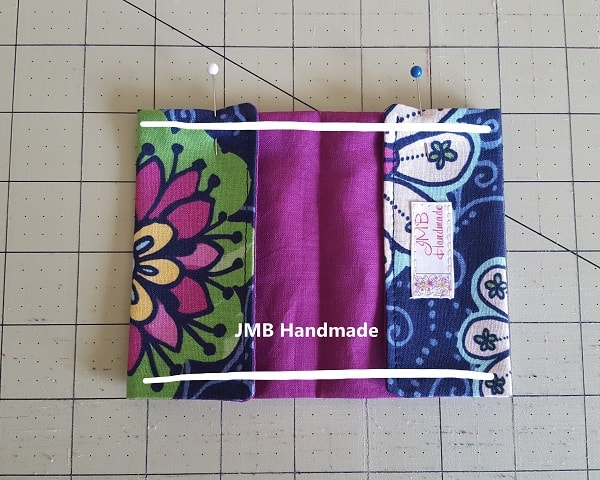
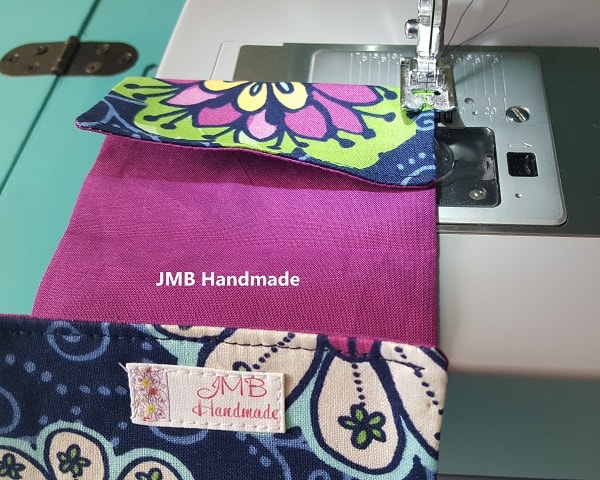
Straight stitch the two sides to secure the folds and close up the opening (see white lines in above picture). Use 1/8 seem allowance.
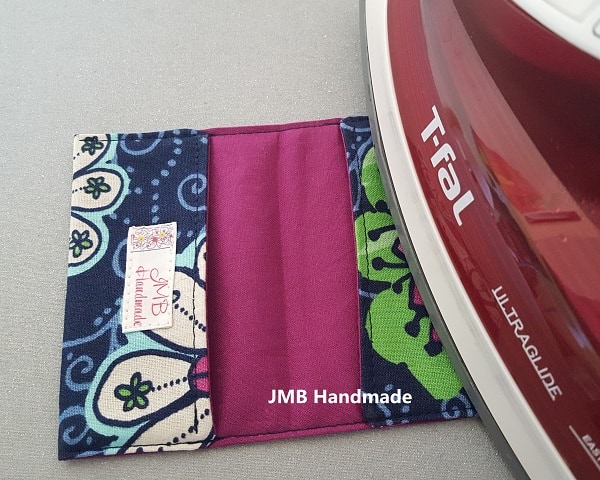
Press to give it a nice crisp look.
You are finished!

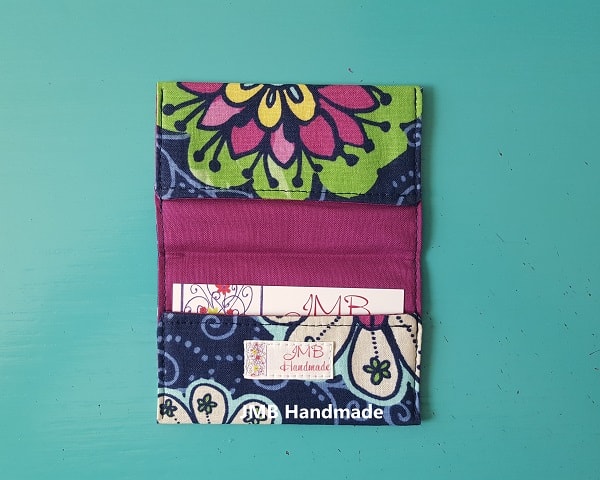
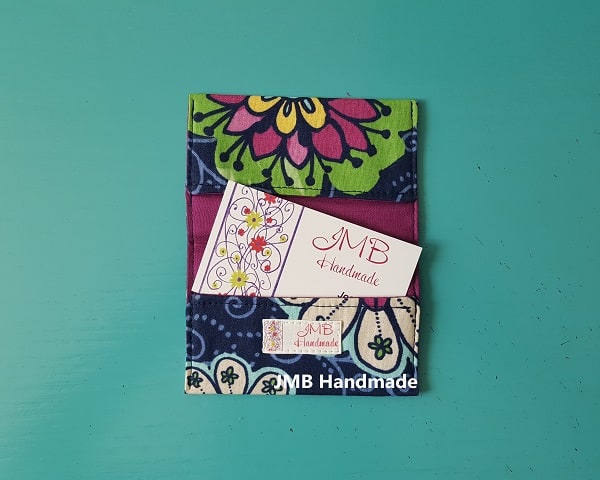
Happy sewing! I would love to see your finished business card holder or comment with questions! Thanks for stopping by! Be sure to stop by my shop for this one and other fabric business card holders.
Pin for later!
