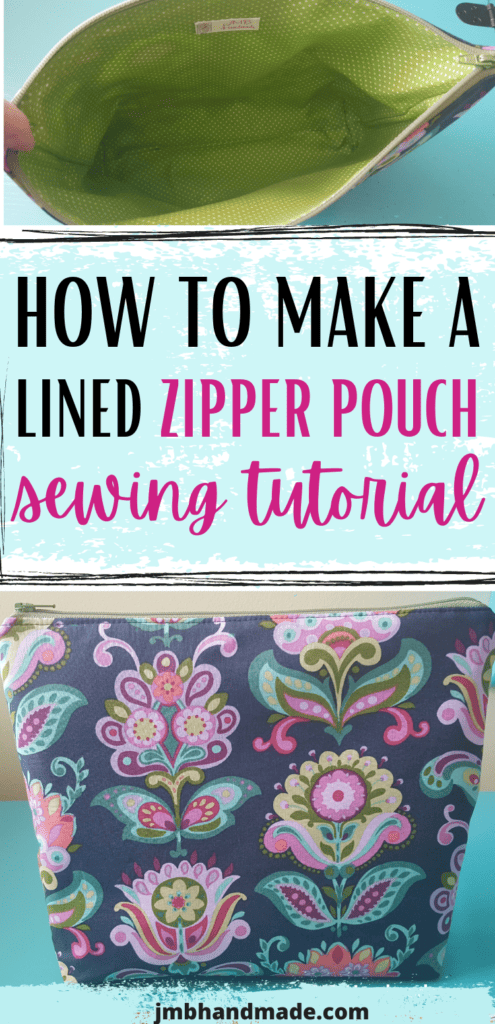
How to Sew a Lined Zipper Pouch
Sew a lined zipper pouch using these easy step-by-step instructions. Perfect for beginners!
Do you have papers and loose items flying around in your purse? It’s so easy for items to get lost in your purse, especially if you carry a big one! That’s why you need a flat bottom zipper pouch to keep it all contained in one place.
I just recently had an order for an 8 inches H x 10 inches W x 2 inches D zipper pouch for the purpose of keeping papers contained in her purse and those are the dimensions she gave me. I thought I would share how I made it with you. NOTE: you can use these techniques to make ANY SIZE zipper pouch you want! See our post on how to sew a small zipper pouch for coin pouch instructions.
If you don’t have the right size zipper on hand, learn how to shorten a zipper here.
This post contains affiliate links. Please see disclosure for more information.
***You can find the ad-free, printable PDF version of this sewing tutorial available for purchase HERE. Includes 16-pages of step-by-step instructions with pictures. Print a copy to keep next to your sewing machine for easy reference.***
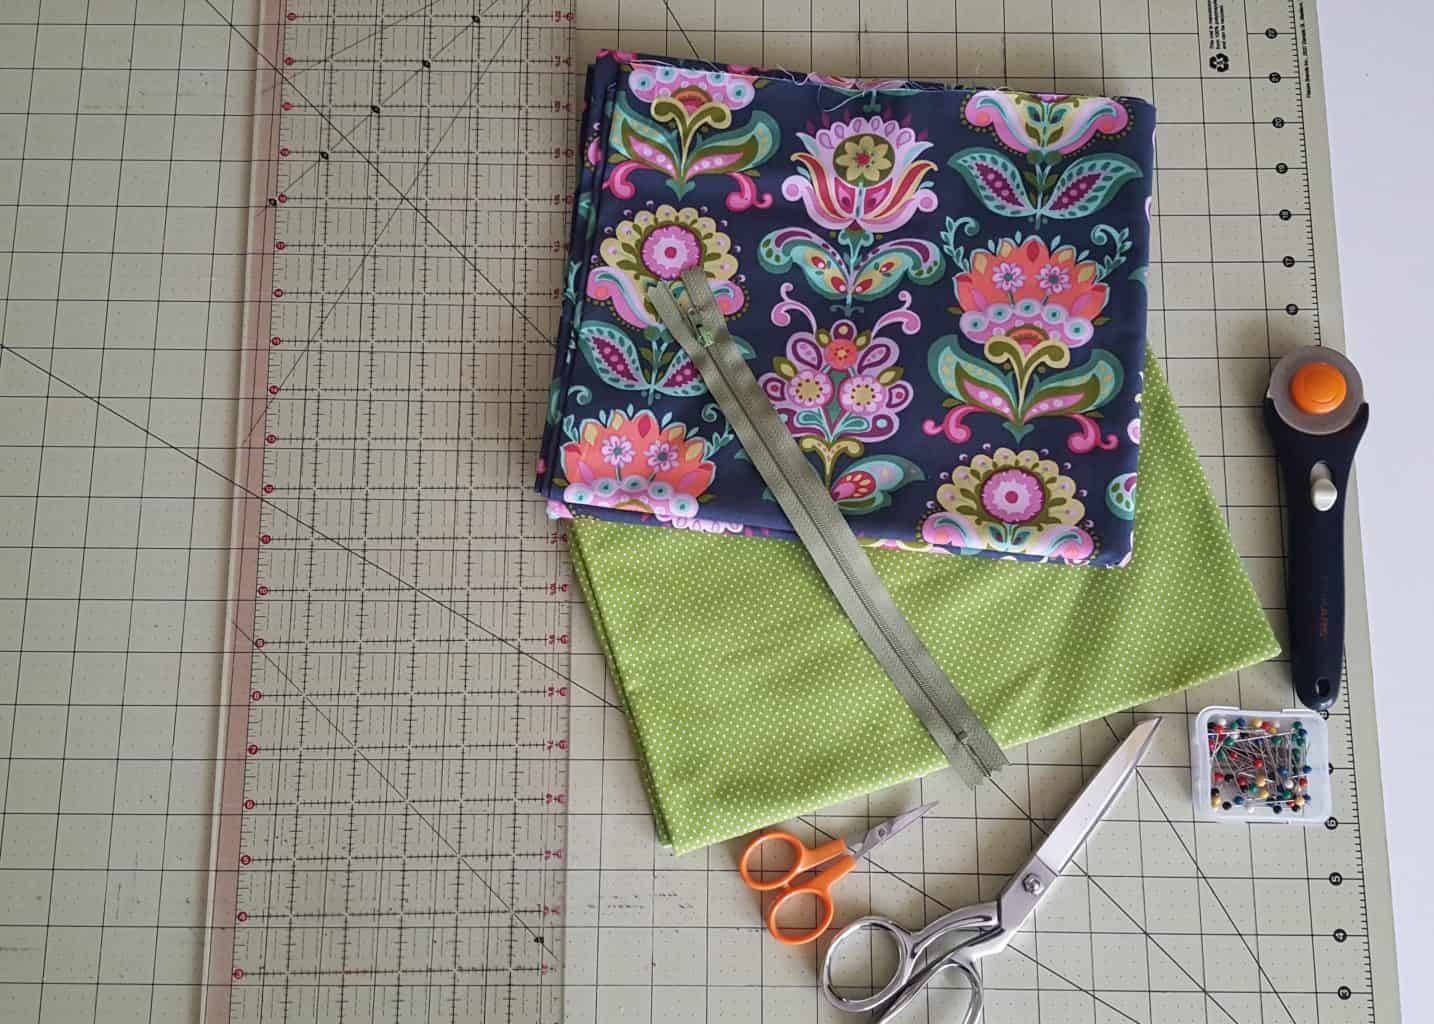
Zipper pouch supplies needed:
- Two outer fabric pieces – 10 inches long by 11 1/2 inches wide – my favorite fabric shop
- Two lining fabric pieces – 10 inches long by 11 1/2 inches wide
- Zipper – 10 inches
- Cutting mat
- Rotary cutter
- Clear ruler
- Sewing machine
- Thread – I use Gutermann
- Scissors
- Straight pins
- Fusible Interfacing
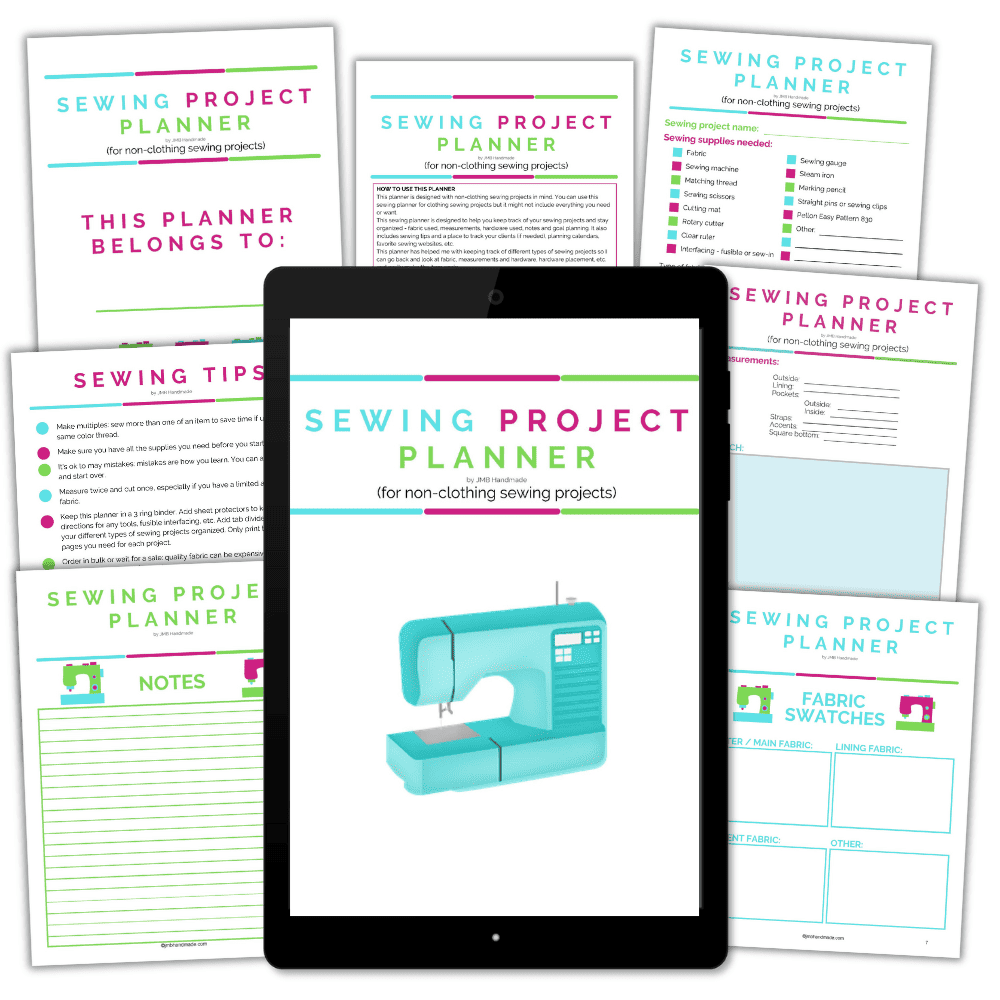
Keep track of your sewing projects, like this one, with a sewing planner. This sewing planner is specifically designed for non-clothing sewing projects and helps you stay organized – fabric used, measurements, hardware used, notes, etc. Also included are pages such as sewing tips and fabric shops. Get your sewing planner HERE.
Measure and cut your fabric
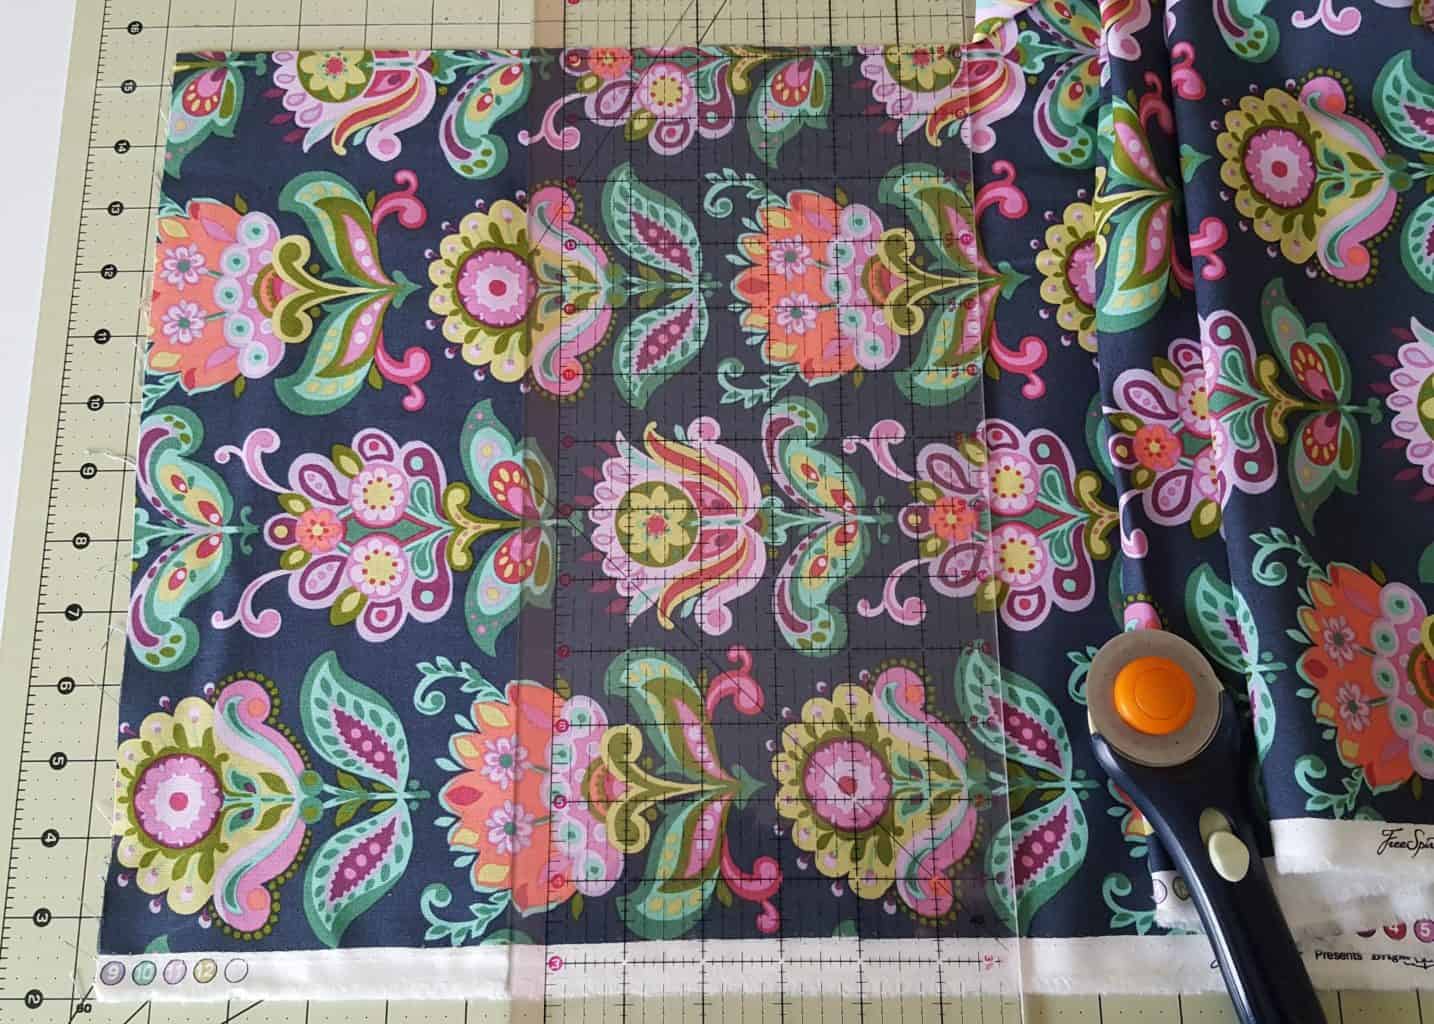
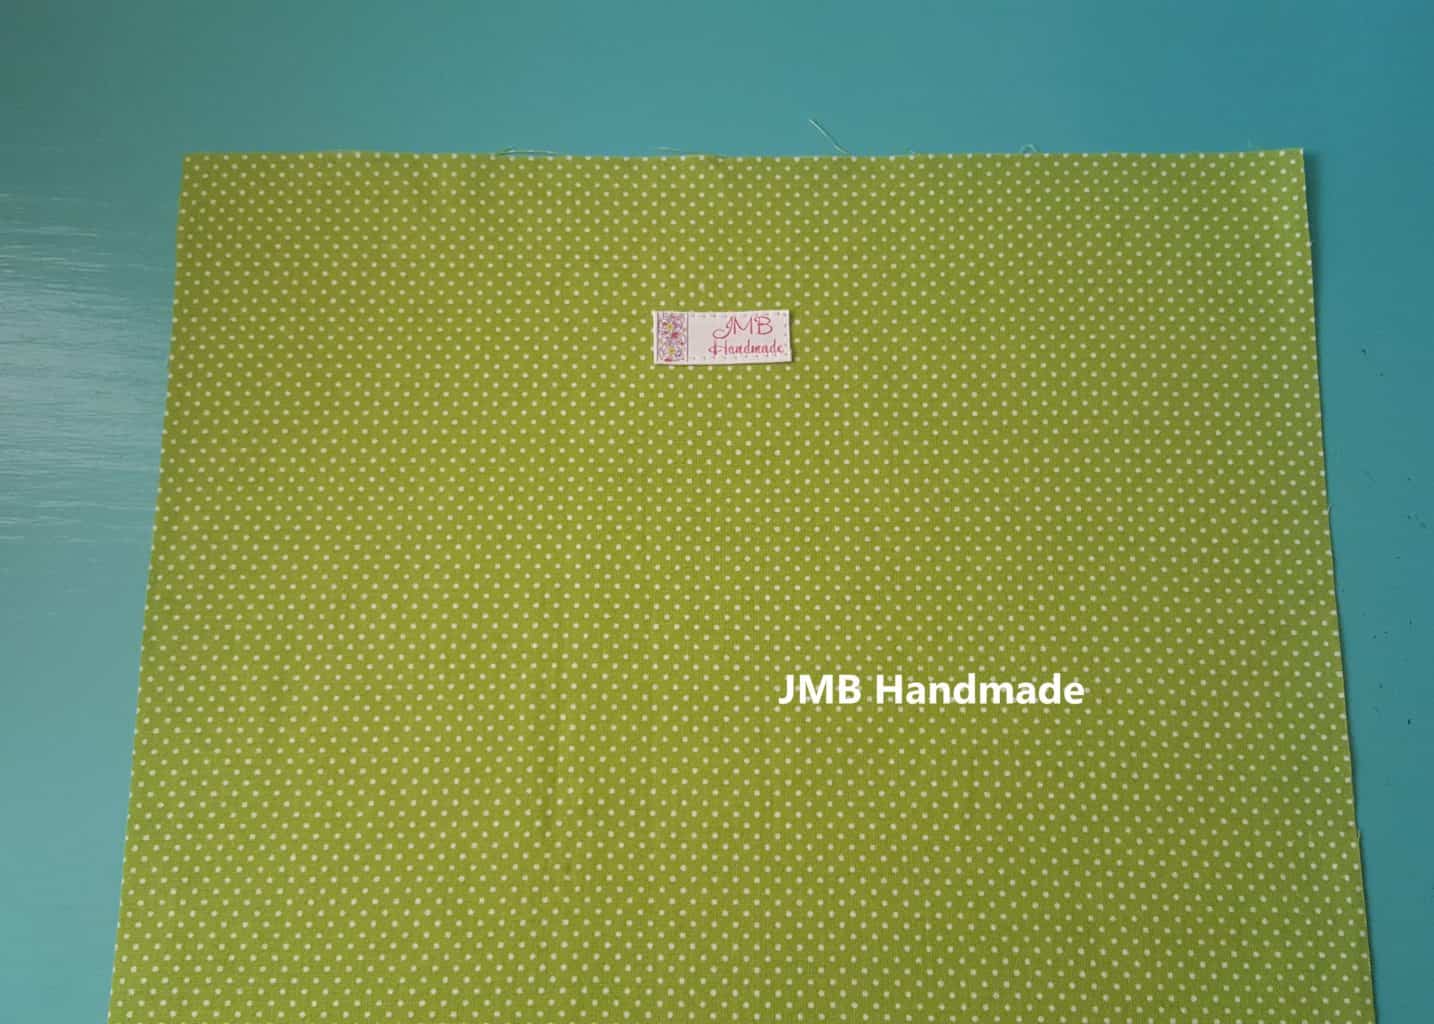
Using your cutting mat, clear ruler and rotary cutter, cut two pieces of your outer fabric 10 inches long by 11 1/2 inches wide. Do the same for your lining fabric.
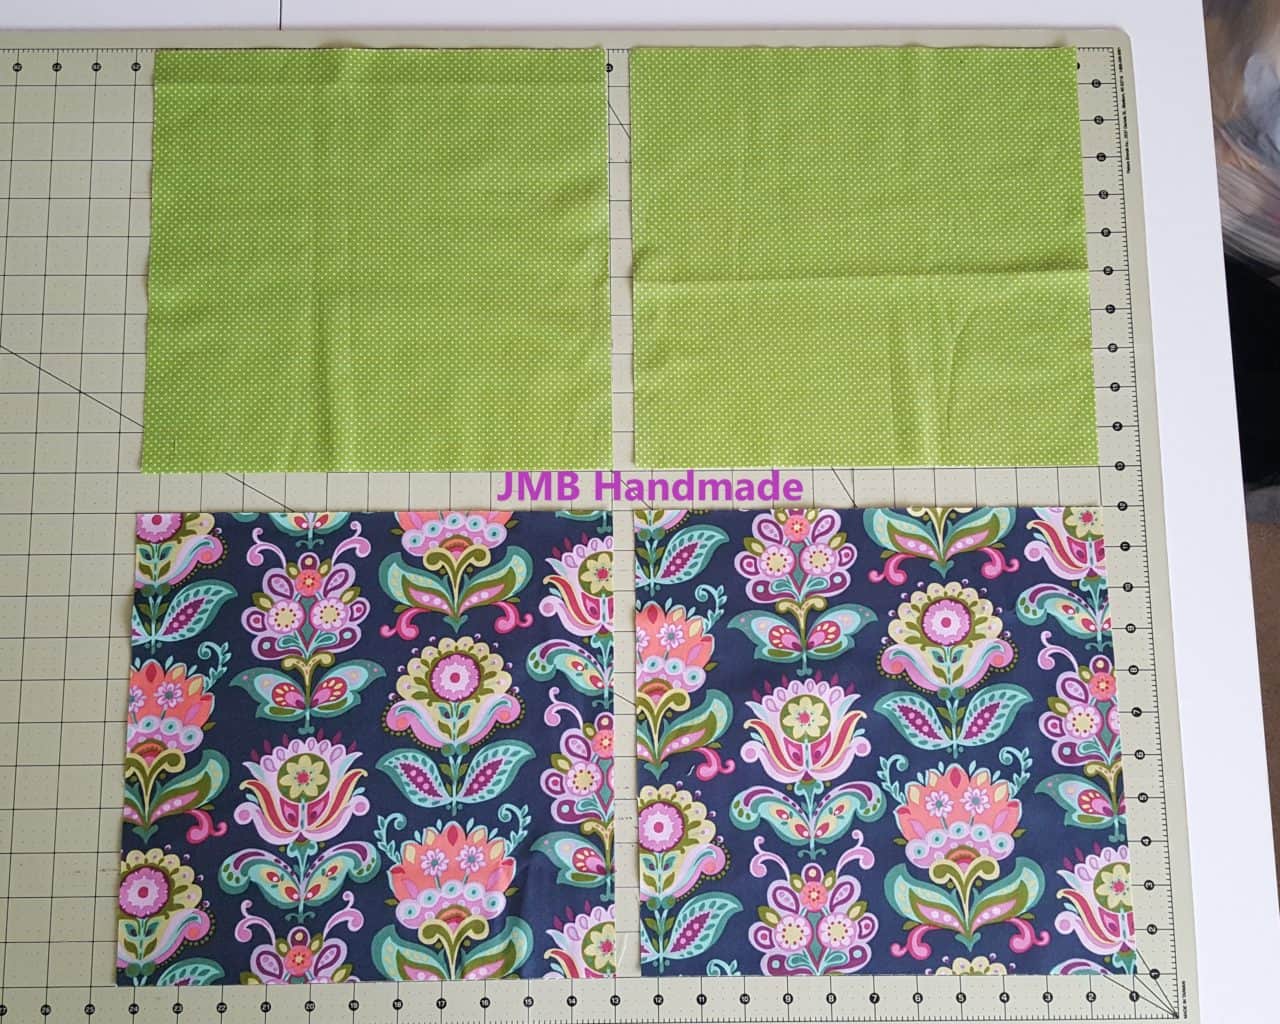
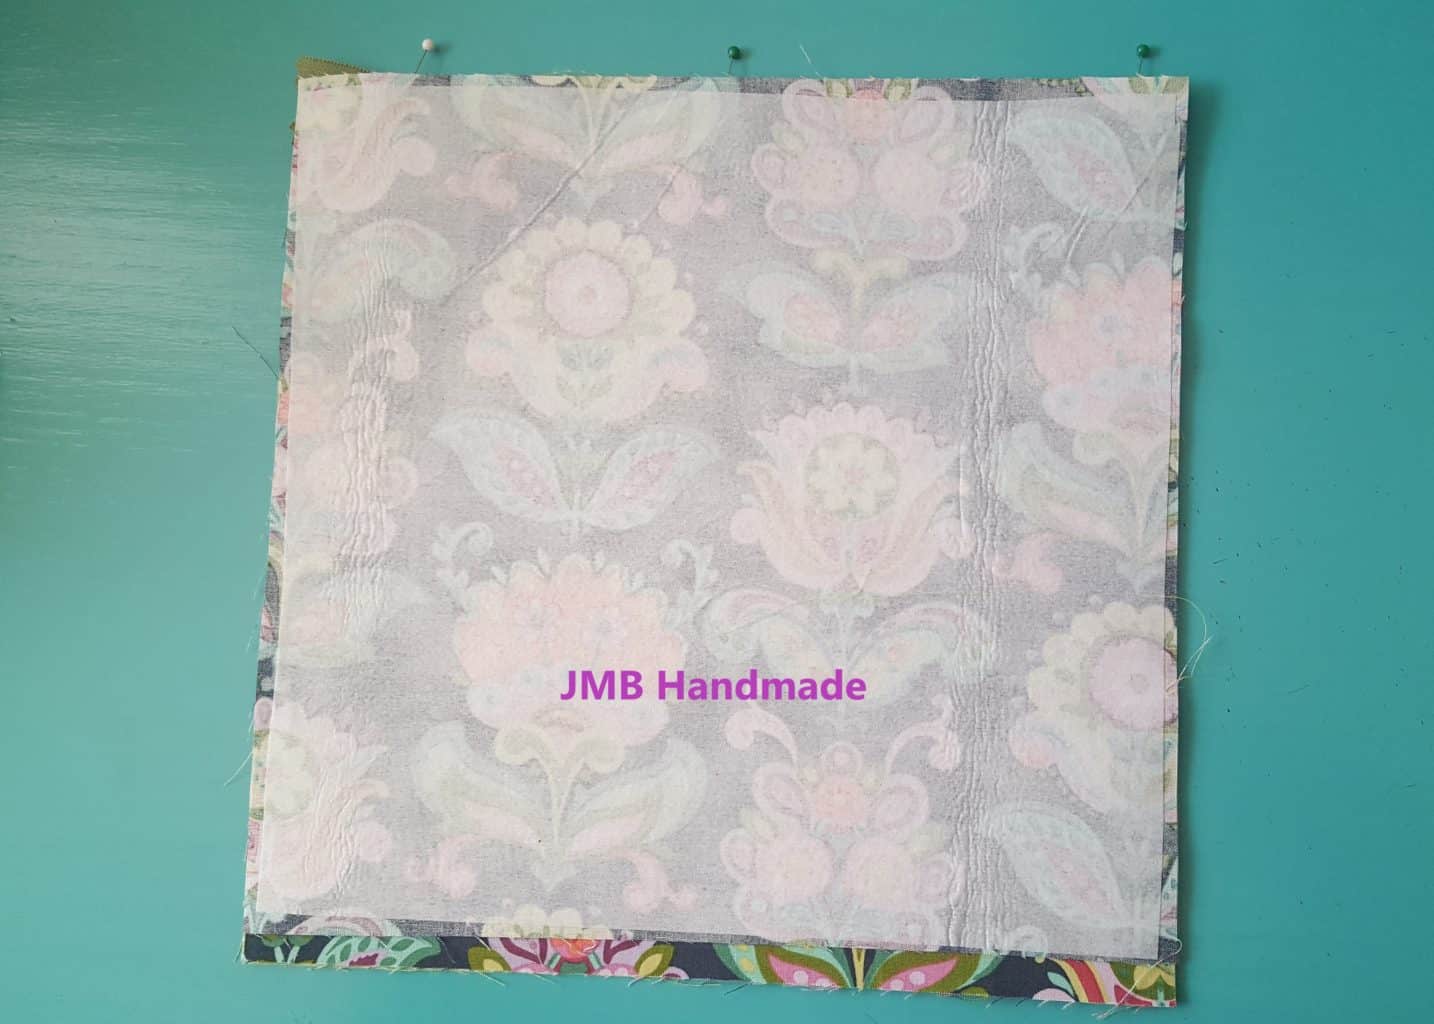
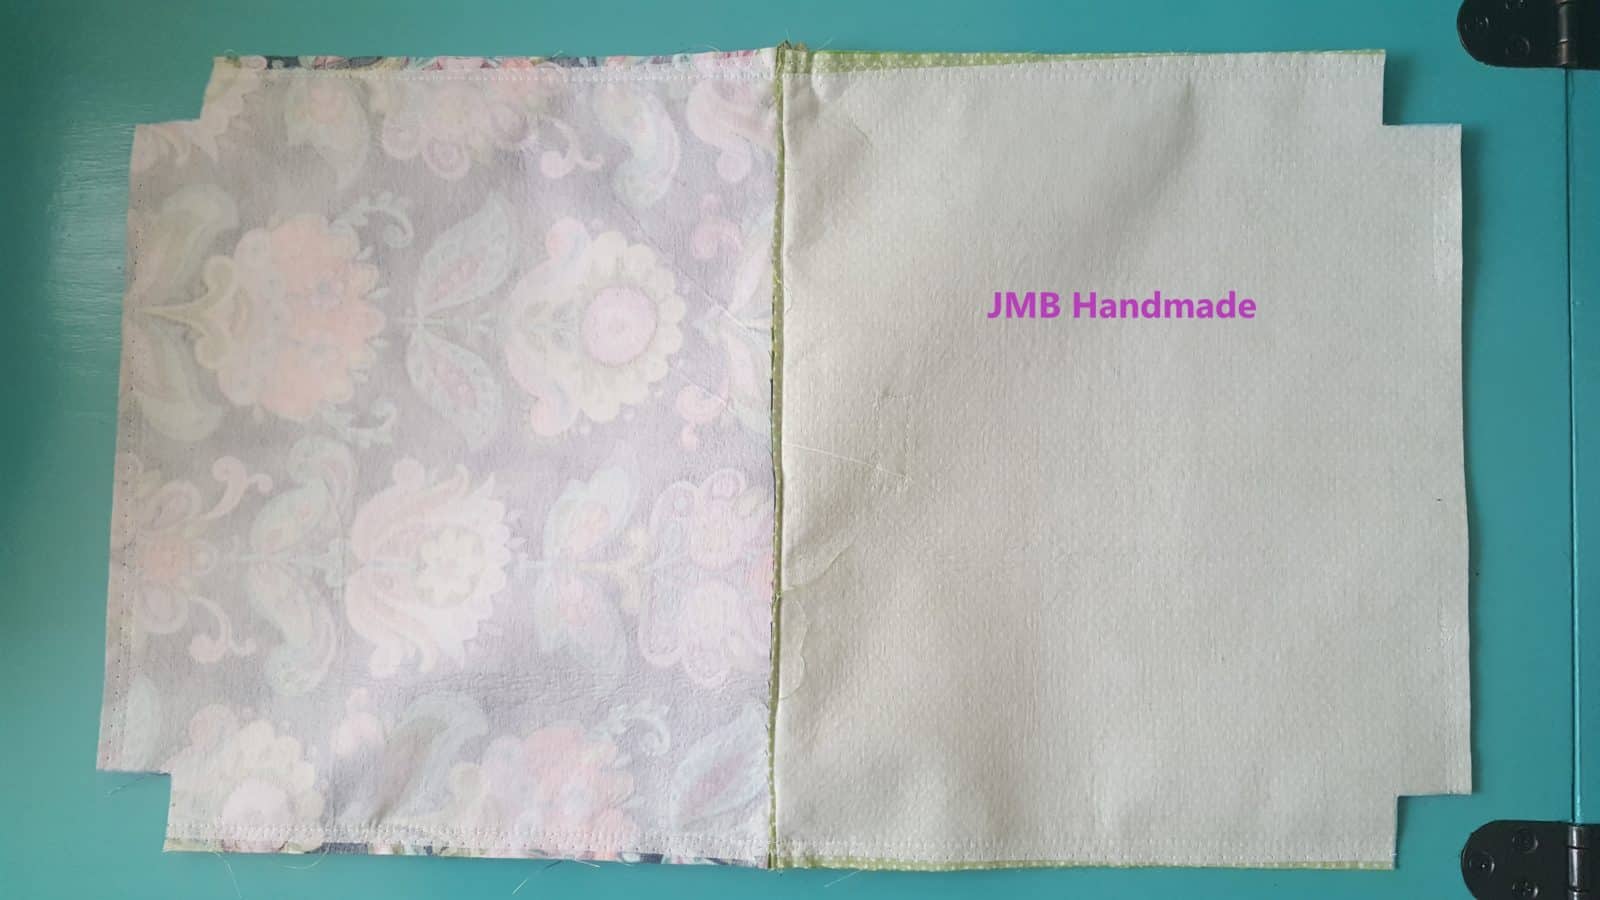
You should have two outer fabric pieces and two lining fabric pieces as shown above. P.S. my measurements are off by one inch in the picture – I didn’t realize it until I was about half way through the project!
Attach the fusible interfacing
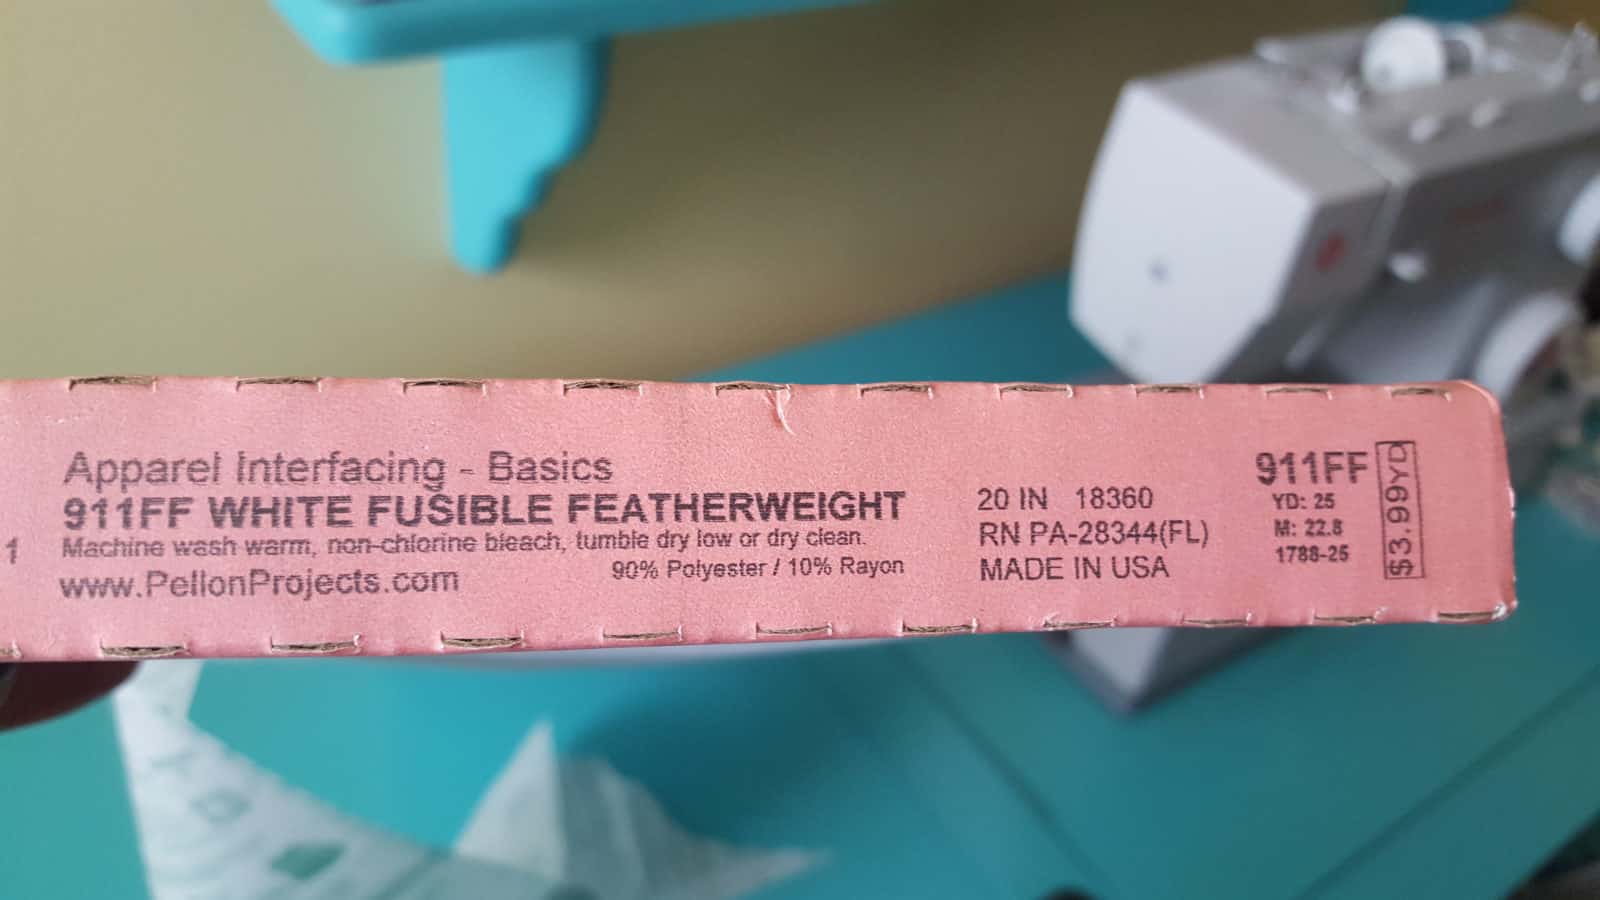
If you’re looking for a good interfacing to use, I use Pellon for all of my sewing projects. For handbags, wristlets, and other accessories, I use Pellon 911FF Fusible Interfacing because it is a little bit thicker and will hold up well with these types of projects.
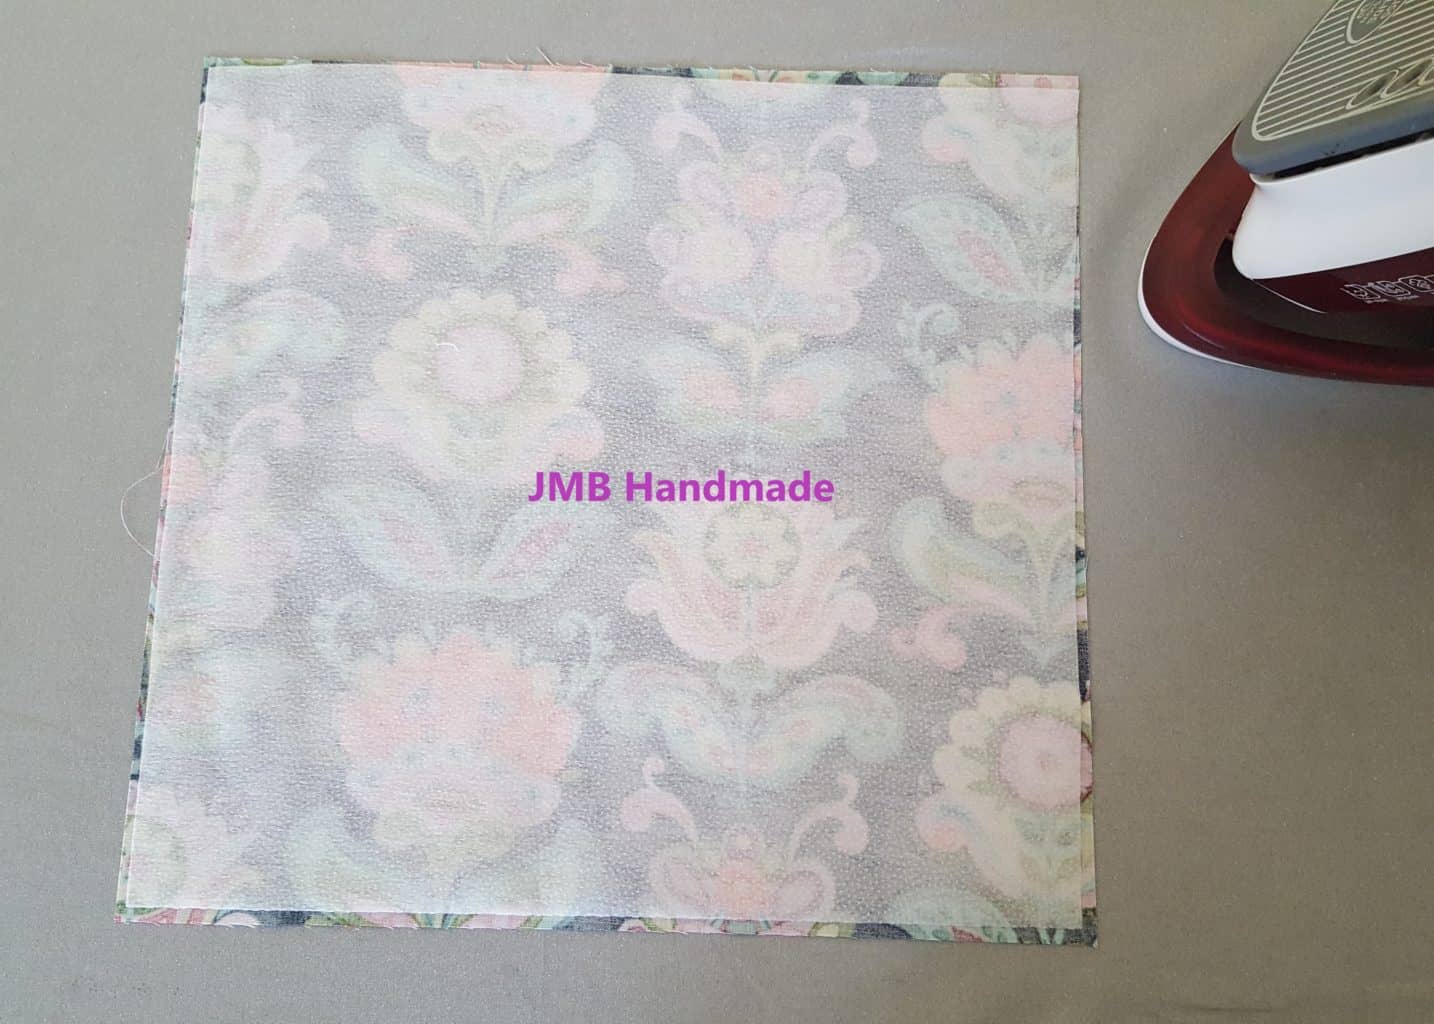
Cut your fusible interfacing just smaller than your fabric piece. Place the interfacing on the wrong side of the fabric. Follow the package instructions.
I flip it over and use the cotton steam setting and iron as shown above. Do this for all four fabric pieces.
Add the zipper

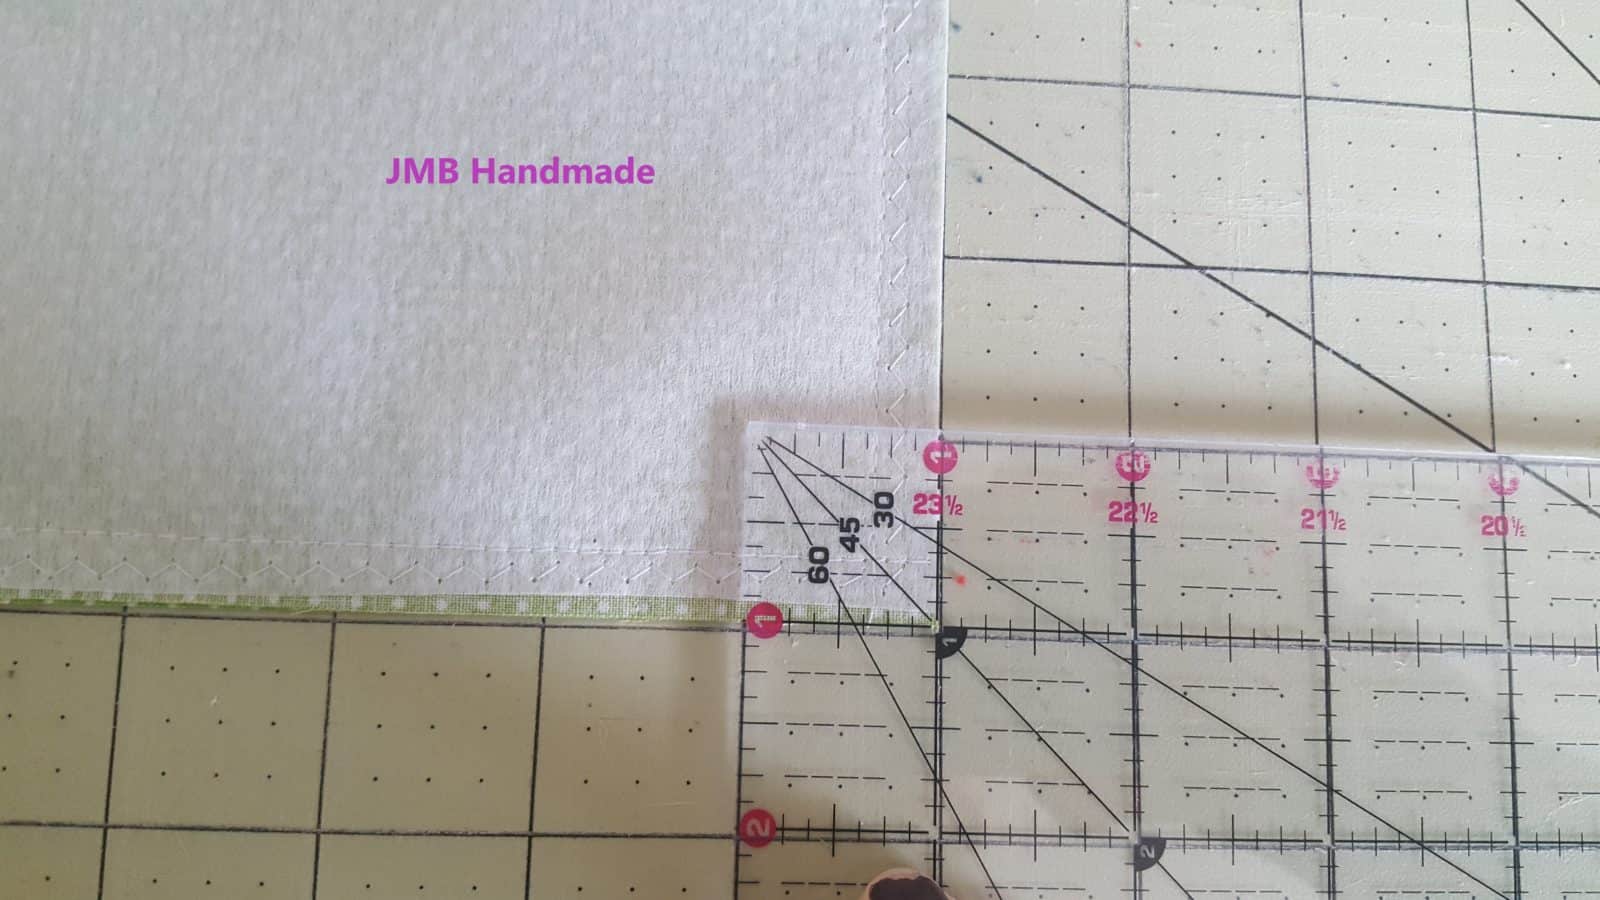
I used a 10 inch zipper (measurement shown above) so the width of my fabric is 11 1/2 inches. Rule of thumb – your fabric should be 1 1/2 inches wider than your zipper.
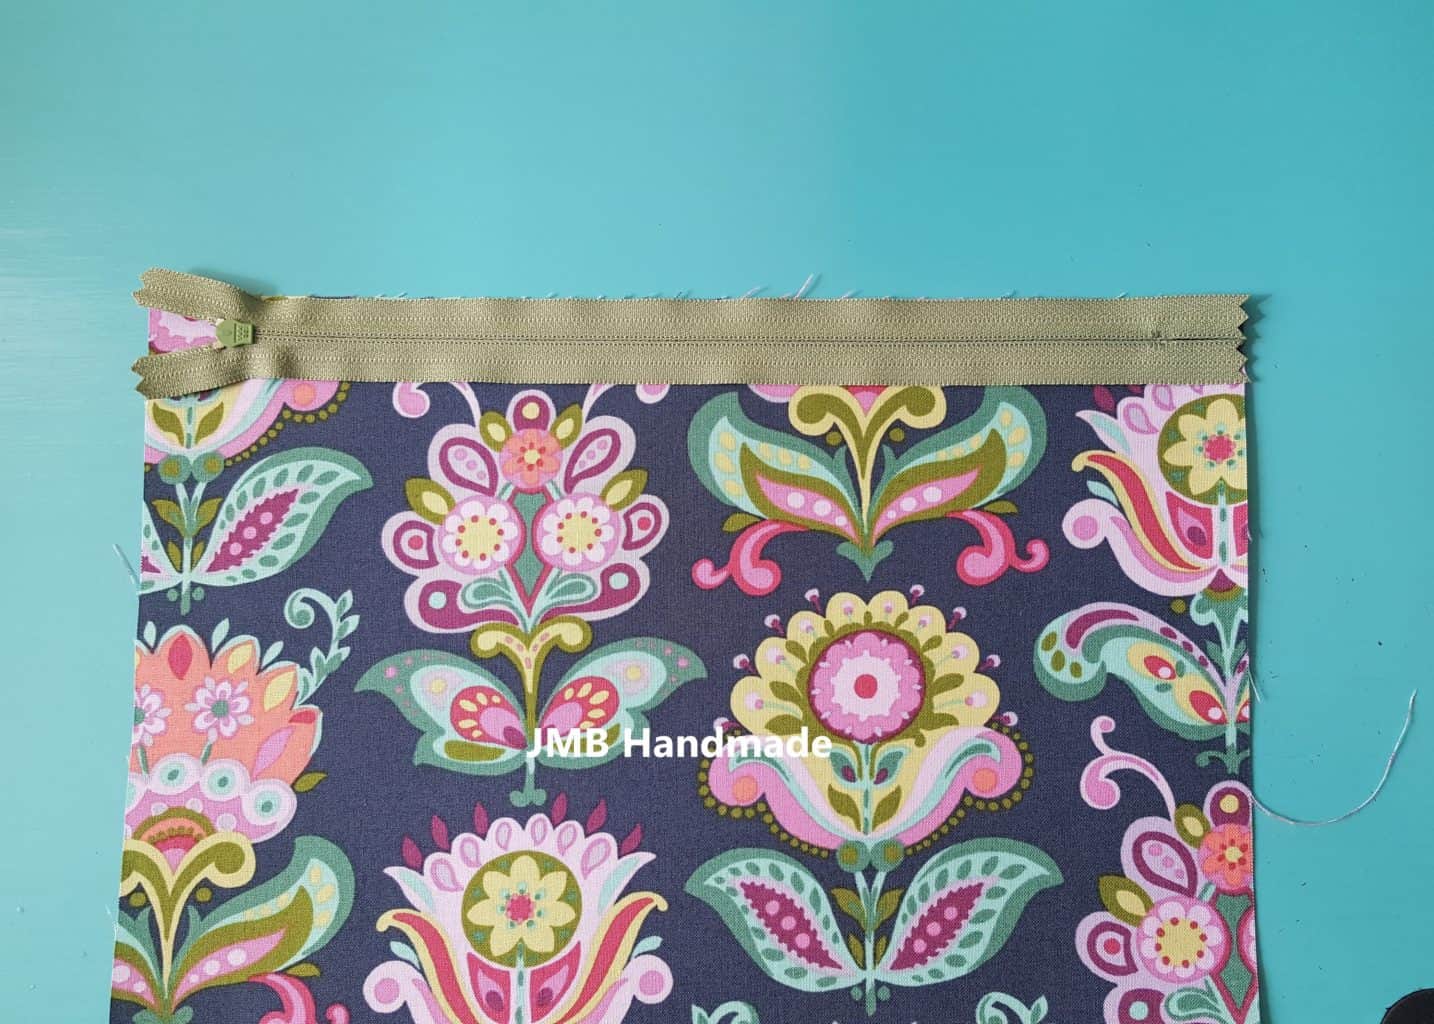
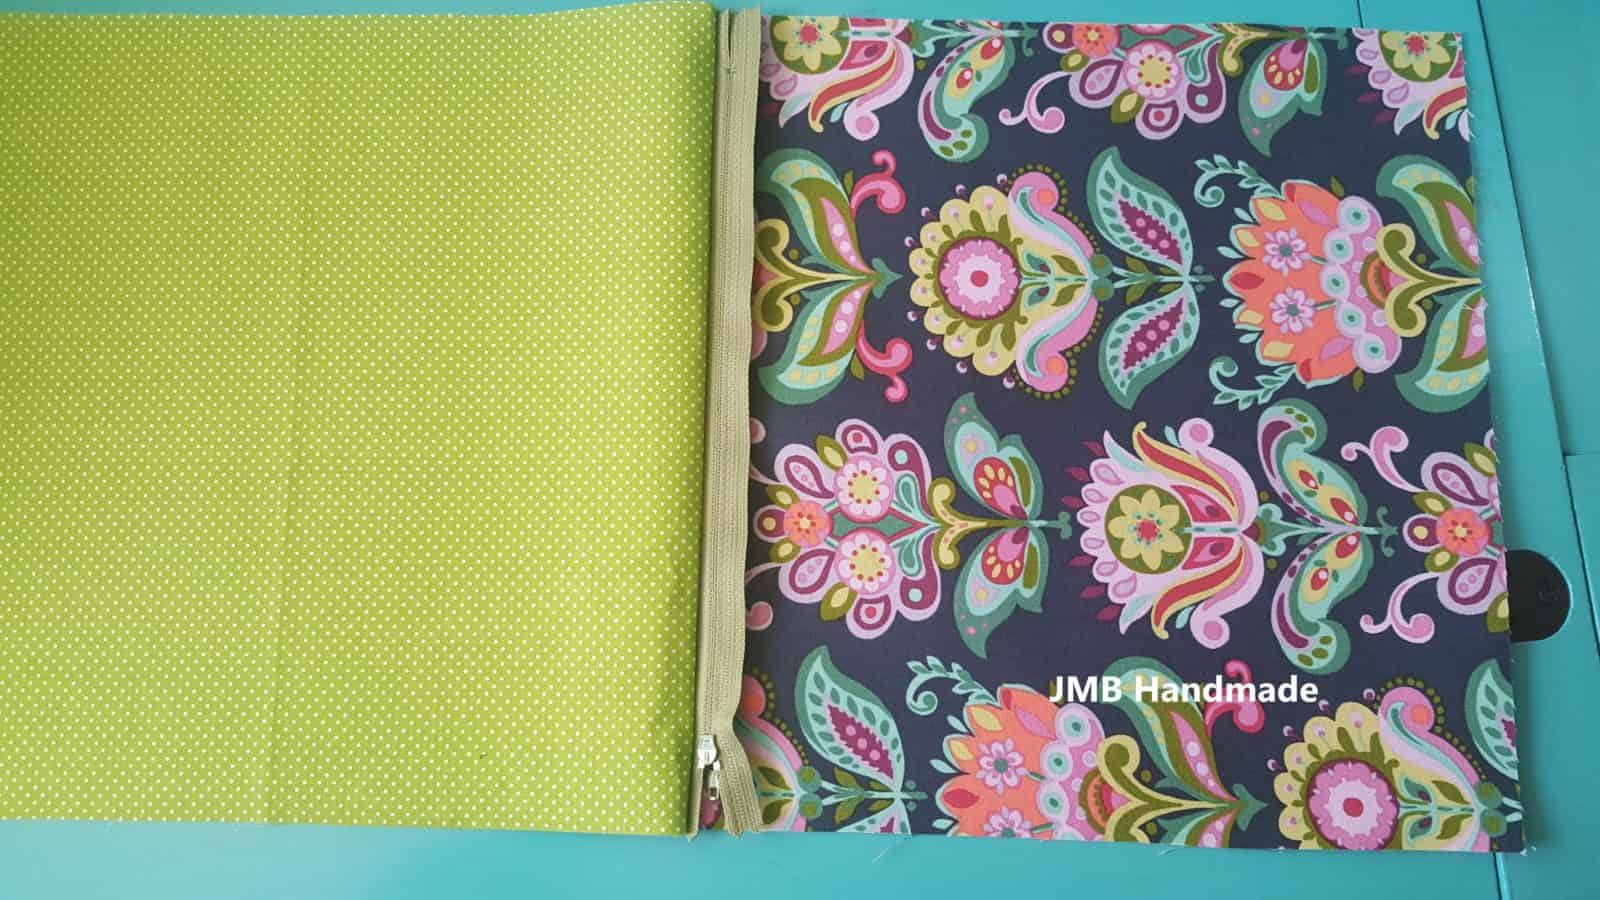
Place the zipper face down on one of the outer fabric pieces.

I pin it to hold it in place.
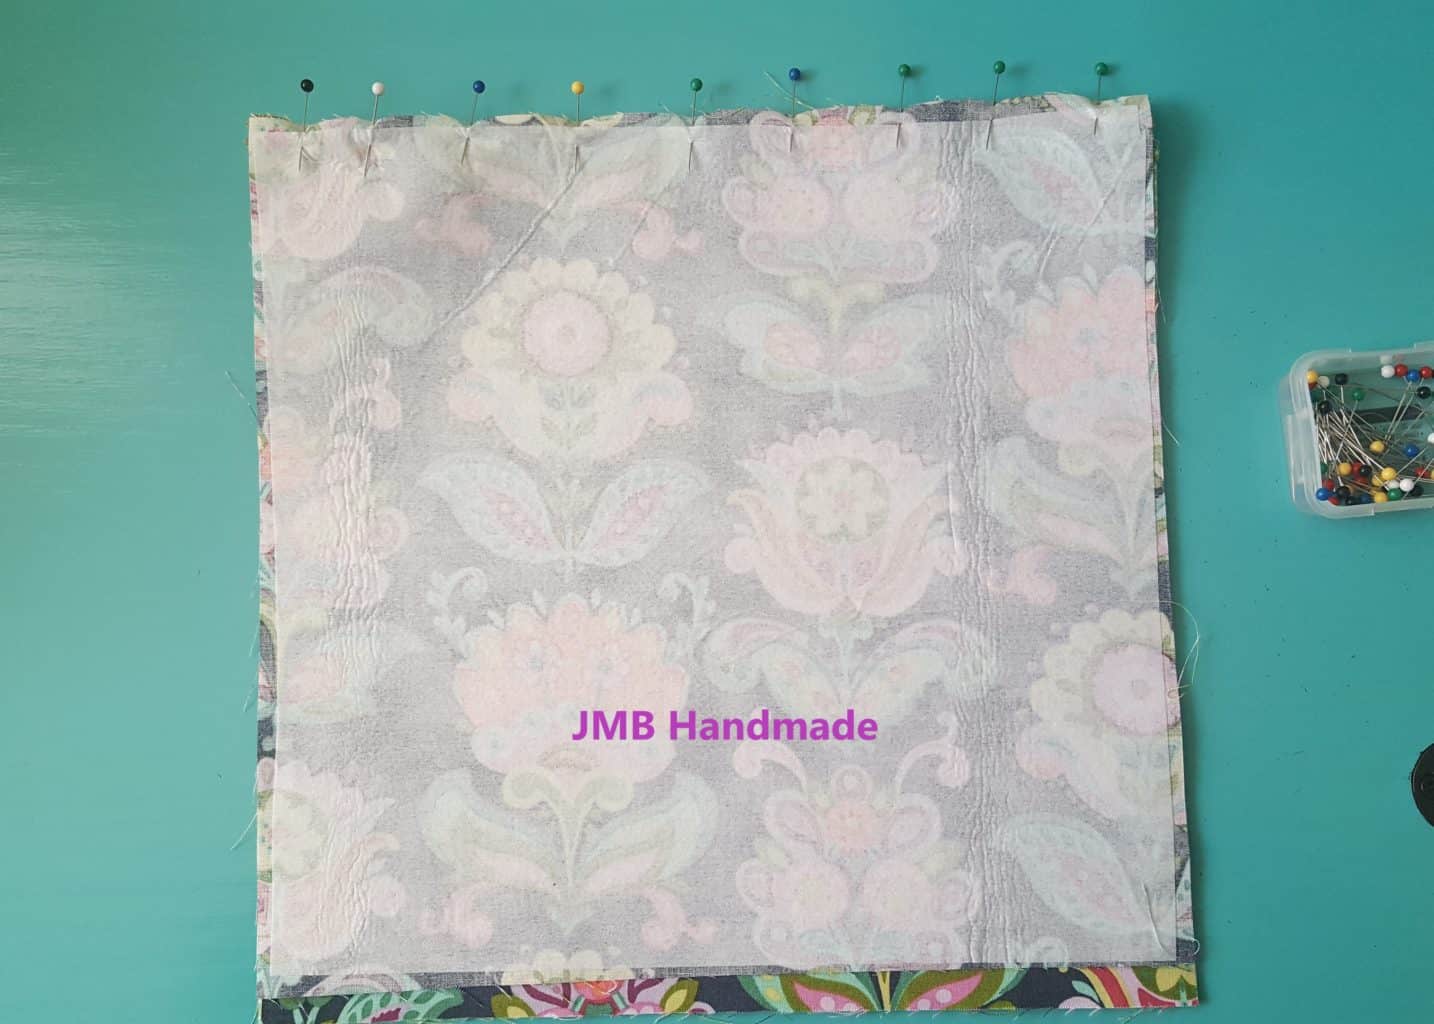
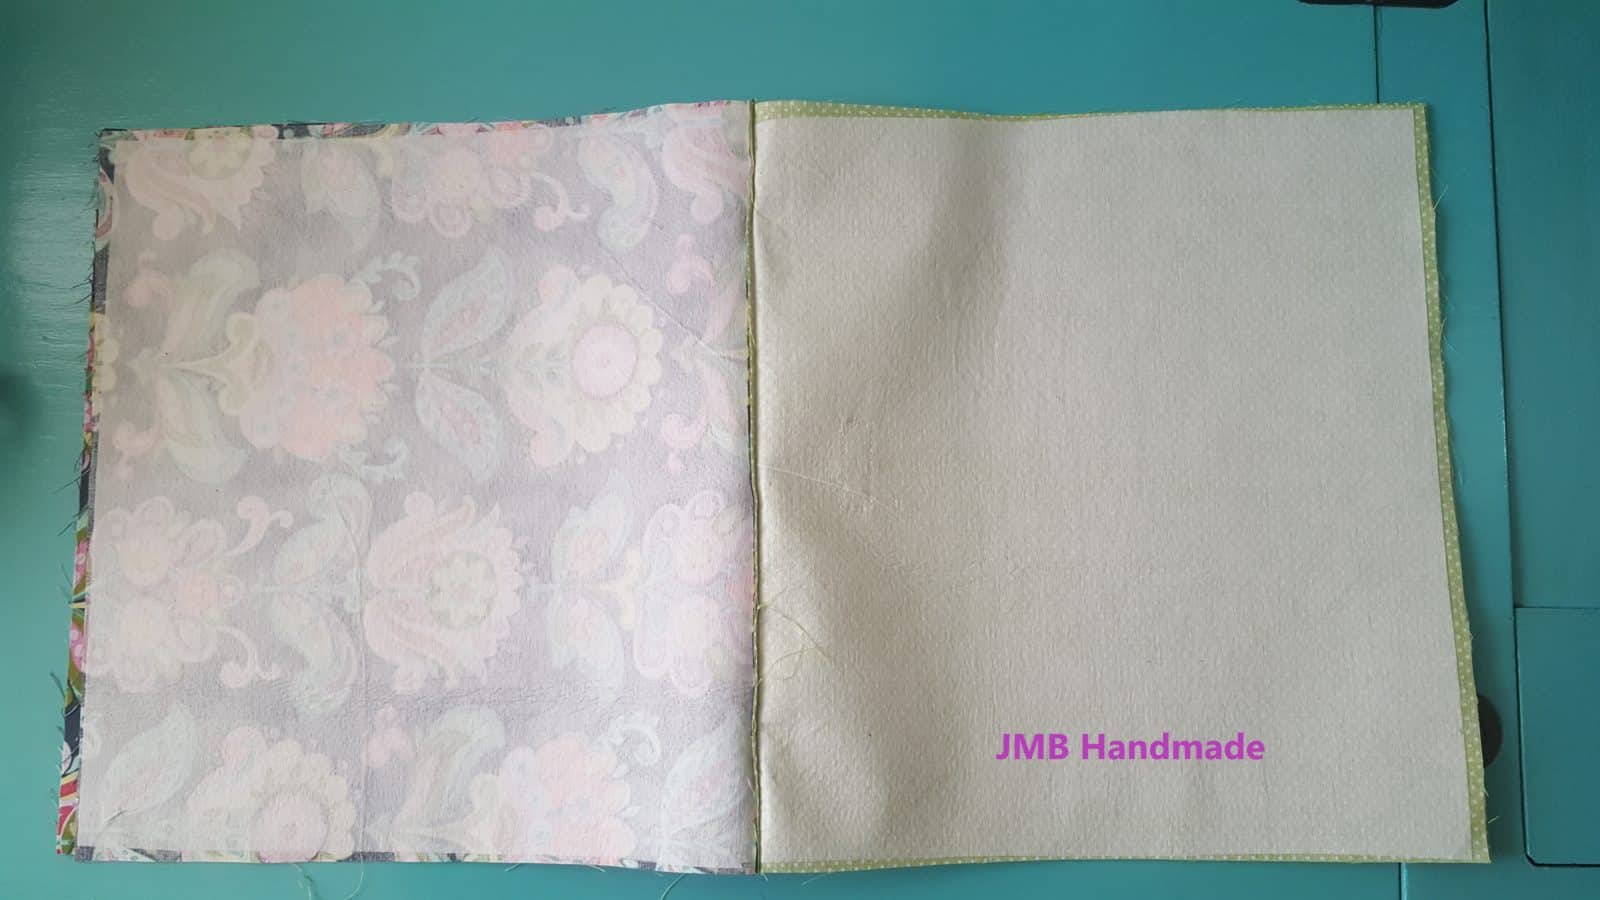
Place one of the lining fabric pieces face down on top of the zipper. The zipper should be sandwiched in between your outer and lining fabrics as shown above.
Pin in place.
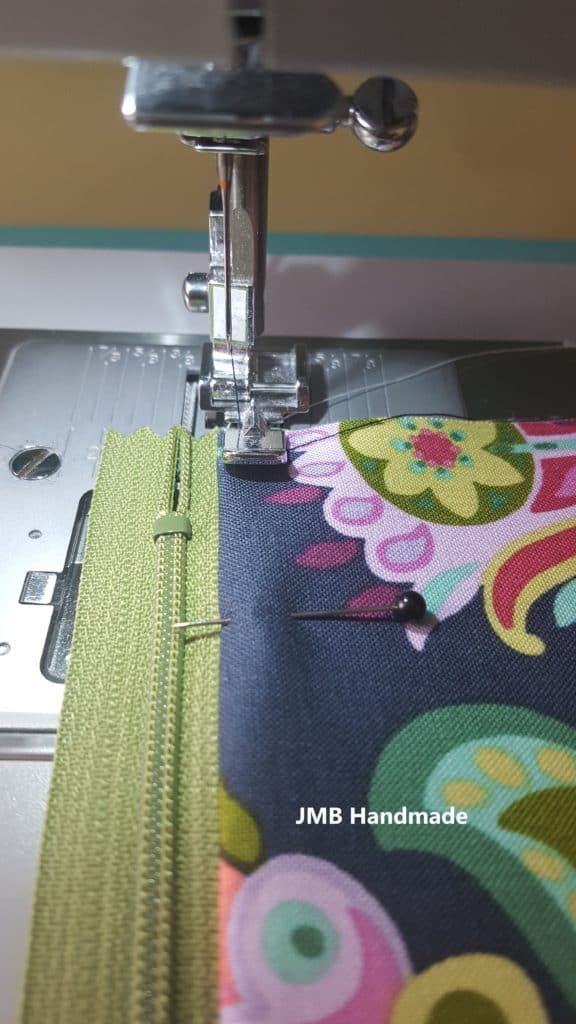
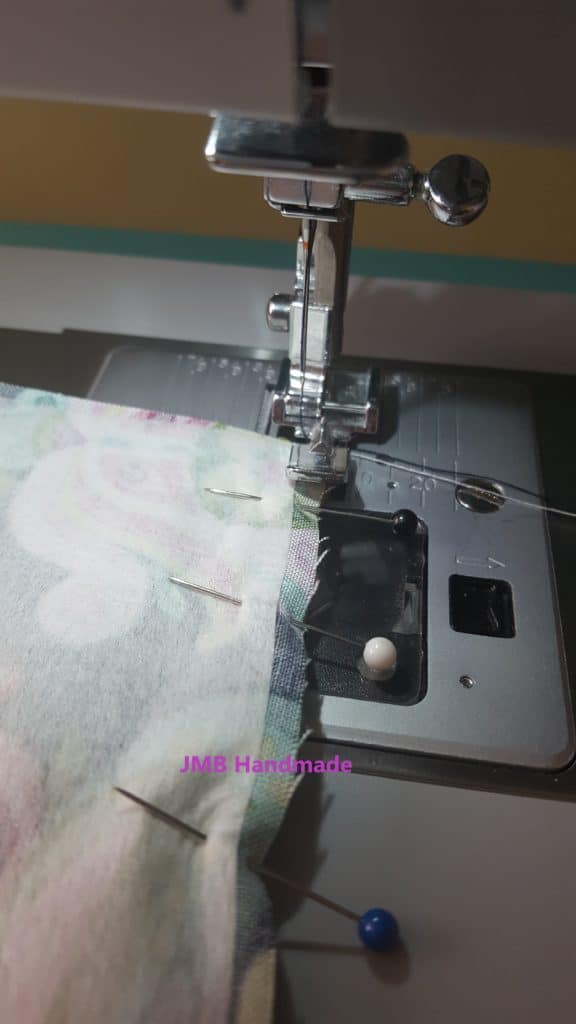
Sew together using your zipper foot.
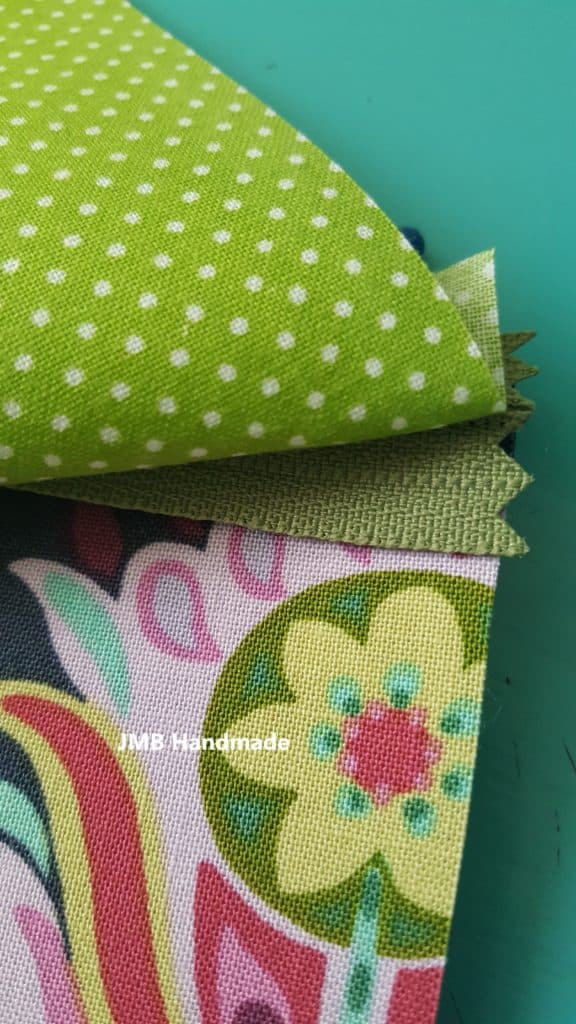
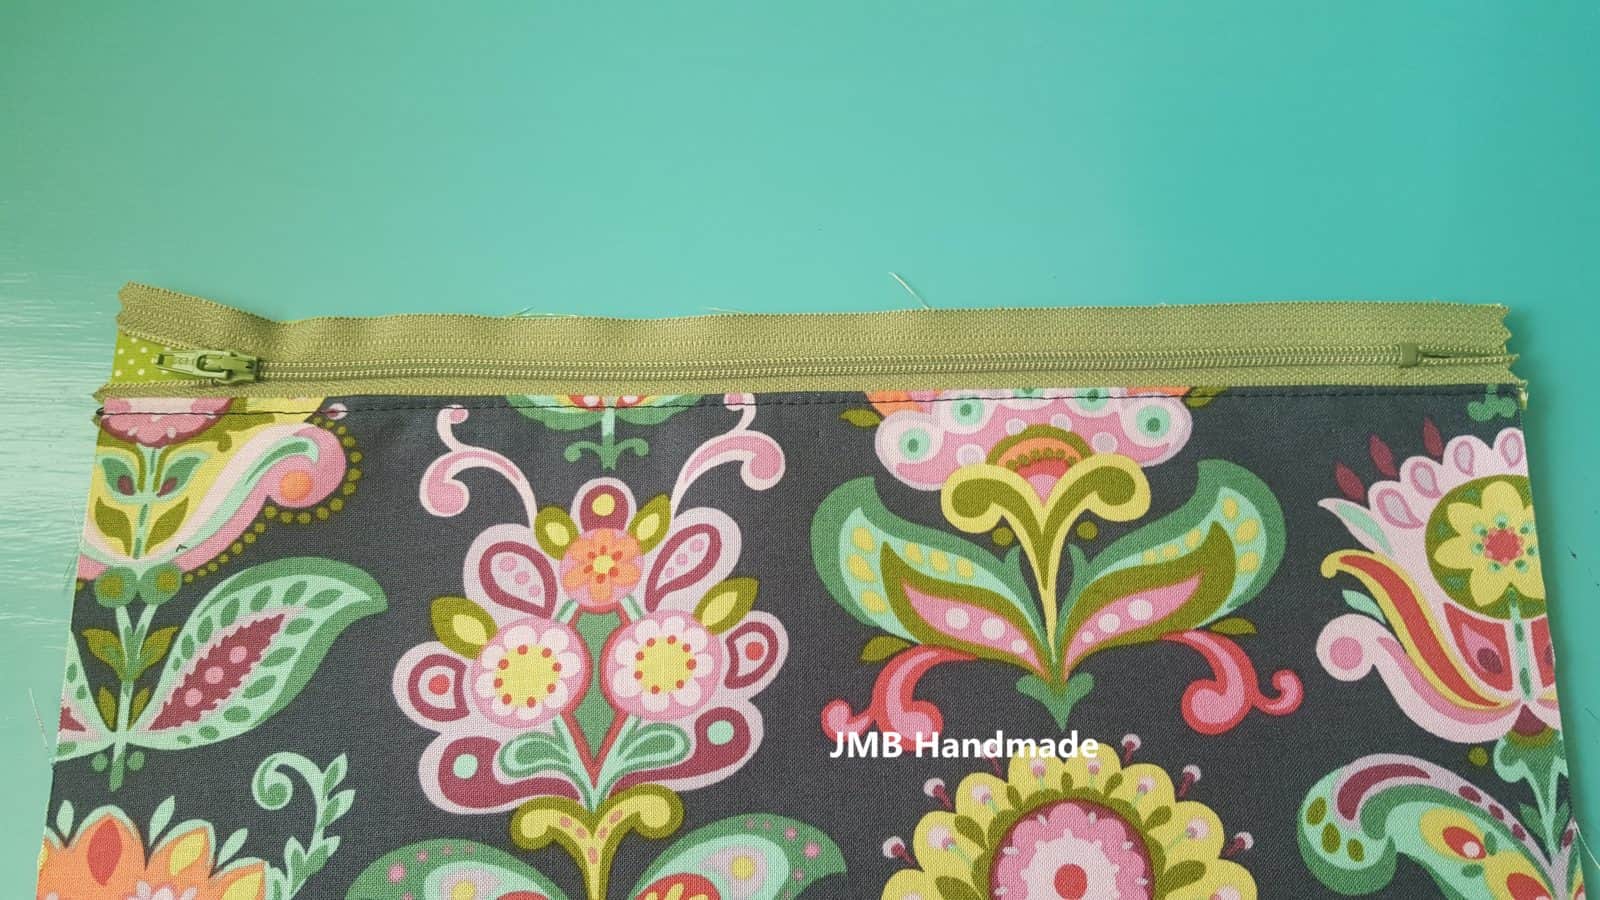
This is what it looks like at this point.
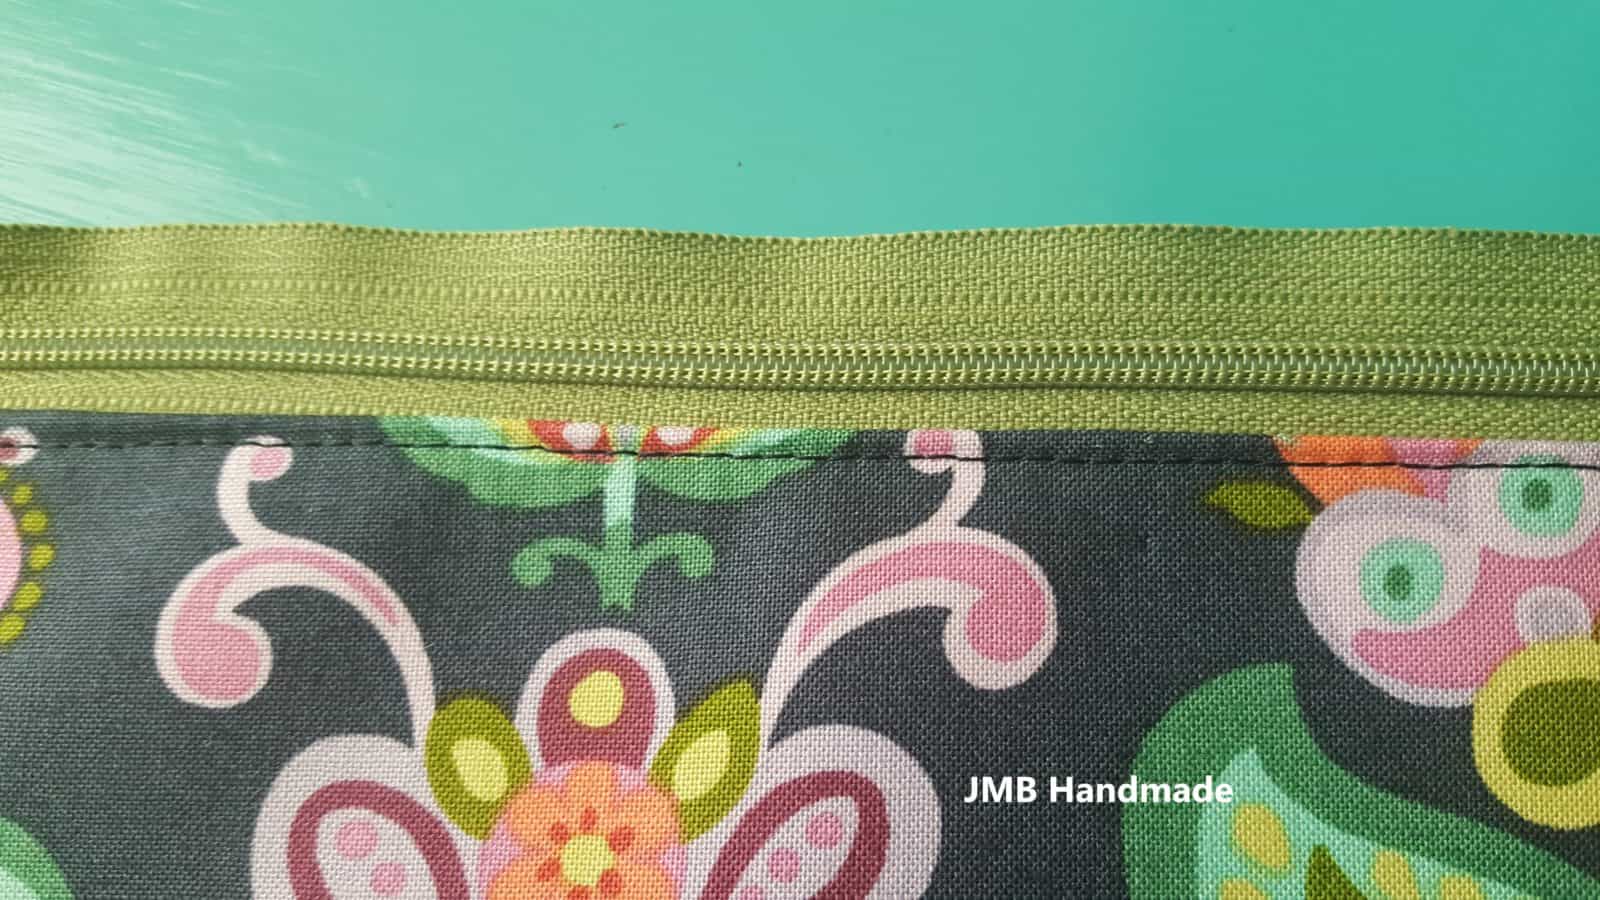
Fold the fabric pieces down and top stitch close to the zipper. This holds the fabric in place and keeps it from getting caught in the zipper when you open and close it.
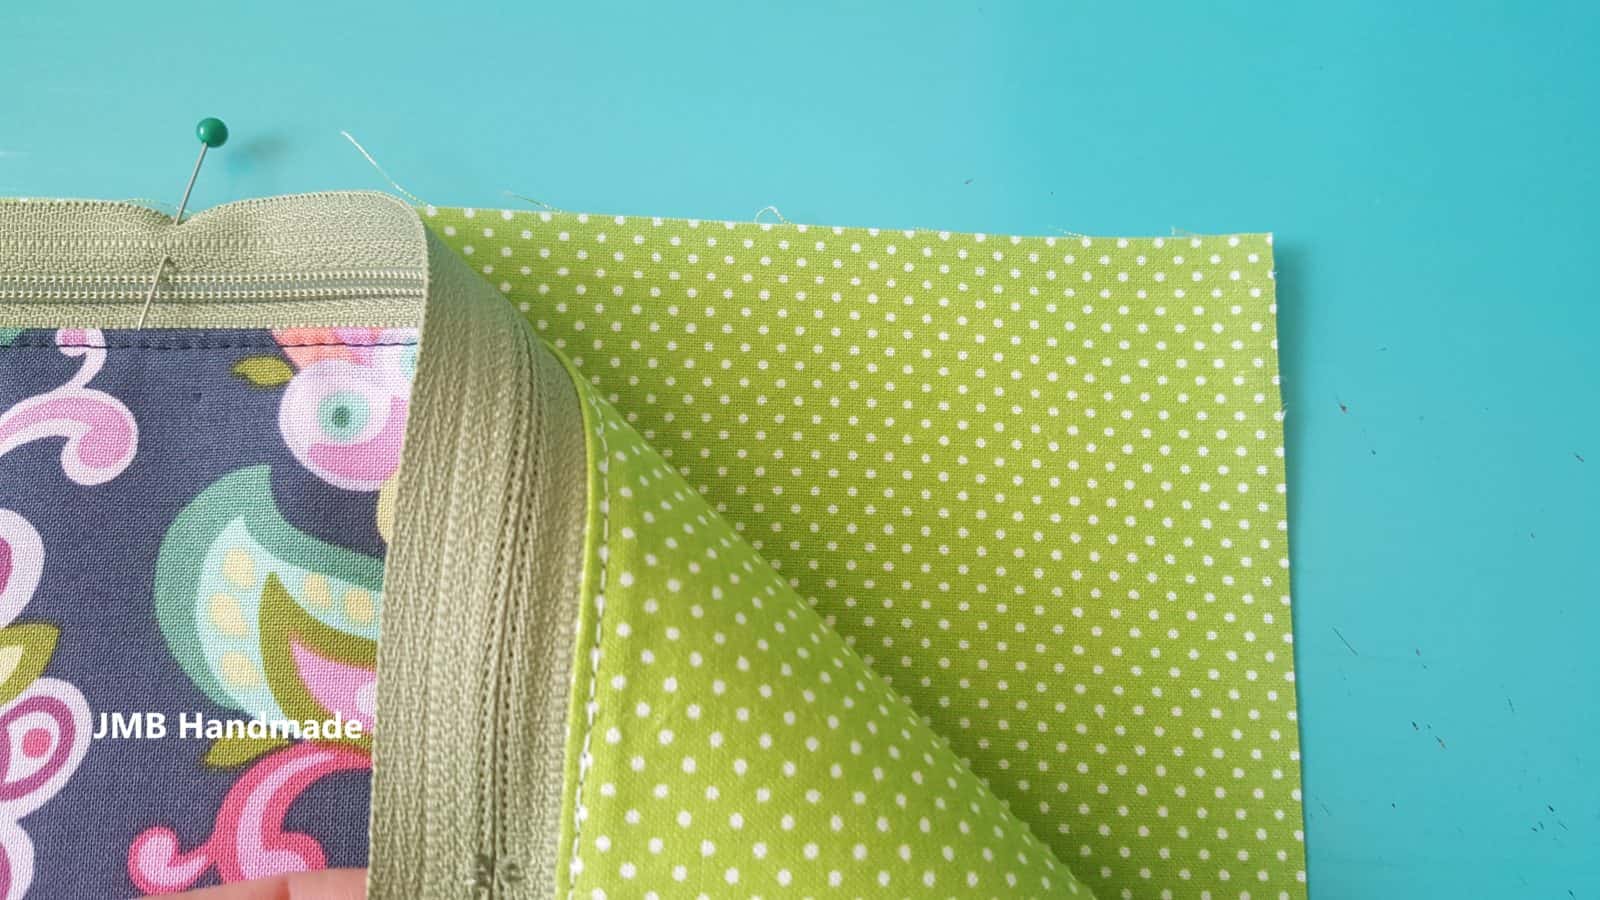
Take your other lining piece and place the zipper on top of the fabric, the lining pieces right sides together. Pin in place.
Place the other outer piece of fabric on top of the zipper as shown above. The outer pieces should be right sides facing each other.
Pin in place and sew using your zipper foot.
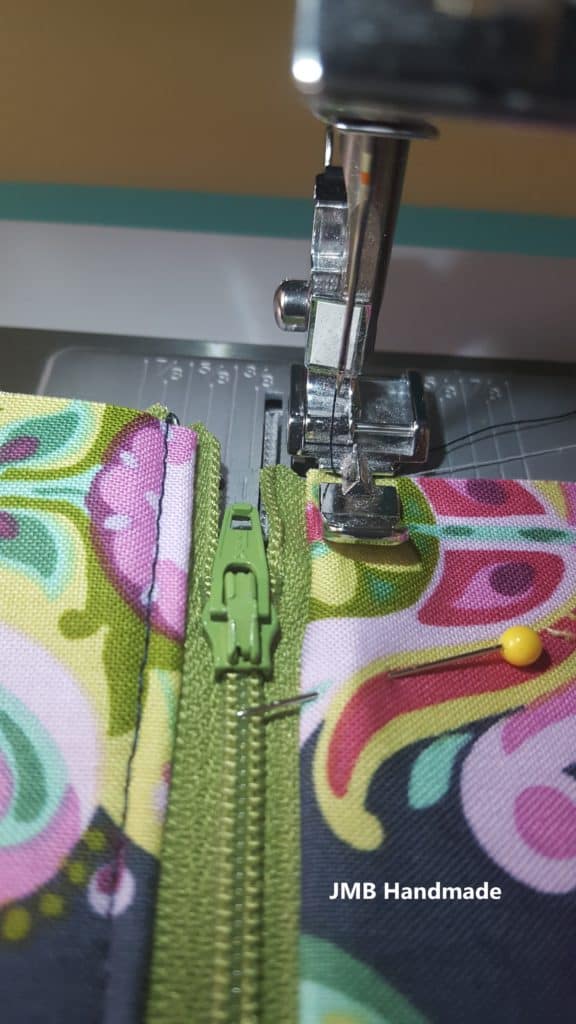
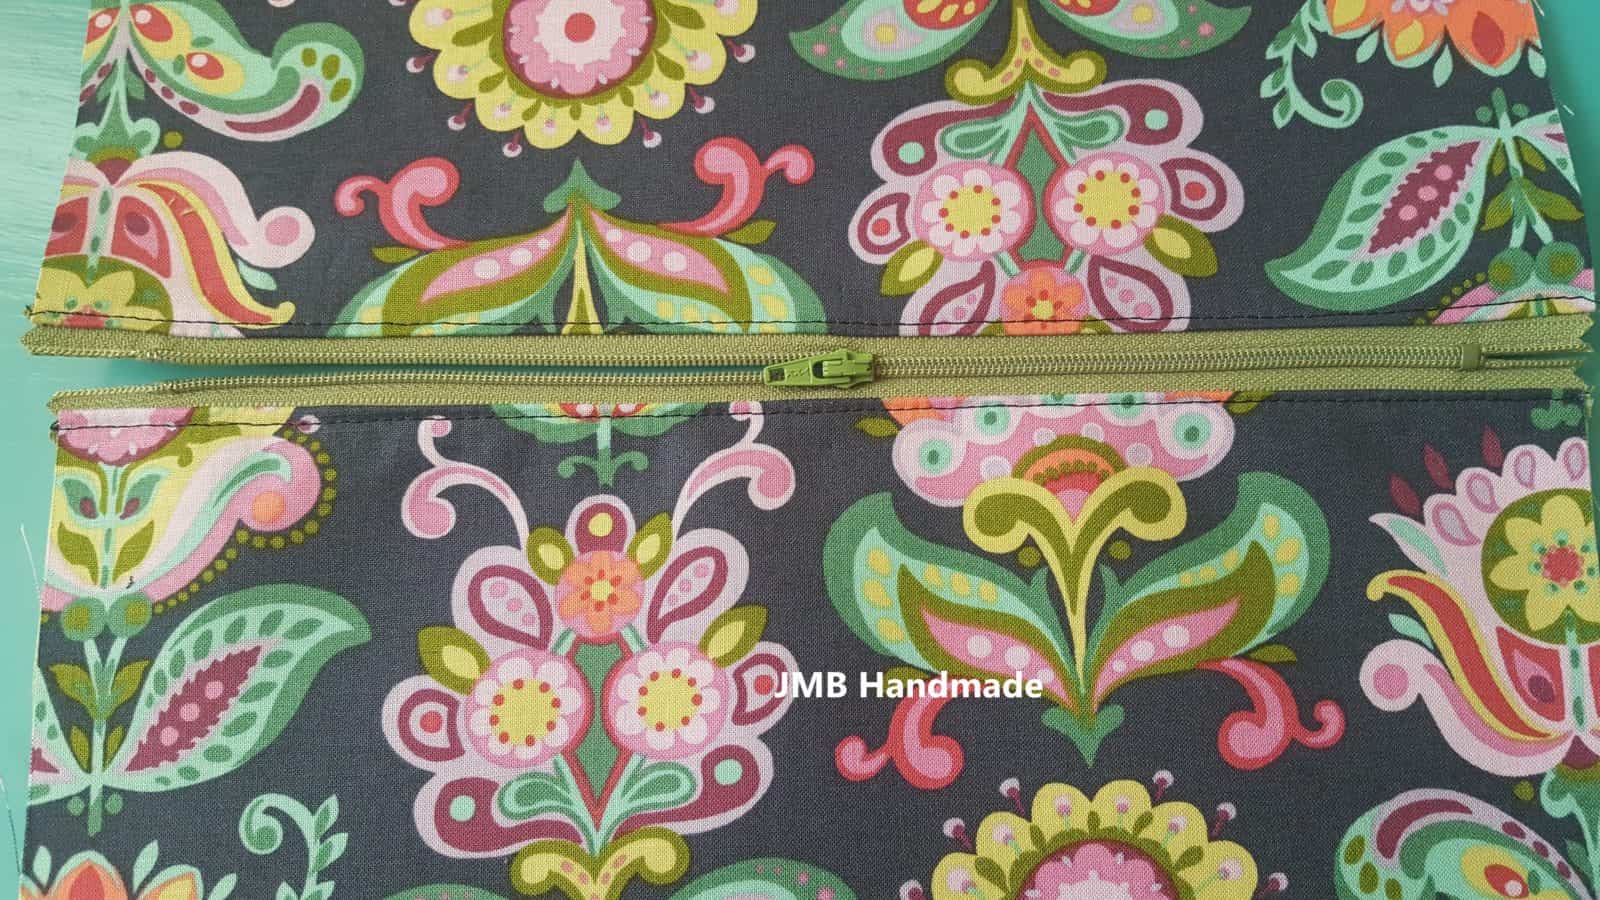
Top stitch close to the zipper.
***You can find the ad-free, printable PDF version of this sewing tutorial available for purchase HERE. Includes 16-pages of step-by-step instructions with pictures. Print a copy to keep next to your sewing machine for easy reference.***
Sew the pouch together.
Unzip the zipper about halfway. This will allow you to turn the pouch right side out after sewing.
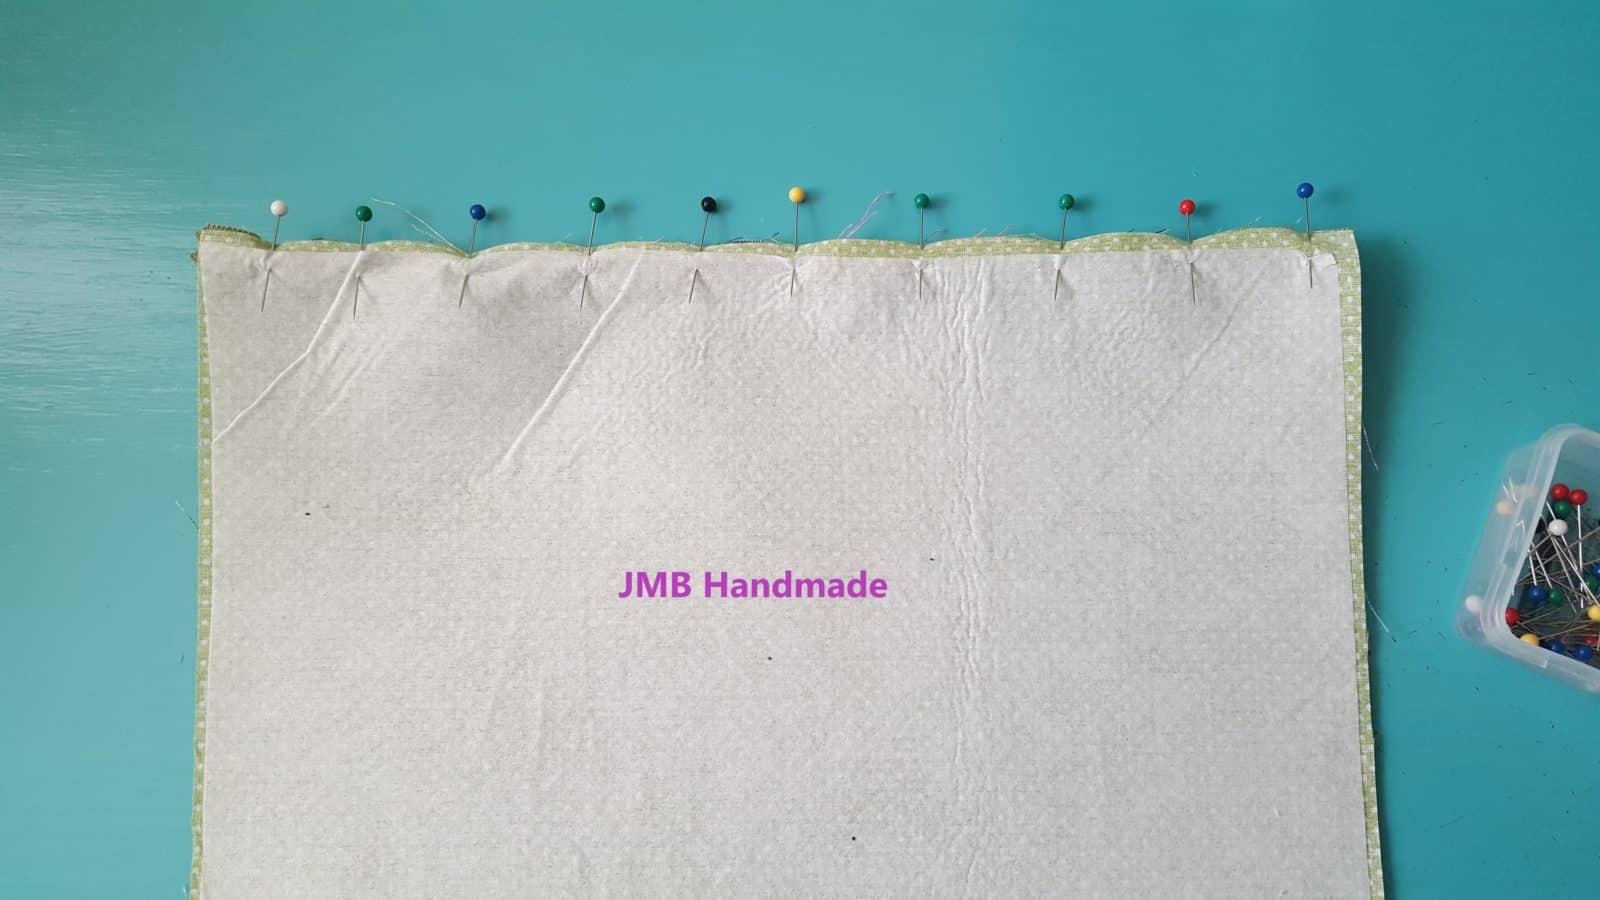
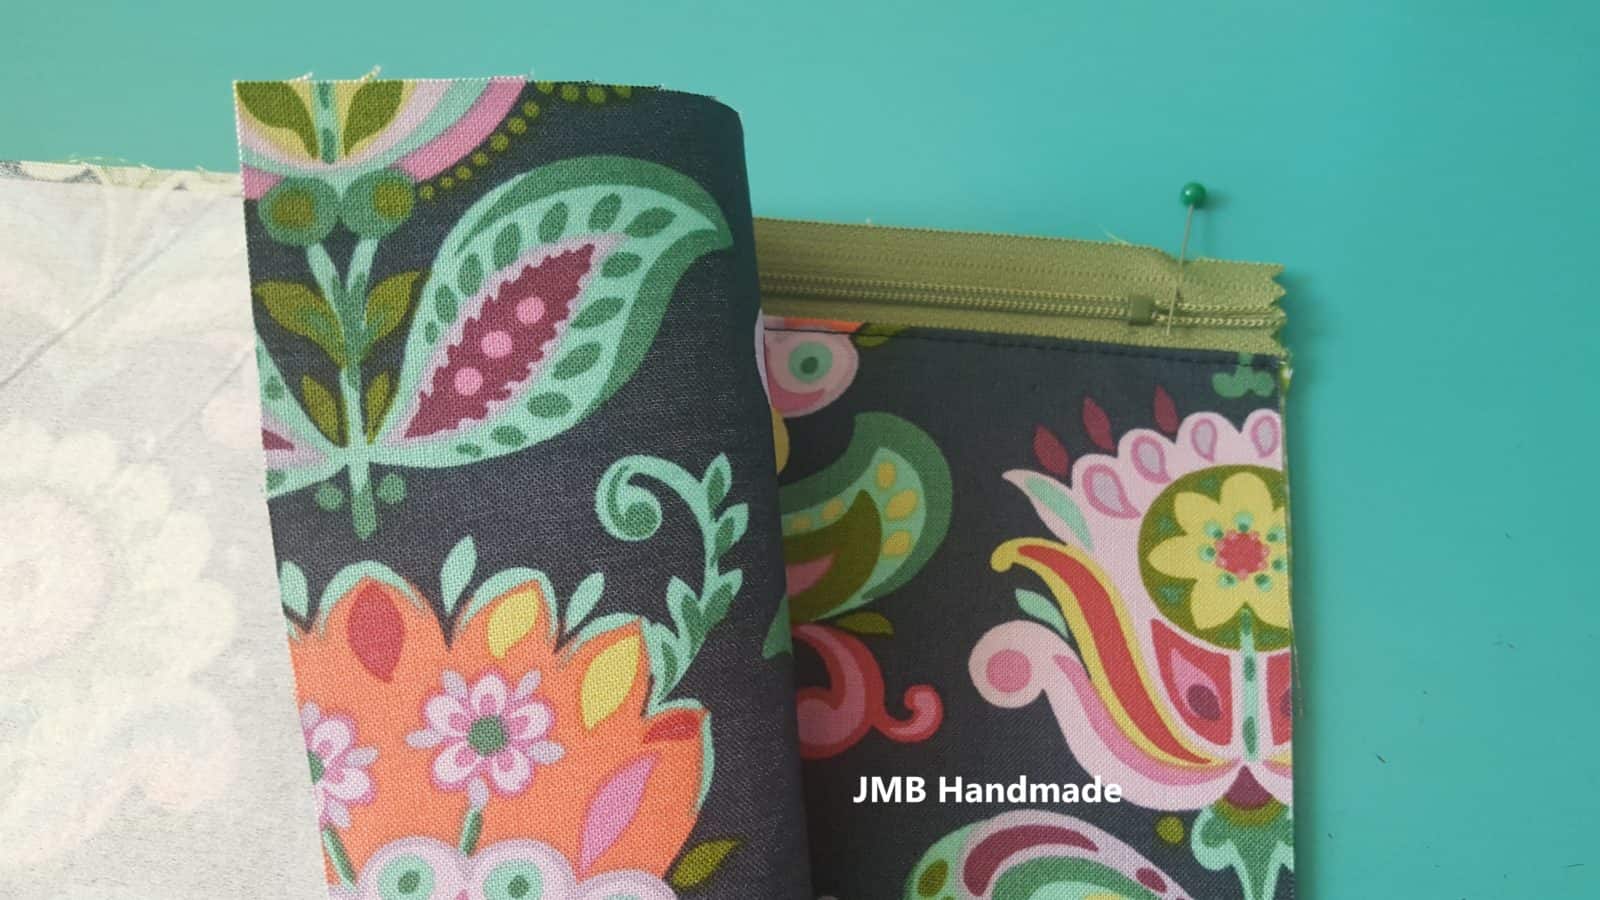
Fold the pouch so the outer pieces are right sides together and the lining pieces are right sides together as shown above.
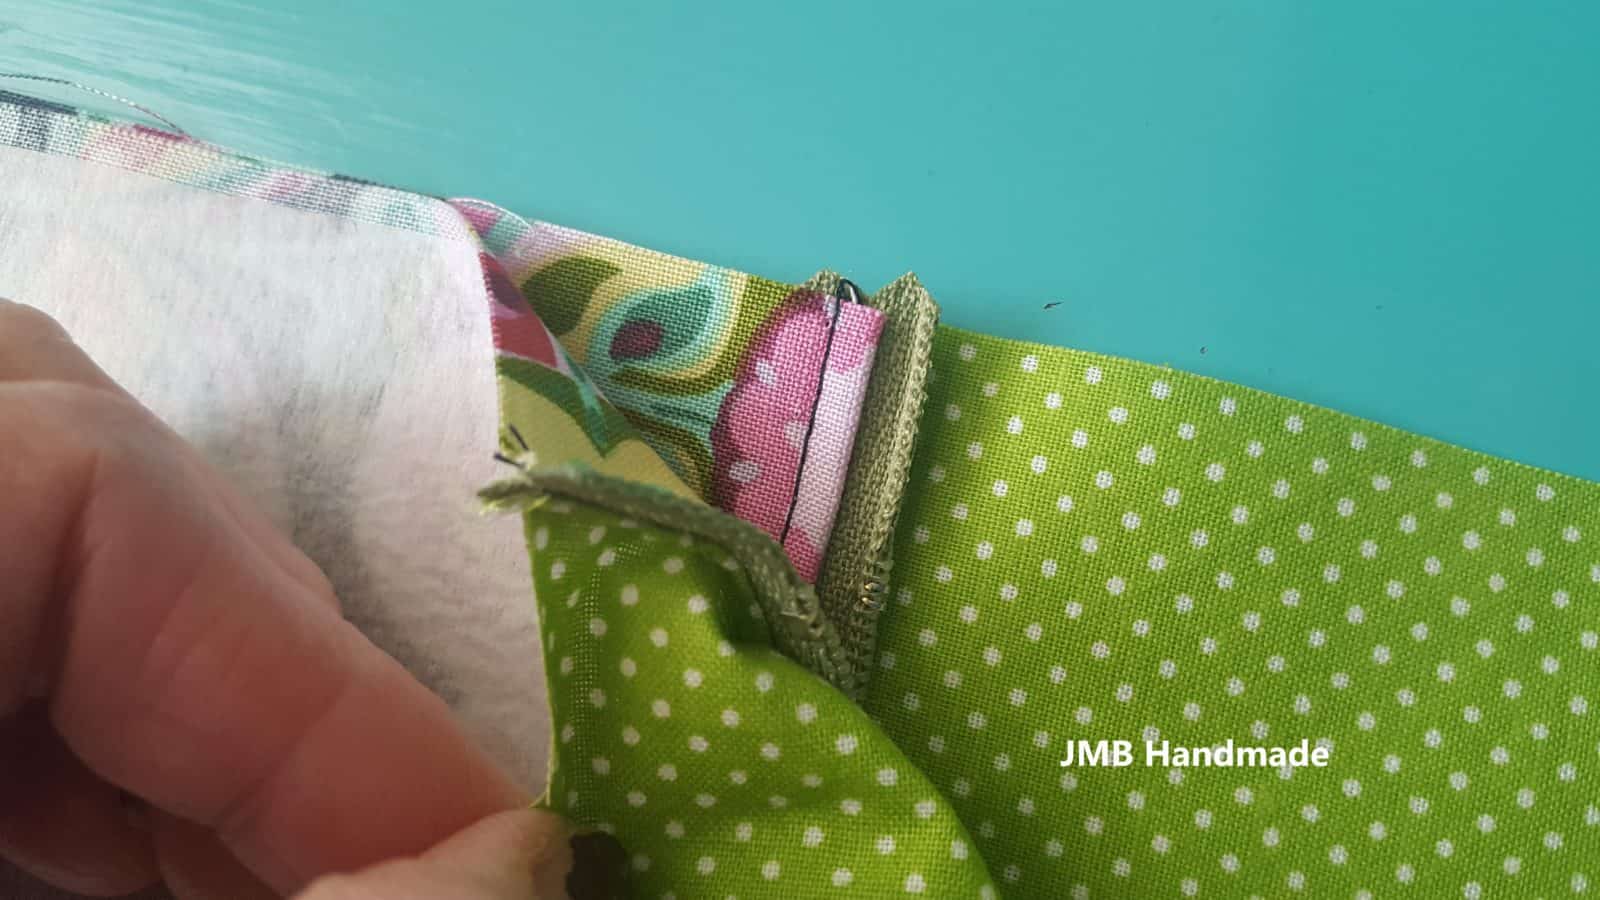
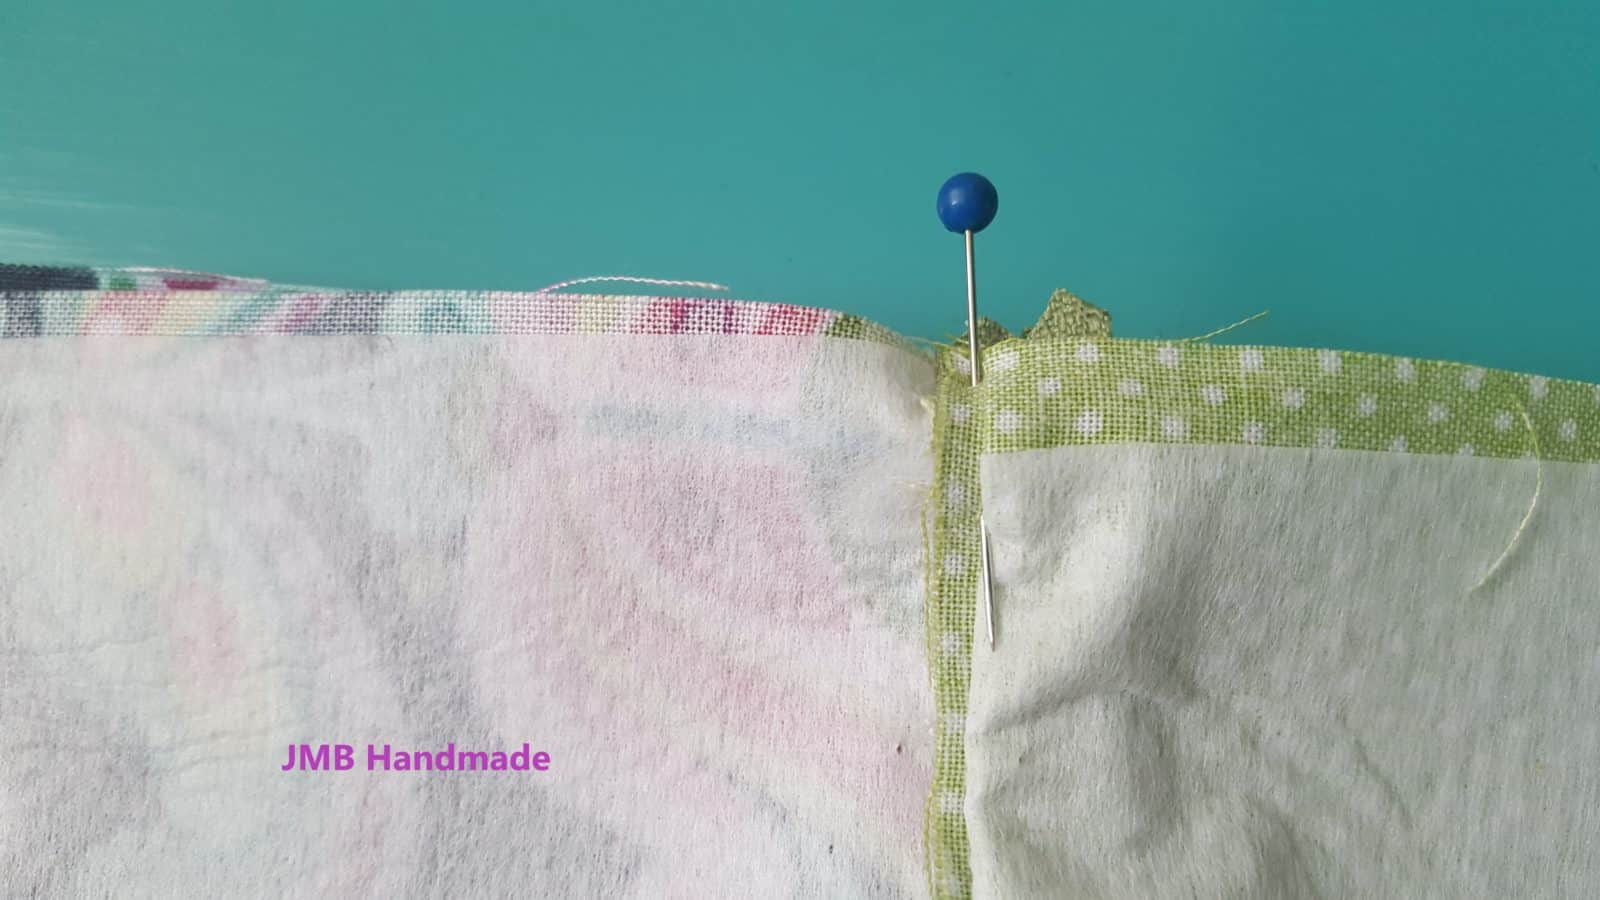
Fold the zipper so the teeth are facing toward the lining and pin.
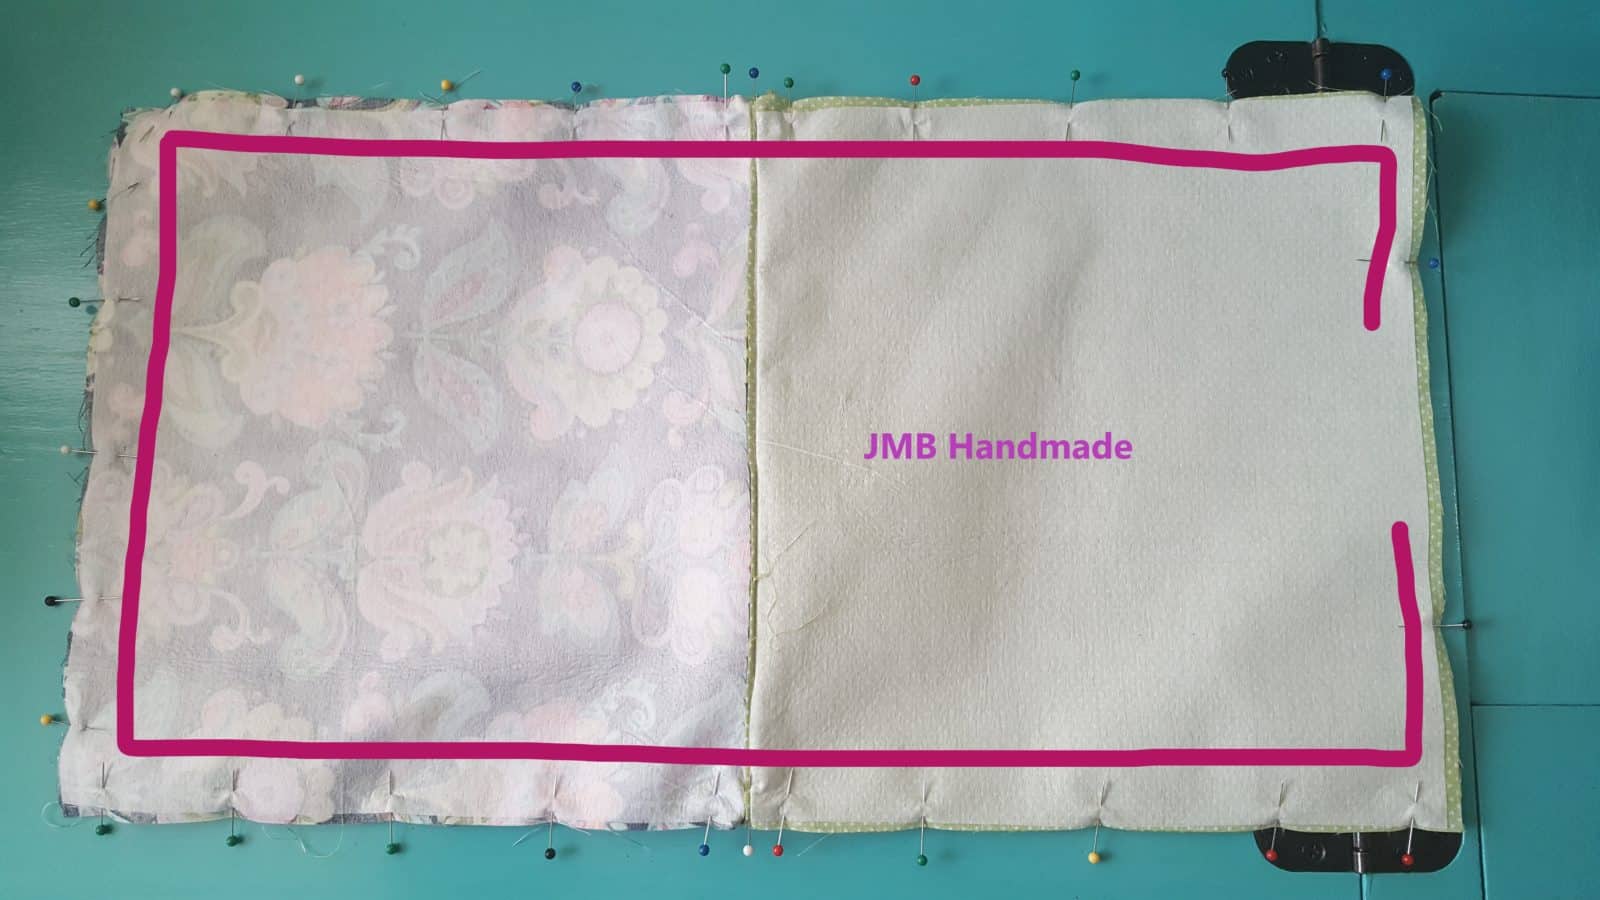
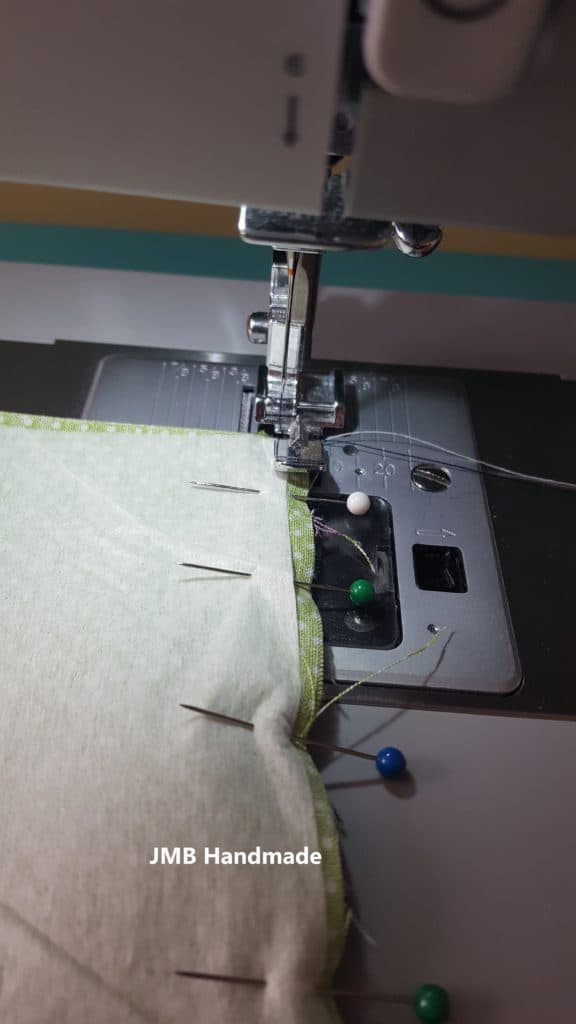
Sew all around the zipper pouch using a 1/2 inch seam allowance leaving an opening at the bottom of the lining fabrics for turning. Then do the zigzag stitch all around to keep the fabric from fraying.
Square the bottom
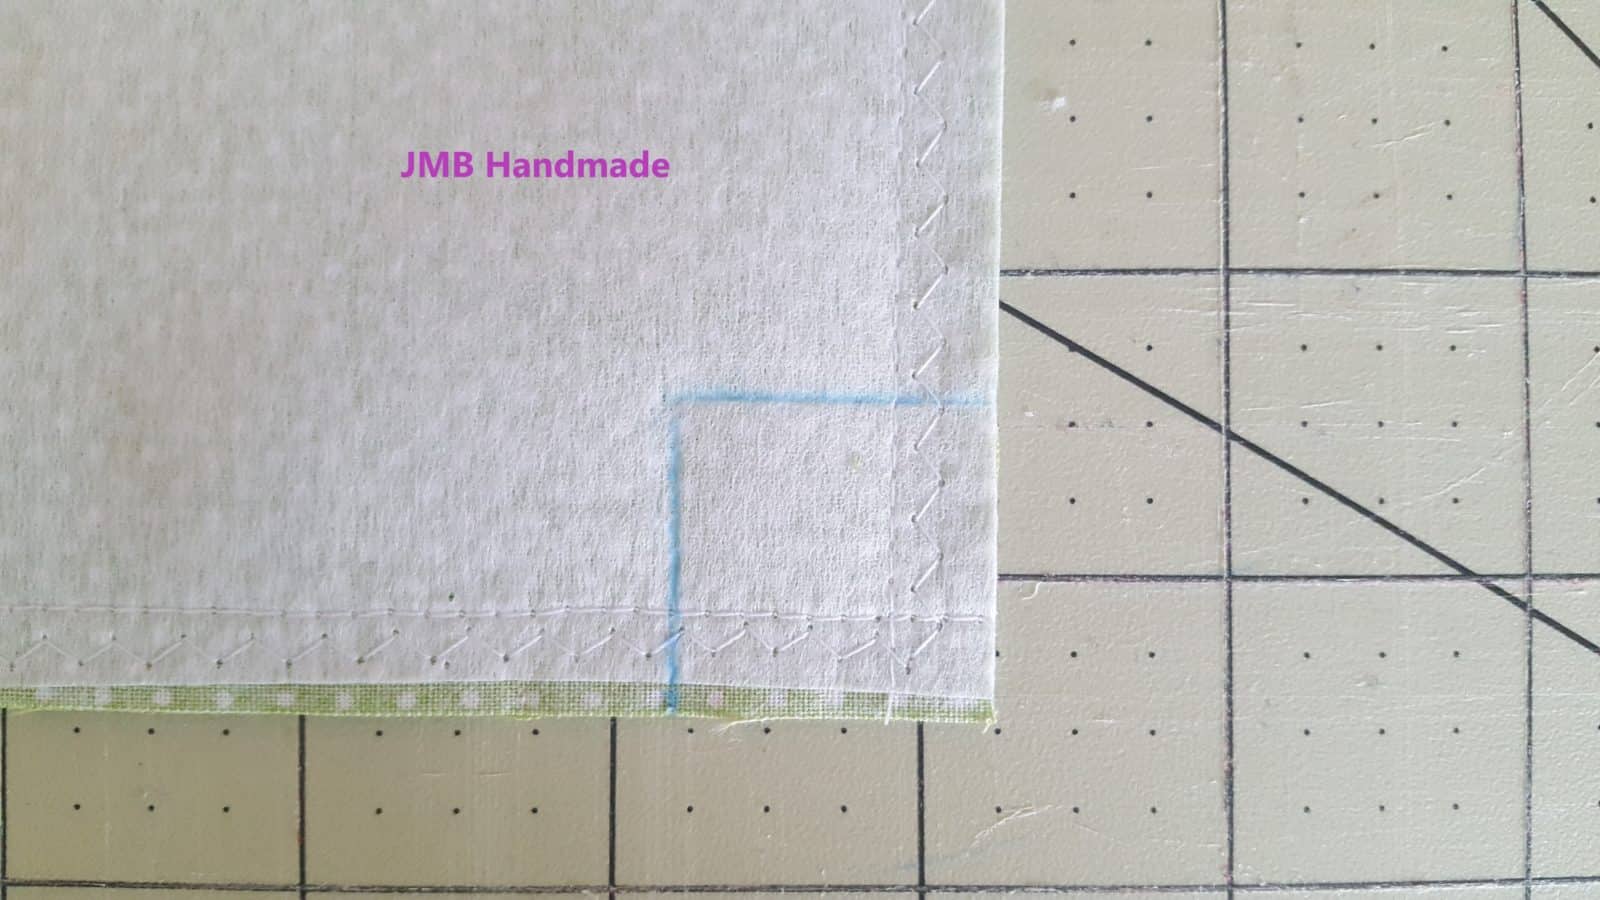
This is what is called squaring the bottom – making the bottom flat. This one is 2 inches square so you need to cut one inch squares out of each corner. If you were to make a 4 inch square bottom, you would cut 2 inch squares. Measure the squares with your clear ruler and draw the lines with a fabric pencil.
Cut out the squares as shown above.
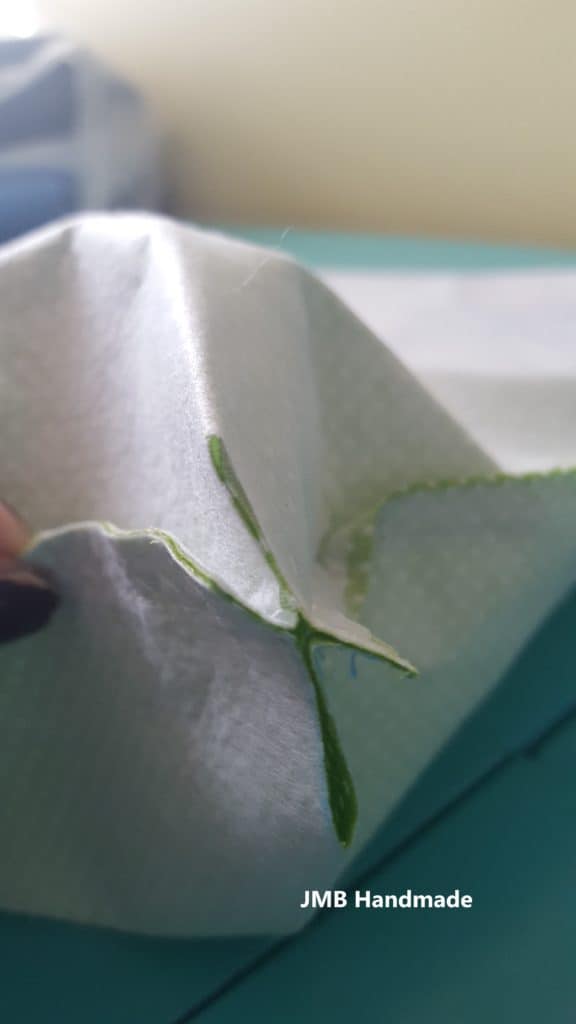
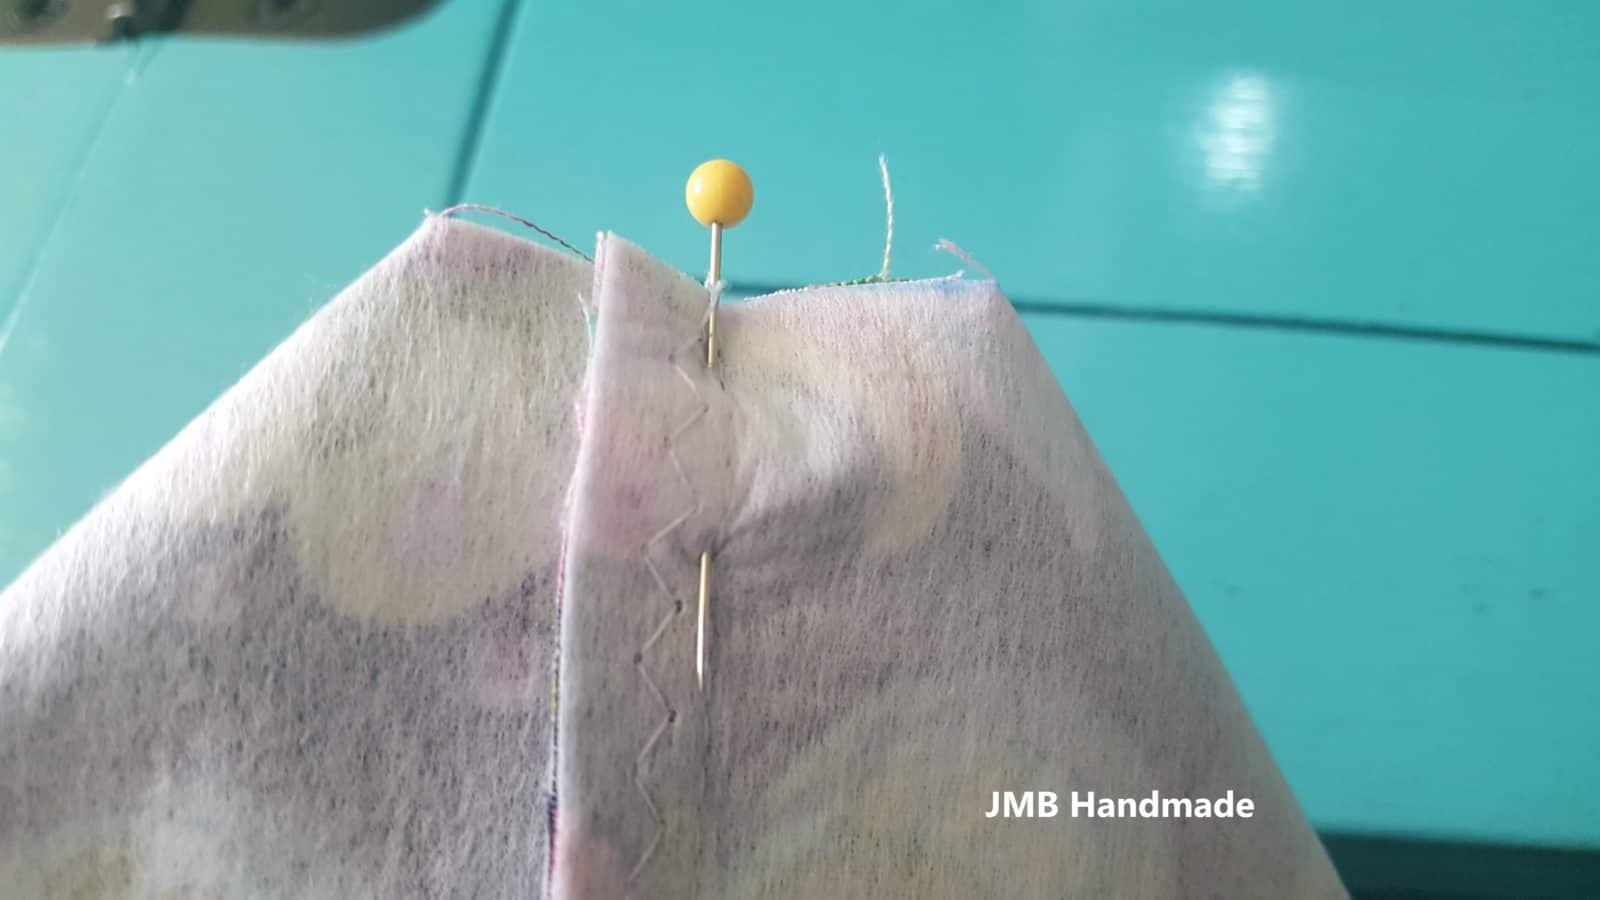
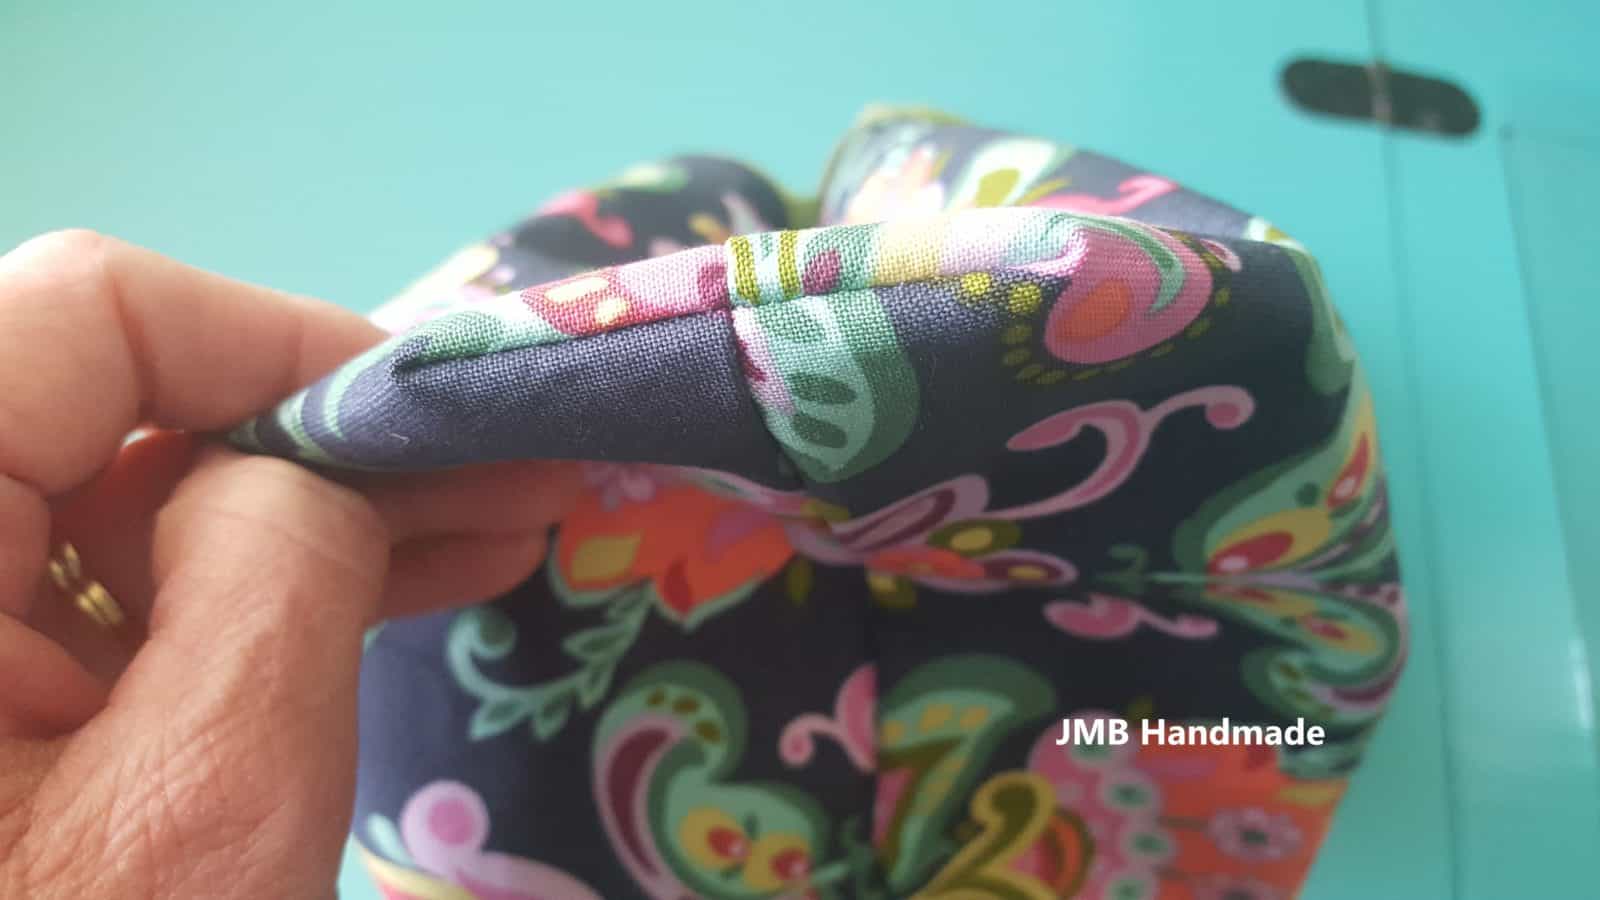
Line up the seams as shown above and pin.
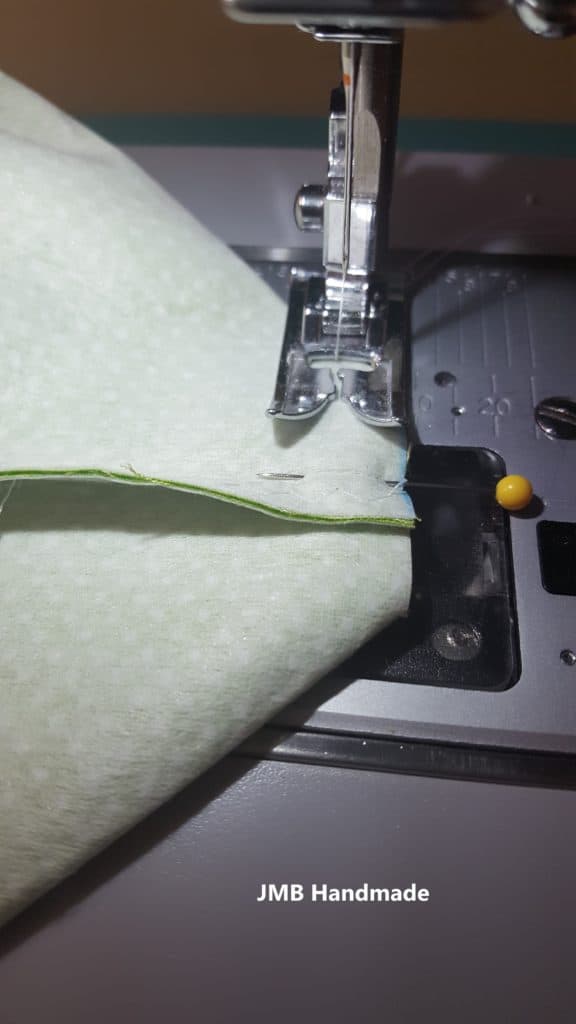
Sew using a 1/2 inch seam allowance. Then sew using the zigzag stitch.

After sewn, it should measure 2 inches.
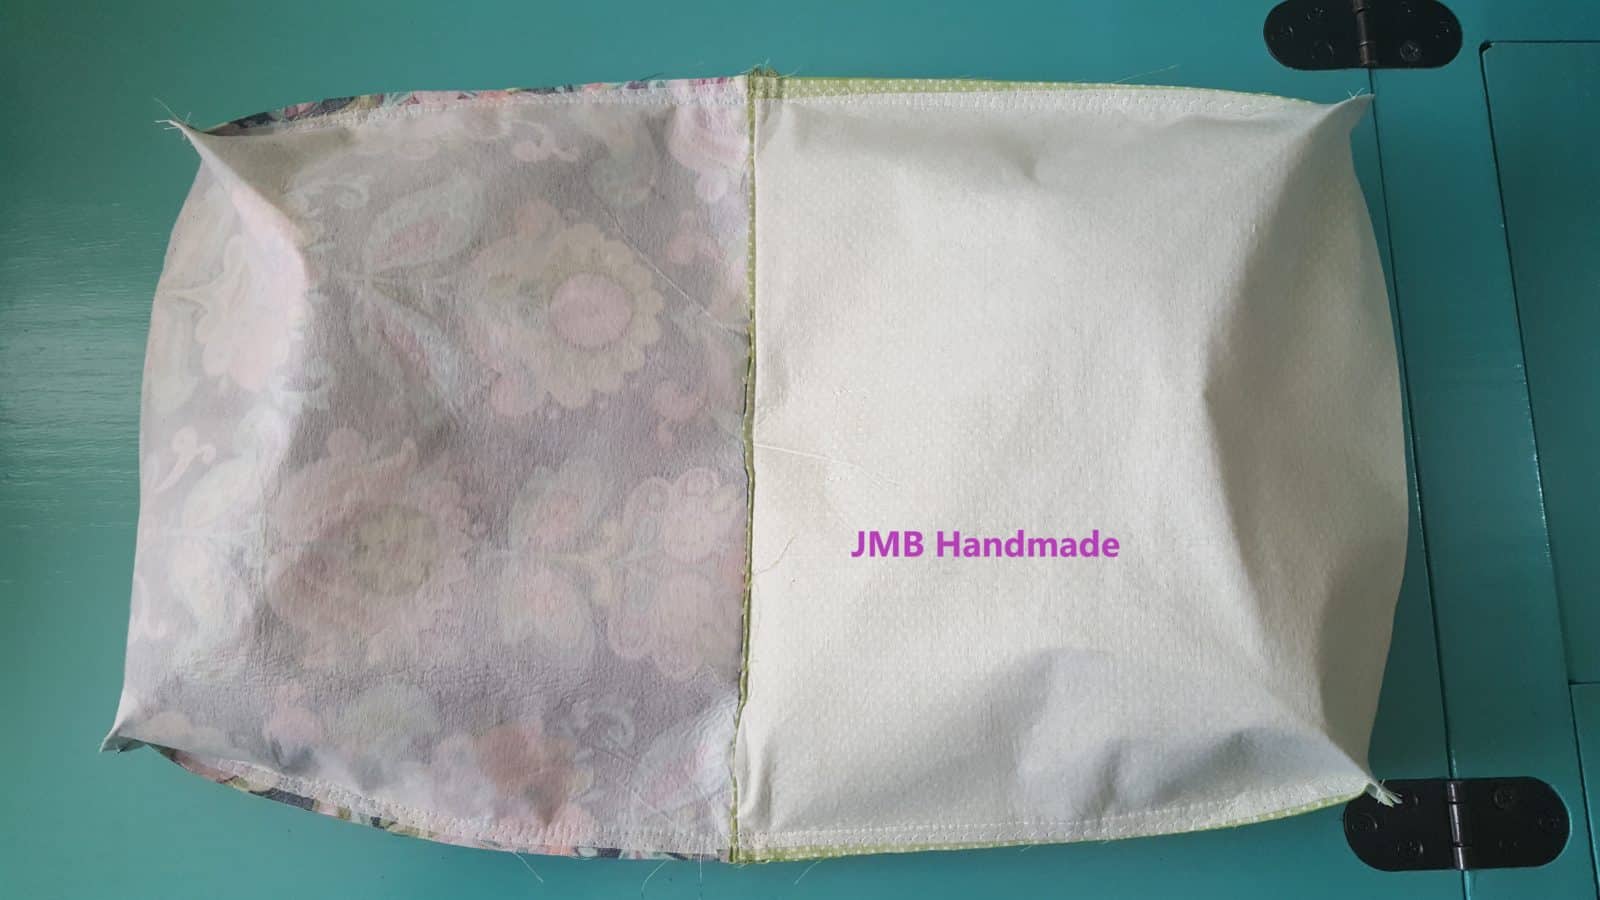
This is what it looks like after all four squares are sewn.
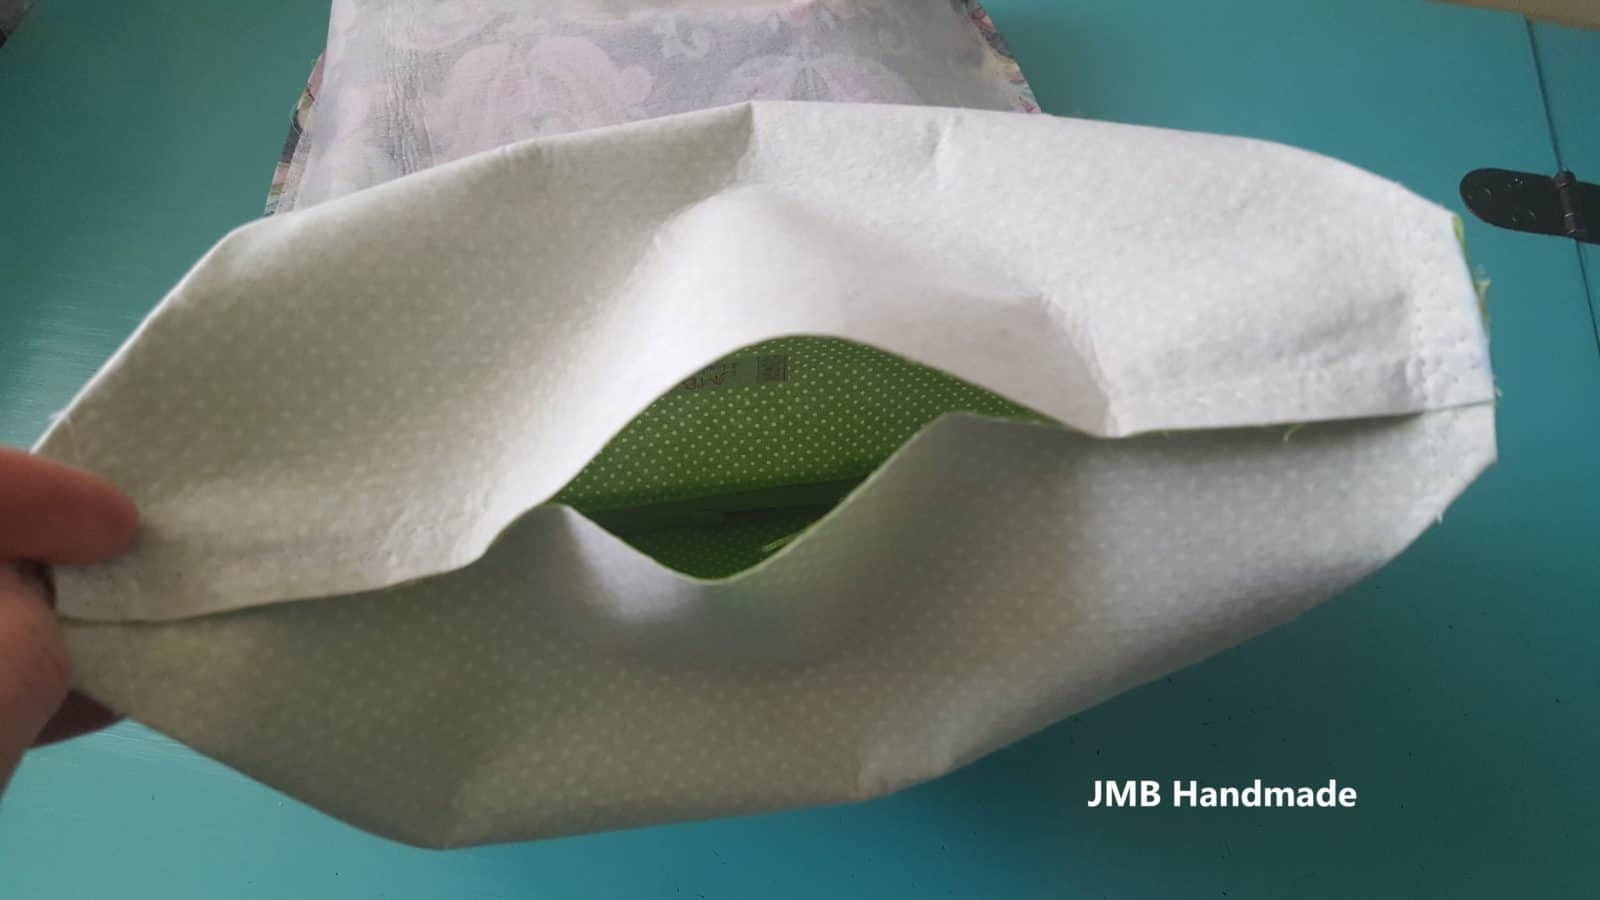
Turn the pouch right side out.
This is what the finished square bottom looks like.
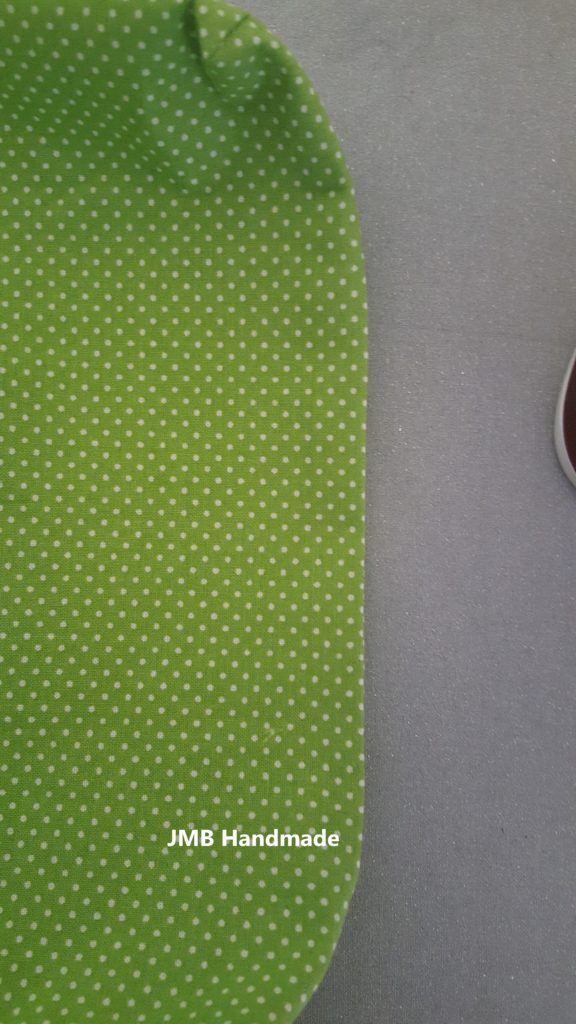
Press the pouch and the opening as shown above.

Sew the bottom closed using the straight stitch. Tuck the lining inside the pouch.


***You can find the ad-free, printable PDF version of this sewing tutorial available for purchase HERE. Includes 16-pages of step-by-step instructions with pictures. Print a copy to keep next to your sewing machine for easy reference.***
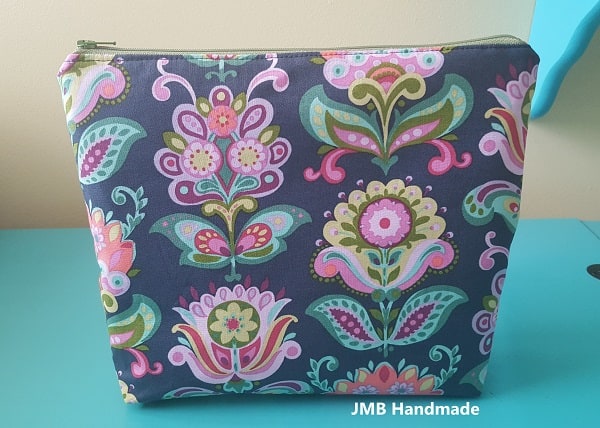
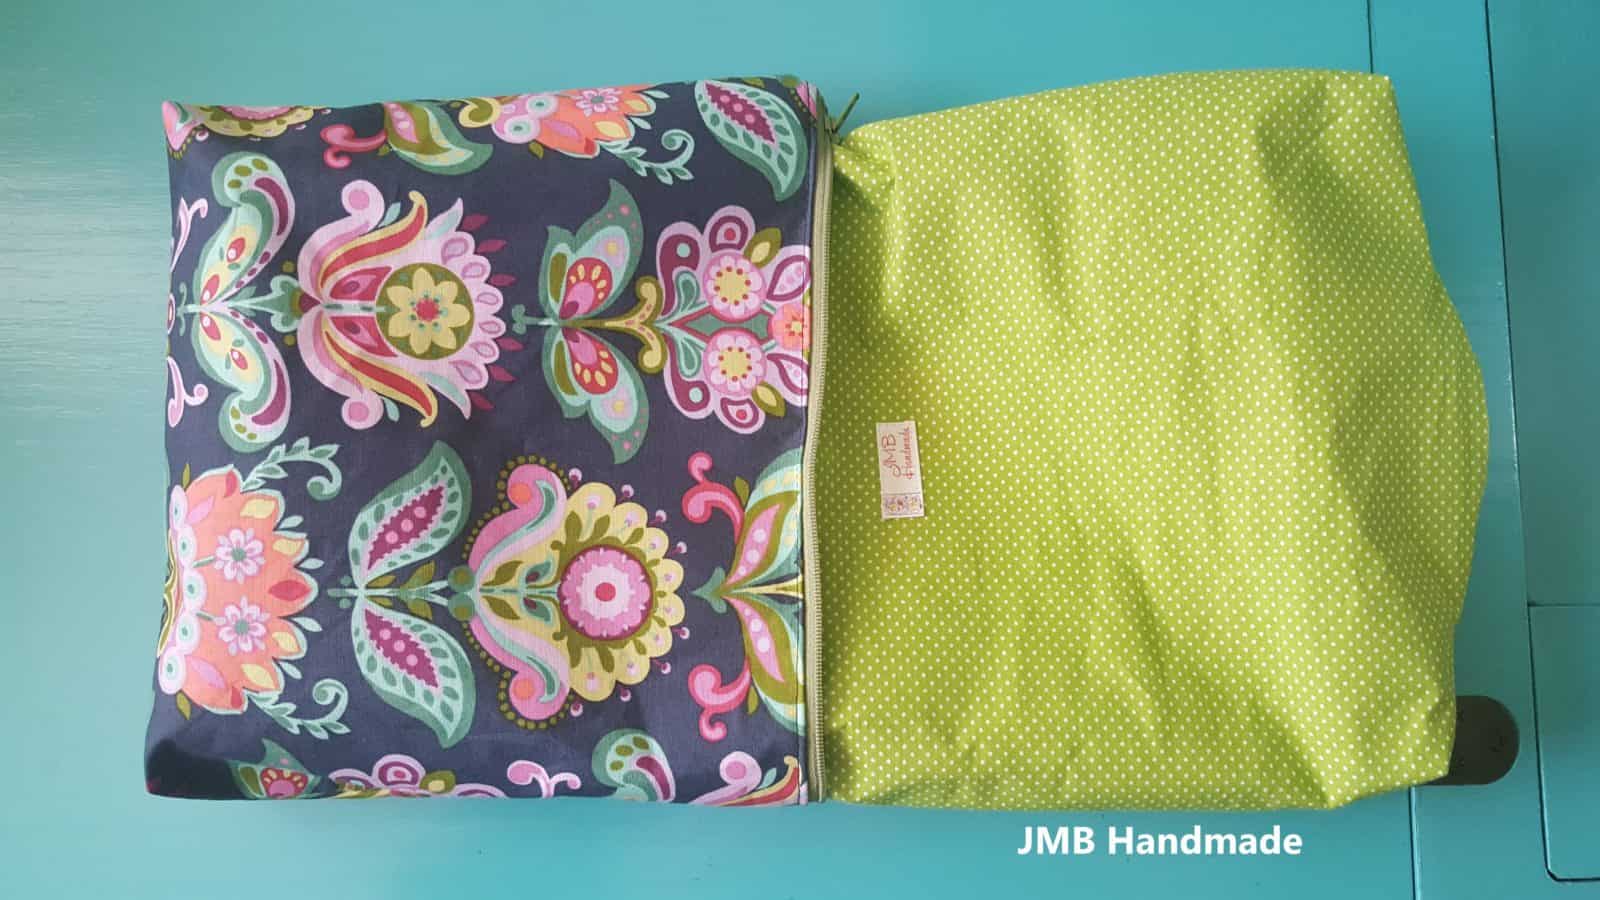
You are finished!
Hope you liked this sewing tutorial on how to sew a lined zipper pouch. I would love to see your finished project! Feel free to comment below. Happy sewing!
Pin for later!