How to Sew an Easy Fabric Checkbook Cover
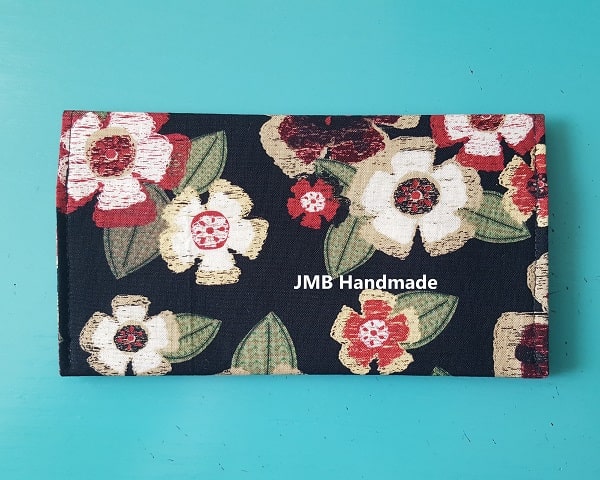
Fabric checkbook covers are super easy to sew with these step-by-step instructions.
A fabric checkbook cover is one of my favorite sewing projects to make. I spend most of my time making memory t-shirt quilts for clients and I just finished one yesterday! (If you are looking for a tutorial on how to make a t-shirt quilt, hop on over to my post How to Make a Memory T-Shirt Quilt.)
I needed a little break from sewing big projects so I thought I would sew a fabric checkbook cover and share with you how I did it. These fabric checkbook covers are so much nicer and more durable than the plastic ones you get with your bank checks! Am I right?!?
Create a matching gift card / credit card holder using up some of those fabric scraps. Perfect sewing project for beginners!
This post contains affiliate links. Please see disclosure for more information.
***You can find the ad-free, printable PDF version of this sewing tutorial available for purchase HERE. Includes 8-pages of step-by-step instructions with pictures. Print a copy to keep next to your sewing machine for easy reference.***
Checkbook supplies needed
- Two fabric pieces cut 7 1/2 inches wide by 13 5/8 inches long – my favorite fabric shop
- Fusible Interfacing – Pellon 911ff Fusible Interfacing is my go to brand
- Rotary cutter
- Cutting mat
- Clear ruler
- Thread
- Straight pins
- Sewing scissors
- Sewing machine
Cut your fabric
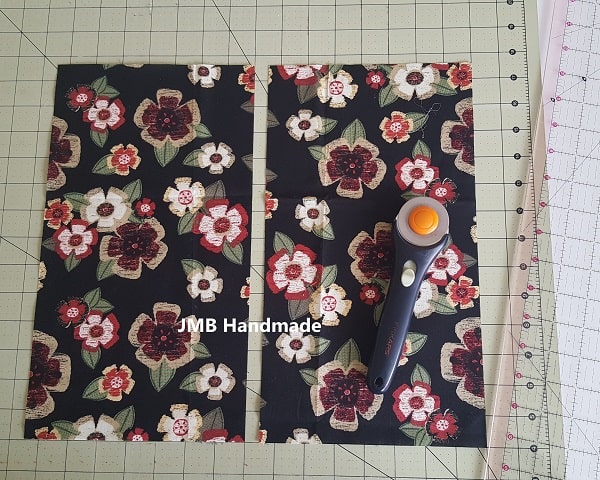
Using your rotary cutter, clear ruler and cutting mat, cut two pieces of fabric – one outer fabric and one lining fabric, both measuring 7 1/2 inches wide by 13 5/8 inches long. For this project, both my outer and lining fabrics are the same. I usually try to coordinate fabrics but in this case I was just being lazy.
Attach the fusible interfacing
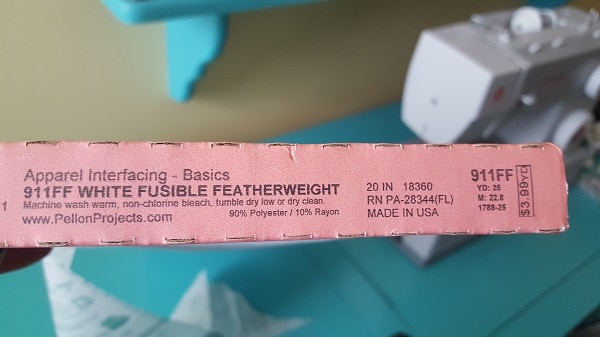
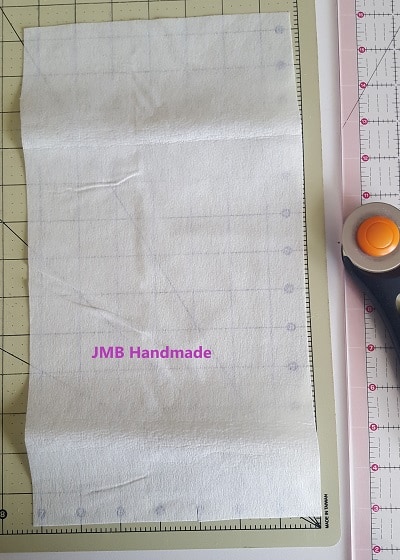
You’ll want to use some fusible interfacing on the outer fabric piece for extra durability. I use Pellon for all my sewing projects. The Pellon 911FF is just a bit thicker than the Pellon P44F that I use for my t-shirt quilts. It’s great for handbags, etc for a little more stability. Cut the interfacing just smaller than your fabric piece. (Mine is a little curled because I am at the end of my bolt.)
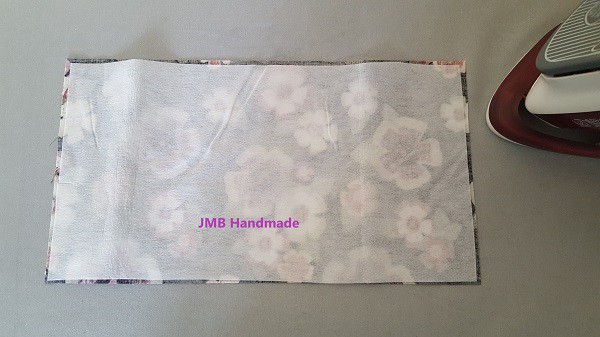
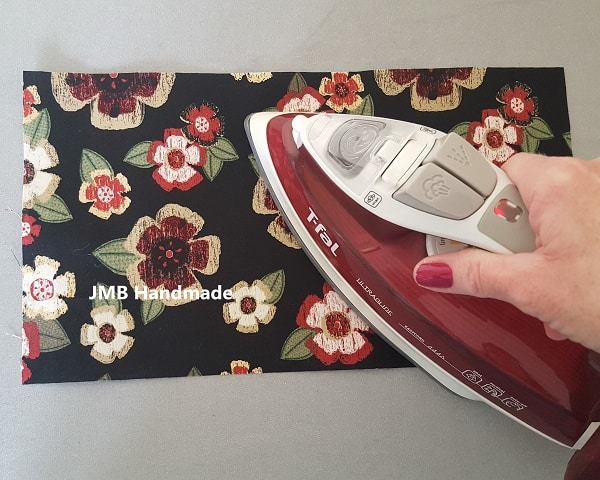
Place your interfacing on the wrong side of your outer fabric. Your iron setting should be on cotton steam. Flip the fabric over and press until the interfacing is attached.

***You can find the ad-free, printable PDF version of this sewing tutorial available for purchase HERE. Includes 8-pages of step-by-step instructions with pictures. Print a copy to keep next to your sewing machine for easy reference.***
Time to sew
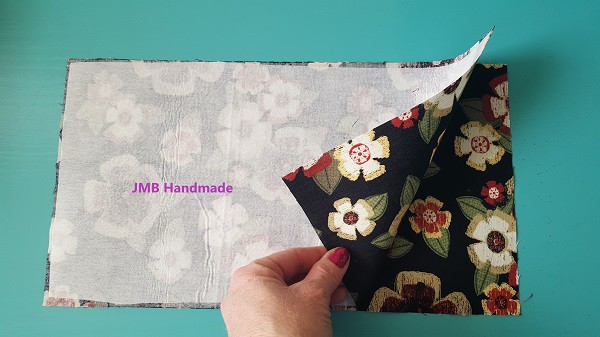
Place the outer fabric piece on top of the lining piece, right sides together.
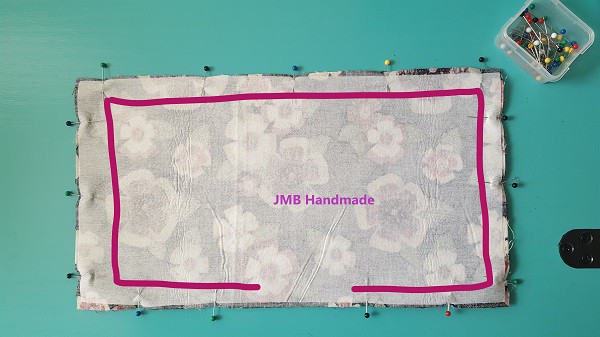
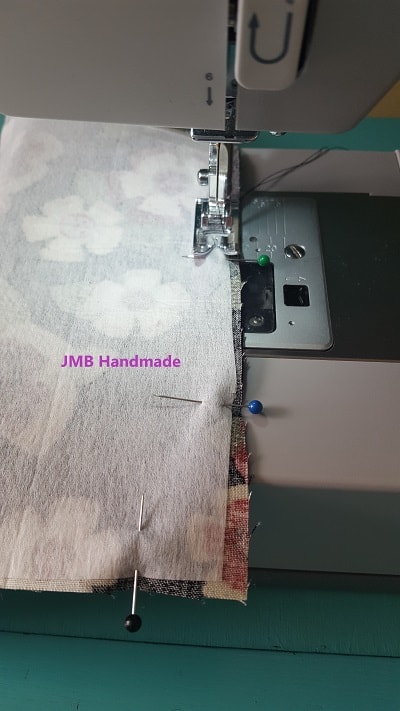
Pin and sew around the perimeter, leaving a small opening at the bottom for turning. I line up the edge of the fabric with my straight stitch presser foot and that is my seam allowance.
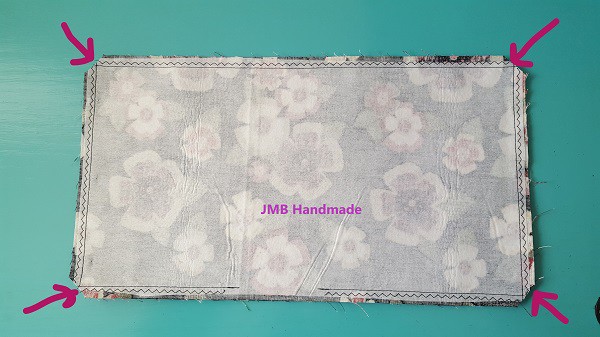
Cut your corners with your sewing scissors.
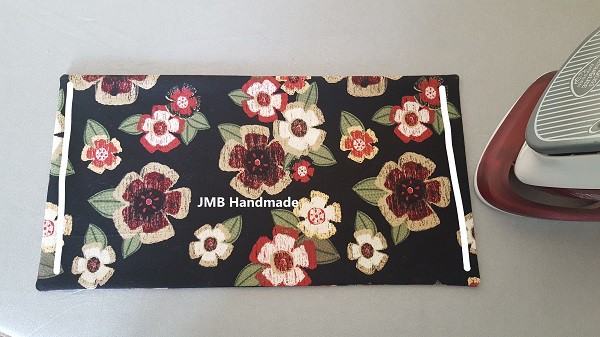
Turn right side out and push out the corners. I use an old knitting needle, but be careful not to push through your stitches! (Even if you do, it can be fixed). Press all around.
Straight stitch the small edges to give it a finished look – see white lines in above picture.
Time to fold
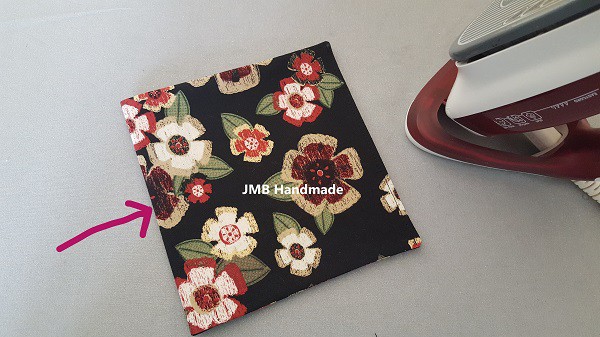
Fold in half – short sides touching. Your lining fabric should be on the inside of the fold.
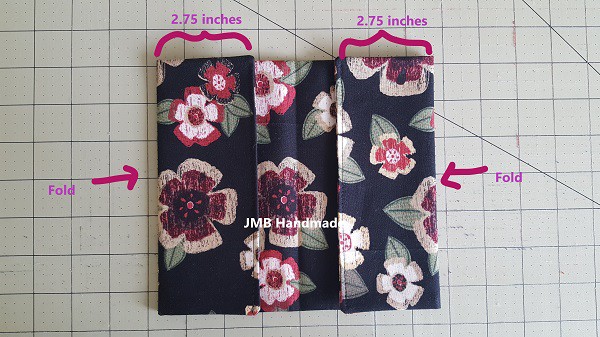
Fold in the two ends so the flap measures 2 3/4 inches.
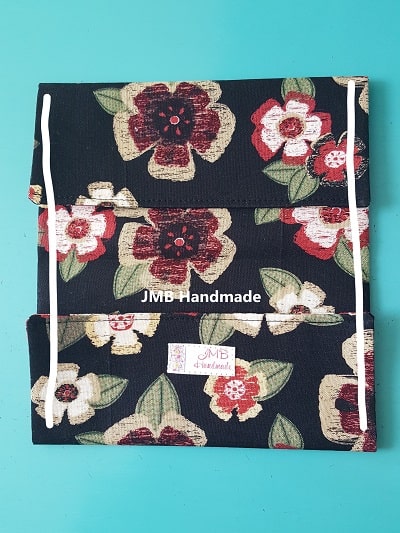
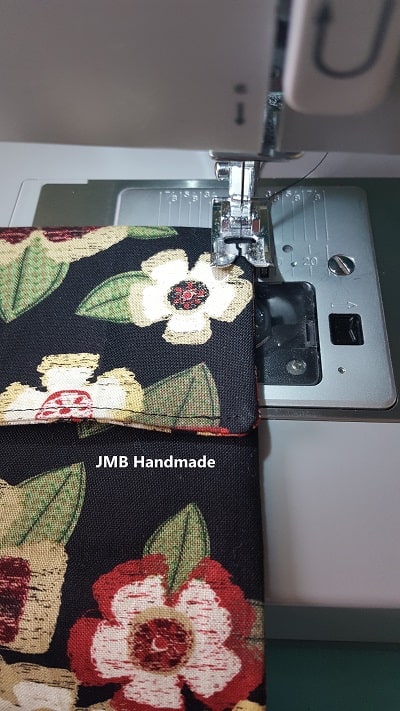
Sew along the edges to secure the flaps and to close up the opening. Be sure to line up the edges. I use a 1/4 inch seam allowance.

***You can find the ad-free, printable PDF version of this sewing tutorial available for purchase HERE. Includes 8-pages of step-by-step instructions with pictures. Print a copy to keep next to your sewing machine for easy reference.***
You are finished!

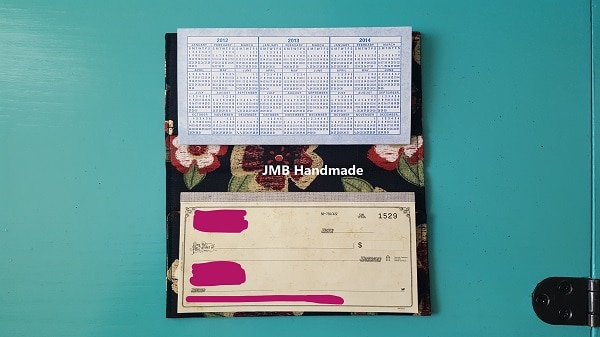
Now you have a fun new fabric checkbook cover. Go ahead and throw away your plastic one! Make a few more and give away as gifts!
Pin for later!
Happy sewing!! Please feel free to share your finished checkbook holder with me or comment with questions! Thanks for stopping by! Check out my shop for other finished checkbook covers.
Related Fabric Covers and Accessories Tutorials
- Easy to Sew Fabric Business Card / Gift Card Holder
- Easy Small Zipper Pouch Coin Purse Tutorial
- Fabric Key Fob Sewing Tutorial
