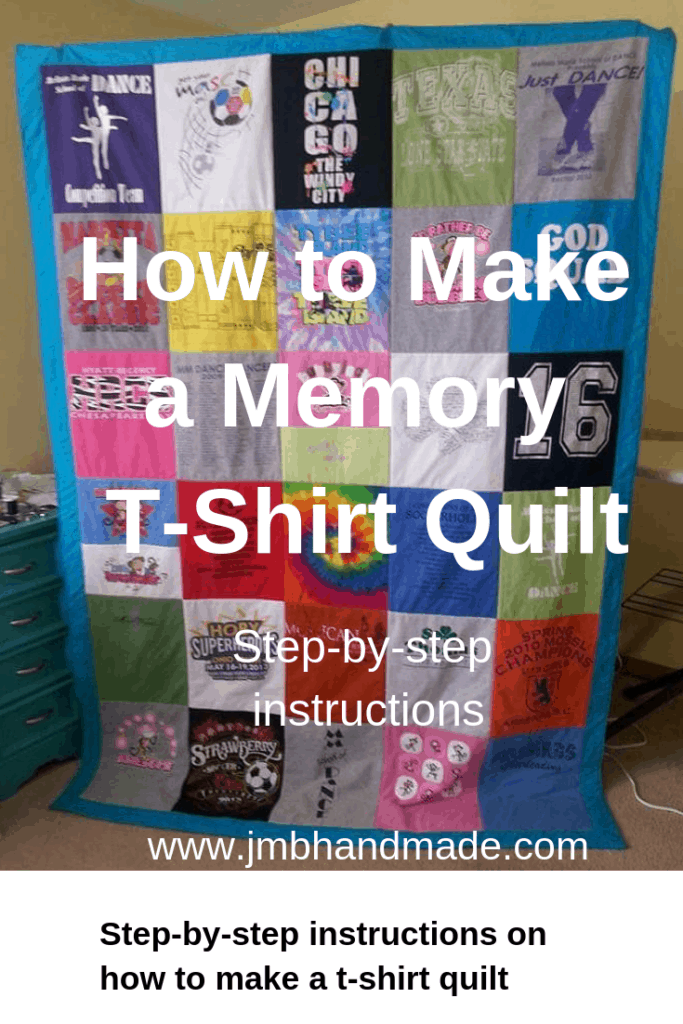
How to Make a Memory T-Shirt Quilt
Memory t-shirt quilts can be easy to make with a little patience.
The memory t-shirt quilt pictured above is the first one I ever made. It all started about 3 years ago when my sister asked if I could make a t-shirt quilt for my niece for her high school graduation. I told her I have no idea how to make one of those but I’ll try. My worst fear was cutting up the shirts and messing up then ruining the whole thing. But I decided not to worry about that and give it a try. I have been making memory quilts ever since and each time it gets a little easier.
If you’re wanting to make one of these quilts, but have no idea how to get started, this is for you! This is probably one of the easier quilts to make because the blocks are all the same size. Below are the step-by-step instructions with pictures on how I do it.
Use some of the leftover shirts to make a t-shirt scarf, a memory pillow or a memory teddy bear pillow!
This post contains affiliate links. Please see disclosure for more information.
***You can find the AD-FREE, printable PDF version of this sewing tutorial available for purchase in my Etsy shop HERE. Includes 13 pages of step-by-step instructions with pictures. Print a copy to keep next to your sewing machine for easy reference.***
T-shirt quilt supplies needed:
- Sewing Machine
- Rotary Cutter
- Clear ruler
- Cutting mat
- Sewing scissors
- Interfacing – P44F Fusible Interfacing by Pellon
- 14 inches x 15 inches template for t-shirt blocks – I use Pellon 830 Easy Pattern
- Batting – (twin size for this size quilt)
- Flat sheet for border and back of quilt
- See all my favorite sewing supplies here
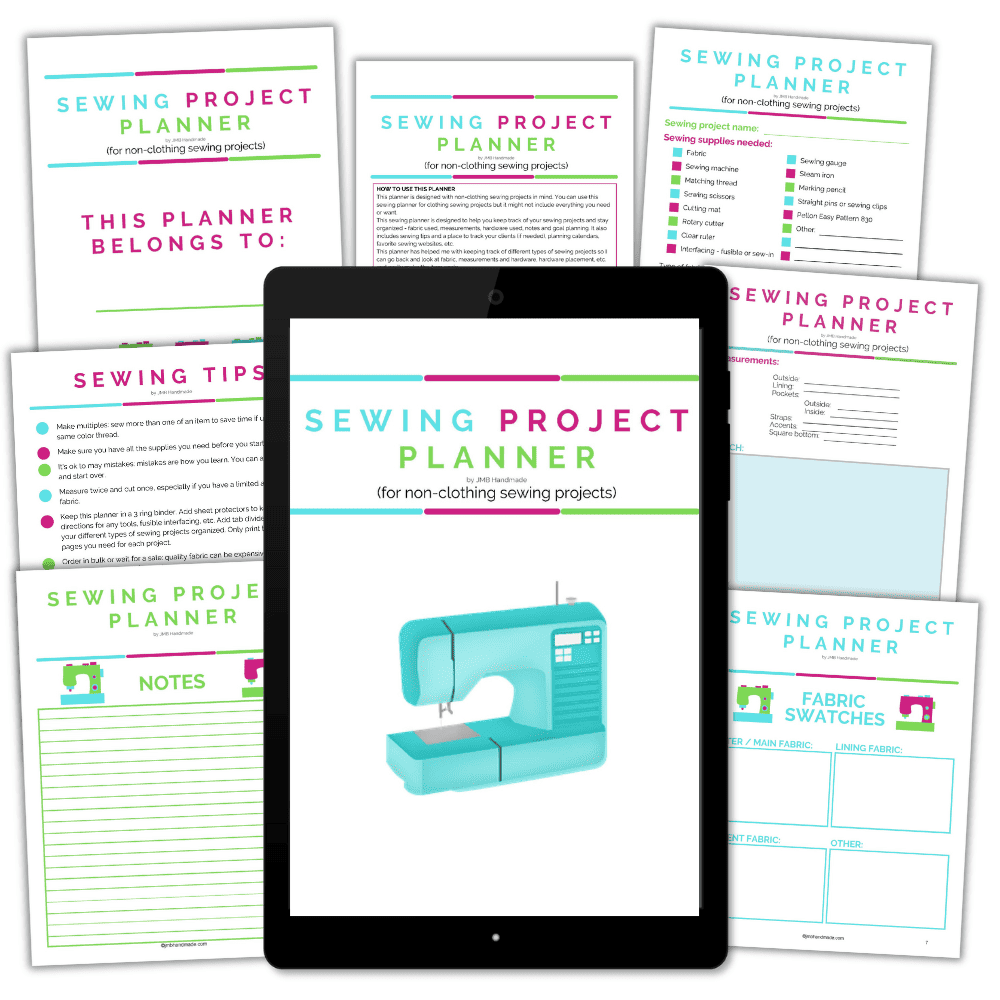
Keep track of your sewing projects, like this one, with a sewing planner. This sewing planner is specifically designed for non-clothing sewing projects and helps you stay organized – fabric used, measurements, hardware used, notes, etc. Also included are pages such as sewing tips and fabric shops. Get your sewing planner HERE.
Gather all your shirts
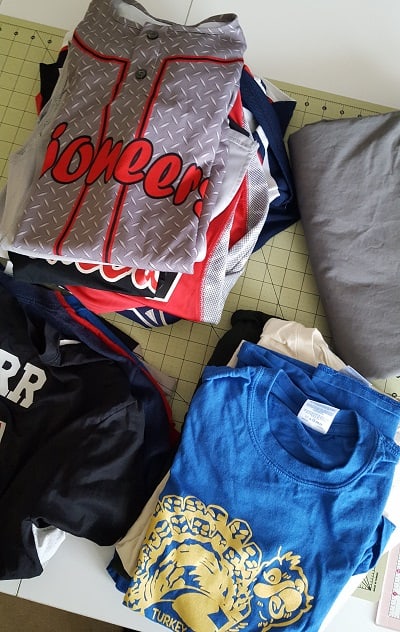
You can make the memory quilt any size you want. For this quilt, I have 20 blocks. Front and back of one shirt could equal two blocks so you don’t necessarily need a total of 20 shirts.
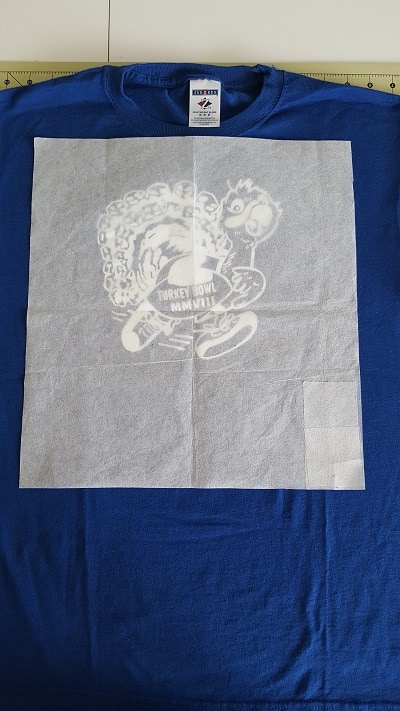
Before you start cutting, go through all the shirts – either front or back or both – and decide how big your blocks will be. I created a template of 14″W x 15″H. I like to make sure all the shirt graphics I want fit within the template – see picture above. You can use whatever material is easiest for you to use as a template. I use Pellon 830 Easy Pattern for my template.
Cut your t-shirts
Once you have your template ready to go, it’s time to cut your shirts using your sewing scissors. Make sure to cut the shirts bigger than your template size. You will be trimming them down to size later. You can either cut all the shirts at once or you can do these next few steps for each shirt.
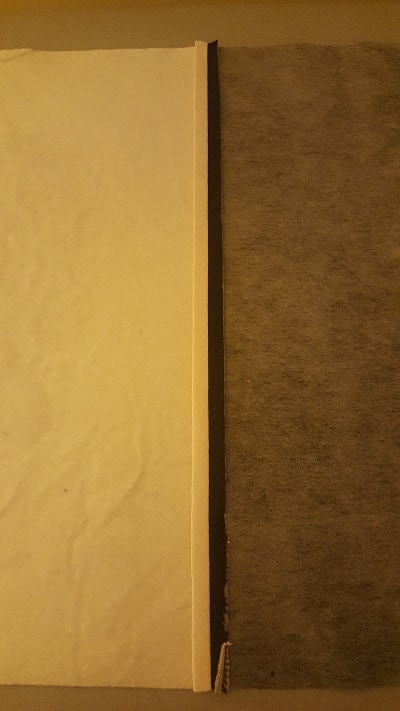
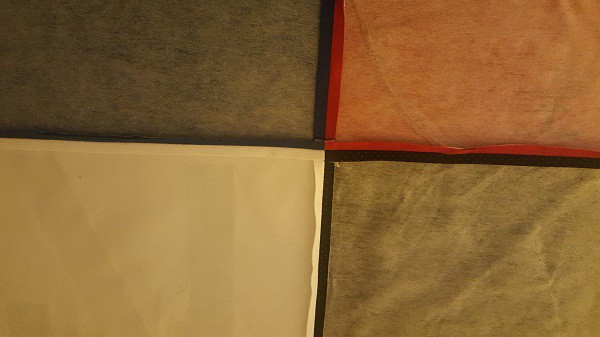
Attach the fusible interfacing
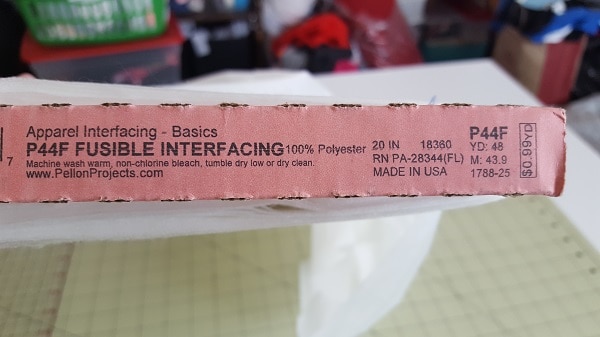
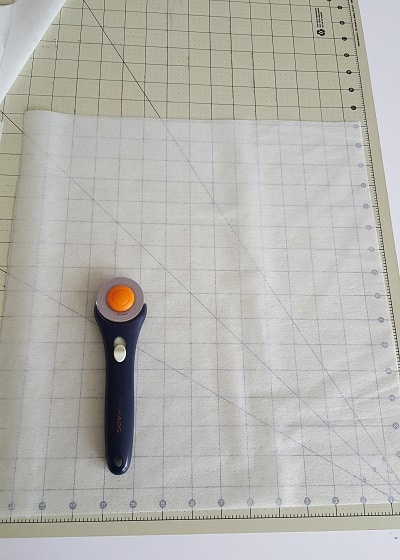
Cut the interfacing larger than your block template. Since my quilt template is 14″W x 15″H, I cut my interfacing approximately 15 inches by 16 inches. I use Pellon P44F Fusible Interfacing for all my t-shirt quilts. The interfacing keeps the shirts from curling and makes them much easier to work with.
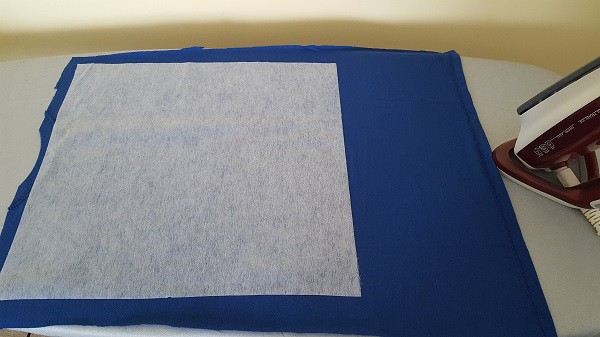
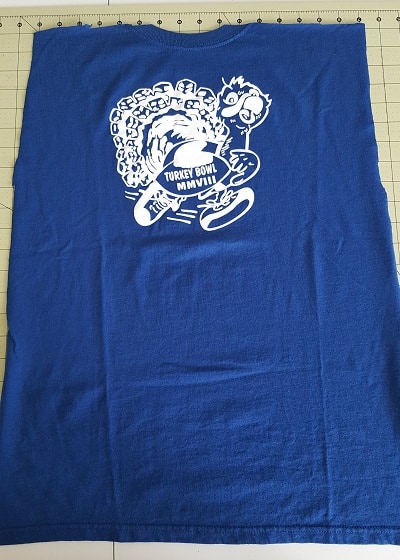
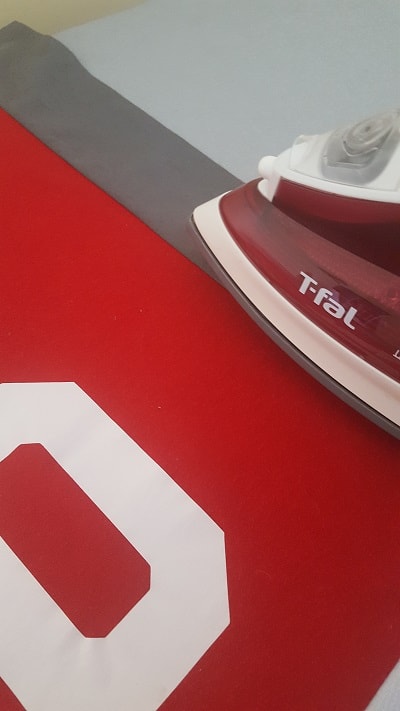
Place the t-shirt face down on your ironing board. Your iron should be on the cotton setting.
Press the fusible interfacing on the back of each shirt as shown above, following the interfacing package instructions.
Use template to cut the t-shirt blocks
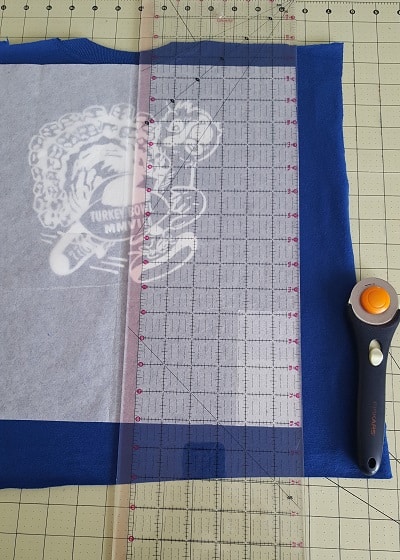
Now it’s time to cut out your blocks using the template you created. I use my cutting mat, clear ruler, and rotary cutter and line it up and cut along the clear ruler.
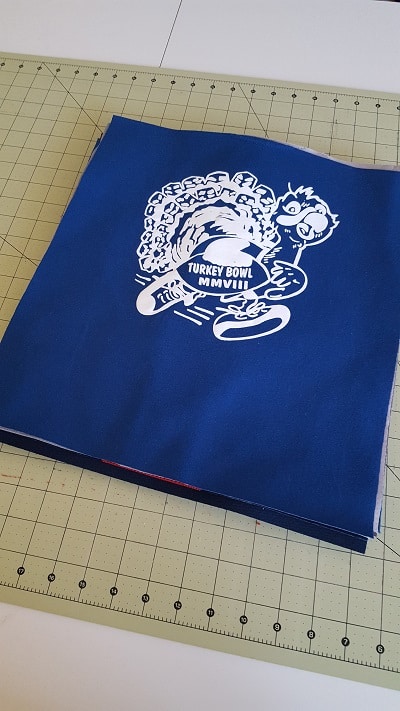
All of your shirt blocks should be the same size as shown in the above picture. There are a total of 20 blocks for this memory t-shirt quilt.
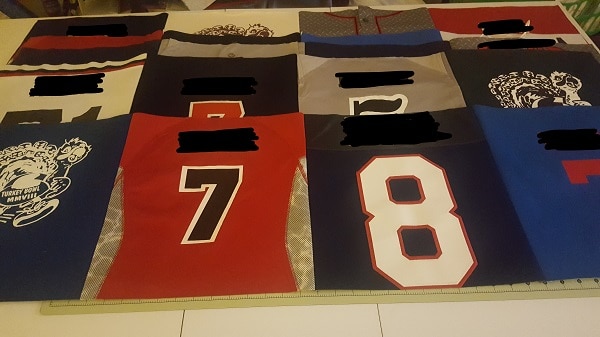
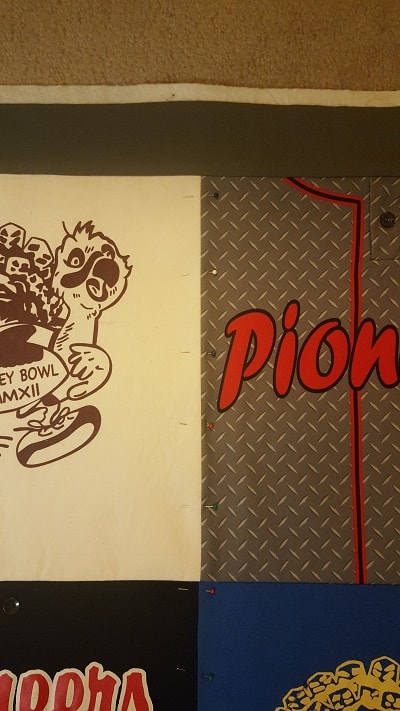
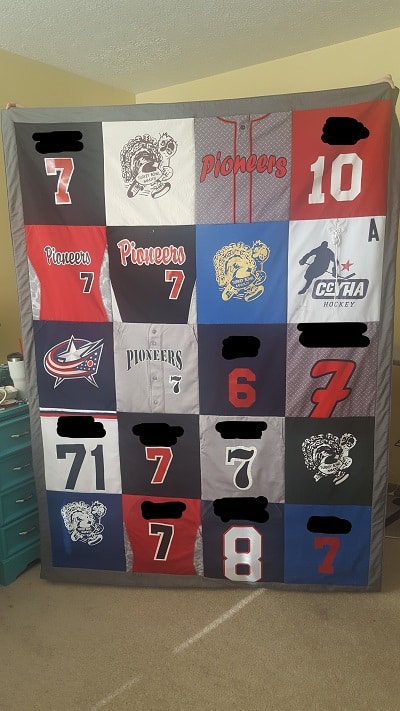
Choose the layout of your t-shirt quilt
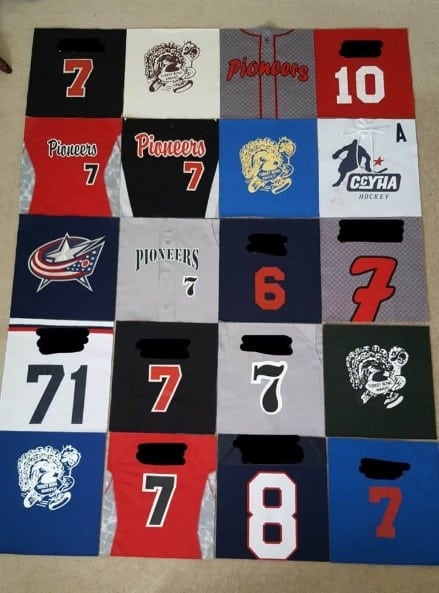
Now that you have all of your blocks cut, it’s time to decide how you want your t-shirt quilt layout to look. The easiest way for me is to lay all the squares on the floor. You might have to move some blocks around before you are satisfied with how it looks. (For privacy reasons, I have blocked out the name on the shirts.) When you are satisfied with the layout, take a picture. You’ll be able to refer back to the picture in case the blocks get out of order. The best way to keep them in order is to start from the top left and pick up the first square and every square after that one goes underneath the one before it.
Sew the t-shirt blocks together

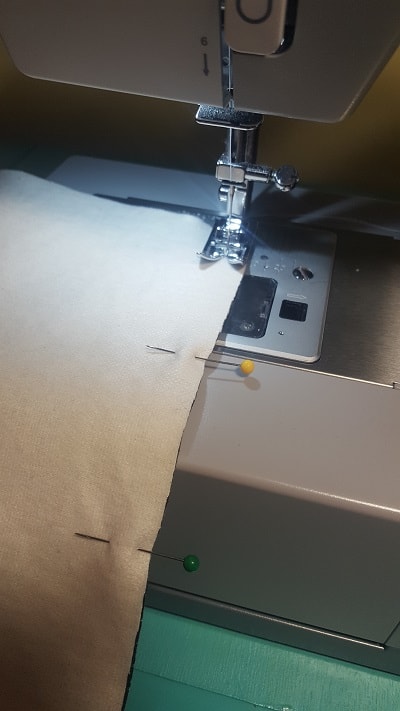
You can use any sewing machine for this project as long as it has the straight stitch. With all the t-shirt quilts and sewing projects I’ve been making, I wanted a really good sewing machine without breaking the bank. I only spent $8 on my very first sewing machine that I bought at a garage sale! I used it for many years and it was awesome. But eventually the straight stitch was no longer straight and I didn’t want to spend $100 to get it serviced because it was an older machine. I decided it was about time I bought a new machine. After reading reviews and doing some research, I decided on the Singer Heavy Duty 4411. It is a workhorse and I have been extremely happy.
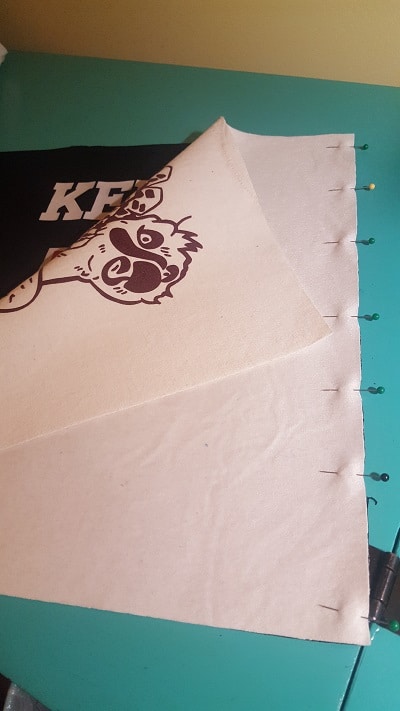
Take your first block – the first block on top of your pile should be the one you had in the top left corner – and place the second block on top of the first block right sides together. See above picture. Sew down the right side lengthwise using a 3/8″ seam allowance. Be sure to reverse stitch at the top and bottom to keep from pulling apart. Do this step until you have 5 rows of 4 blocks each (or depending on the size of your t-shirt quilt).
Press the seams for each row.
***You can find the AD-FREE, printable PDF version of this sewing tutorial available for purchase in my Etsy shop HERE. Includes 13 pages of step-by-step instructions with pictures. Print a copy to keep next to your sewing machine for easy reference.***
Sew the rows together
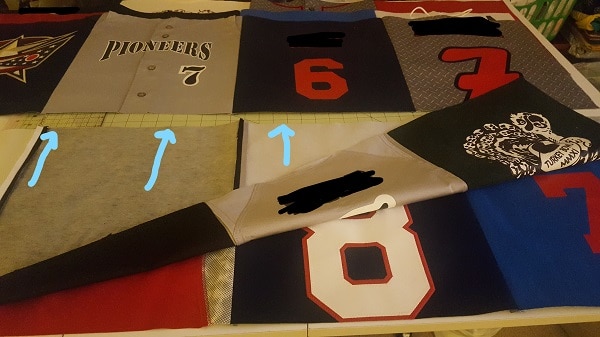
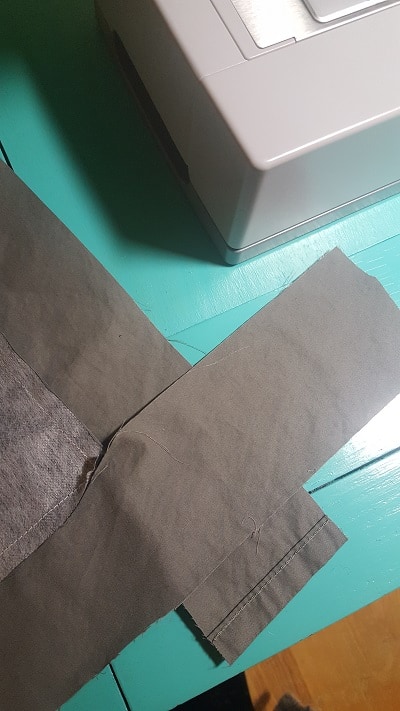
Now you are going to sew your rows together. Start with the bottom row and place the second to the bottom row on top. The blocks on top should be upside down so that after you sew them together, they are facing the same direction. Be sure to line up the seams! Sew along the top (where arrows are pointing) using a 3/8″ inch seam allowance. See above picture.
When sewing over the seams, go back and forth once for extra durability. Sew all your rows together.
Press the seams for each row. They should look like the picture above. I find it easier to press the seams after sewing each row instead of waiting until all the rows are sewn together. Now it’s starting to look like a quilt!
Create your quilt border
Now that you have all the blocks sewn together, it’s time to create your border. I use a flat sheet for most of my quilts for the back and border. Every now and then I’ll have a customer ask for fleece fabric or cotton fabric but for this quilt I used a flat sheet. For this particular memory t-shirt quilt (20 blocks), I used a full-size flat sheet. Use a queen size sheet if your memory quilt is 5 blocks wide by 6 blocks long (30 blocks total).
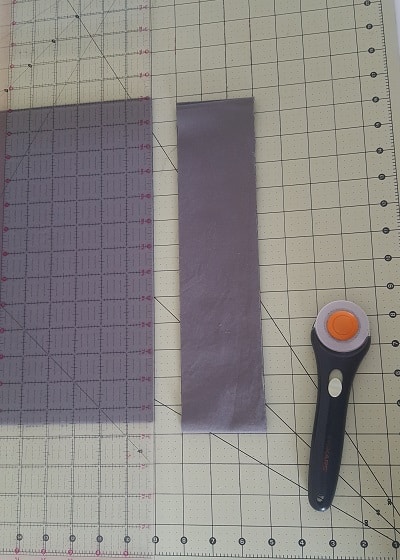
You are going to need four 3 inch wide strips. Use your rotary cutter, clear ruler and cutting mat to cut two strips lengthwise of the sheet and two strips the width of the sheet. This is the best way I have found to cut the strips because it leaves enough leftover of the sheet to still fit the back of the quilt. If you are using a different brand sheet, be sure to double check the size after washing to make sure it will still be big enough.
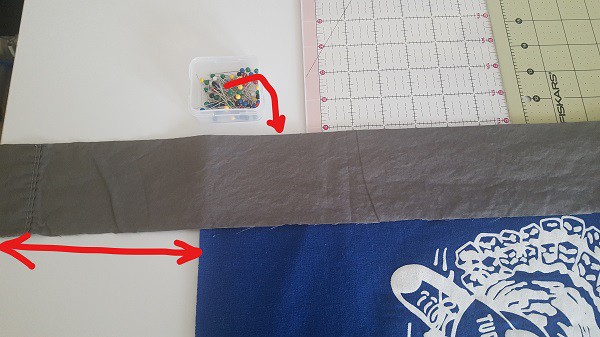
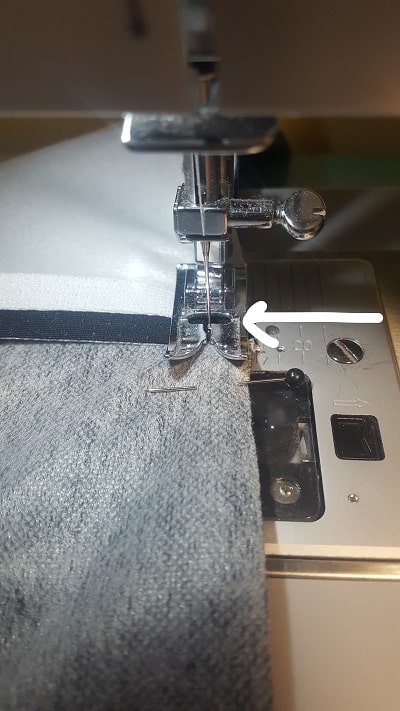
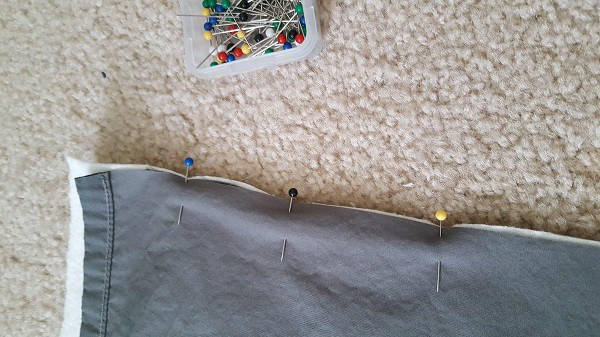
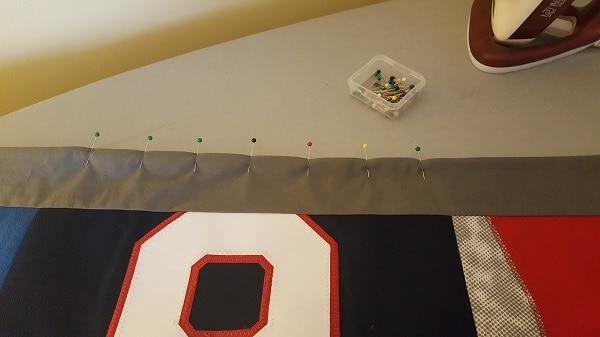
Starting with the long sides of the quilt, pin the border to the edge of the quilt leaving at least 3 inches extra on each end.
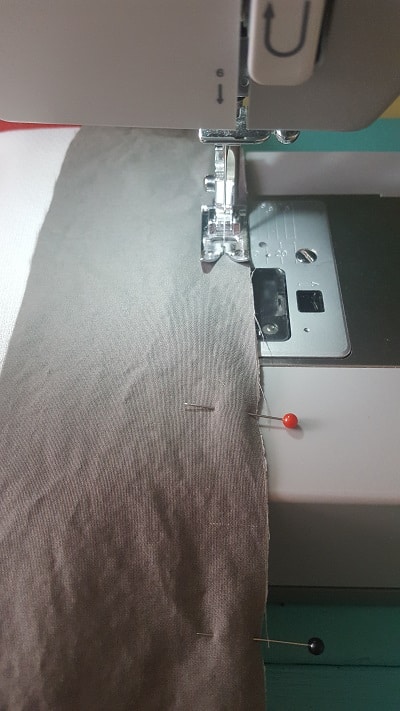
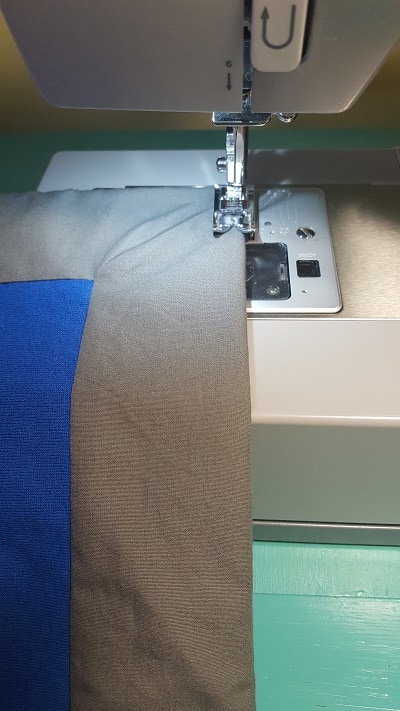
Starting from about 1/4 inch from the top, sew along the edge with a 3/8″ seam allowance ending from about 1/4 inch from the bottom. Remember to use the reverse stitch at the beginning and end.
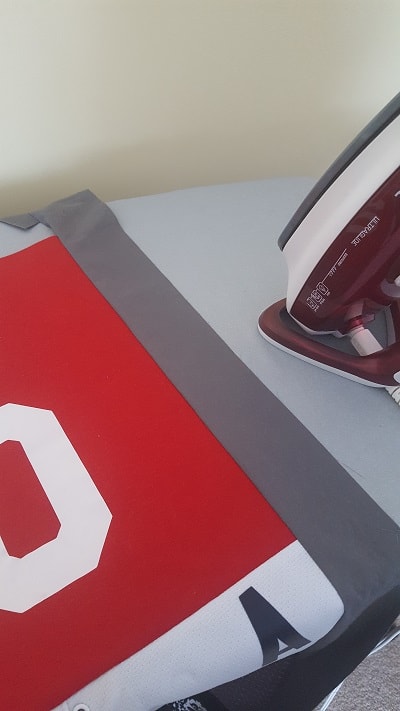
Press the seams of the border.
Do these steps for each of the other three sides of the quilt.
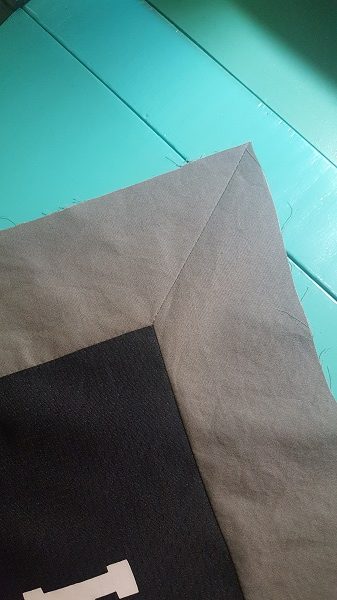
Create nice clean corners
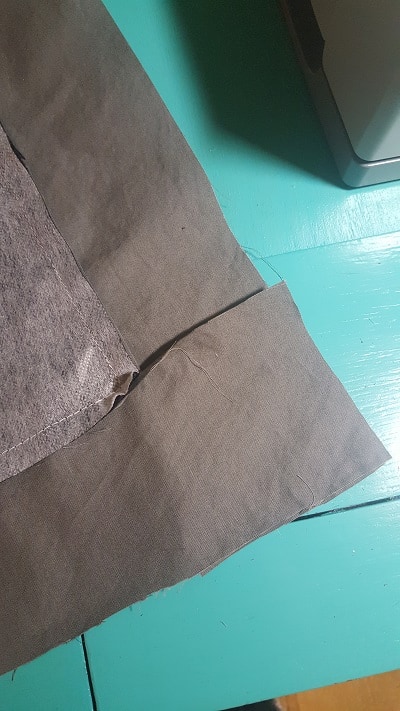
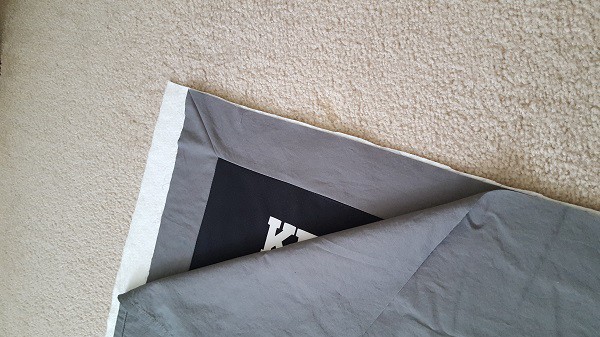
Now that your border strips are completed, you are going to create a nice clean corner. With the quilt wrong side up, use your sewing scissors to trim down the extra part of the border strips as shown above.
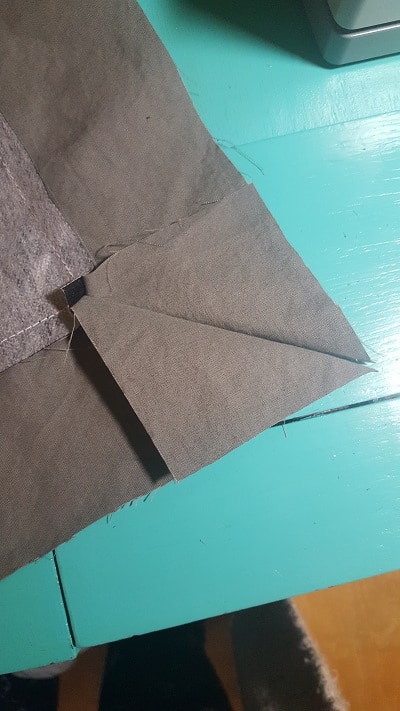
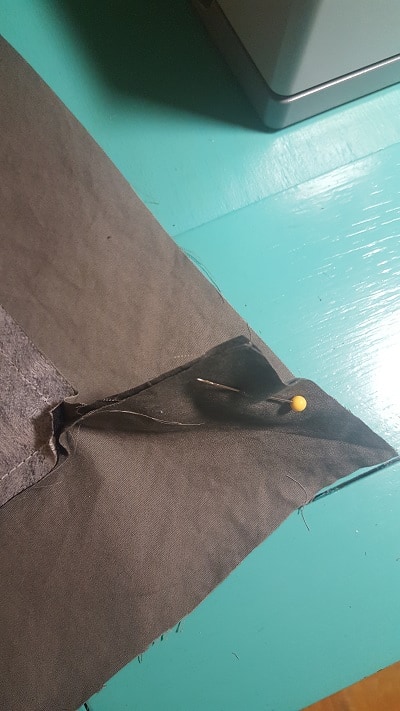
Fold and pin as shown above.
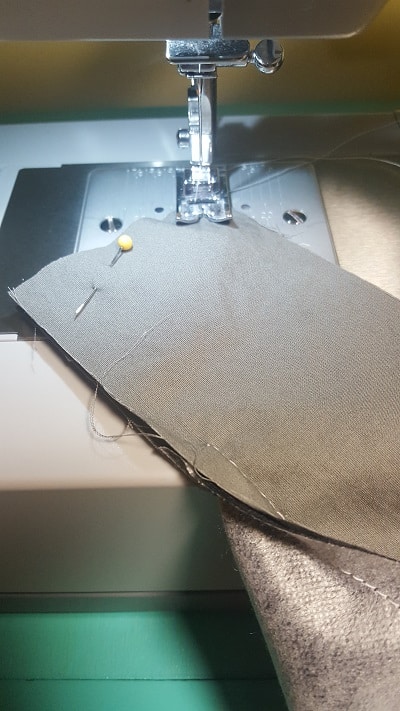
Sew along the fold as shown above.
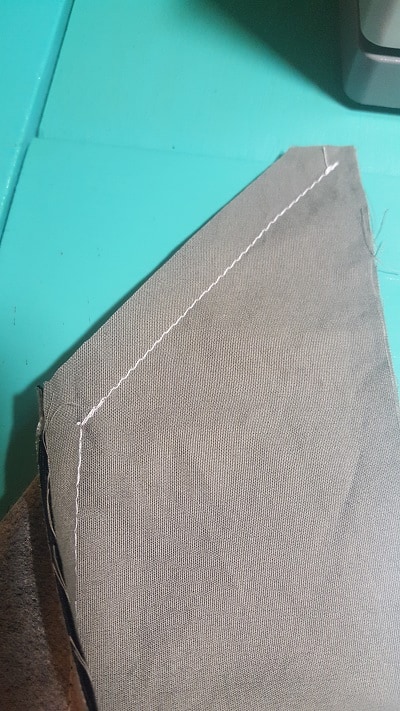
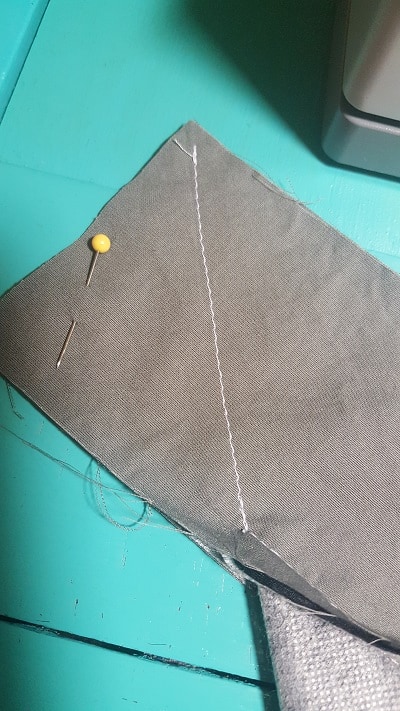
Trim the extra fabric with your sewing scissors.
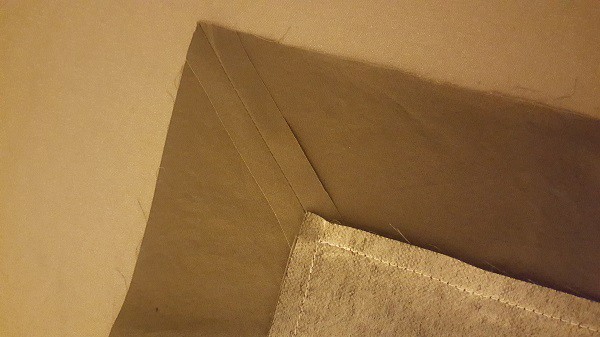
Press the seam.
Your corner should look like the picture above. Do these steps for the other three corners.
Add the batting
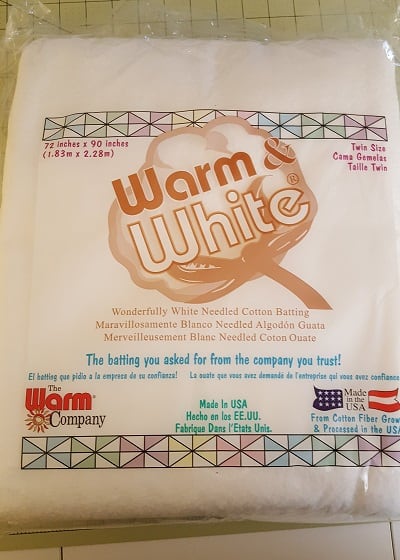
Lay out your batting on the floor. I use the Warm & White brand because it’s washable and you do not need to wash it before you use it. Twin size batting is plenty big for this size quilt. Place the quilt right side up on top of the batting. Pin the middle seam to the batting as shown above. In this step, all you are doing is attaching the batting to hold it in place.

Starting at the bottom of the quilt BORDER (you don’t want to sew through the border) sew in between the blocks where you pinned. This is going to hold the batting in place. Trim the extra batting around the edges of the quilt.

Place the quilt, batting side down, on the floor and cover with the sheet.
Pin and sew the top of the quilt using a 3/8″ inch seam allowance. Do each side one at a time leaving the bottom for last. When it’s time to sew the bottom, leave an opening about 12 inches wide for turning. Once all sides are sewn, trim any excess batting around the edges and clip the corners.
Turn the quilt right side out and top stitch all the way around. This will close the opening at the bottom and give the t-shirt quilt a finished look.
***You can find the AD-FREE, printable PDF version of this sewing tutorial available for purchase in my Etsy shop HERE. Includes 13 pages of step-by-step instructions with pictures. Print a copy to keep next to your sewing machine for easy reference.***
Time to Quilt
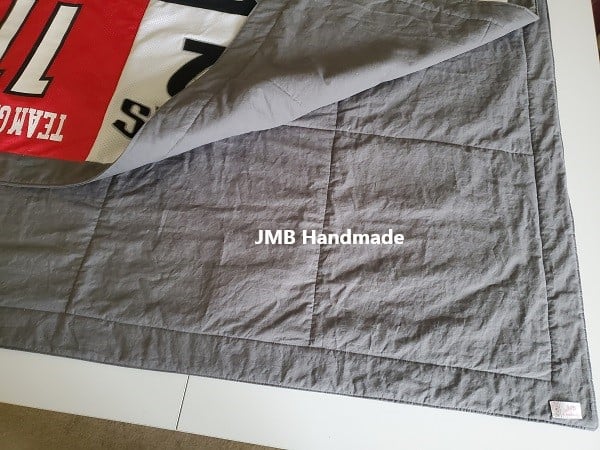
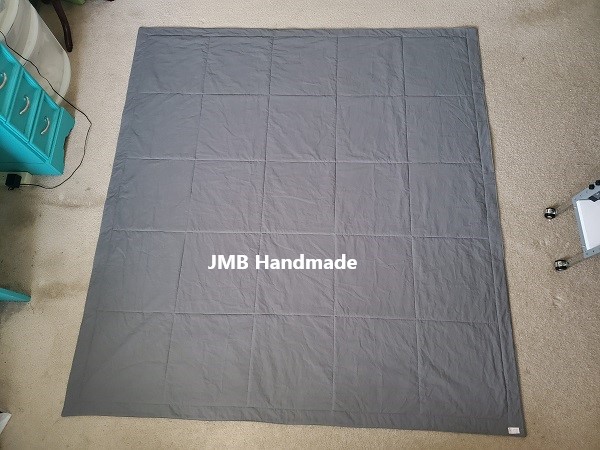
Lay the quilt on the floor, sheet side down. Starting from the middle, pin down the middle seam like you did to attach the batting. Without sewing through the border, sew the vertical rows in between the blocks first. Once the vertical rows are sewn, sew the horizontal rows, starting with the middle and working your way out to the sides. When you’re finished quilting, you will be able to see an outline of the t-shirt blocks on the back (see below pictures.)
(These pictures below are from another quilt I had finished – 30 blocks, not 20.)
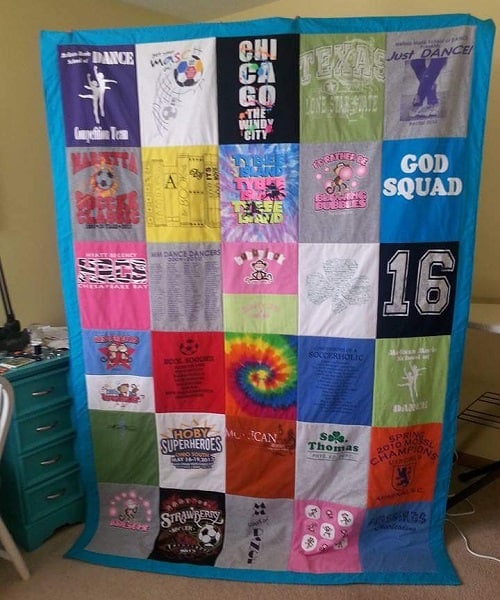
Your memory t-shirt quilt is finished!
Now you can curl up with your new memory t-shirt quilt or give as a gift.
Pin for later!