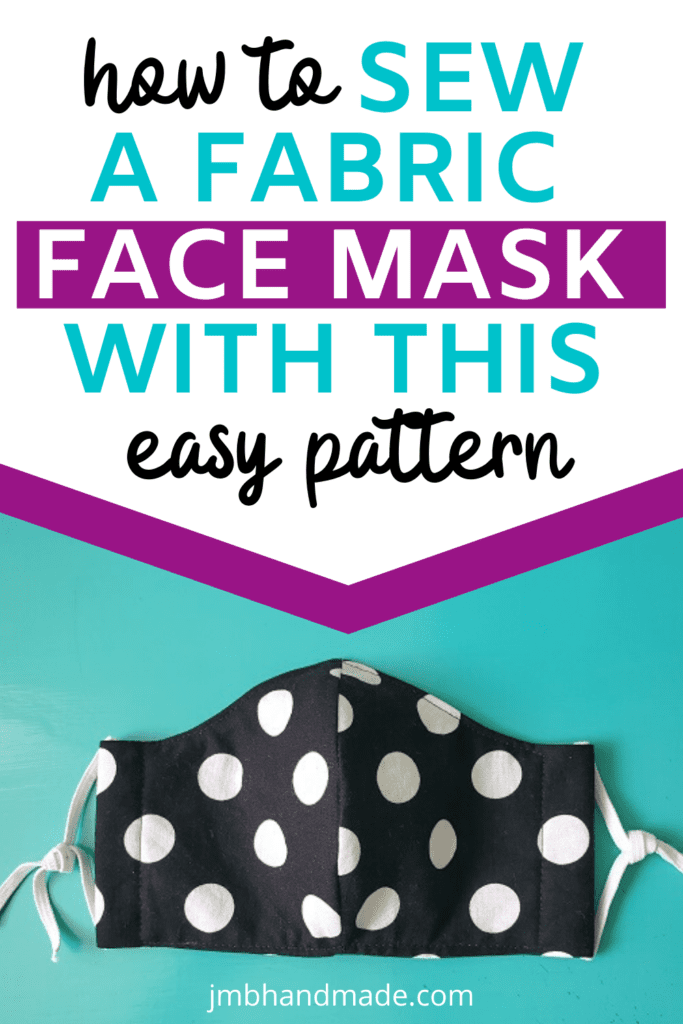
How to Make a Fabric Face Mask
Make your own face mask with this super easy sewing pattern.
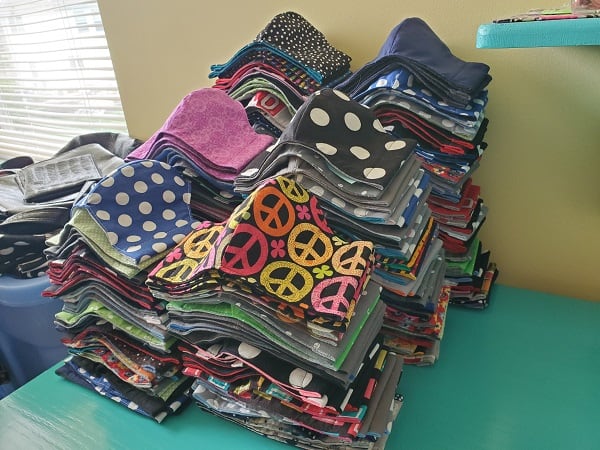
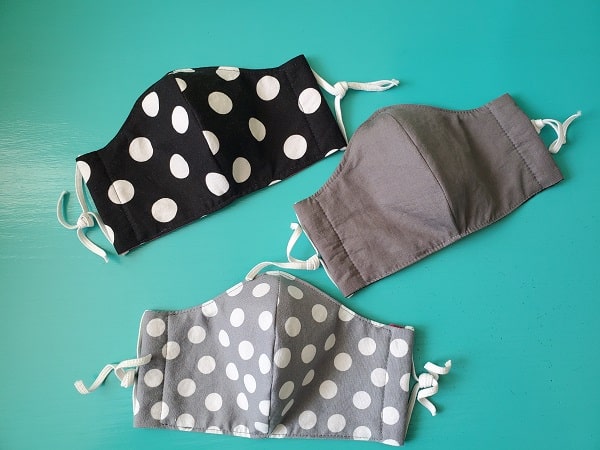
I decided I wanted to help people by making cloth face masks and I ended up making over 400 masks! (The above picture shows the majority of the masks I made without the elastic.) I thought I would share how I made them. The outer layer is made out of quilting cotton and the lining is made from leftover cotton t-shirts from t-shirt quilts I’ve made. If you don’t have old t-shirts you can cut up, you can just use quilting cotton fabric for the lining as well.
Here are my instructions on how to make a fabric face mask.
This post contains affiliate links. Please see disclosure for more information.
BE SURE YOUR PRINTER IS SET TO “ACTUAL SIZE”.
***You can find the ad-free, printable PDF version of this sewing tutorial available for purchase HERE. Includes 13 pages of step-by-step instructions with pictures. Print a copy to keep next to your sewing machine for easy reference.***
Face Mask Supplies:
- Cotton fabric for outer piece – two 7-inch by 7-inch pieces
- Two 7-inch by 7-inch t-shirt cotton fabric or cotton fabric
- Mask pattern – See pattern download above
- Fusible interfacing – Pellon 911FF Fusible Interfacing (optional)
- Sewing scissors
- Straight pins
- Matching thread
- 3/16-inch elastic or 1/4-inch elastic
- Sewing machine
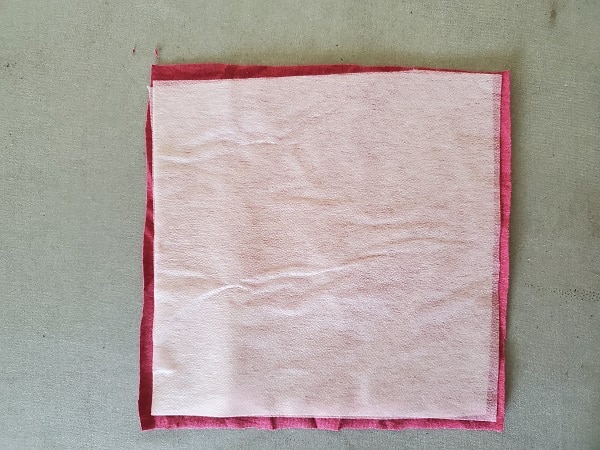
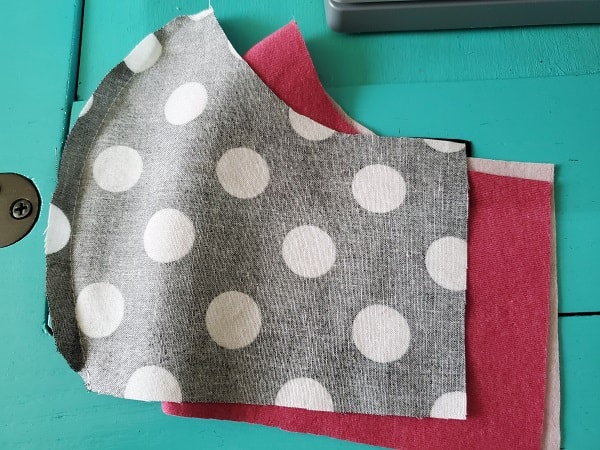
Cut the fabric
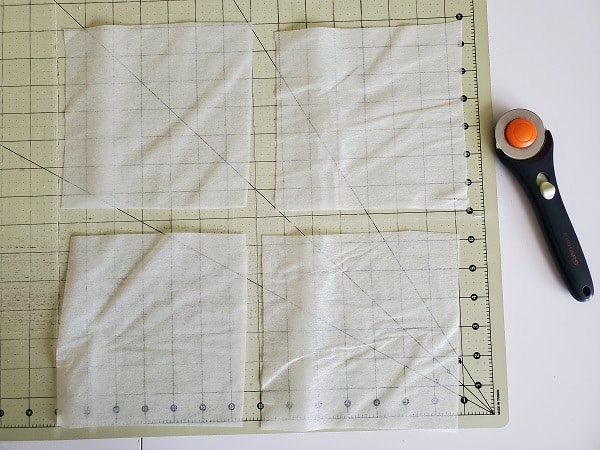
Using your sewing scissors or rotary cutter and cutting mat, cut 2 outer fabric pieces and 2 lining fabric pieces 7-inches by 7-inches or enough fabric to fit your mask template.
Attach the fusible interfacing
Normally I use Pellon 911FF Fusible Interfacing, but I was out of it when I made these masks. Instead I used double Pellon P44F Fusible Interfacing on each lining fabric piece of the face mask. Because the Pellon P44F is thinner, I doubled the layers. The interfacing step is optional. I use it for extra protection.
You are only going to attach the interfacing to the lining pieces. Cut four pieces of the Pellon P44F fusible interfacing just smaller than your mask lining pieces, OR cut 2 pieces if using 911FF fusible interfacing.
Place 2 pieces if using P44F (or 1 piece if using 911FF) of the interfacing on the wrong side of the lining fabric and attach following the package instructions. Repeat with the other lining piece.
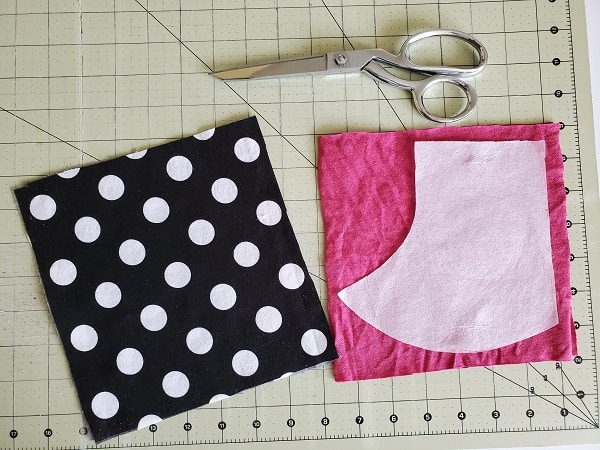
Cut out the mask template
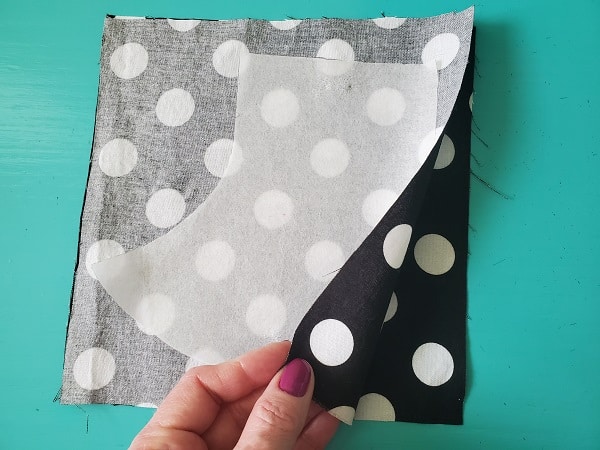
Place the outer fabric pieces right sides together.
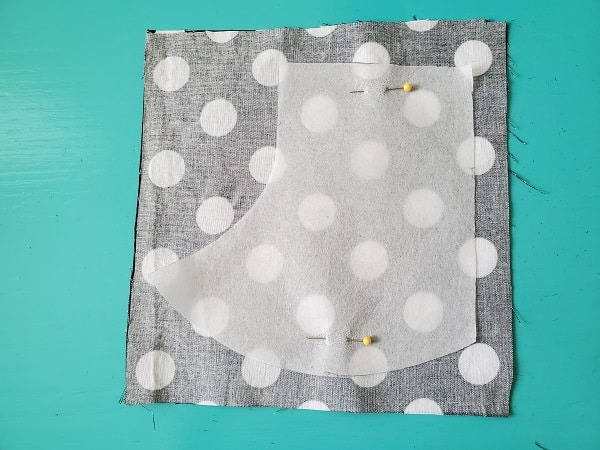
Pin the face mask template on top of the lining pieces. Using your sewing scissors, cut out the mask template.
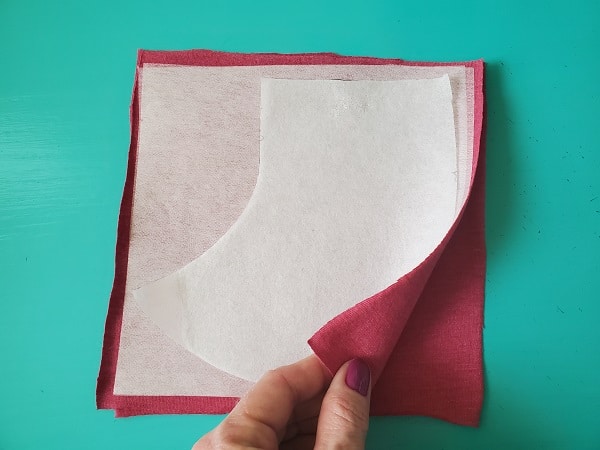
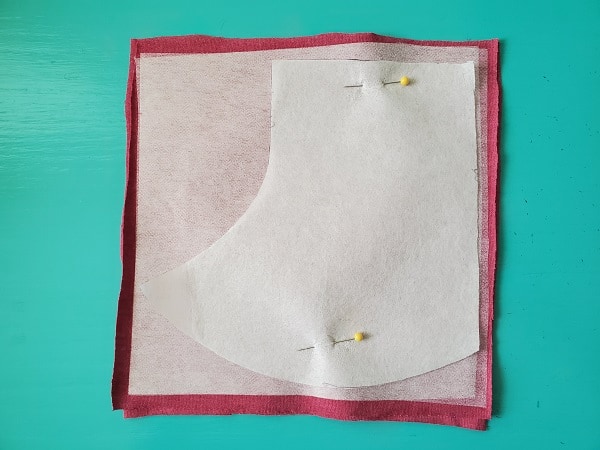
Repeat with the lining pieces.
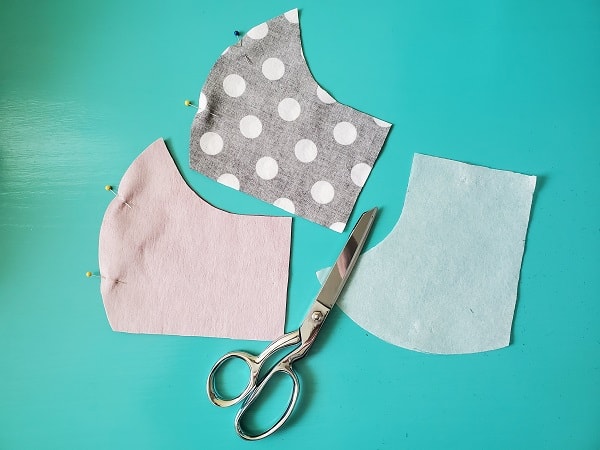
At this point you should have two cut out masks – 2 lining pieces right sides together and 2 outer pieces right sides together. Pin along the curved edge on each.
Sew templates together
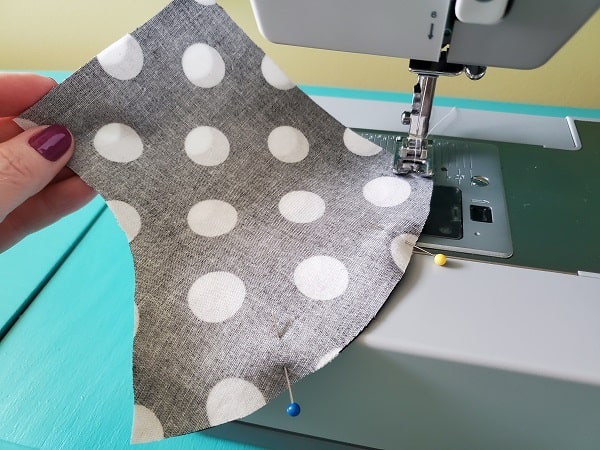
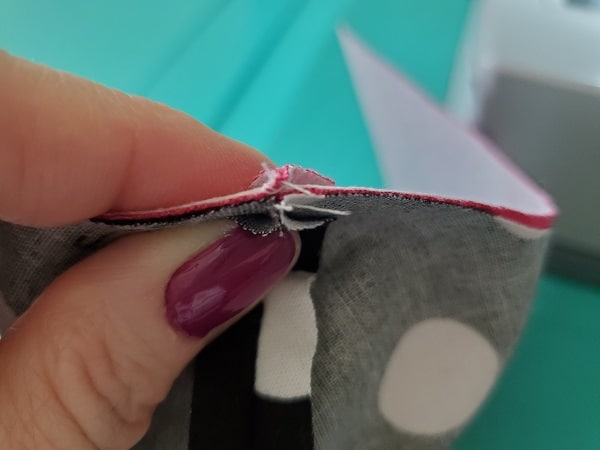
Straight stitch along the curve of the outer mask piece using a 1/4-inch seam allowance. Repeat with the lining mask piece.
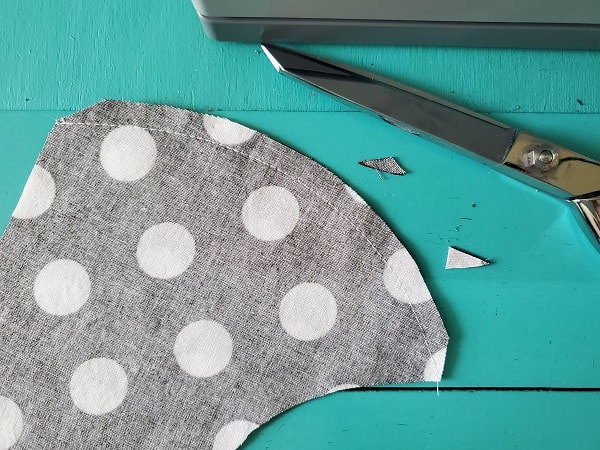
Using your sewing scissors, cut the pointed tip off on each end as shown in above picture.
Flatten both outer and lining seams with your fingers as flat as you can. You can use your iron to press the seam but it’s a little difficult to lay it flat enough to be able to press it.
***You can find the ad-free, printable PDF version of this sewing tutorial available for purchase HERE. Includes 13 pages of step-by-step instructions with pictures. Print a copy to keep next to your sewing machine for easy reference.***
Sew it all together
Turn the lining mask piece right side out and place inside the outer fabric piece. Right sides should be facing each other.
Line up the seams and pin in place.
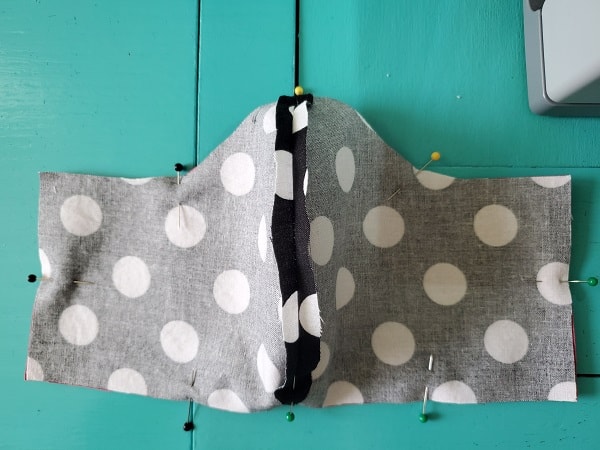
Pin the mask together. Leave an opening at the bottom for turning.
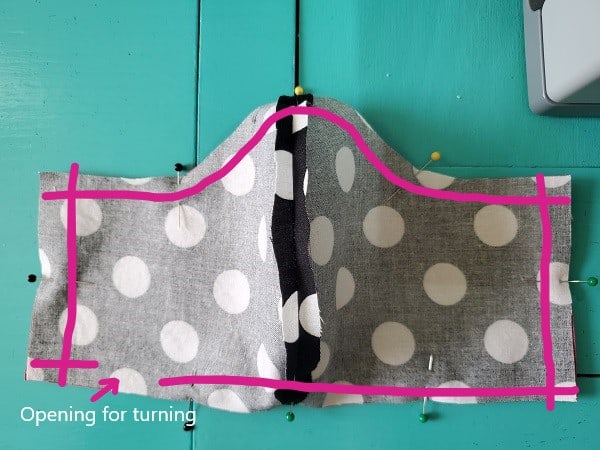
Sew all around using the straight stitch, leaving an opening for turning.
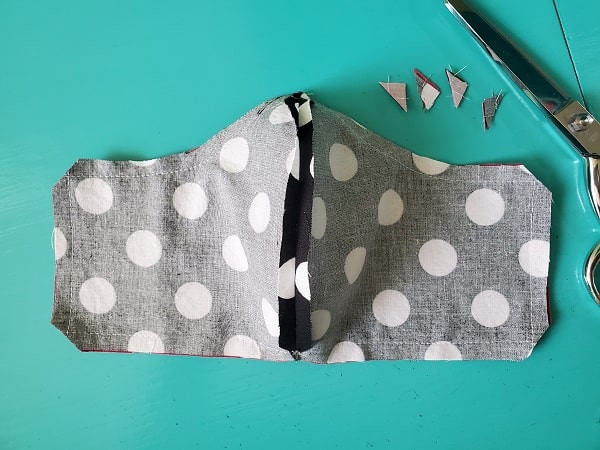
Snip the corners with your sewing scissors.
Turn the mask right side out.

Press the seams with your iron. Remember to push out the corners.
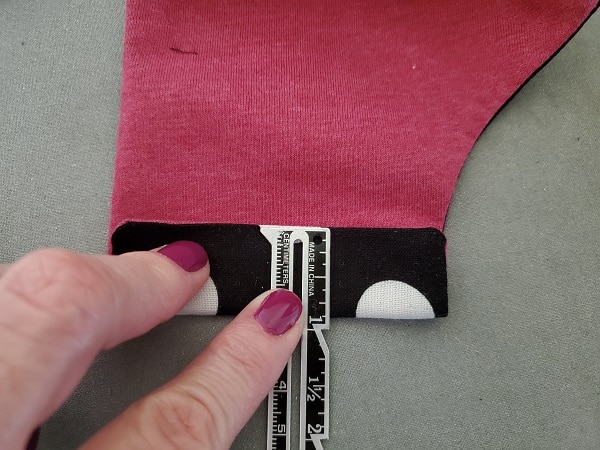
Fold the ends in about 7/8- inch. These will be where you will feed the elastic for the straps. The fold just needs to be wide enough for your elastic to fit through.
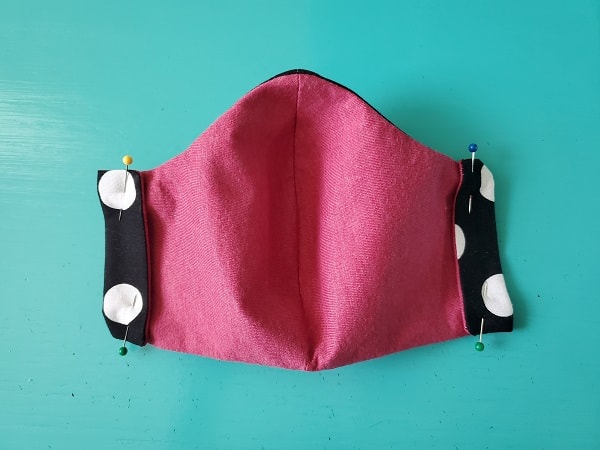
Pin the folds in place.
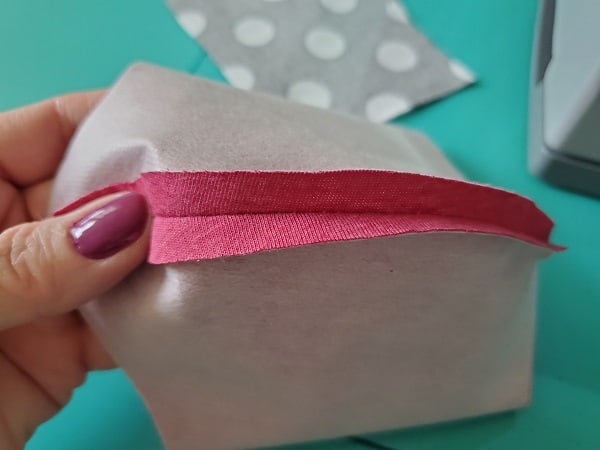
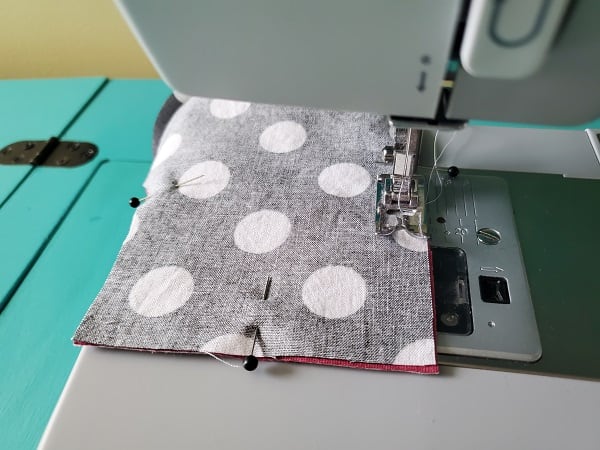
Top stitch around the mask
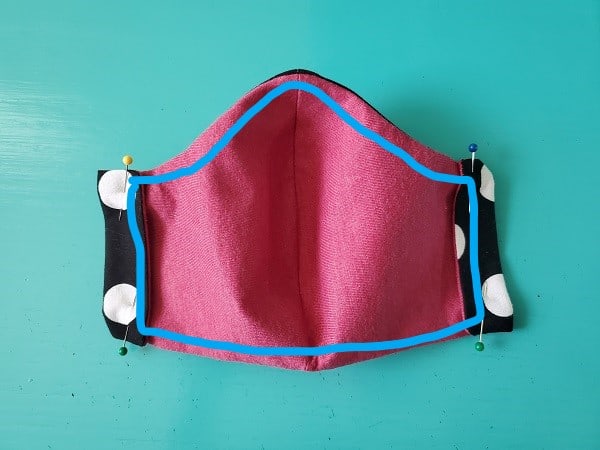
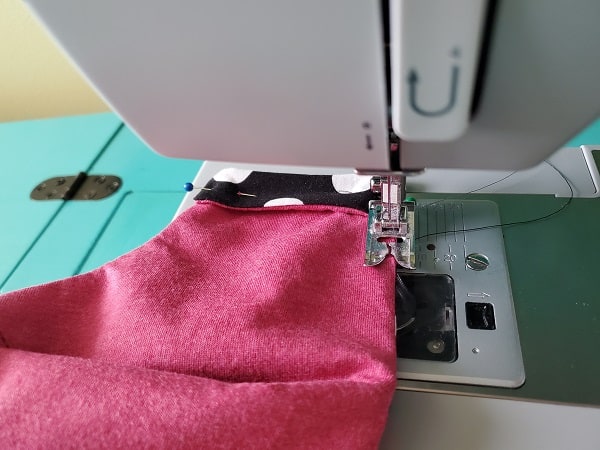
Now you are going to straight stitch all around as shown in above picture, using an 1/8-inch seam allowance. This gives the mask a finished look and closes the opening.
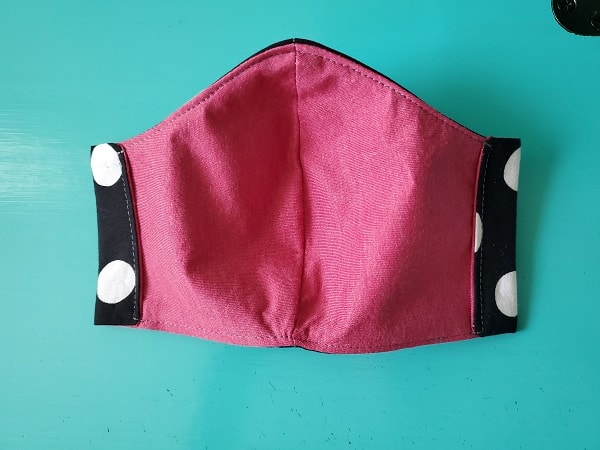
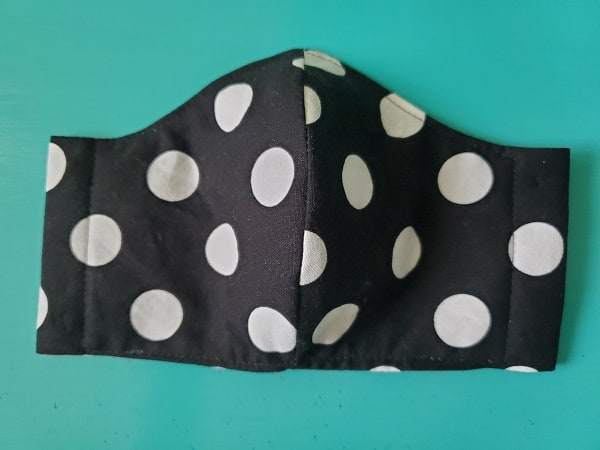
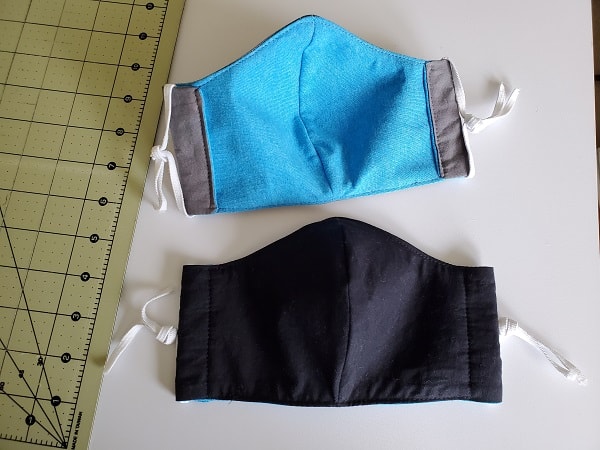
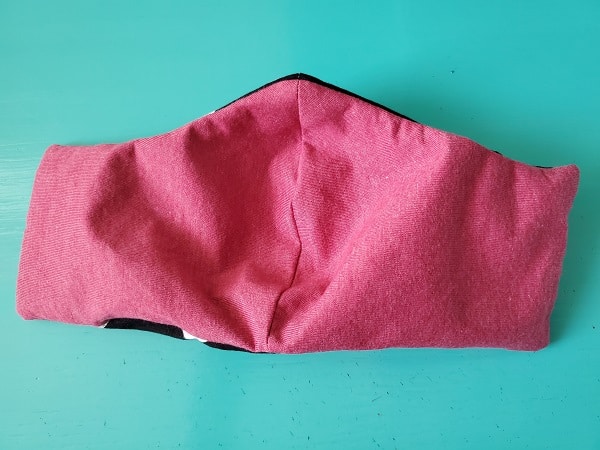
This is what your mask should look like at this point.
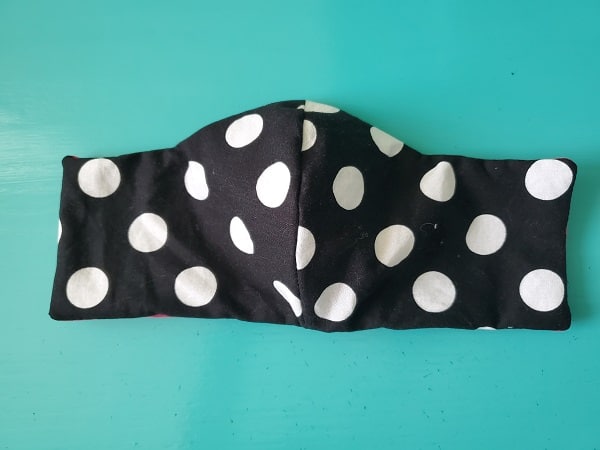
Add the elastic
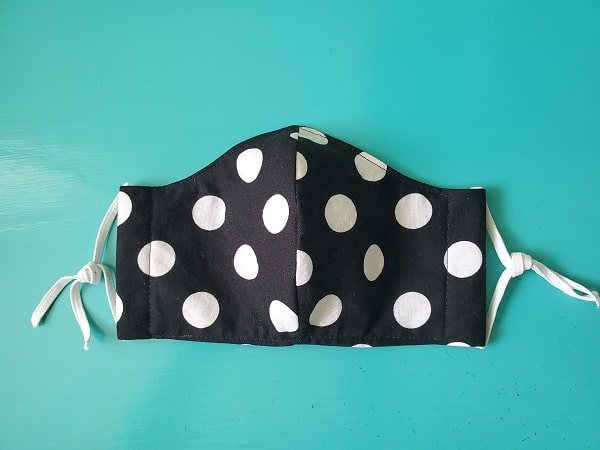
Cut two pieces of elastic 14 inches long. Feed the elastic through each end of the mask and tie a knot. The nice thing about these masks is the elastic is adjustable. If you need the mask tighter or looser, you can just retie the elastic.
***You can find the ad-free, printable PDF version of this sewing tutorial available for purchase HERE. Includes 13 pages of step-by-step instructions with pictures. Print a copy to keep next to your sewing machine for easy reference.***
You are finished!
Now you can sew a mask and even make some for friends. I hope you enjoyed this tutorial. Happy sewing!
Pin for later!
Other Sewing Project Tutorials:
- How to Make a Gift Card / Credit Card Holder
- Fabric Key Fob Tutorial
- Easy Luggage Tag Sewing Project