Easy Quilted Hot Pad Sewing Tutorial
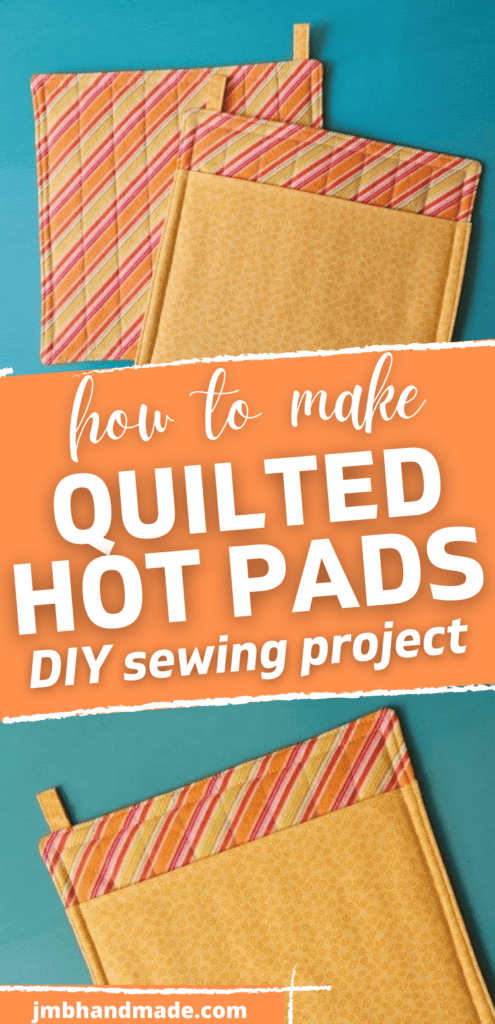
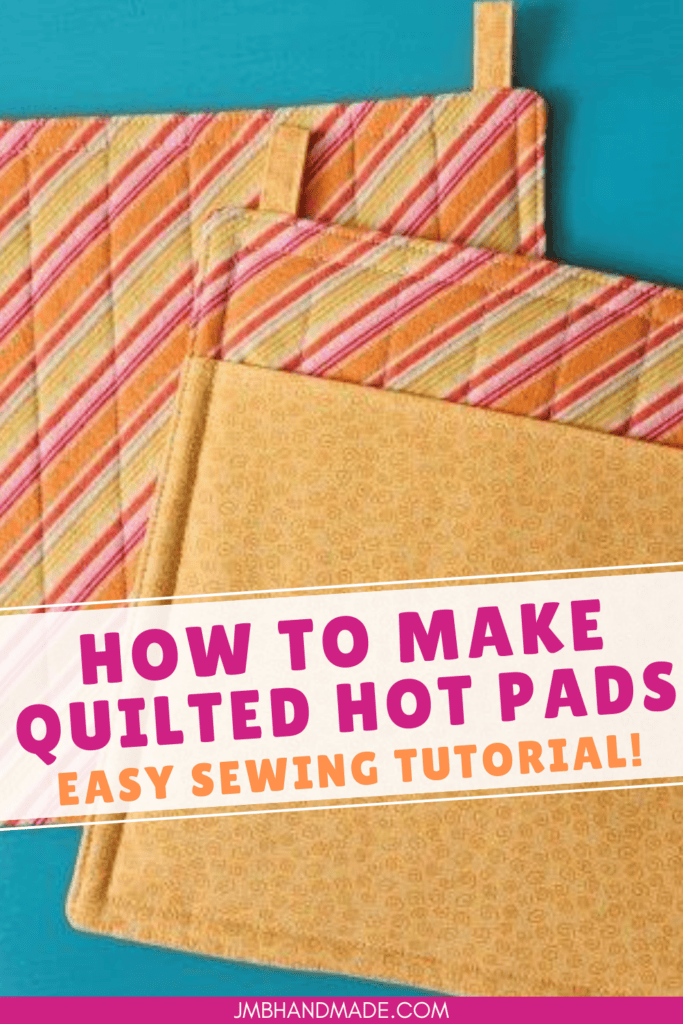
Make cute quilted hot pads for your kitchen using this easy sewing tutorial.
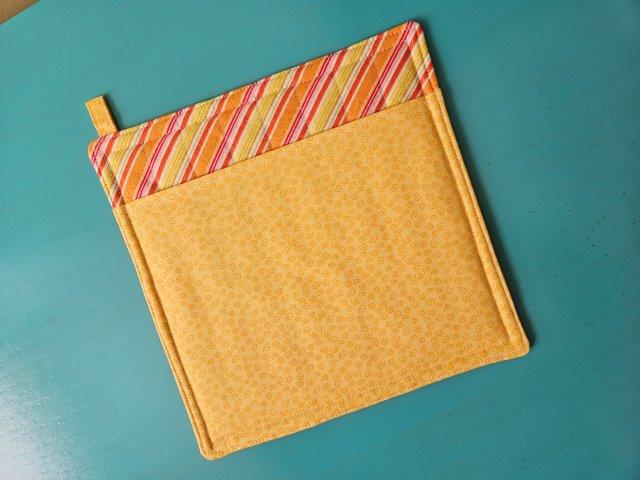
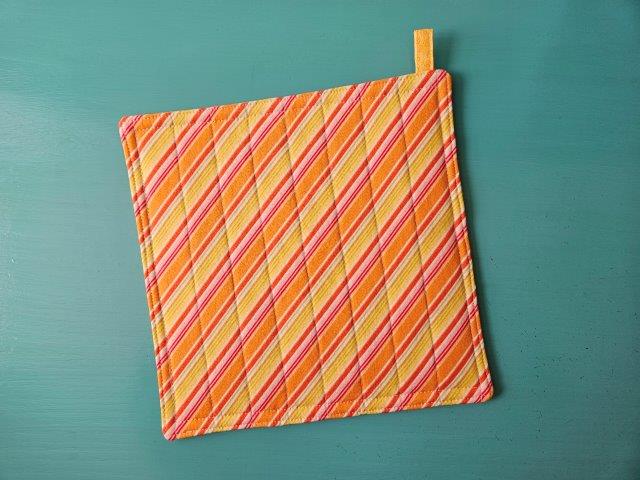
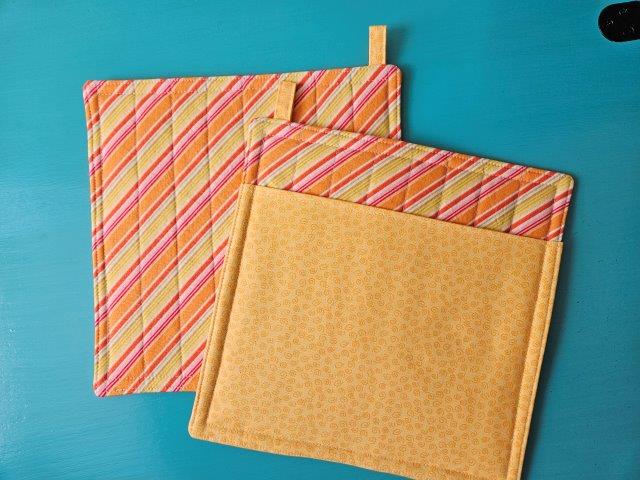
My kitchen hot pads needed replaced so I decided to sew new ones. These quilted hot pads are super easy to make and feature a pocket to double as a pot holder. My kitchen seems so much brighter!
Sew a matching apron for cooking and baking and matching placemats for your table.
This post contains affiliate links. Please see below disclosure for more information.
***You can find the AD-FREE, printable PDF version of this sewing tutorial available for purchase in my Etsy shop HERE. Includes 12 pages of step-by-step instructions with pictures. Print a copy to keep next to your sewing machine for easy reference.***
Hot pad sewing supplies needed:
- Two fabric pieces measuring 10.5″ x 10.5″ – my favorite fabric shop
- Two coordinating fabric pieces measuring 10.5″W x 8.5″H for the pocket
- One fabric piece measuring 3″W x 2″H for the hanging loop
- Insul-Bright piece measuring 10.5″ x 10.5″
- Cotton batting measuring 10.5″ x 10.5″
- Cutting mat
- Rotary cutter
- Clear ruler
- Marking pencil
- 12-inch ruler
- Sewing scissors
- Sewing machine
Measure and cut your fabric
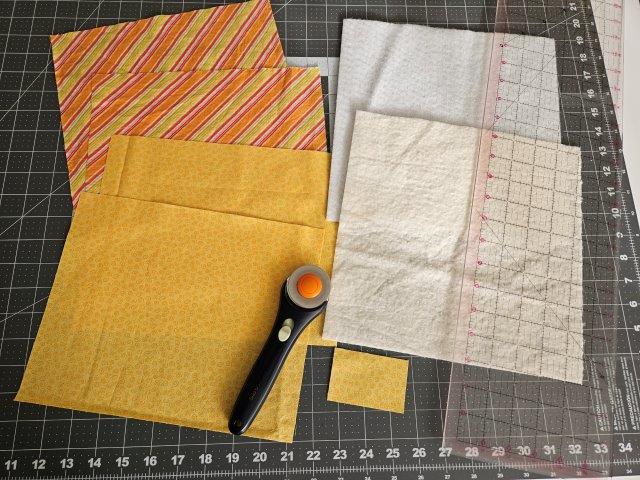
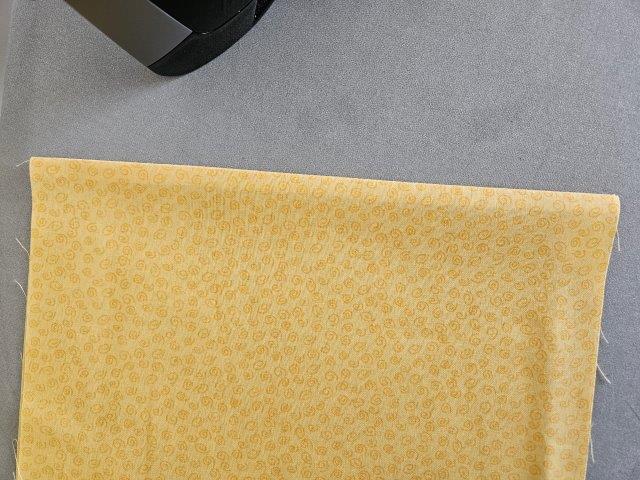
Using your cutting mat, clear ruler, and rotary cutter, cut two pieces of fabric each measuring 10.5″ x 10.5″. Cut two pieces of coordinating fabric each measuring 10.5″W x 8.5″H for the pocket. For the hot pad hanging loop, cut one fabric piece measuring 3″W x 2″H.
Batting and Insul-Bright
Cut one piece of cotton batting and one piece of Insul-Bright each measuring 10.5″ x 10.5″.
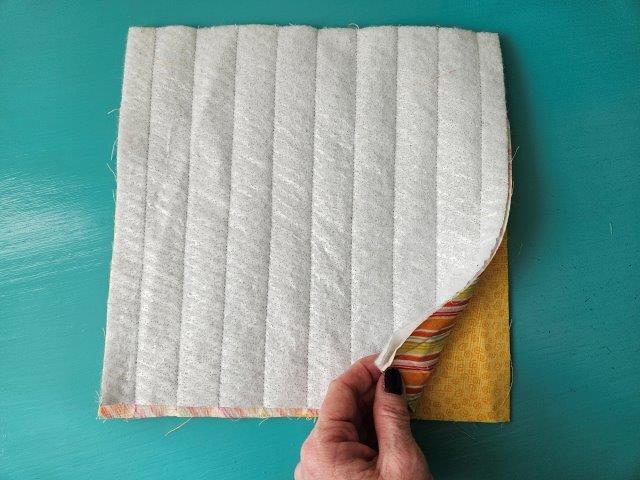
Quilt the main pieces
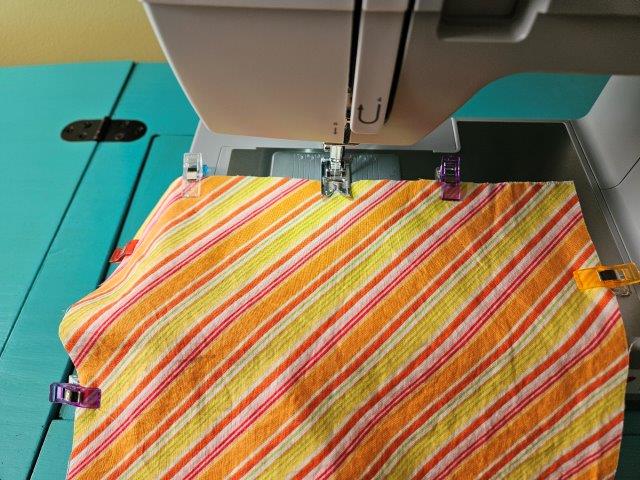
You are going to sew straight lines an inch apart (or however wide you would like), starting in the center, to quilt the batting and Insul-Bright to the fabric.
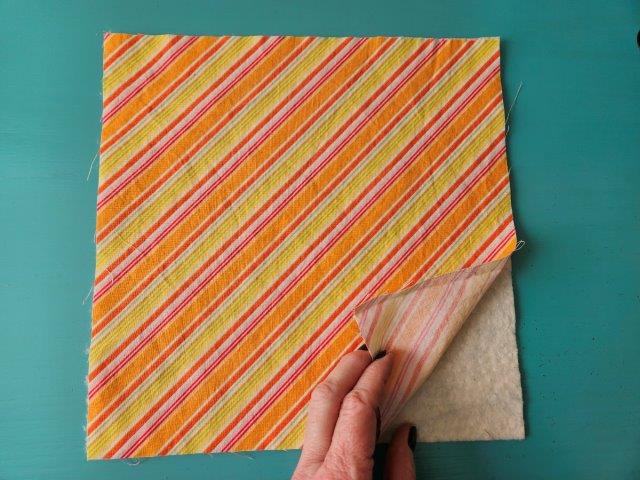
Place one of the 10.5″ x 10.5″ fabric pieces on top of the batting. Clip or pin to hold in place.
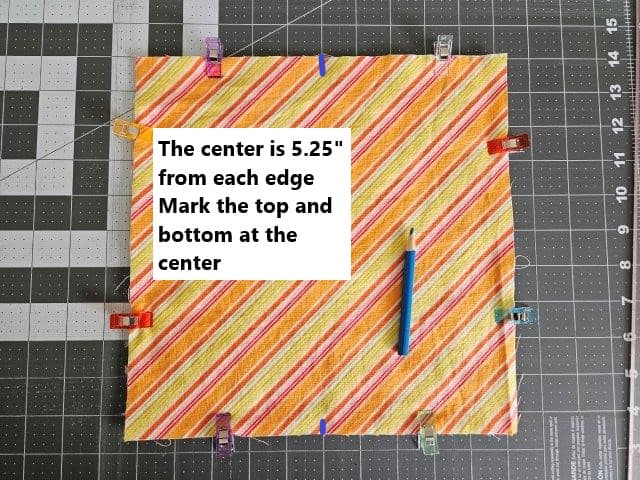
Now, find the center – for this hot pad, the center is 5.25″ from the edge (you can measure with a ruler, or fold in half). Make a mark with your marking pencil in the center at the top and bottom of the fabric.
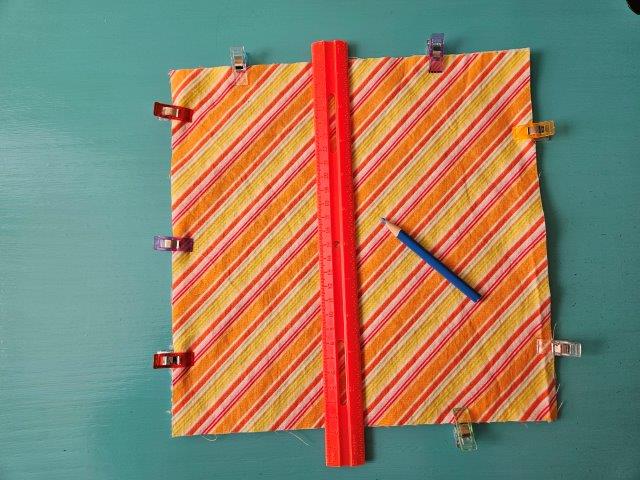
Use a ruler and draw a line (it doesn’t need to be dark) down the center from the top mark to the bottom mark.
Sew along the line down the center of the hot pad. (The line in the picture is very faint)
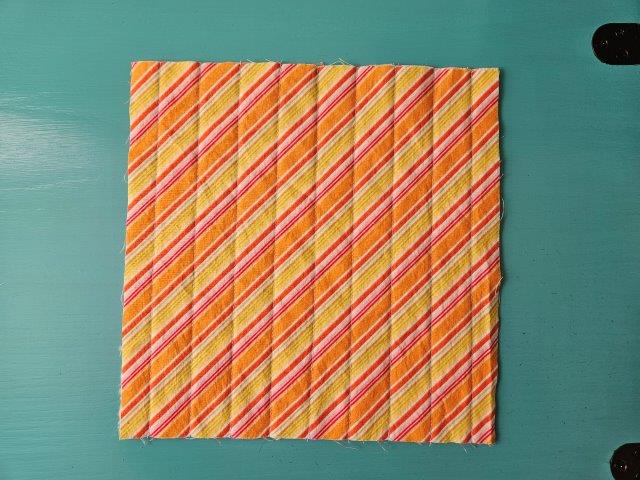
Mark lines an inch from the center line in both directions and sew along those lines. My ruler is about an inch wide so I’m using that to make my lines (if your ruler is wider, that’s okay too). I am drawing my line and then sewing, working my way to each edge, but you can draw all the lines first and then sew if you’d rather.
Repeat these steps with the other fabric piece and the Insul-Bright.
Add the pocket
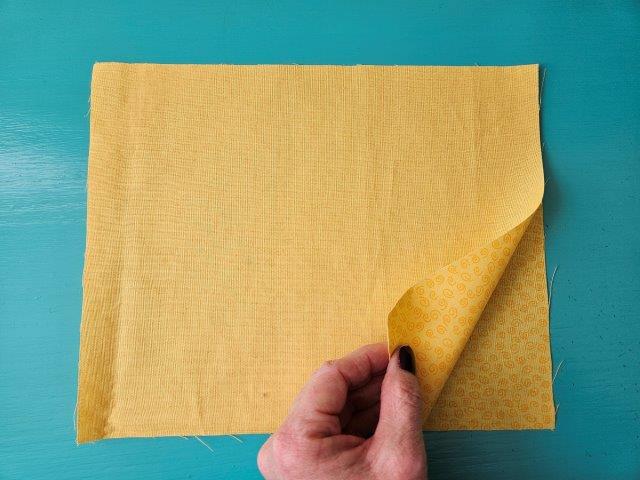
Place the two 10.5″W x 8.5″H fabric pieces right sides together.
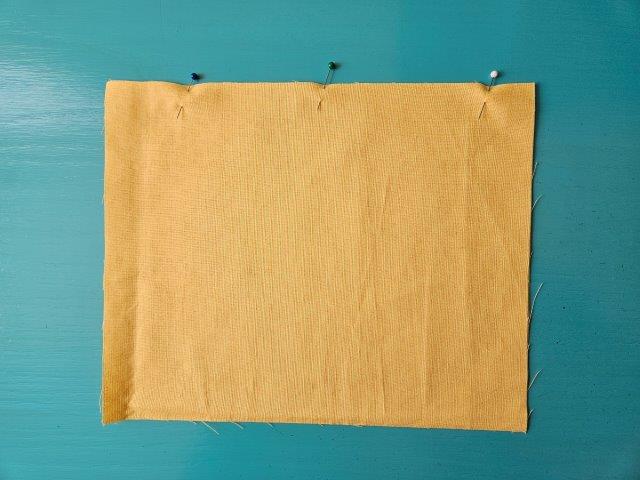
Pin in place and sew along the top only, using a 3/8″ seam allowance.

Press the seam flat.
Fold over with the wrong sides together and press the seam.
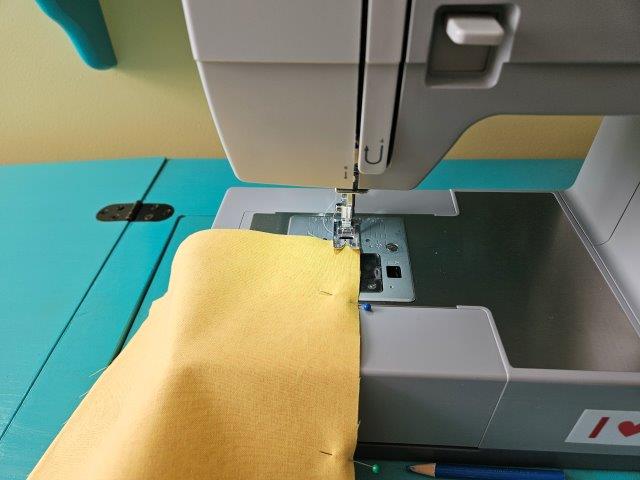
Top stitch along the seam.
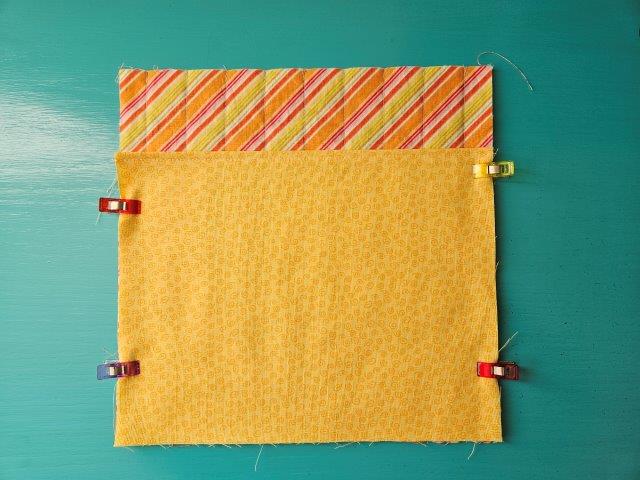
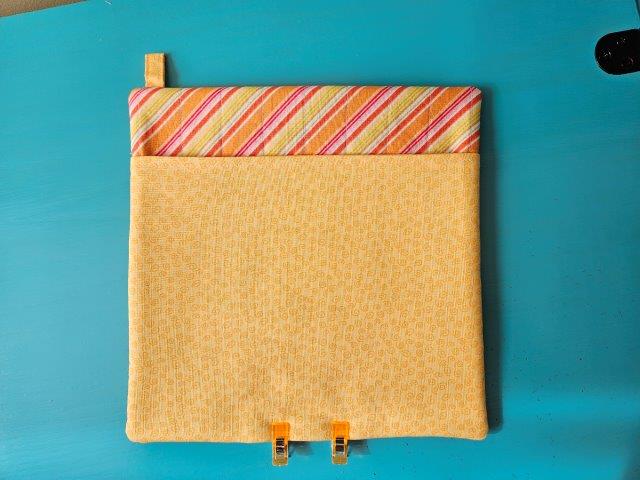
Place the pocket on top of one of the quilted hot pad pieces, lining up the sides and corners. Clip or pin in place. (You can baste the pocket if you prefer).
***You can find the AD-FREE, printable PDF version of this sewing tutorial available for purchase in my Etsy shop HERE. Includes 12 pages of step-by-step instructions with pictures. Print a copy to keep next to your sewing machine for easy reference.***
Make the hot pad hanging loop

Fold the fabric in half lengthwise and press along the fold.
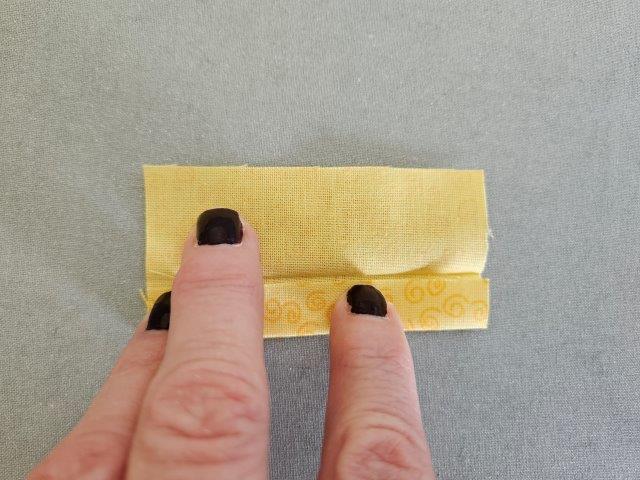
Open back up and fold the outside edge to the center and press.
Turn the strap around and fold the other outside edge to the center and press.
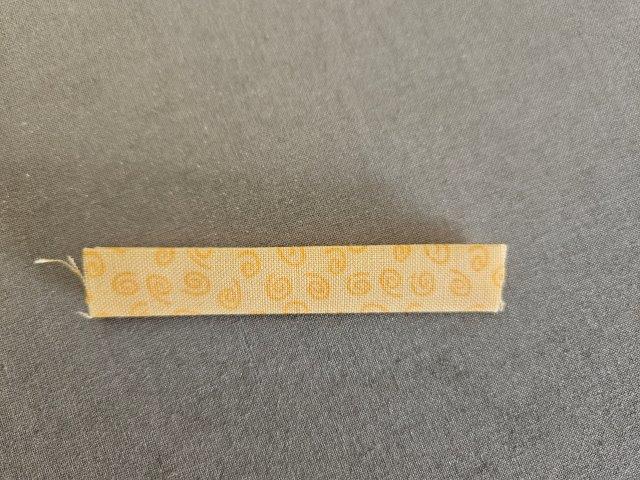
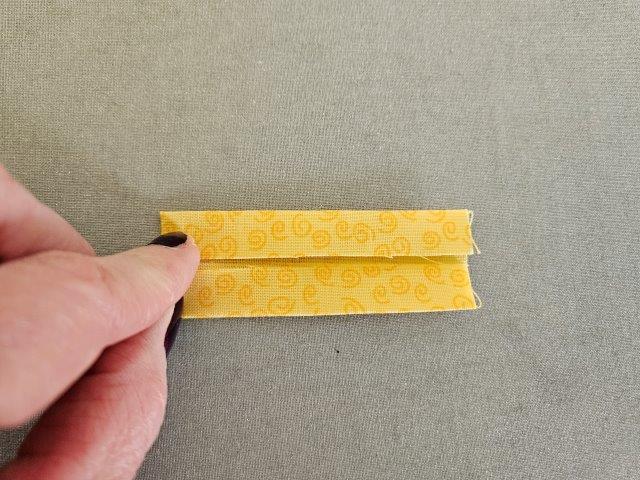
Fold in half again and press.

Sew the strap lengthwise along both folded edges.
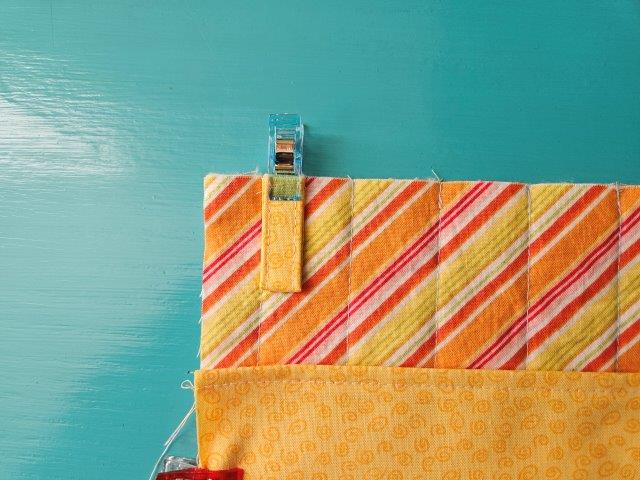
Fold the loop in half (raw edges together) and place in the top left corner with the loop facing inside. See above picture.
Baste the loop to hold in place.
Sew it all together
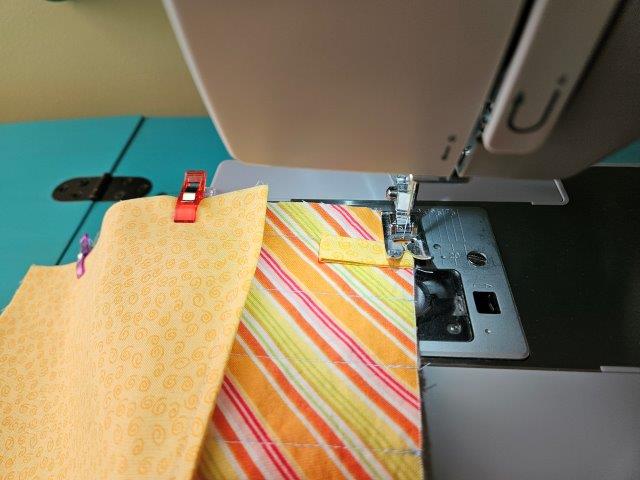
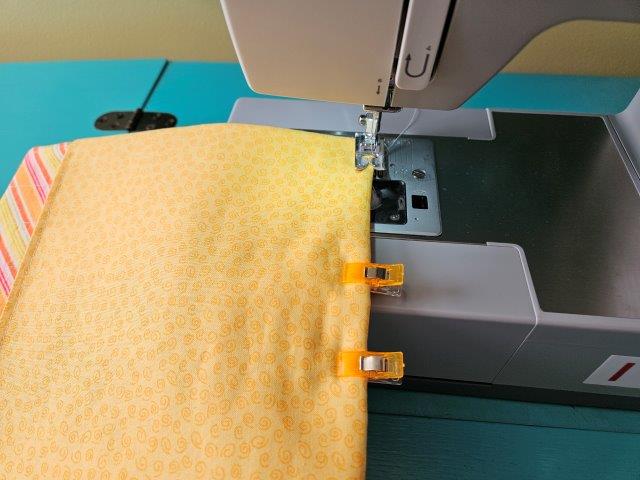
Place the other hot pad piece on top of the pocket piece, right sides together. Pin or clip in place.
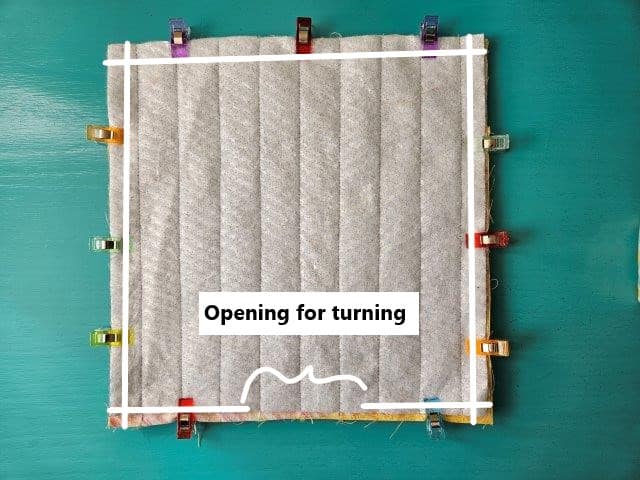
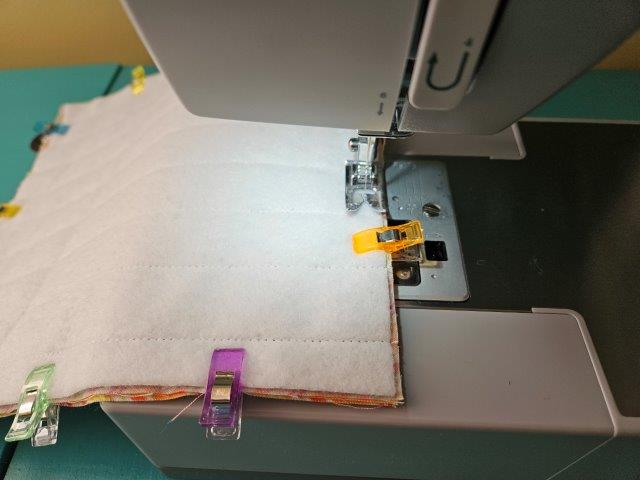
Sew around the perimeter, using a 3/8″ seam allowance, leaving an opening at the bottom for turning.
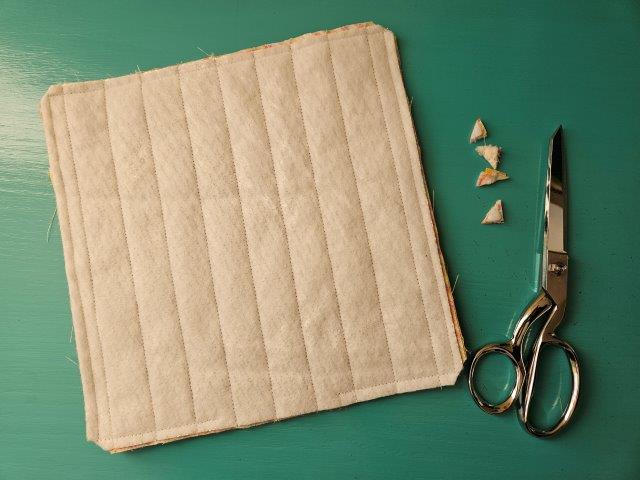
Clip the corners using your sewing scissors. Trim the edges (if necessary).
Turn right side out
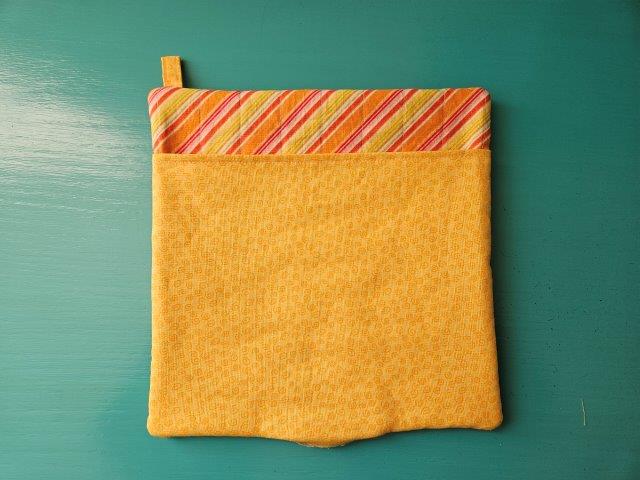
Through the opening at the bottom, turn the hot pad right side out. Press.
Top stitch all around to give it a finished look and to sew the opening closed, pivoting the corners.
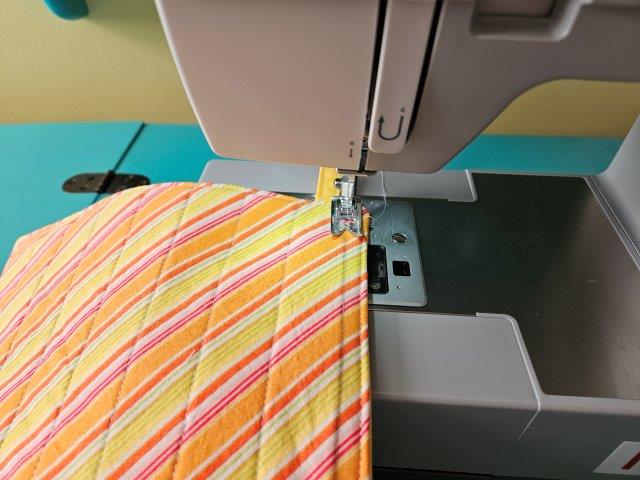
OPTIONAL: Starting 1/2″ down from the top of the hot pad, top stitch around again about 1/2″ from the edge, sewing on top of your quilted stitches, pivoting the corners.
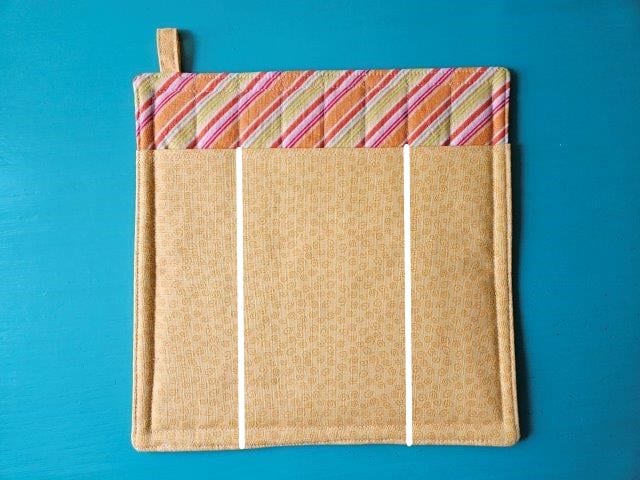
NOTE: If you have small hands, you can sew the pocket on two of the sewn lines to make the pocket smaller (optional). See above picture.
***You can find the AD-FREE, printable PDF version of this sewing tutorial available for purchase in my Etsy shop HERE. Includes 12 pages of step-by-step instructions with pictures. Print a copy to keep next to your sewing machine for easy reference.***
Pin it for later!
You are finished!
I hope you enjoyed this easy hot pad sewing tutorial! Sew some cute hot pads for your kitchen or give to your family and friends! Happy sewing!