DIY Leather or Vinyl Purse Straps
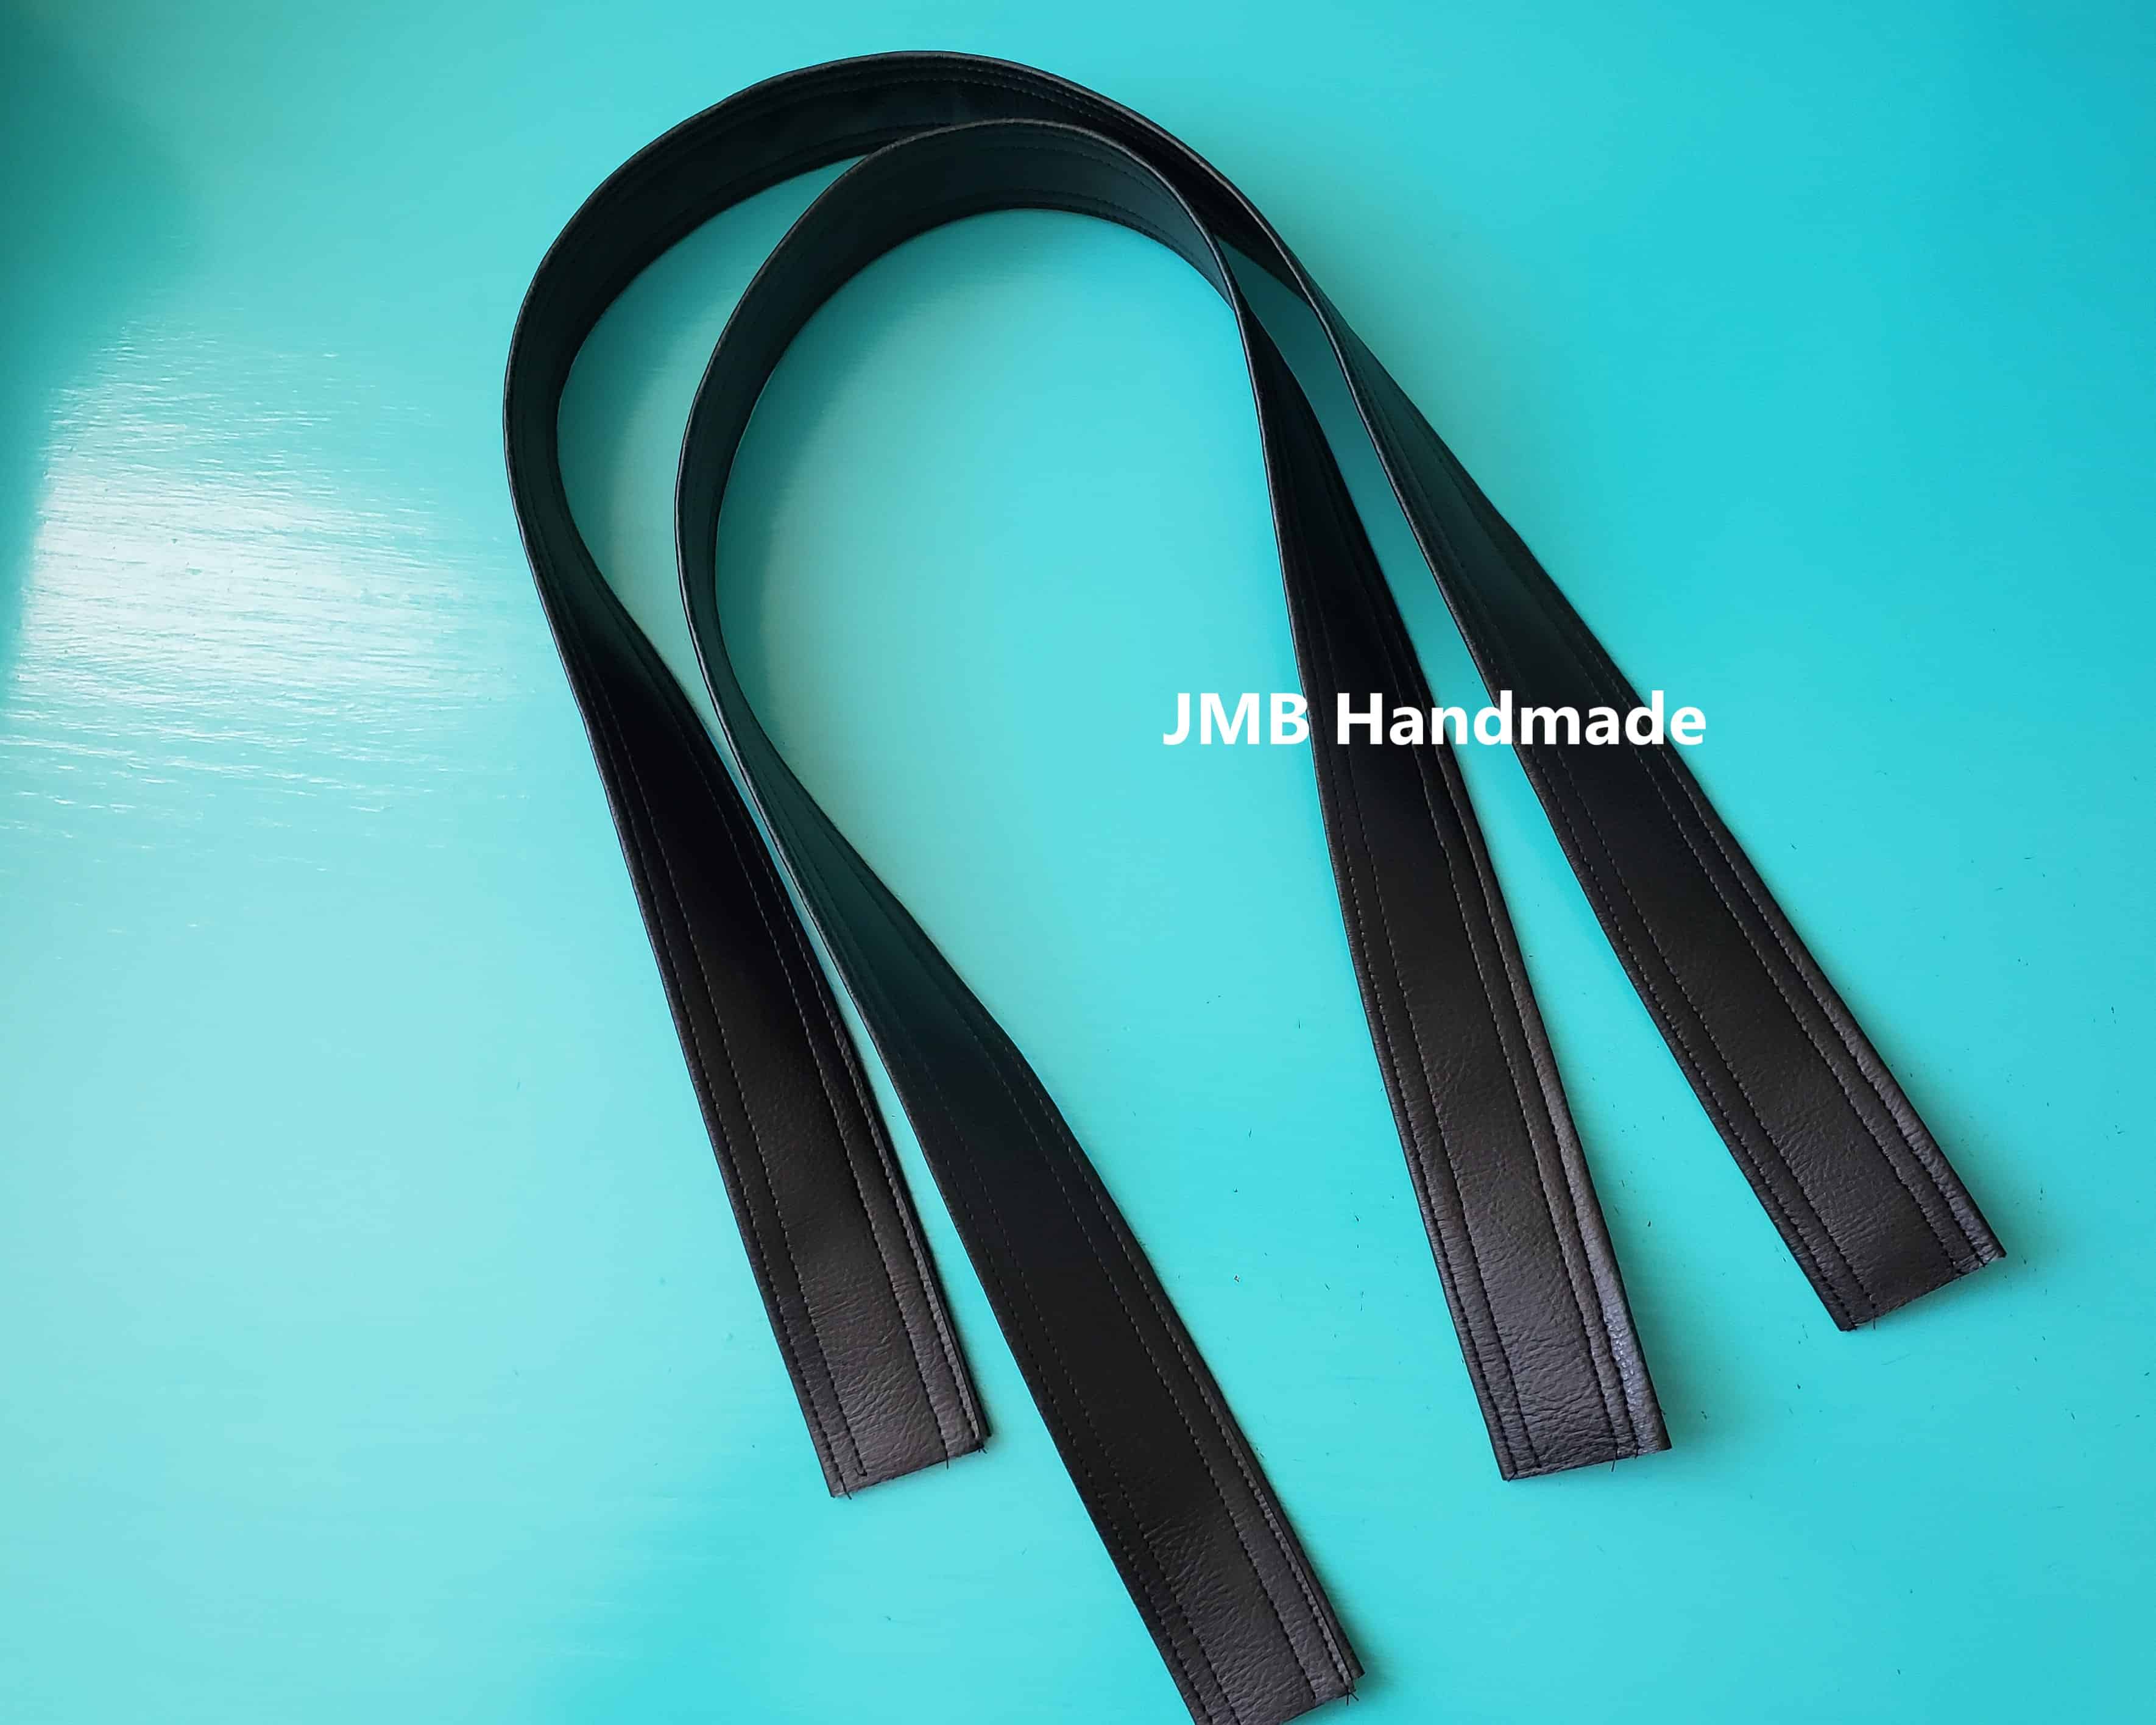
Make your own leather or vinyl handbag straps with these easy step-by-step instructions.
I make a ton of handbags and sometimes I want to use vinyl or leather straps instead of the cotton fabric I’m using for the purse. Buying leather straps can get pricey so it’s more cost effective to make your own! It takes some practice and patience. The more you work with vinyl and leather, the easier it gets.
Here are the instructions for the purse straps made out of faux leather. These instructions also work on leather and vinyl. Try out your new leather straps on this easy tote bag or this curved top shoulder handbag.
Rule of thumb: these instructions can be adjusted for any size strap. Figure out how wide you would like your strap, then multiply by 3 and that will be how wide you will need to cut your leather. For this tutorial, the finished straps are 1 1/2 inches wide.
This post contains affiliate links. Please see disclosure for more information.
***You can find the ad-free, printable PDF version of this sewing tutorial available for purchase HERE. Includes 7-pages of step-by-step instructions with pictures. Print a copy to keep next to your sewing machine for easy reference.***
Supplies needed:
- Faux leather, leather or vinyl – about 1/2 yard – enough to cut two straps 4 1/2 inches by 30 inches. The picture above shows the straps folded.
- Cutting mat
- Rotary cutter
- Clear ruler
- Sewing clips
- Nonstick sewing machine presser foot
- Marking pencil
- Matching thread
- Sewing machine
Cut the faux leather straps
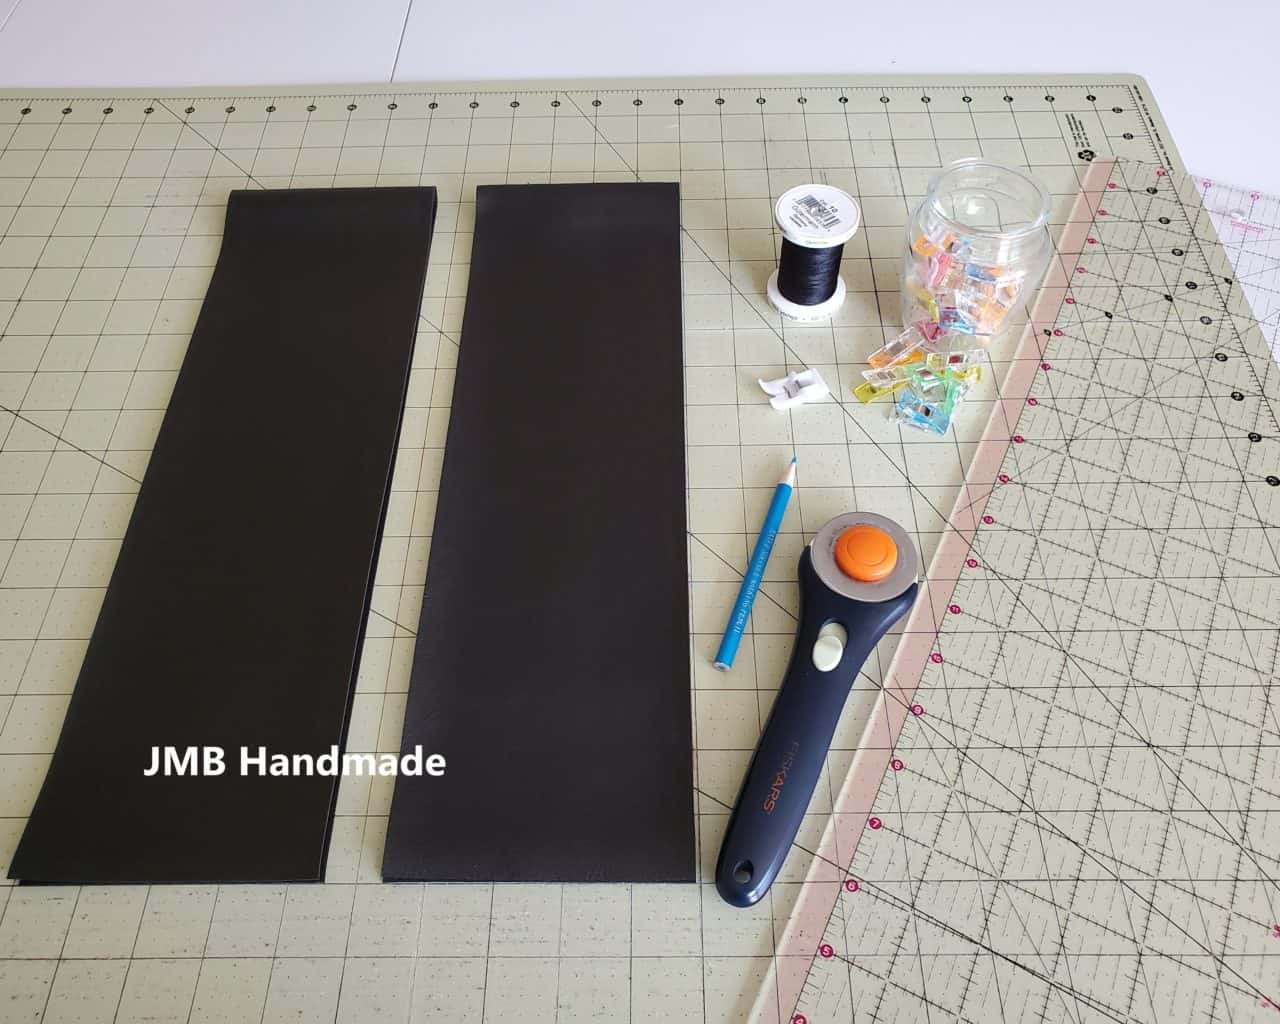
Using your cutting mat, clear ruler and rotary cutter, cut two leather or vinyl straps measuring 4 1/2 inches wide by 30 inches long. (The picture above shows the straps folded.)
Mark the width of the purse strap
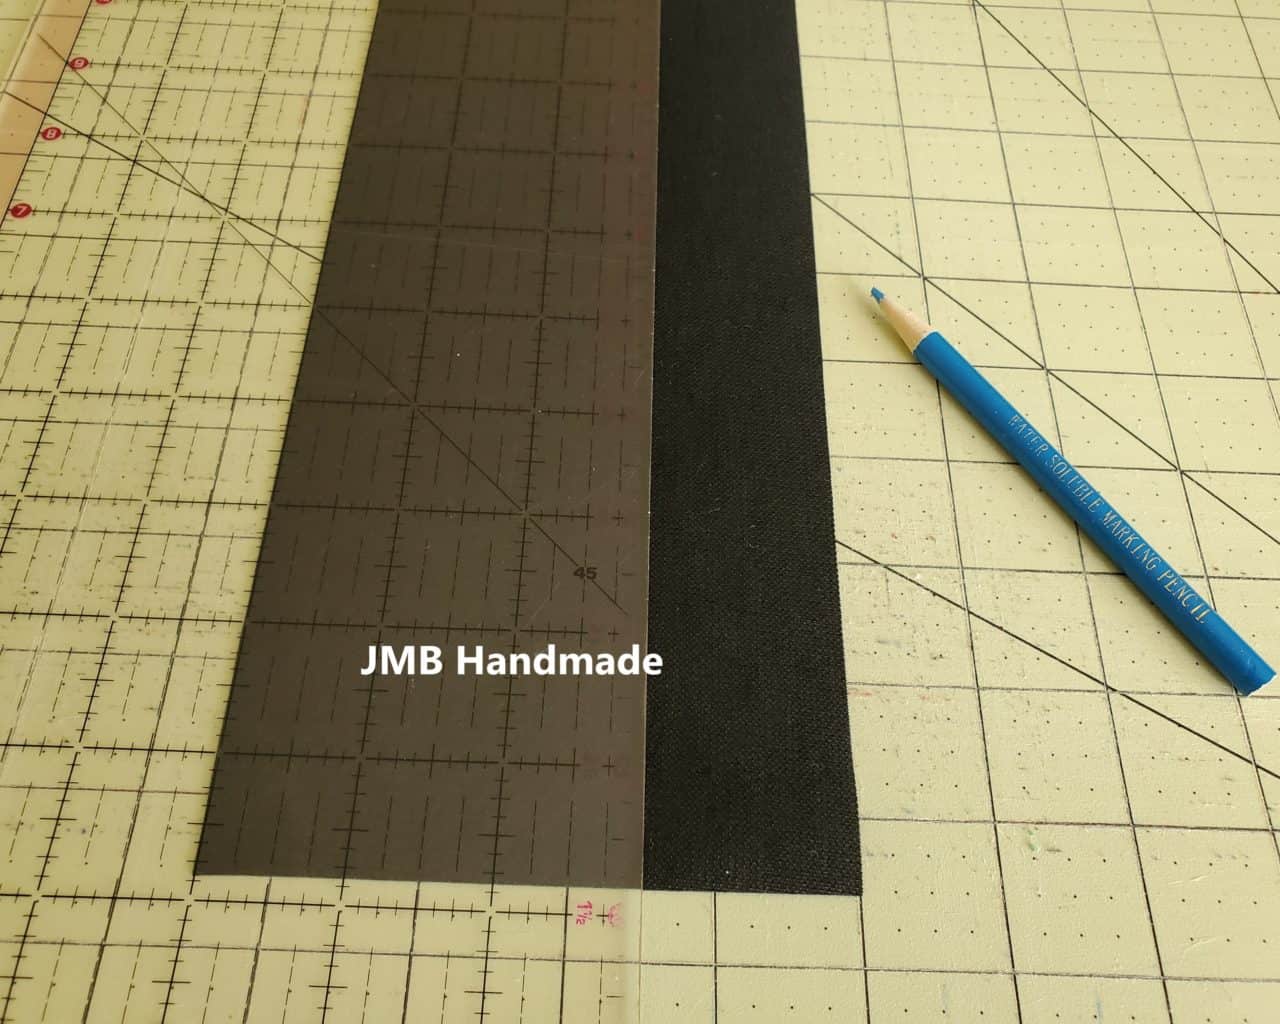
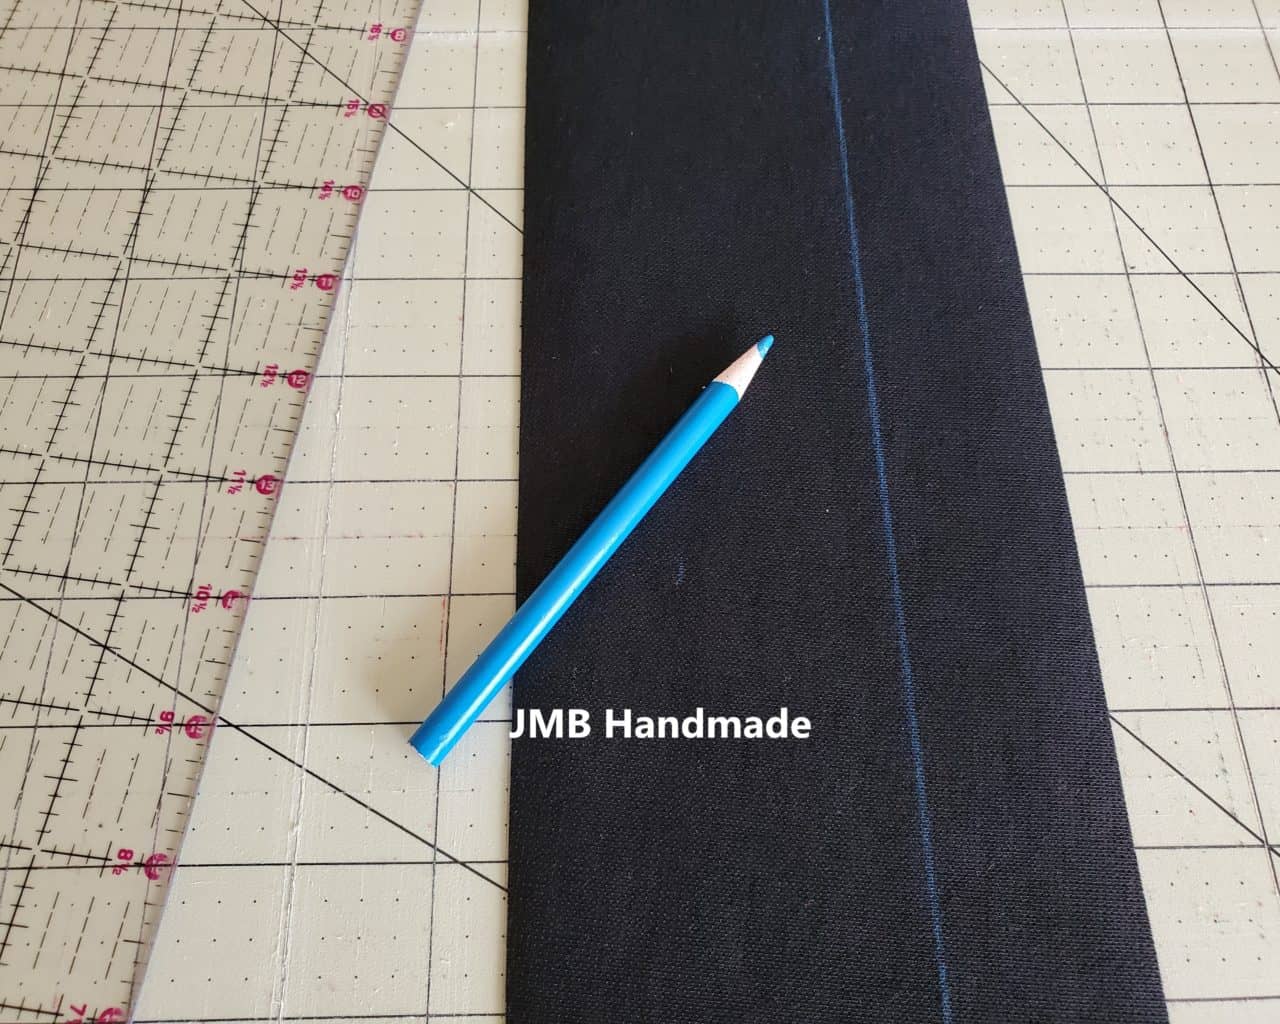
Measure 1 1/2 inches from the right edge of one of the purse straps and draw a line with your marking pencil. Do the same with the second strap.
Fold the straps
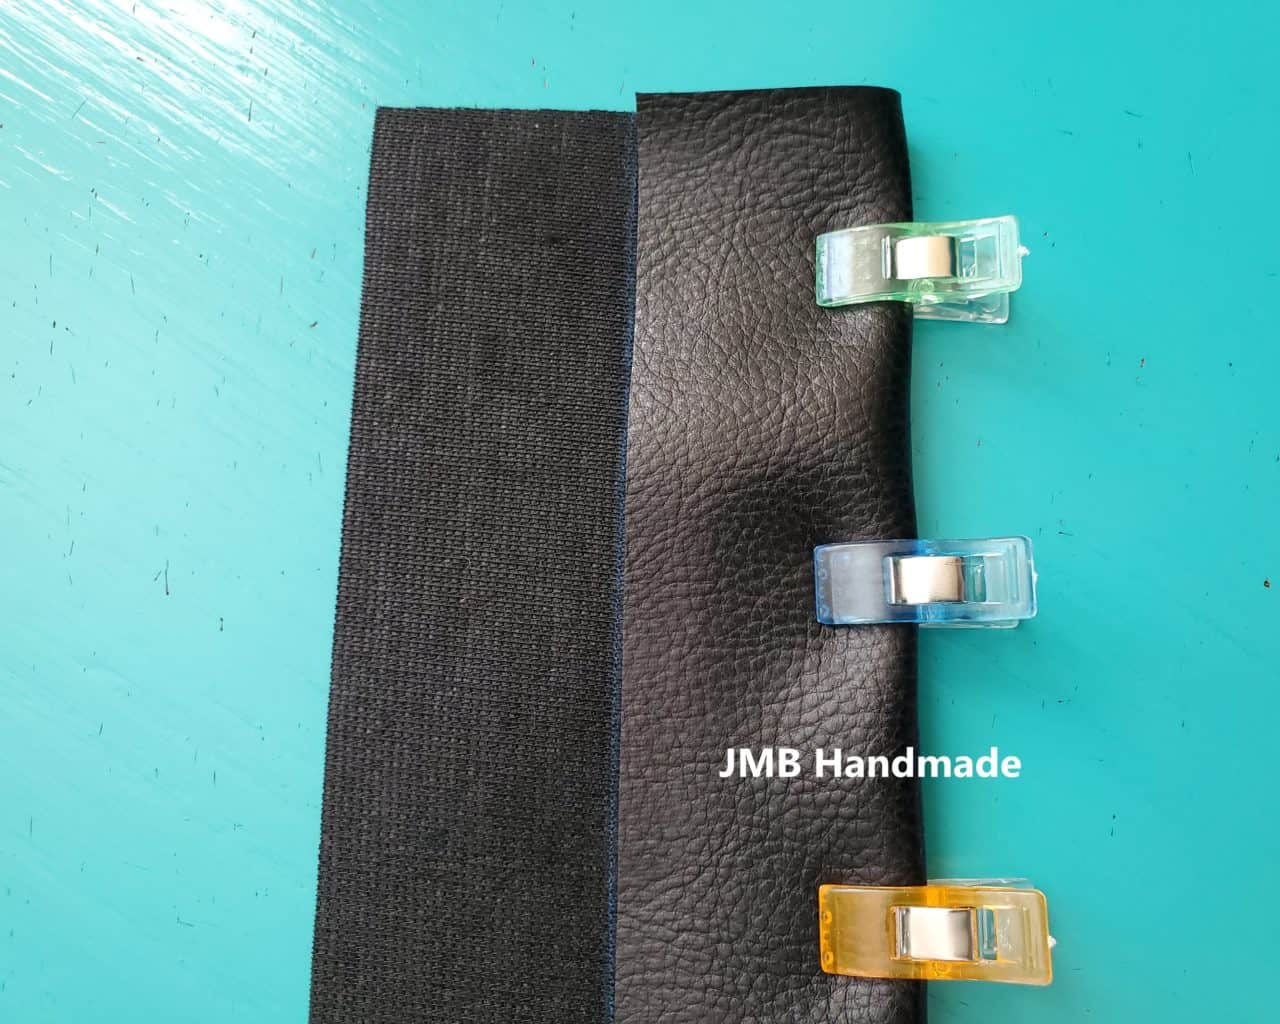
Fold the left side of the strap to the blue line. Hold in place with your sewing clips. NOTE: you do not want to use straight pins on leather or vinyl because the pins will leave visible holes.
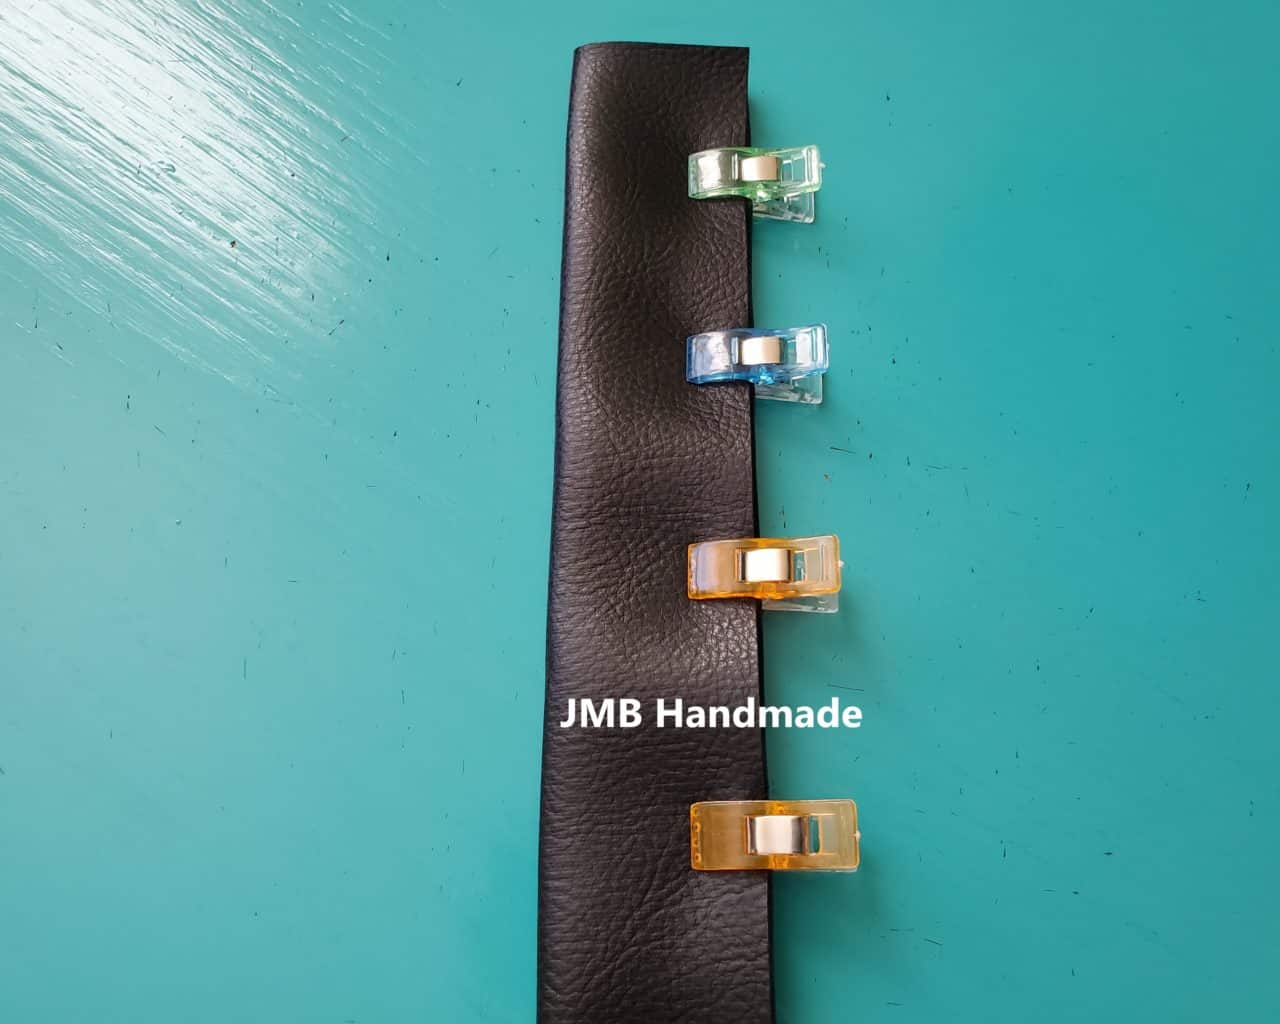
Now fold the other side of the handbag strap over and hold in place with the sewing clips as shown above.

***You can find the ad-free, printable PDF version of this sewing tutorial available for purchase HERE. Includes 7-pages of step-by-step instructions with pictures. Print a copy to keep next to your sewing machine for easy reference.***
Sew together
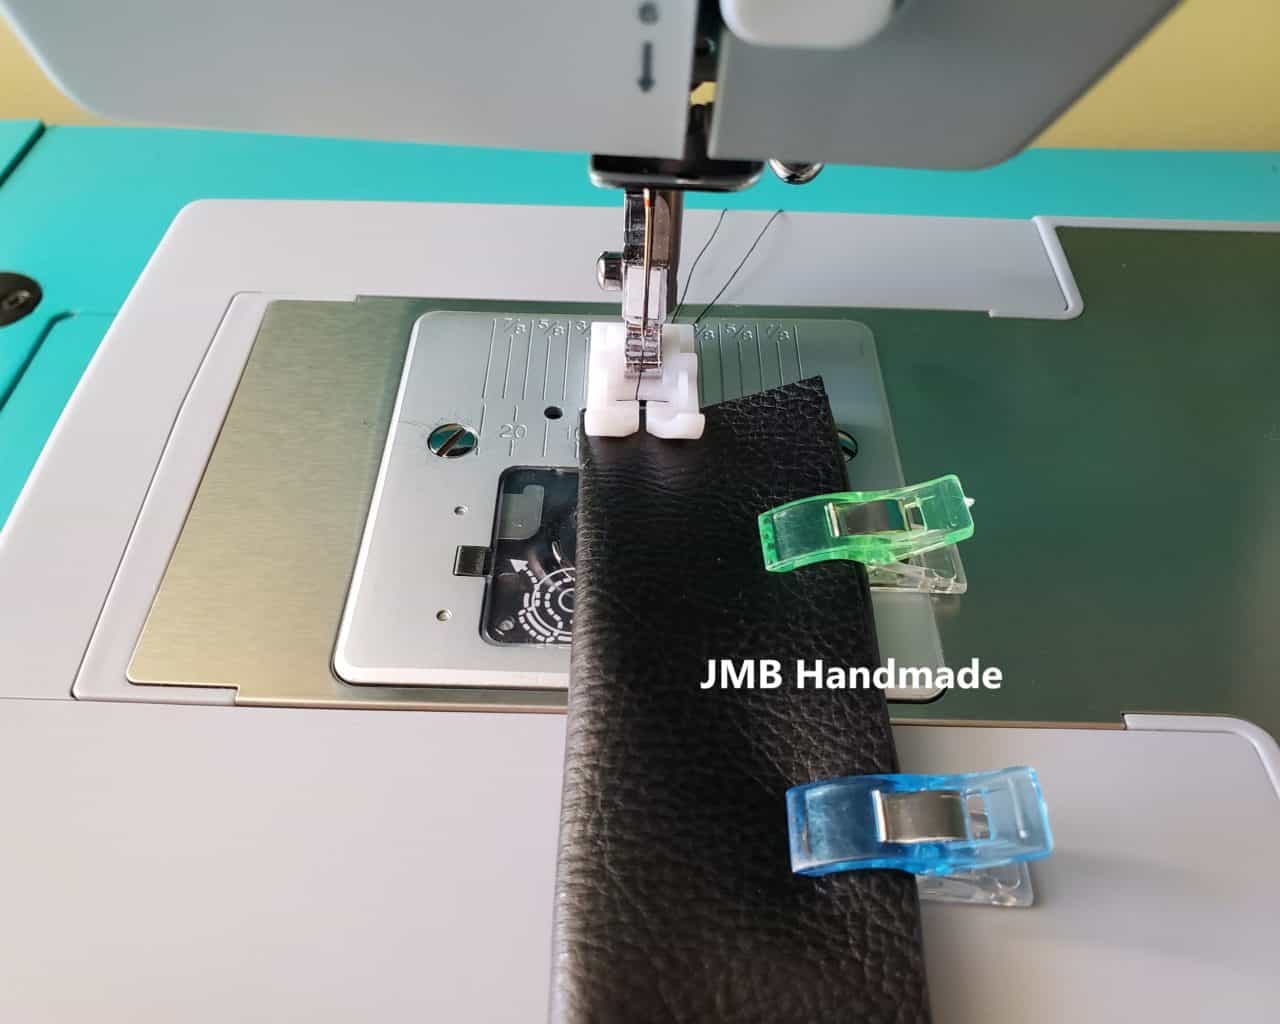
Using your nonstick presser foot, straight stitch about a 1/4 inch from the edge without the clips. If you don’t have a nonstick presser foot, you can put tape on the bottom of your presser foot but this doesn’t always work.
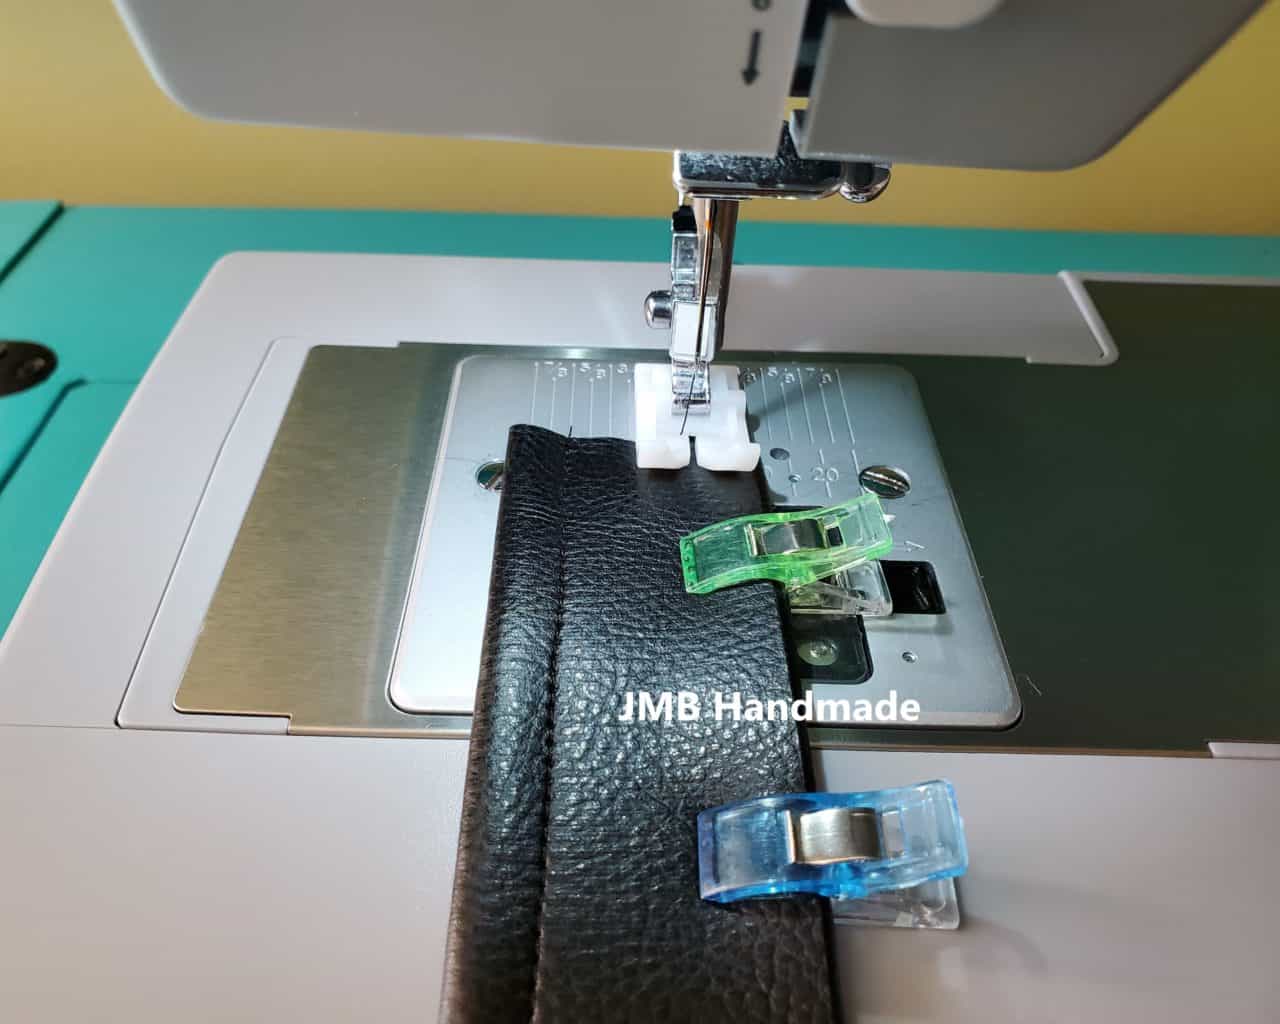
Sew using the straight stitch lengthwise on the side with the clips. Be sure to sew in the same direction to keep the strap from curling. An easy way to remember this is to wait until you are all finished to cut the starting thread. (Hope that makes sense!)
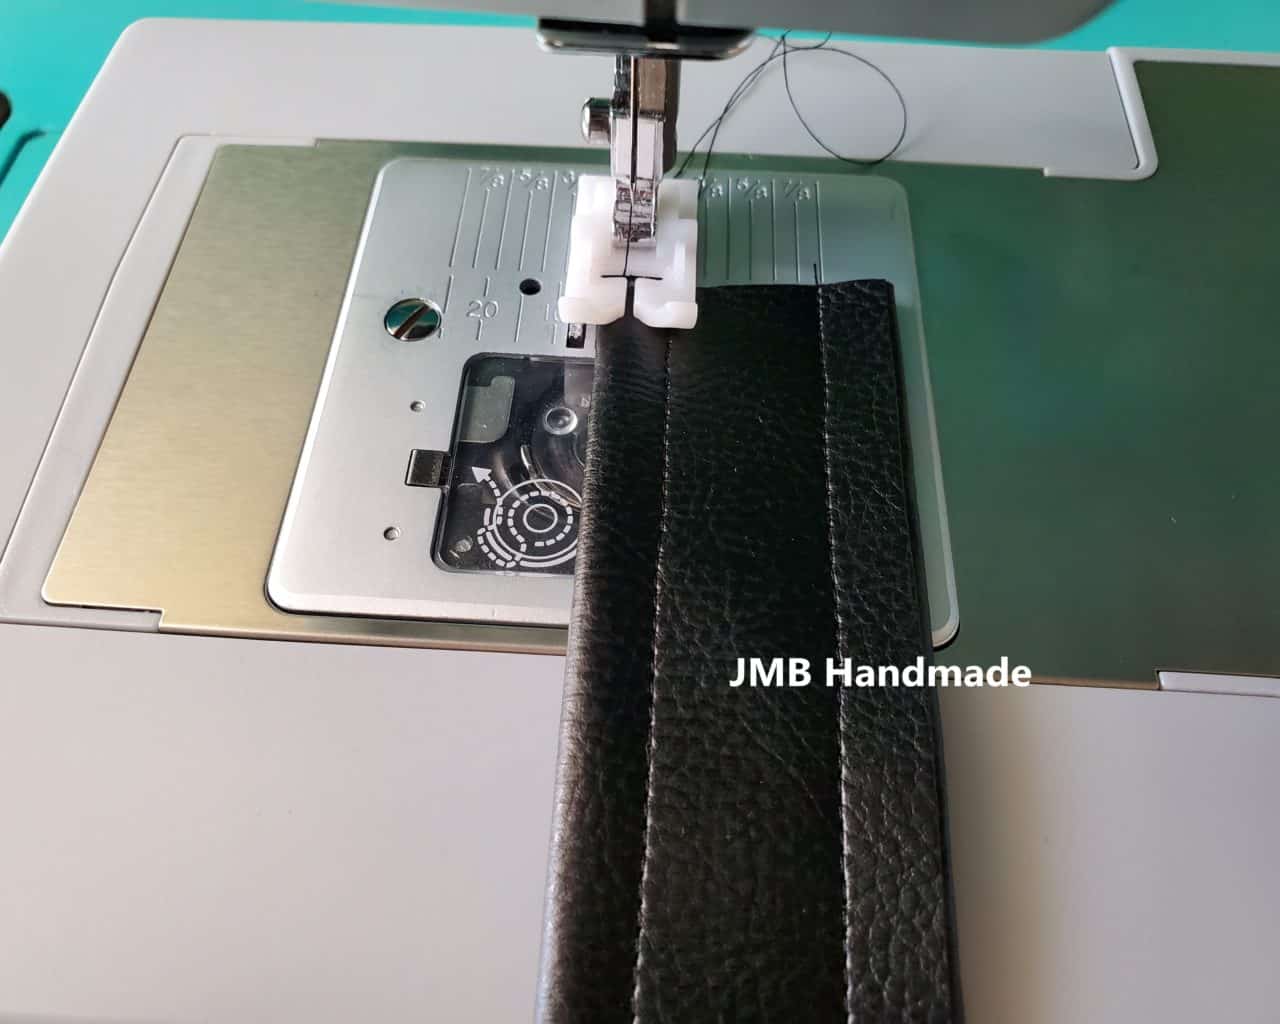
You should have straight stitches along both sides of the faux leather strap. To add a more finished look, straight stitch both sides close to the edge (see above picture).
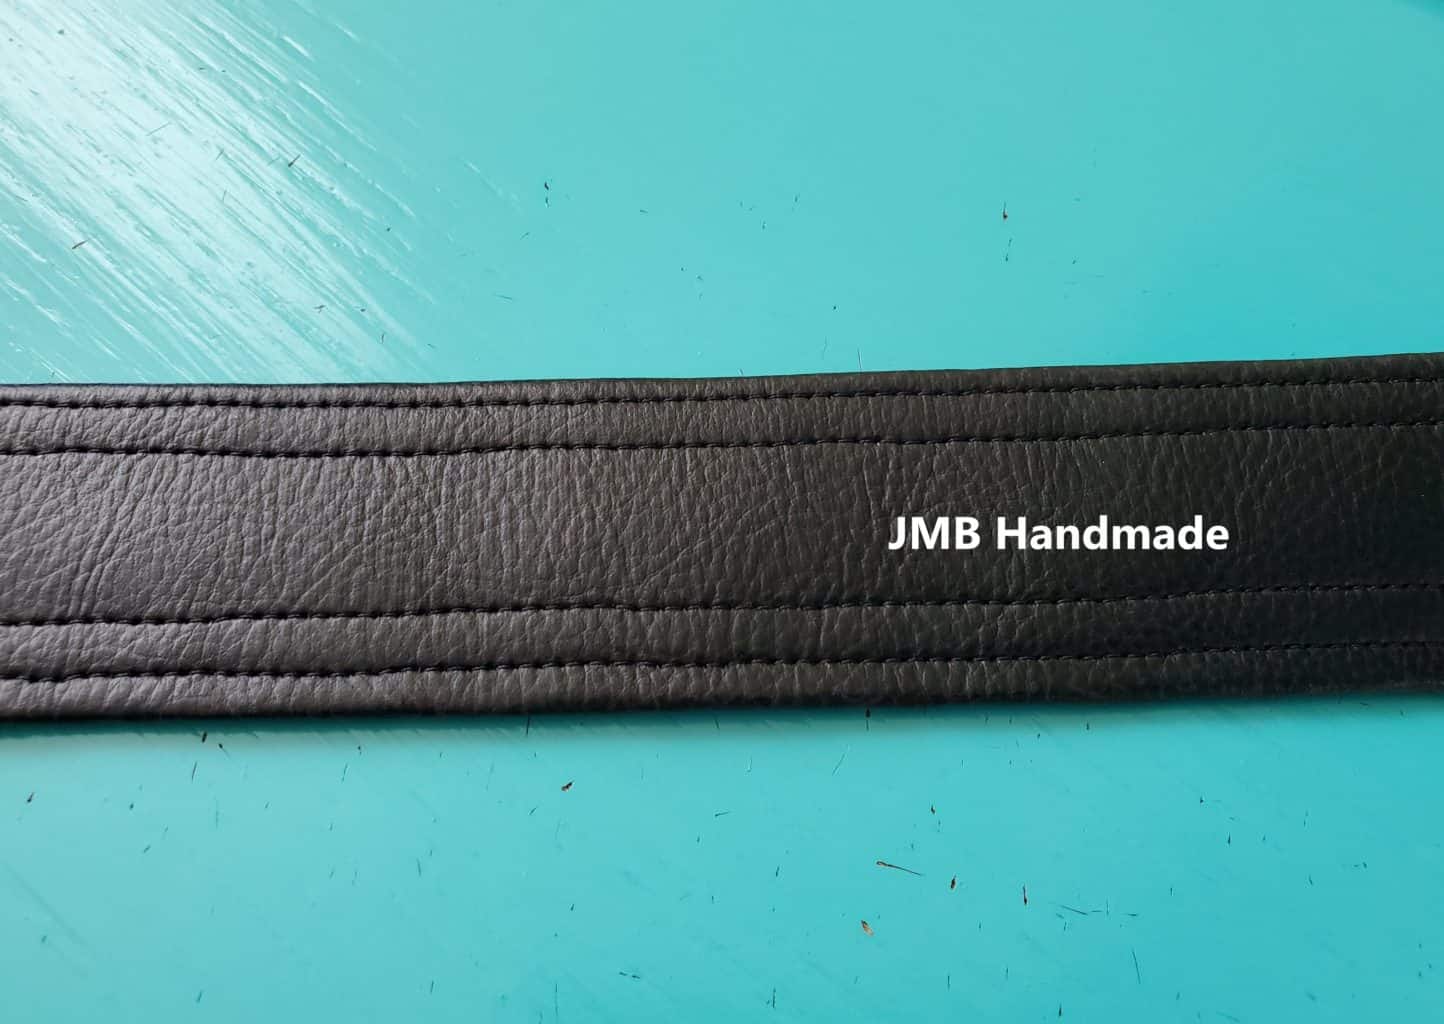
The picture above shows what your stitches should look like on the right side of the leather strap. Repeat these steps with the other strap.
You are finished!
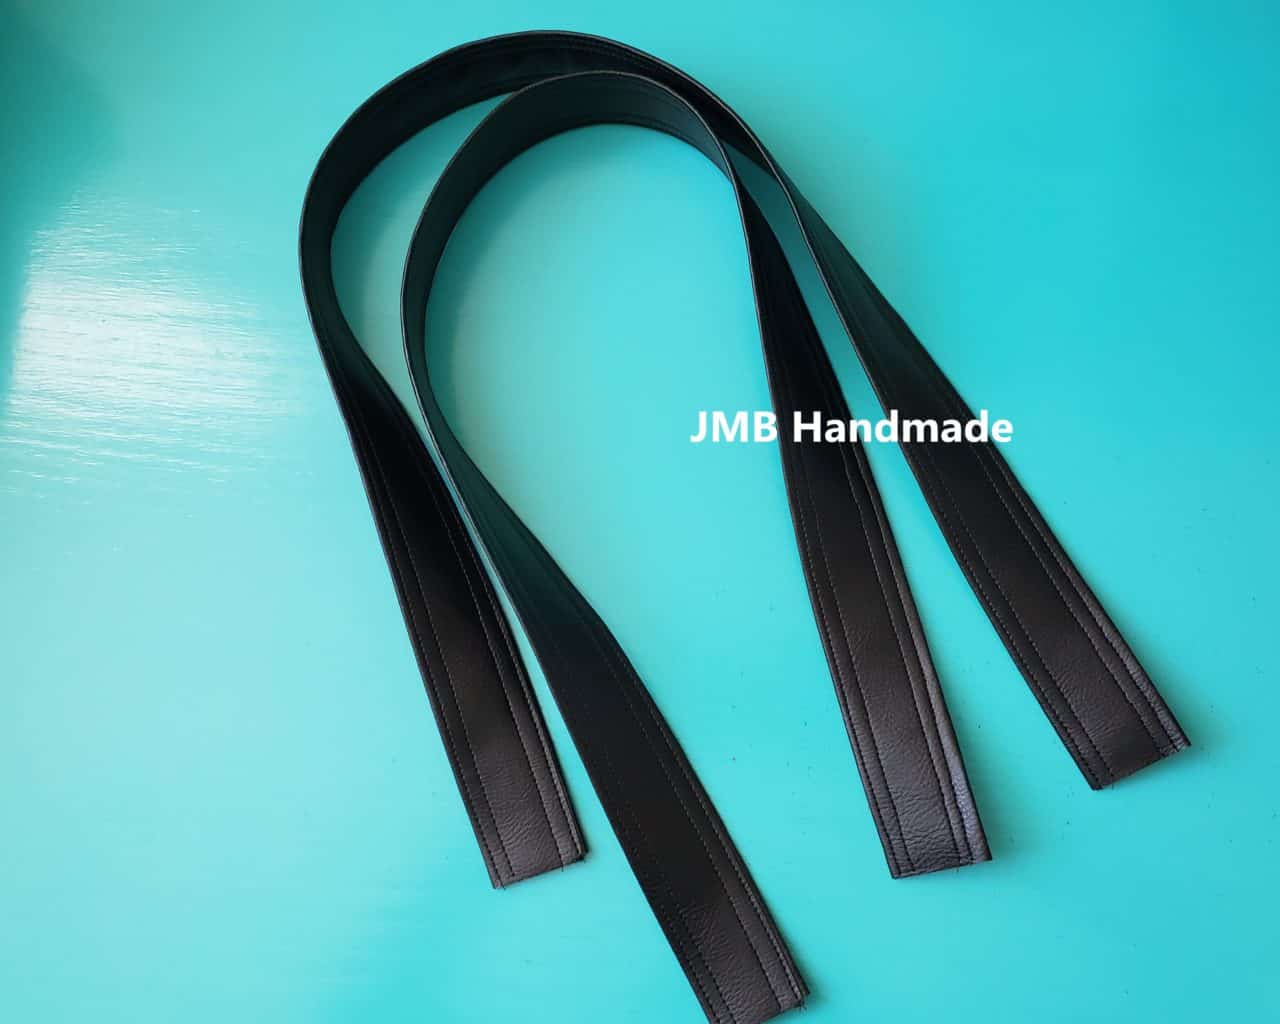
Now you’re ready to make your own leather or vinyl handbag straps to add to your tote bag or purse. Happy sewing!

***You can find the ad-free, printable PDF version of this sewing tutorial available for purchase HERE. Includes 7-pages of step-by-step instructions with pictures. Print a copy to keep next to your sewing machine for easy reference.***
Pin for later
