Curved Top Shoulder Bag Sewing Pattern

The curved top shoulder bag is a great addition to your sewing pattern library!
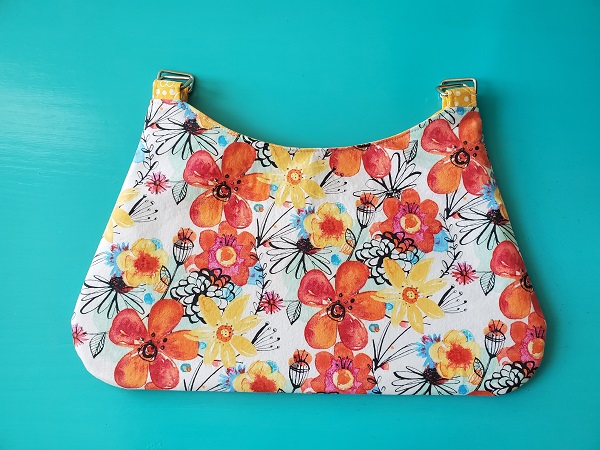
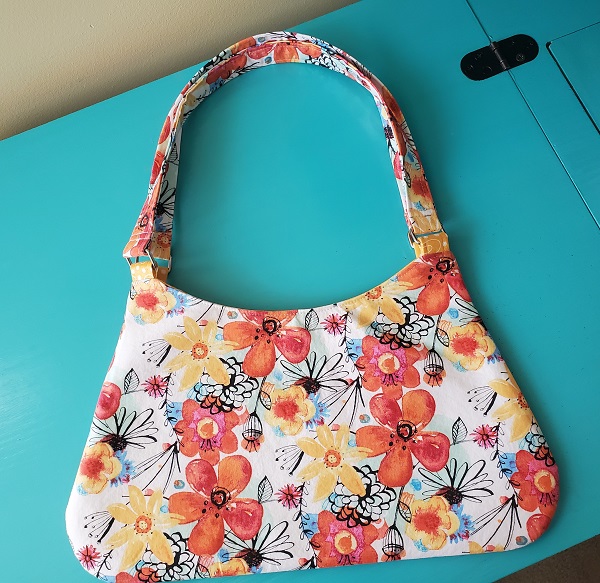
I created the curved top shoulder bag with rounded bottom because I like this style and wanted a new handbag with pretty colors. Of course, I had no idea how this bag was going to turn out but I have to say I am very pleased with the results. I hope you will be too!
Try sewing a coordinating small zipper pouch / coin purse and an easy travel fabric tissue holder to go with it!
Here are the step-by-step instructions on how I made this curved top handbag.
This post contains affiliate links. Please see below disclosure for more details.
***You can find the ad-free, printable PDF version of this sewing tutorial available for purchase in my Etsy shop HERE. Includes 26-pages of step-by-step instructions with pictures and templates. Print a copy to keep next to your sewing machine for easy reference.***
Curved top shoulder bag supplies list:
- Two outer fabric pieces 17-inches by 11-inches and two long straps each 4-inches by 23-inches – my favorite fabric shop
- Two fabric pieces measuring 10-inches by 6-inches for slip pockets
- Two lining fabric pieces 17-inches by 11-inches four short straps 4-inches by 2-inches
- Fusible Interfacing – Pellon 911FF Fusible Interfacing is my preference
- Pellon Easy Pattern (optional)
- Cutting mat
- Rotary cutter
- Clear ruler
- Four 1-inch rectangle rings (purse hardware)
- 7-inch zipper (optional)
- Magnetic snap
- Marking pencil
- Seam ripper
- Curved top shoulder bag pattern template (see below for download)
- Matching thread
- Sewing scissors
- Sewing machine
Download and print the curved top bag pattern
Download the curved top shoulder bag template by clicking the blue button.
Print the template. Be sure it is set to print actual size.
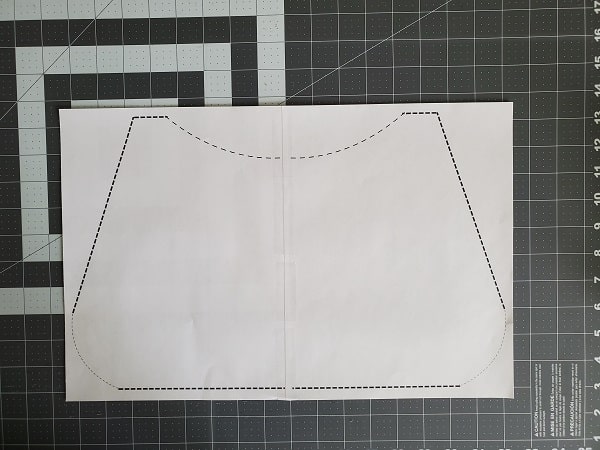
Once you have the pattern printed, line up the pattern and tape together. Cut out the pattern (be sure to use your paper scissors!)
At this point, you can either use the paper pattern or trace the pattern onto Pellon Easy Pattern 830. I traced onto the easy pattern because I plan on making more than one handbag using this pattern and the easy pattern will last much longer!
Keep track of your sewing projects, like this one, with a sewing planner. This sewing planner is specifically designed for non-clothing sewing projects and helps you stay organized – fabric used, measurements, hardware used, notes, etc. Also included are pages such as sewing tips and fabric shops. Get your sewing planner HERE.
Attach the fusible interfacing
Maybe it’s been so long since I’ve made a handbag but I totally forgot to attach the fusible interfacing before cutting (see above picture). I prefer Pellon 911FF Fusible Interfacing for all of my handbags accessories sewing projects. It’s much easier to attach the interfacing before cutting out your purse.
Cut the fusible interfacing big enough to cover the pattern. Attach the interfacing to two pieces of outer fabric and two pieces of lining fabric using your steam iron and following the package instructions.
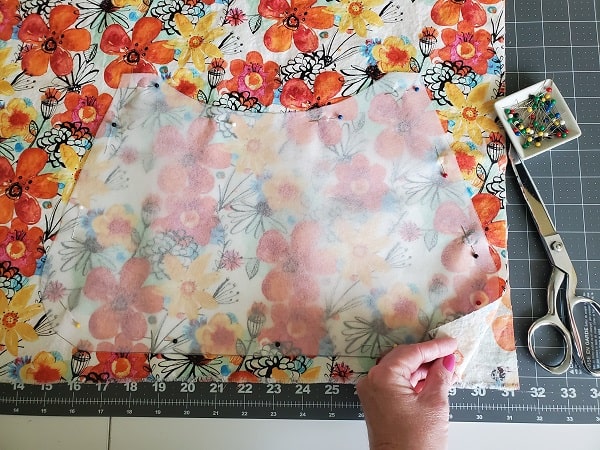
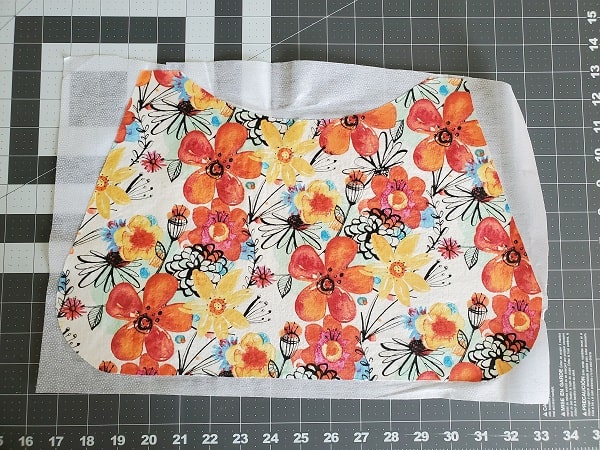
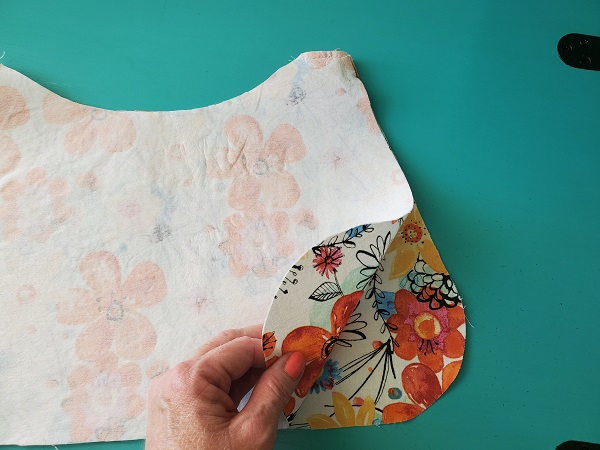
Place your outer fabric wrong sides together. Pin your pattern onto the fabric and cut using your sewing scissors. These are the front and back fabric pieces for the outside of your purse.
Repeat this step using your lining fabric.
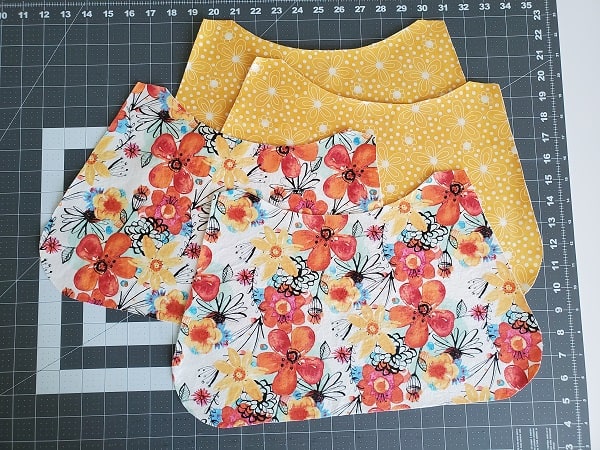
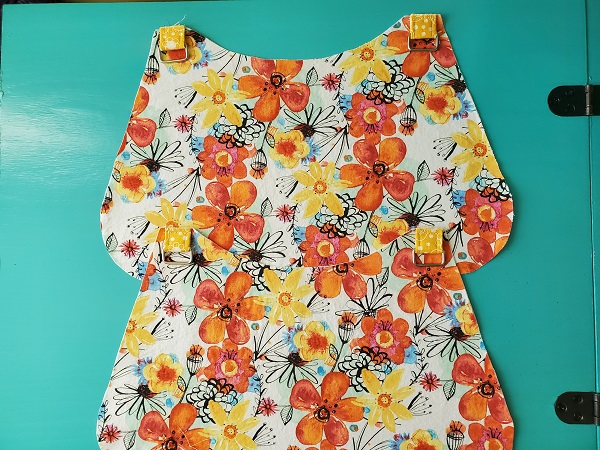
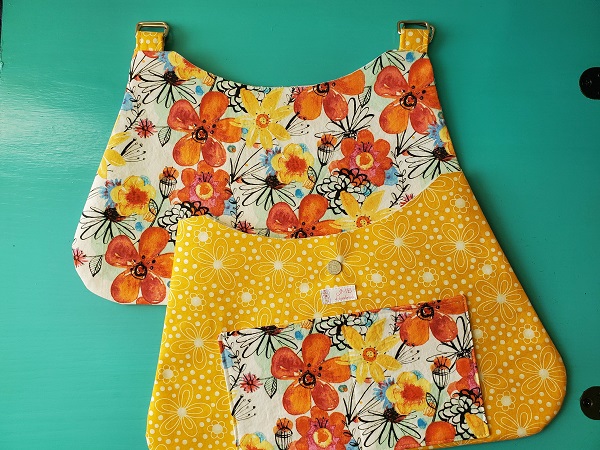
You now have both your outer fabric pieces and your lining fabric pieces for your shoulder bag as shown in the above picture.
Make the long purse straps
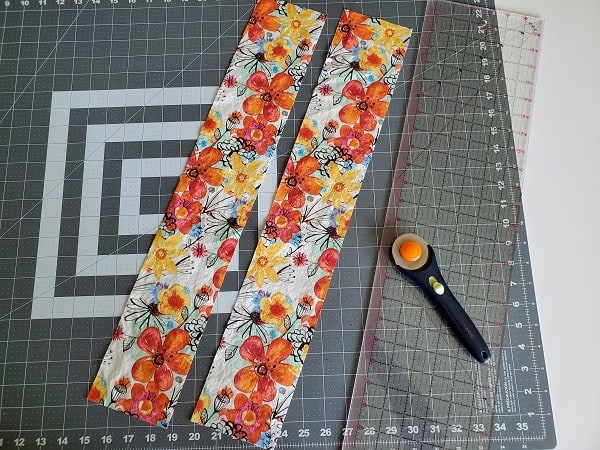
Using your cutting mat, rotary cutter and clear ruler, cut two pieces of your outer fabric 4-inches wide by 23-inches long. These fabric pieces will be your long straps.
Next, cut the fusible interfacing just smaller than each strap and about 1/2-inch shorter on each end. (I’ll explain why in a later step).
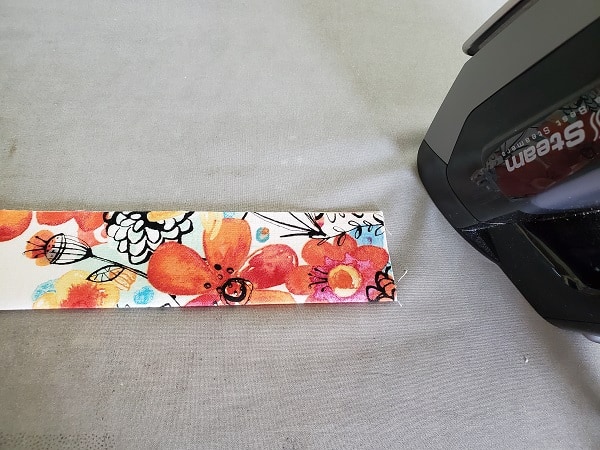
Fold each strap lengthwise and press the fold.
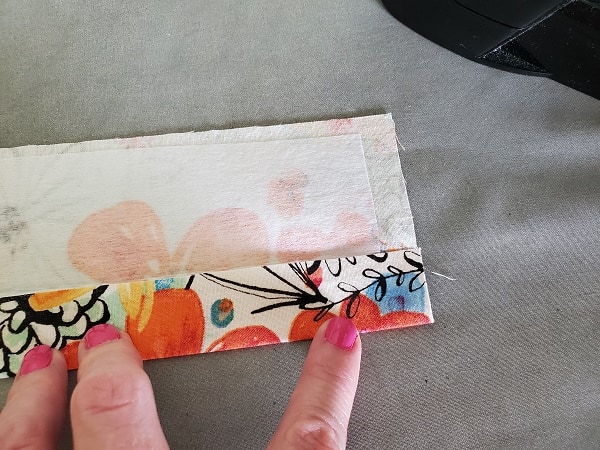
Press the outside edge to the center crease you just made.
Repeat with the other outside edge of the strap.
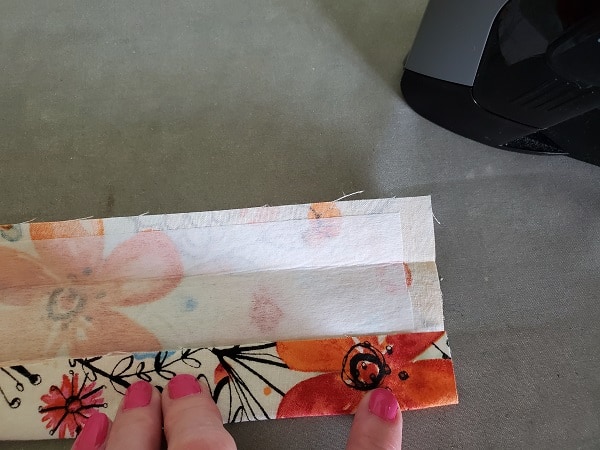
Fold the strap in half and press. For this curved top purse, your straps will be 1-inch wide.
RULE OF THUMB: Decide how wide you would like your straps to be and then multiply by 4 and that will be how wide to cut your fabric.
Now you find out why you cut the interfacing about 1/2-inch shorter on each end.
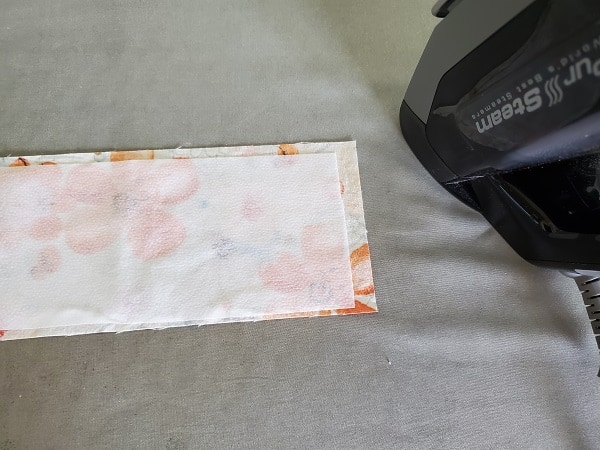
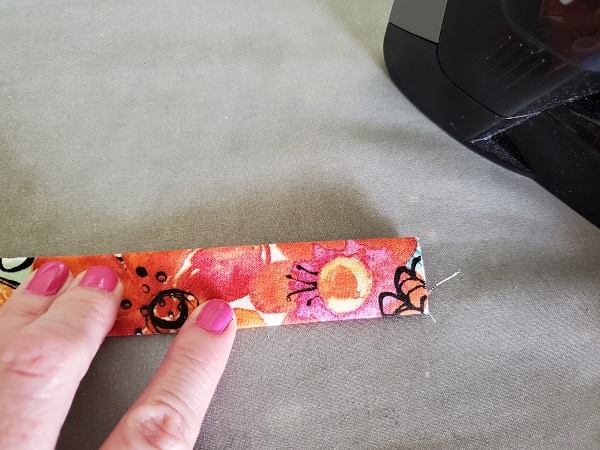
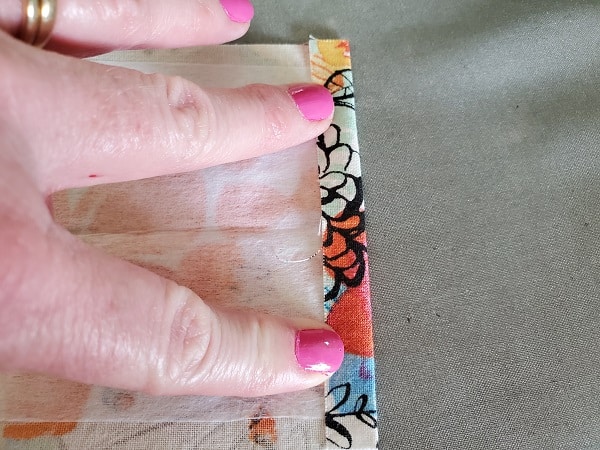
Unfold your strap and then fold one short end 1/2-inch and press.
Next, fold the strap together again and press. Pin in place. The reason I don’t use the interfacing all the way to the end of the strap is because it makes this step too bulky.
Hemming the ends in this step gives the straps a finished look.
Repeat with the other short end of this strap and both short ends of the other long strap.
Make the short purse straps
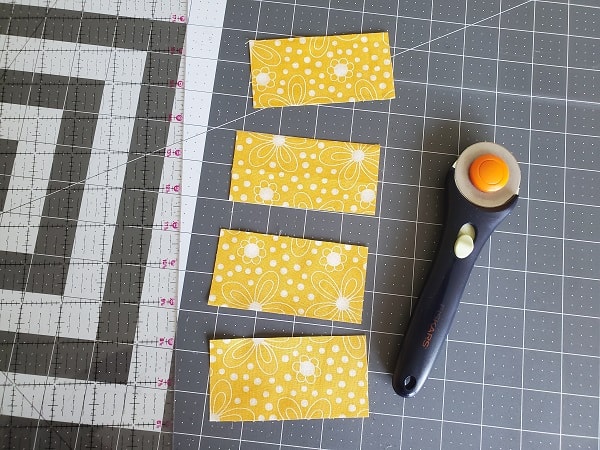
Use your cutting mat, clear ruler and rotary cutter to cut your lining fabric into four pieces measuring 4-inches wide by 2-inches long. I like to use the lining fabric instead of the outer fabric to add an accent color.
Add the fusible interfacing to each short strap piece. No need to cut the interfacing shorter on each end. The ends of the short straps will not be showing once the purse is finished.
Follow the same steps to fold the short straps as you did for the long straps (without folding the short ends).
Sew all the straps
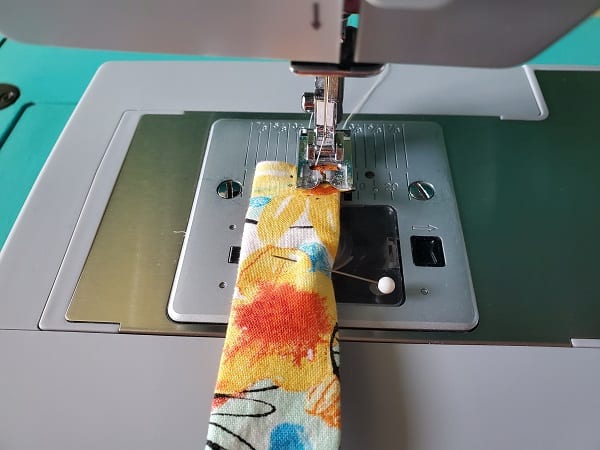
Straight stitch along each edge lengthwise with a 1/4-inch seam allowance. Repeat with all strap pieces.
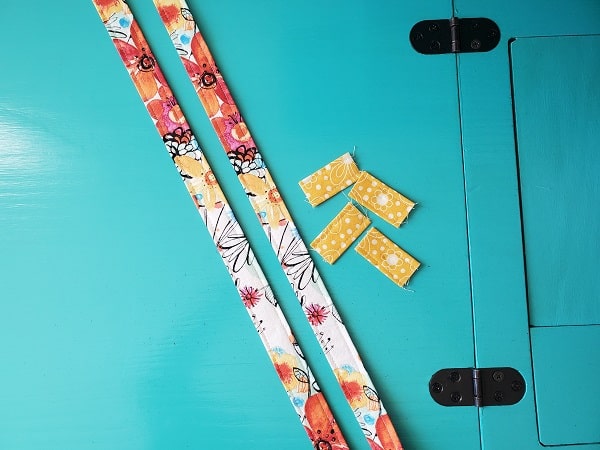
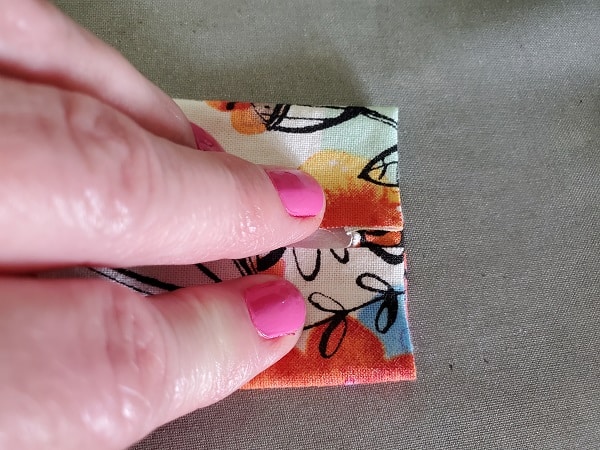
The above picture shows what your straps should look like.
***You can find the ad-free, printable PDF version of this sewing tutorial available for purchase in my Etsy shop HERE. Includes 26-pages of step-by-step instructions with pictures and templates. Print a copy to keep next to your sewing machine for easy reference.***
Add slip pockets to your curved top shoulder bag
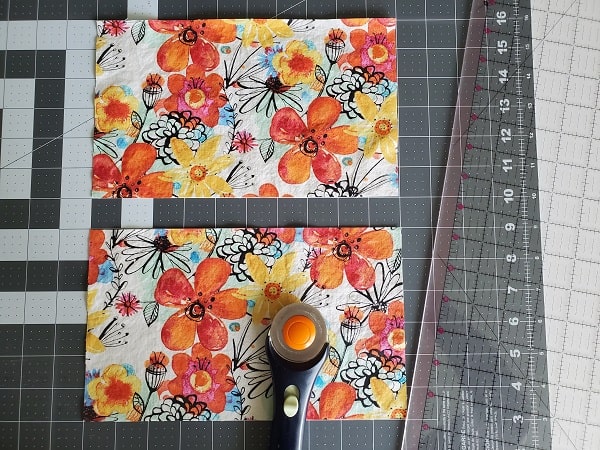
I like to use the outer fabric for my inside pockets as an accent. Again use your cutting mat, rotary cutter and clear ruler to cut the outer fabric into 2 pieces measuring 10-inches wide by 6-inches long. Attach the fusible interfacing to one pocket piece.
Place the pocket piece with the interfacing on top of the other pocket piece, right sides together as shown in the above picture.
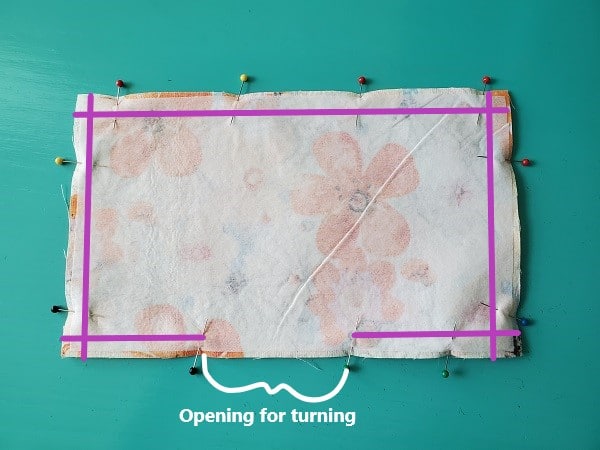
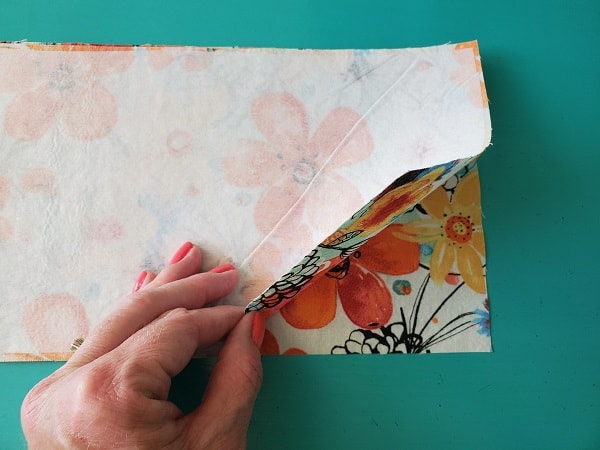
Sew around the outside perimeter, leaving an opening at the bottom for turning.
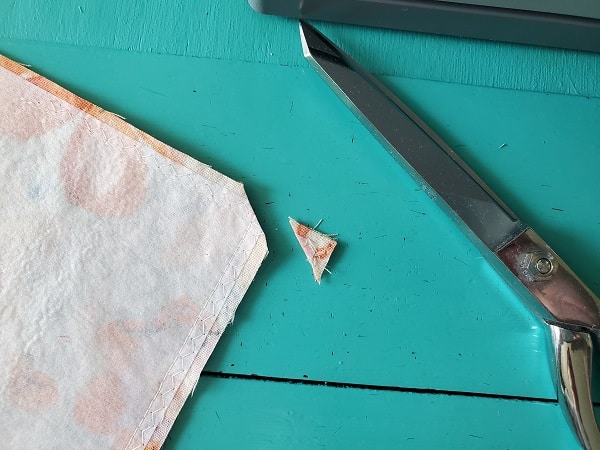
Clip the corners using your sewing scissors.
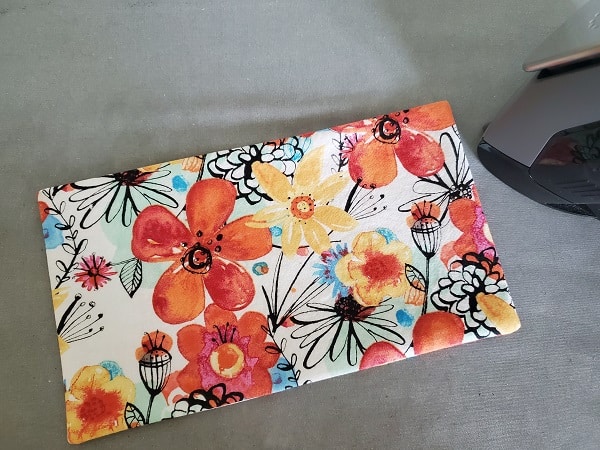
Turn right side out, pushing out the corners and press.
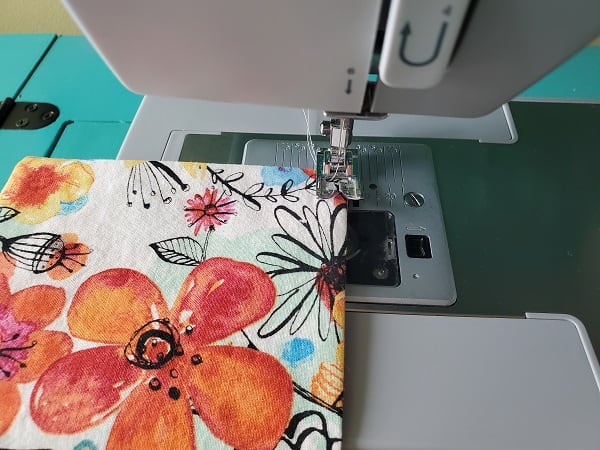
Straight stitch along the top of the pocket to give it a finished look. (The opening at the bottom will be sewn closed when you sew the pockets onto the bag.
Sew the pockets onto the handbag
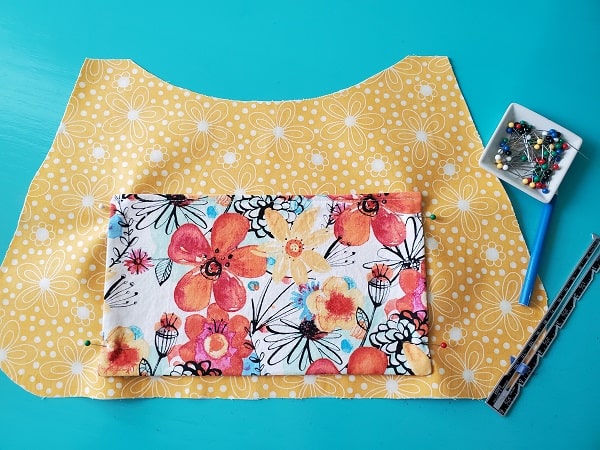
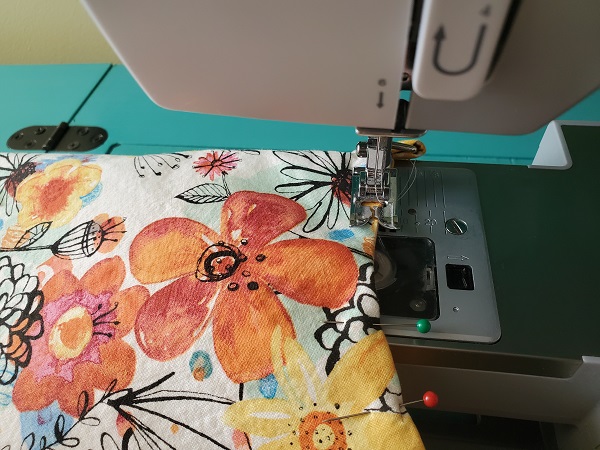
Figure out where you want to attach the pockets. Make sure you have enough room for the seam allowance and to add the magnetic snap in a later step. Pin the sides in place.
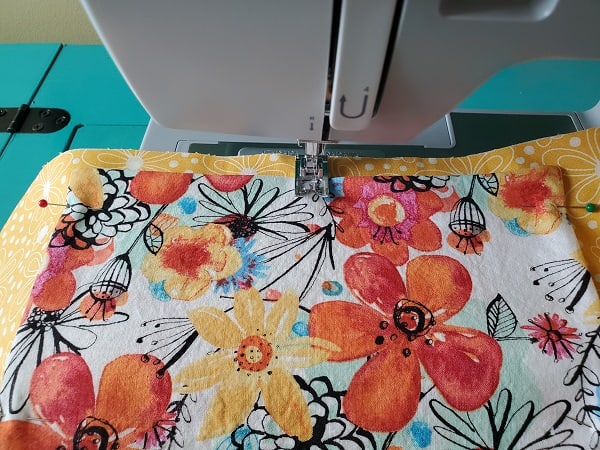
Find the middle and use your marking pencil to mark the top and bottom. Starting at the bottom of the pocket, straight stitch from the bottom mark to the top mark. Back stitch at the beginning and end. This line of stitches creates the two pockets. You might need to smooth out your pockets and re-pin the sides and bottom.
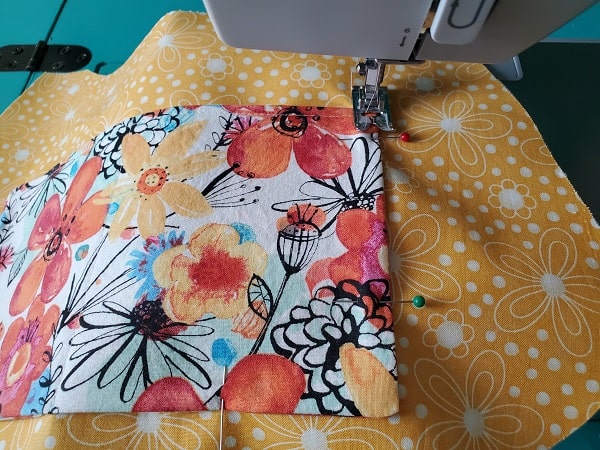
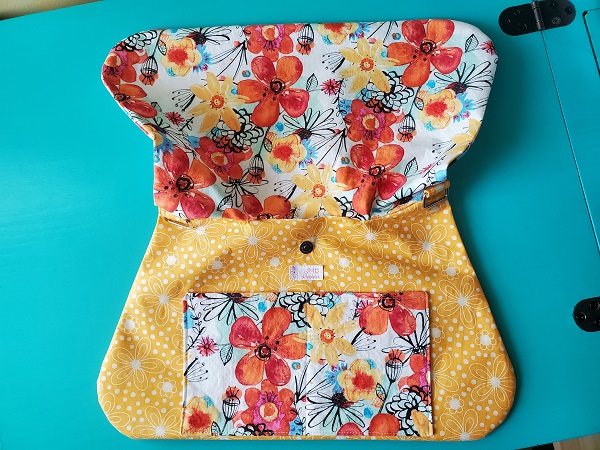
Now sew the sides and bottom of the pockets, pivoting the corners. Be sure to back stitch the beginning and end. Your pockets are now attached and the opening for turning is sewn closed.
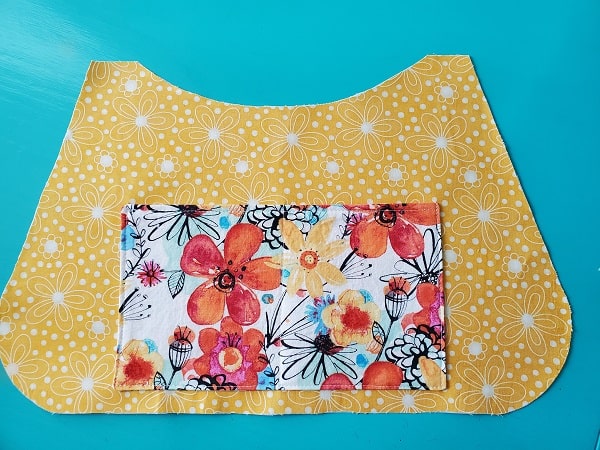
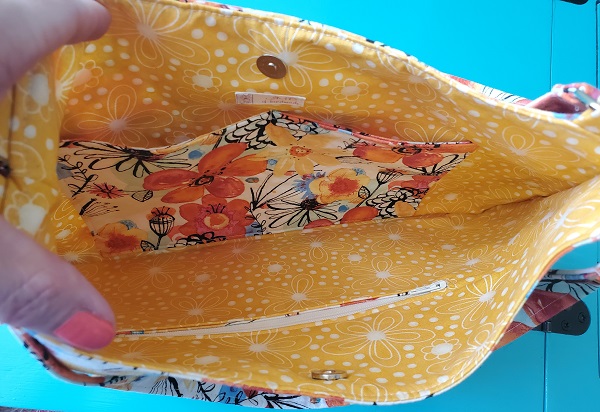
The above picture shows what your pockets should look like.
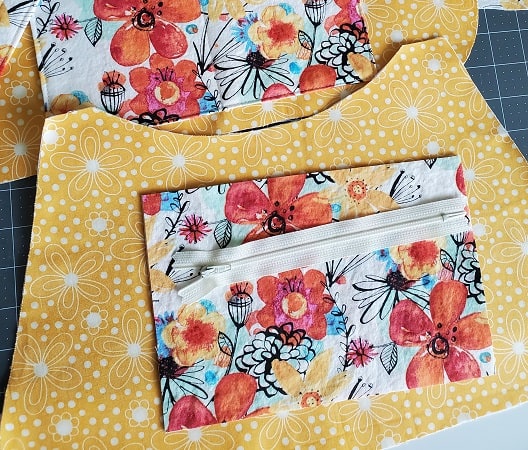
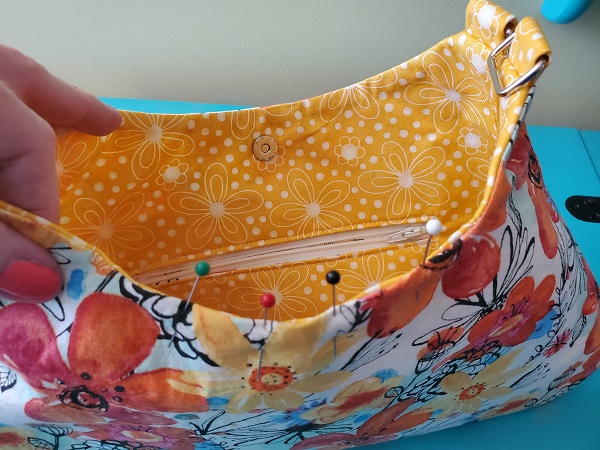
I added a zipper pocket to the other lining piece. This is optional but I always say a zipper pocket is a must have for any handbag! You can find the instructions on how to add a zipper pocket to your purse here.
Add the magnetic snap closure
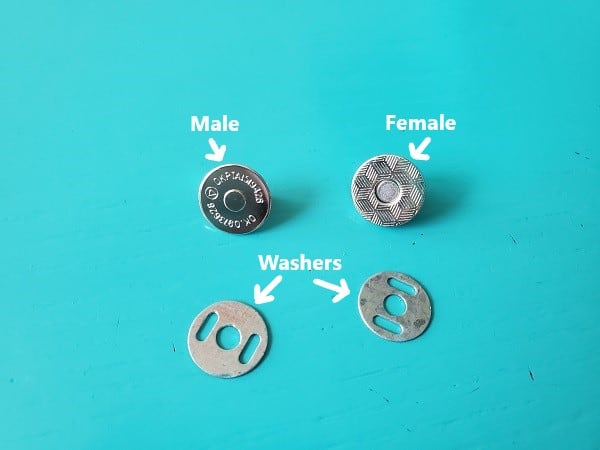
The magnetic snap has four parts – male, female and two washers.
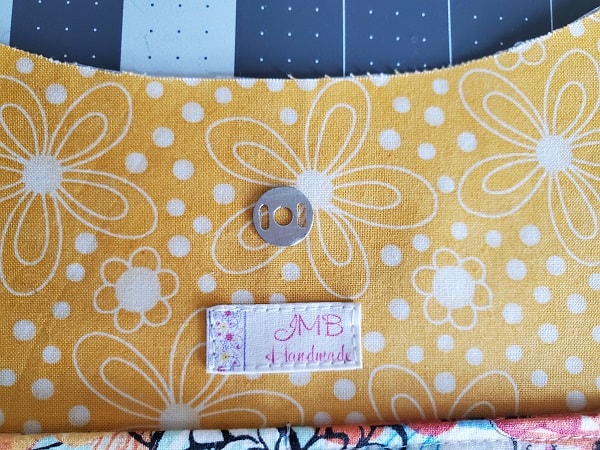
Figure out where you would like the magnetic snap to be and place one of the washers there. I usually eyeball the center. You also want to make sure you have enough room for the seam allowance at the top.
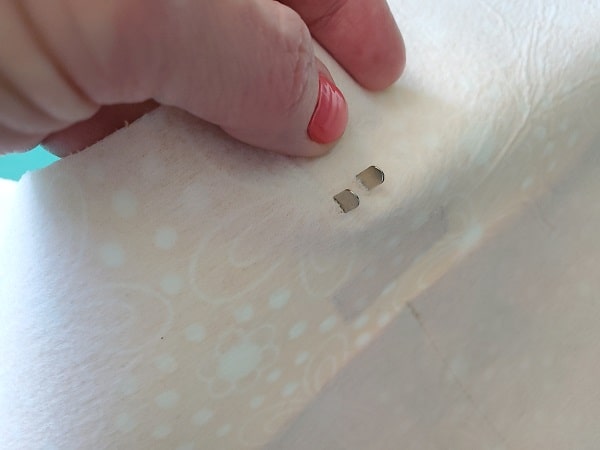
Mark the washer slots on the fabric with a marking pencil. Cut the slits with your seam ripper (cut just smaller than your pencil mark. You don’t want the slit too big).
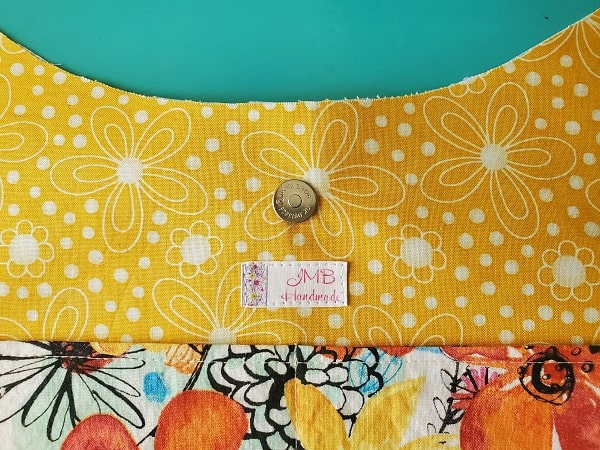
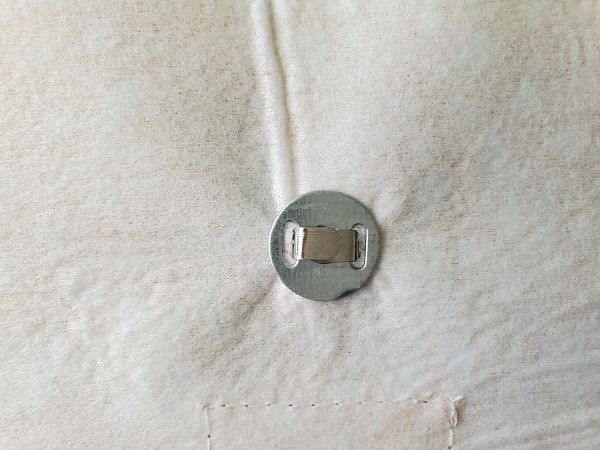
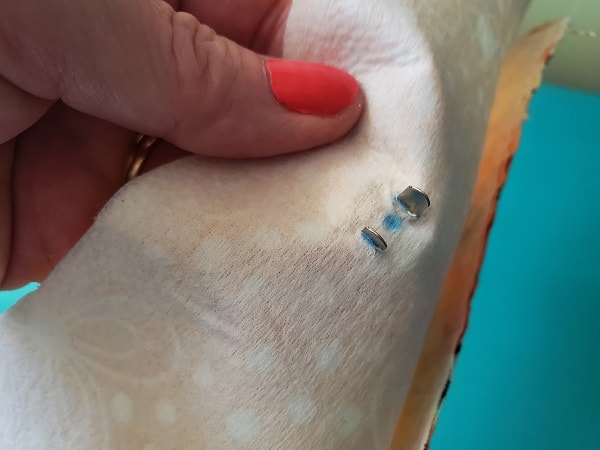
Push the prongs on the male snap through the slits you just made.
Place the washer on the back of the male snap through the slits as shown in the above picture.
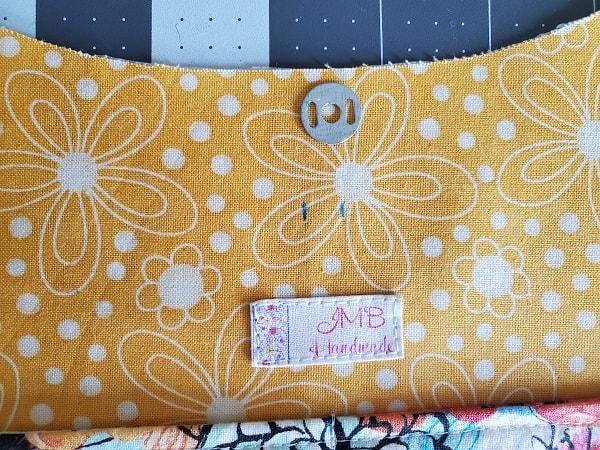
Hold down the washer and fold one prong towards the center of the snap. I use scissors or something sturdy to push down on the prong.
Repeat this step with the other prong.
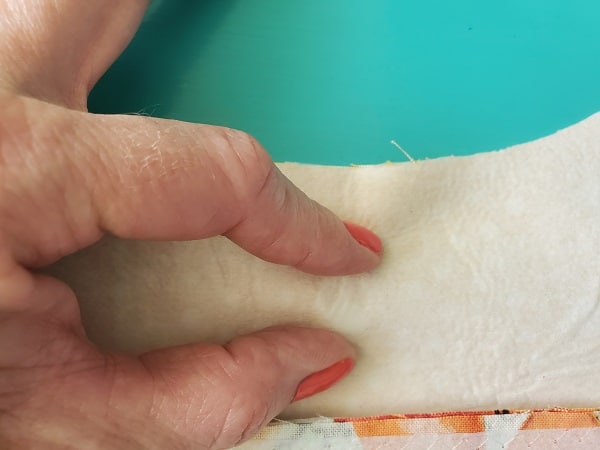
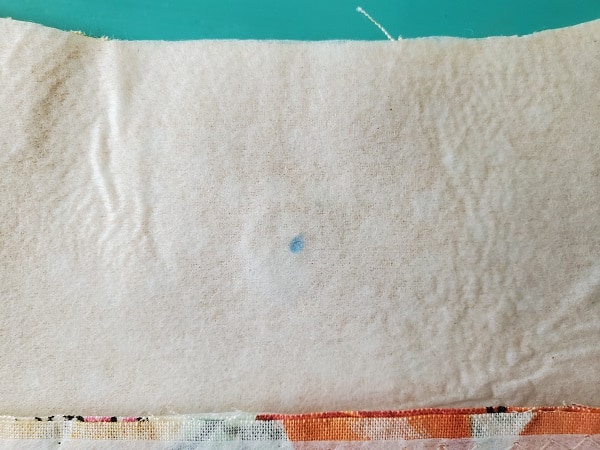
Next, place the purse lining pieces on top of each other, right sides together. Press on top of the male snap you just installed. You should be able to see the outline of the snap. Mark a dot in the center of the snap with your marking pencil.
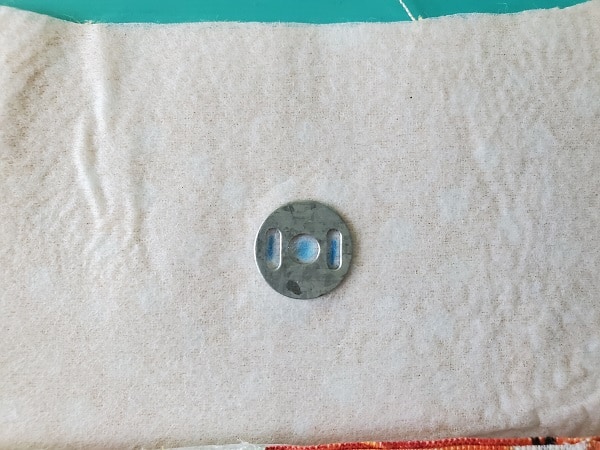
Place the second washer on top of the dot you marked so the dot is showing through the center of the washer. Use your marking pencil to mark the slits.
Repeat the above steps to attach the female snap.
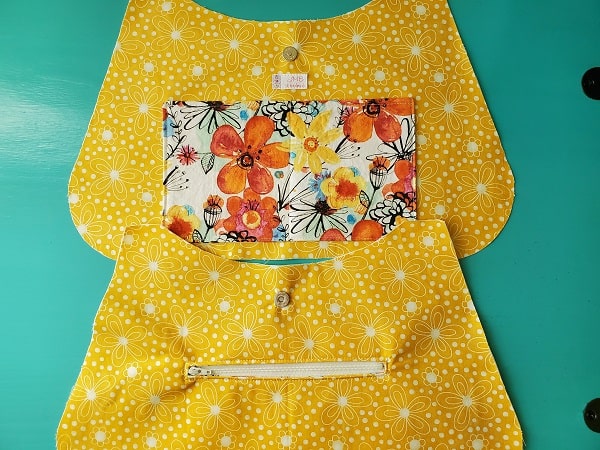
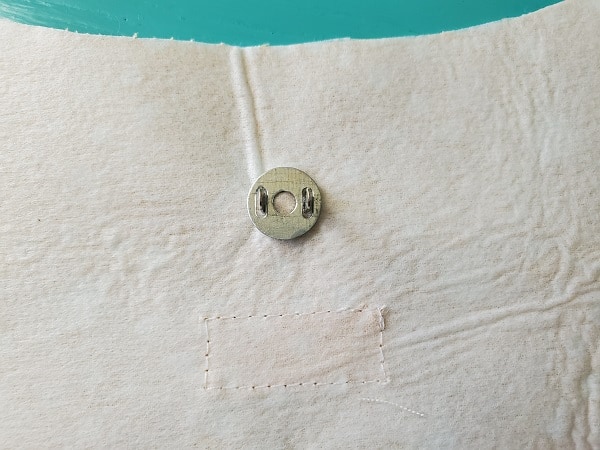
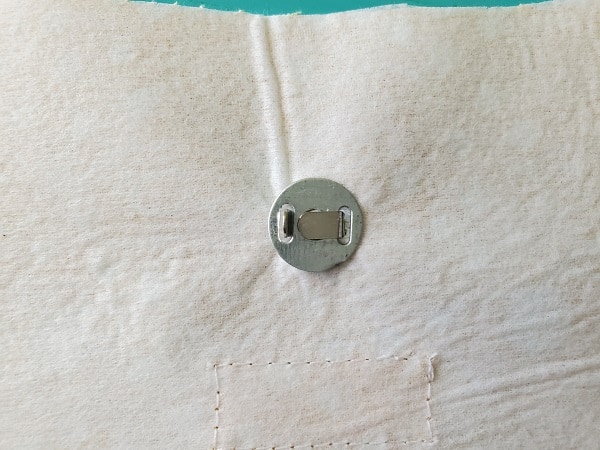
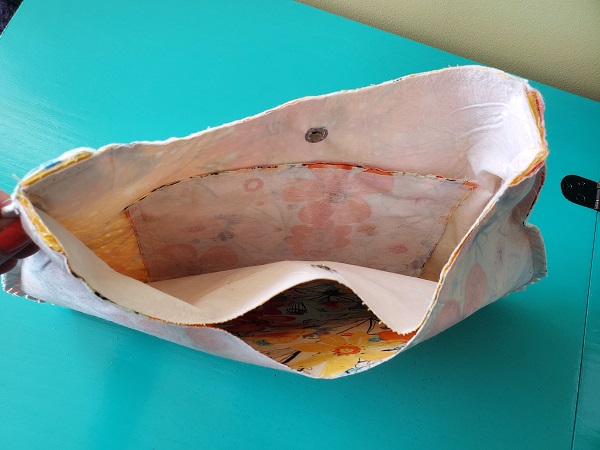
The above picture shows the two purse lining pieces with the magnetic snaps attached.
***You can find the ad-free, printable PDF version of this sewing tutorial available for purchase in my Etsy shop HERE. Includes 26-pages of step-by-step instructions with pictures and templates. Print a copy to keep next to your sewing machine for easy reference.***
Attach the four small straps
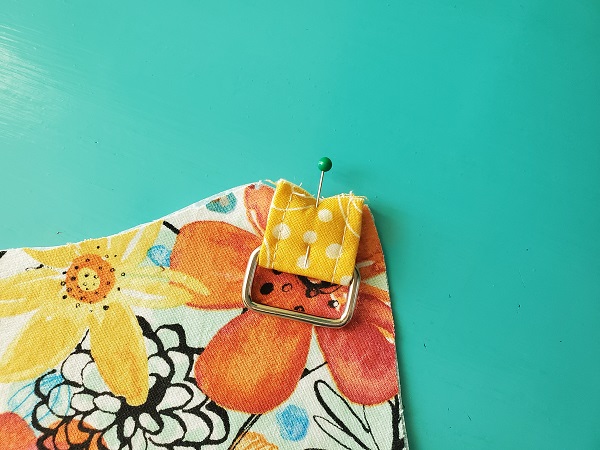
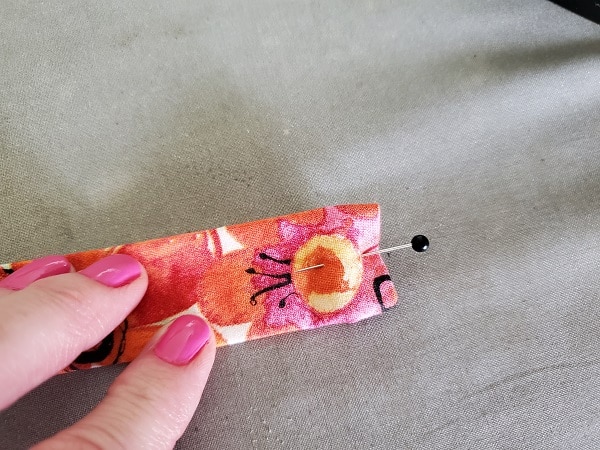
Slip one of the rectangle rings onto a small strap and fold in half, short ends together. Pin to the center of the top of the outer fabric piece.
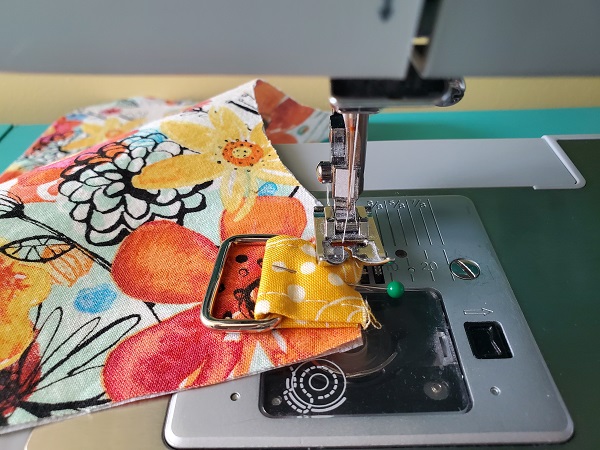
Baste the strap to hold in place using about 1/4-inch seam allowance.
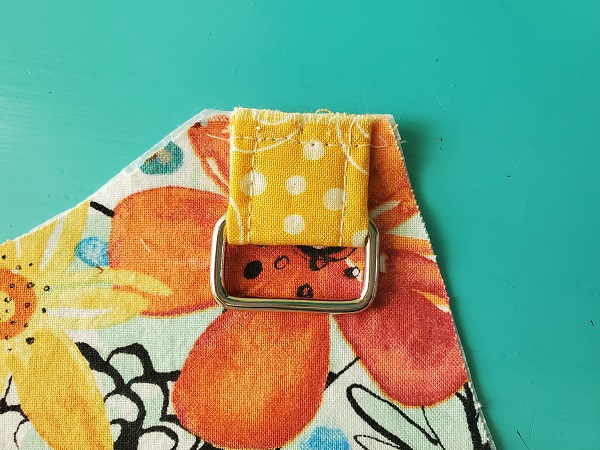
The above picture shows what the strap should look like at this point.
Repeat with the other three straps and rectangle rings.
Sew it together
Place the outer fabric pieces right sides together. Pin in place. Starting at the top right (as close to the strap as possible – it will be close but that’s okay) straight stitch then zigzag stitch the sides and bottom ending at the top left. Back stitch at the beginning and end to secure the stitches.
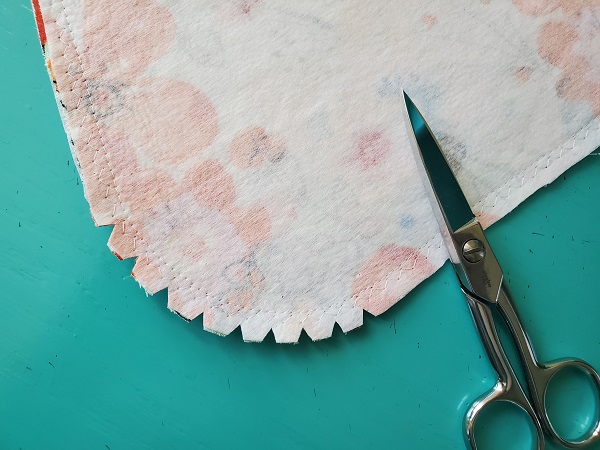
Make little triangle cuts around the bottom curves using your sewing scissors. Turn right side out and press.
Repeat with the lining fabric pieces.
You should now have an outer bag and a lining bag for the curved top shoulder bag.
Put it all together
Turn the outer bag inside out and keep the lining bag right side out. Insert the lining piece inside the outer bag piece lining up the edges. The rights sides of the fabric will be facing each other.
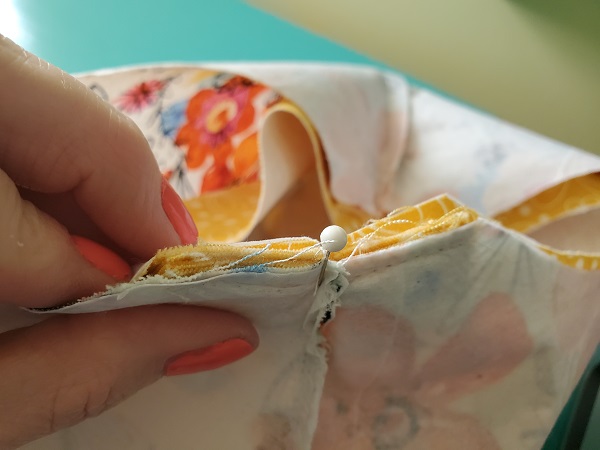
Line up the edge seams and pin in place as shown in the above picture.
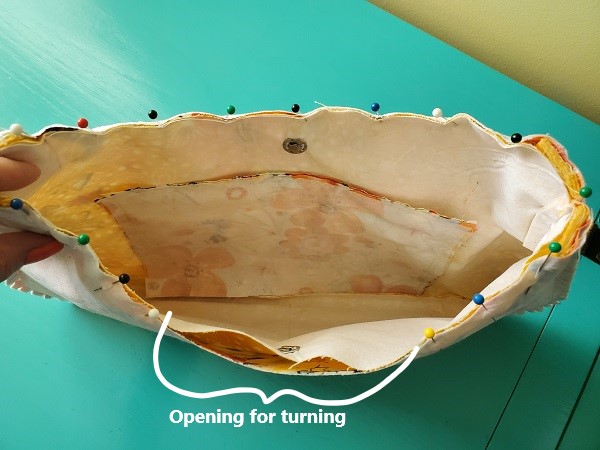
Pin in place, leaving an opening for turning.
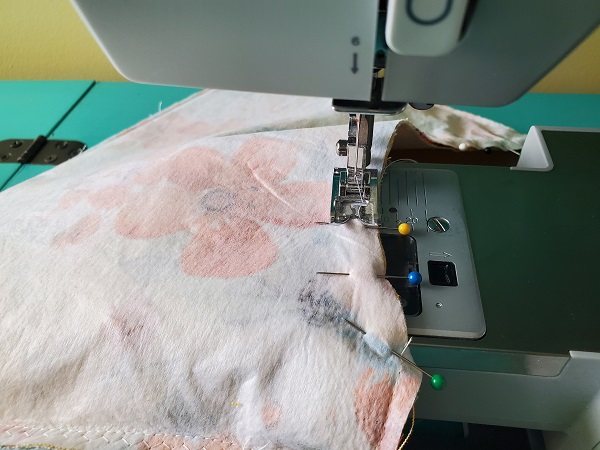
Using the arm of your sewing machine, straight stitch then zigzag stitch around the top of the bag. Backstitch at the beginning and end to secure the stitches.

When you reach a strap, sew back and forth a couple times over the strap for extra durability.
The above picture shows what the curved top purse looks like after sewing around the top.
Turn bag right side out
Through the opening, turn the bag right side out.
Push the lining inside the bag and press around the top of the bag. Pin the opening.
Top stitch around the top of the purse, giving it a finished look and sewing the opening closed.
The picture above shows what your purse looks like at this point.
Add the long straps
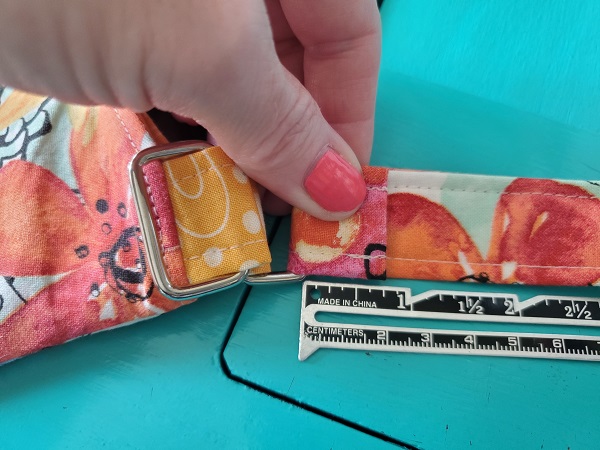
Take one end of the long strap and fold over the rectangle ring about 3/4-inch. You’ll want the measurement to be the same for all four rings to keep the straps the same length. Be sure the fold is facing inside.
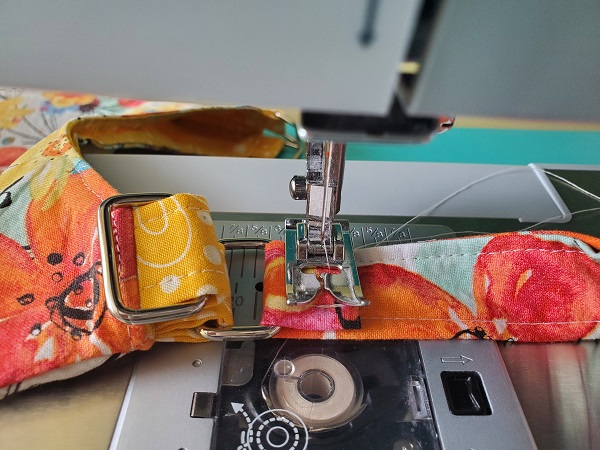
Starting in the center of the strap (see above) about 1/4-inch from the edge, straight stitch to the end and then reverse all the way to the other end and then back to the center. Backstitch at the beginning and end.
Then stitch again closer to the edge of the strap.
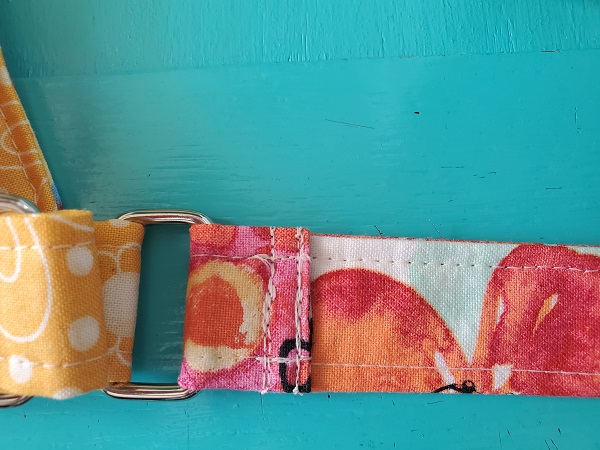
Your strap should look similar to the above picture.
Repeat with the other three rings. Be sure to keep your straps straight (not twisted). But if you make a mistake, that’s what the seam ripper is for!
***You can find the ad-free, printable PDF version of this sewing tutorial available for purchase in my Etsy shop HERE. Includes 26-pages of step-by-step instructions with pictures and templates. Print a copy to keep next to your sewing machine for easy reference.***
You are finished!
I hope you have enjoyed this curved top shoulder bag sewing tutorial! Happy sewing!
Pin for later!