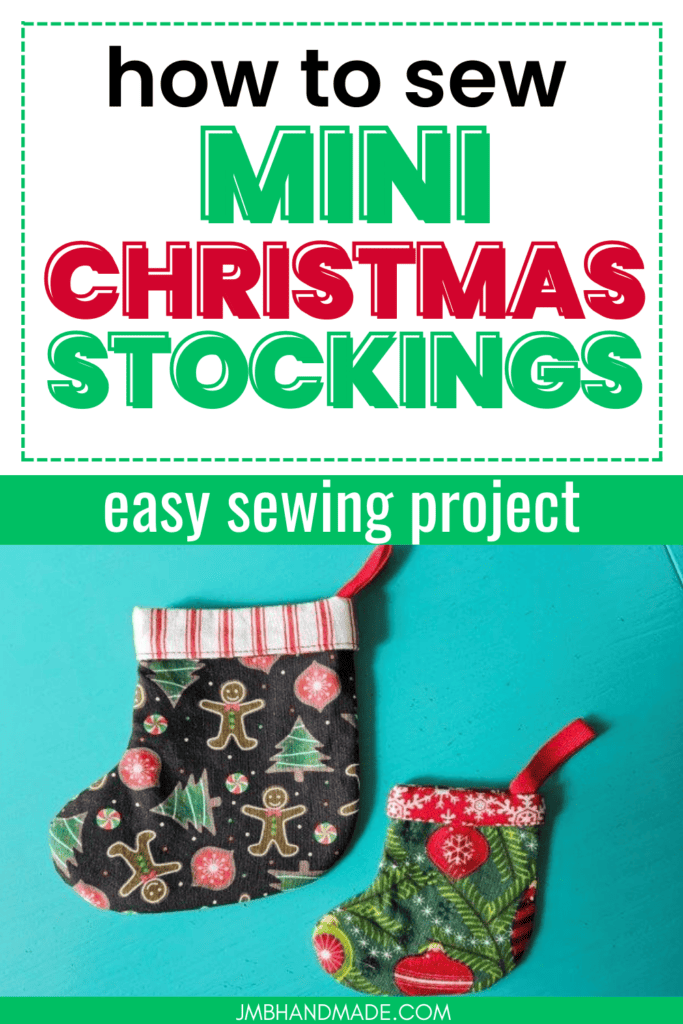
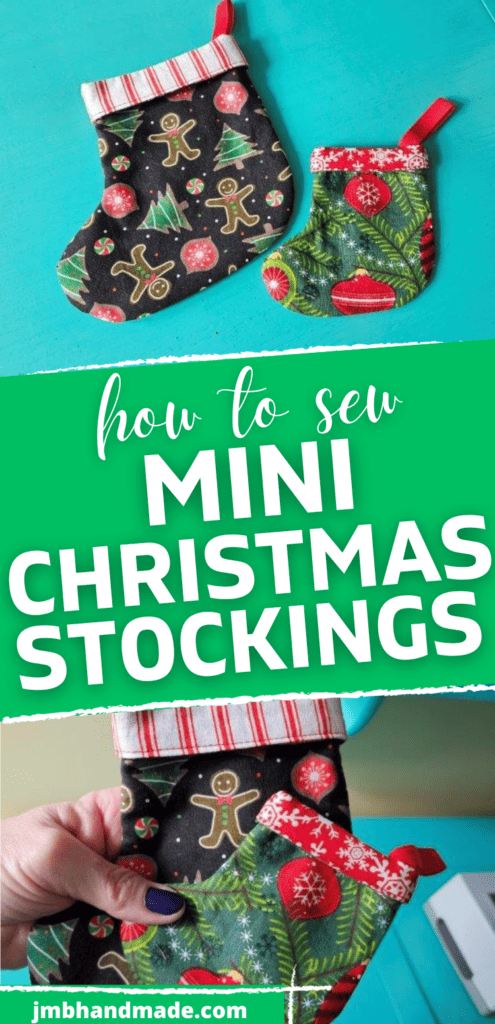
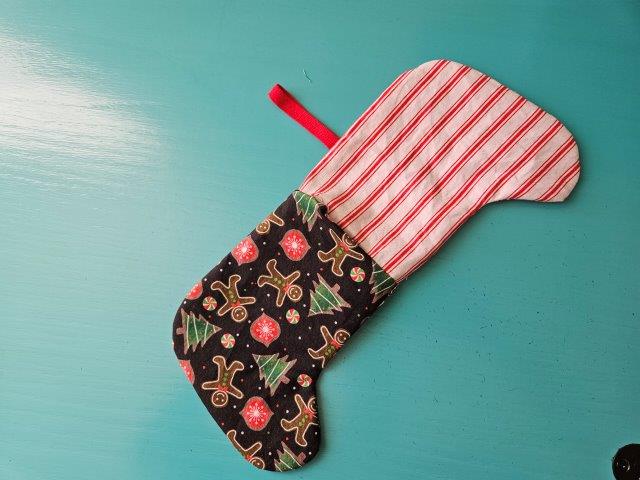
Mini Christmas Stocking Sewing Pattern – Two Sizes

The mini Christmas stocking is a super easy pattern to sew and has a variety of uses.
This mini Christmas stocking sewing pattern has two sizes and is perfect to sew for decorating your tree, using as a gift bag, or a Christmas garland – so many uses! The mini Christmas stocking sewing pattern is similar to the full-size quilted Christmas stocking sewing tutorial. Both stocking sewing projects are perfect for using up those fabric scraps.
Add some holiday cheer by sewing a matching fabric rectangle basket to hold Christmas cards or ornaments. Also, try dressing up your table by sewing some Christmas placemats and fabric napkins.
Here are the instructions for the mini Christmas stocking:
This post contains affiliate links. Please see below disclosure for more information.

Mini Christmas Stocking Sewing Supplies Needed:
- Christmas cotton fabric – my favorite fabric shop
- Coordinating Christmas fabric for the stocking lining
- Mini Christmas Stocking Templates – see button below to download
- Pellon 830 Easy Pattern for stocking templates (optional)
- Matching ribbon
- Matching thread
- Sewing scissors – I recommend Gingher 5-inch scissors for more precise cutting
- Sewing machine
Download and print mini Christmas stocking templates
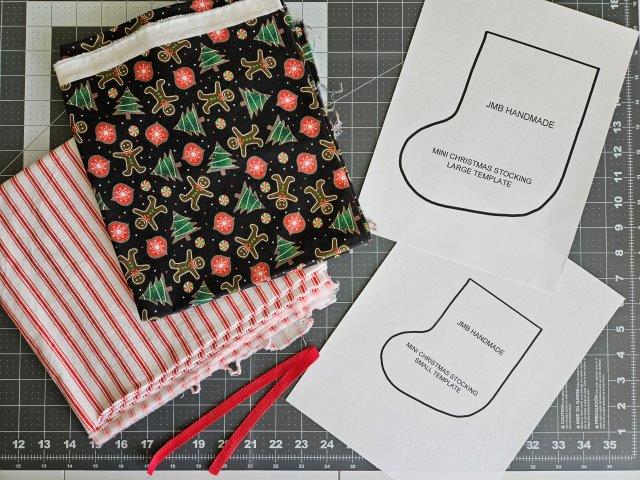
Download your stocking templates and print using the actual size setting.
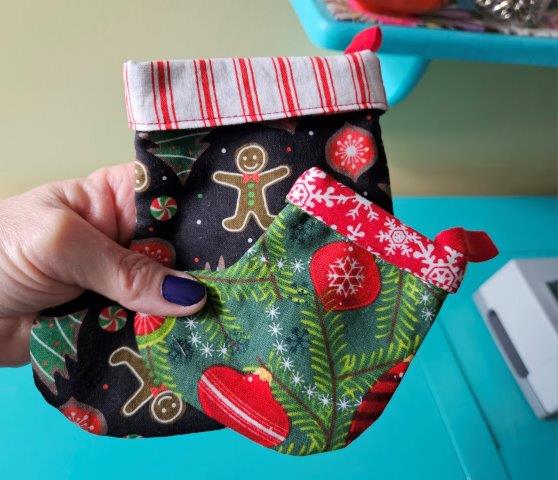
I will be using the large mini Christmas stocking template for this sewing pattern. The instructions are the same for the small stocking pattern unless noted otherwise.
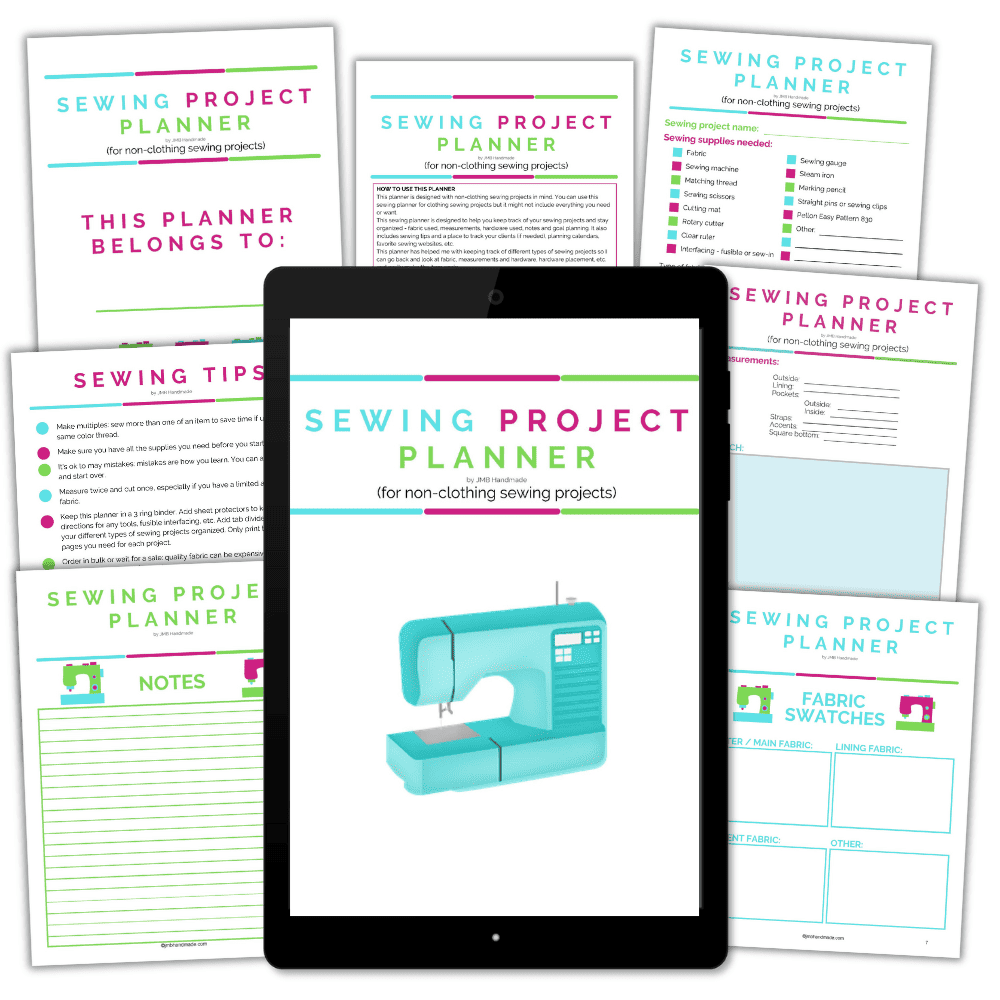
Keep track of your sewing projects, like this one, with a sewing planner. This sewing planner is specifically designed for non-clothing sewing projects and helps you stay organized – fabric used, measurements, hardware used, notes, etc. Also included are pages such as sewing tips and fabric shops. Get your sewing planner HERE.
Cut out your stocking templates
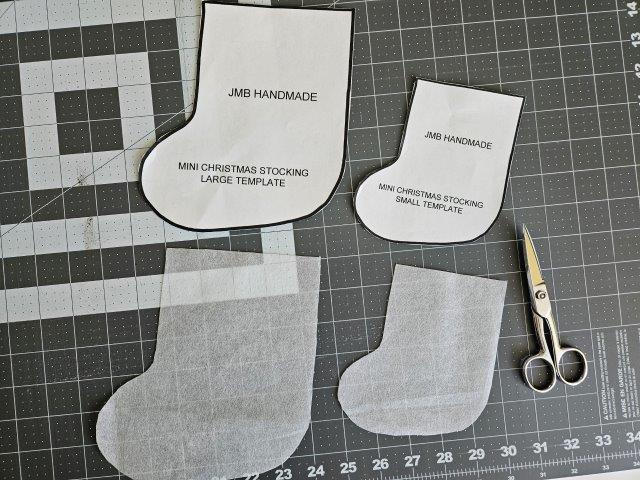
Use paper scissors to cut out your mini Christmas stocking templates.
Tape the back of the paper templates to the Pellon Easy Pattern and cut out with your sewing scissors. I like to use Pellon 830 Easy Pattern because I plan on making multiple stockings and the templates will last much longer.
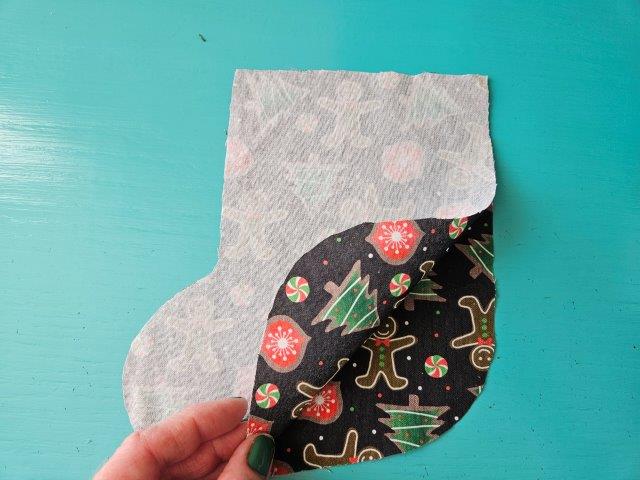
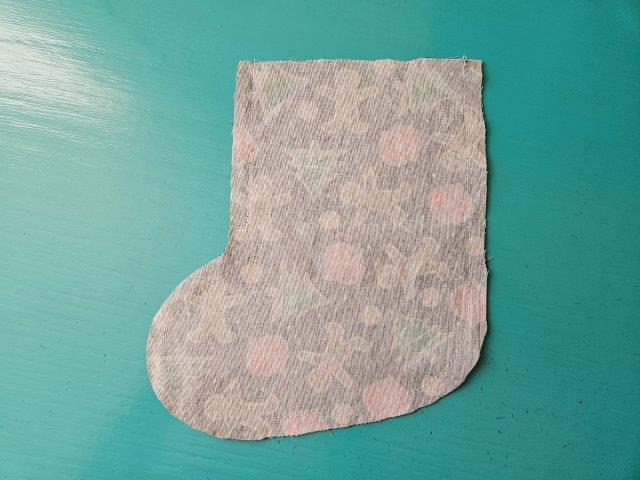
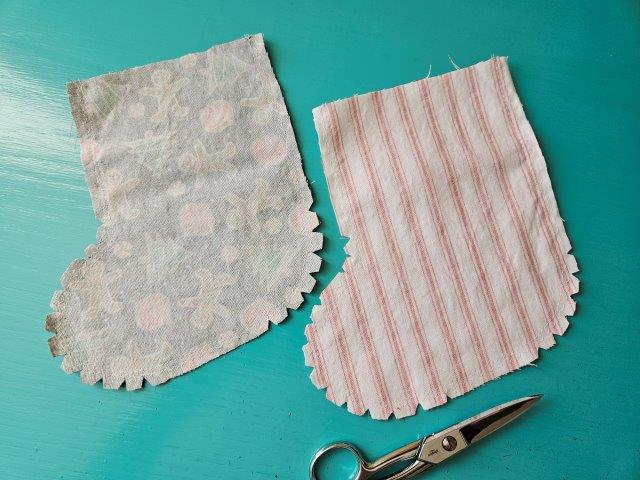
Time to cut the fabric
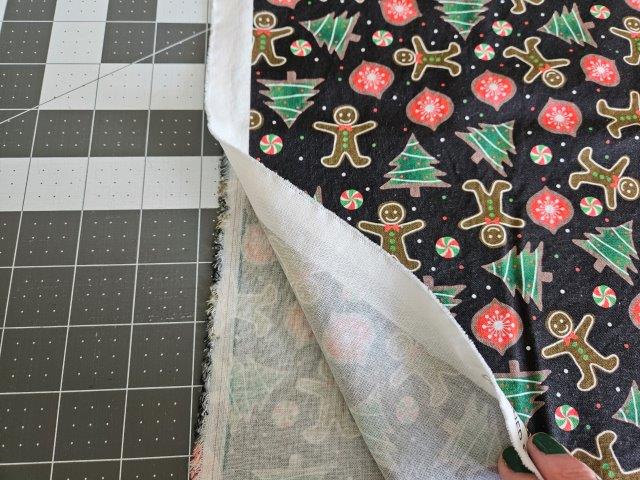
Fold over your outer stocking Christmas fabric, wrong sides together.
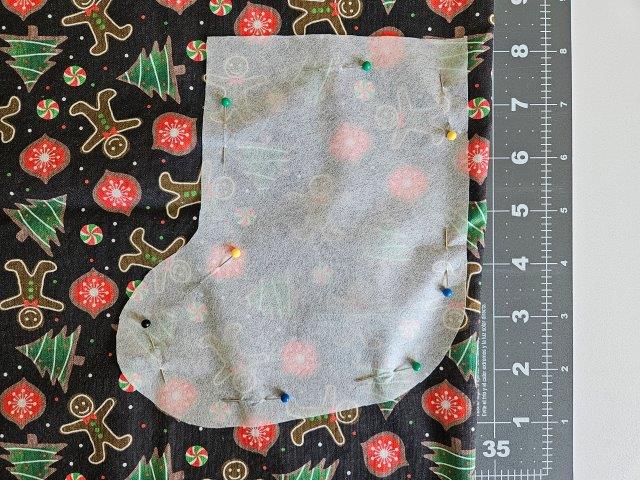
Pin your stocking template onto the fabric and cut out using your sewing scissors.
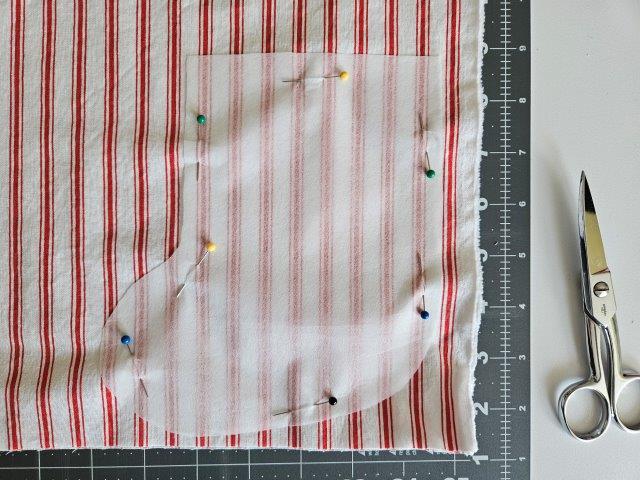
Repeat with your Christmas stocking lining fabric.
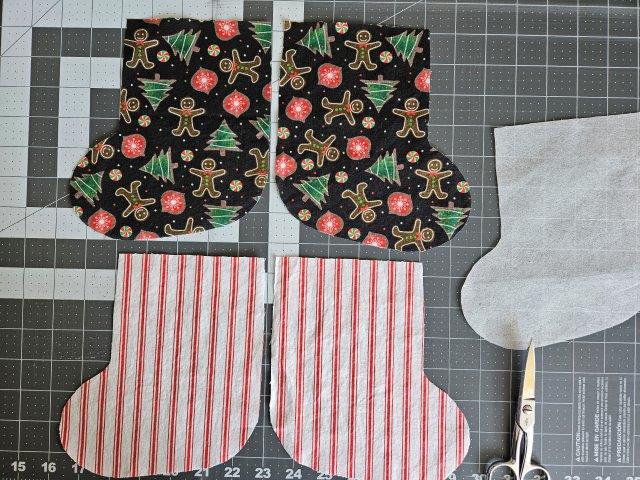
The above picture shows what your mini stocking fabric pieces should look like at this point.
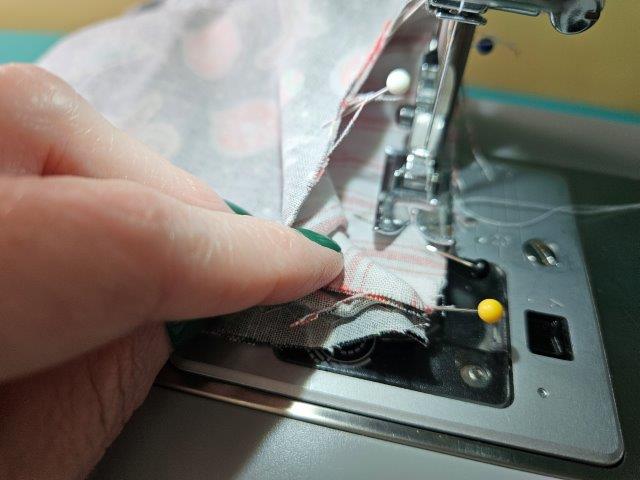
Attach the ribbon
I used a 3/8″ wide ribbon and cut a 6 inch strip, but any size will work for this tutorial.
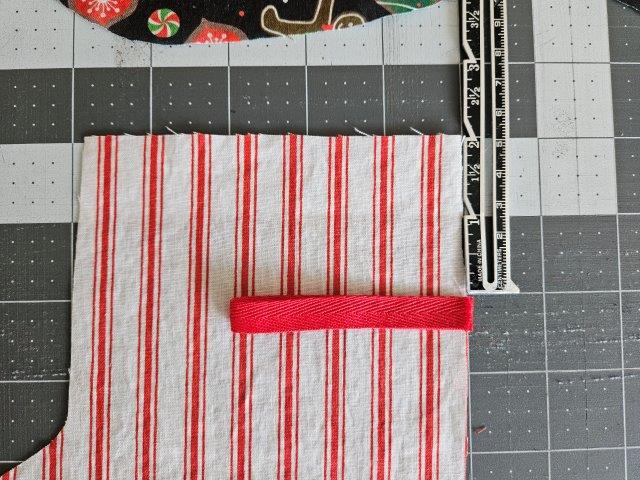
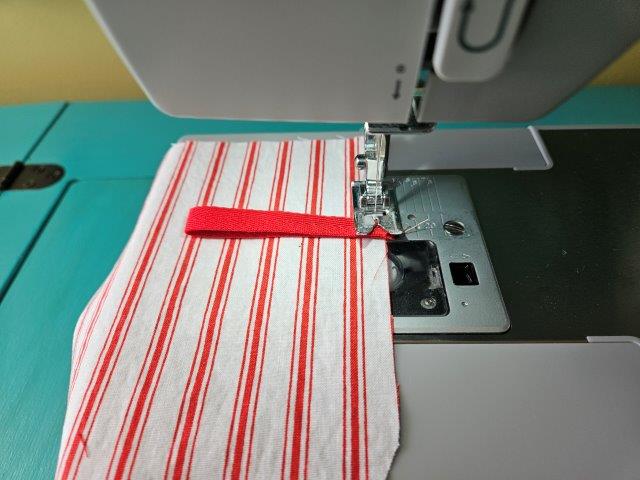
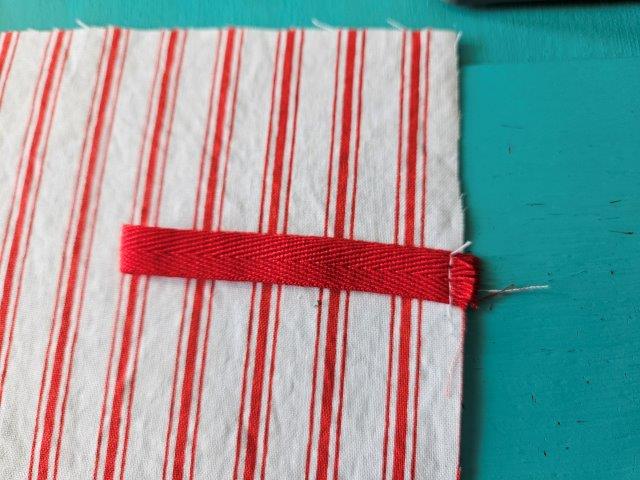
Fold the ribbon in half. Baste the ribbon to the lining fabric two inches from the top of the stocking, as shown in the above picture. (For the small mini stocking, place the ribbon one inch from the top). This is what you’ll use to hang your stocking. If you’re not planning on hanging the stocking or using it as a Christmas ornament, you can skip the ribbon step.
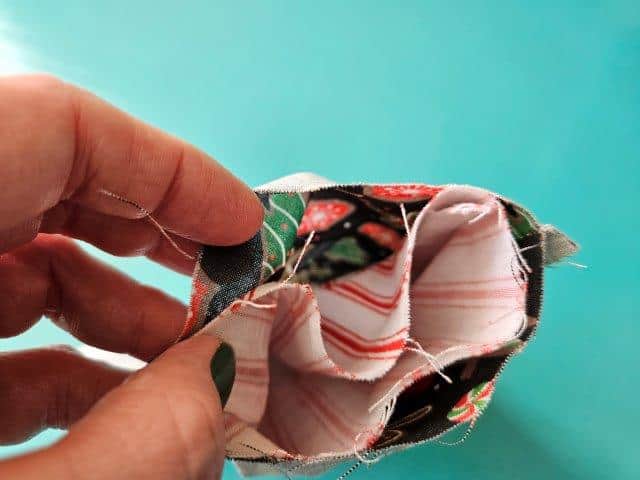
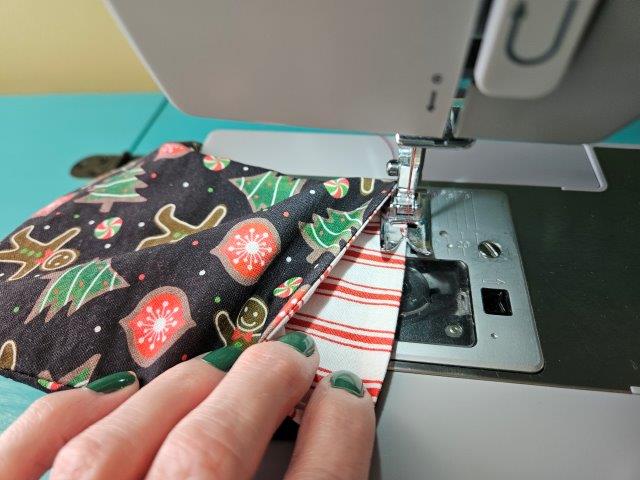
Sew the Christmas stocking pieces together

Place the outer Christmas stocking pieces right sides together and pin in place.
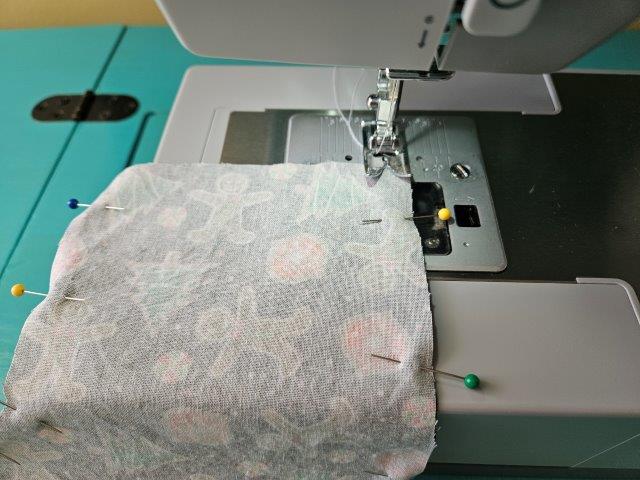
Start at the top right and sew around the stocking, leaving the top of the stocking open. Zigzag stitch around the stocking to keep the fabric from fraying.
Repeat with the lining Christmas stocking pieces. If you are attaching a ribbon, sew over the ribbon a couple times for extra durability.
Use your sewing scissors to cut little triangles around the curves of both the outer and lining stockings.
Turn right side out and press.
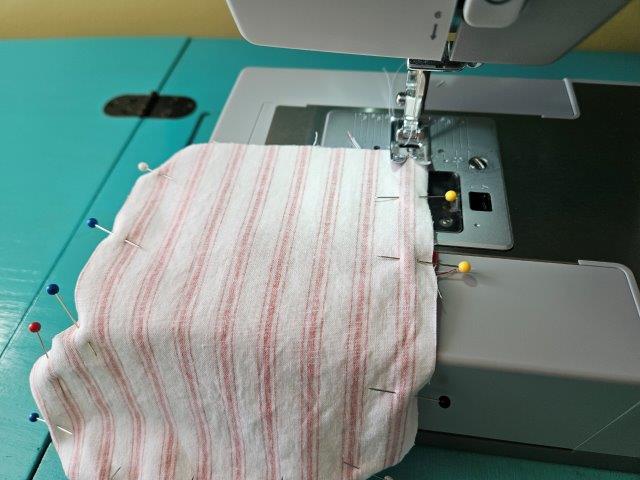
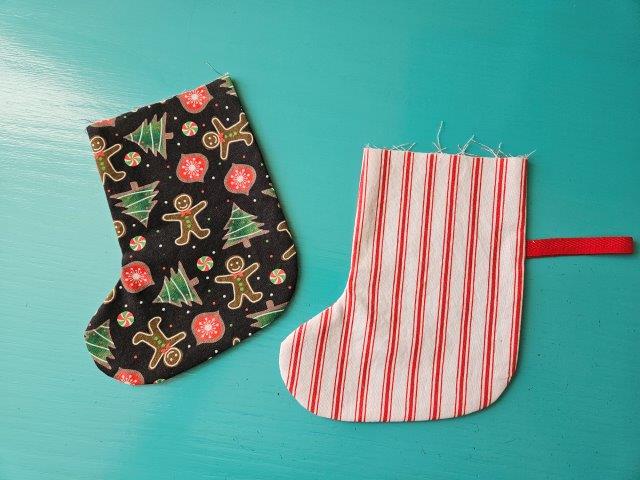
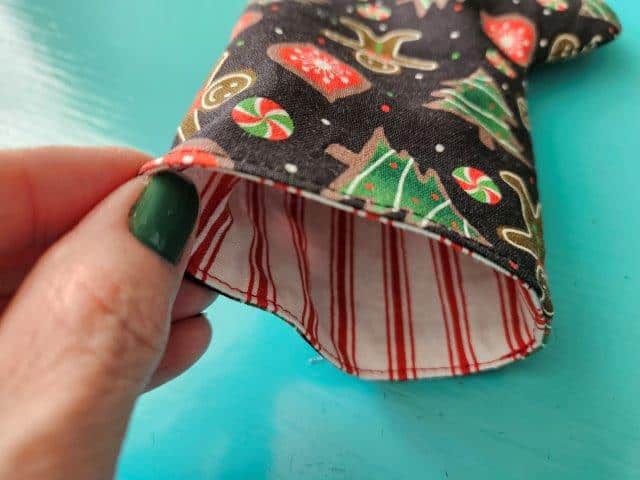
Time to sew it all together
Turn the outer mini stocking wrong side out. Keep the lining stocking right side out.
Place the lining stocking inside the outer stocking. Fabric will be right sides together.

Line up the seams and pin around the top of the stocking, leaving an opening for turning.
Sew around the top of the stocking (leaving an opening for turning).
Turn the stocking right side out.
Push the lining inside the stocking. Press around the top of the mini stocking.
Top stitch around the top, giving the mini stocking a finished look and sewing the opening closed.

Press the stocking.

Fold the top over about an inch and press the top. (For the small mini stocking, fold the top over 1/2 inch and press).
You are finished!
I hope you enjoyed sewing this pattern! The mini Christmas stocking is perfect for hanging on your tree, filling with treats, using as gift bags or even using them to make a Christmas garland!
Pin for later!