How to Make a Standard Size T-Shirt Quilt Pillowcase
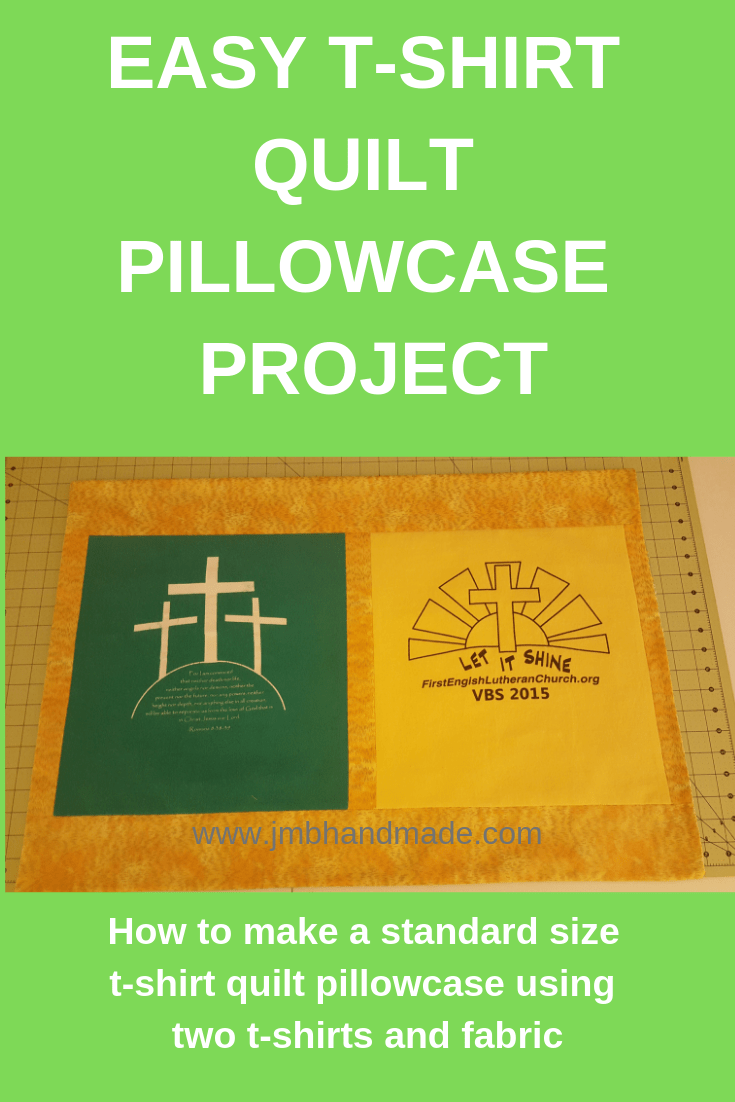
A t-shirt quilt pillowcase is a great project for using up extra shirts.
I am working on a memory t-shirt quilt for a client and somehow we ended up with two extra shirts. She asked me if I could make a standard size pillowcase using the two extra shirts and of course I said yes, what a great idea!
Because her memory t-shirt quilt has borders around all the t-shirt blocks, I thought the pillowcase should have borders too. Here are the step-by-step instructions on how I went about making this pillowcase.
Be sure to check out our post on How to Make a T-Shirt Scarf for another idea for using extra shirts.
This post contains affiliate links. Please see disclosure for more information.
Memory pillowcase supplies needed
- Two t-shirt fronts, or backs or one front and one back
- Fabric for the border and back – about 1 1/2 yards
- Sewing machine
- Rotary cutter
- Clear ruler
- Cutting Mat
- Sewing scissors
- Thread
- Straight pins
- Fusible interfacing
- 14 inches x 15 inches template for t-shirt blocks – I use Pellon 830 Easy Pattern for my templates
Cut the shirts
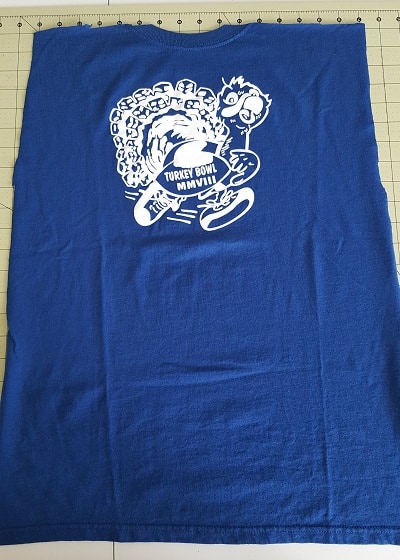
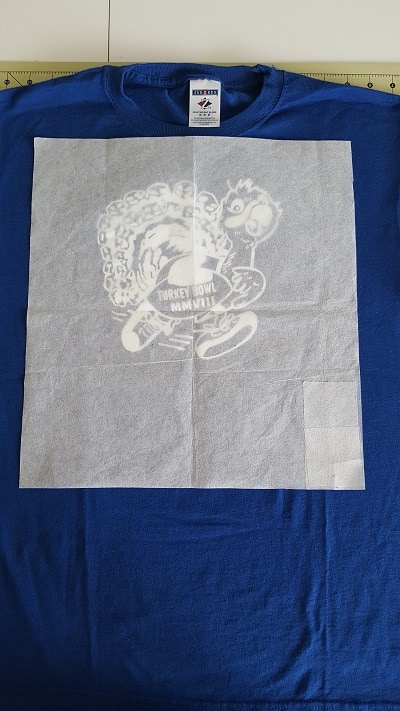
Use your sewing scissors to cut the front sides of the shirts – or the back if that is the side you are using. You will want to cut the shirt larger than your template. I used my 14 inches x 15 inches template. You’ll be trimming them down to size later. Be sure the design on the shirts fit within your template. (FYI – I’m using some pictures from my post How to Make a Memory T-shirt Quilt.)
Attach the interfacing
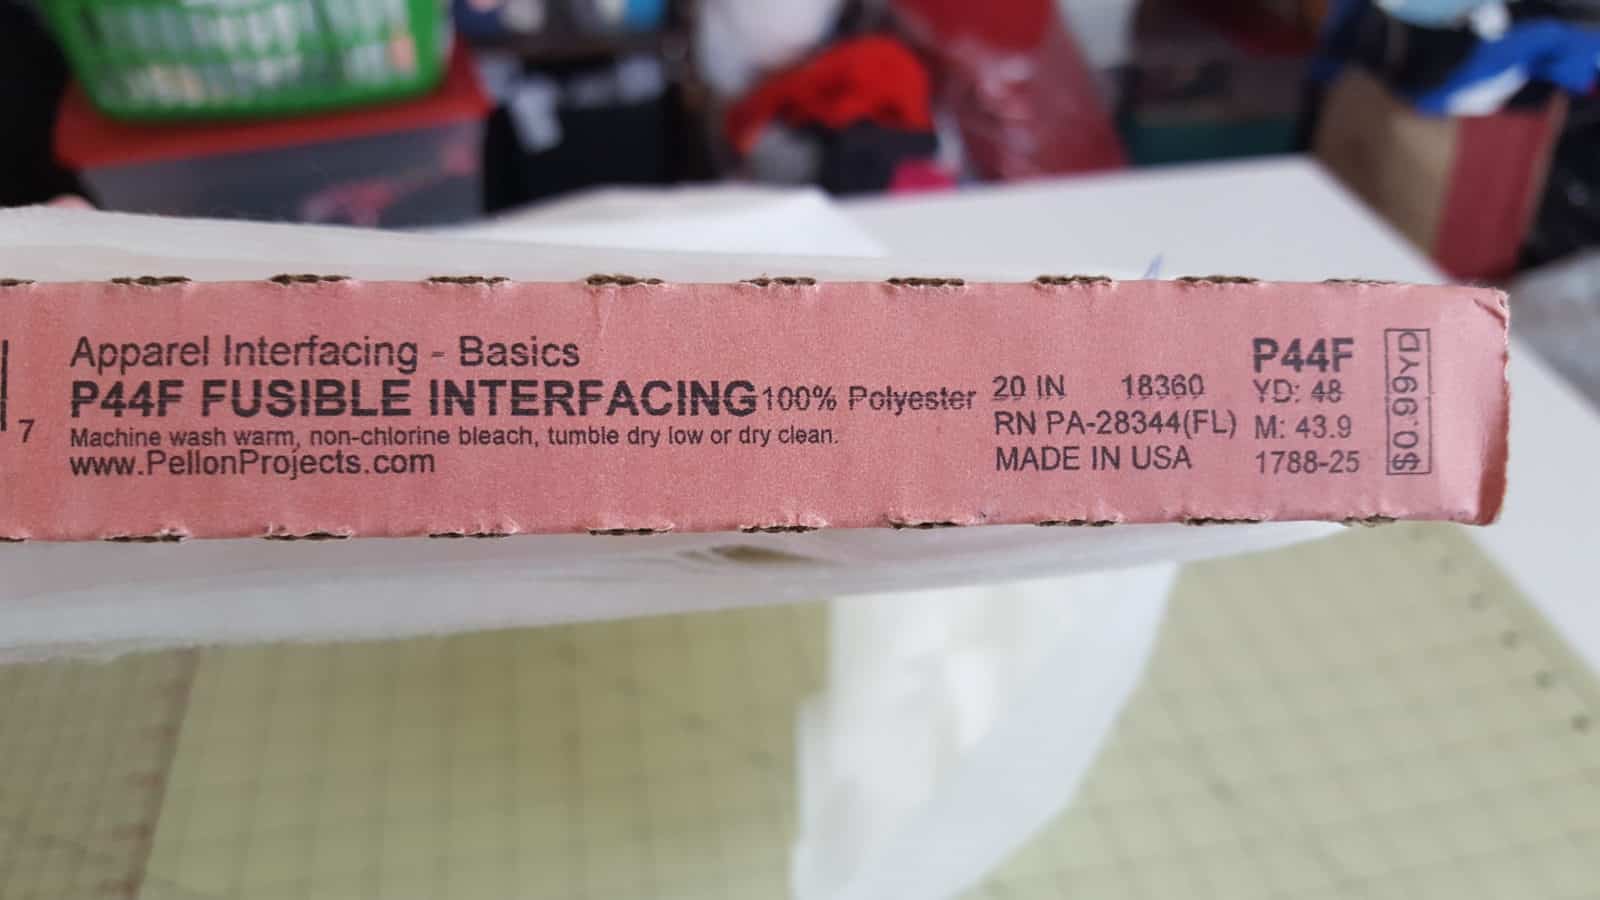
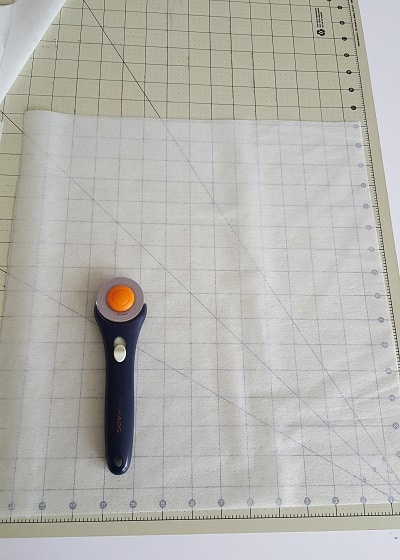
Cut the interfacing larger than your template. The interfacing I use on all my t-shirt quilts is Pellon P44F Fusible Interfacing. The interfacing keeps the shirt from curling and makes it easier to work with.
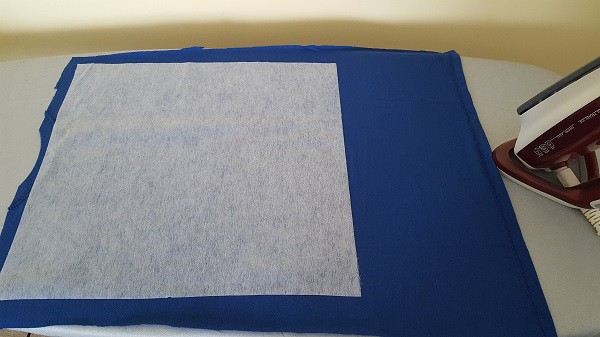
Next, place the cut shirt face down on your ironing board. Your iron should be set to the cotton setting.
Attach the fusible interfacing on to the shirt by following the package directions.
Cut the shirts using your template
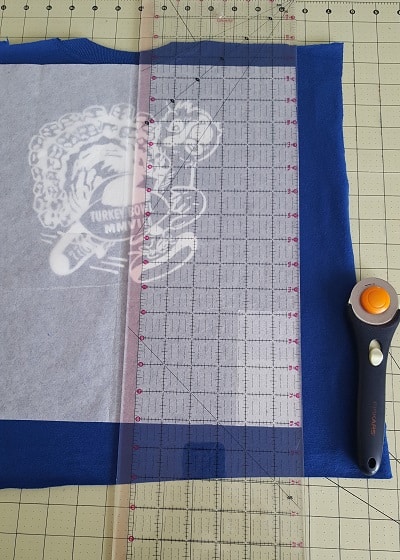
Now it’s time to cut out the block using your template. I use my rotary cutter, cutting mat and ruler, line it up and cut along the ruler. The cutting mat, clear ruler and rotary cutter have been a huge time saver! If you could find one with all three as a set, it’s a cost saver as well! Fiskars is my go to brand.
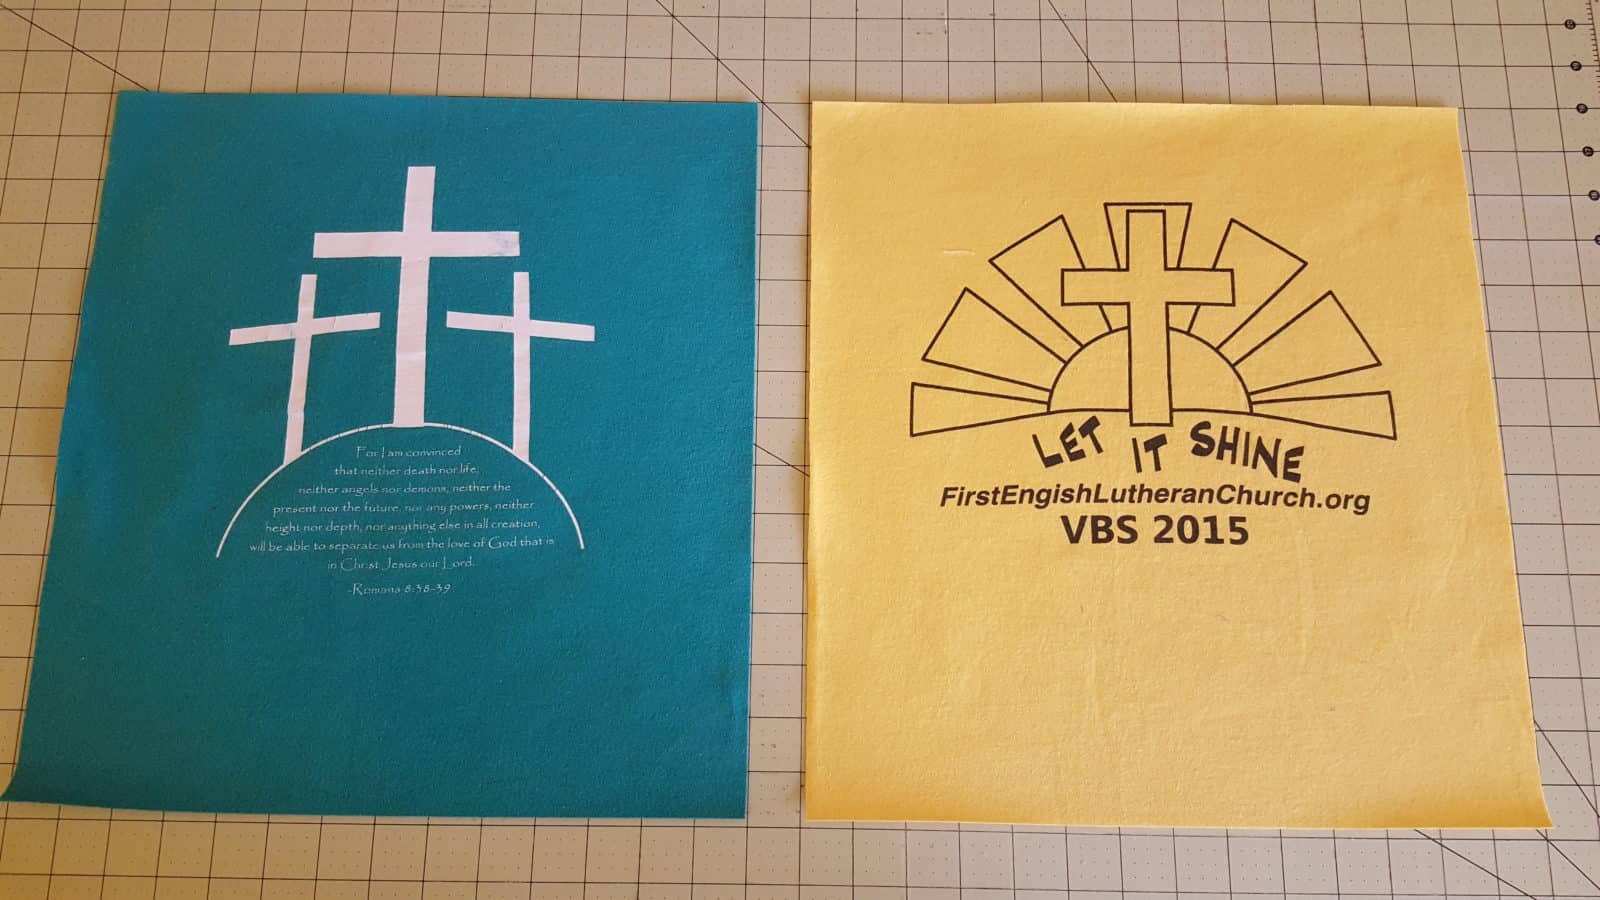
After your shirts are cut, they should be the same size like the picture above.
Vertical Borders
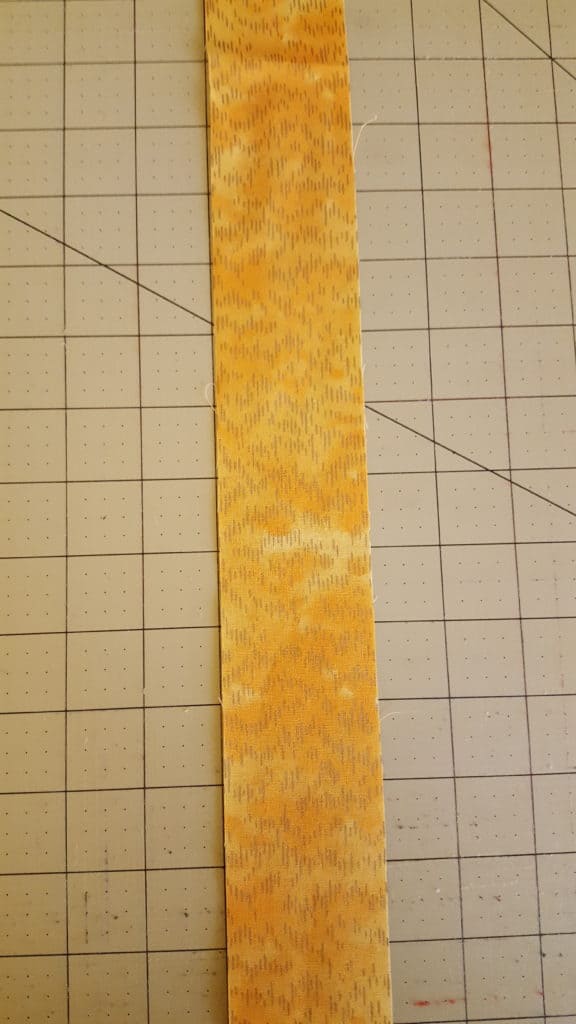
Next, cut three fabric strips measuring 2 inches W x 15 inches H. These are going to be the vertical borders.
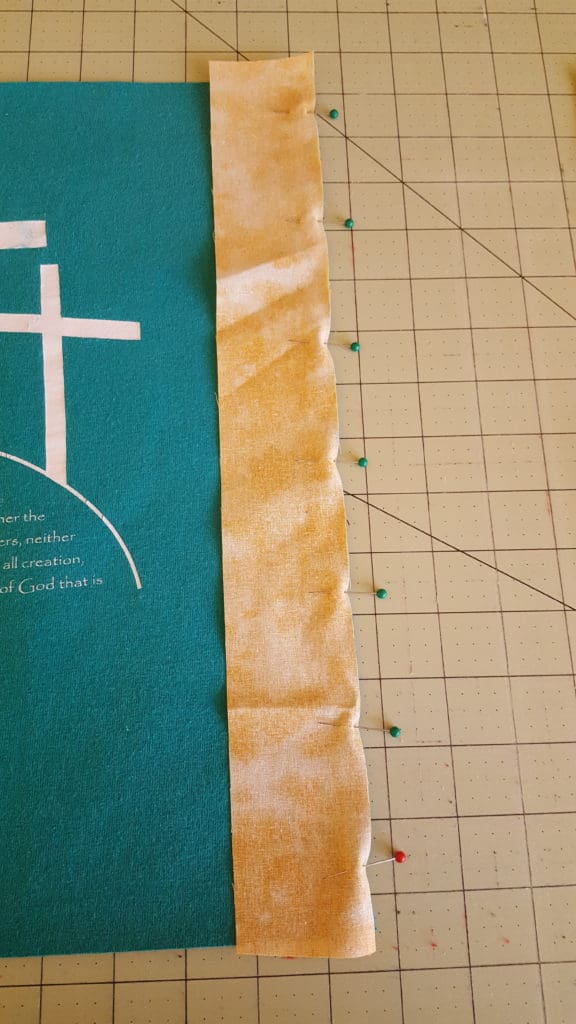
Take the first shirt and place one of the strips face down vertically along the right side of the shirt, pin and sew using a 1/2 inch seam allowance.
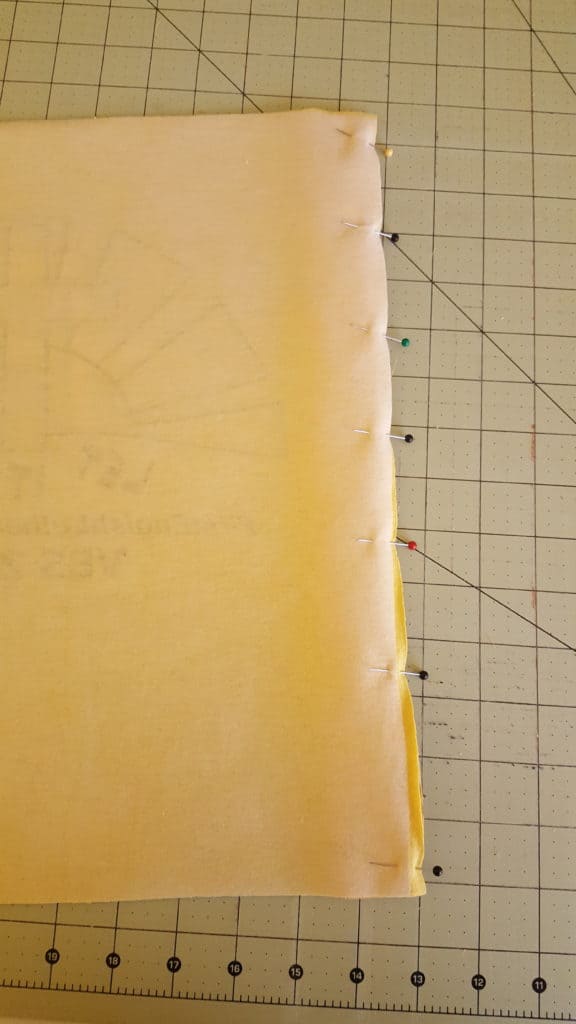
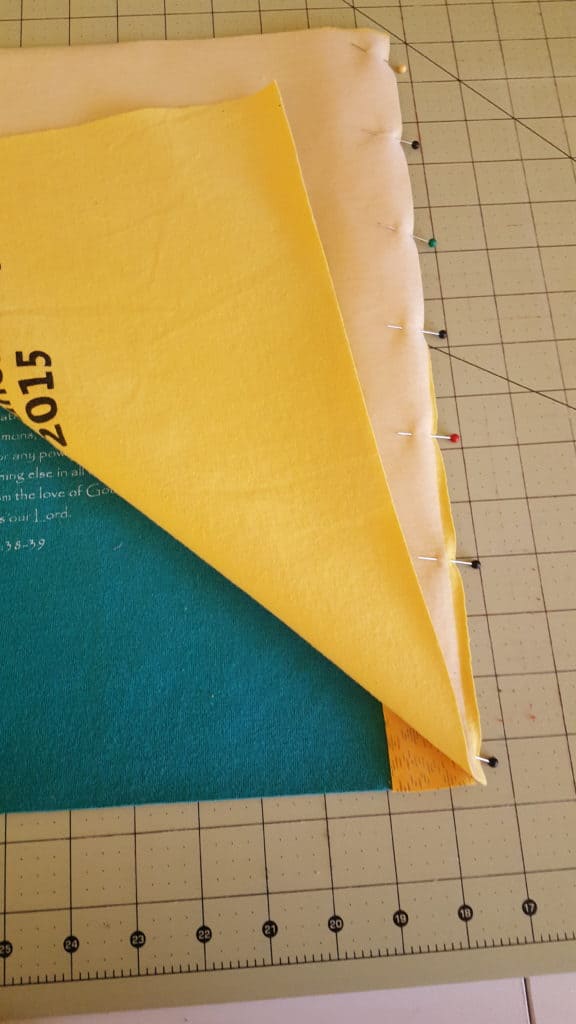
Place the second shirt face down on the other vertical side of the two inch strip that you just sewed. Pin and sew using a 1/2 inch seam allowance.
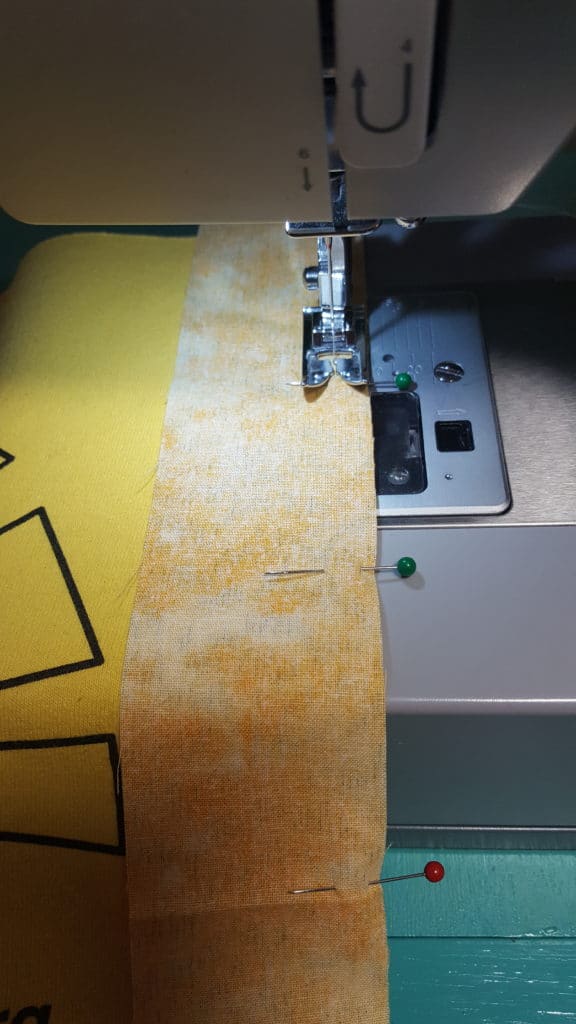
Sew the remaining two inch strips to the other vertical side of each shirt using a 1/2 inch seam allowance.
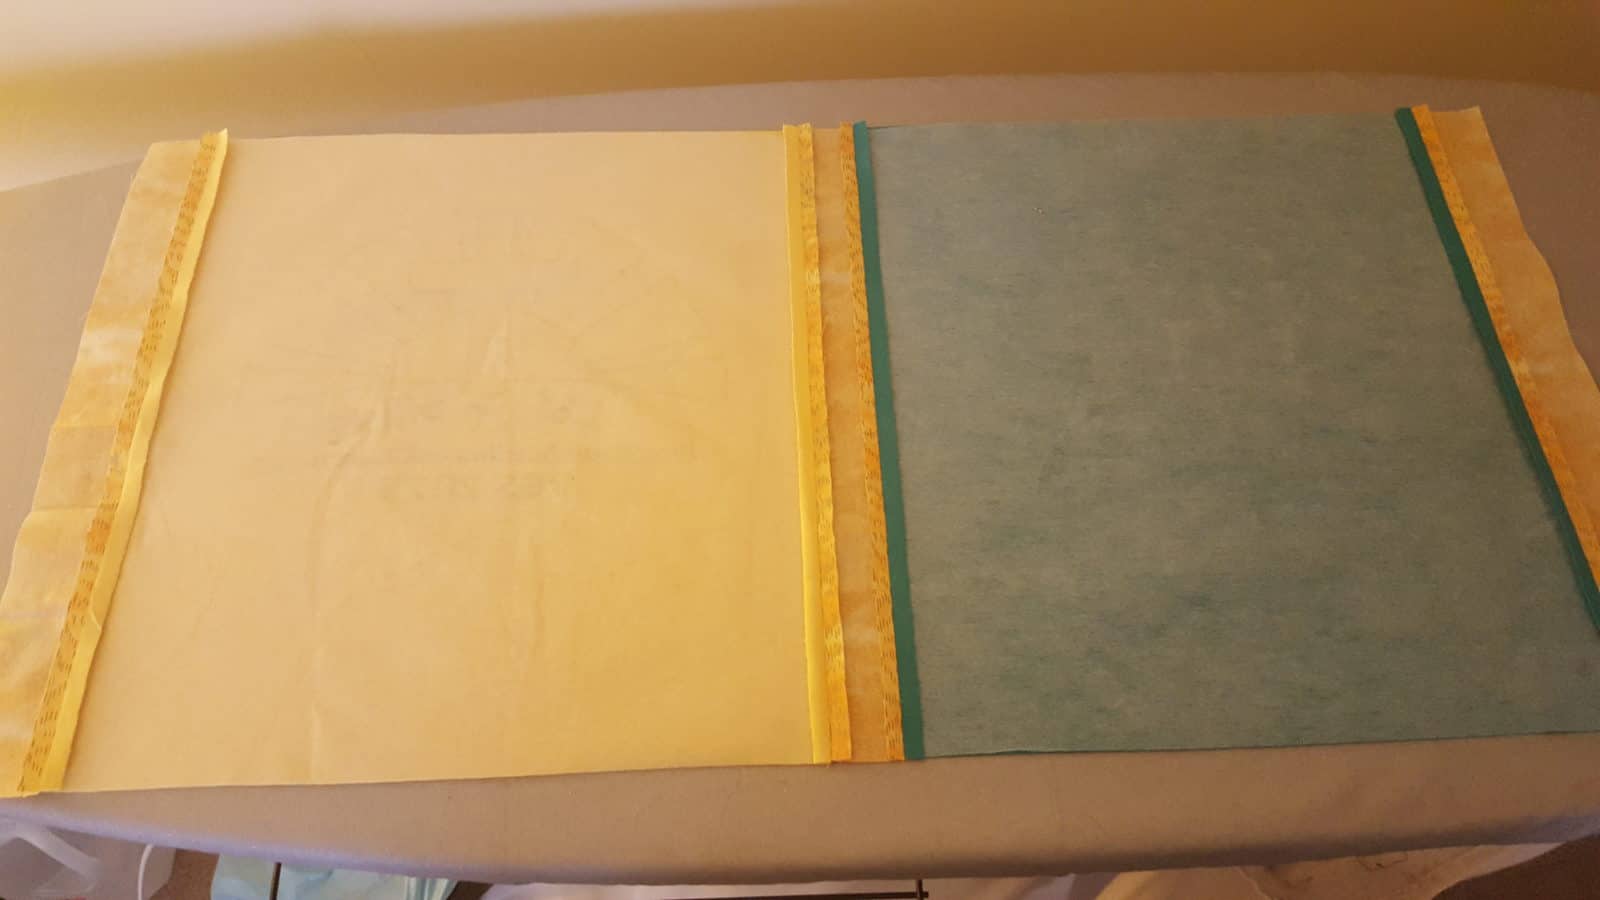
With your iron press the seams flat as shown above.
Horizontal Borders
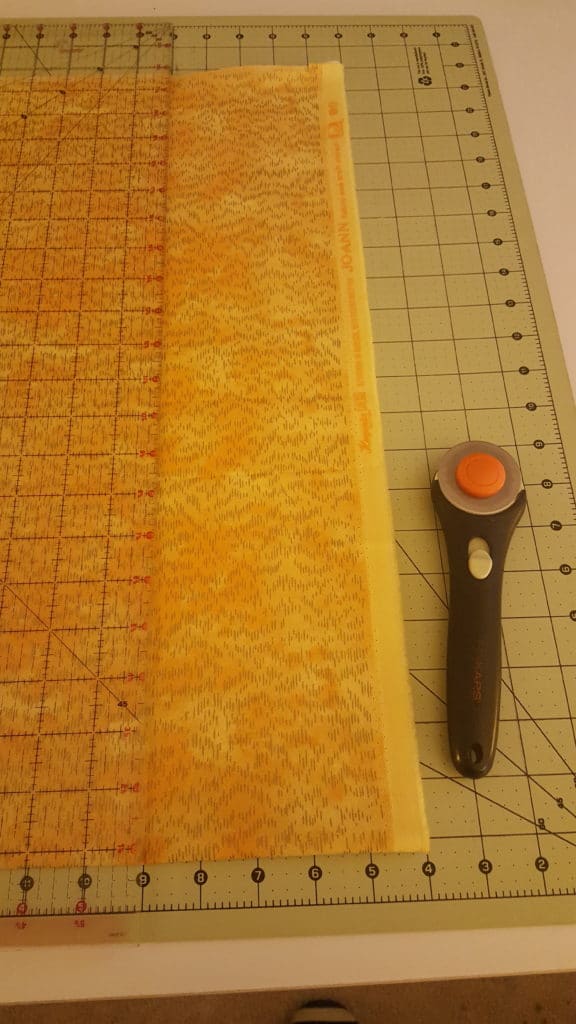
Cut two strips 4 inches wide by the length of your pillowcase.
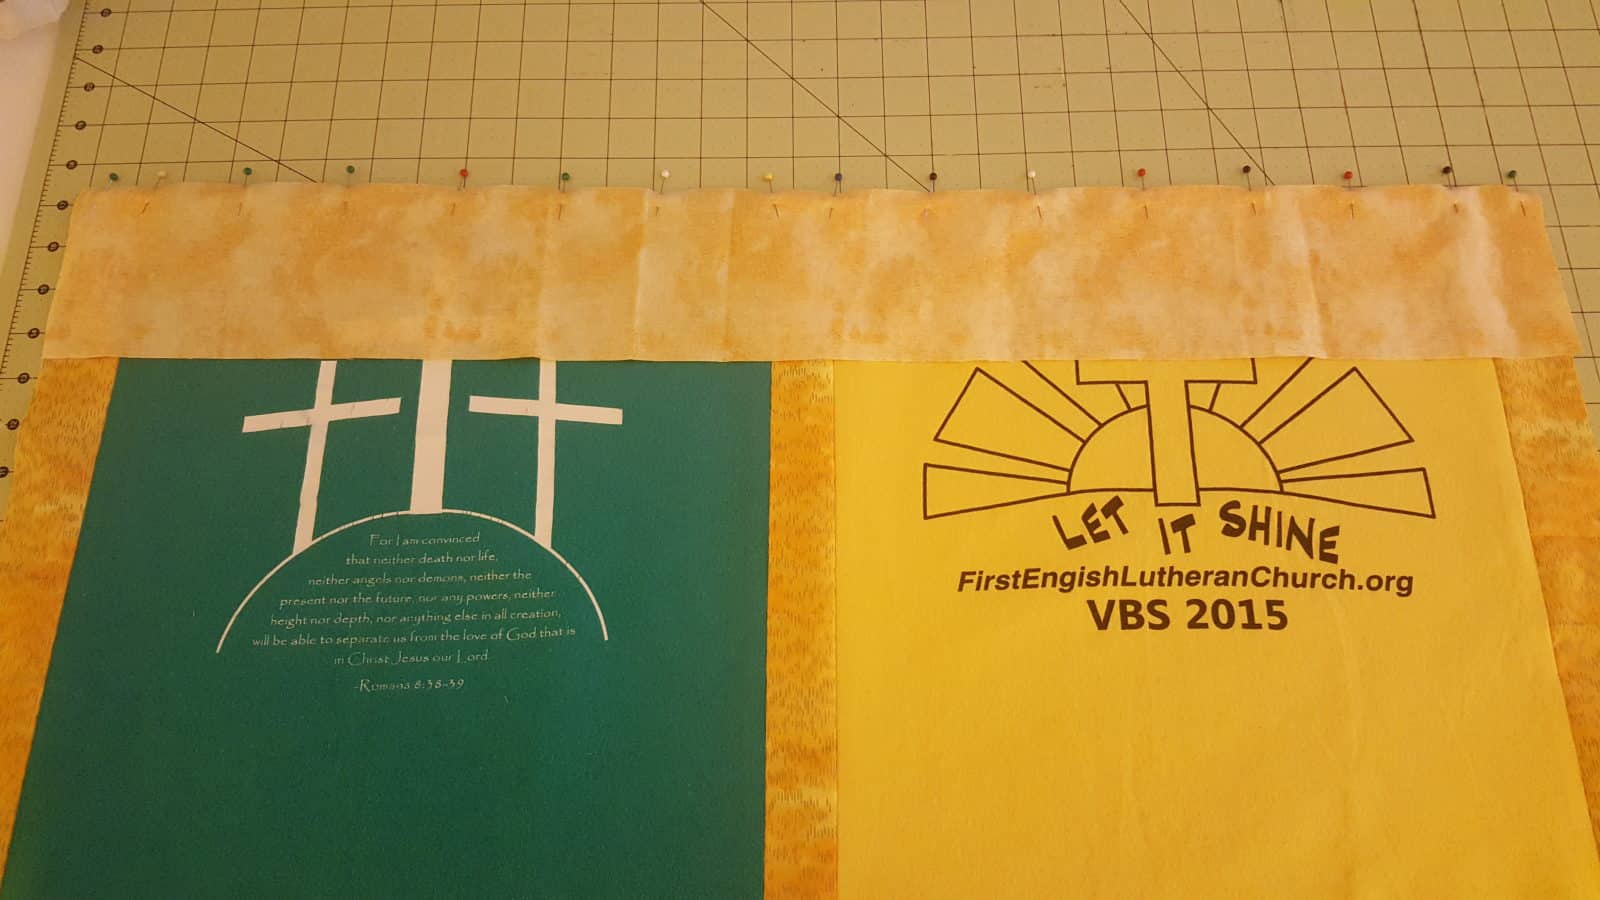
Place one strip face down along the top of the pillowcase as shown above. Then, pin and sew using a 1/2 inch seam allowance. Do the same with the second strip at the bottom of the pillowcase.
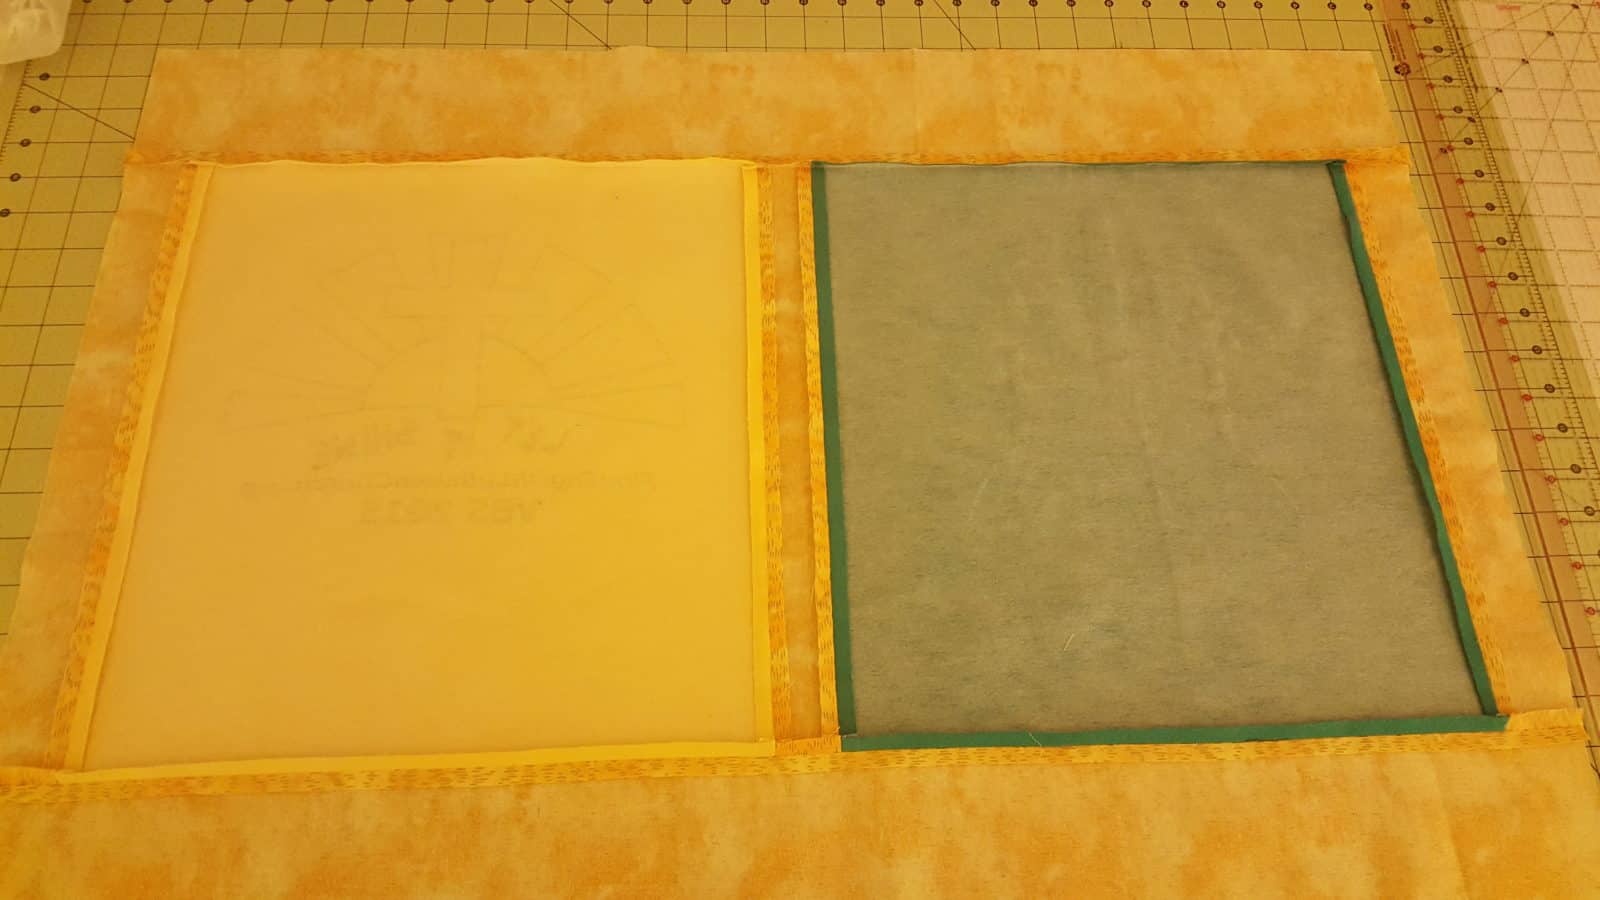
Press the seams.
Quilt around the blocks
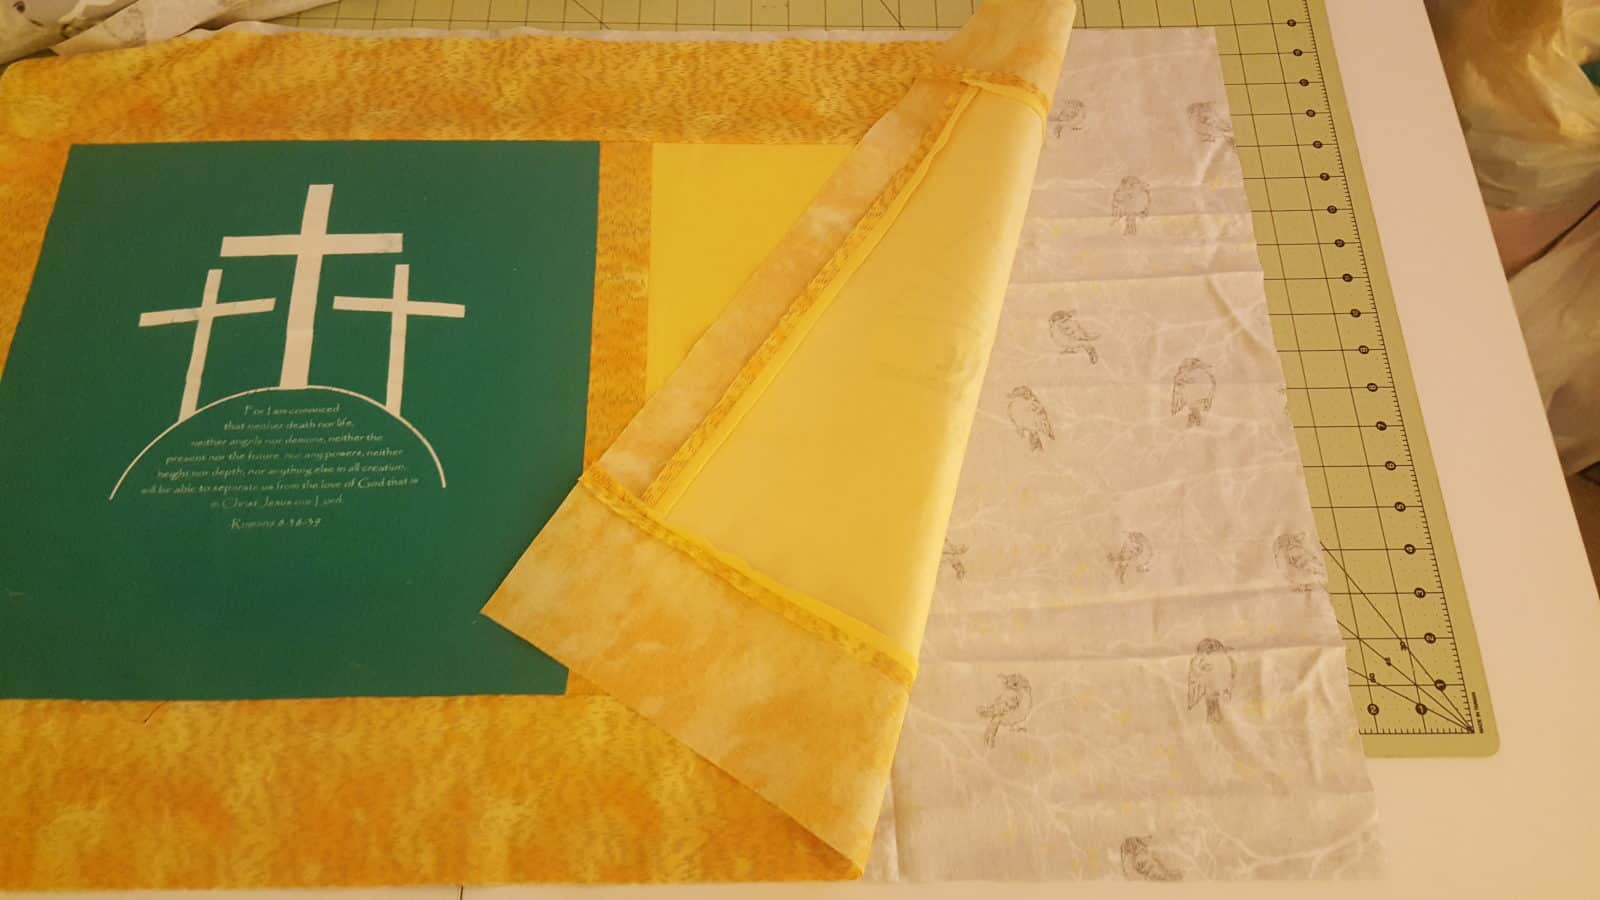
Cut two pieces of fabric the same size as your shirts with the borders (the size of your pillowcase). Place one piece under the t-shirts as shown above. It doesn’t matter if the fabric is face down or not because it will be on the inside of the pillowcase.
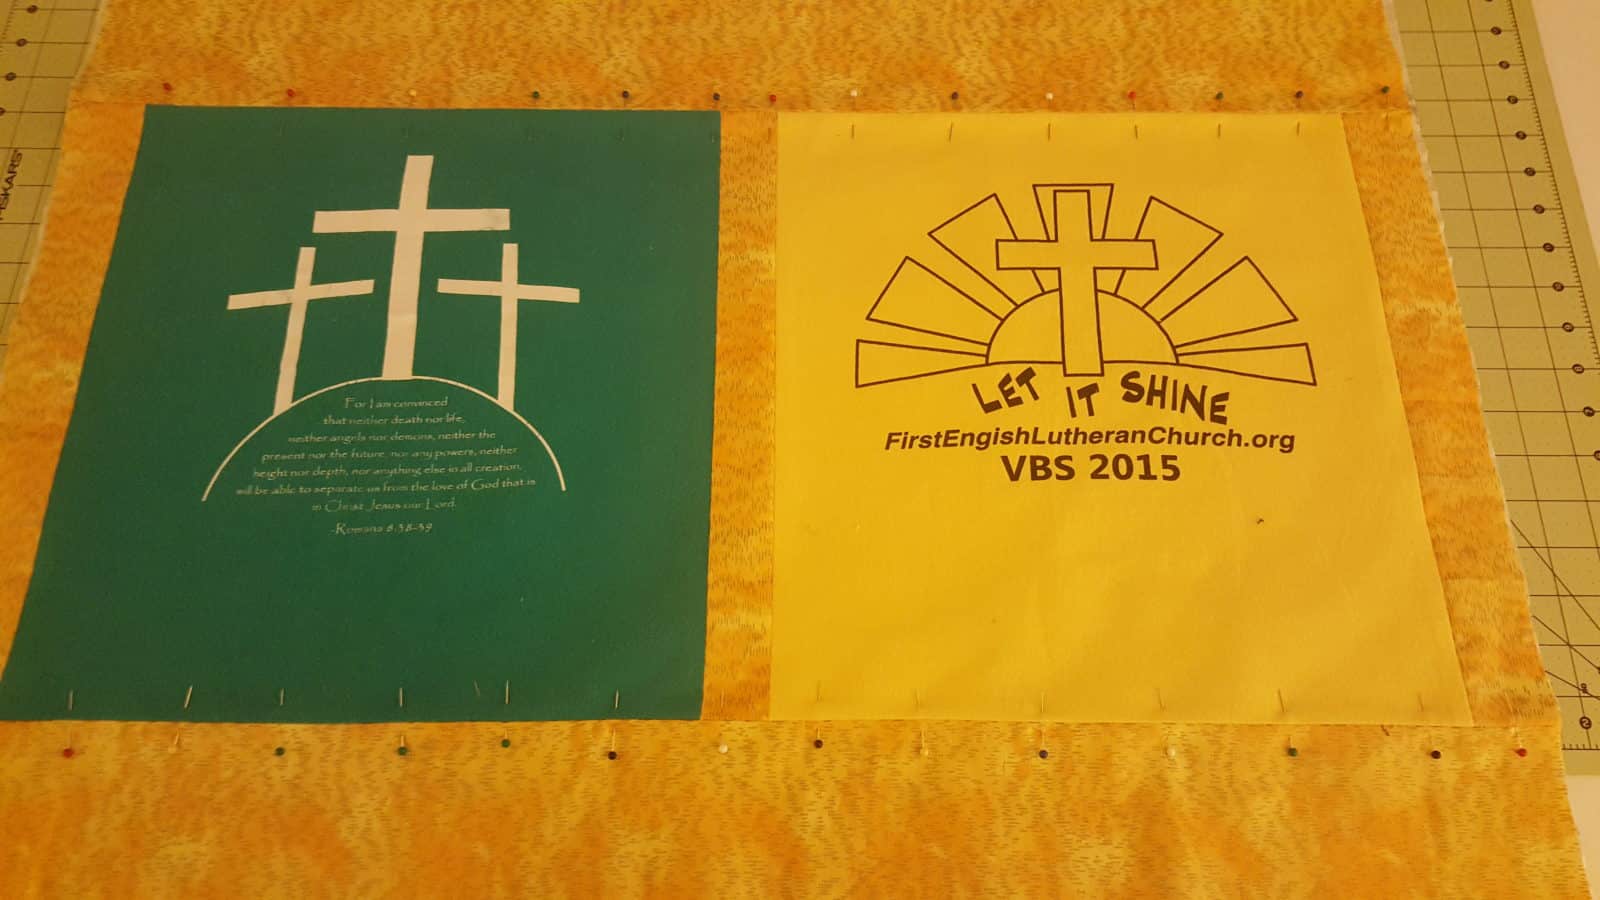
Pin along the horizontal seams and sew. This will attach the shirts to the fabric lining. That is the extent of “quilting” for this project 🙂
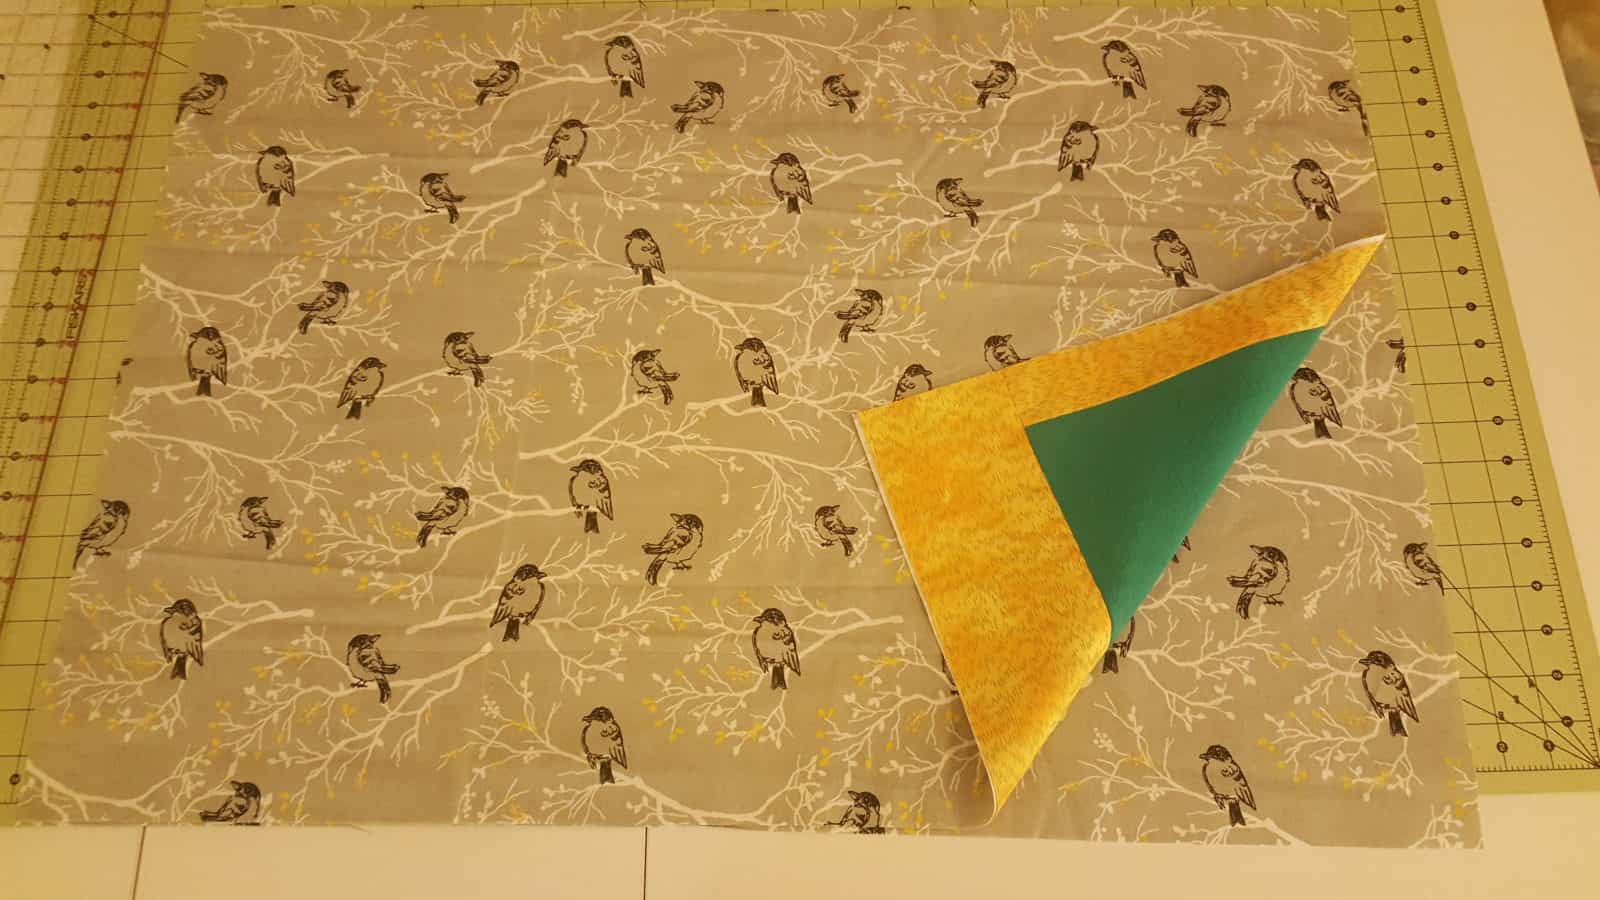
Lay the other piece of fabric right side up and place the t-shirt side face down on top of the fabric. Sew around the bottom, left and top of the pillowcase, leaving the right side open.
Hem the open end
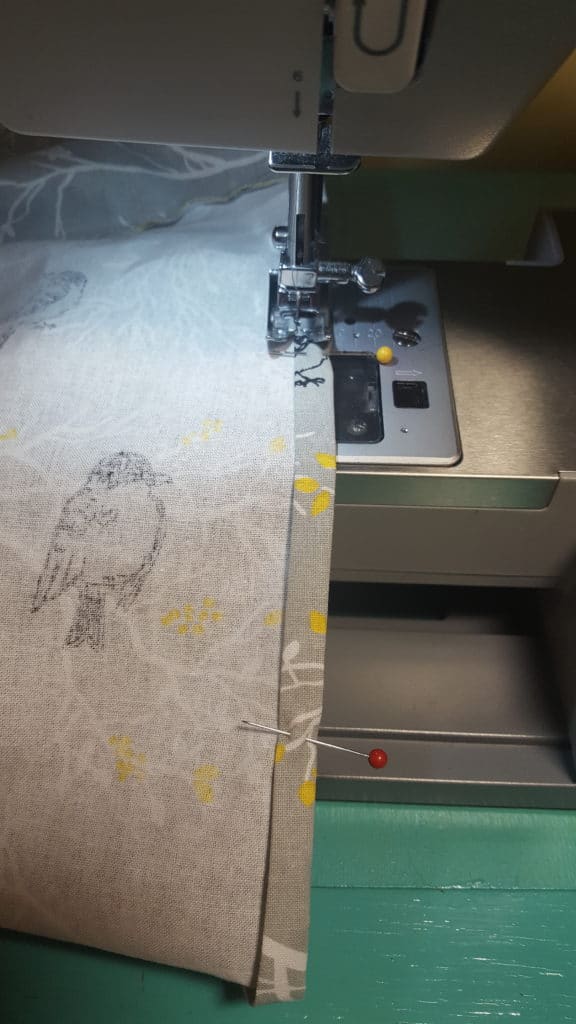
Fold 1/4 inch and iron all around the open end. Then fold 1/2 inch and press all around. Pin all around like shown above and sew along the edge of the fold to hem.
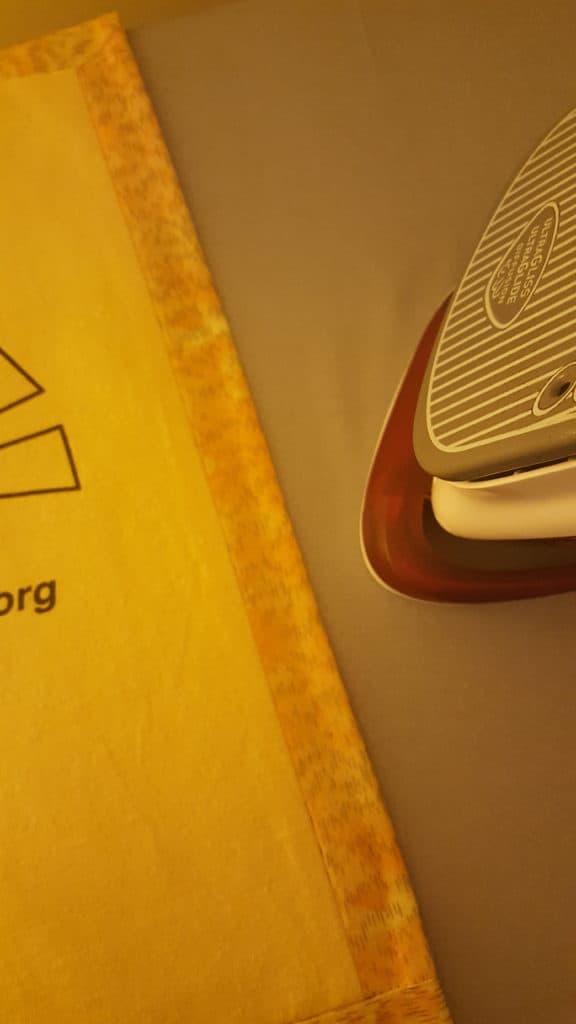
Press the hem.
You are finished!
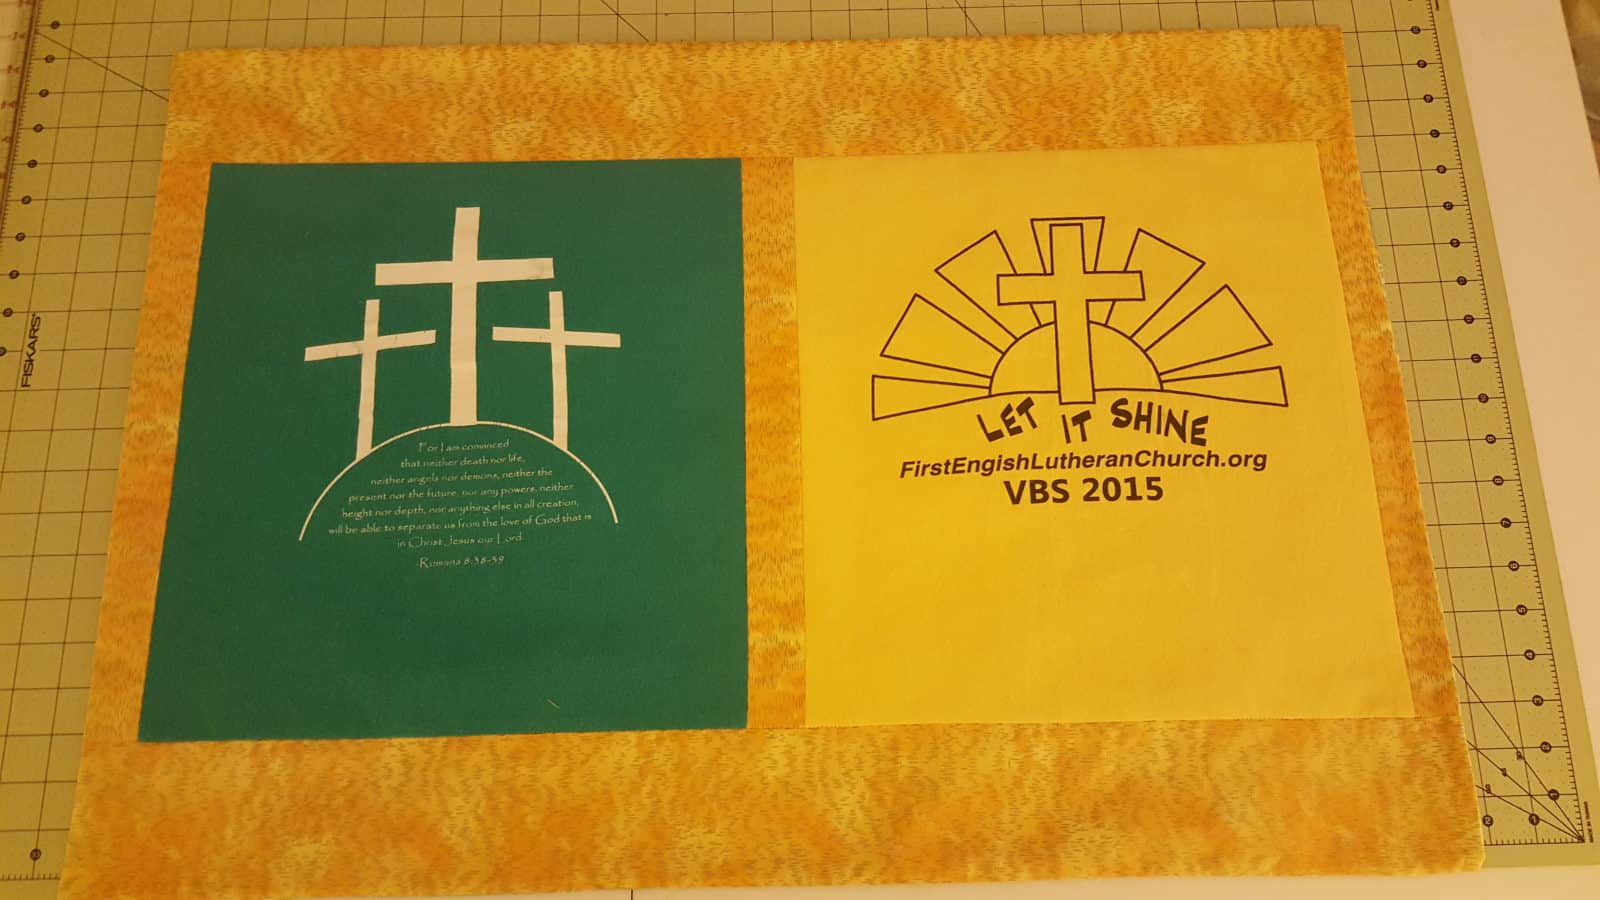
You are finished! Your pillowcase is ready to put on your pillow! I would love to see your finished project! Feel free to comment below or share a picture. Happy sewing!