How to Make Simple Sewing Pattern Weights – Sewing Tutorial
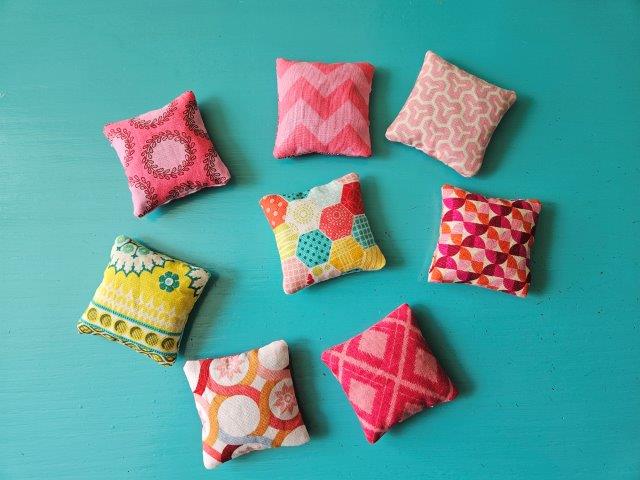
Sewing pattern weights are the perfect sewing project for using up those fabric scraps!
Do you use sewing pattern weights? I recently started using pattern weights for some of my sewing projects and I have found it is so much quicker cutting out sewing patterns. It takes time to pin and pins can tear up your patterns.
I decided to sew up some cute little square sewing pattern weights of my own using some fun fabric scraps. These pattern weights sew up quickly and you’ll be able to sew multiples at once.
Check out these other fun sewing projects using fabric scraps!
Here are my sewing instructions for sewing pattern weights:
This post contains affiliate links. Please see below disclosure for more information.
***You can find the ad-free, printable PDF version of this sewing tutorial available for purchase in my Etsy shop HERE. Includes 8 pages of step-by-step instructions with pictures. Print a copy to keep next to your sewing machine for easy reference.***
Pattern weights sewing tools needed:
- Fabric scraps – 3″x3″ squares – my favorite fabric shop
- Cutting mat
- Rotary cutter
- Clear ruler
- Thread
- Sewing scissors
- Sewing machine
- Rice or small beans or other items to add weight for the filling
Measure and cut the fabric
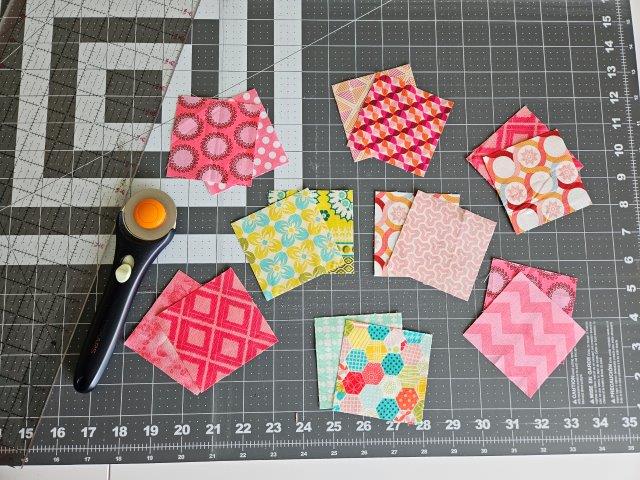
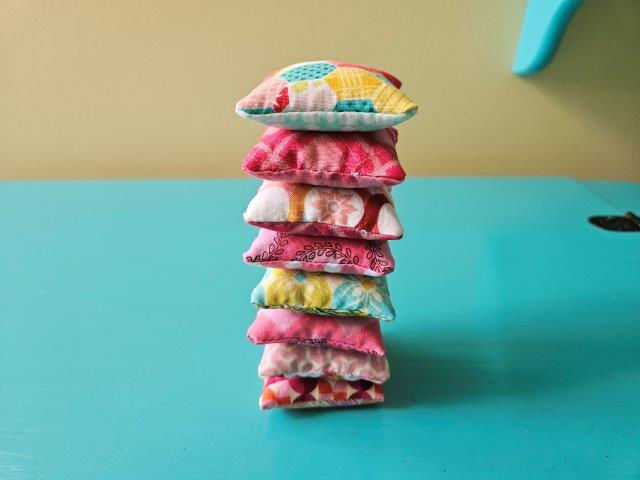
Using your cutting mat, clear ruler, and rotary cutter, cut 3″x3″ squares (2 squares will make one sewing pattern weight). I cut 16 squares in coordinating fabrics to make 8 sewing pattern weights. Fat quarters or fabric scraps are perfect for this sewing project.
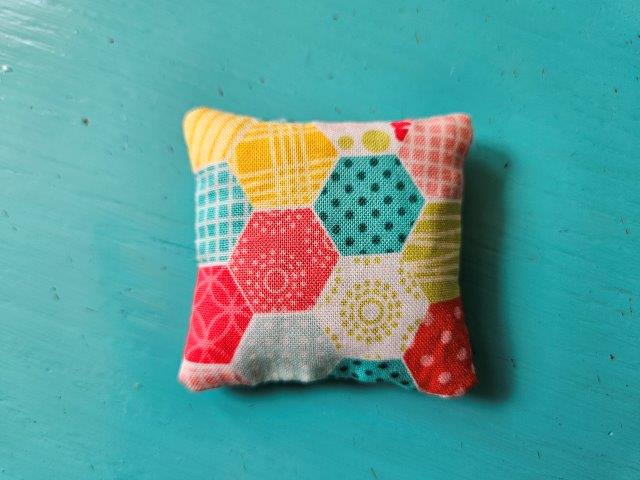
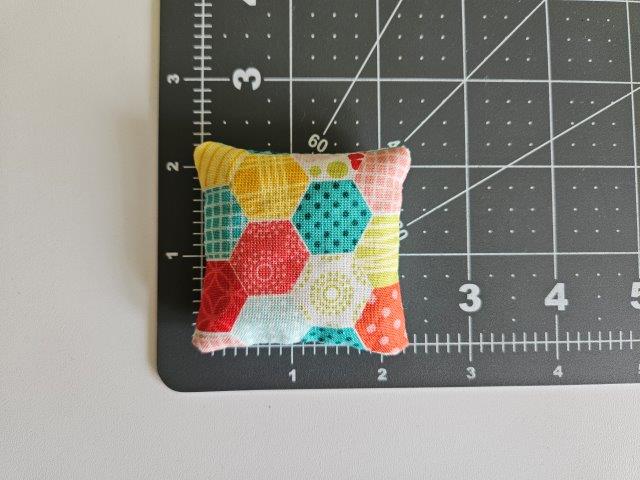
The finished square measures 2.25″x2.25″.
If you want larger pattern weights, increase the size of the squares.
Sew together
Use a 3/8″ seam allowance.
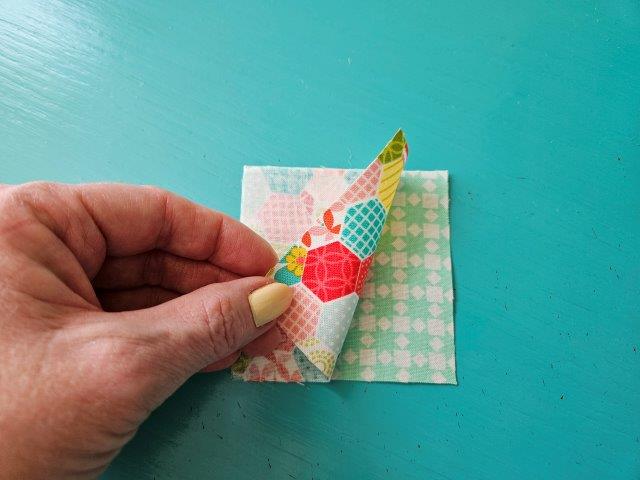
Place the fabric pieces right sides together.
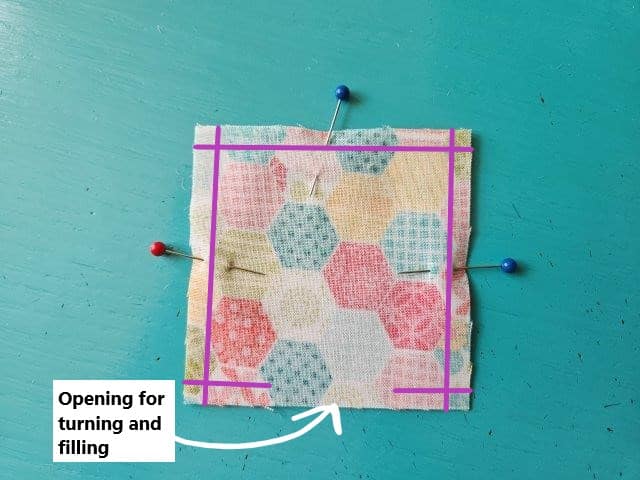
Pin in place. Sew using a 3/8″ seam allowance, leaving an opening at the bottom for turning and filling.
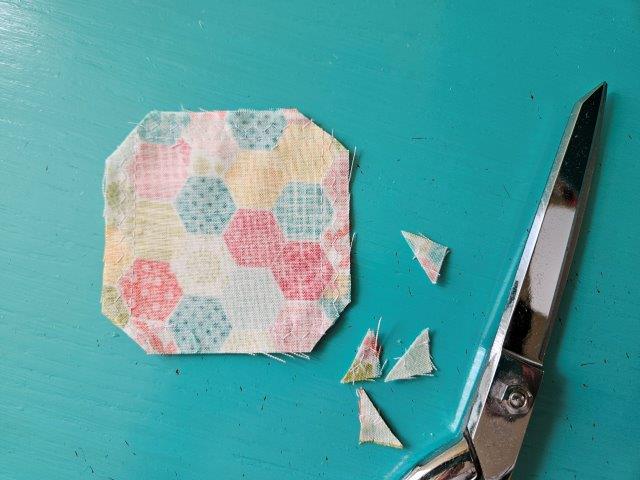
Clip the corners using your sewing scissors.
Turn right side out
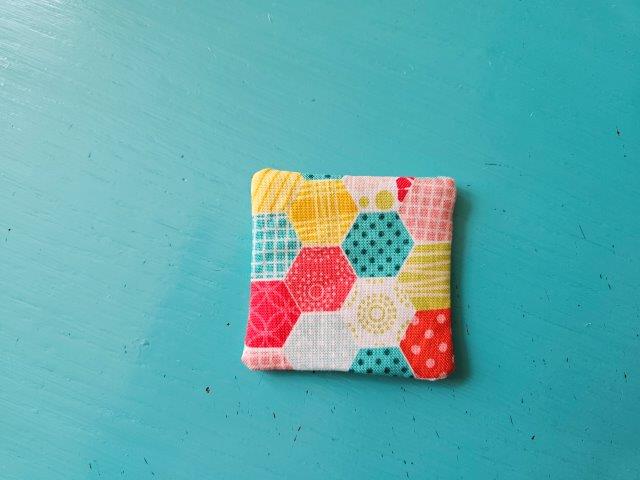
Turn all the fabric squares right side out.
***You can find the ad-free, printable PDF version of this sewing tutorial available for purchase in my Etsy shop HERE. Includes 8 pages of step-by-step instructions with pictures. Print a copy to keep next to your sewing machine for easy reference.***
Add the filling
Choose the type of filling for your pattern weights. I decided to go with lentils. Rice, small beans, glass beads, or whatever you prefer are also good options.
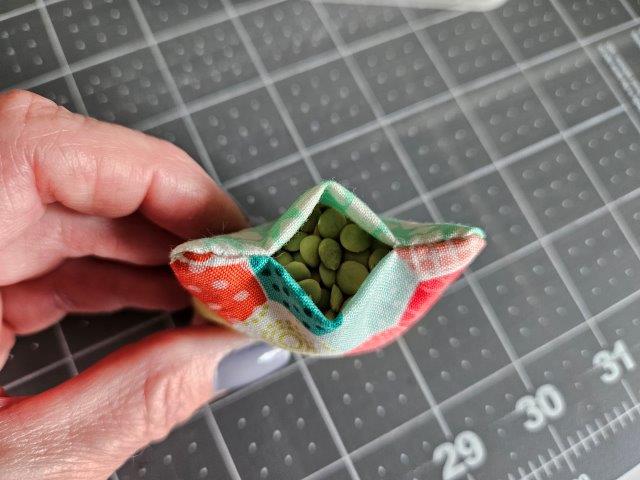
I used a small cup with spout that came with my clothes iron to fill the pattern weight or a funnel will work too.
Sew the opening closed
Once you have the pattern weight filled (try not to over fill), you’ll need to sew the opening closed. You can use your sewing machine and sew as close to the edge as possible. I like to have my stitches hidden so I chose to sew by hand using the ladder stitch to sew my pattern weights closed.
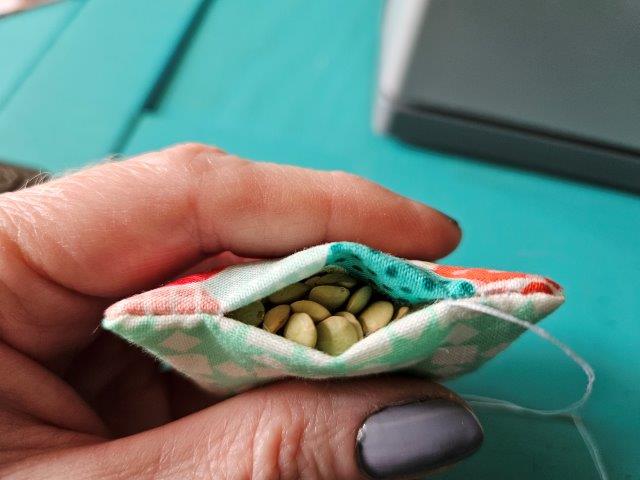
Be sure your fabric is folded inward. Insert your needle under the fold where the sewing machine stitches ended and pull through. Your knot should be on the inside.
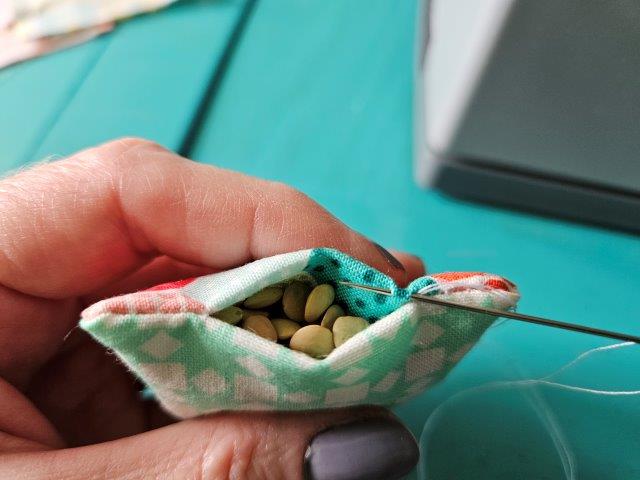
Directly across on the opposite side, insert your needle where the fabric is folded and pull through.
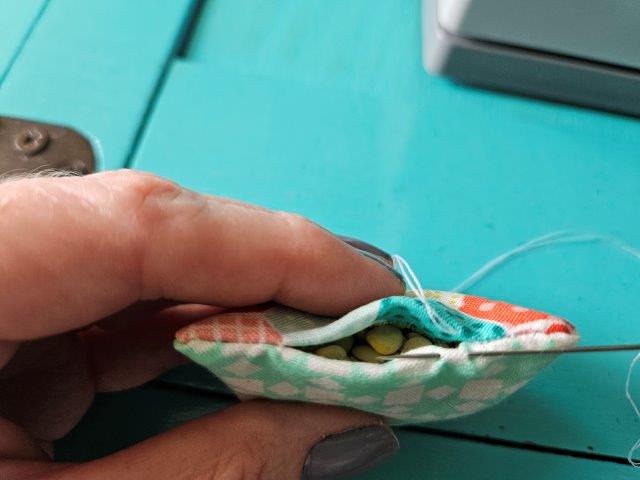
On the opposite side, insert the needle along the fold and pull through.
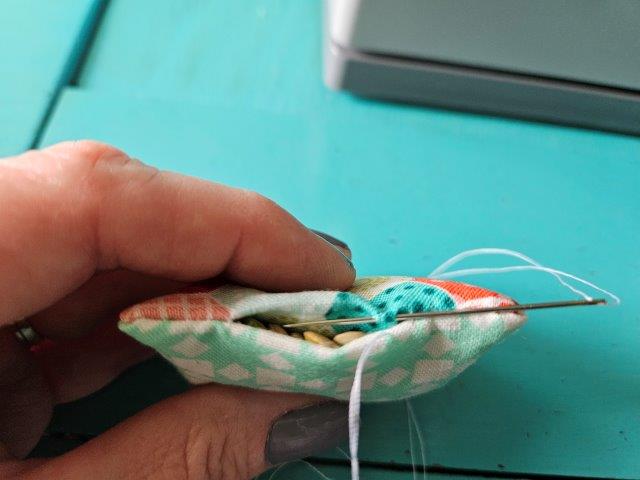
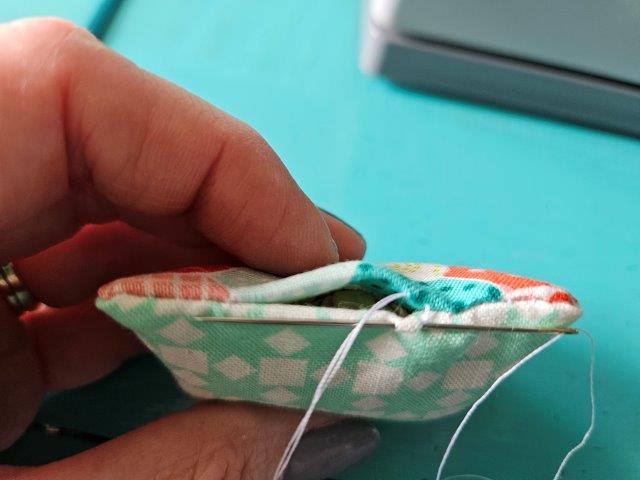
Continue to sew using the ladder stitch until your opening is closed. Knot and cut the thread.
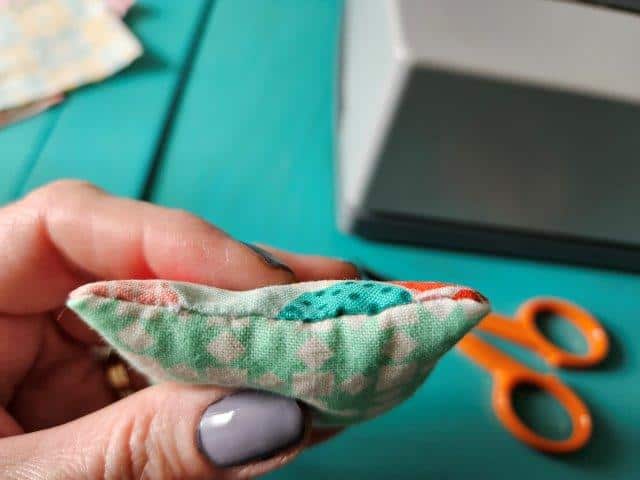
The above picture shows what the opening looks like after sewing closed using the ladder stitch.
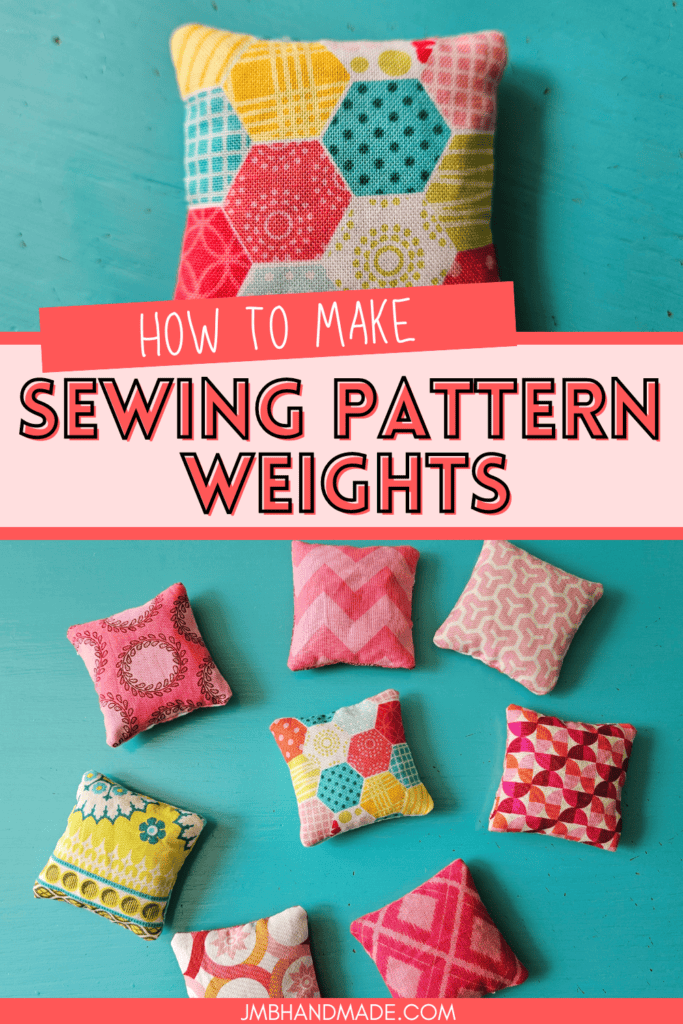
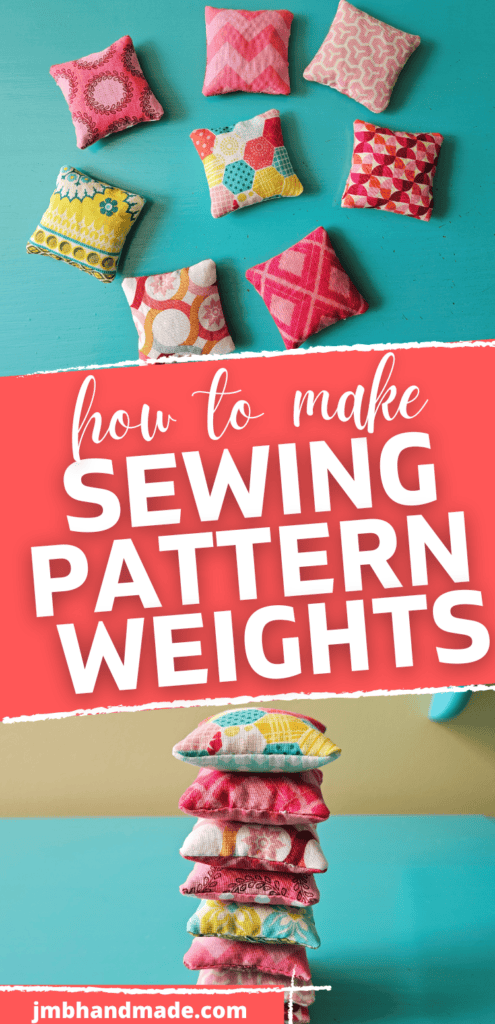
Pin for later!
***You can find the ad-free, printable PDF version of this sewing tutorial available for purchase in my Etsy shop HERE. Includes 8 pages of step-by-step instructions with pictures. Print a copy to keep next to your sewing machine for easy reference.***
You are finished!
I hope you enjoyed this sewing tutorial on how to make sewing pattern weights! Now your sewing patterns will last forever! Happy sewing!

Other sewing projects using fabric scraps:
- Mini Zipper Pouch Key Chain Sewing Tutorial
- Fabric Scrunchie Sewing Tutorial
- Fabric Gift Card Credit Card Holder Sewing Pattern
- Easy Fabric Bookmark Sewing Project