How to Add a Slip Pocket to a Handbag
Add a slip pocket or two to any handbag sewing project with these simple instructions!
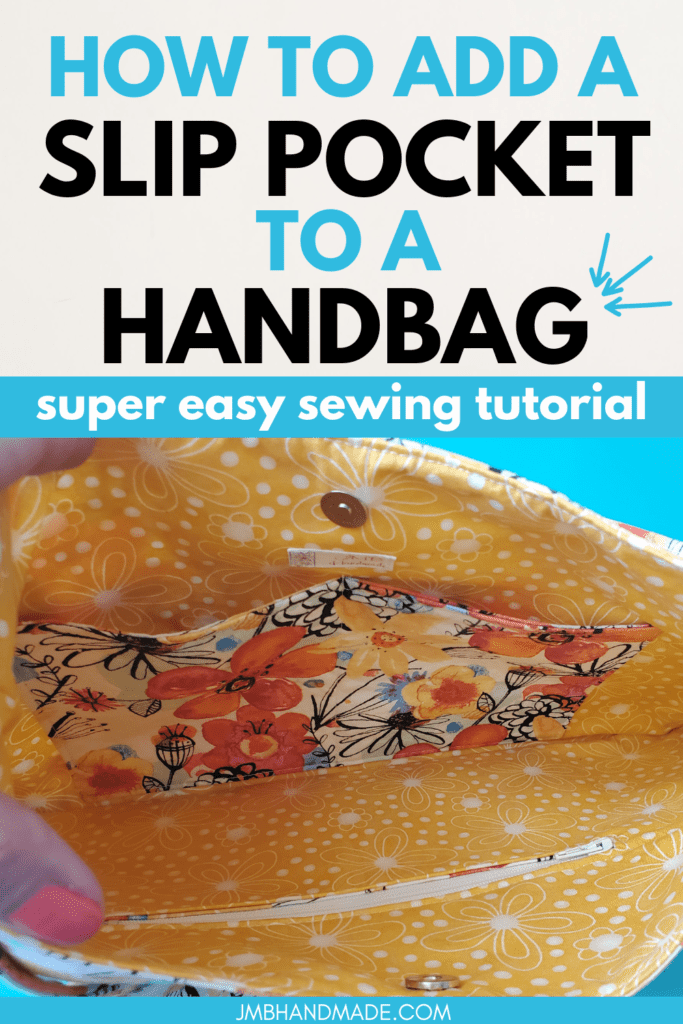
I always add slip pockets and a zipper pocket to all my handmade handbags. A slip pocket will assure you always know where your phone is!
My curved top shoulder bag has two slip pockets on the inside and I’m sharing how I added the pockets to this handbag.
This post contains affiliate links. Please see below disclosure for more details.
Supplies needed to add a slip pocket to a handbag
- Fabric – enough for 10 inches by 6 inches – my favorite fabric shop
- Fusible Interfacing – Pellon 911FF Fusible Interfacing is my preference
- Cutting mat
- Rotary cutter
- Clear ruler
- Marking pencil
- Matching thread
- Sewing scissors
- Sewing machine
Cut the fabric for the slip pockets
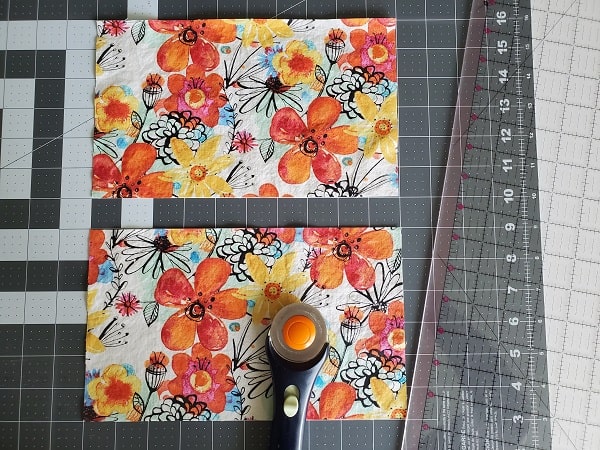
I like to use the outer fabric for my inside pockets as an accent. Again use your cutting mat, rotary cutter and clear ruler to cut the outer fabric into 2 pieces measuring 10-inches wide by 6-inches long. Attach the fusible interfacing to one pocket piece.
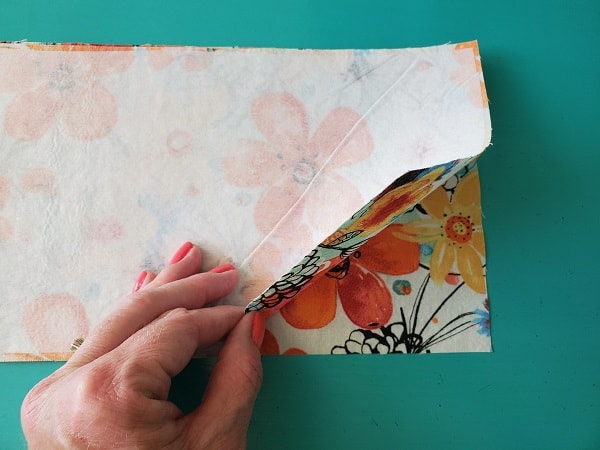
Place the pocket piece with the interfacing on top of the other pocket piece, right sides together as shown in the above picture.
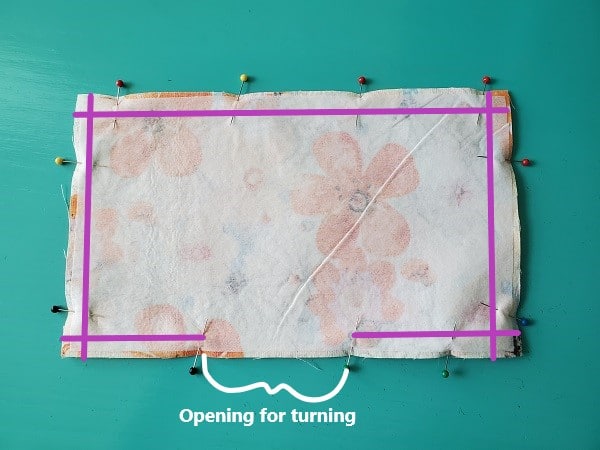
Sew around the outside perimeter, leaving an opening at the bottom for turning.
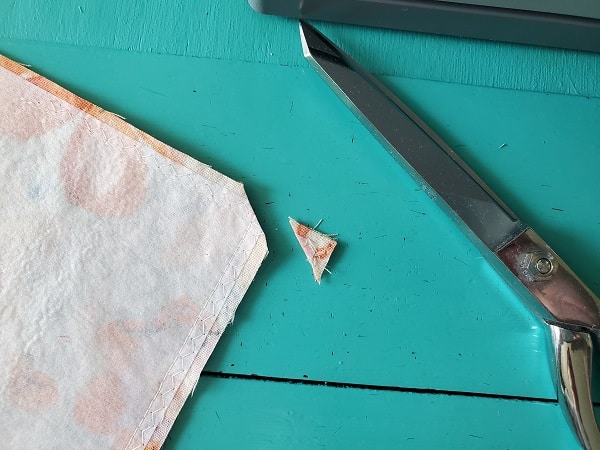
Clip the corners using your sewing scissors.
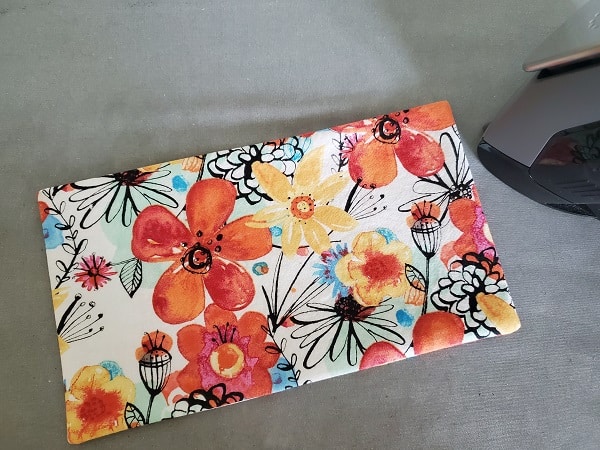
Turn right side out, pushing out the corners and press.
Straight stitch along the top of the pocket to give it a finished look. (The opening at the bottom will be sewn closed when you sew the pockets onto the bag.
Sew the pockets onto the handbag
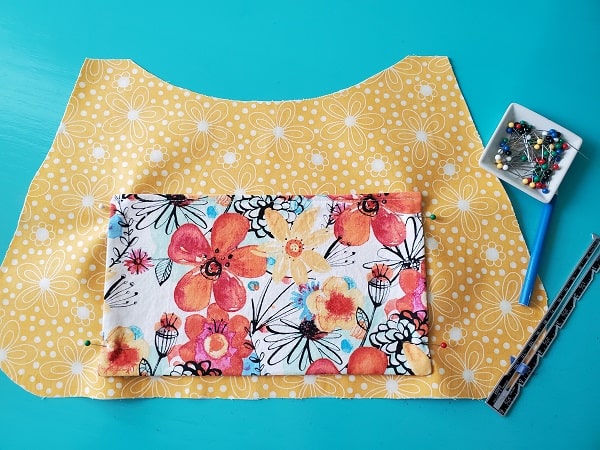
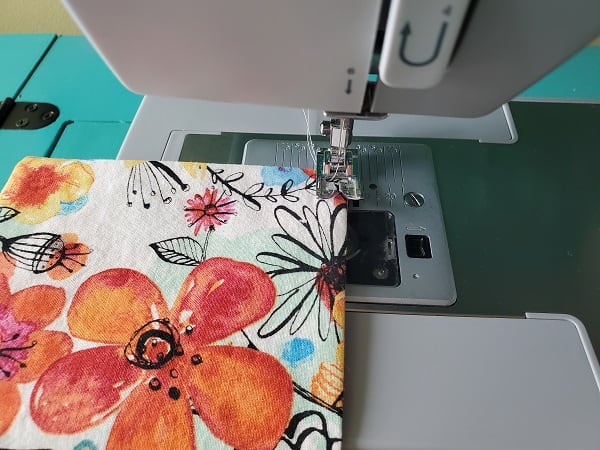
Figure out where you want to attach the pockets. Make sure you have enough room for the seam allowance and to add the magnetic snap in a later step. Pin the sides in place.
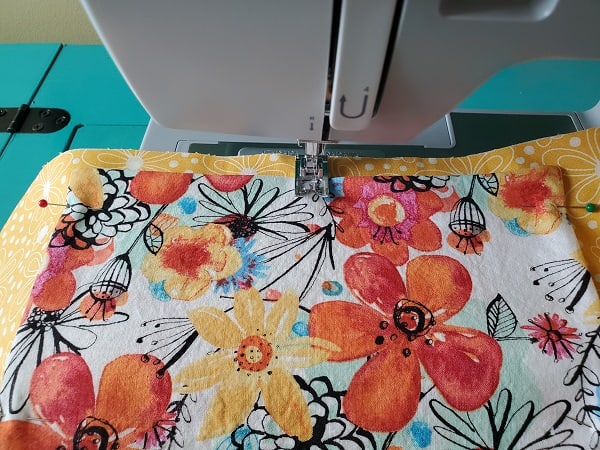
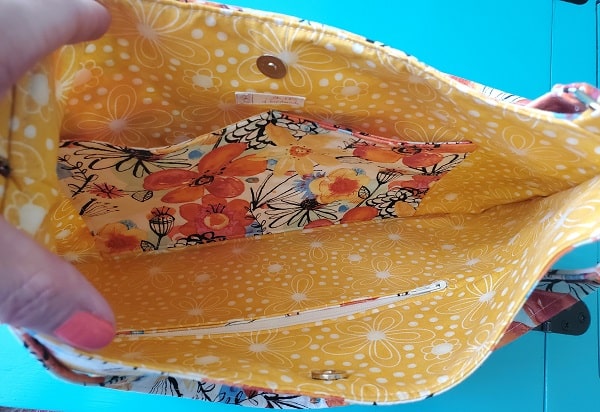
Find the middle and use your marking pencil to mark the top and bottom. Starting at the bottom of the pocket, straight stitch from the bottom mark to the top mark. Back stitch at the beginning and end. This line of stitches creates the two pockets. You might need to smooth out your pockets and re-pin the sides and bottom.
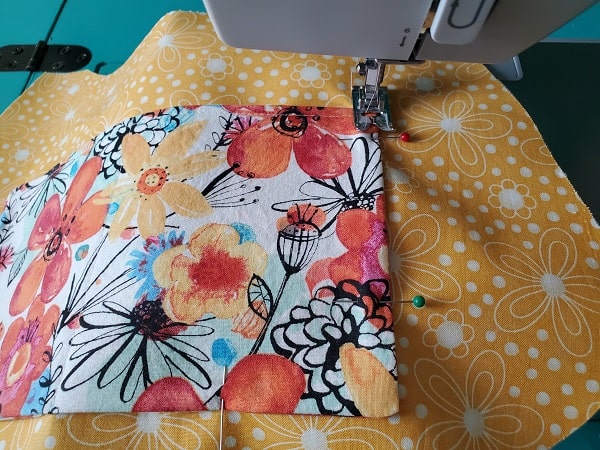
Now sew the sides and bottom of the pockets, pivoting the corners. Be sure to back stitch the beginning and end. Your pockets are now attached and the opening for turning is sewn closed.
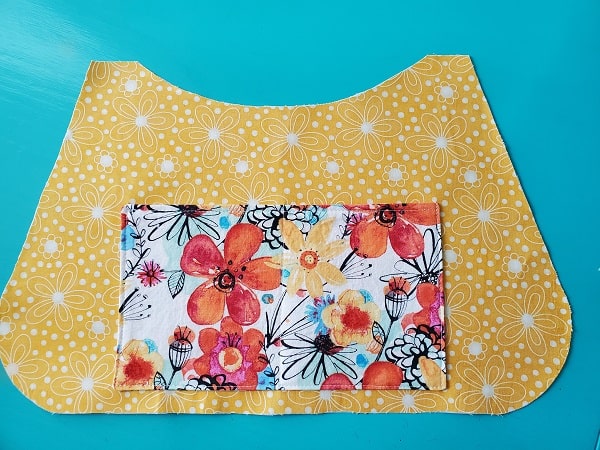
The above picture shows what your pockets should look like.
You are finished!
I hope you’ve enjoyed this sewing tutorial on how to add slip pockets to a tote bag or purse. Happy sewing!
Pin for later!