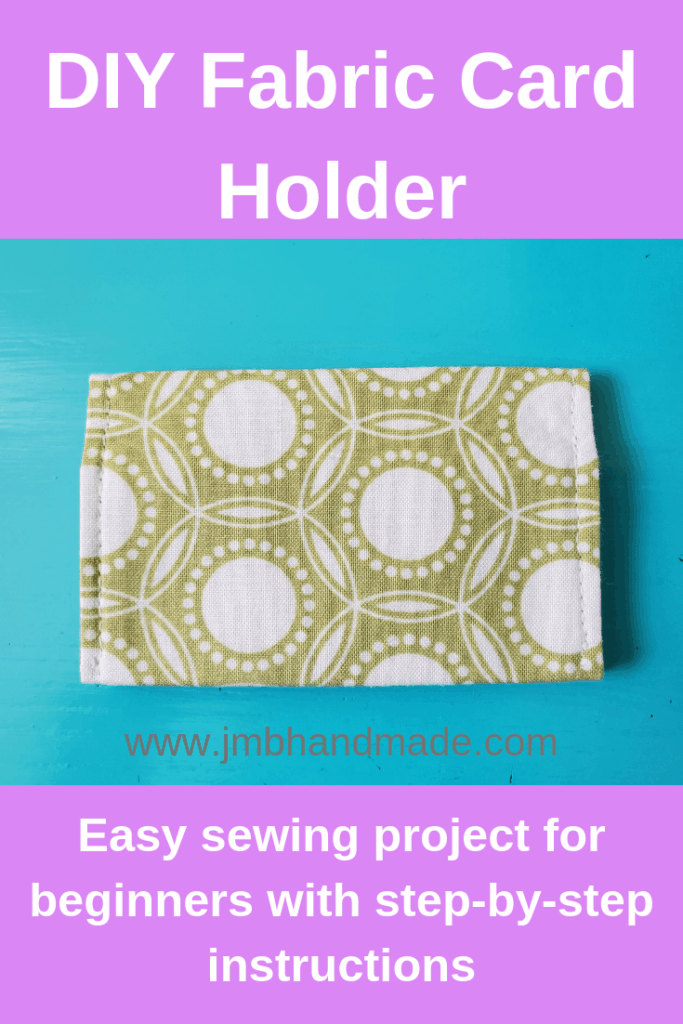
Easy to Sew Fabric Business Card / Gift Card Holder

Create a fabric business card holder with these easy to follow instructions.
I love sewing business card holders and using them for my business cards. Or I fill with gift cards and give them as gifts. This card holder is also the perfect size for credit cards. This pattern is similar to my Fabric Checkbook Cover, just adjusted for size.
If you want a card holder with more pockets, the gift card / credit card holder has six pockets and a button closure. Or you might try sewing the mini card wallet with snap closure.
This post contains affiliate links. Please see disclosure for more information.
***You can find the AD-FREE, printable PDF version of this sewing tutorial available for purchase in my Etsy shop HERE. Includes 7 pages of step-by-step instructions with pictures. Print a copy to keep next to your sewing machine for easy reference.***
Business card holder supplies needed:
- One outer fabric piece – 4.75″W x 9.5″H – my favorite fabric shop
- One lining fabric piece – 4.75″W x 9.5″H
- Fusible interfacing – I use Pellon P44F Fusible Interfacing
- Rotary cutter
- Cutting mat
- Clear ruler
- Matching thread
- Straight pins or sewing clips
- Sewing scissors
- Sewing machine
Measure and cut your fabric
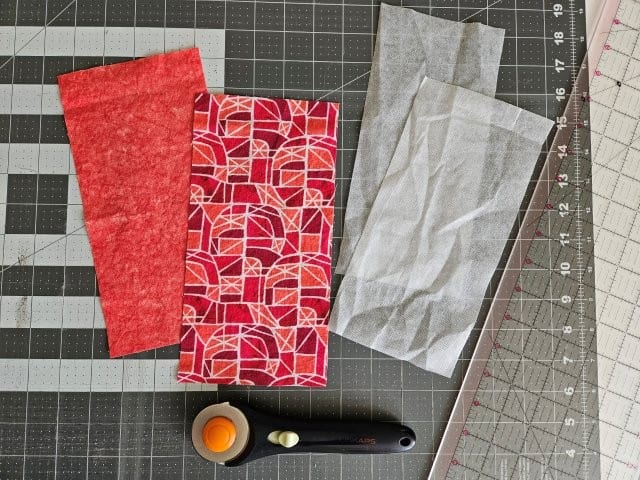
Using your rotary cutter, clear ruler and cutting mat, cut one outer fabric piece and one lining fabric piece each measuring 4.75″W x 9.5″H.
Attach the fusible interfacing
Cut two pieces of the fusible interfacing measuring 4.75″W x 9.5″H. For this business card holder sewing pattern I’m using Pellon P44F Fusible Interfacing.
Attach the interfacing to the wrong side of each fabric piece following the package instructions.
Time to sew
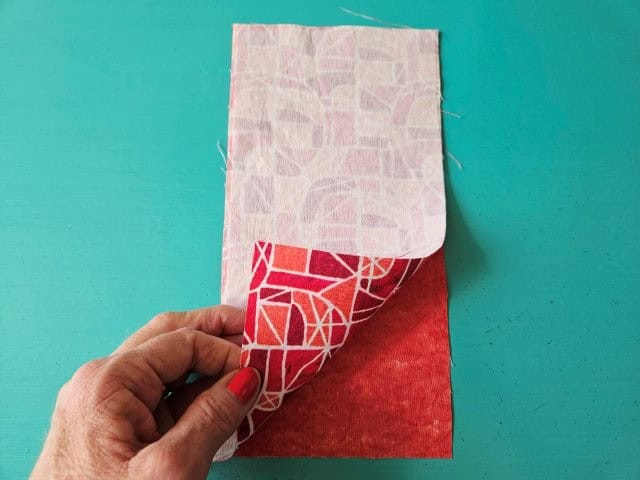
Place the outer fabric on top of the lining fabric, right sides together. Pin to hold in place.
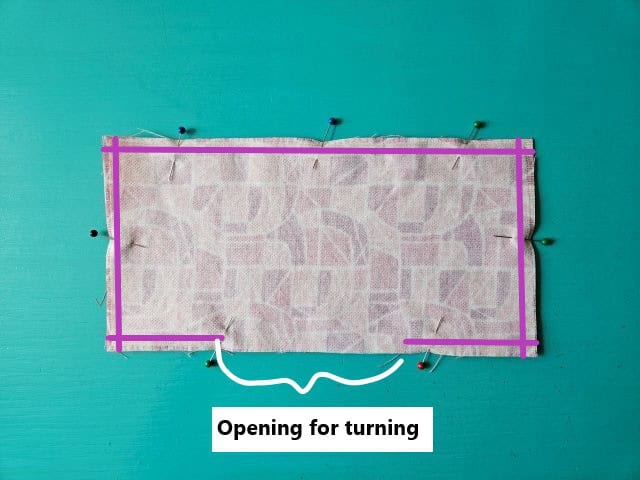
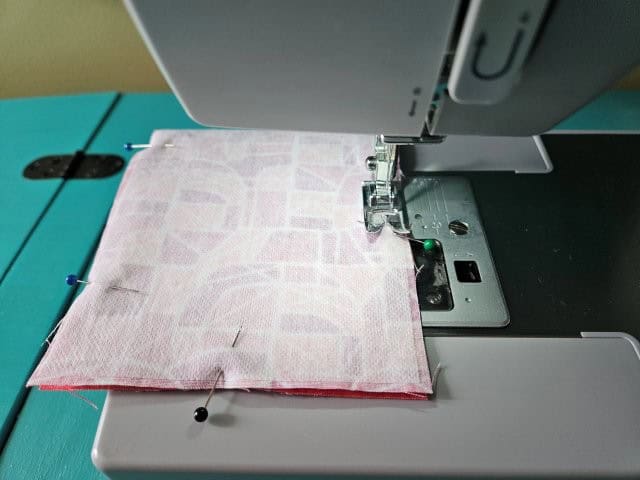
Sew around the perimeter using a 3/8″ seam allowance, leaving an opening for turning.
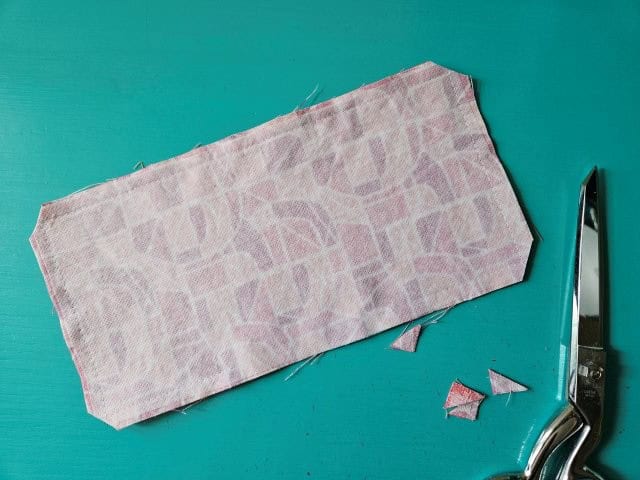
Clip the corners using your sewing scissors.
Turn right side out
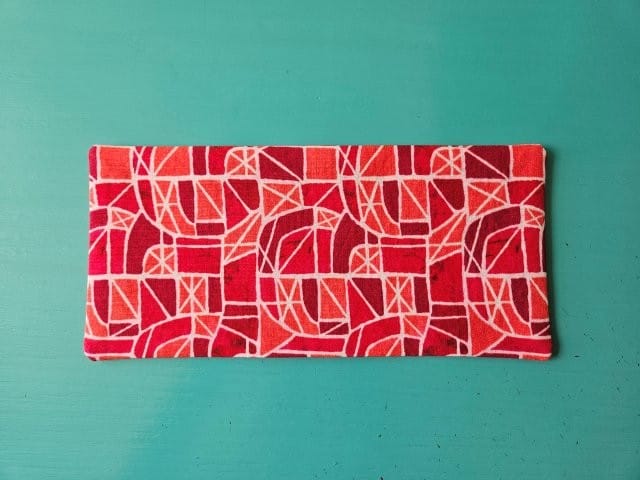
Turn the gift card holder right side out, pushing out the corners. Fold in the opening and press all around.
Top stitch short sides
Top stitch the short sides to give it a finished look.
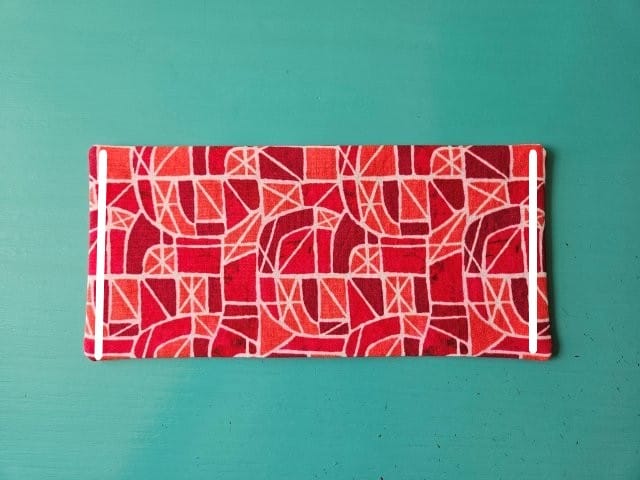
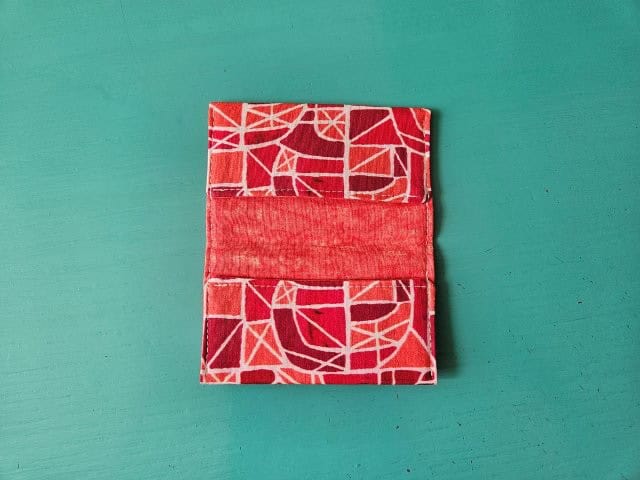
Time to fold
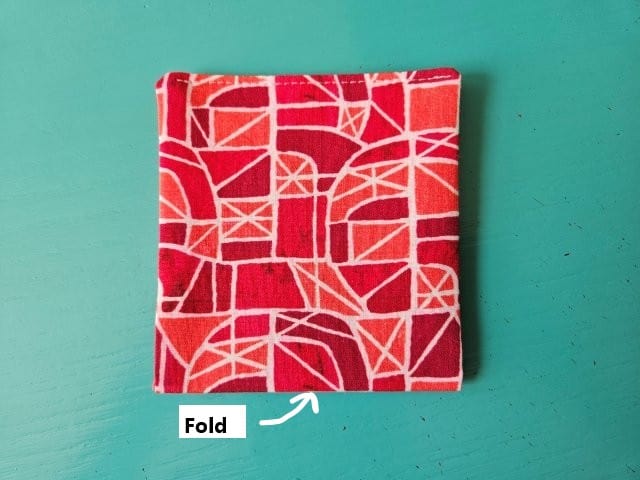
Fold in half with the short sides together and press the fold.

Open back up and fold each short side in 1.75″ and press the folds. Clip or pin to hold in place.
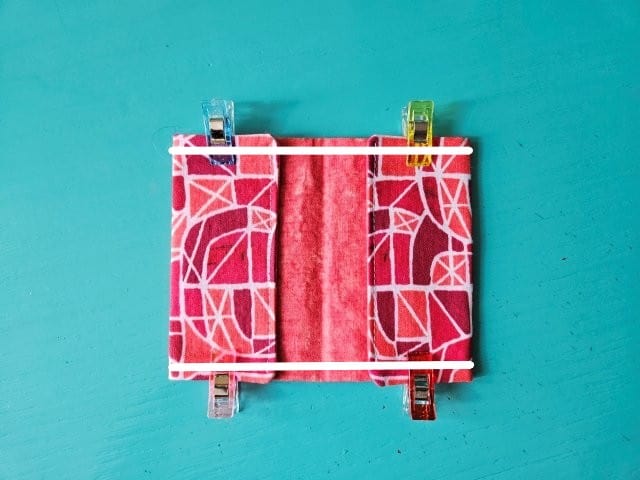
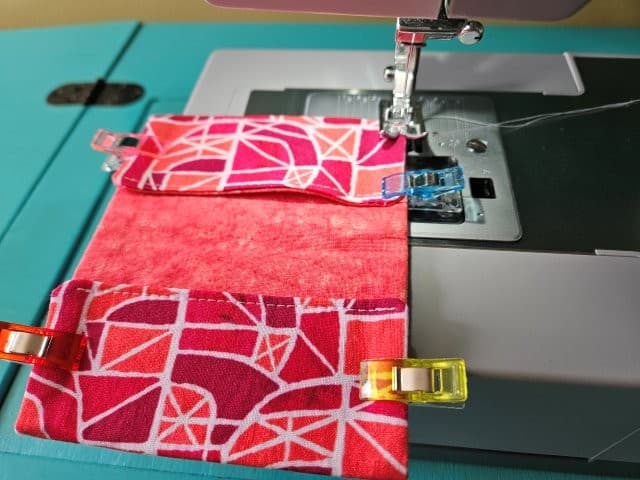
Be sure the edges are lined up. Sew along the sides using an 1/8″ seam allowance to secure the folds and close up the opening. Press.
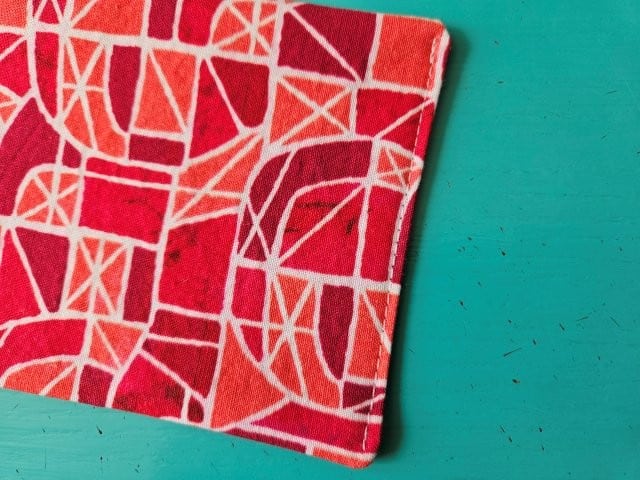
The above picture shows the sewn sides of the business card wallet.
Fold again and press.
***You can find the AD-FREE, printable PDF version of this sewing tutorial available for purchase in my Etsy shop HERE. Includes 7 pages of step-by-step instructions with pictures. Print a copy to keep next to your sewing machine for easy reference.***
Pin for later!
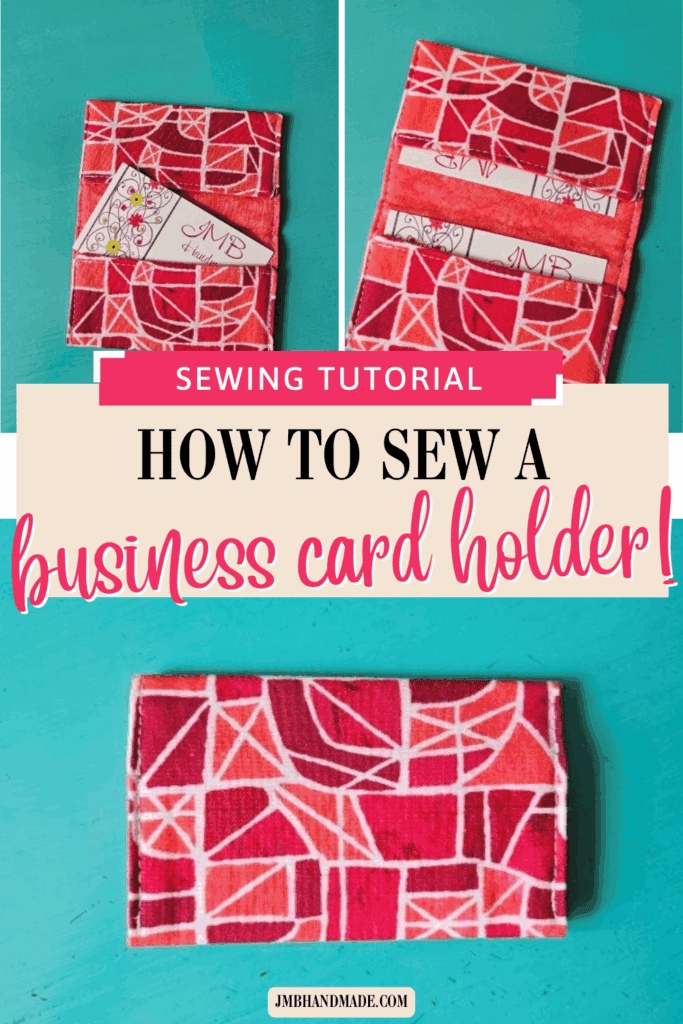
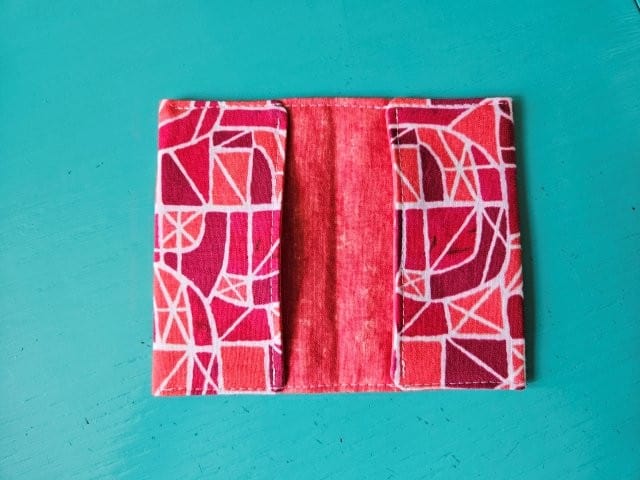
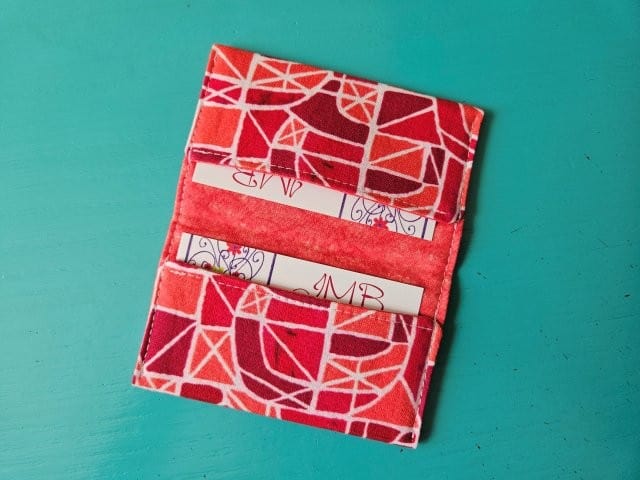
You are finished!
Now you can sew a business card holder and fill with your cards. Sew a bunch and give them away with gift cards inside. Happy sewing!

Other Easy Sewing Project Tutorials:
- DIY Travel Tissue Holder
- Easy Fabric Luggage Tag Tutorial
- Key Fob Sewing Project Tutorial
- Mini Zipper Pouch Key Chain