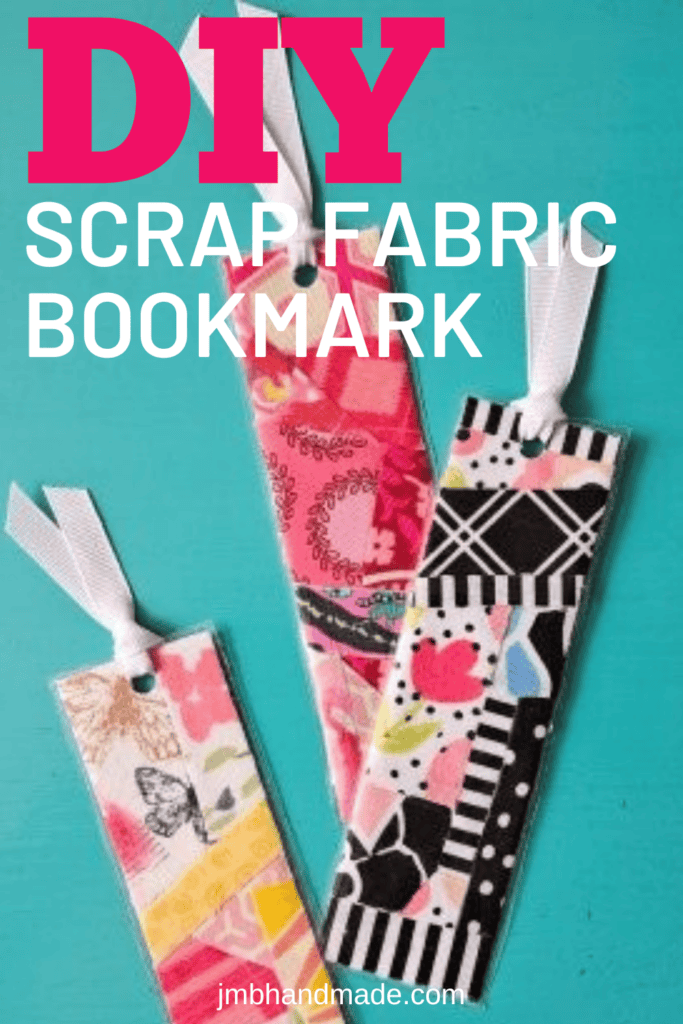
Simple Scrap Fabric Bookmark – No Sewing Required
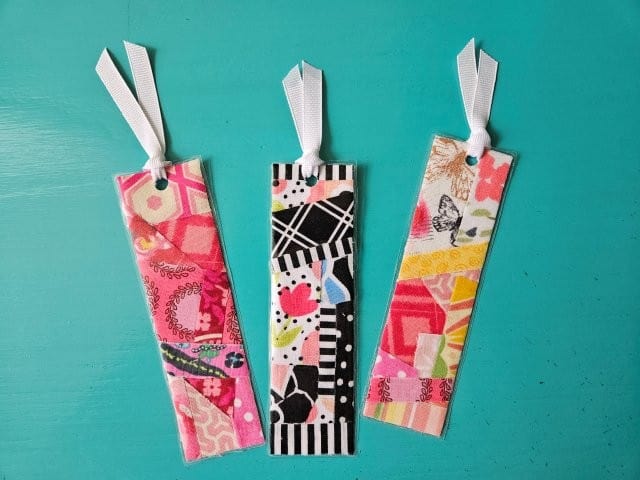
Unique DIY fabric bookmark using fabric scraps, cardstock, and packaging tape. No sewing required!
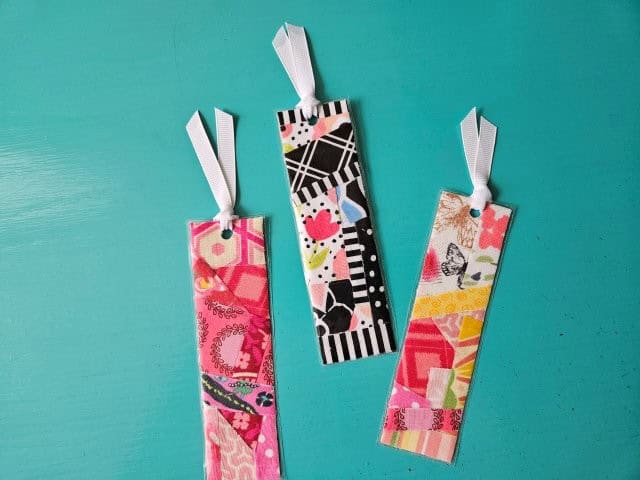
Use up those fabric scraps by making a fun bookmark. This scrap fabric bookmark is a super simple craft project with no sewing required! You can use multiple small fabric pieces or one fabric scrap for this bookmark – it is completely up to you to design.
I have provided three bookmark templates you can download and print or feel free to design your own. For the sake of this tutorial, I will be using the simple rectangle template.
If you prefer sewing a bookmark, check out my easy fabric bookmark sewing tutorial. Or try sewing these easy sewing projects using fabric scraps.
This post contains affiliate links. Please see below disclosure for more information.
***You can find the AD-FREE, printable PDF version of this sewing tutorial available for purchase in my Etsy shop HERE. Includes 11 pages of step-by-step instructions with pictures. Print a copy to keep next to your sewing machine for easy reference.***
Fabric bookmark supplies needed:
- Scrap fabric – my favorite fabric shop
- Bookmark templates – see below download
- Card stock
- Clear 2-inch packaging tape
- Basting adhesive
- Hole punch
- Ribbon – about 6-inches
- Fray check
- Paper scissors
- Fabric scissors
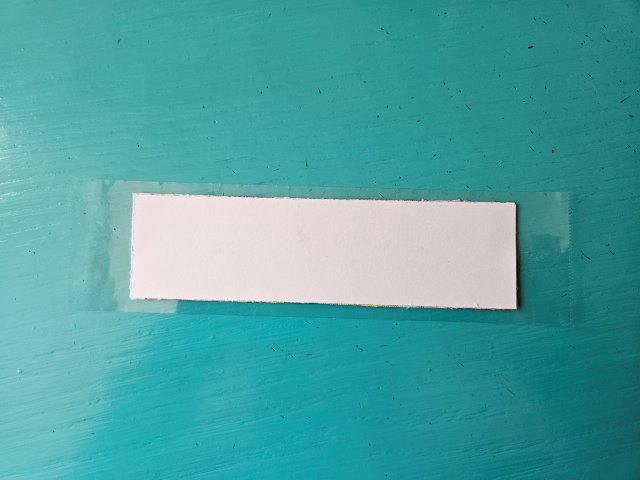
Download and print the bookmark templates
There are three styles of bookmark templates. Download the bookmark templates. Print the desired template page onto your favorite cardstock. I am using premium cardstock in white. Be sure your printer is set to “actual size”. Cut out the bookmark template using paper scissors.
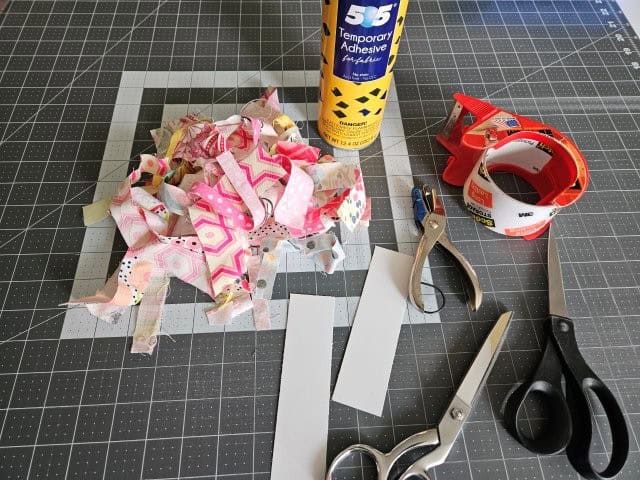
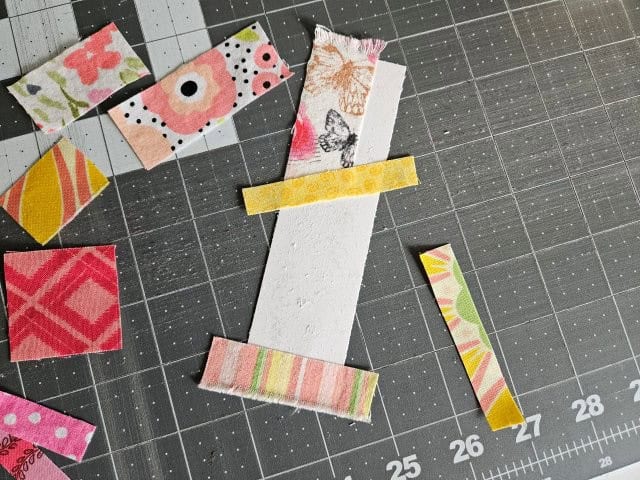
Gather your fabric scraps
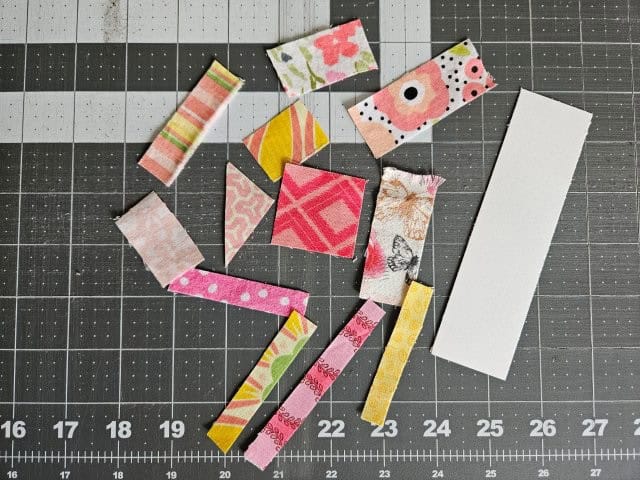
Choose the fabric scraps you would like to use for your bookmark. The fabric scraps can be a little bit wider and longer than your template. You will be trimming them in a later step. Press the scraps.
Spray the adhesive
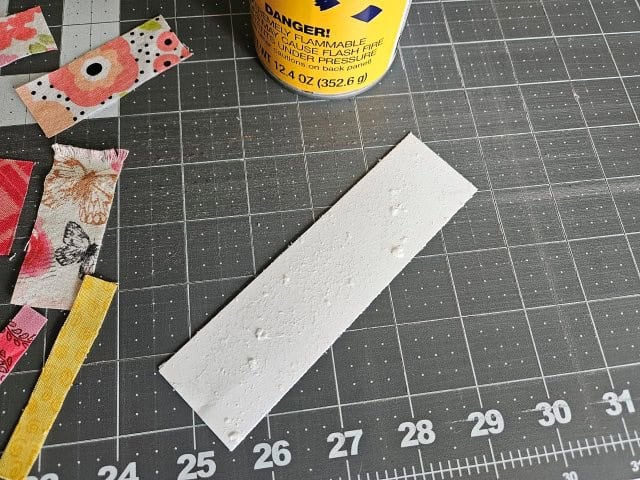
Spray the basting adhesive onto your cardstock – over a trash can if possible.
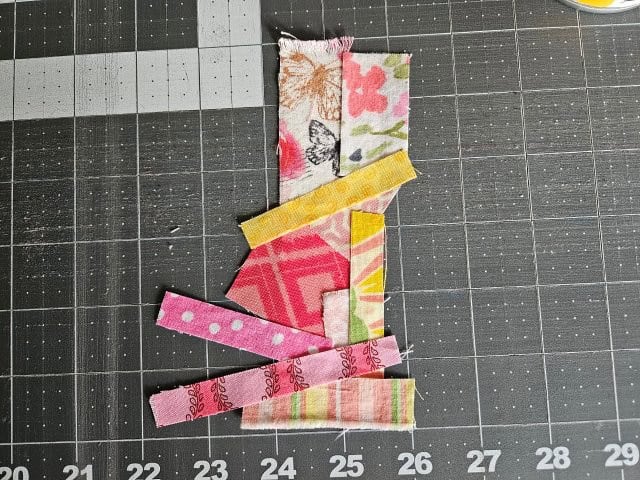
Place the fabric scraps onto the cardstock in random places – anyway you like. Feel free to overlap the fabric too. The adhesive is temporary so you can remove the fabric if needed.
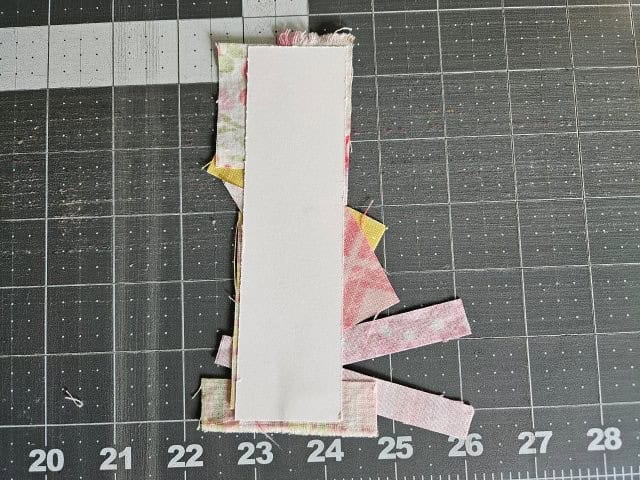
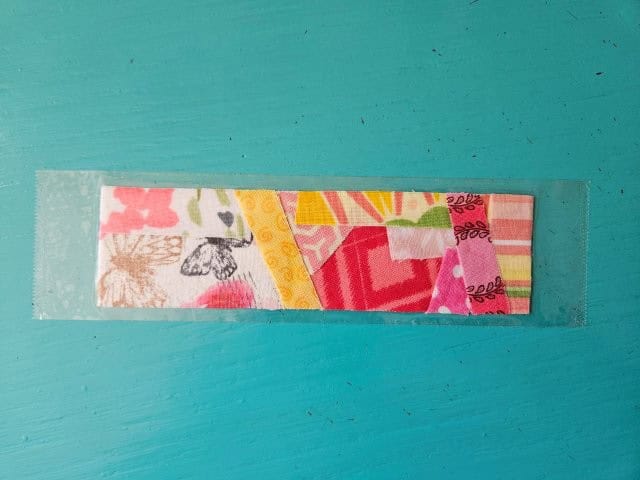
Once you have the pattern you like, turn over the bookmark and trim the fabric around the cardstock using your fabric scissors. You can save these scraps for another bookmark!

The above picture shows the bookmark with the fabric trimmed.
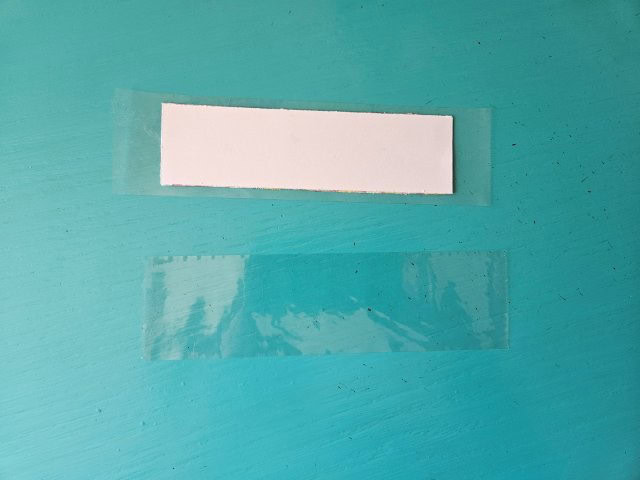
Add the packaging tape
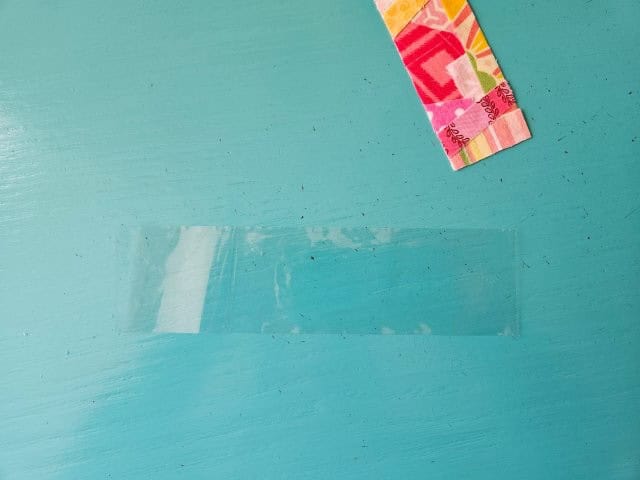
Cut a piece of the packaging tape (contact paper will also work) a little longer than your bookmark and place it sticky side up on your work space.
Place your bookmark right side down onto the tape.
Cut another piece of the tape and place it sticky side up on your work space and place the bookmark right side up onto the tape, lining up the edges of the tape. Smooth out any wrinkles.
Trim around the edges
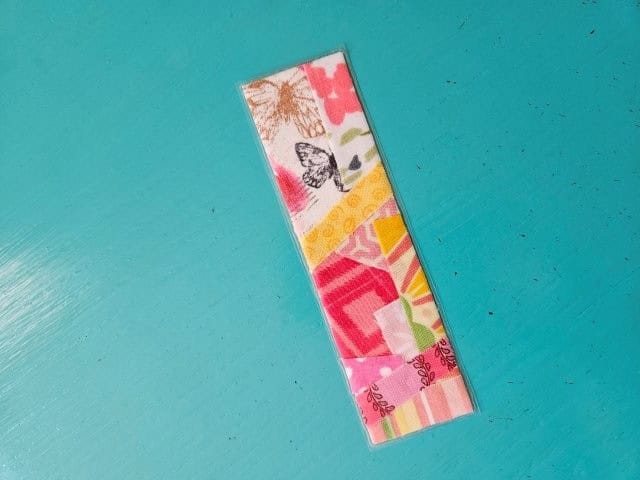
Trim around the edges of the tape keeping a little bit of the tape as a border (to keep it stuck together).
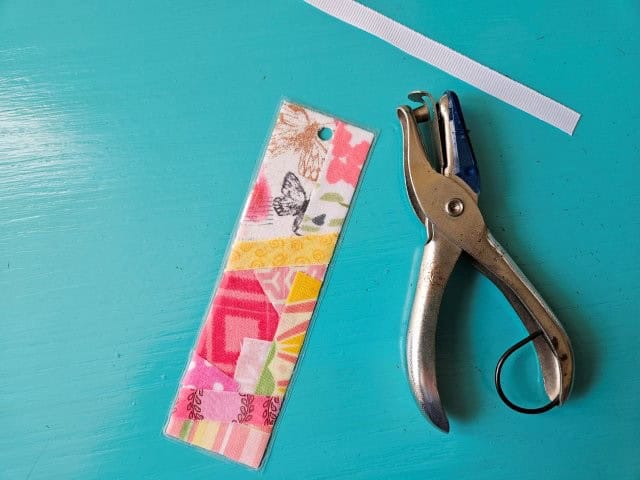
Punch a hole at the top of the bookmark using a hole punch.
Time to add the ribbon
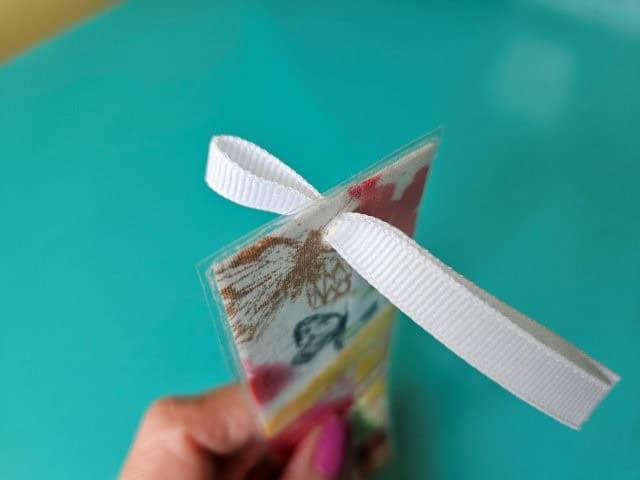
Fold the ribbon in half and slip it through the hole from the front of the bookmark.
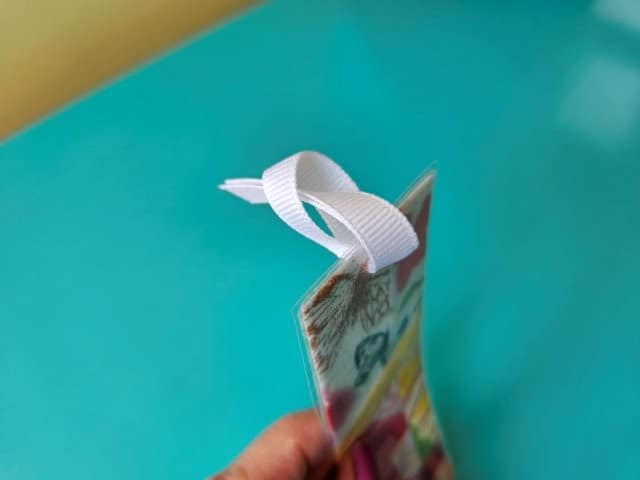
Then slip the ends of the ribbon through the loop and pull tight.
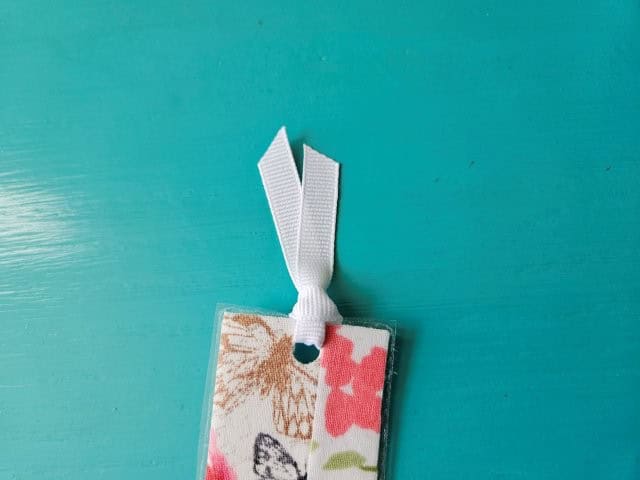
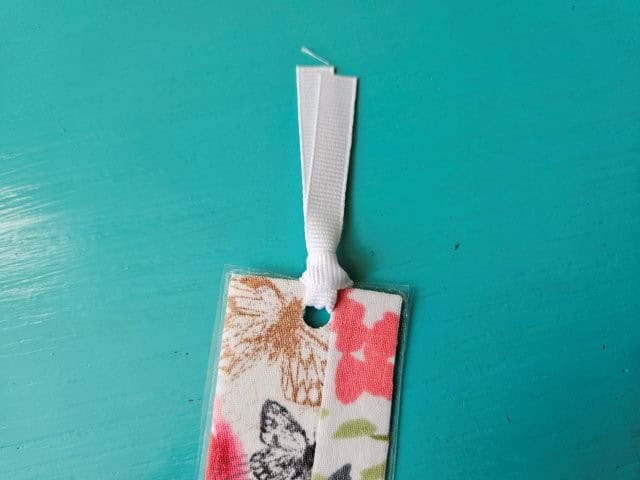
Trim the ribbon ends diagonally. Add some fray check to the ribbon to keep it from unraveling.
***You can find the AD-FREE, printable PDF version of this sewing tutorial available for purchase in my Etsy shop HERE. Includes 11 pages of step-by-step instructions with pictures. Print a copy to keep next to your sewing machine for easy reference.***
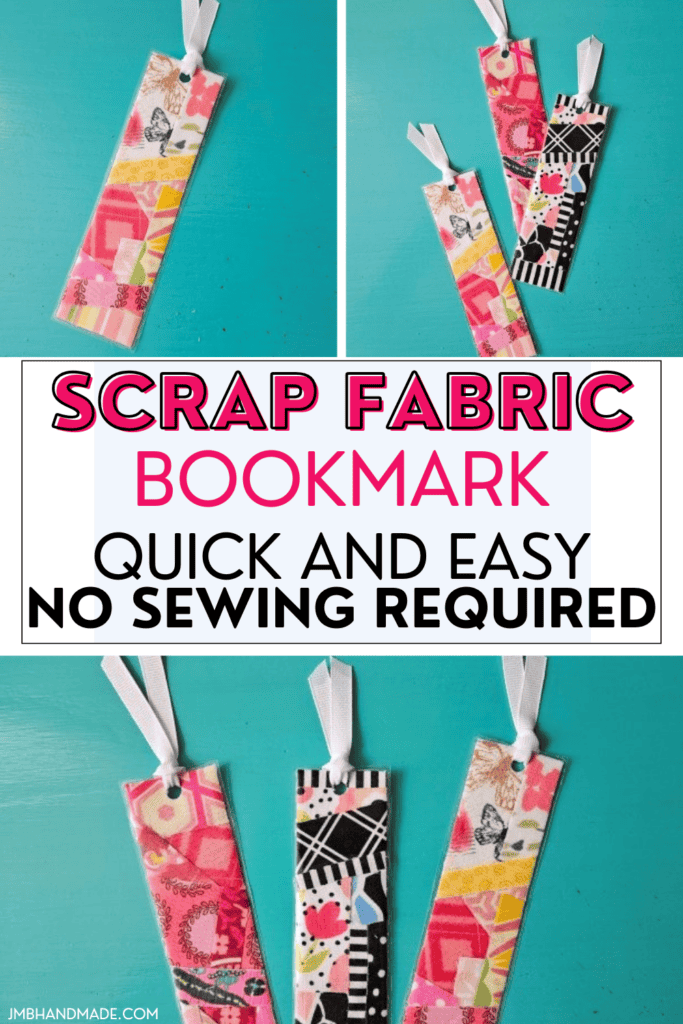
Pin for later!
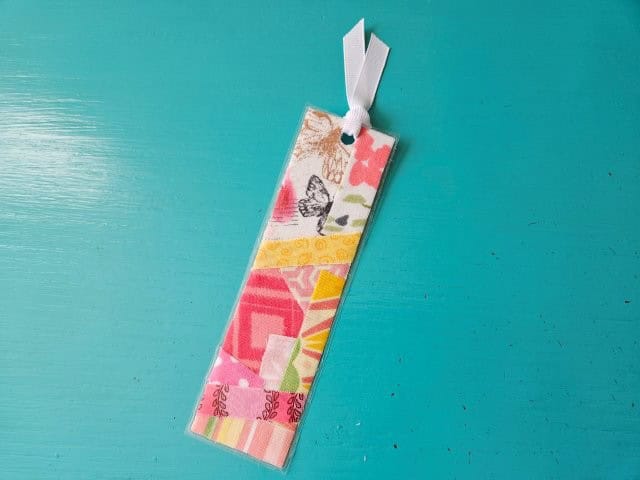
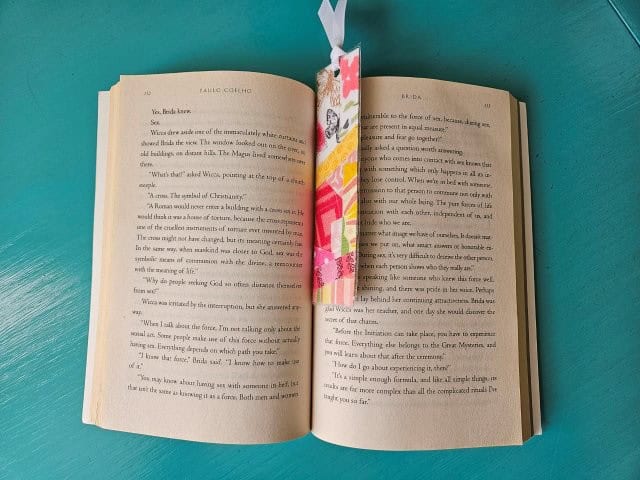
You are finished!
I hope you enjoyed this craft project on how to make a scrap fabric bookmark. Make a bunch and give a gifts or make some with your children for a fun activity together! Make it a craft day! Happy crafting!
Scrap fabric sewing projects:
- Pillow Cover Pattern Using Fabric Scraps
- Quilted Patchwork Crossbody Messenger Bag Tutorial
- Metal Frame Coin Purse Sewing Pattern
- Pleated Zipper Pouch Sewing Tutorial