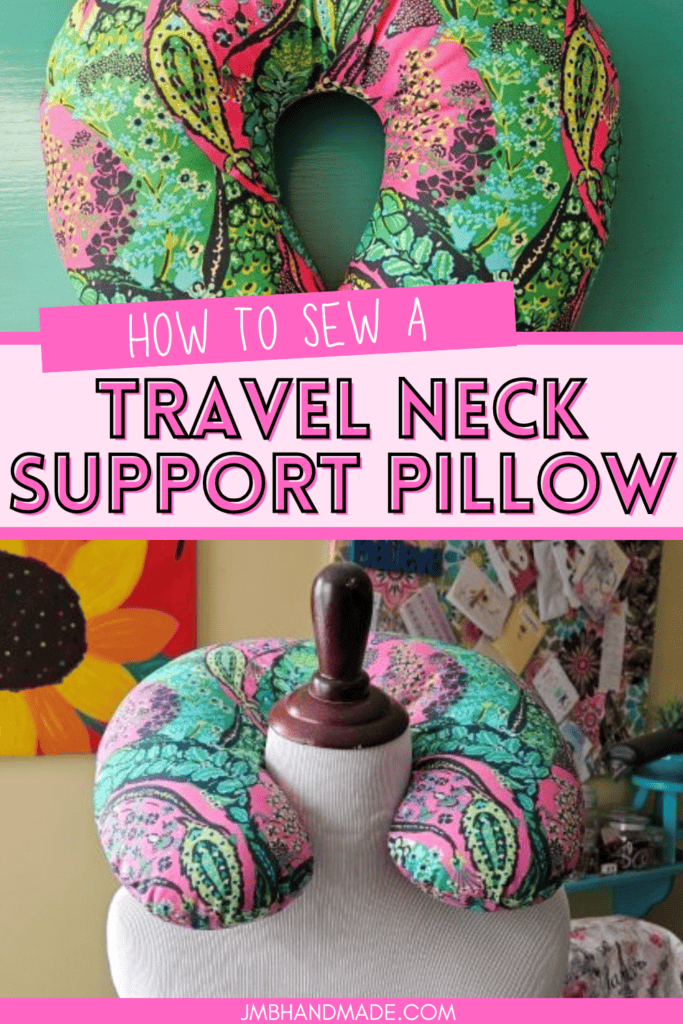
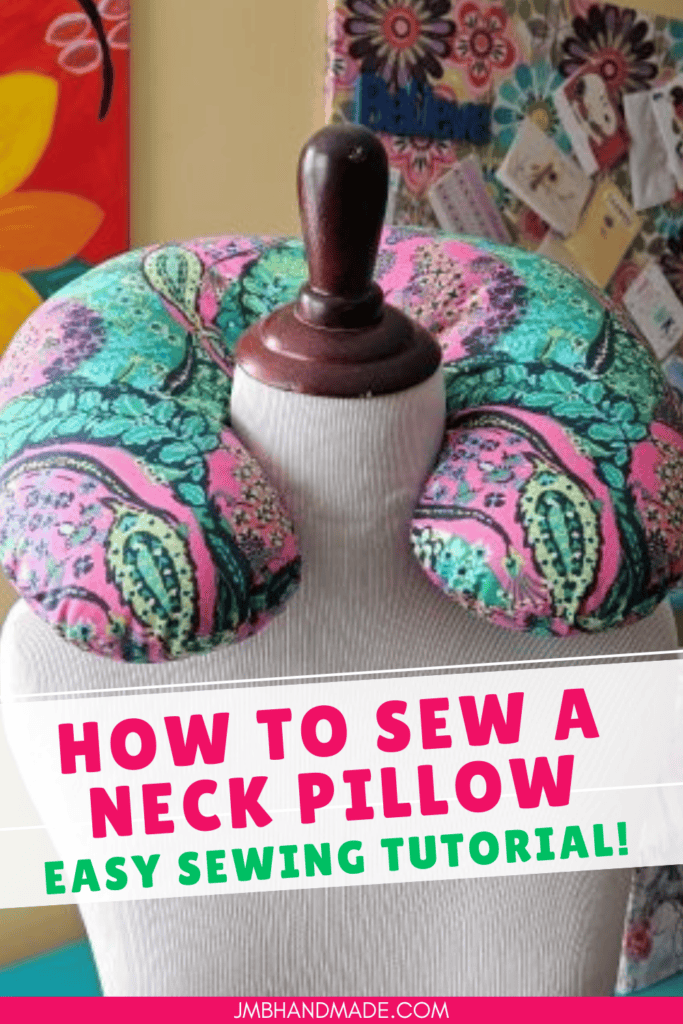
How to Sew a Simple Travel Neck Pillow – Sewing Tutorial
Sew a neck support pillow for your travels using this simple sewing tutorial. Perfect for long car and plane rides.
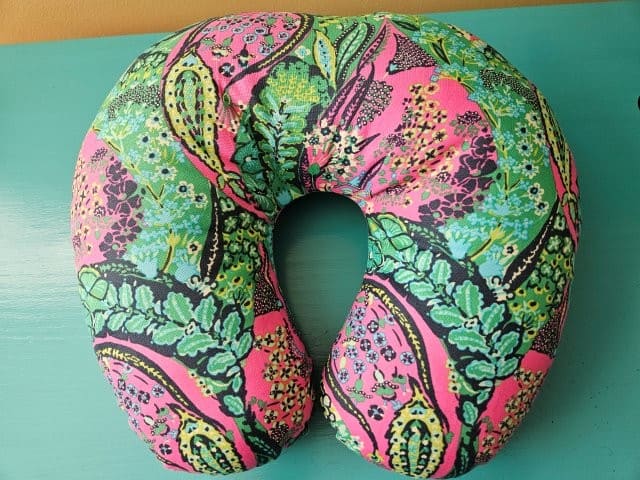
A travel neck pillow is perfect when traveling either by car or plane to help support your neck, especially if you want some sleep. I have a trip coming up next month and decided to make a neck pillow for the plane ride!
This neck support pillow is quick and easy to sew. The pattern is included for you (below is the download button).
If you are using a passport for your travels, try sewing a matching passport cover to keep it protected. Easily spot your luggage by making a matching luggage tag. You might also like to sew a small crossbody messenger bag for hands-free souvenir shopping.
This post contains affiliate links. Please see below disclosure for more information.
***You can find the AD-FREE, printable PDF version of this sewing tutorial available for purchase in my Etsy shop HERE. Includes 9 pages of step-by-step instructions with pictures. Print a copy to keep next to your sewing machine for easy reference.***
Neck pillow supplies list:
- 1/2-yard cotton fabric – my favorite fabric shop
- Neck pillow template (see below download)
- Pellon 830 Easy Pattern (optional)
- Polyfil Fiber Fill stuffing
- Sewing scissors
- Needle and thread
- Sewing machine
Download the travel neck pillow template
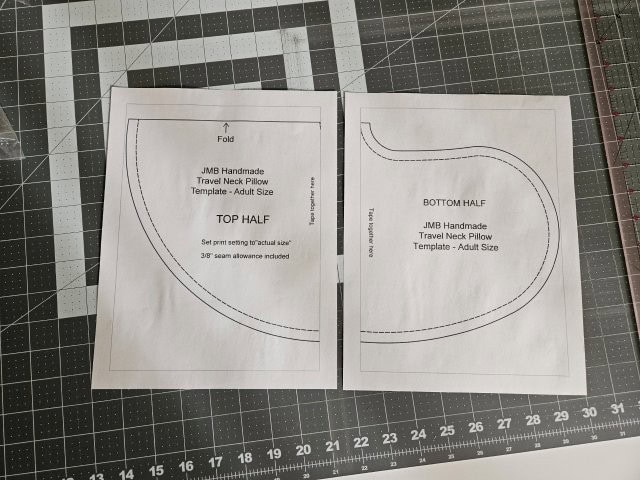
Download and print the template. Be sure your printer is set to print “actual size”.
Cut out the template along the outside lines with paper scissors.
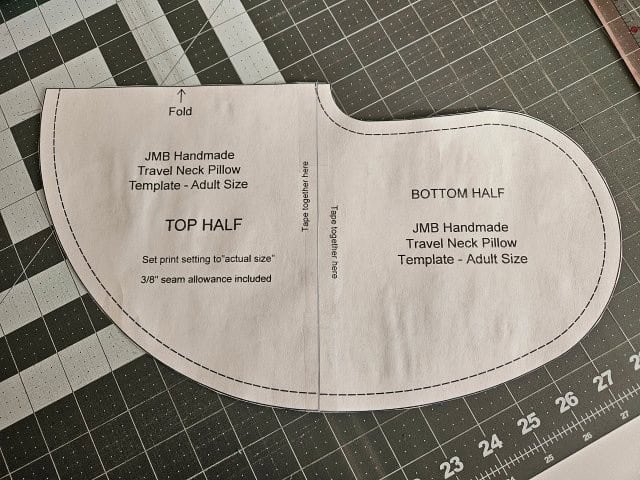
Line up the two template pieces where it says “tape together here” and tape together.
Cut the fabric

Fold your fabric in half, wrong sides together, so the pattern on the fabric is going in the correct direction. Place the template on top of the fabric – lining the template up where it says “fold” with the fold of the fabric.
You can either pin the template to the fabric, use pattern weights, or tape the back of the template to the fabric. I decided to tape the template to hold in place. Another option is to trace the template onto Pellon 830 Easy Pattern if you’re planning on making multiple neck pillows.
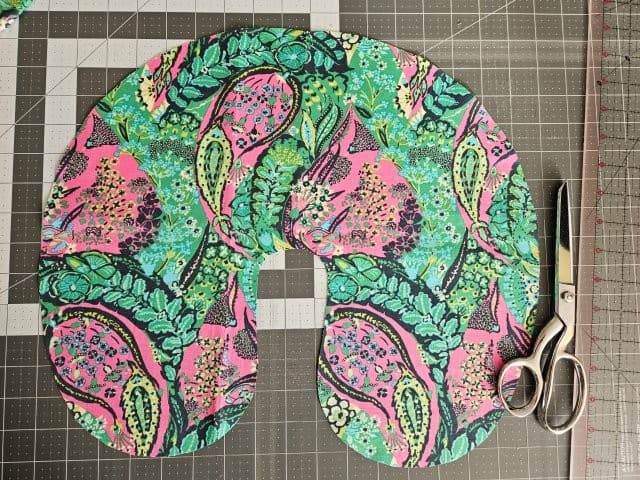
Cut around the template using your sewing scissors. This fabric piece will be the front of your travel neck pillow.
Cut out another fabric piece the same way. This fabric piece will be the back of the neck pillow.
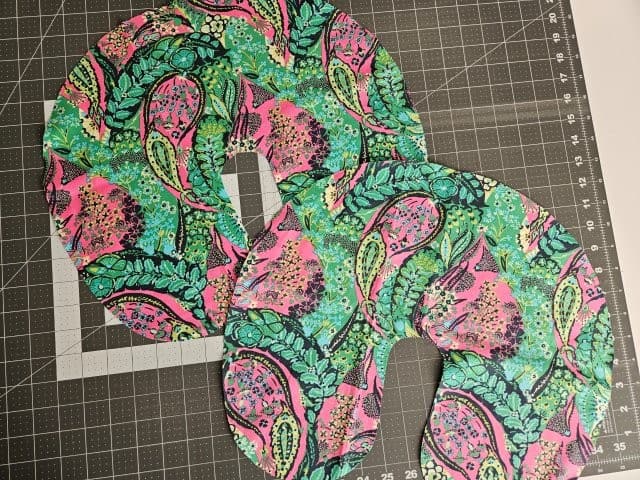
You should now have two neck support pillow fabric pieces.
Sew the neck pillow together
Use a 3/8″ seam allowance.
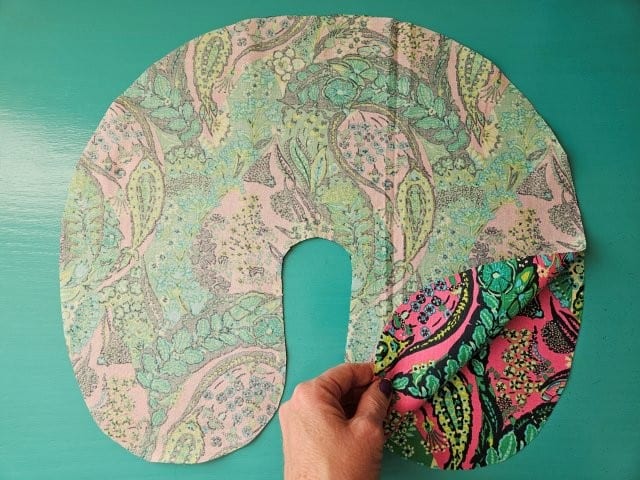
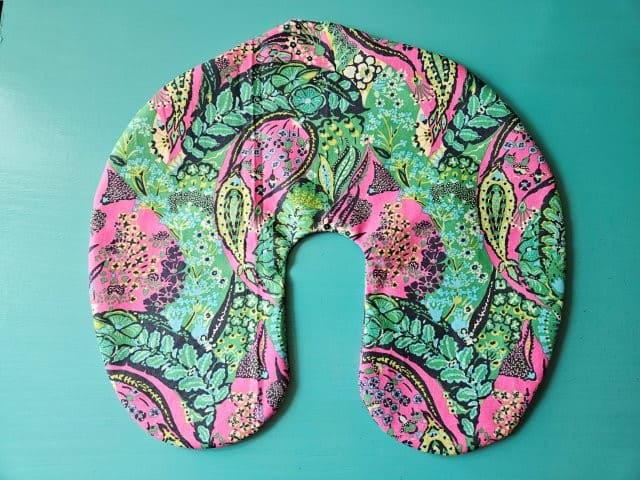
Place the travel neck pillow fabric pieces right sides together. Pin to hold in place, leaving an opening at the top for turning.
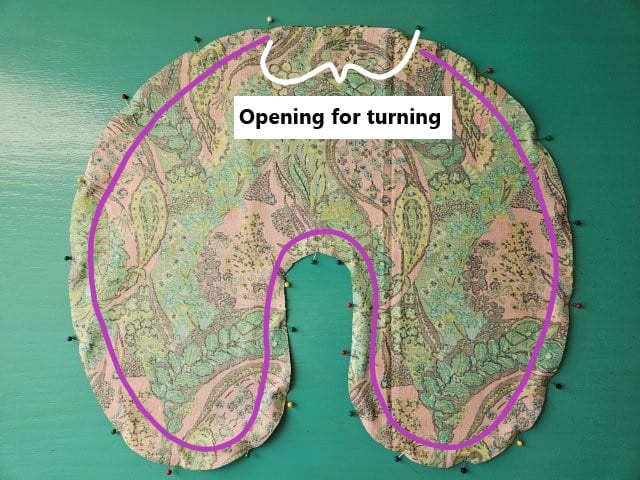
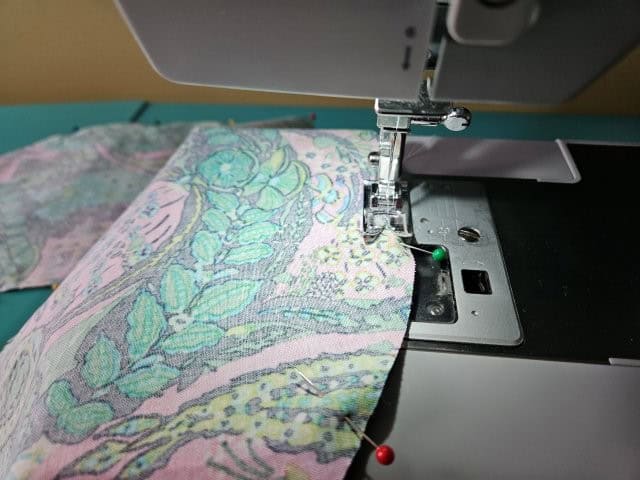
Sew around the pillow using a 3/8″ seam allowance, again leaving an opening for turning.
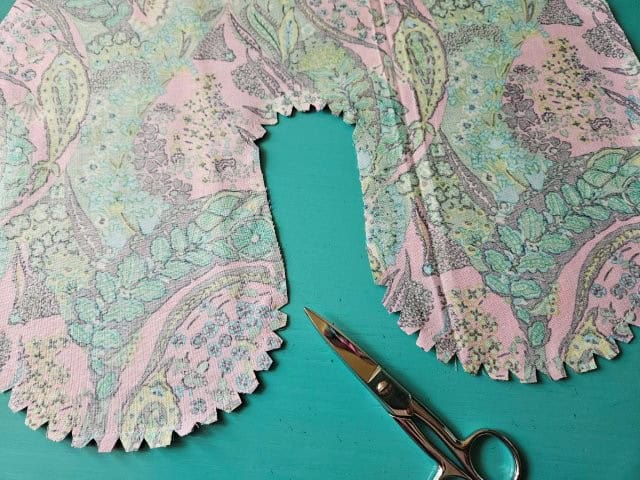
Cut little triangles around the curves with your sewing scissors (I like my smaller 5″ sewing scissors for this task) to help the curves lay flat. Be sure not to cut into the stitches.
Turn right side out
Through the opening, turn your travel pillow right side out.
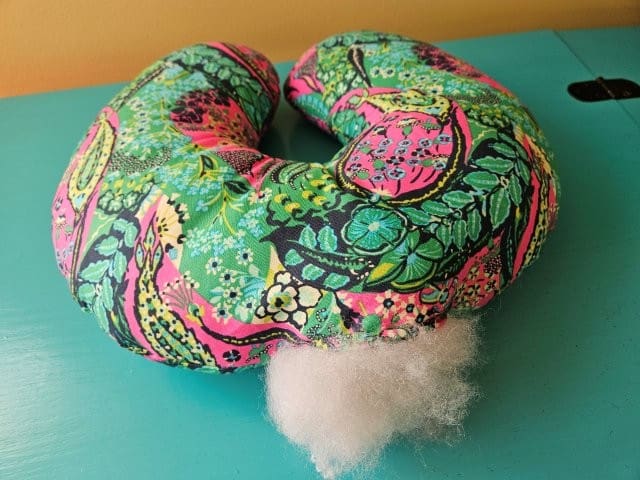
Stuff the pillow until as firm as you like using Polyfil Fiber Fill or similar stuffing.
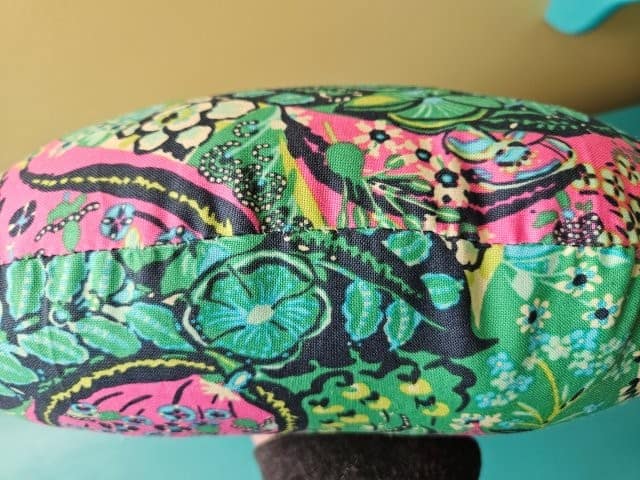
Sew the opening closed with a needle and thread using the ladder stitch. If you’re not familiar with the ladder stitch. I show you how in my memory pillow sewing tutorial when closing up the pillow.
***You can find the AD-FREE, printable PDF version of this sewing tutorial available for purchase in my Etsy shop HERE. Includes 9 pages of step-by-step instructions with pictures. Print a copy to keep next to your sewing machine for easy reference.***
Pin for later!
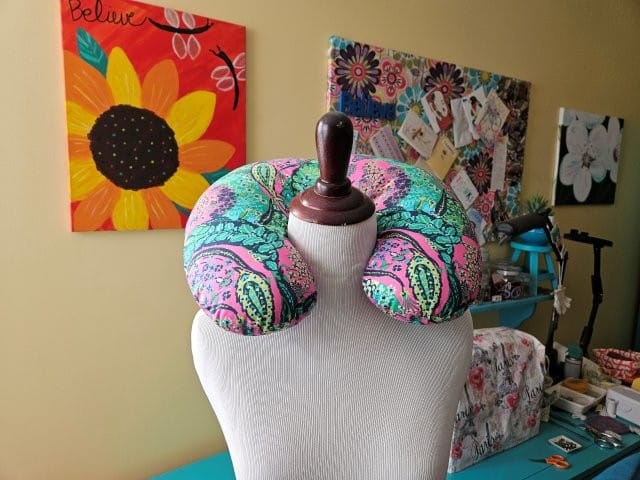
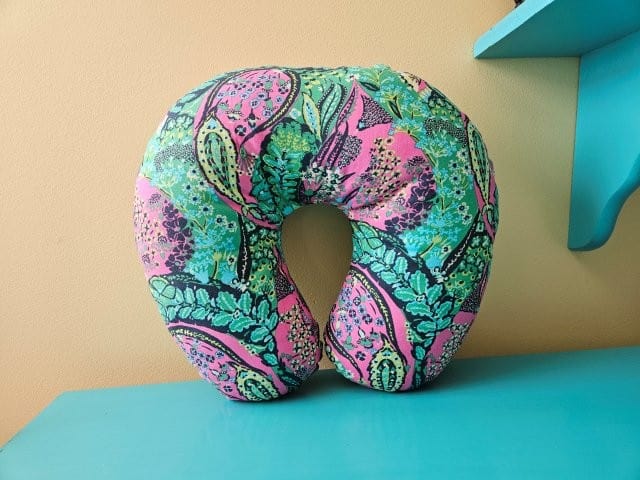
You are finished!
I hope you enjoyed this sewing tutorial on how to make a travel neck pillow. These pillows make great gifts as well! Happy sewing and happy travels!

Other easy sewing projects:
- Sleep Mask Sewing Tutorial
- Simple Wristlet Purse Pattern
- Small Tote Bag Sewing Project
- Car Trash Bag Tutorial