How to Sew a Square Fabric Basket with Handles
Sew a large square fabric storage basket for your home using this sewing tutorial.
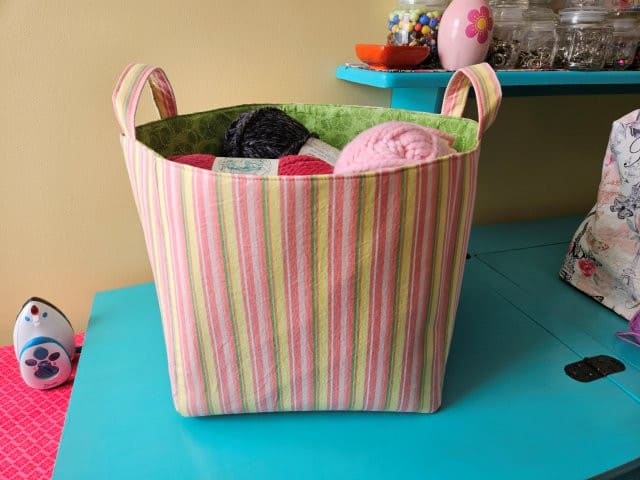
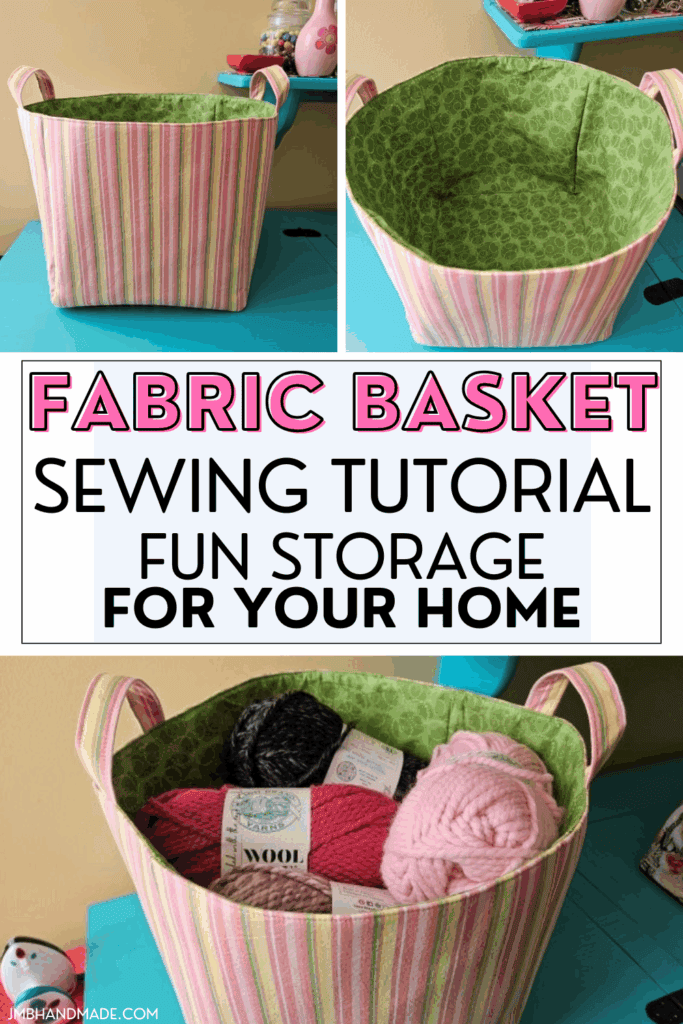
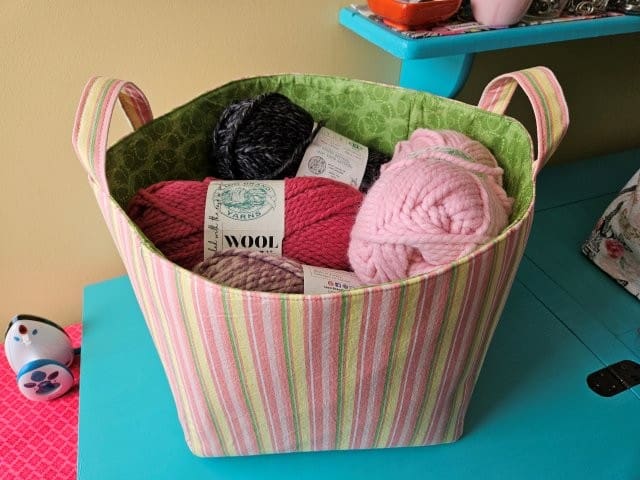
I love fabric baskets! I made this square basket to store my bulky yarn. This square fabric basket sewing tutorial is perfect as a fun storage option in your sewing room or home office. The options are endless.
NOTE: I used a firm stabilizer for this tutorial, which can be a bit challenging if you haven’t used it before. You can use a spray adhesive or baste it to the fabric before sewing. Also, the stabilizer had a slight curve from being on the roll and once I turned it right side out, the finished basket is not as “square”.
I use my fabric rectangle basket to store my crocheted earrings and my fabric baskets (in three sizes) to store leftover yarn and yarn scraps. The mini storage baskets are just the right size for storing thread, sewing clips, or stitch markers.
You can use this sewing tutorial to make fabric baskets any size you want by changing the size of the squares. This basket pattern uses 12″ x 12″ squares.
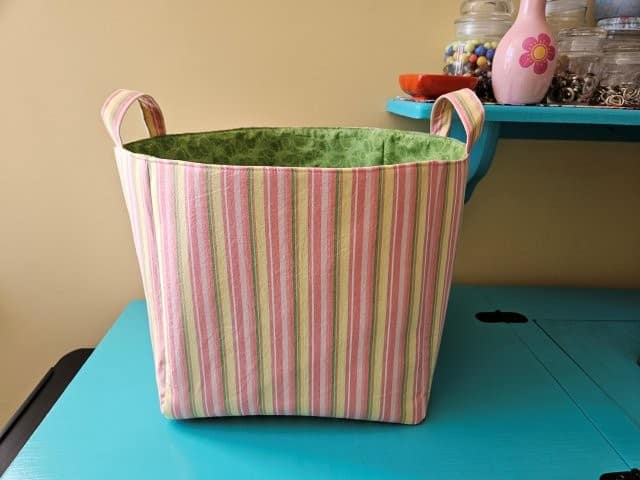
The finished basket measures approximately 11.5″ x 11.5″ x 11.5″.
This post contains affiliate links. Please see below disclosure for more information.
***You can find the AD-FREE, printable PDF version of this sewing tutorial available for purchase in my Etsy shop HERE. Includes 13 pages of step-by-step instructions with pictures. Print a copy to keep next to your sewing machine for easy reference.***
Square fabric basket supplies needed:
- Outer fabric – 5 pieces measuring 12″ x 12″ – my favorite fabric shop
- Lining fabric – 5 pieces measuring 12″ x 12″
- Outer fabric – 2 pieces measuring 4″W x 8″H for the straps
- Cutting mat
- Rotary cutter
- Clear ruler
- Firm stabilizer – Pellon 70 Peltex Ultra Firm Sew-In
- Fusible interfacing
- Matching thread
- Sewing scissors
- Sewing Machine
Cut the fabric and stabilizer
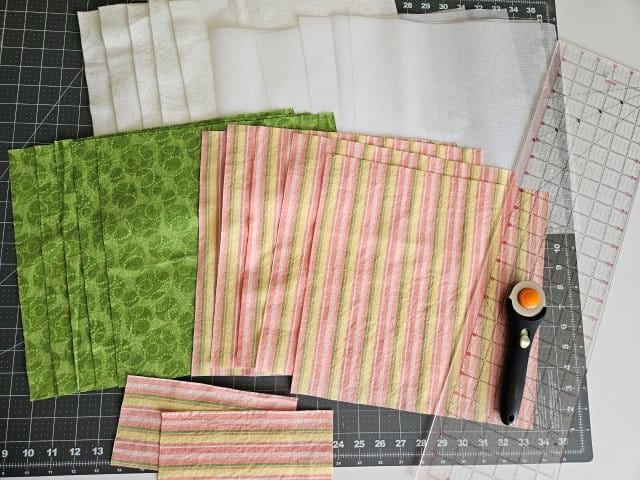
Using your cutting mat, clear ruler, and rotary cutter, cut five pieces of outer fabric measuring 12″ x 12″. Cut five pieces of the lining fabric measuring 12″ x 12″. Cut two pieces of the outer fabric measuring 4″W x 8″H for the strap handles.
You are going to add firm stabilizer to the outer fabric pieces (not the strap handles). I’m using Pellon 70 Peltex Ultra Firm Sew-In but any firm stabilizer will work. Cut five stabilizer pieces measuring 12″ x 12″. Place the stabilizer on the wrong side of the outer basket pieces.
Attach the interfacing
You are going to attach the interfacing to the lining fabric pieces and the two strap handles. My go to fusible interfacing is Pellon P44F Fusible Interfacing.
Cut five pieces of fusible interfacing 12″ x 12″ and two pieces 4″W x 8″H. Attach the interfacing to the wrong side of the lining fabric pieces and the strap handles, following the package instructions.
Make the strap handles
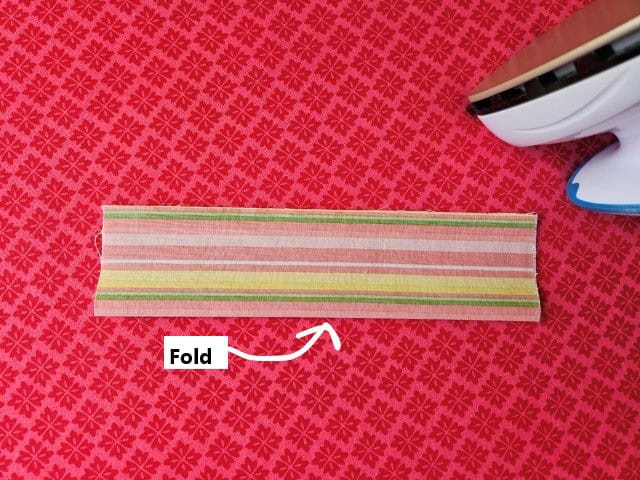
Take one of the strap handles and fold in half lengthwise, wrong sides together, and press along the fold.
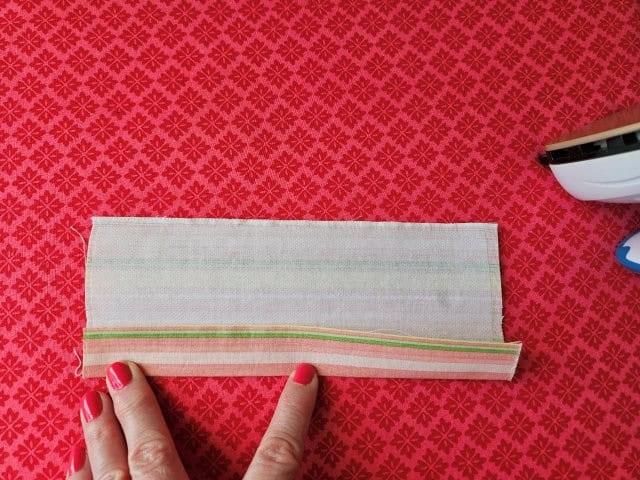
Open back up and fold the outside edge to the center and press.
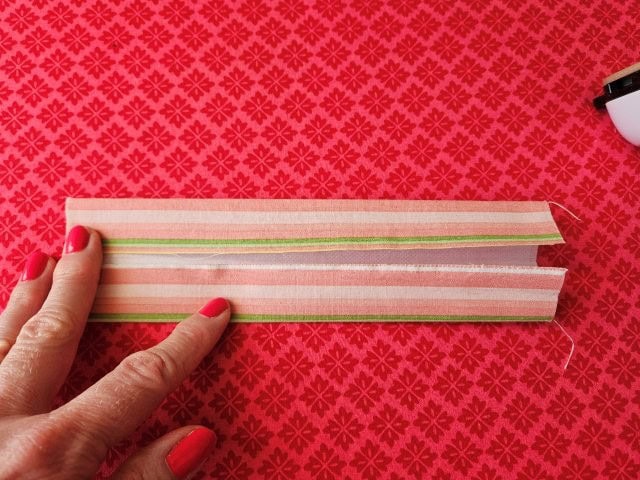
Turn the strap around and fold the other outside edge to the center and press.

Fold in half again and press.
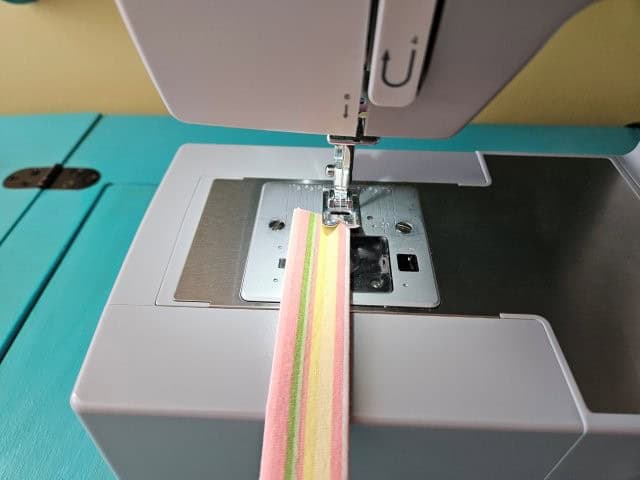
Sew the strap lengthwise along both folded edges.
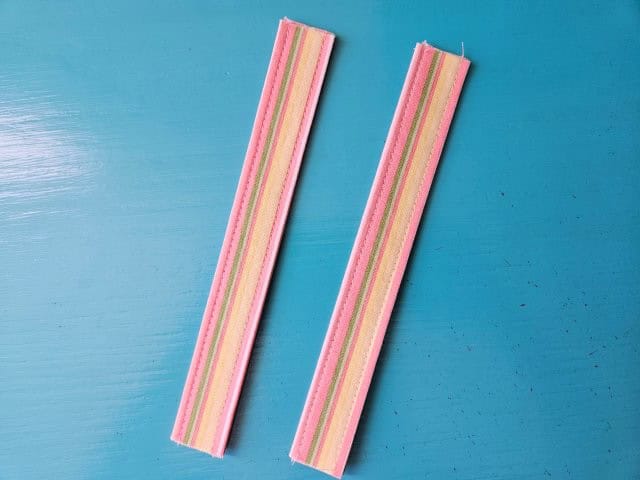
The above picture shows the finished strap handles.
Baste the strap handles
You are going to baste the strap handles to two of the side squares, opposite each other.
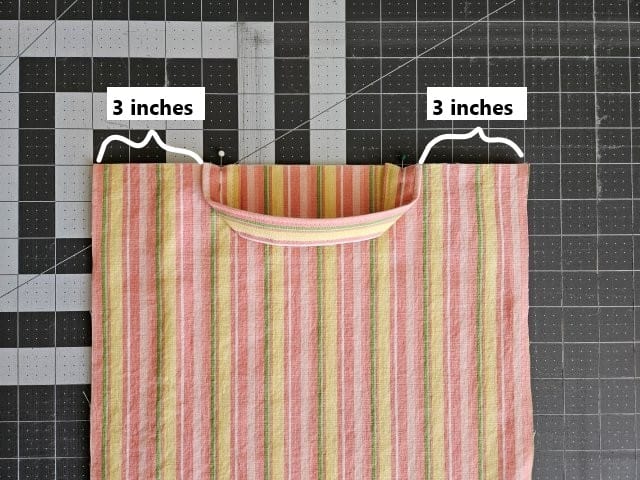
With one of the side squares right side up, place each outside edge of one of the strap handles 3″ from the edge of the fabric.
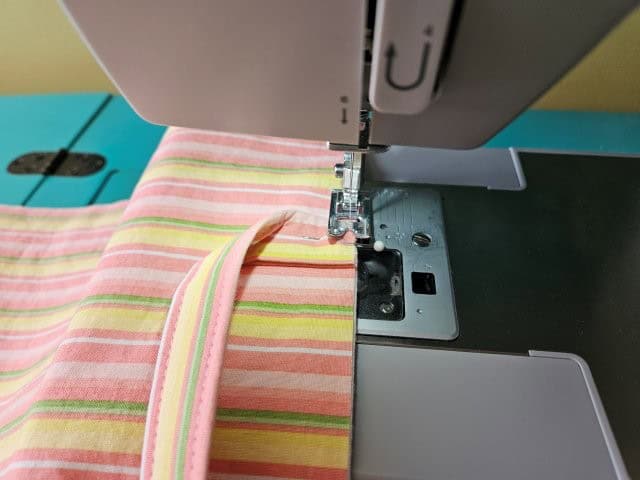
Baste the strap handle to the fabric to hold in place.
Repeat with the other strap handle.

The above picture shows the straps basted to two of the side squares.
Assemble the base of outer basket
First you will be sewing the four sides to the bottom base of the basket cube, then you’ll sew the sides.
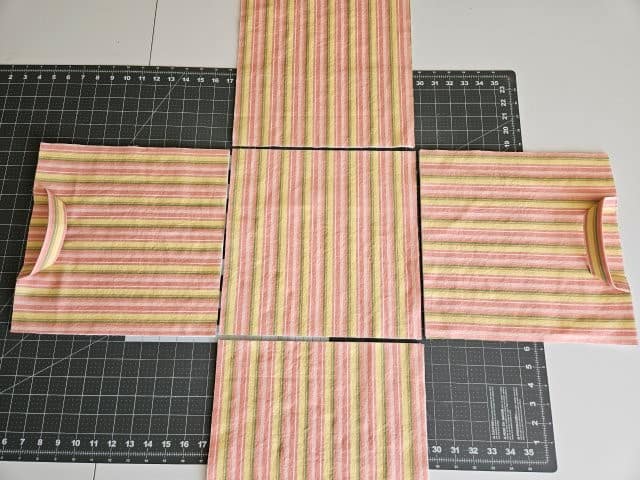
Place your outer fabric pieces, right side up (with the stabilizer on the wrong side), in the shape of a plus sign with the base fabric piece in the center.
You are going to start by sewing each bottom edge of the side squares to the center square. Be sure your fabric pattern is going in the correct direction.
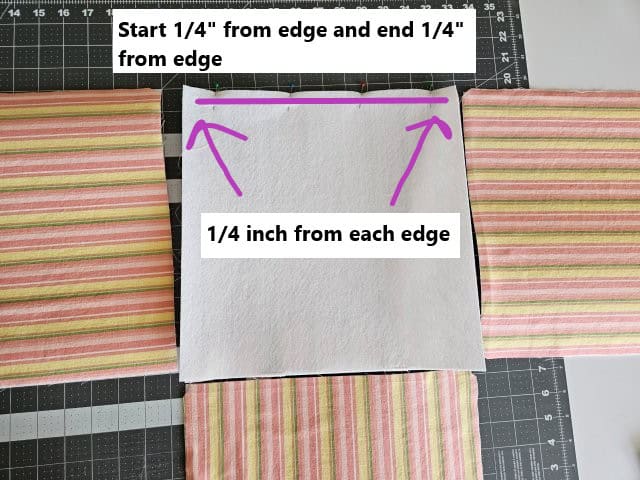
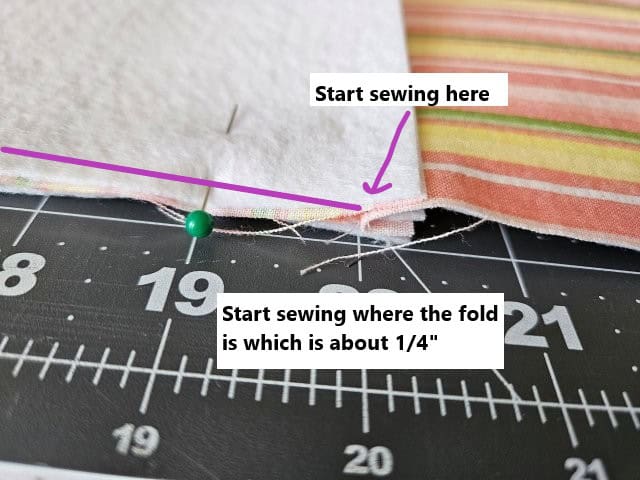
Place the top square on top of the center square, right sides together. Sew along the edge using a 3/8″ seam allowance, starting 1/4″ from the edge and ending 1/4″ from the edge. Backstitch at the beginning and end.
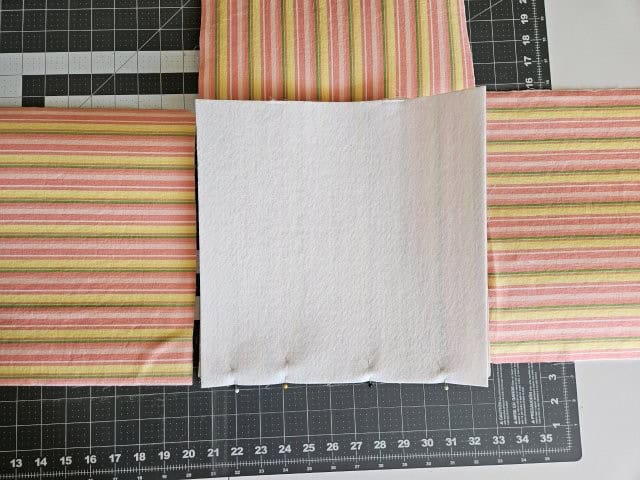
Then sew the opposite square to the center square the same way.
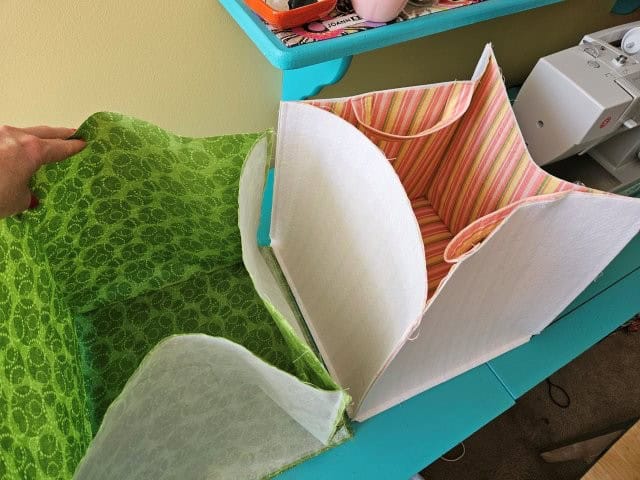
Repeat with the other two side squares. Place the fabric right sides together and the edges will be over the seams of the sewn squares with the edges lined up. See above picture.
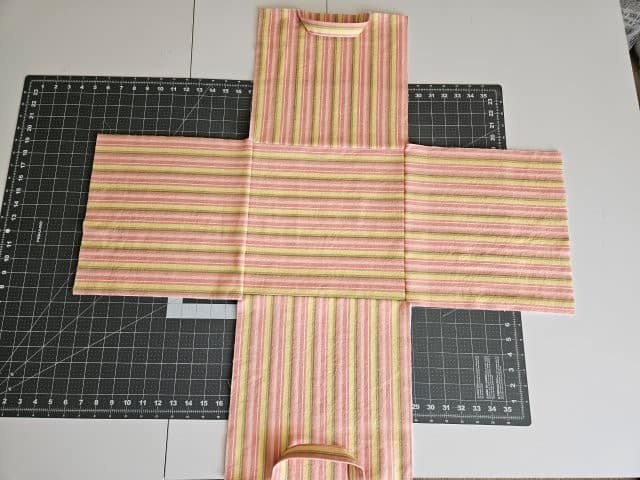
The above picture shows what your square basket should look like at this point.
***You can find the AD-FREE, printable PDF version of this sewing tutorial available for purchase in my Etsy shop HERE. Includes 13 pages of step-by-step instructions with pictures. Print a copy to keep next to your sewing machine for easy reference.***
Sew the outer basket sides
Now you’re going to sew each side of the outer square cube basket.
Place two of the square sides right sides together and pin to hold in place.
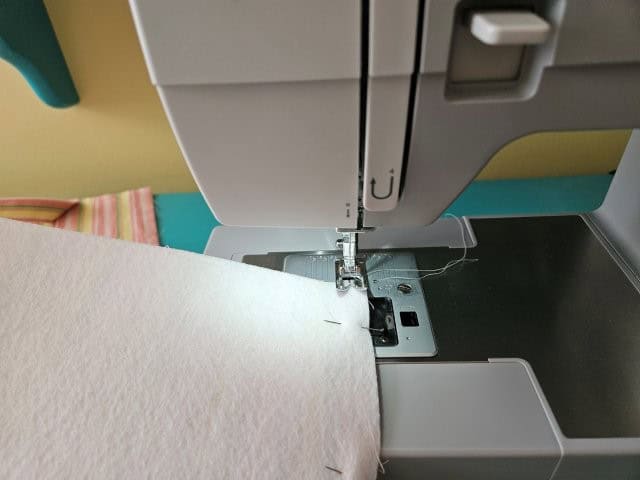
Start sewing at the top edge and end 1/4″ from the bottom (you’ll stop sewing where the bottom seam is), using a 3/8″ seam allowance. Back stitch at the beginning and end.
Repeat with the other three sides. Clip the bottom corners with your sewing scissors to reduce bulk.
Assemble the lining basket
Follow the same steps as the outer fabric basket to sew the lining basket.
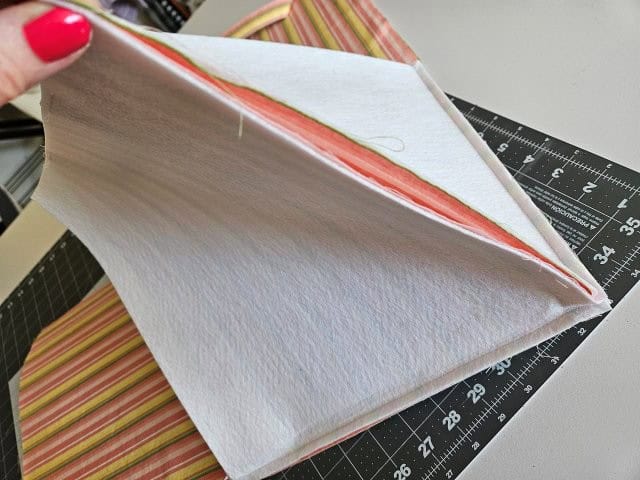
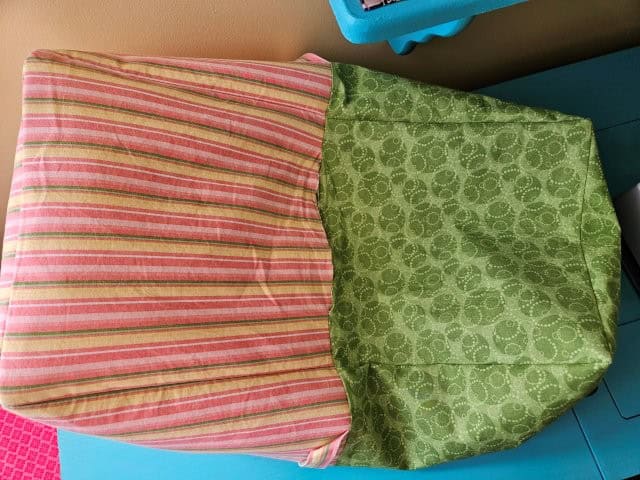
The above picture shows the outer and lining baskets.
Sew it all together
Turn the lining basket right side out and keep the outer basket wrong side out.
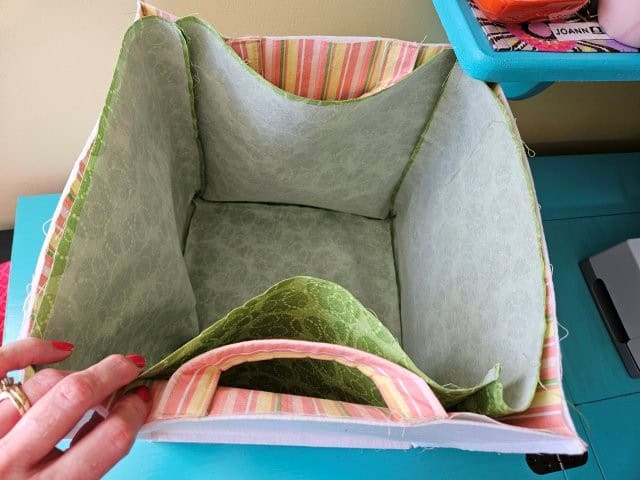
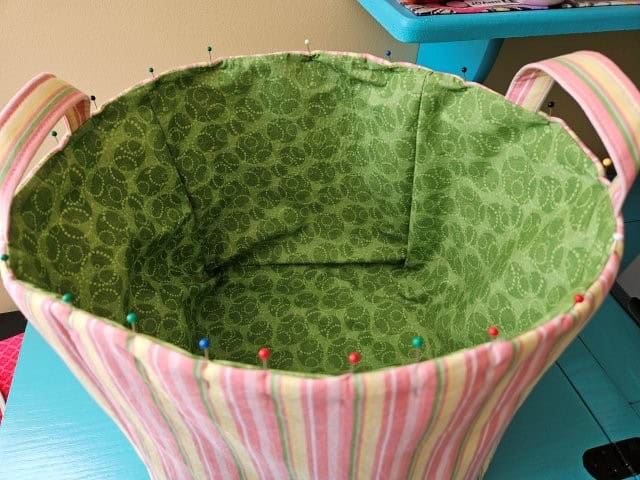
Place the lining basket inside the outer basket, lining up the seams. The right sides of the fabric should be facing each other and the strap handles should be in between the baskets.
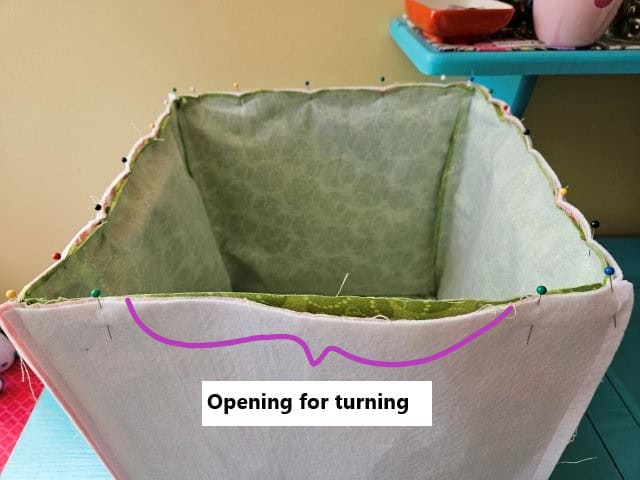
Pin around the top of the basket to hold in place, leaving an opening for turning (on one of the sides without the handle).

Sew around the top of the square basket using a 3/8″ seam allowance. Sew over the strap handles a couple times for extra durability. Remember to leave an opening for turning.
NOTE: I found it easier to sew around the inside and roll the basket as I sewed it. You can sew around the top however you’re most comfortable.
Turn right side out
Through the opening, carefully turn the basket right side out.
Push the lining inside the outer basket.
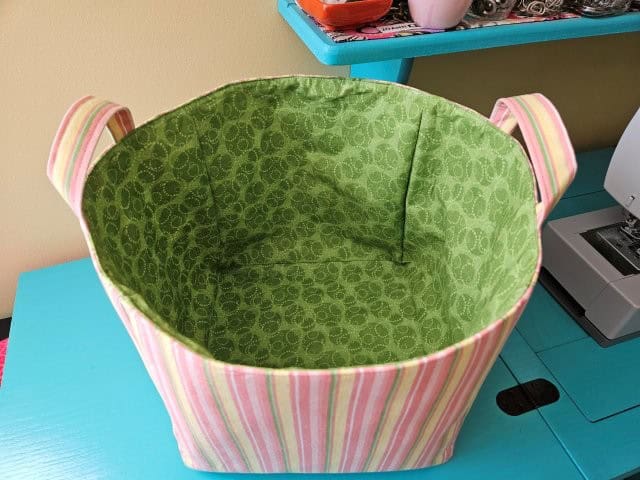
You will be topstitching around the top of the basket. To topstitch you’ll need to fold over the stabilizer and pin to hold in place. The strap handles should now be upright.
Top stitch around the top. This gives the basket a finished look and closes the opening. Press.
Pin for later!

***You can find the AD-FREE, printable PDF version of this sewing tutorial available for purchase in my Etsy shop HERE. Includes 13 pages of step-by-step instructions with pictures. Print a copy to keep next to your sewing machine for easy reference.***
You are finished!
I hope you enjoyed this sewing tutorial on how to sew a fabric square basket. Now you can add some fun storage options to your home! Happy sewing!
More sewing projects for the home:
- Fabric Tray Sewing Project
- How to Sew an Envelope Pillow Cover
- Quilted Fabric Magnets Sewing Tutorial
- How to Make Quilted Fabric Coasters – Two Shapes