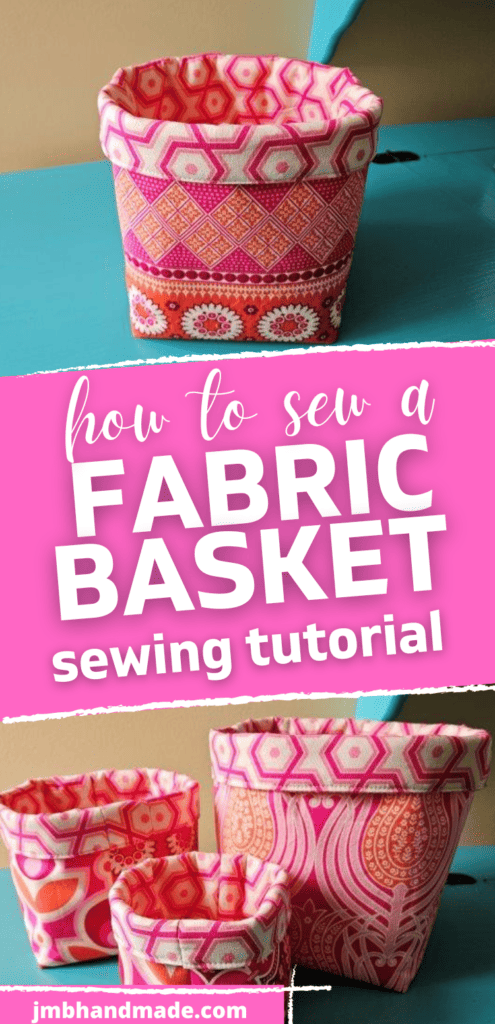
DIY Fabric Basket Sewing Tutorial – 3 Sizes
DIY fabric baskets are perfect for extra storage and are super easy to sew. Fabric baskets are the ideal sewing project for beginners.
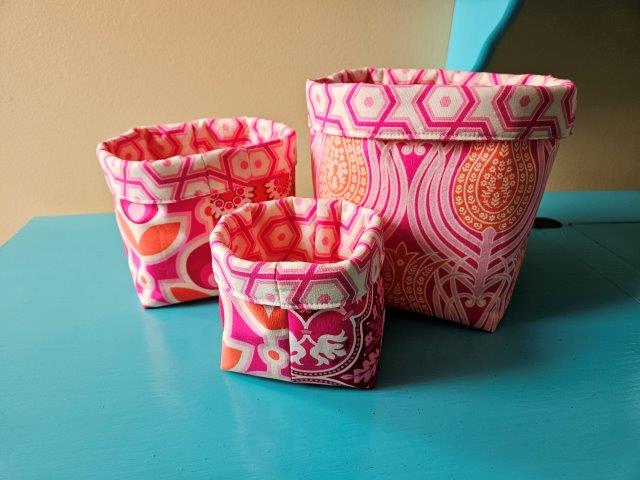
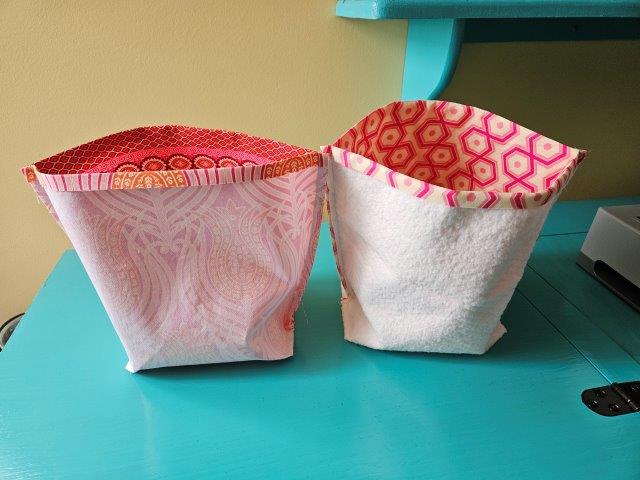
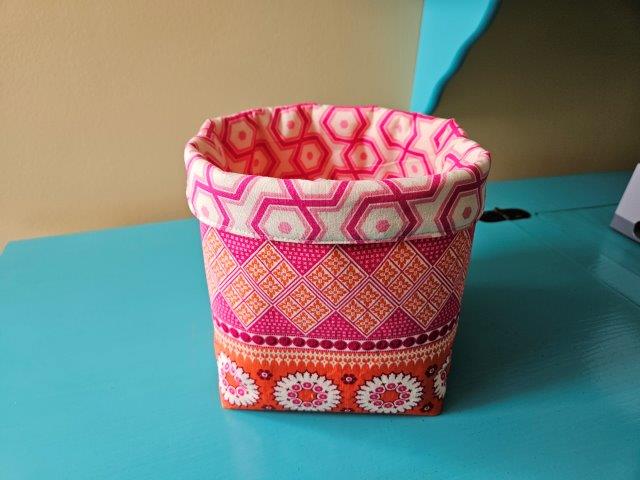
Fabric baskets are super easy to make and have so many uses. This DIY fabric basket pattern comes in three sizes and can be nested inside each other for easy storage. You might also check out the rectangle fabric basket tutorial for extra storage. I plan on using my large basket for leftover yarn or fabric scraps.
The DIY fabric basket sewing tutorial below is for the large basket. Measurements are below for the small and medium sizes.
This post contains affiliate links. Please see below disclosure for more information.
***You can find the ad-free, printable PDF version of this sewing tutorial available for purchase in my Etsy shop HERE. Includes 10 pages of step-by-step instructions with pictures. Print a copy to keep next to your sewing machine for easy reference.***
DIY fabric basket sewing supplies needed:
- Two outer fabric pieces each measuring 12″x12″ – my favorite fabric shop
- Two lining fabric pieces each measuring 12″x12″
- Batting – enough for two – 12″x11.5″
- Fusible interfacing – Pellon P44F Fusible Interfacing – enough for two – 12″x12″ fabric pieces
- Cutting mat
- Rotary cutter
- Clear ruler
- Matching thread
- Marking pencil
- Sewing scissors
- Sewing machine
Measurements for cutting by size
Large Fabric Basket
- Outer fabric (2) and lining fabric (2) each measuring 12″x12″
- Interfacing 2 each – 12″x12″
- Batting 2 each – 12″x11.5″ (1/2″ shorter at the top)
- Bottom squares – 2.5″x2.5″
Medium Fabric Basket
- Outer fabric (2) and lining fabric (2) each measuring 10″x10″
- Interfacing 2 each – 10″x10″
- Batting 2 each – 10″x9.5″ (1/2″ shorter at the top)
- Bottom squares – 2.5″x2.5″
Small Fabric Basket
- Outer fabric (2) and lining fabric (2) each measuring 8″x8″
- Interfacing 2 each – 8″x8″
- Batting 2 each – 8″x7.5″ (1/2″ shorter at the top)
- Bottom squares – 2″x2″
Cut the fabric pieces and batting
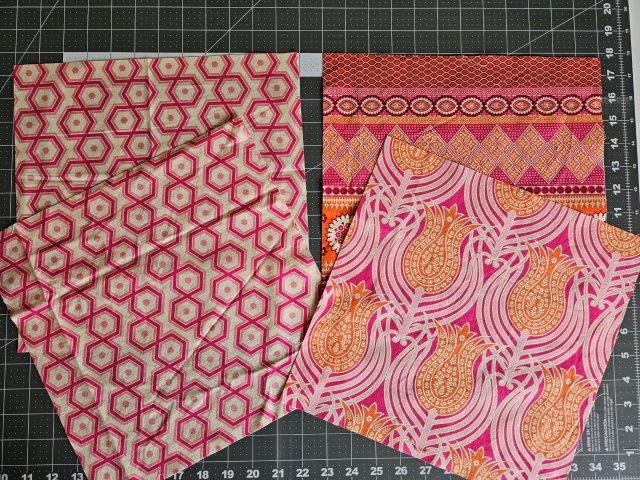
Using your cutting mat, clear ruler, and rotary cutter, cut two outer fabric pieces and two lining fabric pieces each measuring 12 inches by 12 inches.
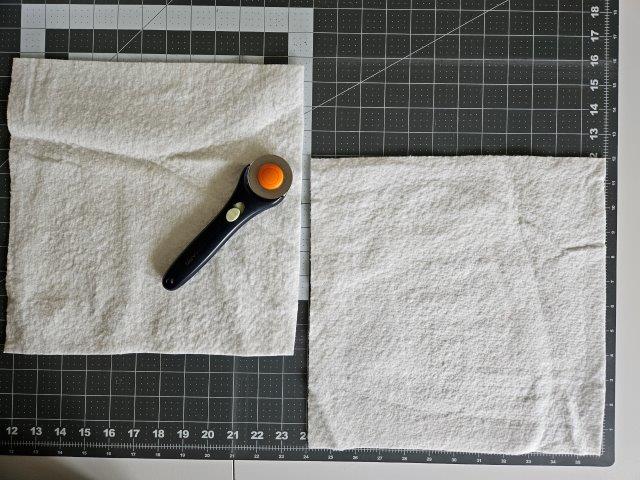
Cut two pieces of batting measuring 12 inches by 11.5 inches. NOTE: You can use an extra firm stabilizer in place of the batting – I prefer Pellon 926 Sew-In Extra-Firm Stabilizer for crafts.
Attach the fusible interfacing
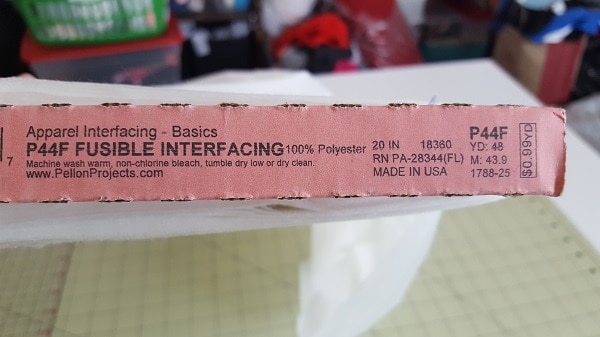
Cut two pieces of fusible interfacing 12 inches by 12 inches and attach to the wrong side of the outer fabric pieces, following the package instructions. My go to fusible interfacing is Pellon P44F Fusible Interfacing. For this basket sewing project, the interfacing will provide extra durability to the outer fabric pieces.
Hem the top of the fabric basket
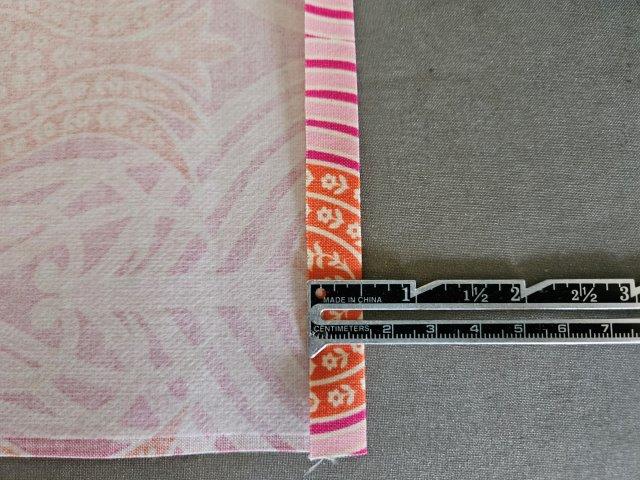
With the fabric right side down, fold over the top of all four fabric pieces 1/2″ and press the fold.
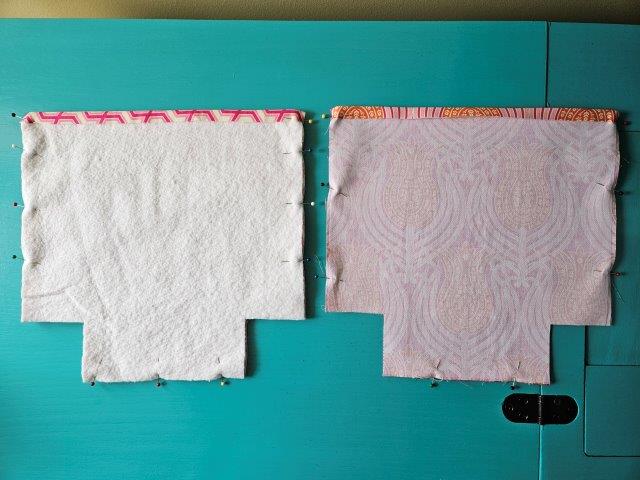
Cut the bottom squares
You are going to cut squares from each bottom corner to create the square bottom.
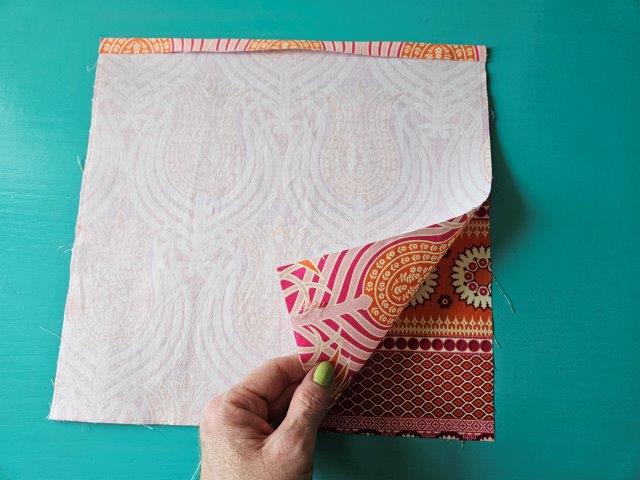
Starting with the outer fabric pieces, place the fabric pieces right sides together.
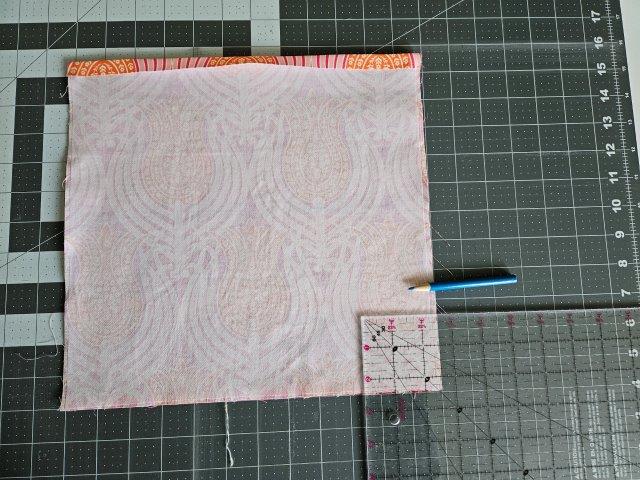
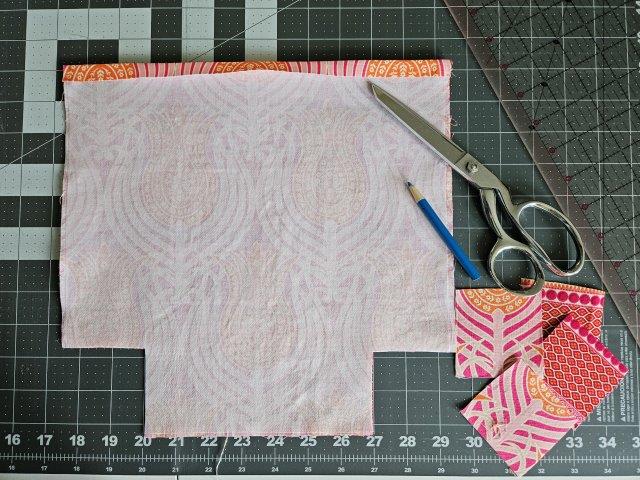
Use your clear ruler and marking pencil to make a 2.5 inch square at each bottom corner. Cut the squares out along the marked lines using your sewing scissors.
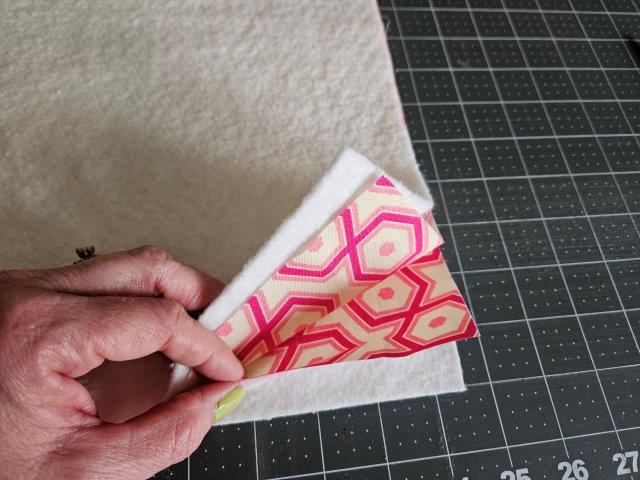
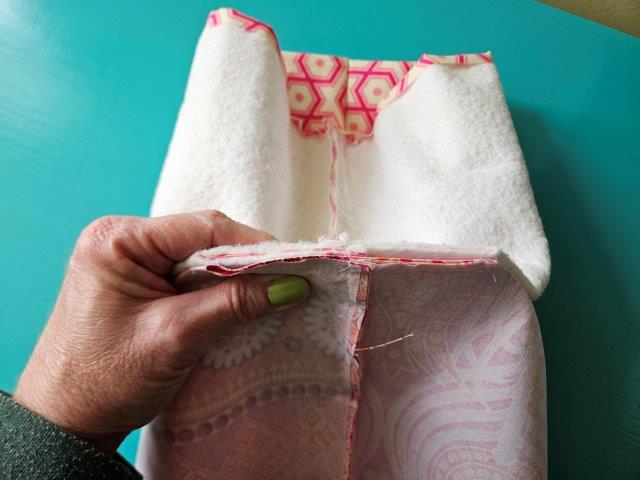
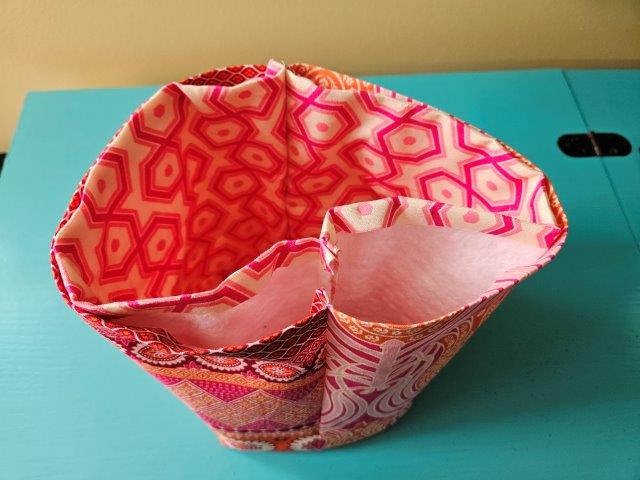
Before cutting the squares for the lining fabric, be sure to have the fabric and batting in the following order: batting / lining fabric piece right side up / lining fabric piece right side down / batting.
Be sure the batting is under the hem at the top.
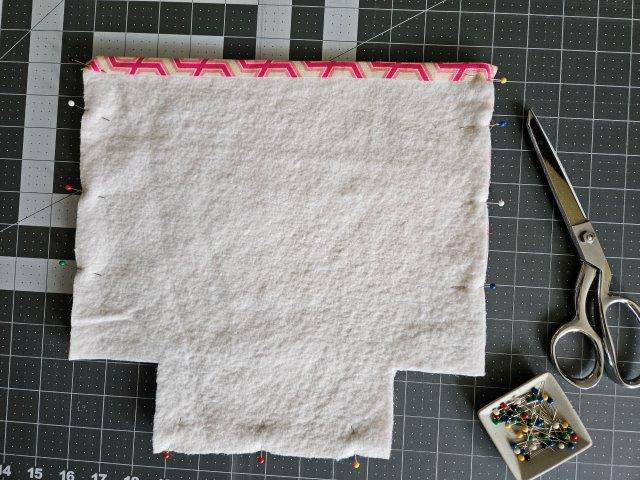
Pin to hold in place. Follow the same instructions for cutting the squares as you did with the outer fabric pieces.
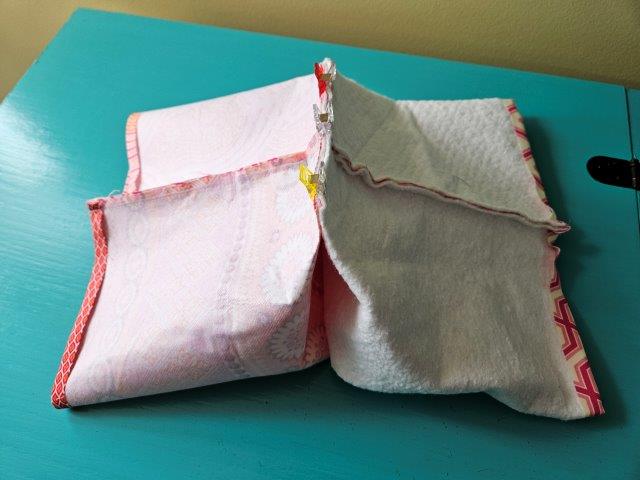
The above picture shows what your fabric basket should look like at this point.
***You can find the ad-free, printable PDF version of this sewing tutorial available for purchase in my Etsy shop HERE. Includes 10 pages of step-by-step instructions with pictures. Print a copy to keep next to your sewing machine for easy reference.***
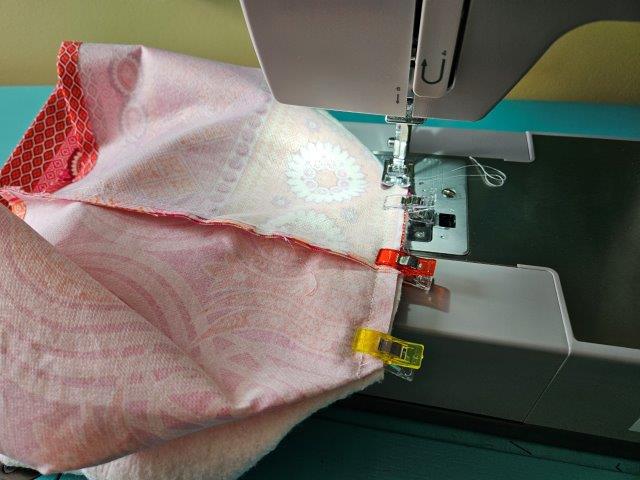
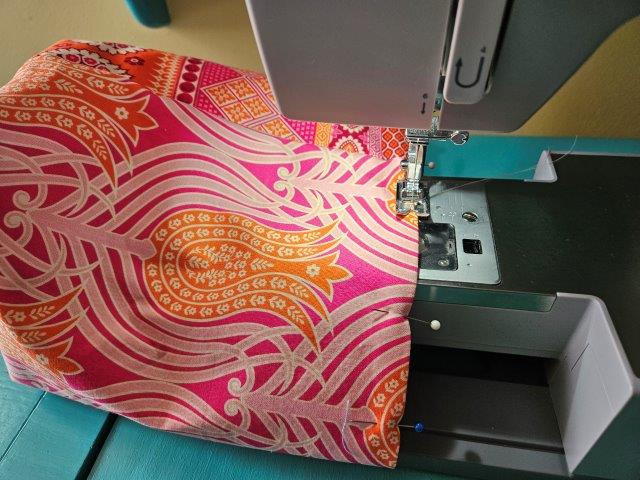
Sew the fabric pieces together
Use a 1/4″ seam allowance.
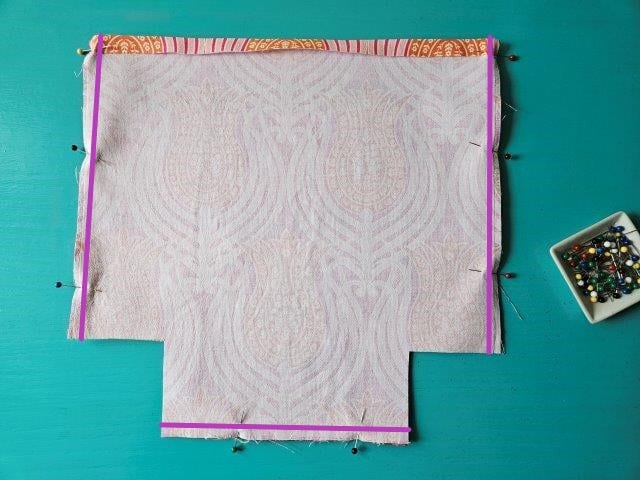
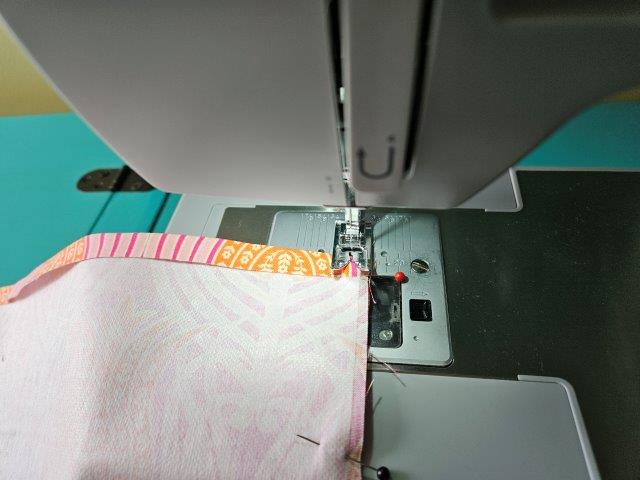
Sew along the sides and bottom of each basket piece. Do not sew along the cut out squares (see purple lines in above picture).
Square the basket bottom
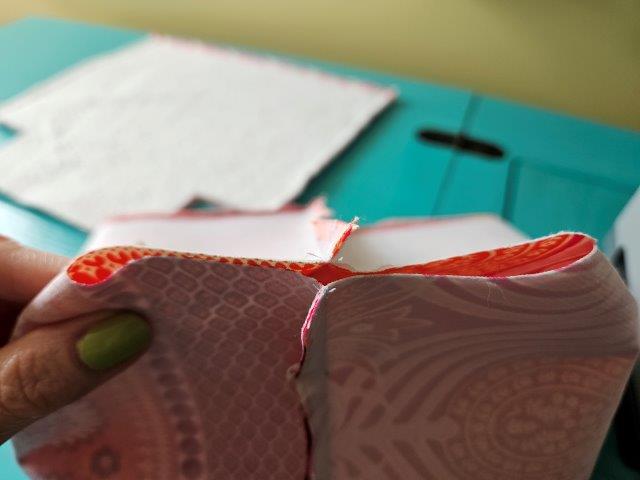
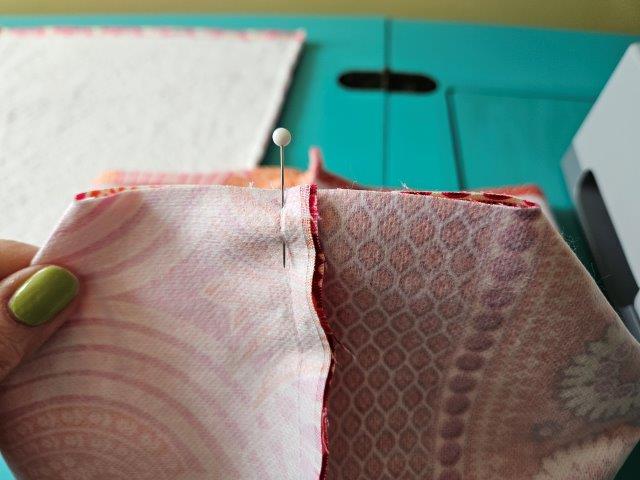
Take one of the outer piece bottom corners and pinch them together, lining up the seams. Pin in place.
Sew along the edge.
Repeat with the other three bottom corners.
You should now have one outer basket and one lining basket.
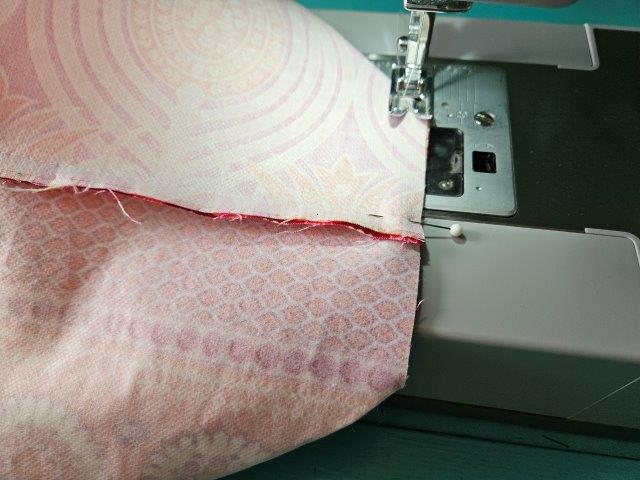
Make the basket sturdy
This next step will keep the basket sturdy without a baggy bottom.
Place the outer basket bottom edge and the lining basket bottom edge together, lining up the seams. Pin or clip to hold in place. Sew along the previous stitching.
Repeat with the other bottom edges.
Turn right side out and top stitch
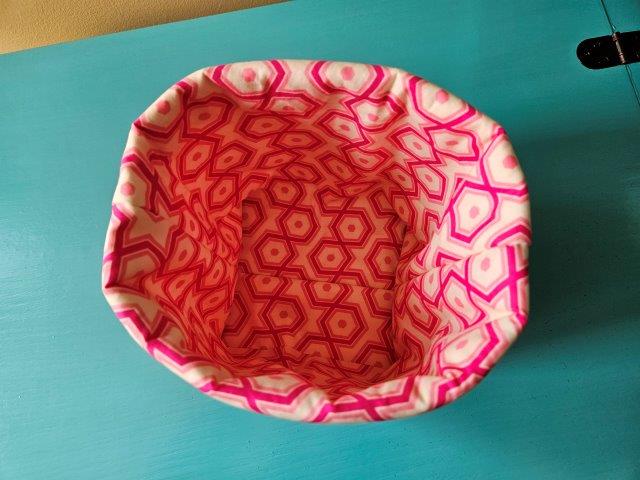
Turn the outer basket right side out and push the lining basket inside. Push out the corners. Line up the seams and pin around the top of the basket.
With matching thread, top stitch around the top using a 1/8 inch – 1/4 inch seam allowance.
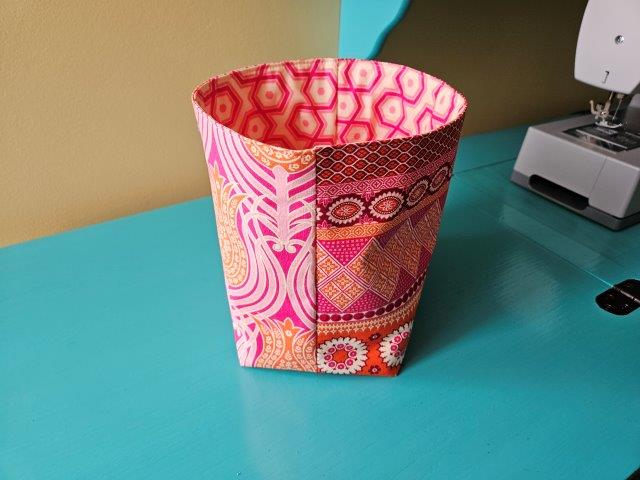
Press. Fold over the top of the basket (optional).
***You can find the ad-free, printable PDF version of this sewing tutorial available for purchase in my Etsy shop HERE. Includes 10 pages of step-by-step instructions with pictures. Print a copy to keep next to your sewing machine for easy reference.***
Pin for later!

You are finished!
I hope you enjoyed this fabric basket sewing tutorial and sew some baskets for your home! Happy sewing!
Other fun sewing projects:
- Simple Tote Bag Sewing Project
- Mini Zipper Pouch Key Chain Sewing Tutorial
- Quilted Fabric Coasters – Two Styles
- Wristlet Purse Sewing Pattern