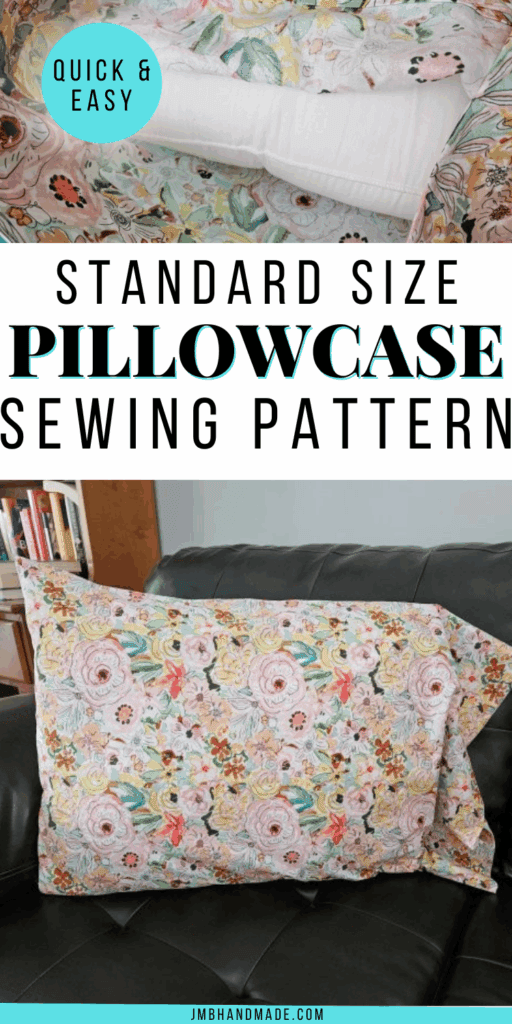
How to Sew a Standard Size Pillowcase – Sewing Pattern

Sew a standard size pillowcase using this quick and easy sewing tutorial.
Learn to sew an easy pillowcase using this super quick sewing pattern using one yard of quilting cotton fabric. I wanted to make this pillowcase tutorial as simple as possible in case you’re a beginner or want to make multiples at a time. I am planning on making more of these DIY pillowcases to have on hand for guests.
The finished pillowcase is approximately 20.5″ x 30.5″.
You might also like to try the envelope pillow cover tutorial!
Here are the instructions with pictures on how to make a standard size pillowcase.
This post contains affiliate links. Please see below disclosure for more information.
***You can find the AD-FREE, printable PDF version of this sewing tutorial available for purchase in my Etsy shop HERE. Includes 8 pages of step-by-step instructions with pictures. Print a copy to keep next to your sewing machine for easy reference.***
Pillowcase pattern sewing supplies needed:
- One yard quilting cotton fabric – pre-washed – my favorite fabric shop
- Cutting mat
- Rotary cutter
- Clear ruler
- Matching thread
- Sewing scissors
- Sewing machine
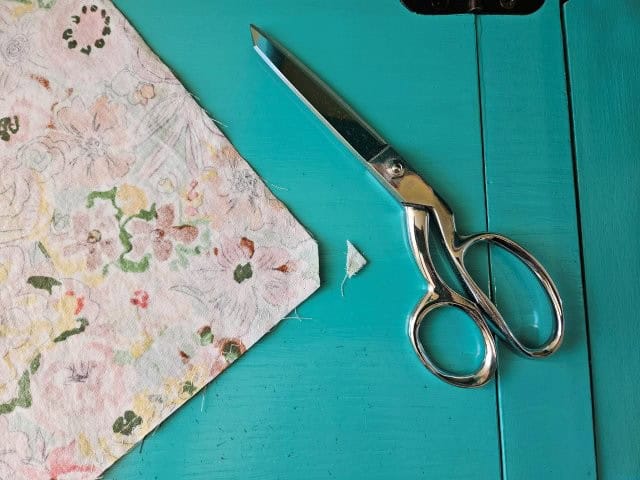
Cut your pillowcase fabric
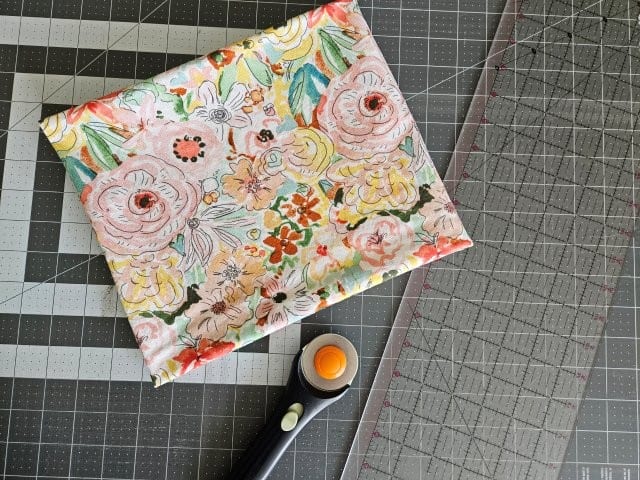
This easy pillowcase pattern doesn’t require much cutting. The easiest way to cut the fabric is using a cutting mat, clear ruler, and rotary cutter.
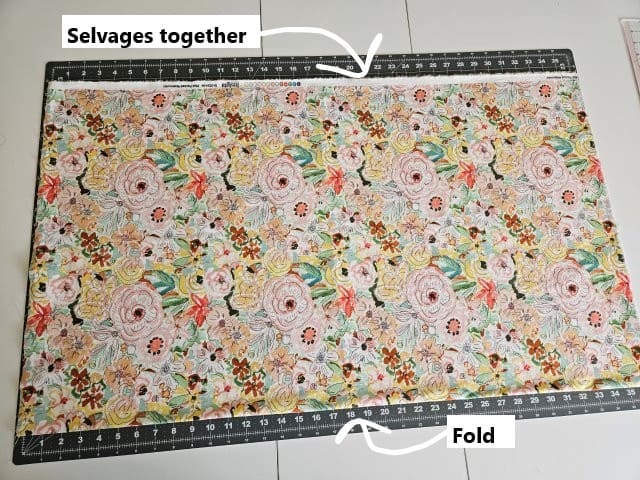
Fold the fabric in half with the selvages together.

I folded in half again to make it easier to cut. Cut off the selvages and trim the ends of any excess fabric to give it straight edges.
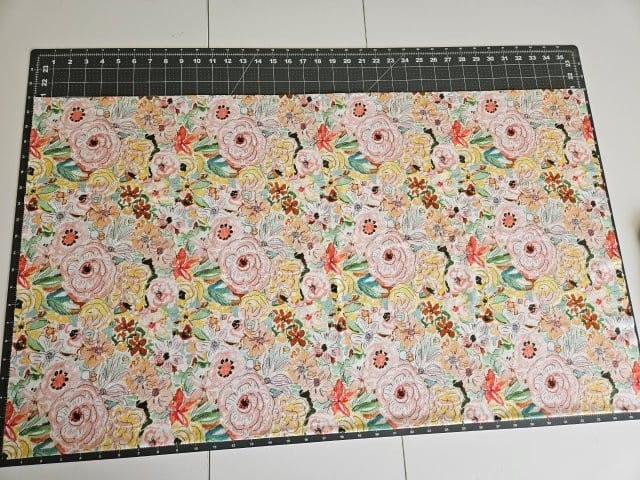
You should now have a rectangle measuring approximately 21″ x 36″.
Sew the pillowcase together

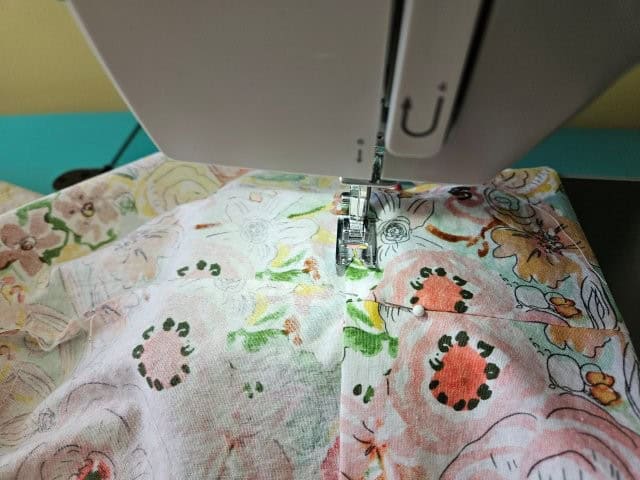
Fold the pillowcase fabric right sides together, lining up the edges. Pin the long side and one of the short sides to hold in place.
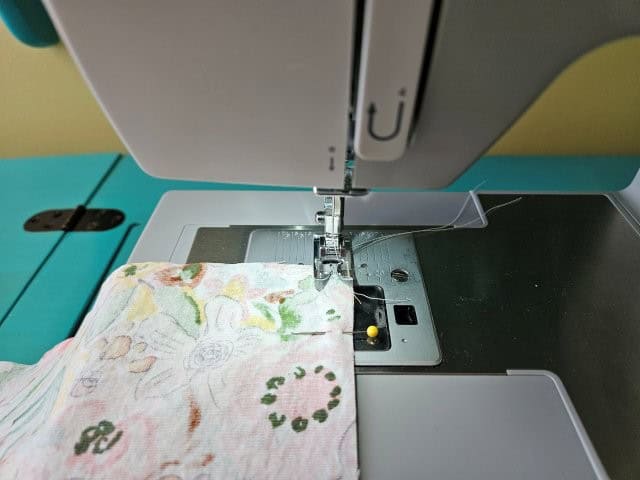
Starting at the top where the opening will be, sew along the long side and then the short side using a 3/8″ seam allowance.
Clip the corner using your sewing scissors.
At this point you can use a the zig zag stitch or a serger to finish the raw edges. Another method is using a french seam.
I am using the zig zag stitch to keep this pillowcase sewing pattern as quick and easy as possible. You won’t be able to see the inside seams once it’s finished anyway.
Create the pillowcase cuff
Keep the pillowcase wrong side out. I hemmed the cuff after sewing the pillowcase because it hides the seams at the top of the pillowcase.

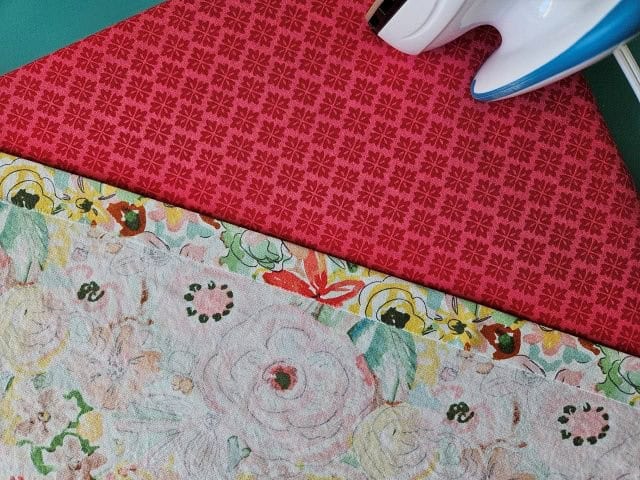
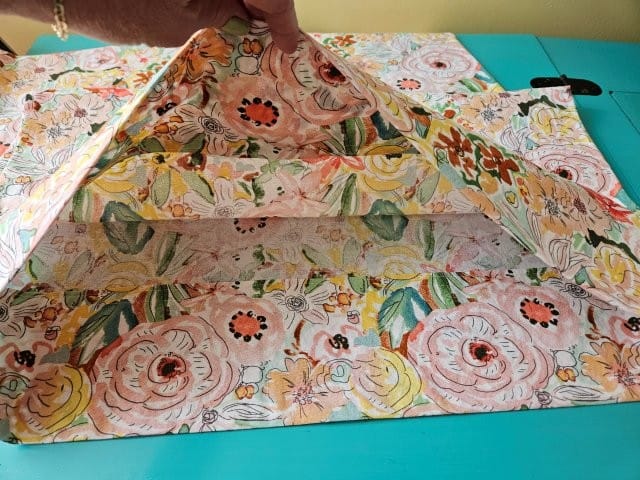
Fold the open end 1-inch and press. You can use the arm of your ironing board to make it easier.
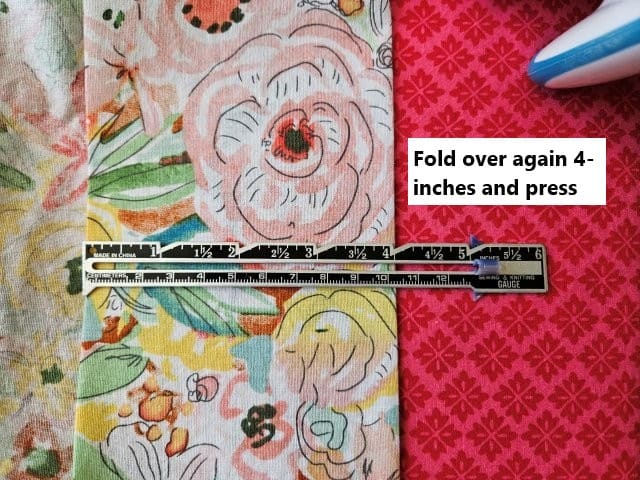
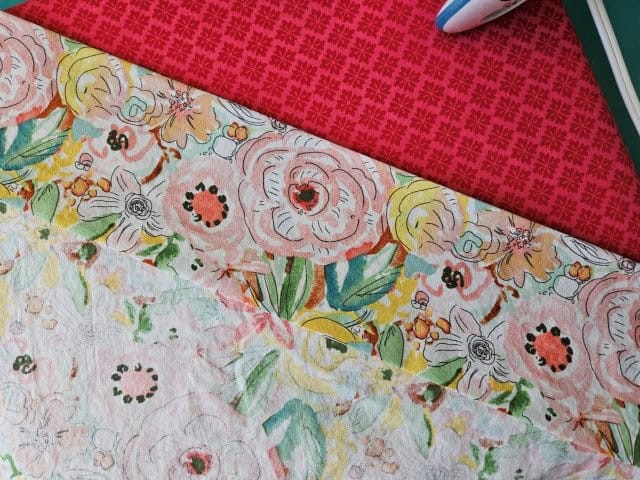
Now fold over 4-inches and press.

Pin the bottom fold to hold it in place.
Sew around the bottom fold of the hem using a 1/4″ seam allowance.
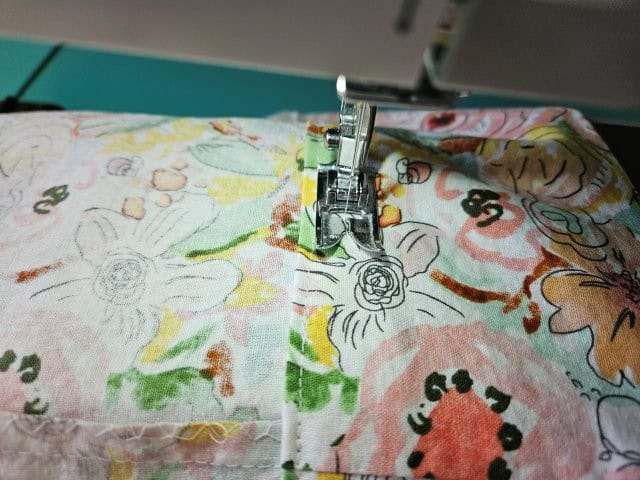
Sew around again about 1/2″ from the previous stitches. I used the left side of my presser foot as a guide along the previous stitches.
Turn right side out
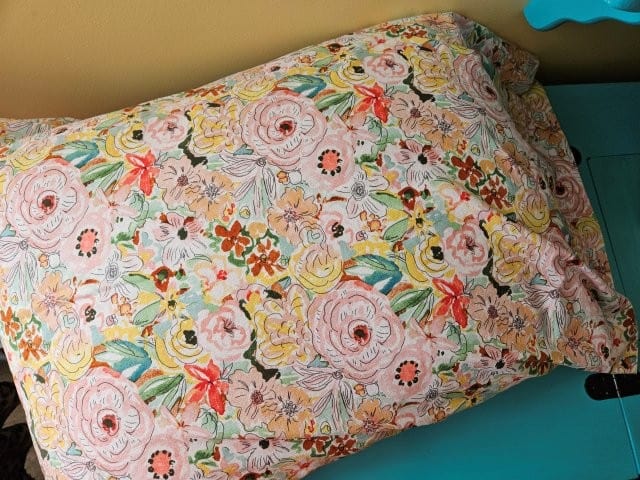
Turn the DIY pillowcase right side out and press. Try it on your pillow test the fit and maybe take a nap!
***You can find the AD-FREE, printable PDF version of this sewing tutorial available for purchase in my Etsy shop HERE. Includes 8 pages of step-by-step instructions with pictures. Print a copy to keep next to your sewing machine for easy reference.***
Pin for later!

You are finished!
You’re now finished sewing your standard size pillowcase! Nice and fresh! This DIY pillowcase sewing project is perfect for making gifts or changing out pillow covers for the holidays. Happy sewing!


Other DIY sewing projects for the home:
- Quilted Coasters Sewing Tutorial – Two Styles
- How to Sew an Adult Full-Size Apron
- Easy DIY Fabric Rectangle Basket
- Simple Fabric Tray Sewing Pattern