Sewing Machine Cover – Sewing Tutorial
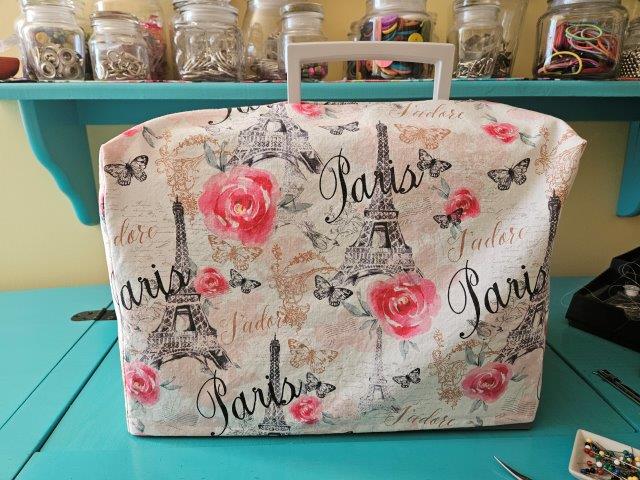
Keep your sewing machine dust free by making a cover for your sewing machine.
Make a cover for your sewing machine to keep the dust out while you’re not using it. You can use this sewing tutorial to make covers for other items like your embroidery machine or toaster.
As long as you’re making something for your sewing room, how about some fun storage options such as a rectangle fabric basket or a fabric tray? Give them a try and use them for your sewing notions!
This post contains affiliate links. Please see below disclosure for more information.
***You can find the AD-FREE, printable PDF version of this sewing tutorial available for purchase in my Etsy shop HERE. Includes 10 pages of step-by-step instructions with pictures. Print a copy to keep next to your sewing machine for easy reference.***
Sewing machine cover supplies needed:
- Cotton fabric (or fabric of your choice) – about 1/2 yard- my favorite fabric shop
- Cutting mat
- Rotary cutter
- Clear ruler
- Sewing gauge
- Marking pencil
- Sewing scissors
- Sewing machine
Measure your sewing machine
I have a Singer Heavy Duty Sewing Machine 4411 and here are the measurements I came up with. I suggest using the instructions to measure your machine and write down the numbers. The instructions and measurements for cutting are in the next step.
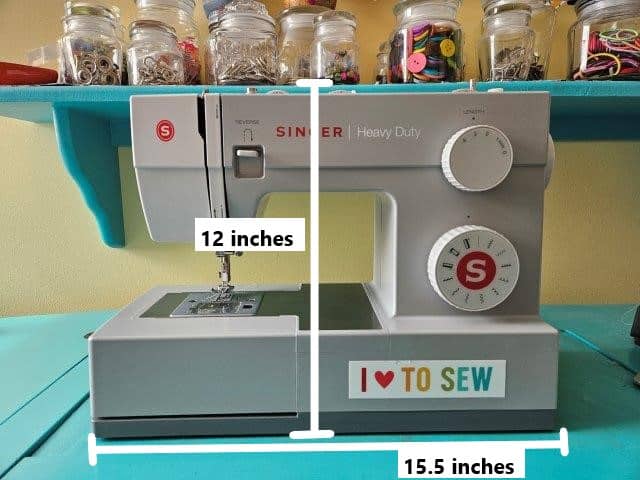
Measure the width (the front of your sewing machine) at the widest point. My sewing machine = 15.5″. Add 1-inch for seam allowance = 16.5″W.
The height (including the bobbin spindle) = 12″L.
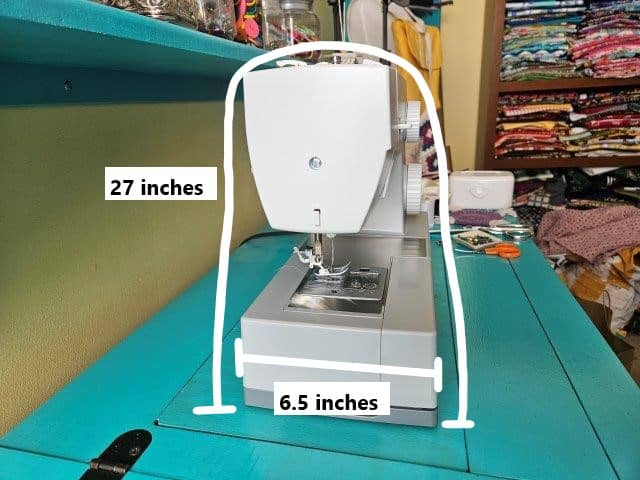
Now measure the combined height (at the tallest point) and depth (at the widest point). For me this number = 27″. Divide this number by 2 (in my case = 13.5″) then add 2.5 inches = 16″L (includes hemming seam allowance).
The depth (at the widest point) = 6.5″. Add 1-inch for seam allowance = 7.5″W.
Final measurements: two each 16.5″W x 16″L and two each 7.5″W x 12″L.
Measure and cut your fabric
Using your cutting mat, clear ruler and rotary cutter, cut two fabric pieces each measuring 16.5″W x 16″L and two fabric pieces each measuring 7.5″W x 12″L.
Hem the fabric
You are going to hem the top and bottom of the two large fabric pieces.
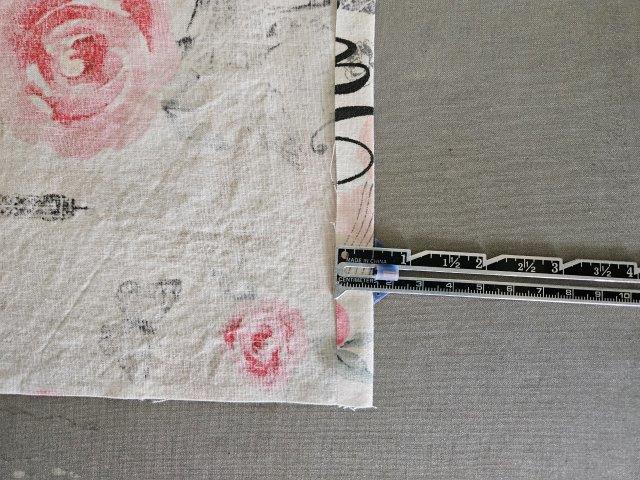
Place one of the large fabric pieces right side down on your ironing board. Fold the top edge 1/2″ and press.
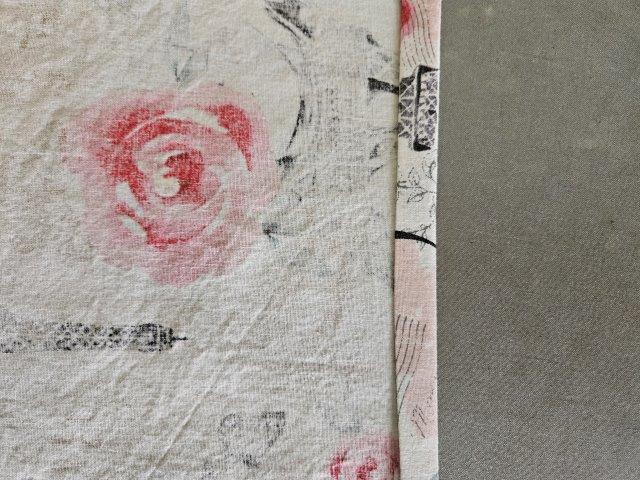
Fold over again 1/2″ and press.
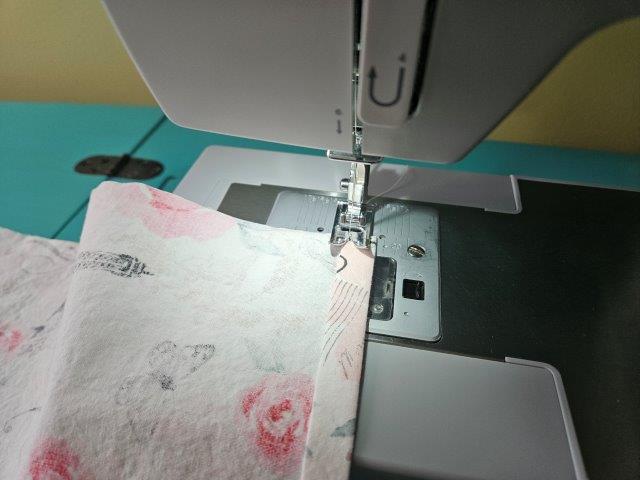
Top stitch along the fold using matching thread.
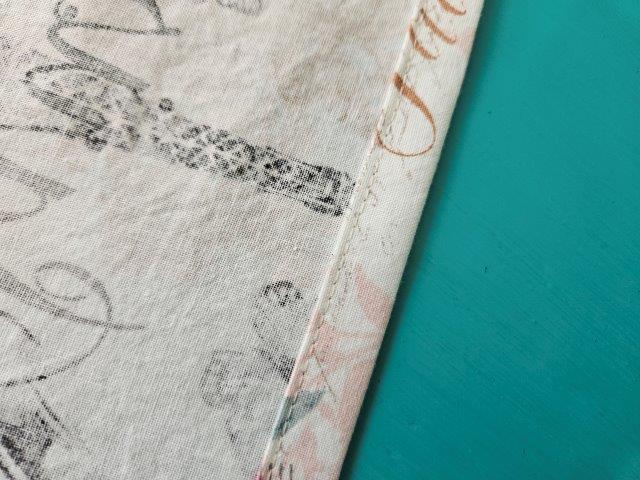
The above picture shows what the finished hem should look like.
Repeat this hem on the bottom of the same fabric piece and the top and bottom of the other large fabric piece.
Now you are going to repeat the hemming process with the smaller fabric pieces but you will be hemming the bottom only.
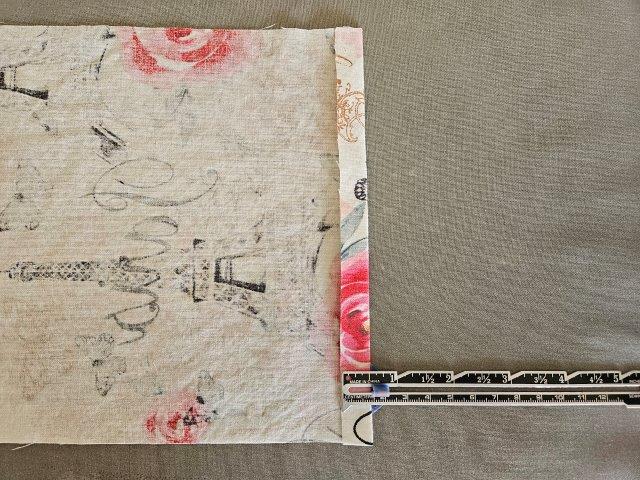
Place one small fabric piece right side down on your ironing board. Fold the bottom edge 1/2″ and press.
Fold over again 1/2″ and press.
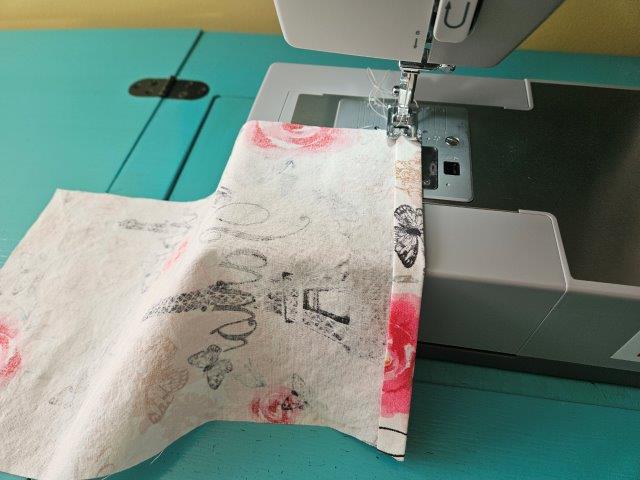
Top stitch along the fold using matching thread.
Repeat this bottom hem of the other small fabric piece.
***You can find the AD-FREE, printable PDF version of this sewing tutorial available for purchase in my Etsy shop HERE. Includes 10 pages of step-by-step instructions with pictures. Print a copy to keep next to your sewing machine for easy reference.***
Sew the top to create the handle opening
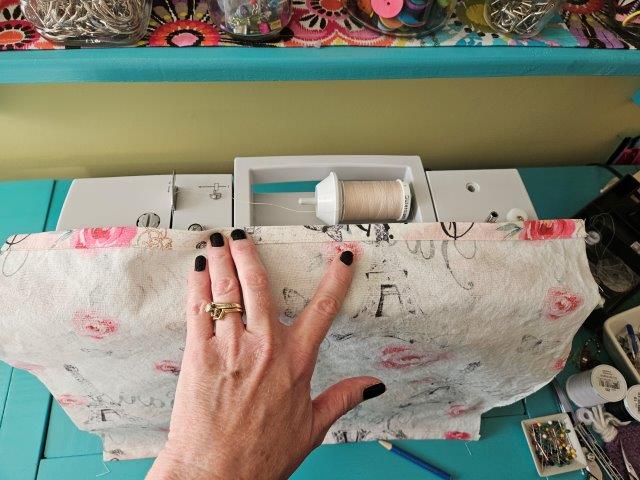
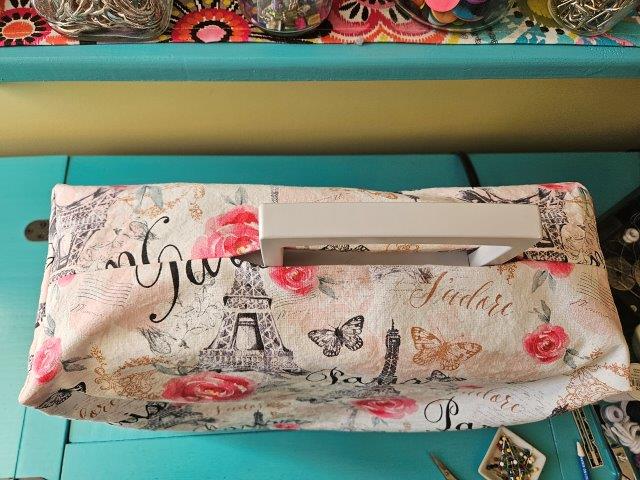
I estimated how far to sew on each end depending on where my handle is on top of my machine. I measured 5.5″ on one end and 3.5″ on the other end. See above picture.
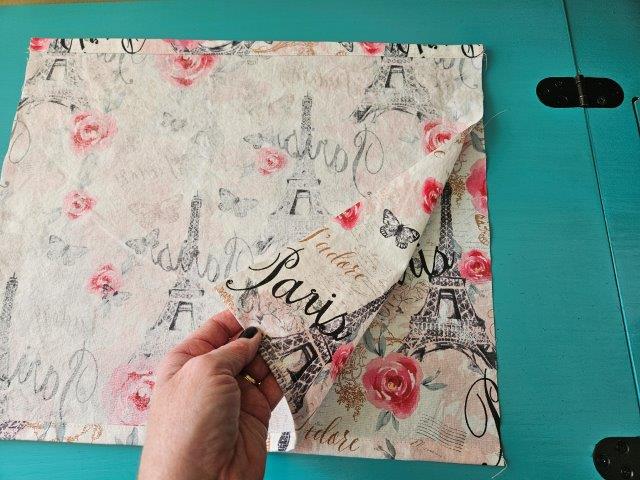
Place the two large fabric pieces right sides together. Pin the top to hold in place. Sew along the top using ½” seam allowance, leaving the opening for the sewing machine handle.
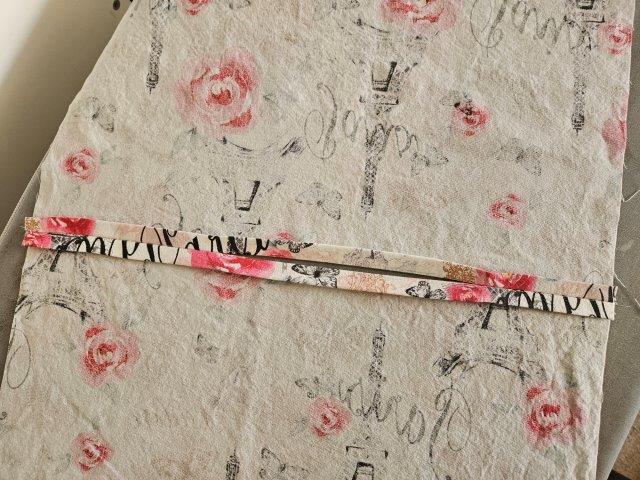
Press the seam flat.
Time to add the sides
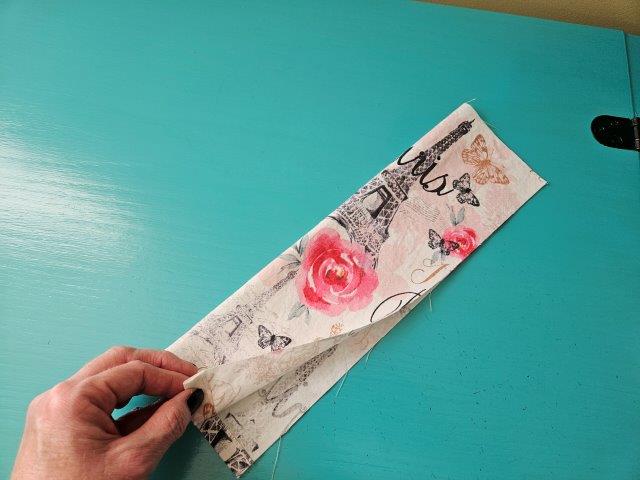
Take one of the side fabric pieces and fold in half lengthwise to find the center.
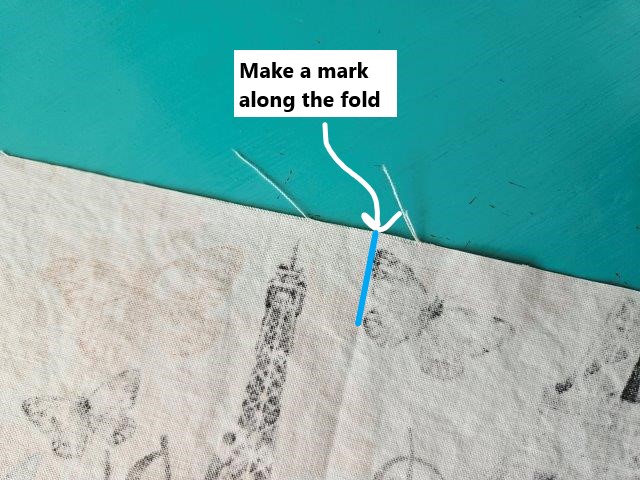
Mark the fold at the top with your marking pencil to better see the center.
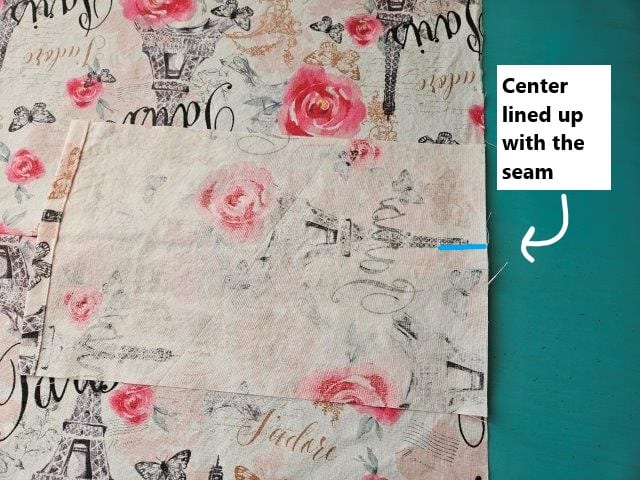
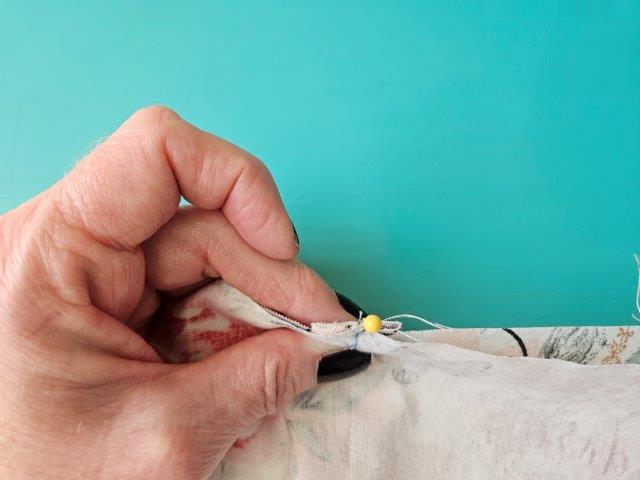
Place the fabric piece on top of the cover piece, right sides together, lining up the center mark with the cover seam. Pin in place.
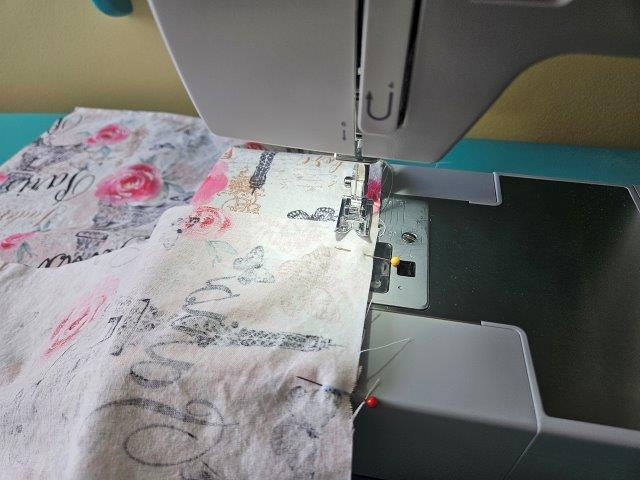
Sew using 1/2″ seam allowance. Be sure to back stitch at the beginning and end.
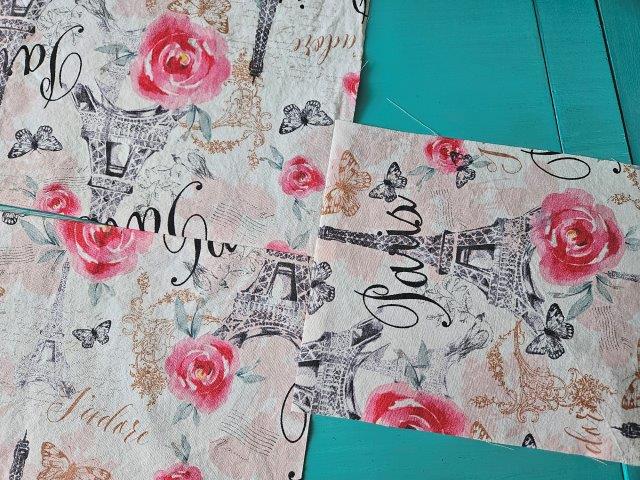
Press the seam.
Repeat with the other small fabric piece.
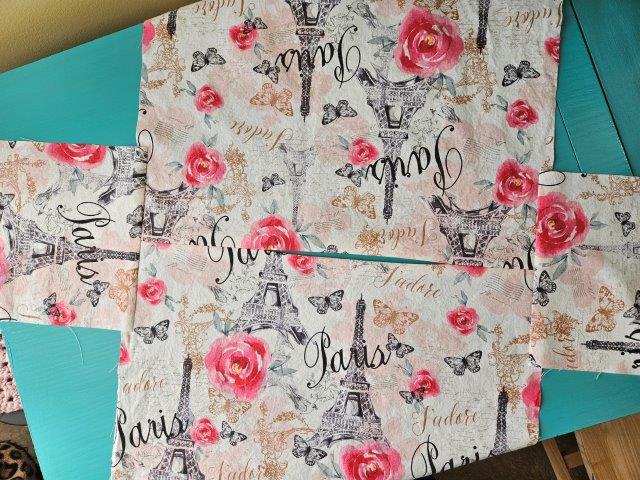
The above picture shows what your sewing machine cover should look like at this point.
Sew it together
Now you’re going to sew the sides to the main cover piece.
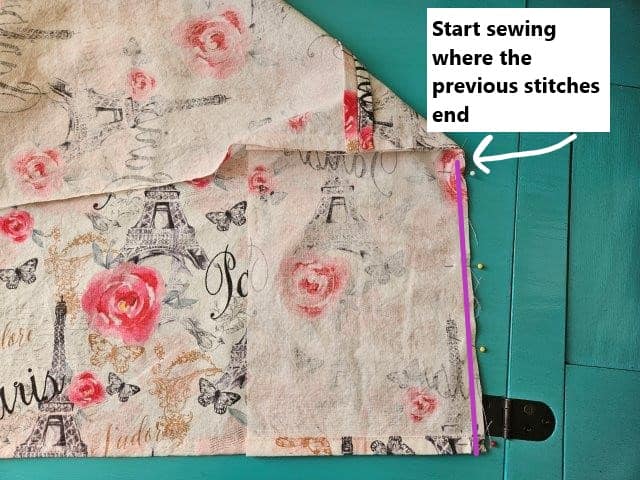
Take one side of the sewing machine cover and line up the edge and bottom with the main piece. Starting where the previous stitches end, sew down the side using a 1/2″ seam allowance.
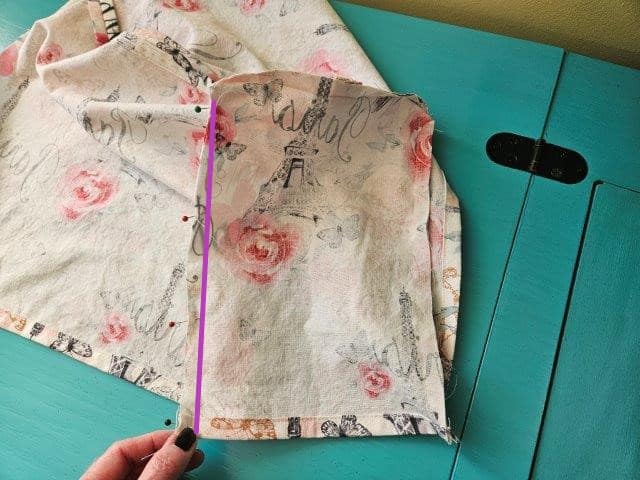
Sew down the other side.
Repeat the same process to sew the other side of the sewing machine cover.
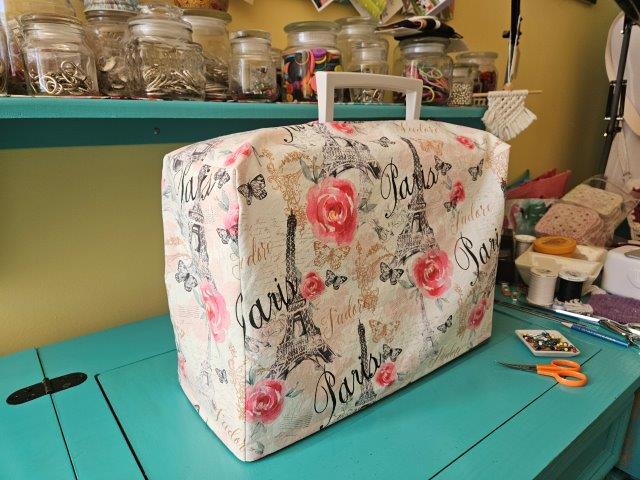
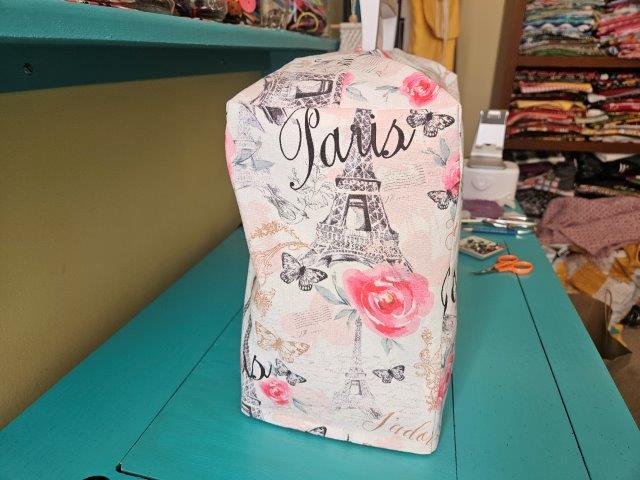
Turn right side out. Press the seams. Place your new cover over your sewing machine until your next sewing project!
***You can find the AD-FREE, printable PDF version of this sewing tutorial available for purchase in my Etsy shop HERE. Includes 10 pages of step-by-step instructions with pictures. Print a copy to keep next to your sewing machine for easy reference.***
Pin for later!
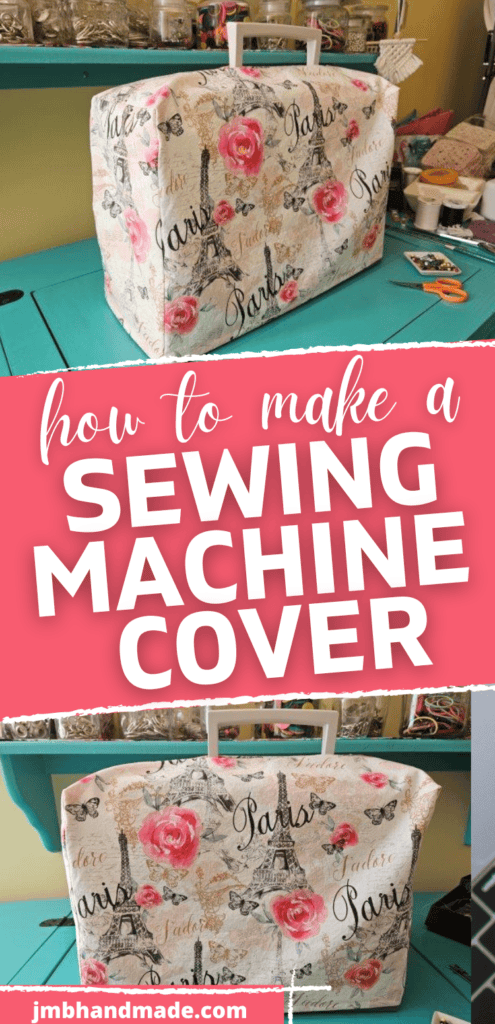
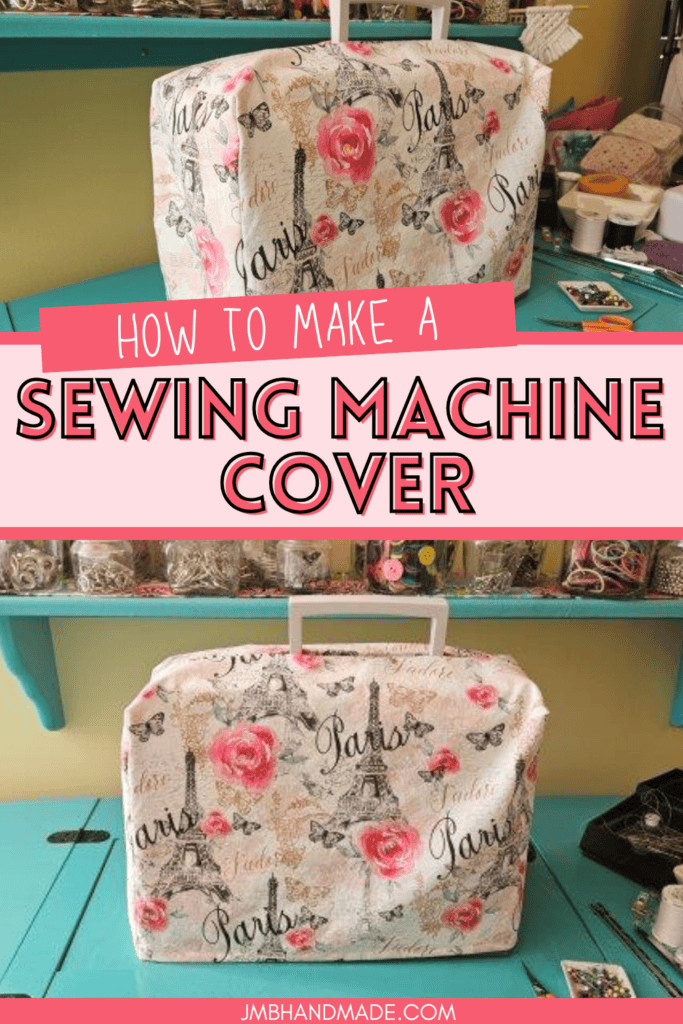
You are finished!
I hope you enjoyed this sewing tutorial on how to make a cover for your sewing machine! Happy sewing!

Other sewing tutorials you might like:
- Fabric Baskets Sewing Pattern – 3 Sizes
- How to Sew a Fabric Trash Bag for Your Car
- How to Sew a Lined Zipper Pouch
- Fabric Napkin Sewing Tutorial