Simple Fabric Tray Sewing Pattern
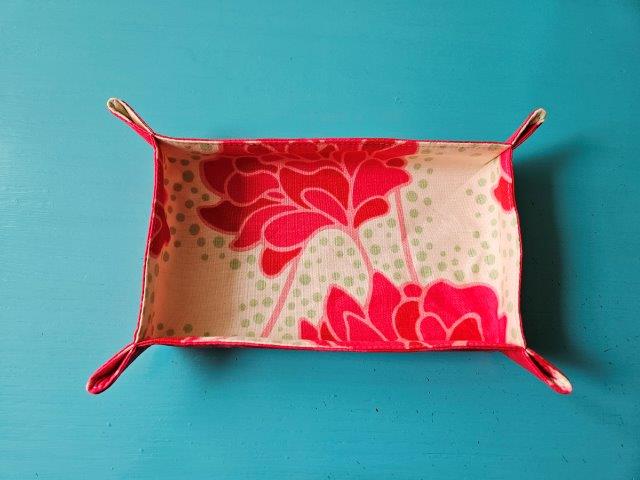
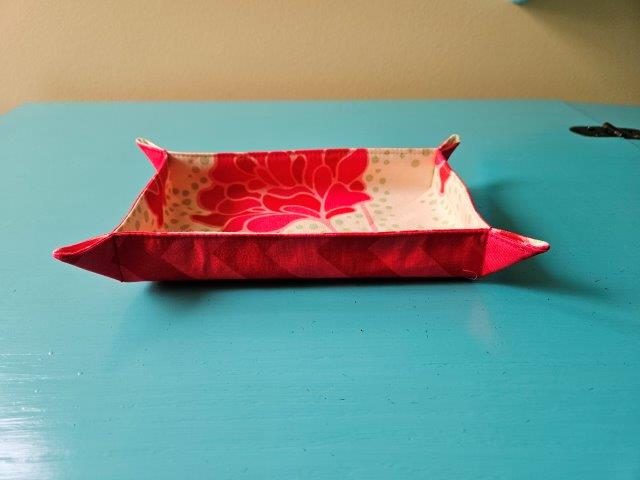
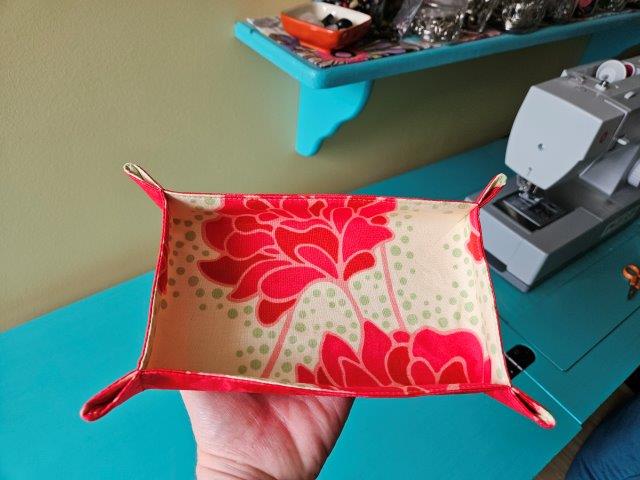
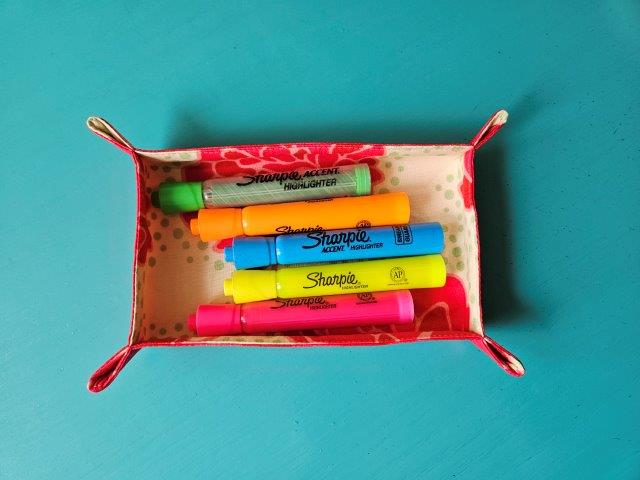
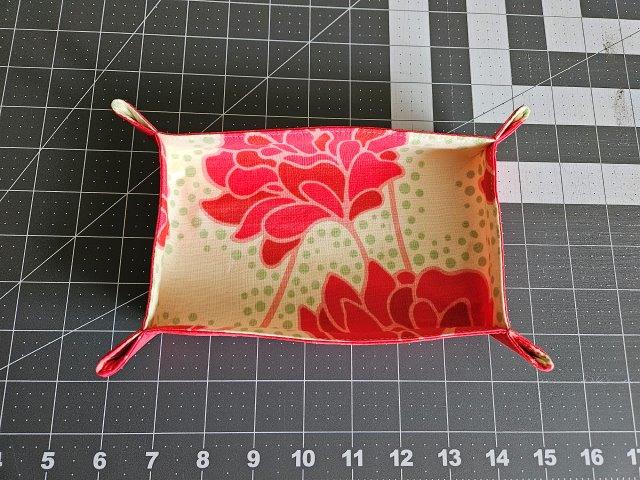
Sew a simple fabric tray any size you want using this sewing pattern.
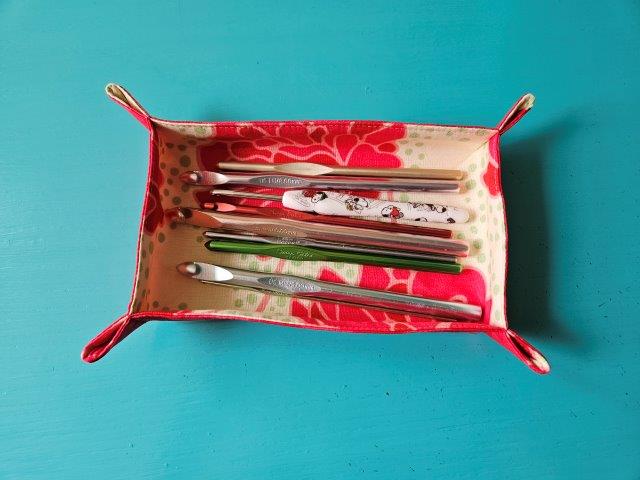
I created this fabric tray for my crochet hooks. I laid out my hooks on a piece of fabric to see how big I needed the base of the tray to be. You can use this method to create any size fabric tray. How big to cut the fabric depends on what you would like to store in the tray and how tall you want the sides to be.
My largest crochet hook is about 7 inches and I wanted the sides of the tray to be about 1-inch. I wanted the base of the fabric tray to be about 7 inches by 4 inches. I added 1.5 inches to each side of the fabric to allow for some wiggle room and seam allowance. Therefore, I cut each fabric piece 10″x7″.
NOTE: The easiest way to determine the size of your fabric tray – decide how big you would like the base of the tray to be. Then add the number of inches you want the sides to be to each side of the fabric plus the seam allowance.
Check out the fabric rectangle basket sewing pattern and these fabric baskets (3 sizes) for other storage options.
Here are the instructions for a finished fabric tray measuring 7”x4”x1”:
This post contains affiliate links. Please see below disclosure for more information.
***You can find the AD-FREE, printable PDF version of this sewing tutorial available for purchase in my Etsy shop HERE. Includes 7 pages of step-by-step instructions with pictures. Print a copy to keep next to your sewing machine for easy reference.***
Fabric tray supplies needed:
- One outer fabric piece measuring 10″x7″ – my favorite fabric shop
- One lining fabric piece measuring 10″x7″
- Fusible interfacing – enough for both fabric pieces
- Cutting mat
- Rotary cutter
- Clear ruler
- Marking pencil
- Matching thread
- Sewing scissors
- Sewing machine
Measure and cut your fabric
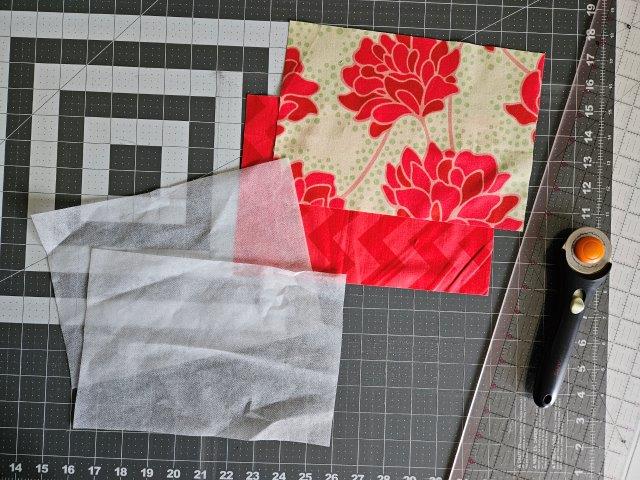
Using your cutting mat, clear ruler, and rotary cutter, cut one outer fabric piece and one lining fabric piece, each measuring 10″ x 7″.
Attach the fusible interfacing
Cut two pieces of fusible interfacing the same size as your fabric pieces. I use Pellon P44F Fusible interfacing but you can use any lightweight fusible interfacing. Attach the interfacing to the fabric pieces, following the package instructions.
Sew it together
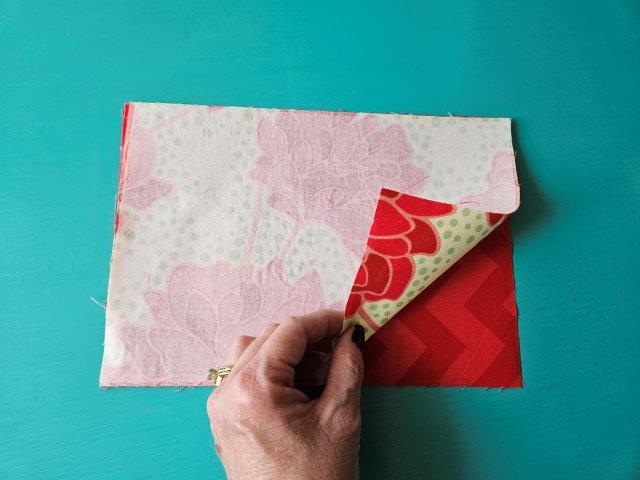
Place the two fabric pieces right sides together.
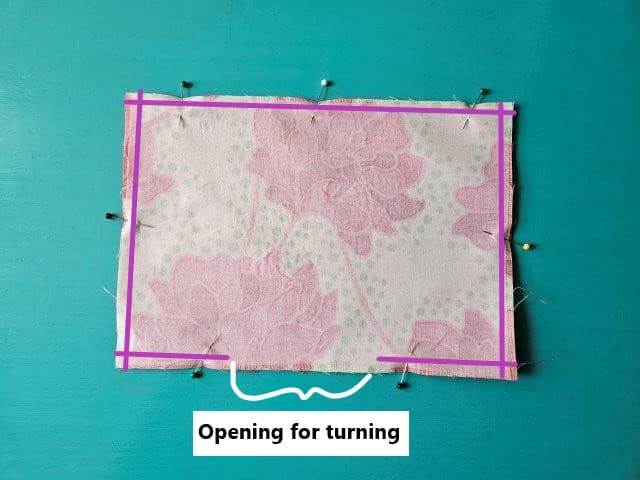
Pin in place, leaving an opening for turning. Sew using a 3/8″ seam allowance.
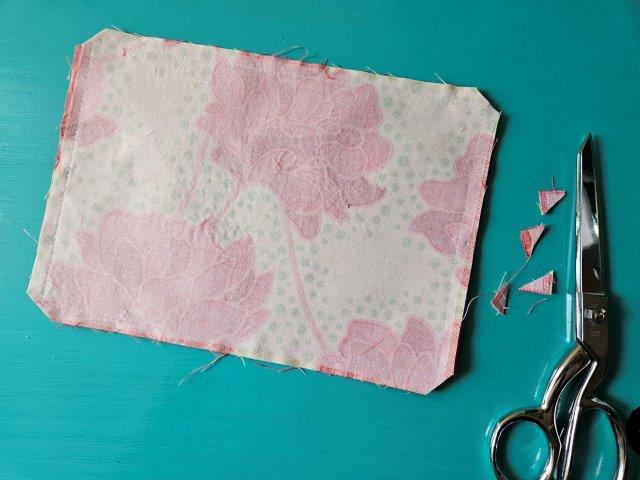
Clip the corners using your sewing scissors.
Turn right side out
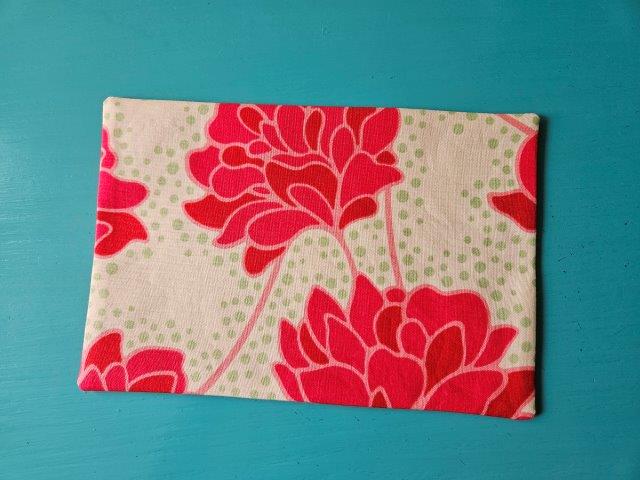
Through the opening, turn the fabric tray right side out, pushing out the corners. Press.
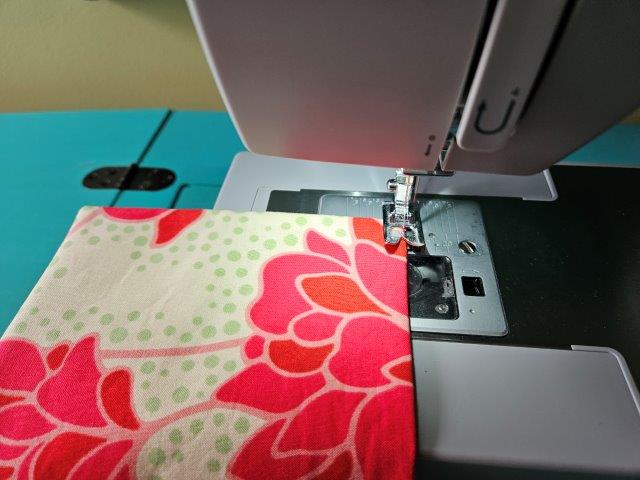
Top stitch, with matching thread, all around using 1/8″-1/4″ seam allowance, pivoting the corners. This gives the fabric tray a finished look and closes the opening for turning.
Make the tray
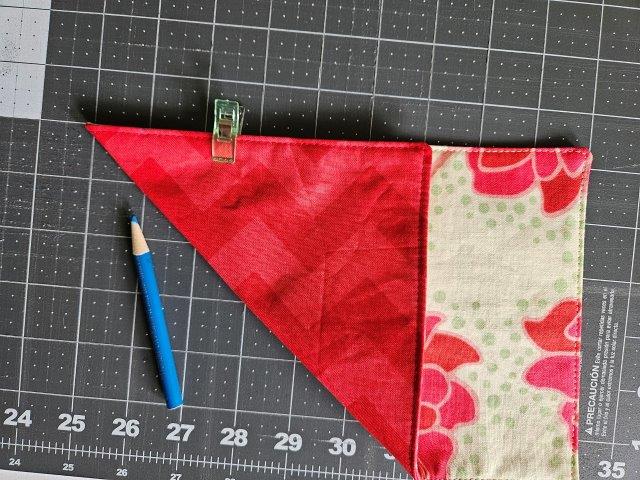
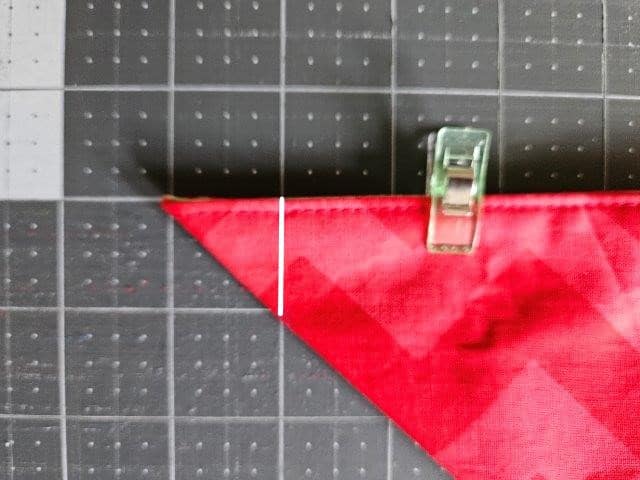
Take one of the corners and fold to make a triangle, lining up the edges. Be sure the fabric you want to show on the outside is on the outside of the fold. I wanted my sides to be 1 inch high so I measured one inch from the corner. Use a marking pencil and mark 1 inch from the corner. I made the white line so you can see the line to sew. See above pictures.
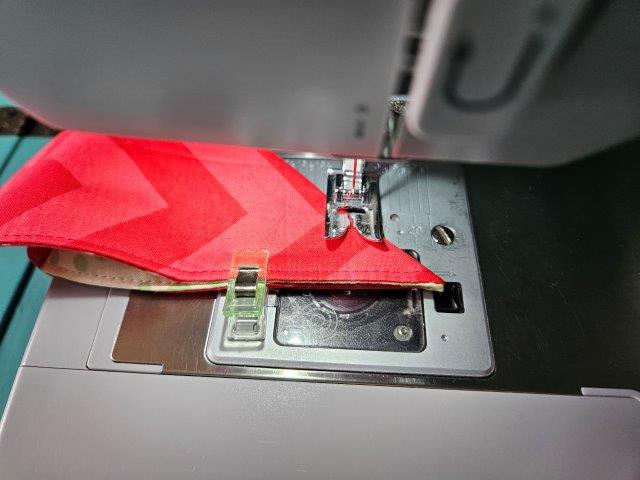
Sew along the mark (white line) to create the tray corner.
Repeat sewing the other three corners.
***You can find the AD-FREE, printable PDF version of this sewing tutorial available for purchase in my Etsy shop HERE. Includes 7 pages of step-by-step instructions with pictures. Print a copy to keep next to your sewing machine for easy reference.***
Pin for later!
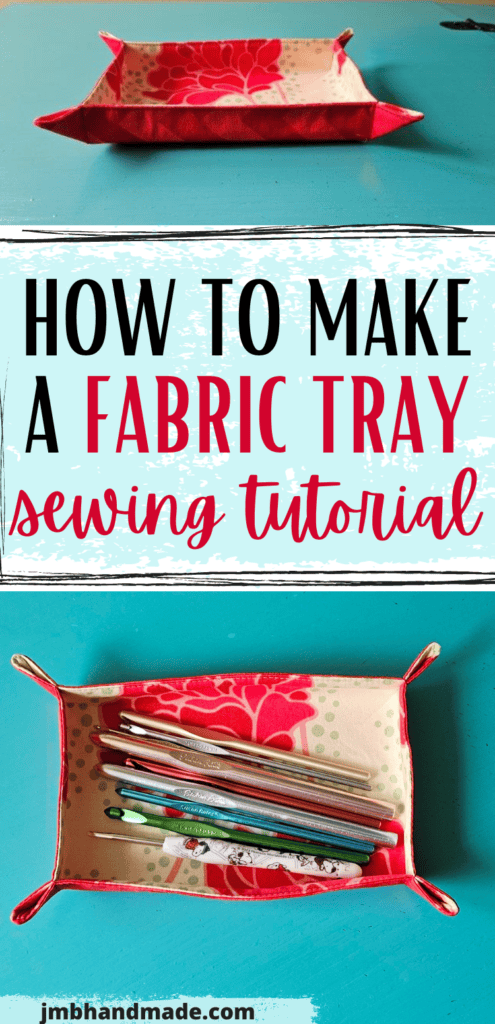
You are finished!
I hope you enjoyed this sewing tutorial on how to make a fabric tray. Sew up a bunch and use them for some fun storage! Happy sewing!

Other simple sewing projects:
- Fabric Trash Bag for Your Car Sewing Tutorial
- Easy Fabric Bookmark Sewing Pattern
- Drawstring Gift Bag Sewing Project
- DIY Fabric Scrunchies