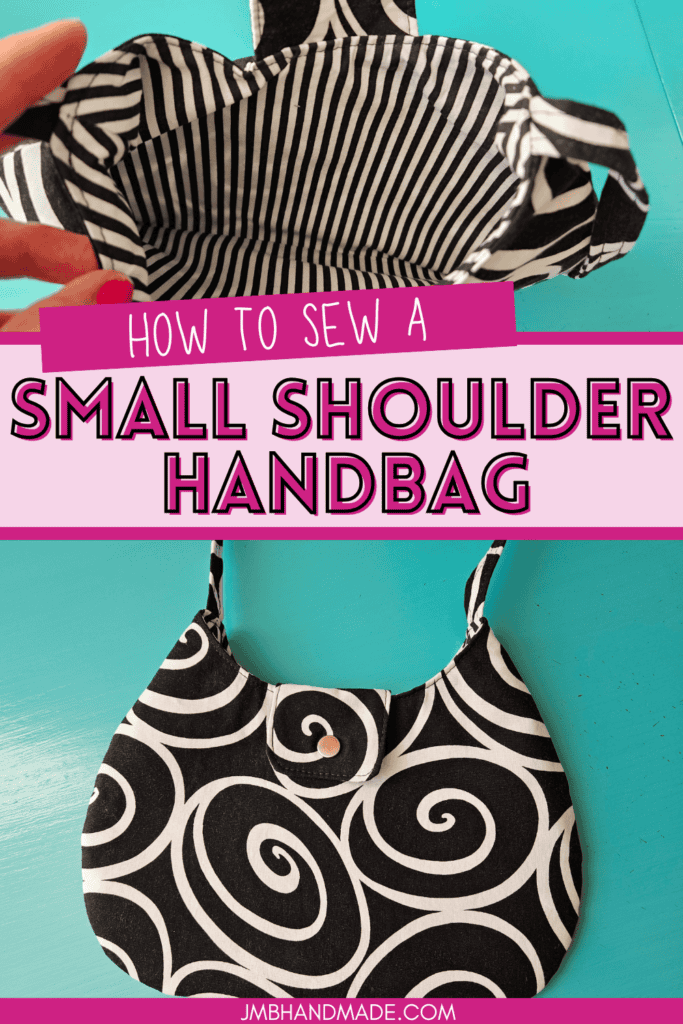
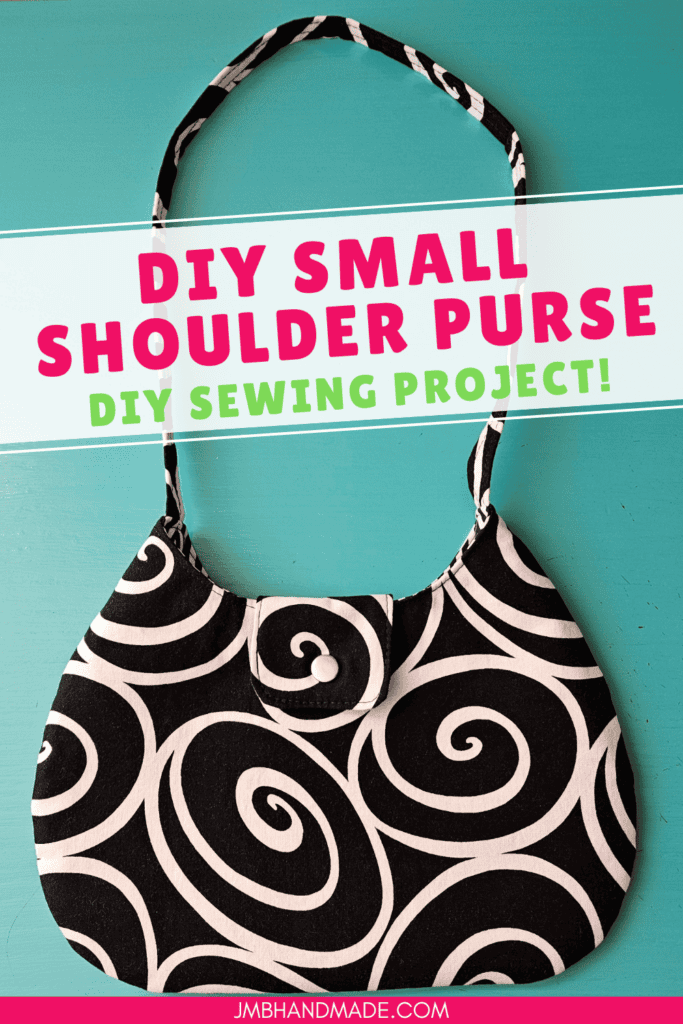
Small Shoulder Handbag Sewing Pattern
A cute small shoulder handbag sewing tutorial including step-by-step instructions with pictures.
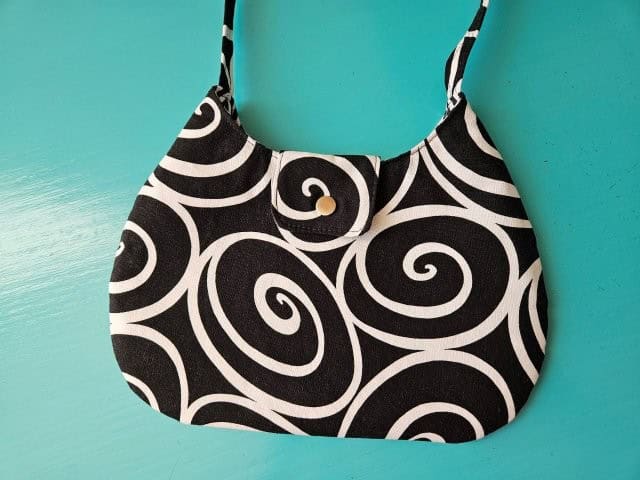
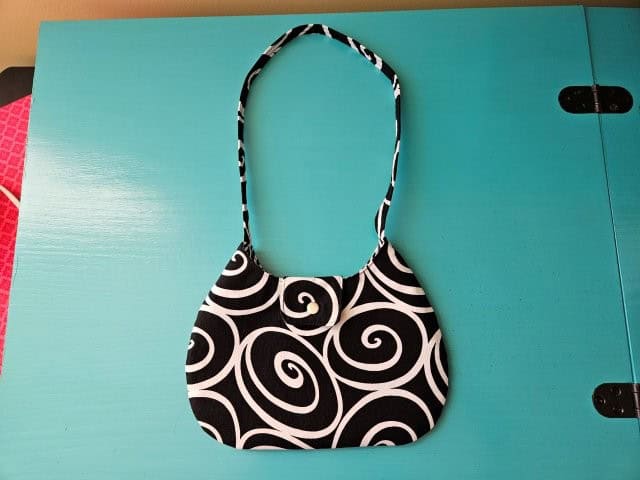
This small shoulder handbag, similar in style to my curved top shoulder bag pattern, features a curved top and curved bottom corners, one strap, and a KAM snap closure. This over the shoulder purse pattern is perfect for all your essentials when going out or when you just want to carry a small purse.
The pattern template is included for the body of the bag. Below is the download button.
The finished DIY shoulder bag measures approximately 10″W (at the widest part) x 8″H (at the tallest part).
Try sewing a matching small zipper pouch coin purse to go with it to hold your cards and cash.
This post contains affiliate links. Please see below disclosure for more information.
***You can find the AD-FREE, printable PDF version of this sewing tutorial available for purchase in my Etsy shop HERE. Includes 20 pages of step-by-step instructions with pictures. Print a copy to keep next to your sewing machine for easy reference.***
Shoulder bag supplies needed:
- Outer fabric – 2 pieces measuring 12″W x 10″H, two pieces measuring 3″ x 3″ for the snap closure, and one piece measuring 2″W x 24″H for the purse strap
- Lining fabric – 2 pieces measuring 12″W x 10″H – my favorite fabric shop
- Shoulder bag template (see below download button)
- Cutting mat
- Rotary cutter
- Clear ruler
- Fusible interfacing – Pellon P44F Fusible Interfacing
- Marking pencil
- KAM snap starter kit
- Sewing scissors
- Sewing machine
Download the shoulder bag template
Download and print the shoulder purse template. Be sure your printer is set to “actual size”.
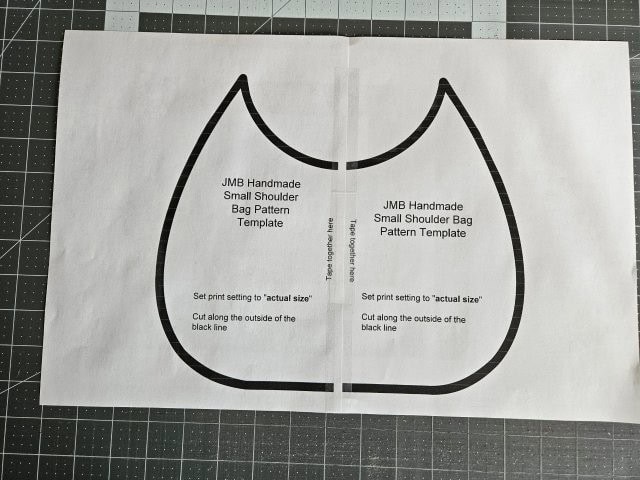
Tape the pages together where is says “tape together here”, lining up the black lines.
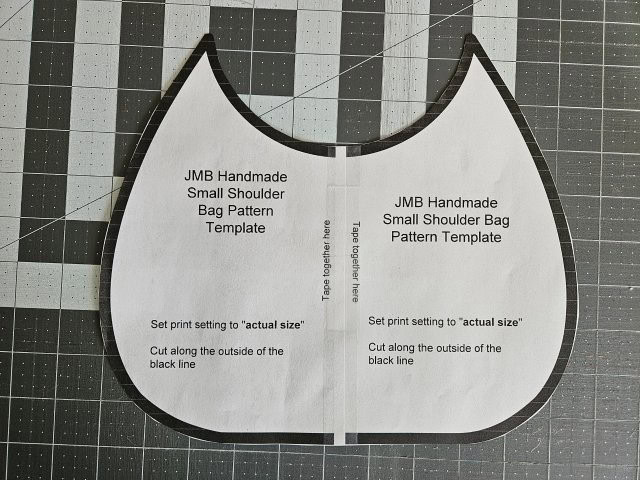
Cut out the template along the outside of the black lines using your paper scissors.
Measure and cut the fabric
Using your cutting mat, clear ruler, and rotary cutter, cut two outer fabric pieces and two lining fabric pieces each measuring 12″W x 10″H. Cut two outer fabric pieces measuring 3″ x 3″ for the snap closure strap. For the purse strap, cut one outer fabric piece measuring 2″W x 24″H.
Attach the interfacing
For this shoulder bag sewing pattern, I’m using Pellon P44F Fusible Interfacing but any lightweight interfacing will work.
Attach the interfacing to the wrong side of all the fabric pieces following the package instructions.
Cut the fabric using the template
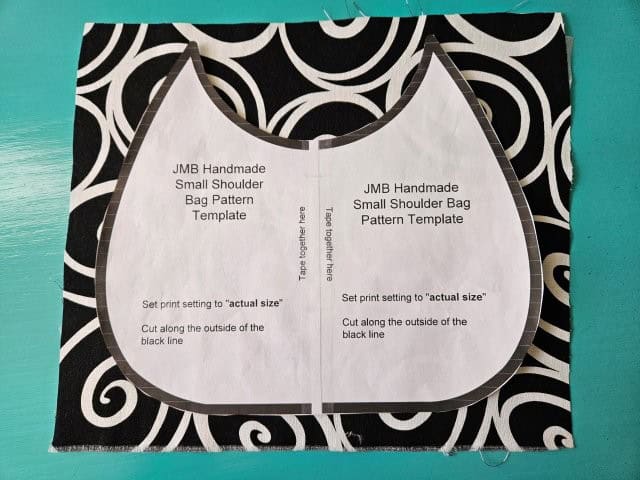
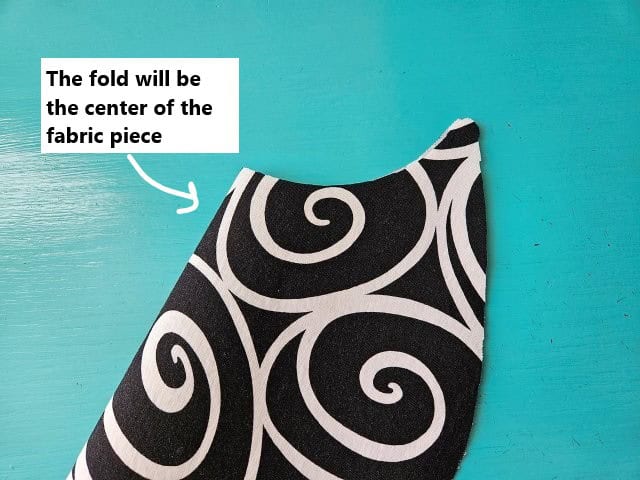
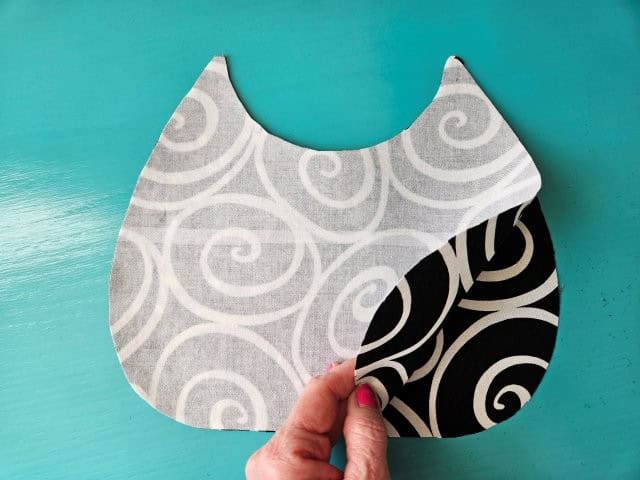
Place the template on top of one of the outer fabric pieces. I put tape on the back of the template to hold in place or you can also use sewing pattern weights. Cut around the template using your sewing scissors.
Repeat with the other outer fabric piece and both the lining fabric pieces.
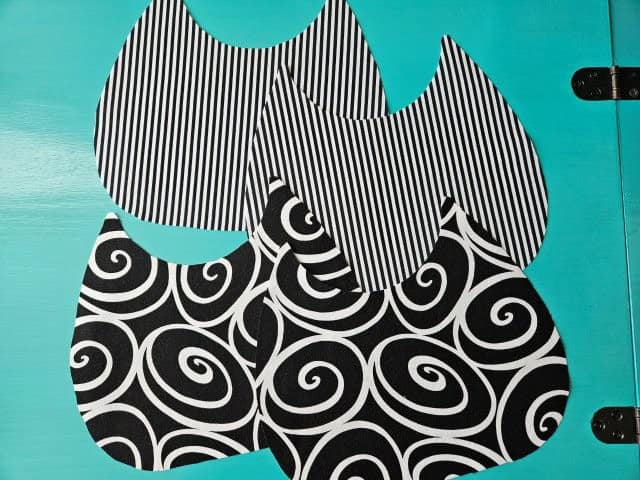
You should now have two outer fabric pieces and two lining fabric pieces for the body of the shoulder bag.
Make the purse strap
The finished strap for this shoulder bag is 1/2″ wide.
RULE OF THUMB: Decide how wide you would like your finished strap to be, then multiply by 4 and that will be how wide you will need to cut your fabric. For this over the shoulder bag, 1/2 inch wide means I need to cut the fabric 2 inches wide before folding.
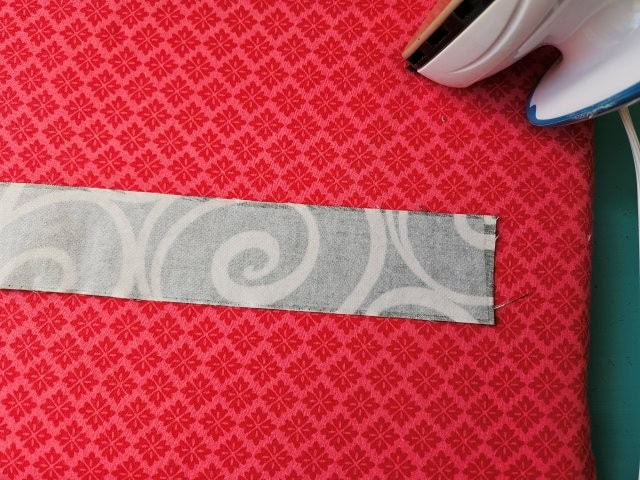
Place your strap piece wrong side up.
Check out these instructions on how to make your own mini ironing board.
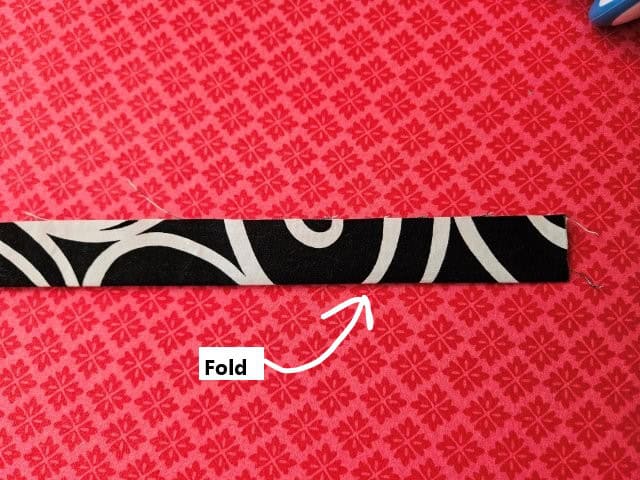
Fold the strap in half lengthwise and press along the fold.
Open back up and fold the outside edge to the center and press.
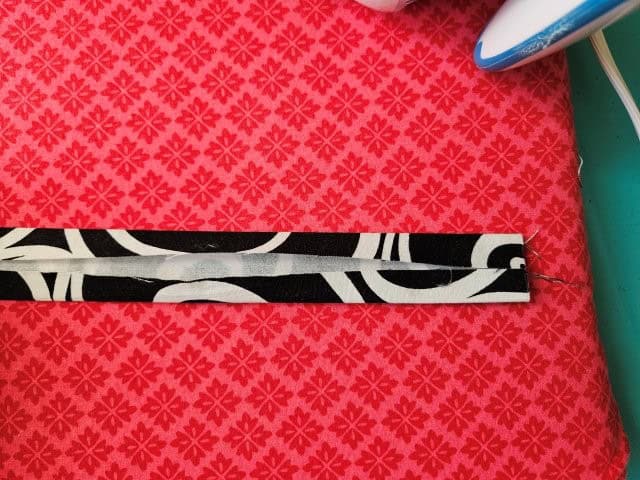
Turn the strap around and fold the other outside edge to the center and press.
Fold in half again and press.
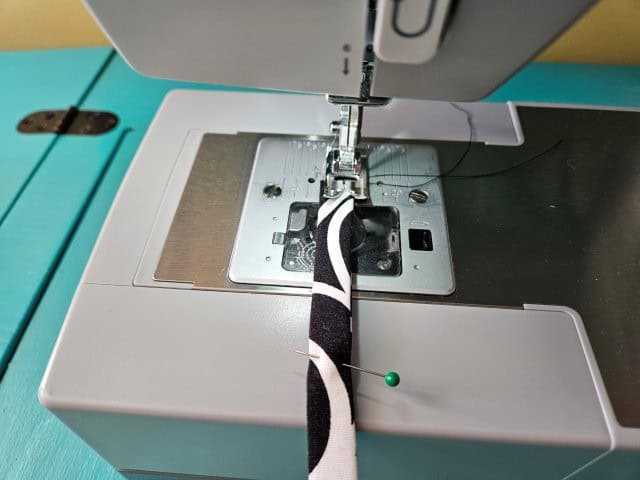
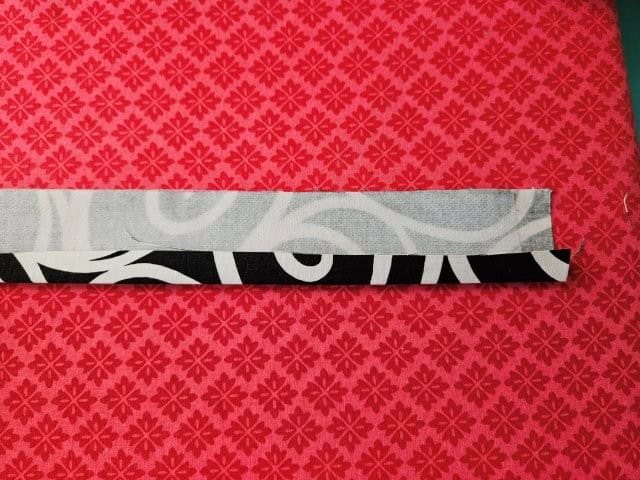
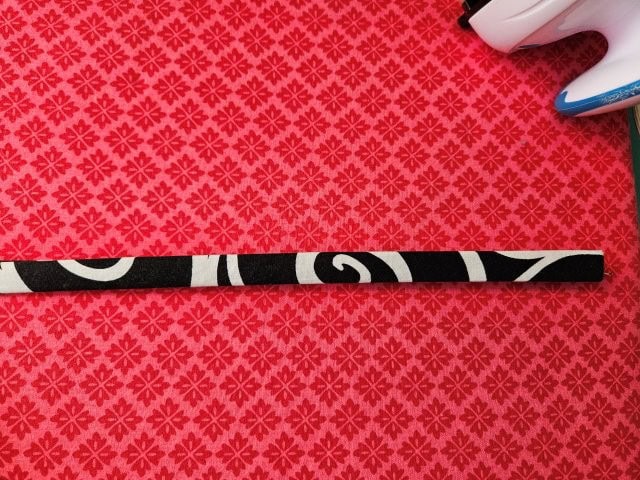
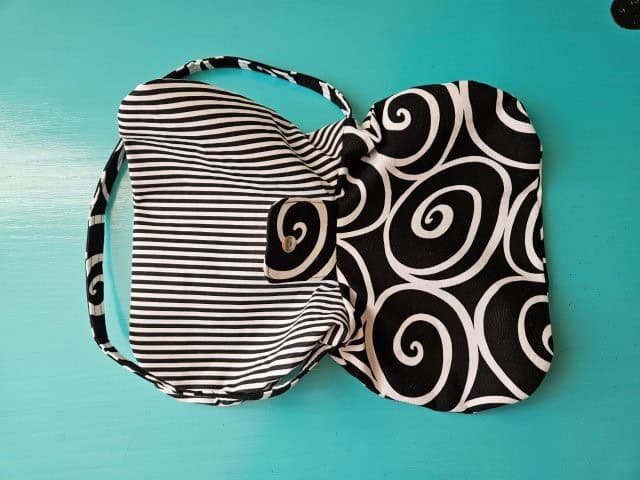
Sew the strap along both folded edges using a 1/4-inch seam allowance.
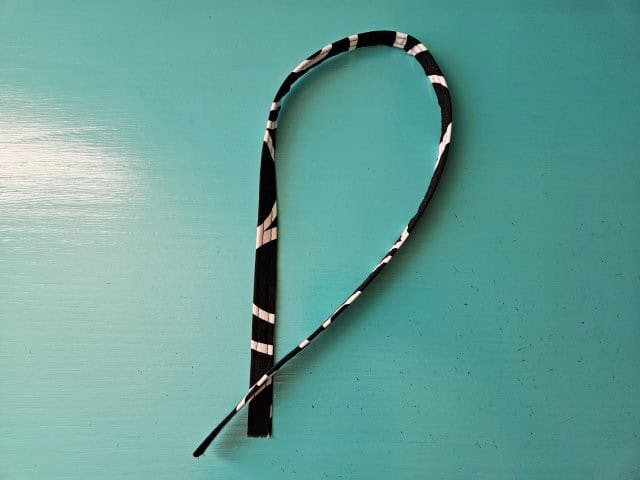
The above picture shows the finished purse strap.
Round the corners of the snap closure strap
Before sewing the snap closure strap piece (the two 3″ x 3″ pieces), you are going to round the bottom corners . Rounding the corners will remove some of the bulk when turning right side out.
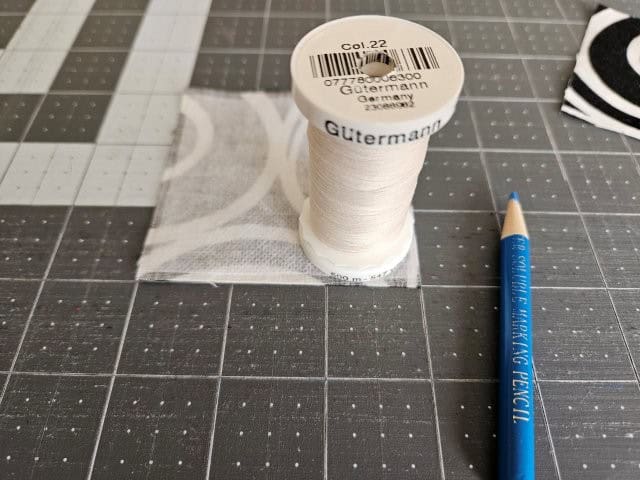
Take one of the fabric pieces and place a spool of thread, or anything with a round base, on the bottom right corner, lining up the edges.
Trace the rounded edge using your marking pencil. Repeat with the left corner.
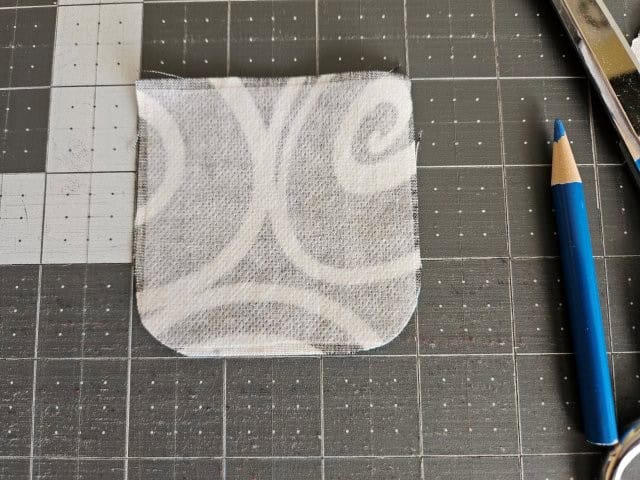
Cut along the marks you just made using your sewing scissors.
Repeat these steps with the other 3″ x 3″ fabric piece.
Make the snap closure strap
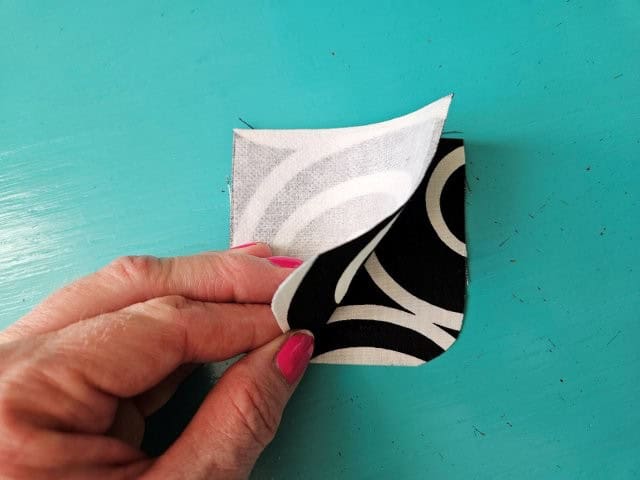
Place the 3″ x 3″ fabric pieces right sides together. Pin the sides and bottom, leaving the top open.
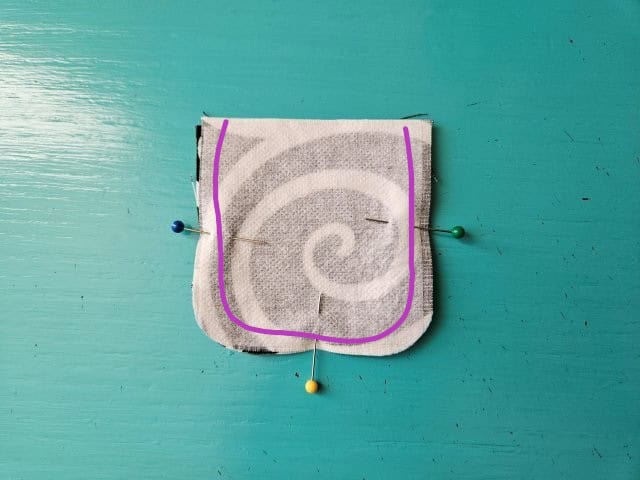
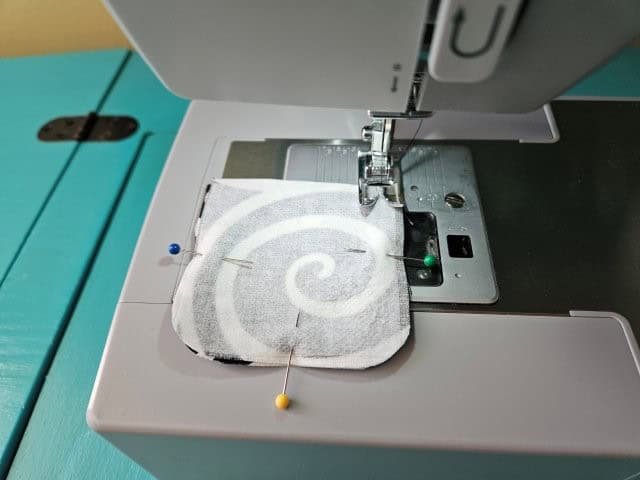
Sew along the three sides using a 3/8″ seam allowance, again, leaving the top open.
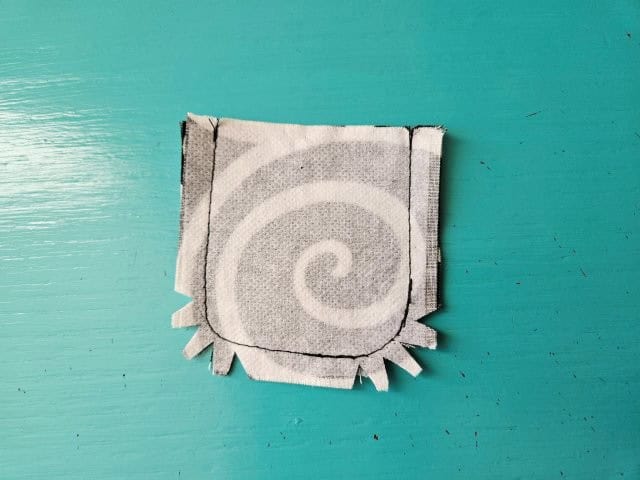
Cut little triangles around the curves.
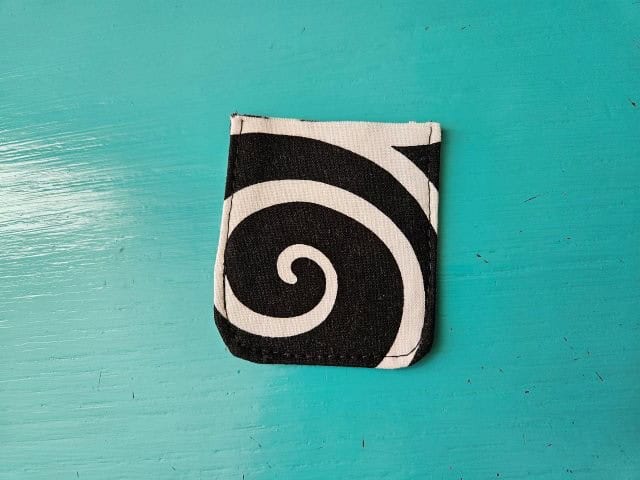
Turn right side out, press and top stitch around the three sides.
***You can find the AD-FREE, printable PDF version of this sewing tutorial available for purchase in my Etsy shop HERE. Includes 20 pages of step-by-step instructions with pictures. Print a copy to keep next to your sewing machine for easy reference.***
Attach the KAM snap
I am using metal KAM snaps for the snap closure. The KAM snap has four parts – male, female, and two caps.
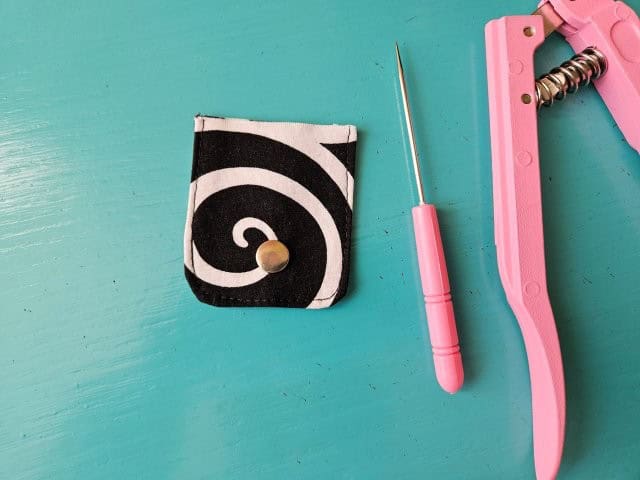
Fold the snap closure strap in half lengthwise to find the center. Attach the male KAM snap following the package instructions. You will be attaching the female snap in a later step.
Baste snap closure strap to bag
You are going to baste the snap closure strap to the back outer bag piece.
Fold the back fabric piece in half to find the center.
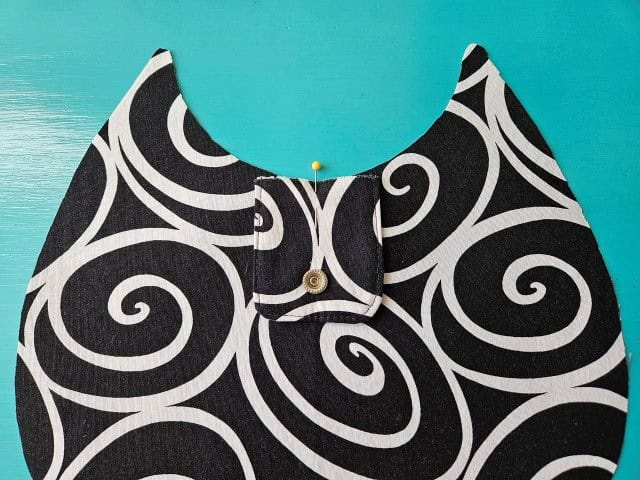
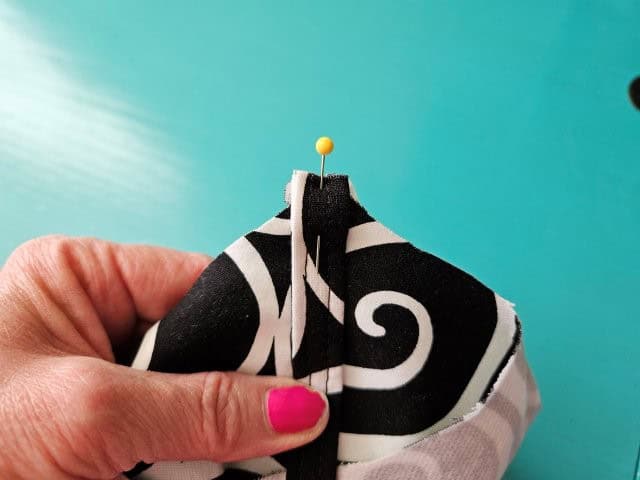
Place the strap in the center, right side down (the side you want showing on the outside of the bag face down), and pin to hold in place.
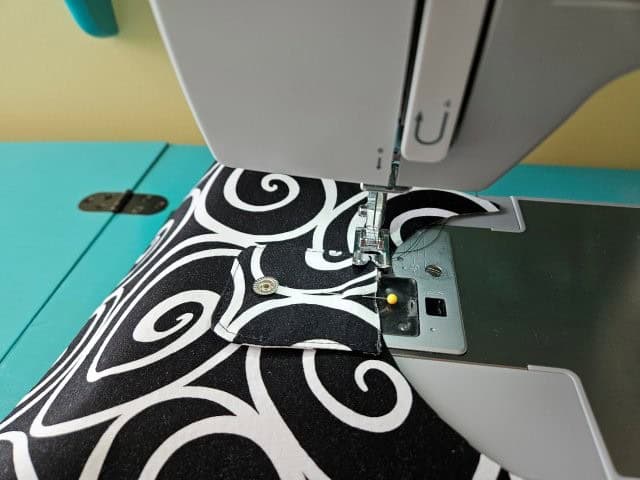
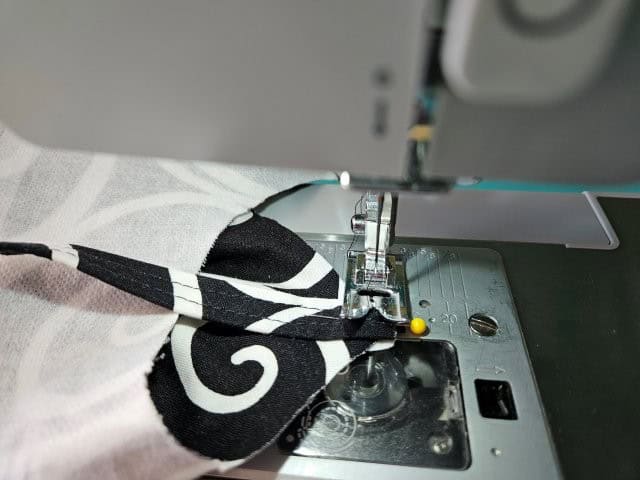
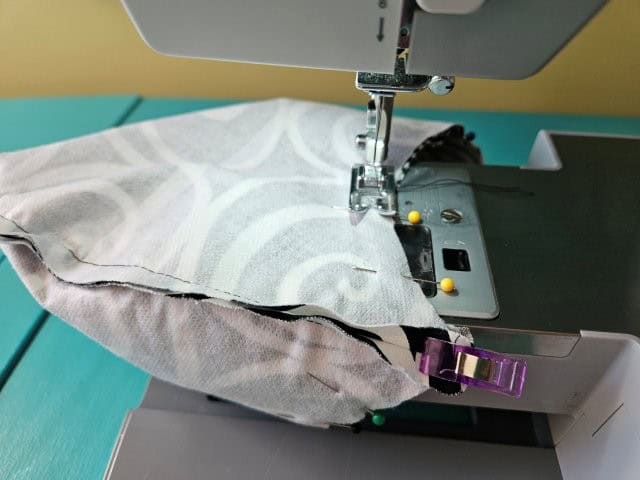
Baste along the edge to attach the strap.
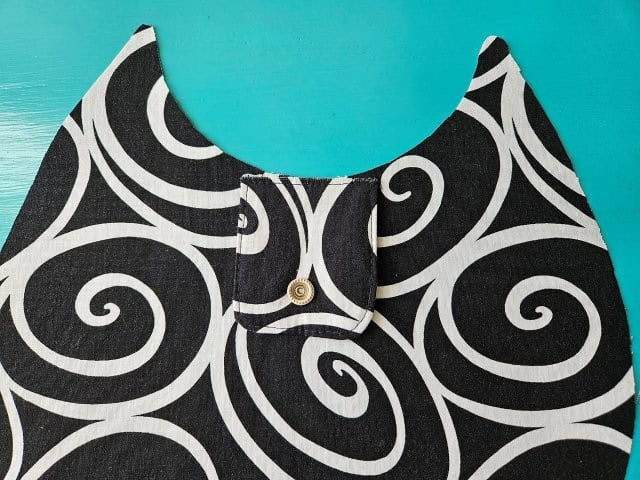
The above picture shows the basted strap.
Sew the outer bag together
Use a 3/8″ seam allowance.
Place the outer fabric pieces right sides together. Pin along the sides and bottom, leaving the top open.
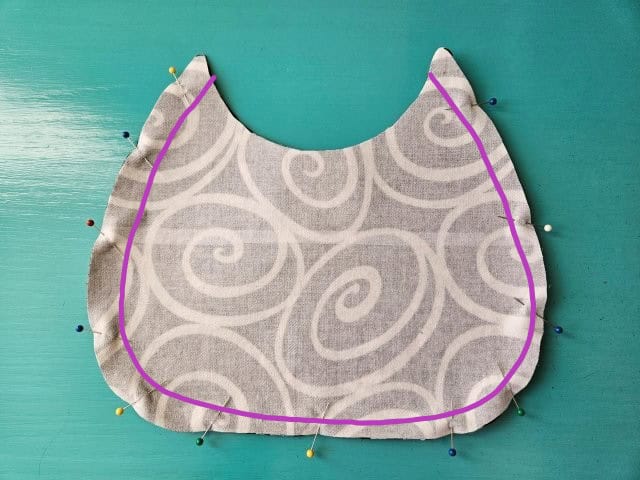

Sew around the sides and bottom using a 3/8″ seam allowance, leaving the top open. Backstitch at the beginning and end to secure.
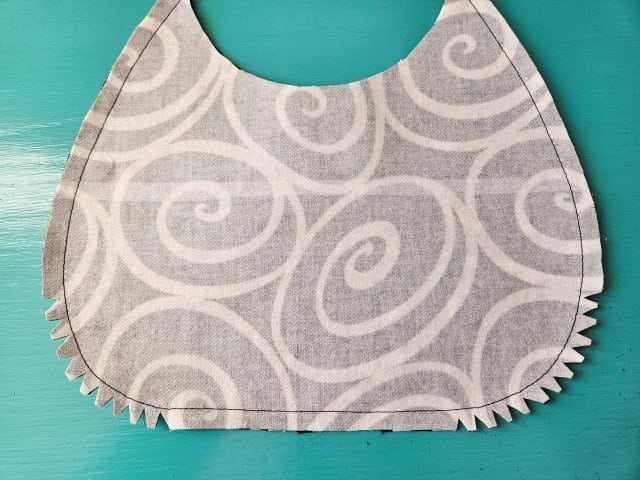
Cut little triangles around the curves.
Repeat with the lining fabric pieces.
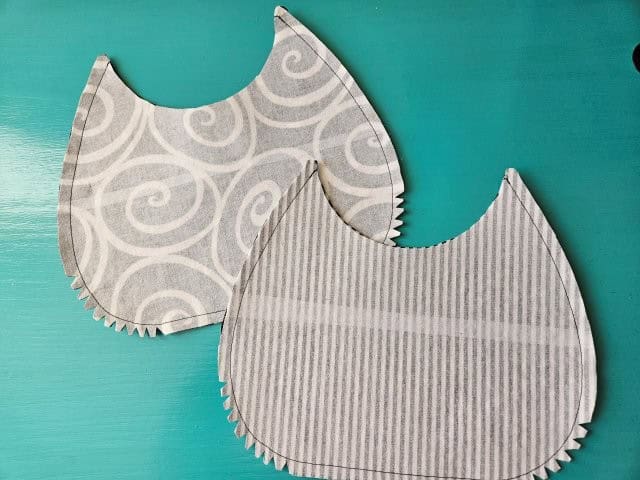
You should now have one outer bag piece and one lining bag piece.
Baste strap to outer bag
With the bag wrong side out, place the unfinished edge of the strap inside the bag centered on the seam.

Baste the strap to the bag.
Repeat with the other end of the strap and other side of the bag.
Sew the shoulder handbag together
Use a 3/8″ seam allowance.
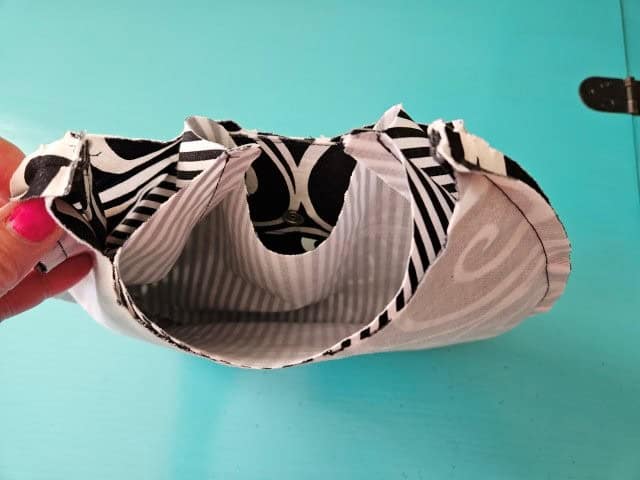
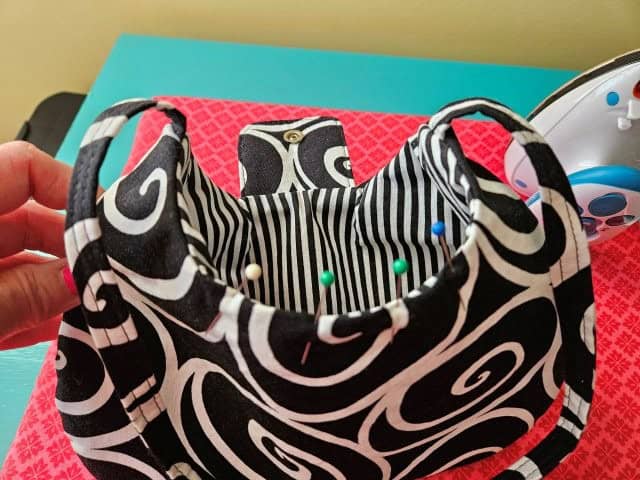
Keep the outer bag wrong side out. Turn the lining bag right side out and place inside the outer bag, lining up the seams. The right sides of the fabric should be facing each other and the strap and snap closure strap should be in between the bags.
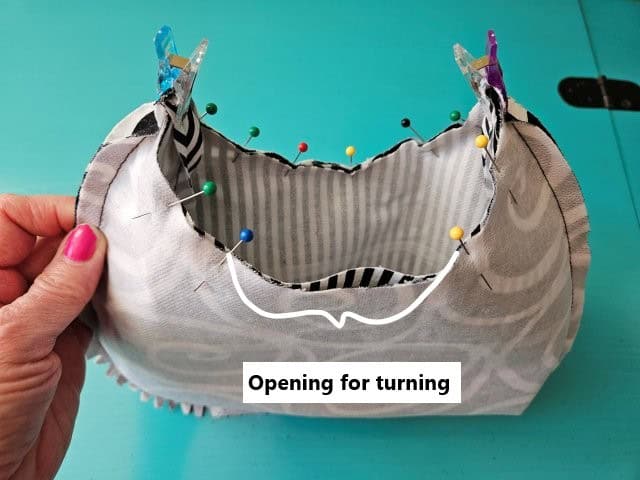
Pin around the top, leaving an opening in the front for turning.
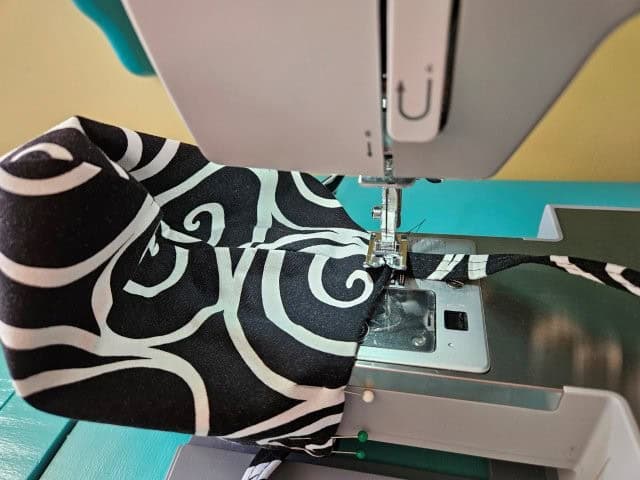
Sew around the top of the bag using a 3/8″ seam allowance, again leaving an opening in the front for turning.
Turn right side out
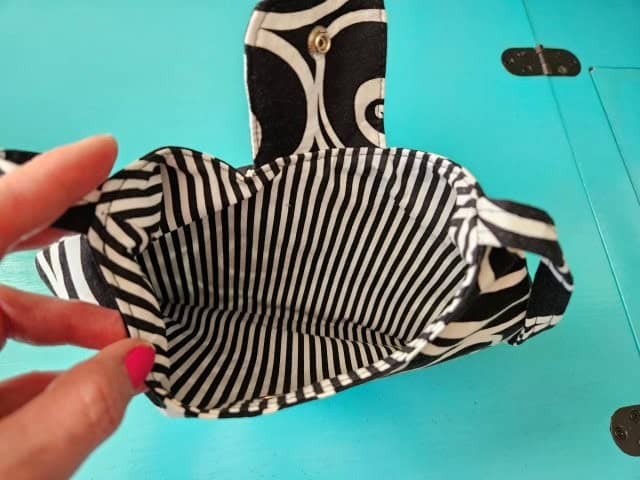
Through the opening, turn the small shoulder bag right side out and press.
Push the lining inside the bag. Fold in the opening and pin to hold in place.
Top stitch around the top of the shoulder bag. This gives the purse a finished look and closes the opening. Press.
Add the other KAM snap
Now you’re going to add the female KAM snap to the front of the shoulder bag.
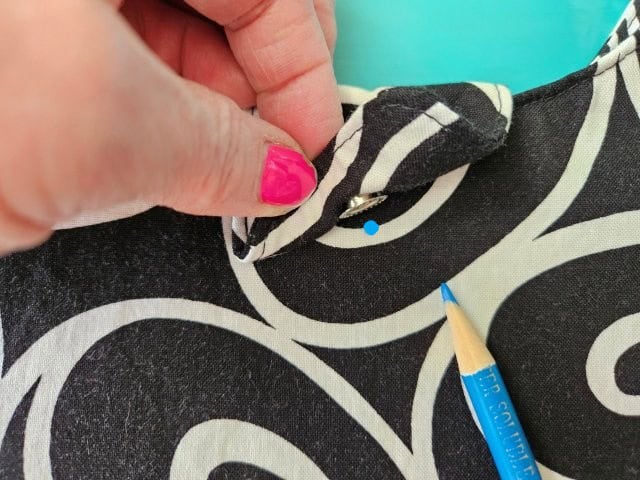
Fold the snap strap over and make a mark where the other snap should go.
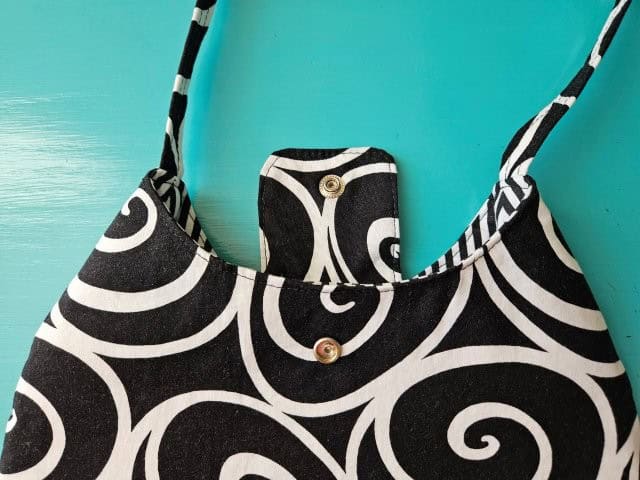
Follow the same directions to attach the female snap to the bag.
Pin for later!
***You can find the AD-FREE, printable PDF version of this sewing tutorial available for purchase in my Etsy shop HERE. Includes 20 pages of step-by-step instructions with pictures. Print a copy to keep next to your sewing machine for easy reference.***
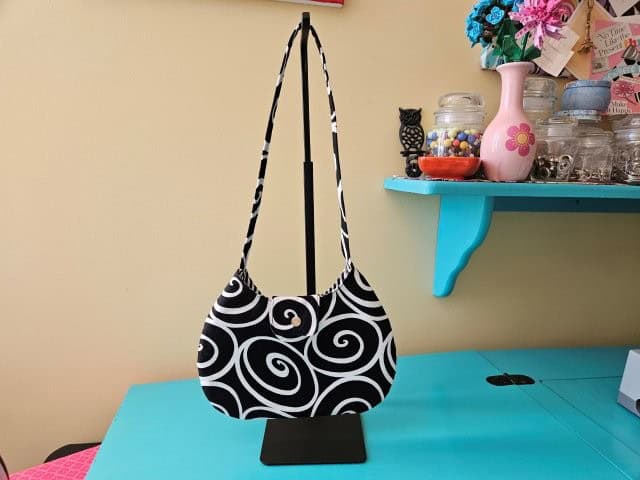
You are finished!
I hope you enjoyed this sewing tutorial on how to sew a DIY shoulder handbag. Ideal when you want to carry a small purse and for gift giving! Happy sewing!
Other small bags to sew:
- Belt Bag / Fanny Pack Sewing Tutorial
- Small Messenger Crossbody Bag Pattern
- Quilted Patchwork Crossbody Messenger Bag
- Small Sling Bag with Zipper Closure Tutorial