Simple Crossbody Bag Out of Jeans Sewing Tutorial
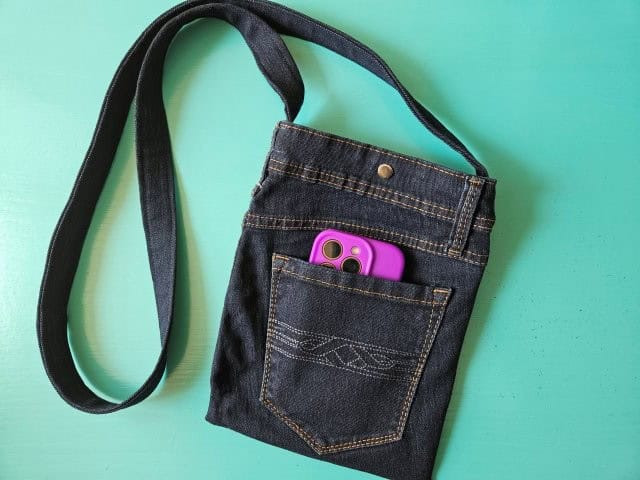
Turn old jeans into a fun crossbody bag using this step-by-step sewing tutorial.
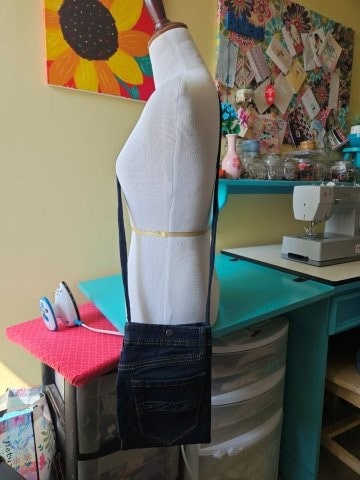
For this denim jeans crossbody bag tutorial, I am using a small pair of jeans (size 6) I found at a thrift shop but you can use any size you want depending on how large you would like your bag. Also, I am using the back of the jeans instead of the front, but again you use these instructions for the front or the back of the jeans. (I didn’t want to mess with the zipper at all). The legs of the jeans will become the strap.
You might have some leftover denim if you want to try making a matching small zipper pouch coin purse or a lip balm holder key chain to attach to one of the belt loops.
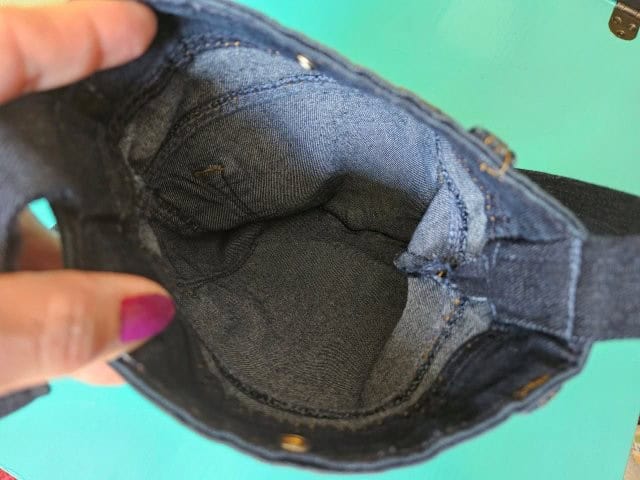
I chose not to add a lining to this DIY crossbody bag to keep the instructions simple. If you would like to add a lining, you can use these instructions from my denim jeans tote handbag sewing pattern.
FYI – It’s okay if your bag is a little bit imperfect.
The instructions for this handbag are based on the pair of jeans I am using. You might have to adjust slightly based on the pair of jeans you will be using.
This post contains affiliate links. Please see below disclosure for more information.
***You can find the AD-FREE, printable PDF version of this sewing tutorial available for purchase in my Etsy shop HERE. Includes 12 pages of step-by-step instructions with pictures. Print a copy to keep next to your sewing machine for easy reference.***
Jeans bag supplies needed:
- A pair of denim jeans
- Lining fabric – optional – my favorite fabric shop
- Cutting mat
- Rotary cutter
- Clear ruler
- KAM snaps and tool
- Sewing scissors
- Sewing machine
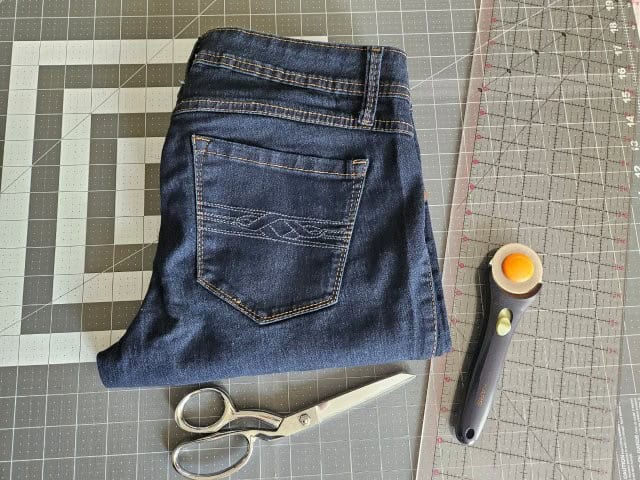
Cut the jeans
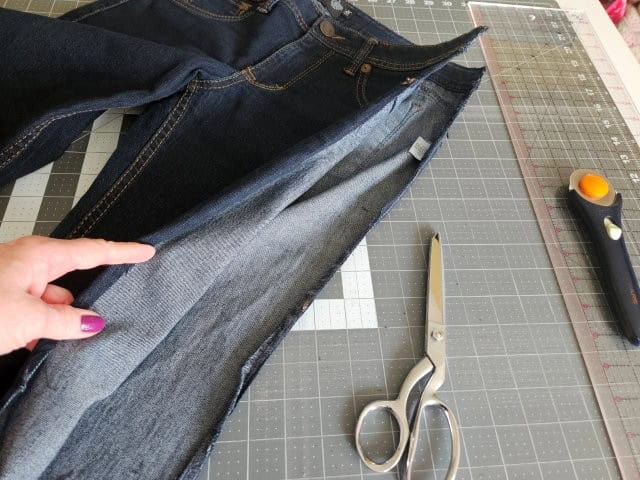
Start by cutting the outside seam of each leg all the way to the top using your sewing scissors. Then cut the inside seams around the crotch. Basically, you are cutting off the front part of the jeans.
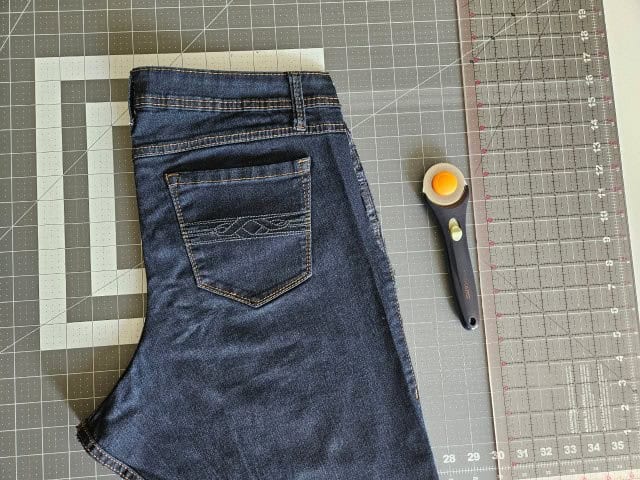
Fold the back of the jeans in half, wrong sides together.
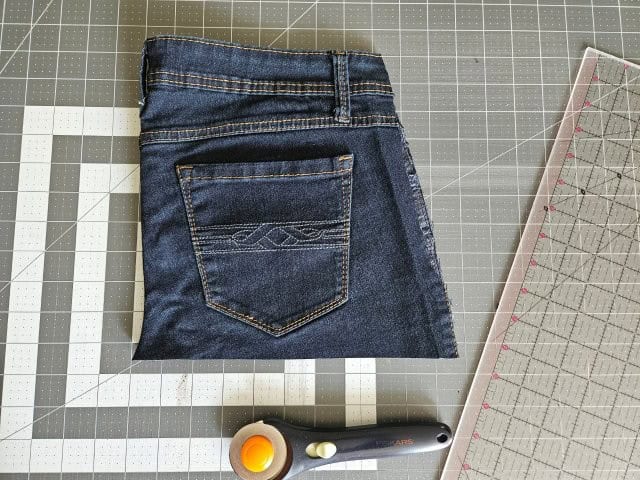
Decide how long you want your jeans crossbody bag to be – position the top of the jeans so it is straight (even) with where you are going to cut the bottom. Cut the bottom using your cutting mat, clear ruler, and rotary cutter even with the top of the bag.
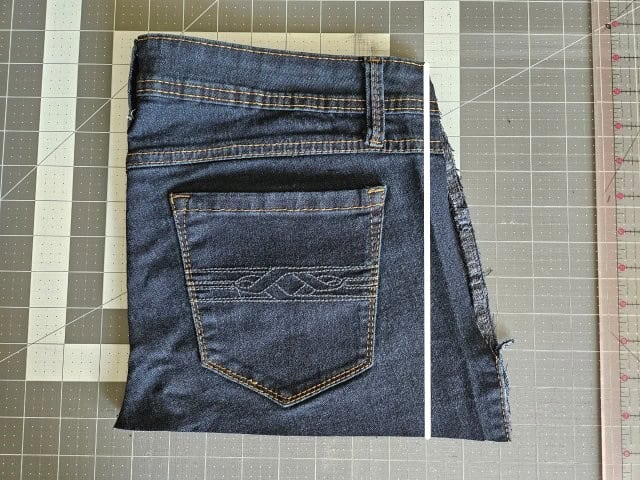
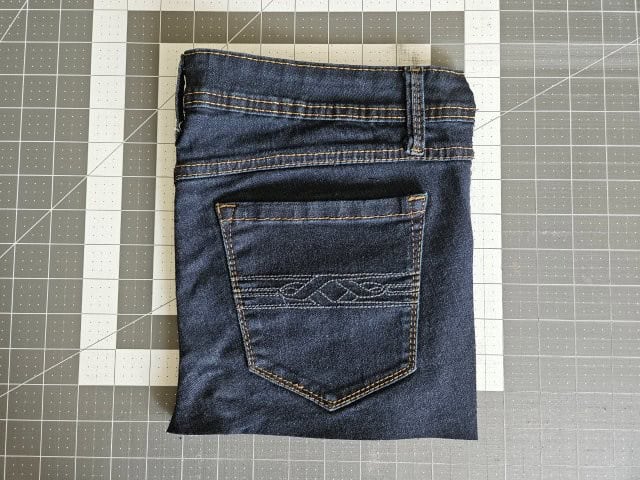
Then cut the excess off of the right side to make a straight edge (white line in the above picture).
Sew the body of the bag
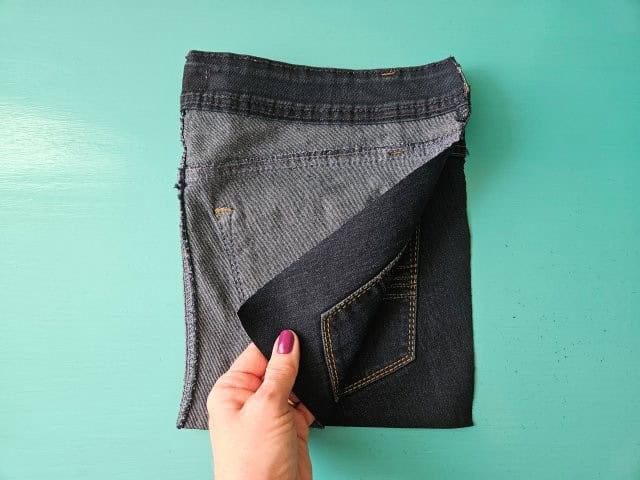
Now fold the jeans in half, right sides together, lining up the raw edges. Pin to hold in place.
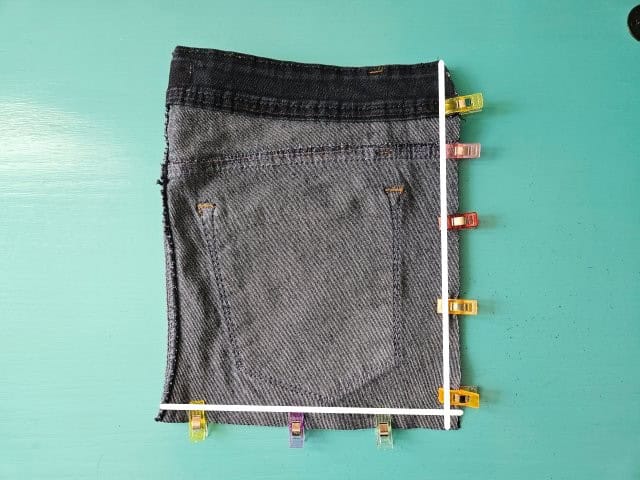
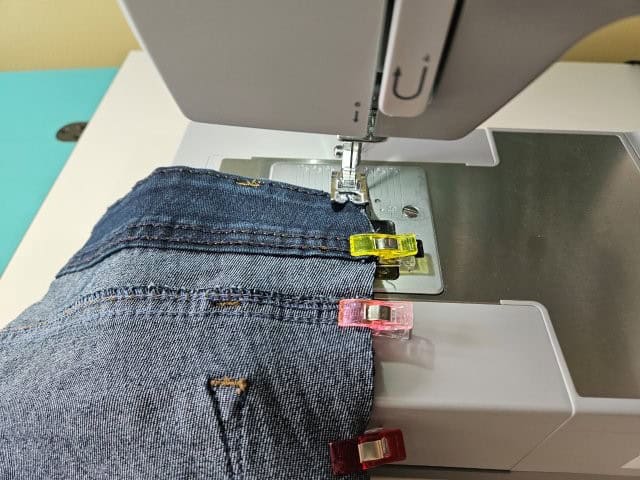
Sew the side and bottom using a 3/8″ seam allowance.
Clip the bottom corners using your sewing scissors.
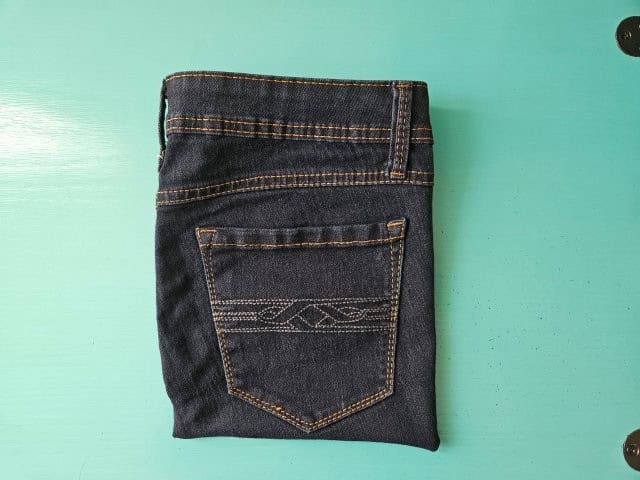
Turn the bag right side out.
***You can find the AD-FREE, printable PDF version of this sewing tutorial available for purchase in my Etsy shop HERE. Includes 12 pages of step-by-step instructions with pictures. Print a copy to keep next to your sewing machine for easy reference.***
Cut the legs for the strap
You are going to cut the legs of the jeans to make one long crossbody strap.
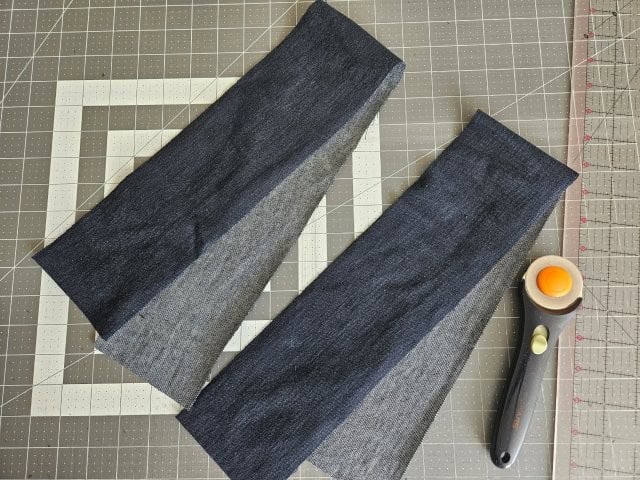
Using your cutting mat, clear ruler, and rotary cutter, cut strips from the jeans legs your desired width and length. For this crossbody jeans bag, I cut the strips 4″W by approximately 50″L to make one long strap. Cutting the fabric 4″W will give me a 1″W finished strap.
RULE OF THUMB: Decide how wide you would like your strap to be, then multiply that number by 4 and that will be how wide you will need to cut your fabric. For this crossbody jeans bag, the finished strap is 1″, multiply that number by 4 (1 x 4 = 4). Therefore, I need to cut the fabric 4-inches wide before folding.
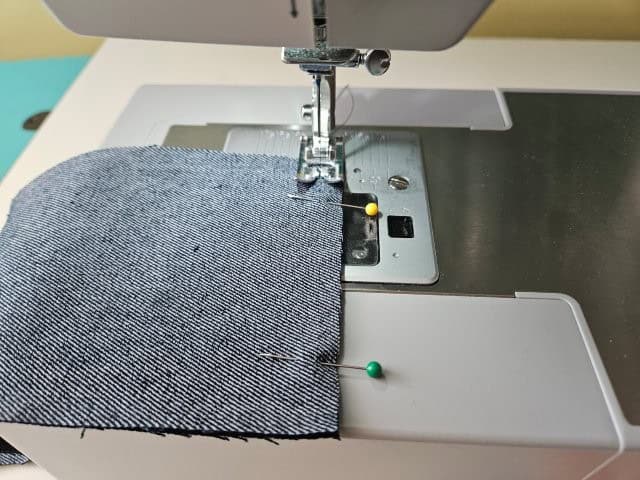
Sew the strips together using a 3/8″ seam allowance.
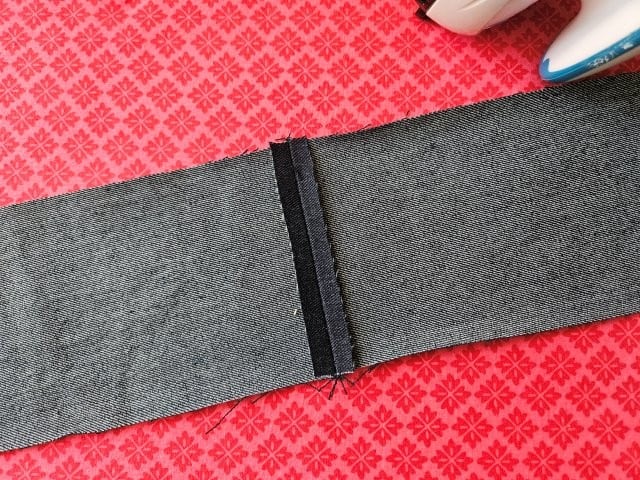
Press the seam flat.
Make the crossbody strap
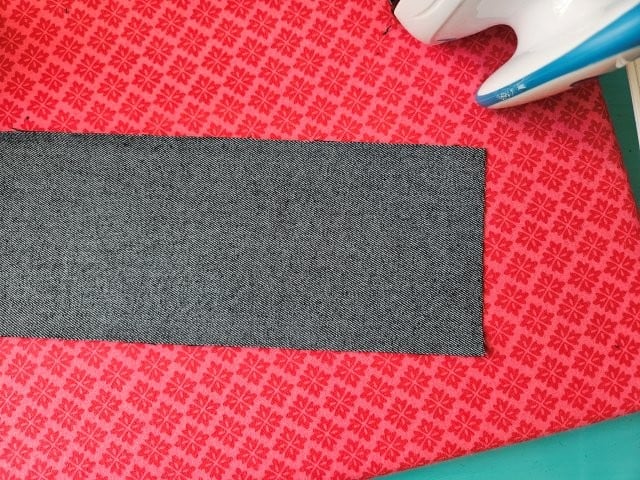
Place the strap face down on your ironing board.
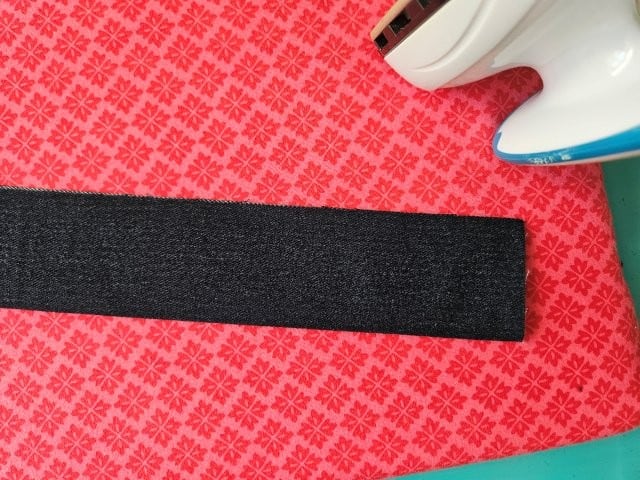
Fold the strap in half lengthwise, wrong sides together.
Follow these instructions on how to make your own mini ironing board.
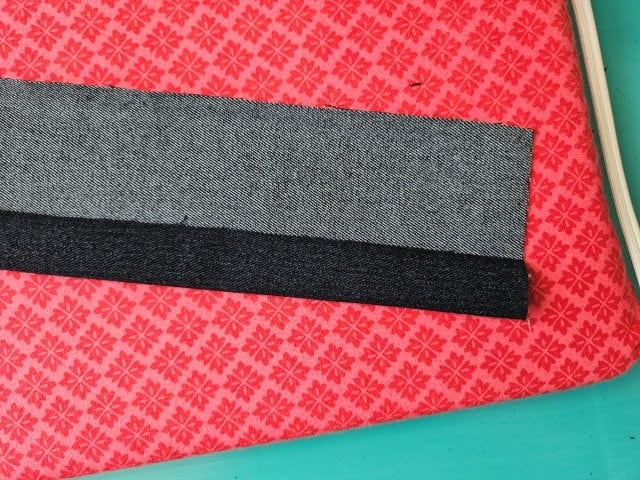
Open the strap back up and fold the outside edge to the center fold you just made and press.
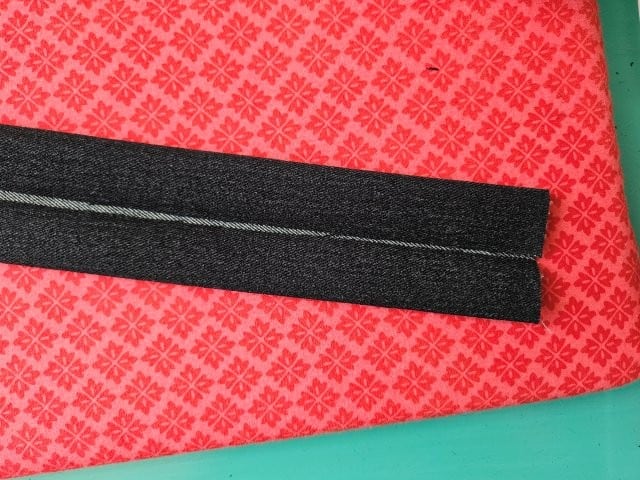
Turn the strap around and repeat with the other outside edge and press.
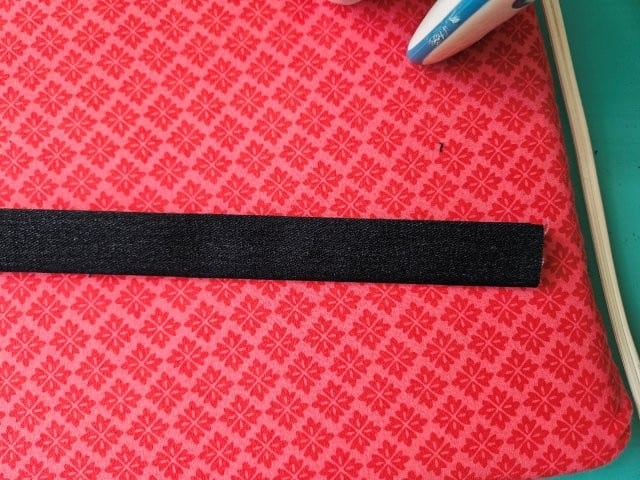
Fold the strap in half again and press.
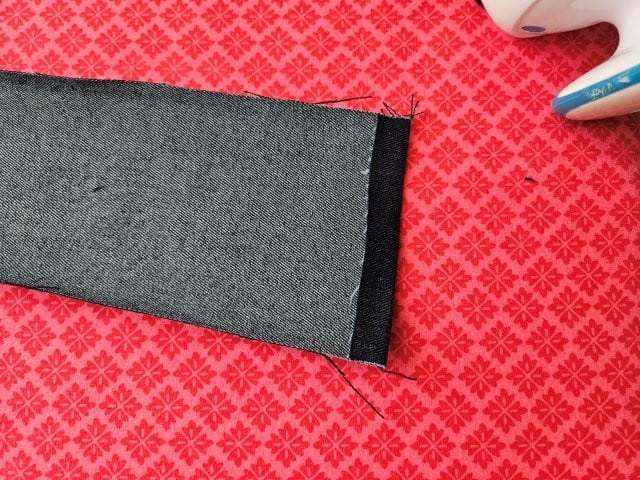
Open back up and fold in each short end 1/2″ to hem and press.
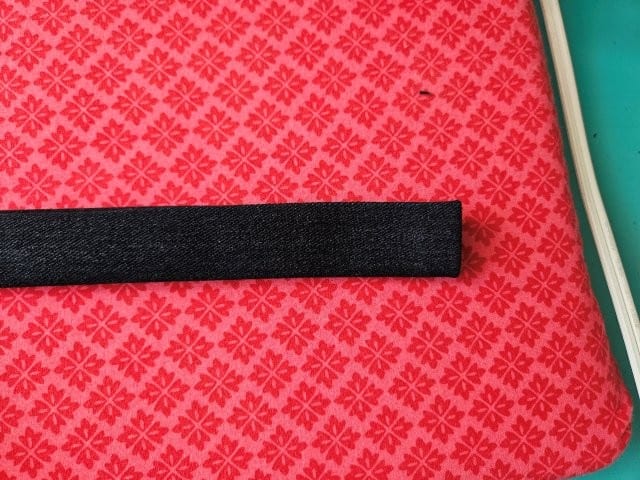
Fold in half again and press.
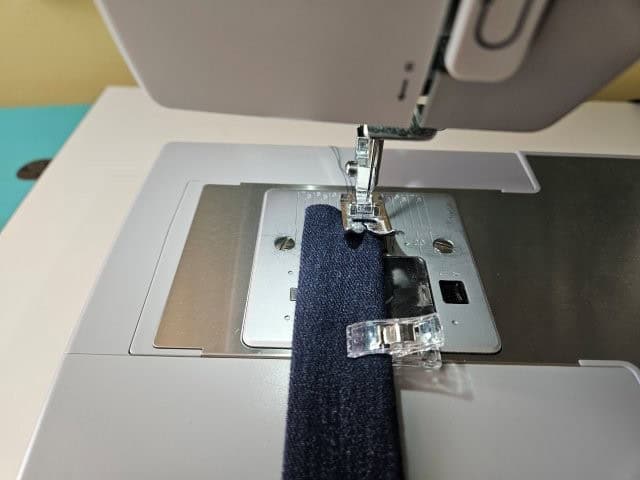
Sew along each side lengthwise using 1/4″ seam allowance.
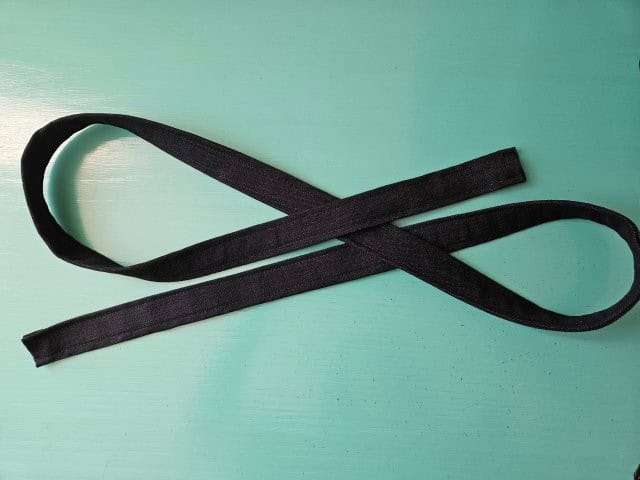
The above picture shows the finished crossbody strap.
Attach the strap to the crossbody jeans bag
Be sure to use a jeans needle 90 or 100 for your sewing machine and sew slow over the thick parts.
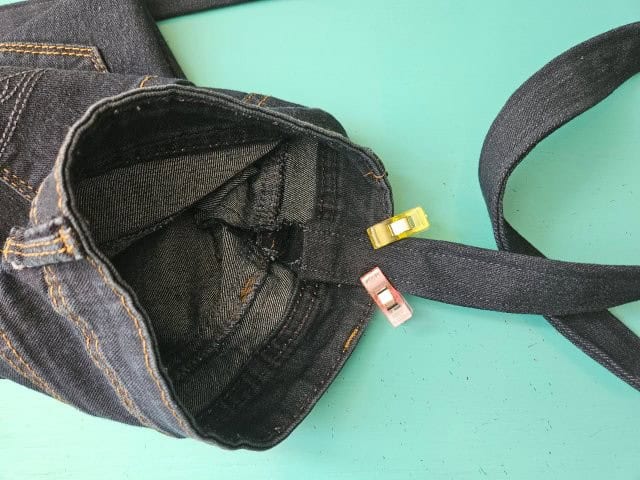
Place one end of the strap on the inside of the bag in the center of the seam and clip to hold in place.
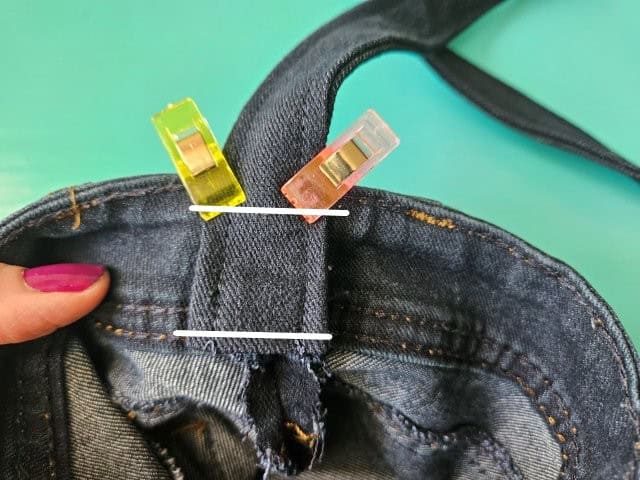
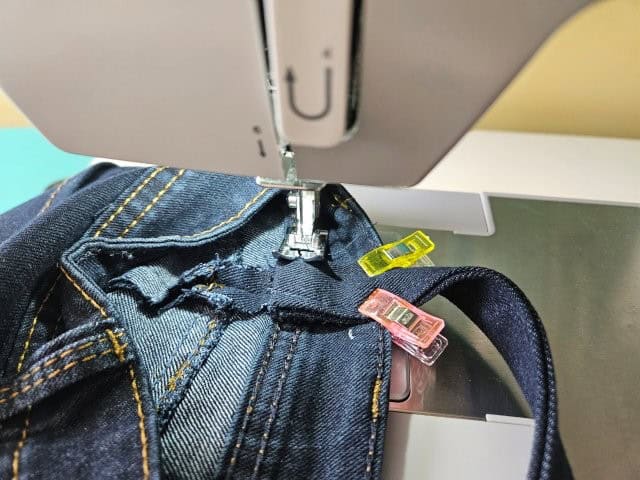
Sew along the end of the strap a couple times for extra durability.
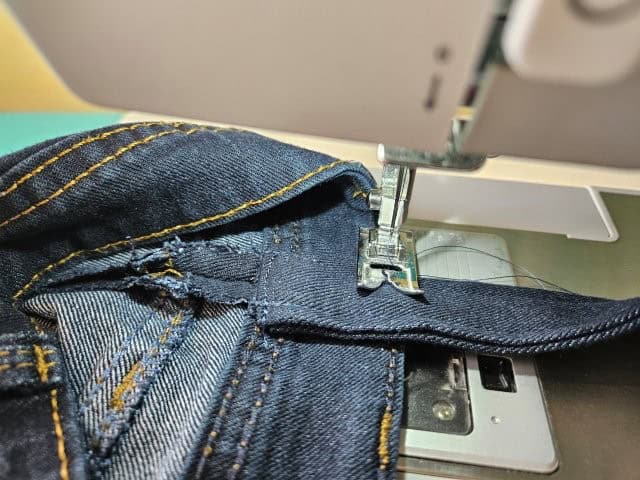
Then sew the strap along the top edge of the bag a couple of times for extra durability.
Repeat with the other end of the strap on the opposite side of the bag.
My finished strap measured approximately 48-inches after sewn into the bag.
Press the bag one more time for a nice finished look.
At this point, you have the option of adding a lining. You can use these instructions from the denim jeans tote handbag.
Attach the KAM snaps
You are going to add KAM snaps for the closure of the denim crossbody bag. I am using silver KAM snaps but you can use any color you like.
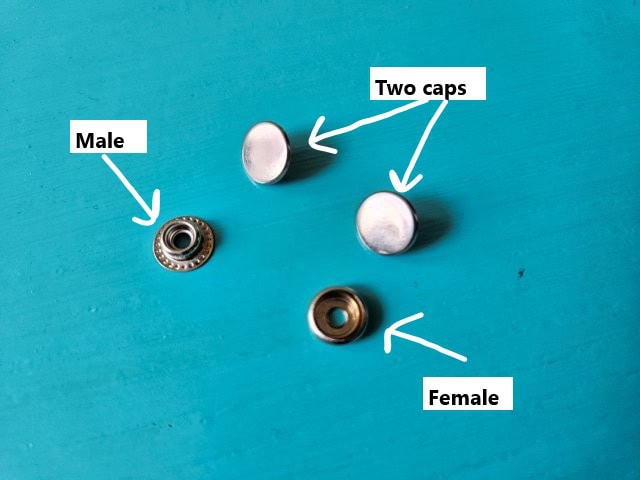
The KAM snaps have four parts – male, female, and two caps.
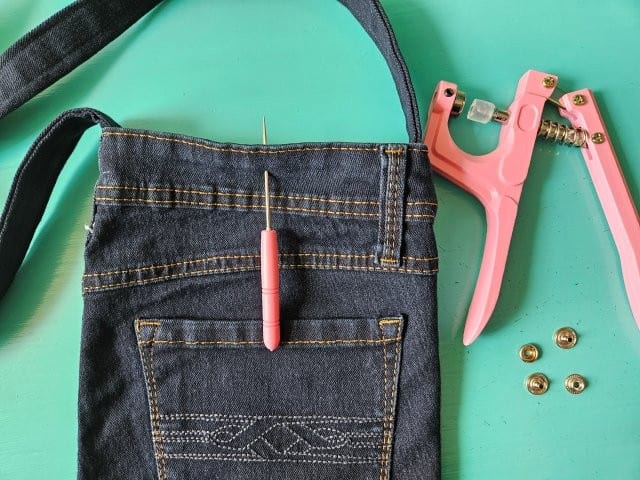
Fold in half to find the center at the top of your purse. Use the awl tool to make a small hole. Follow the instructions to attach the snaps. Repeat with the other snap parts on the opposite side of the bag.
***You can find the AD-FREE, printable PDF version of this sewing tutorial available for purchase in my Etsy shop HERE. Includes 12 pages of step-by-step instructions with pictures. Print a copy to keep next to your sewing machine for easy reference.***
Pin for later!

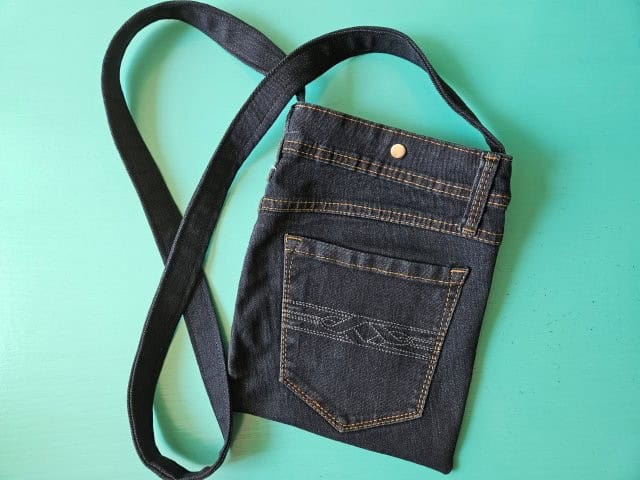
You are finished!
I hope you enjoyed this sewing tutorial on how to make a simple crossbody bag out of jeans. Happy sewing!
Other crossbody bags to sew:
- Faux Leather Crossbody Bag with Upcycled Strap
- DIY Crossbody Cell Phone Purse
- Small Sling Bag with Zipper Closure
- Quilted Messenger Crossbody Bag