DIY Easy Applique Patchwork Letters – Sewing Tutorial
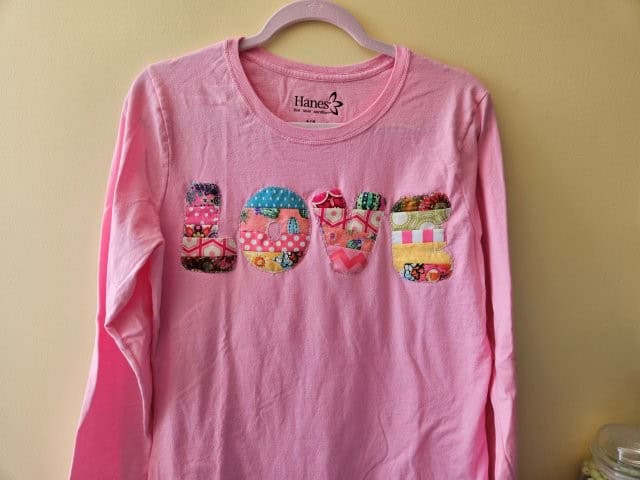
Learn how to create patchwork letters to add to a shirt or sweatshirt using this easy raw edge applique sewing tutorial.
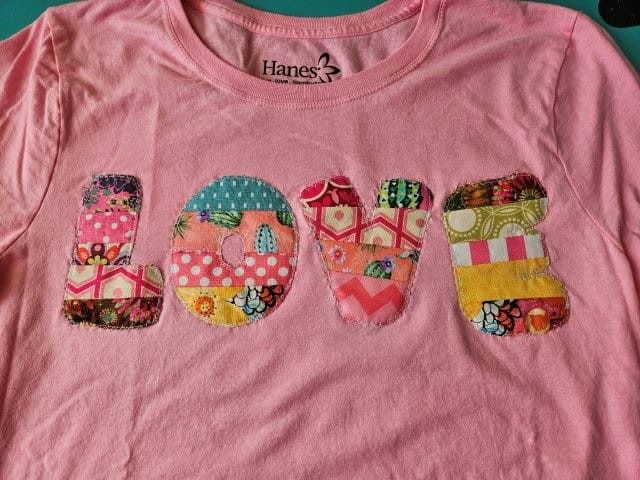
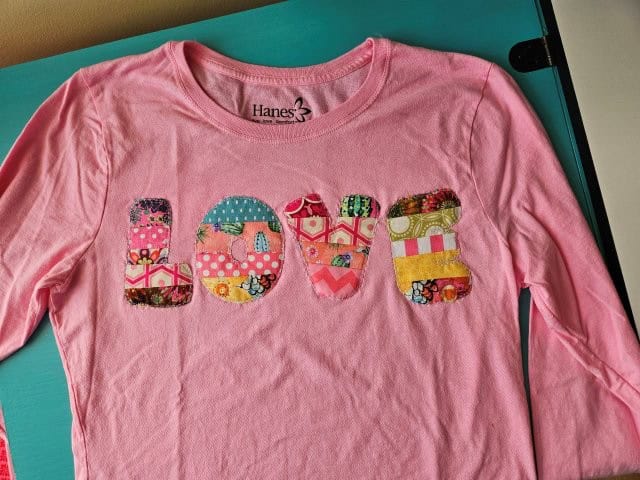
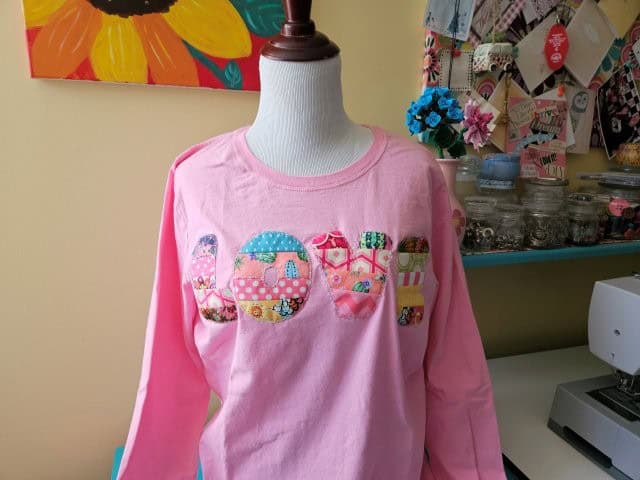
This tutorial shows you how to sew the word “LOVE” in patchwork letters onto a shirt using fabric scraps, a sewing machine, and the quilt-as-you-go method. The letters will have raw edges with reduced fraying.
I have included the letter templates for the word “LOVE” in three different font sizes – 4-inches, 5-inches, and 6-inches (see below PDF downloads). I will be using the 4-inch letters in the “rounded” font for this tutorial since I am sewing them to a shirt and the font fits perfectly. The larger letters will work well for sweatshirts or oversize sweatshirts.
You can use this patchwork letter sewing tutorial to add any words you prefer. More letter styles can be found on Canva, Adobe program, or a word processing program.
Patchwork letters are perfect for using up fabric scraps. Try these other sewing tutorials using fabric scraps!
This post contains affiliate links at no cost to you. Please see below disclosure for more information.
***You can find the AD-FREE, printable PDF version of this sewing tutorial available for purchase in my Etsy shop HERE. Includes 10 pages of step-by-step instructions with pictures. Print a copy to keep next to your sewing machine for easy reference.***
Patchwork letter supplies needed:
- Quilting cotton fabric scraps – my favorite fabric shop
- Letters template (see below download)
- T-shirt or sweatshirt (with a plain front)
- Cotton batting
- Erasable pen
- Sewing scissors
- Sewing machine
Download the letters template
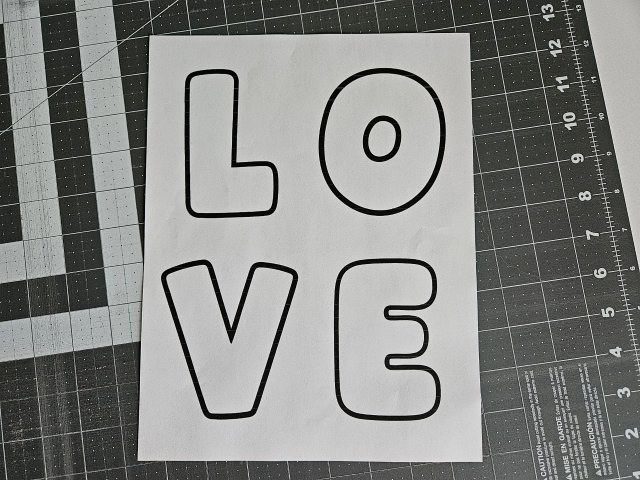
Download and print the letters template of your choice. Be sure your printer is set to print “actual size”.
Cut out the templates along the outside of the black lines using your paper scissors.
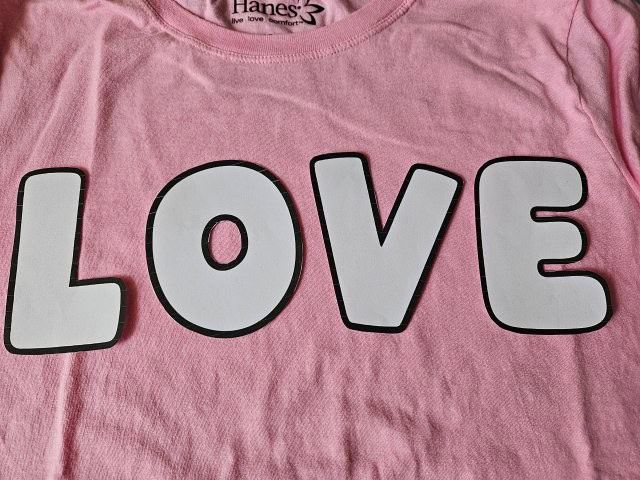
Place the letters on your shirt or sweatshirt to make sure you have the desired font size.
Trace the letters onto batting
You will need a piece of batting that is big enough to trace your letters onto – about 1/4″ extra space around each letter. I am using a piece of cotton batting scrap I had left over from sewing a memory t-shirt quilt.
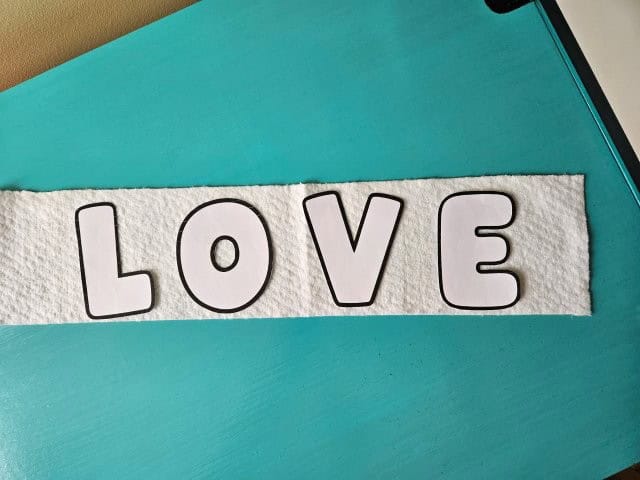
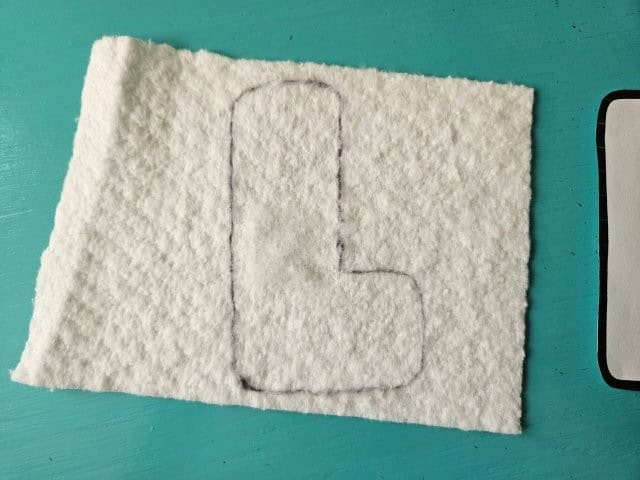
Place the letters onto the batting (I used tape on the back to hold in place – optional) and trace around the letter using an erasable pen.
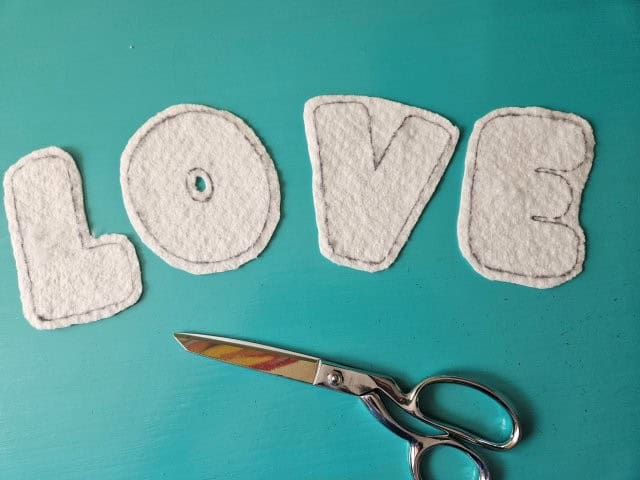
Using your sewing scissors, cut out the letters leaving about 1/4″ around the edge of each letter. Cut out the middle of the “O”, leave the indents on the “V” and the “E” – it will be easier to cut them after the fabric is attached.
***You can find the AD-FREE, printable PDF version of this sewing tutorial available for purchase in my Etsy shop HERE. Includes 10 pages of step-by-step instructions with pictures. Print a copy to keep next to your sewing machine for easy reference.***
Stitch over the lines
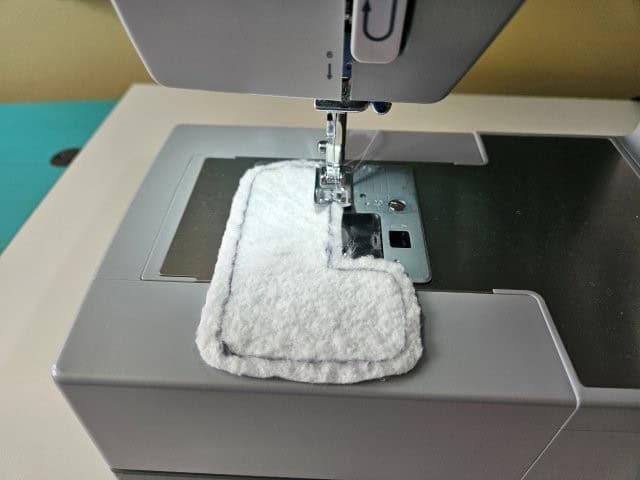
Using a straight stitch, sew over the lines you just made for all the letters. These stitches will serve as an outline when attaching the fabric. Remember to stitch the inside of the “O”. I found it easier to turn the handwheel on my sewing machine by hand when sewing around the curves. Take your time and go slow – the batting can shift easily.
Add the fabric scraps
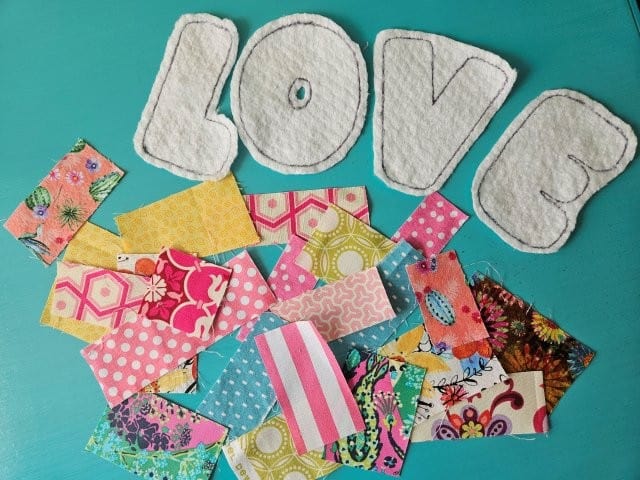
Gather your fabric scraps – it’s time to add the fabric to the letters. You want your fabric scraps to be big enough to cover the stitching you just made on the letters.
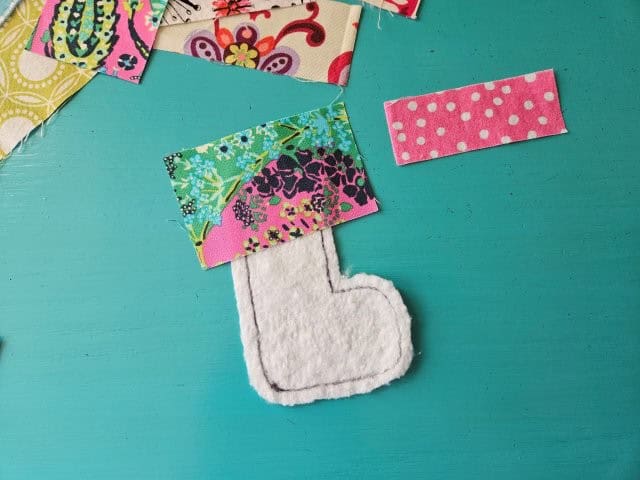
Place your first scrap of fabric right side up at the top of your batting letter, covering the stitching outline.
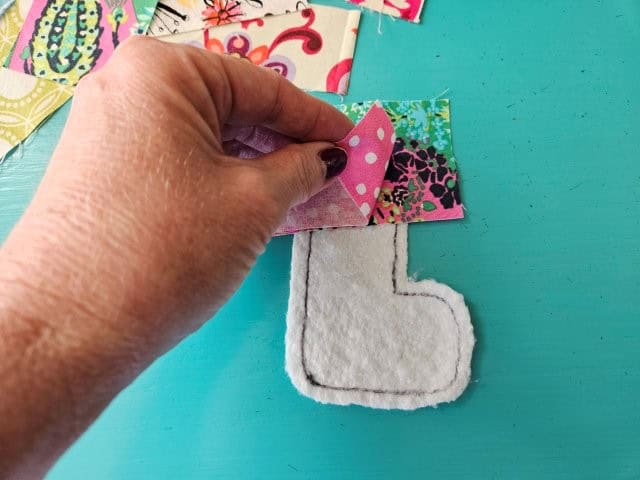
Take your second fabric scrap and place it right side down on top of the first fabric piece.
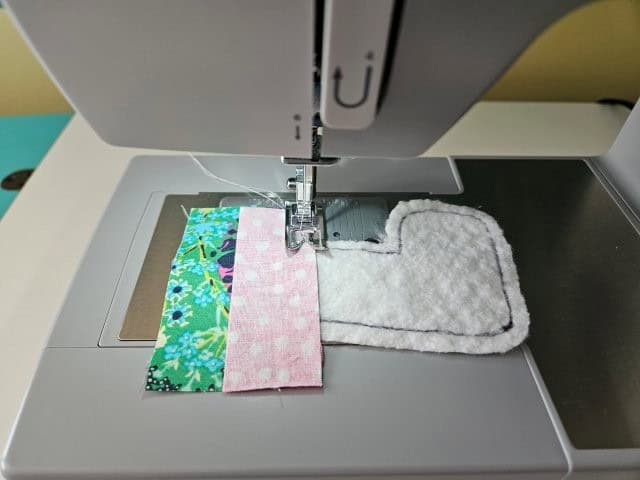
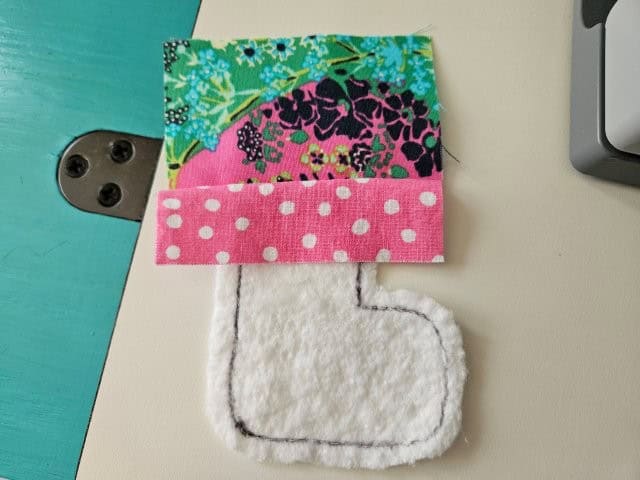
Sew along the bottom edge using 1/4″ seam allowance. Open up and finger press it down or use your iron. I finger pressed and then used my iron once all fabric pieces were attached.
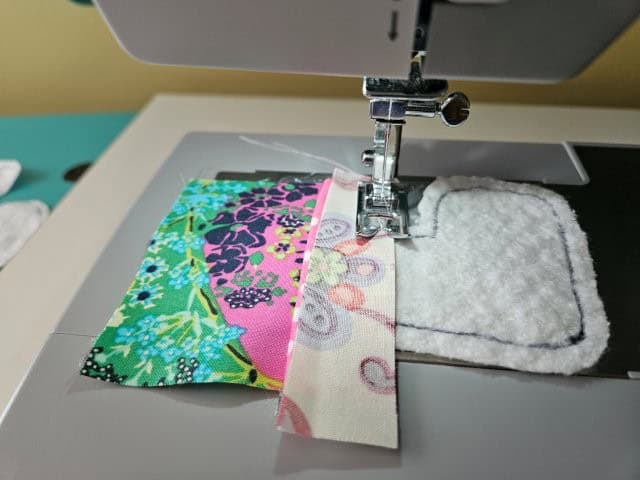
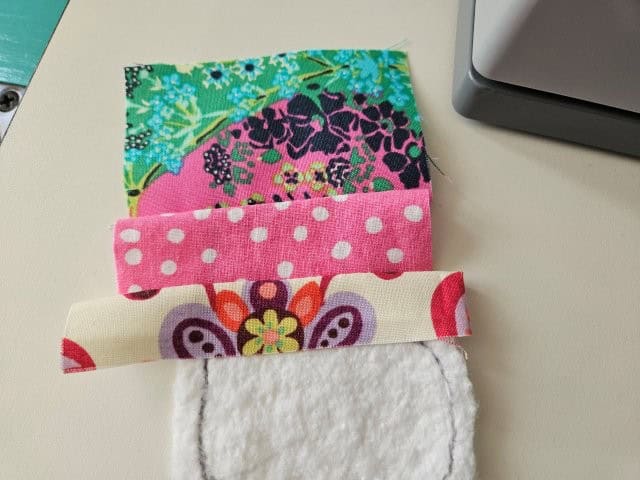
Now, place a third scrap fabric piece face down on top of the second piece and sew along the bottom using a 1/4″ seam allowance. Finger press the fabric.
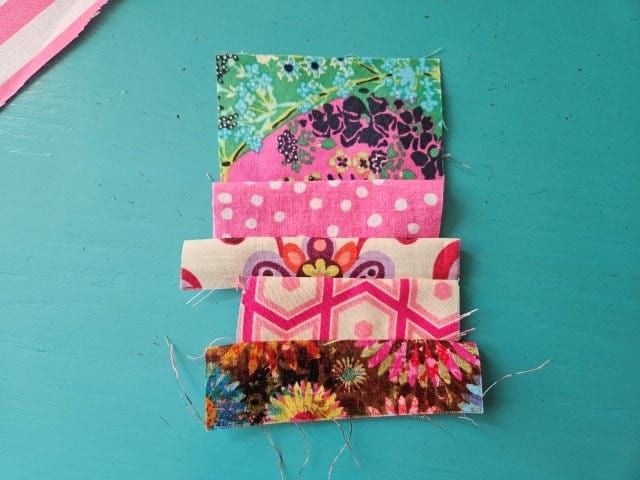
The above picture shows the fabric scraps sewn to the letter “L”.
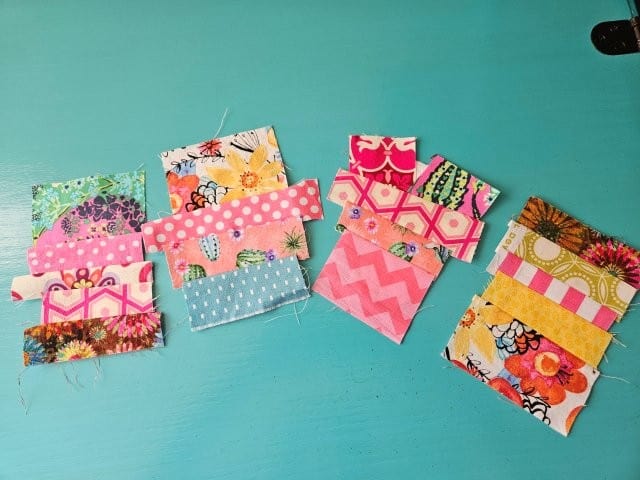
Continue on until you have all the letters covered. Be sure there aren’t any raw edges inside the letters and the fabric pieces cover the outline stitching.
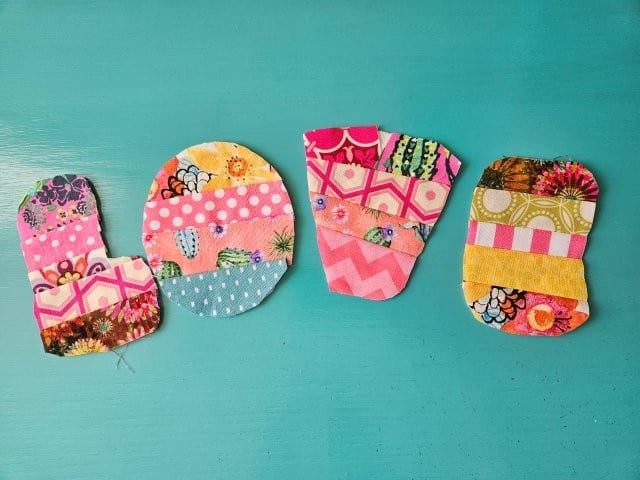
Trim all the excess fabric around the patchwork letters.
Stitch over the letter outline
Now you are going to stitch over the letter outline you stitched previously.
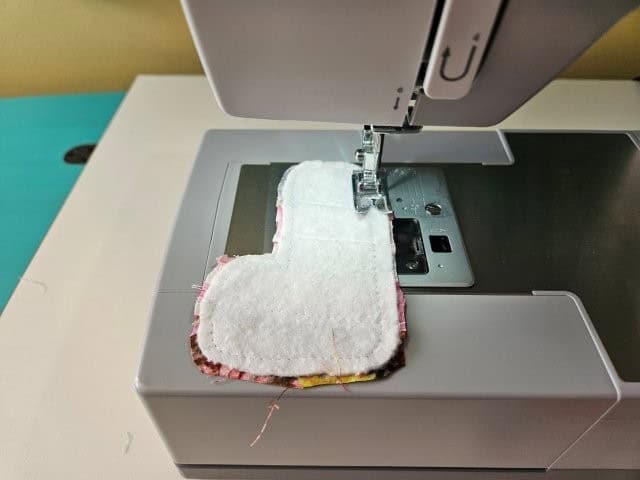
Place one of the letters on your sewing machine, fabric side down, and straight stitch over the previous letter outline stitching. Again, take your time and go slow.
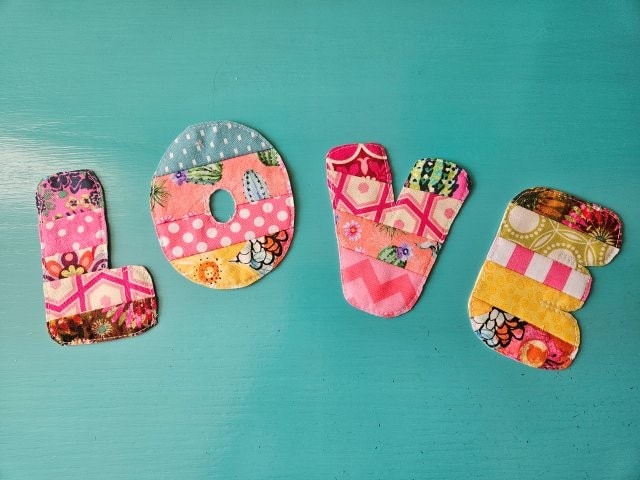
Once you are finished sewing the outline, trim around the letters as close as you can without cutting through the stitches. I found it easier to use my 5-inch sewing scissors for this task.
Attach the letters to your shirt
It’s time to add the scrappy letters to your shirt or sweatshirt.
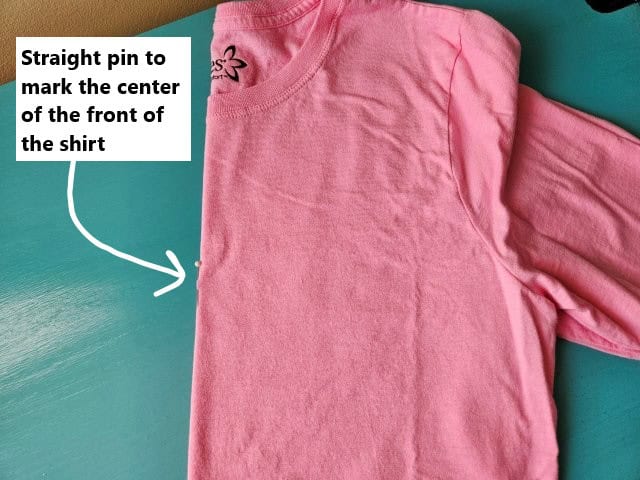
Fold the shirt in half lengthwise to find the center and mark with a straight pin. Then, smooth out your shirt as best you can.
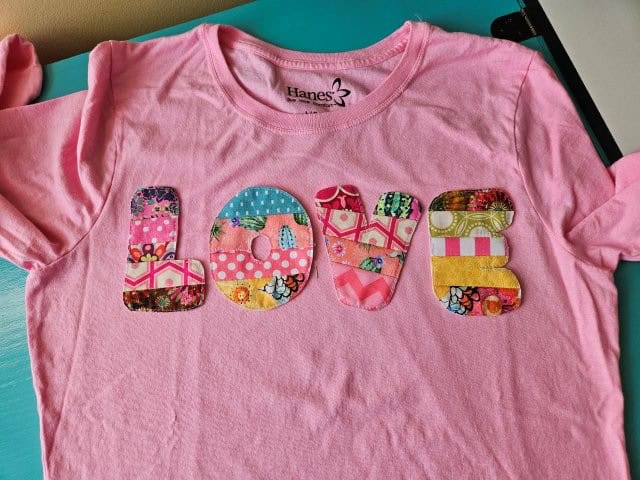
Place your letters on your shirt the way you like it. I eyeballed it and didn’t worry too much about getting the letters straight. Once you have the letters in place, pin the letters to the shirt.
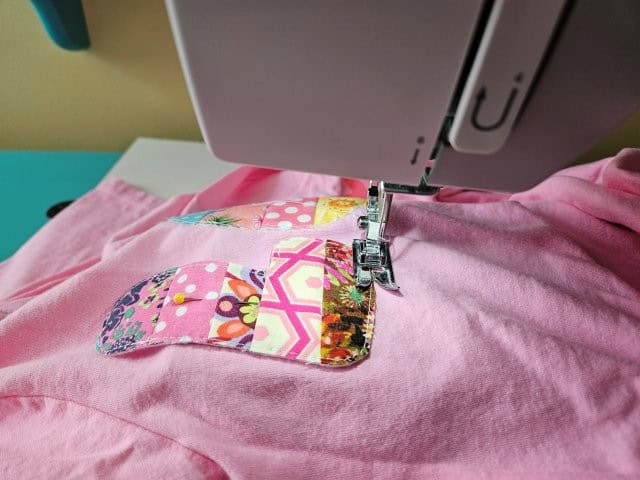
Sew around the letters using a narrow zigzag stitch. Remember the middle of the “O”! Take your time.
Pin for later!
***You can find the AD-FREE, printable PDF version of this sewing tutorial available for purchase in my Etsy shop HERE. Includes 10 pages of step-by-step instructions with pictures. Print a copy to keep next to your sewing machine for easy reference.***
You are finished!
I hope you enjoyed this sewing tutorial on how to create patchwork letters to embellish a shirt or sweatshirt! Now that you know how, use your creativity to make more fun shirts and sweatshirts! These make great gifts! Happy sewing!
More patchwork sewing ideas
- Patchwork Handbag Sewing Pattern
- Quilted Patchwork Crossbody Messenger Bag
- Quilted Coasters Using Fabric Scraps