DIY Eyeglass Case with Button Closure
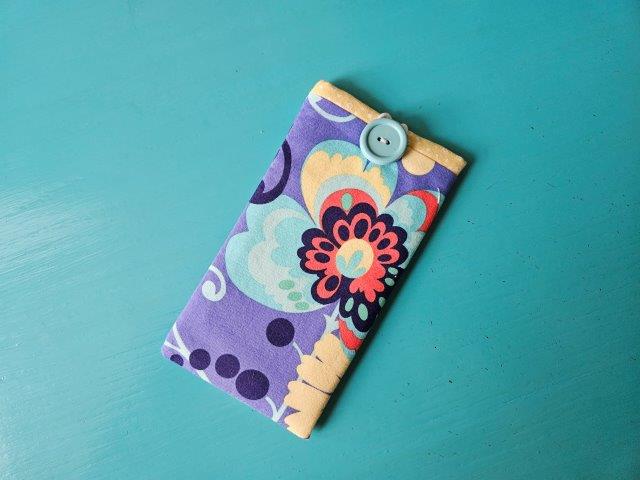
Keep your eyeglasses protected by sewing a cute eyeglass case using this easy sewing tutorial.
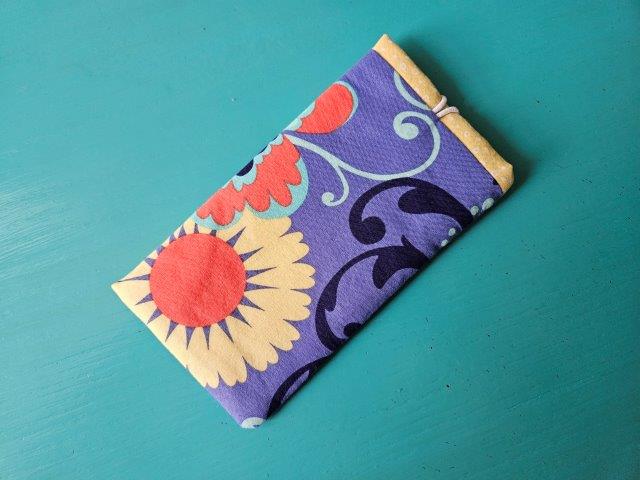
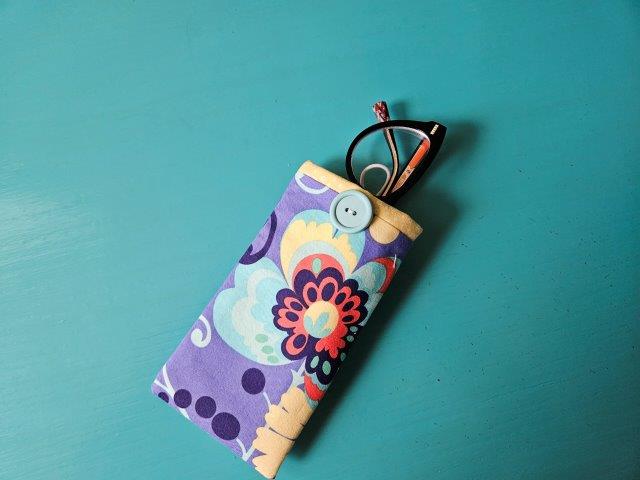
This DIY eyeglass case is a super easy sewing project to help keep your eyeglasses from getting scratched. The eyeglass case includes a button closure to help keep your glasses secure. Scrap fabrics are perfect for this DIY eyeglass sewing pattern. This eyeglass case is easy enough you can make one for your sunglasses too! And because of the button closure, both large frame and small frame glasses will fit and stay secure. Keep in your purse or travel bag. Try making a matching messenger sling bag or a simple tote bag!
This post contains affiliate links. Please see below disclosure for more information.
***You can find the AD-FREE, printable PDF version of this sewing tutorial available for purchase in my Etsy shop HERE. Includes 9 pages of step-by-step instructions with pictures. Print a copy to keep next to your sewing machine for easy reference.***
DIY eyeglass case sewing supplies needed:
- One outer fabric piece measuring 8″W x 7″L – my favorite fabric shop
- One lining fabric piece measuring 8″W x 8″L
- Fusible interfacing measuring 8″W x 7″L
- Batting – one piece measuring 8″W x 8″L
- Matching small hair tie
- Matching button
- Cutting mat
- Rotary cutter
- Clear ruler
- Matching thread
- Sewing scissors
- Sewing machine
Cut and measure your fabric and batting
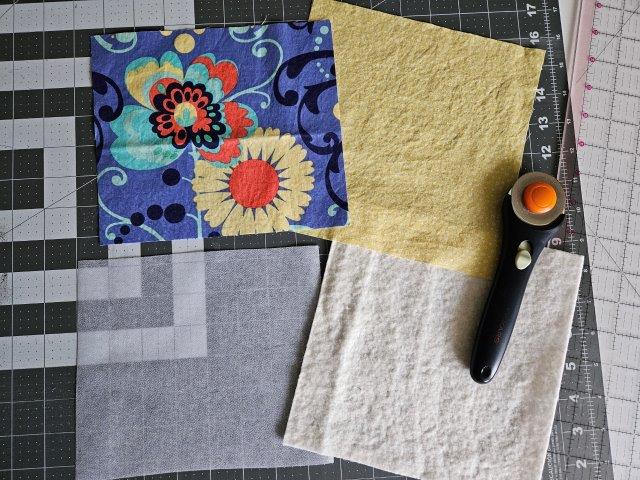
Using your cutting mat, clear ruler, and rotary cutter, cut one outer fabric piece measuring 8″W x 7″L and one lining fabric piece measuring 8″W x 8″L.
Cut one piece of batting measuring 8″W x 8″L. If you don’t have access to batting, I recommend using fusible fleece or fusible interfacing.
Attach the fusible interfacing
I used Pellon P44F Fusible Interfacing but any lightweight fusible interfacing will work. Cut one piece of the fusible interfacing 8″W x 7″L. Place the interfacing on the wrong side of the outer fabric piece. Follow package instructions to attach to the fabric.
Add the hair tie
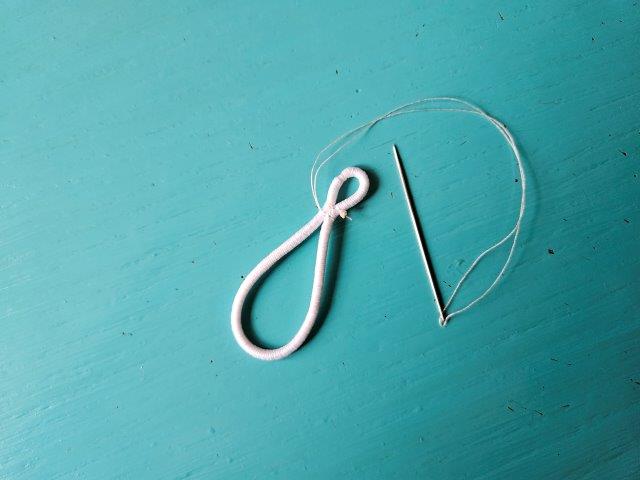
Take your hair tie and pinch one end together. Hand-sew it together to keep it pinched.
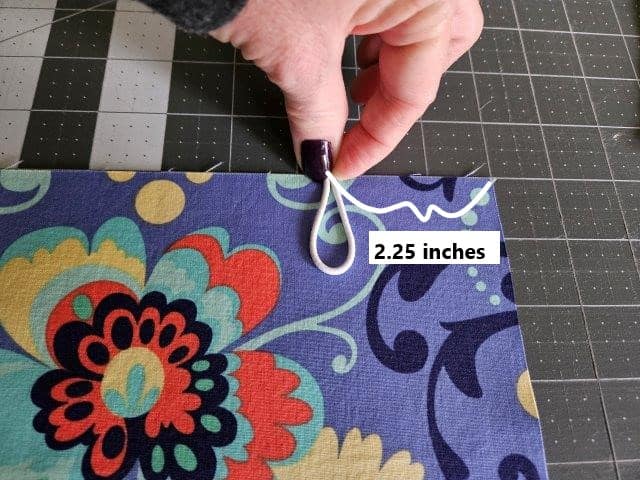
Now place the hair tie on top of the outer fabric piece 2.25-inches from the side edge. See above picture. The large part of the loop should be facing down.
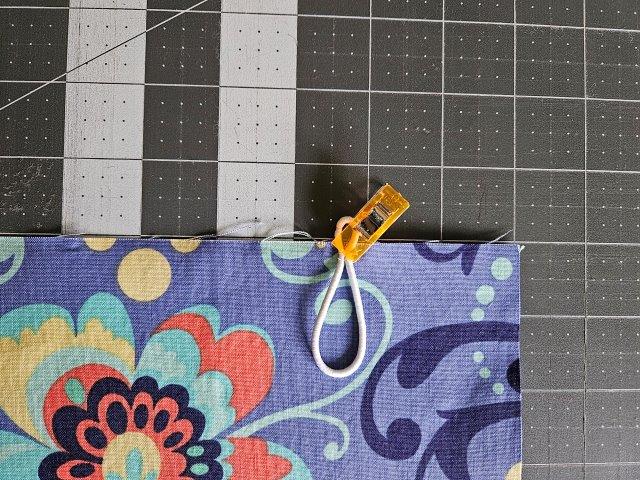
Clip or pin to hold in place.
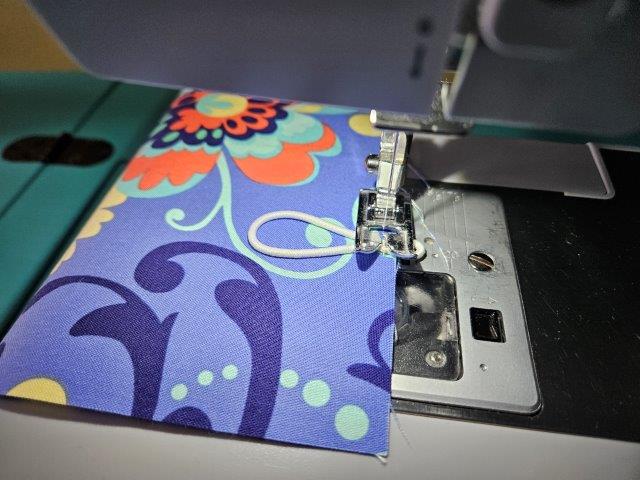
Baste the hair tie to the outer fabric piece.
***You can find the AD-FREE, printable PDF version of this sewing tutorial available for purchase in my Etsy shop HERE. Includes 9 pages of step-by-step instructions with pictures. Print a copy to keep next to your sewing machine for easy reference.***
Sew it together
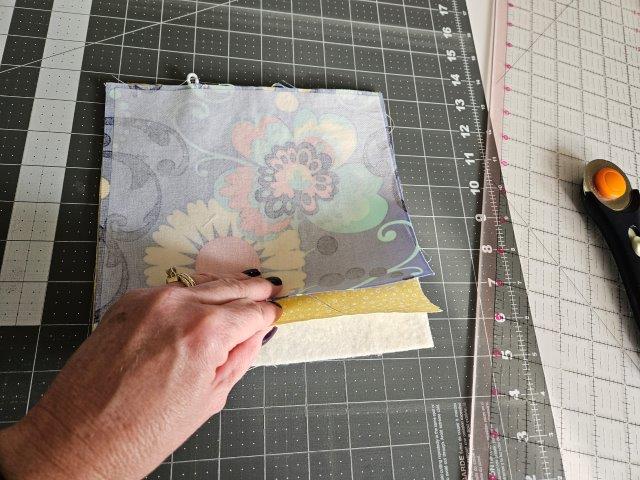
Place the fabric and batting in the following order: batting / lining fabric right side up / outer fabric right side down, lining up the top edge (an inch of the lining fabric will be showing at the bottom).
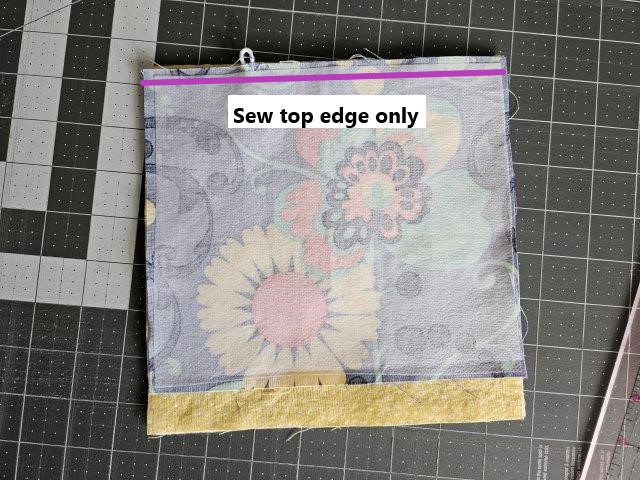
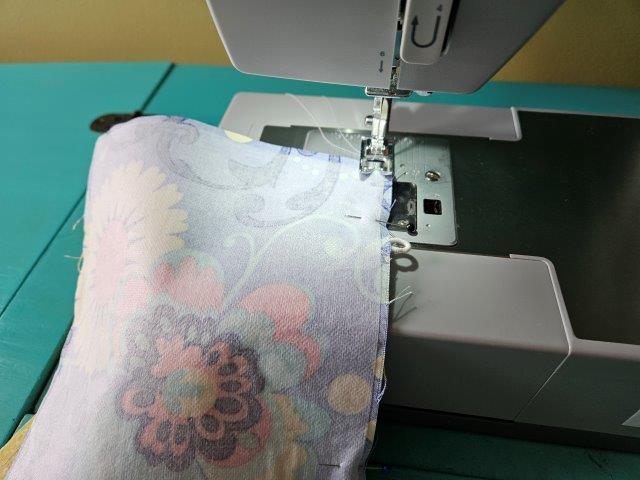
Sew along the top edge using a 3/8″ seam allowance, sewing over the hair tie a couple times for extra durability.
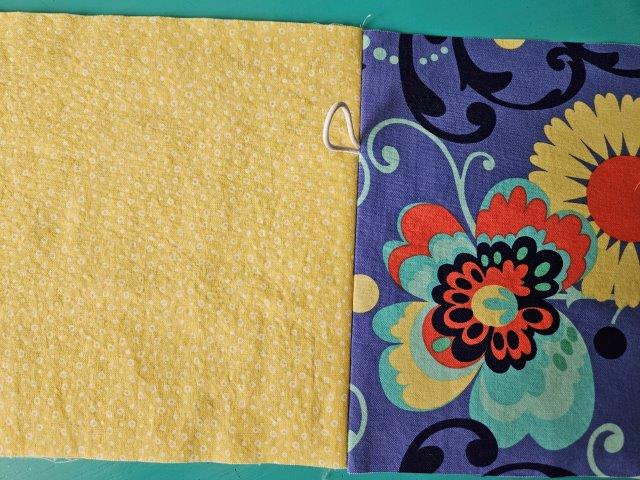
Press the seam flat.
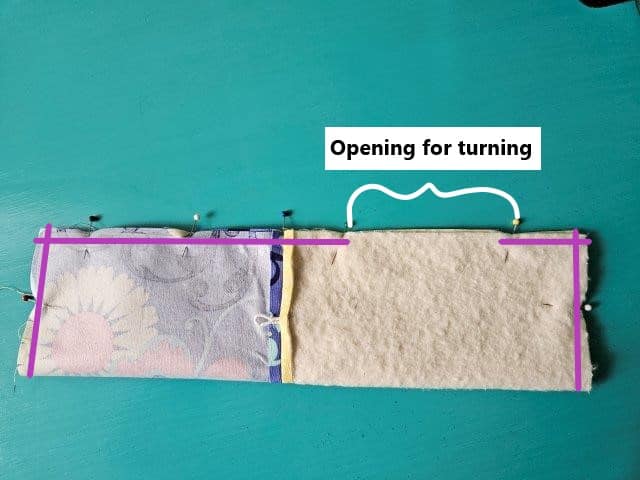
Fold the eyeglass case in half lengthwise, right sides together. Pin in place.
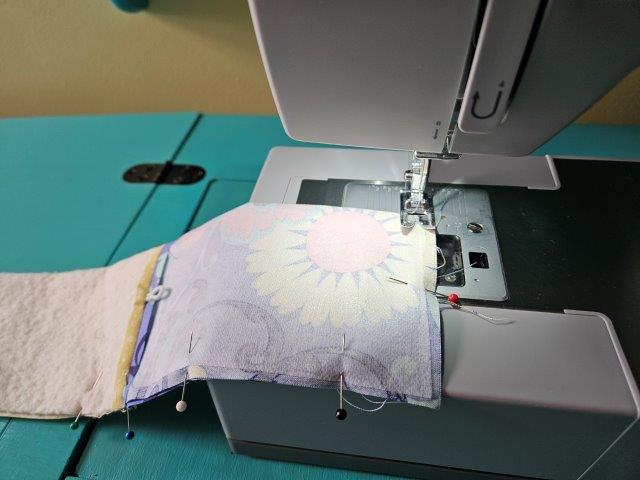
Sew the three sides, leaving an opening in the lining for turning.
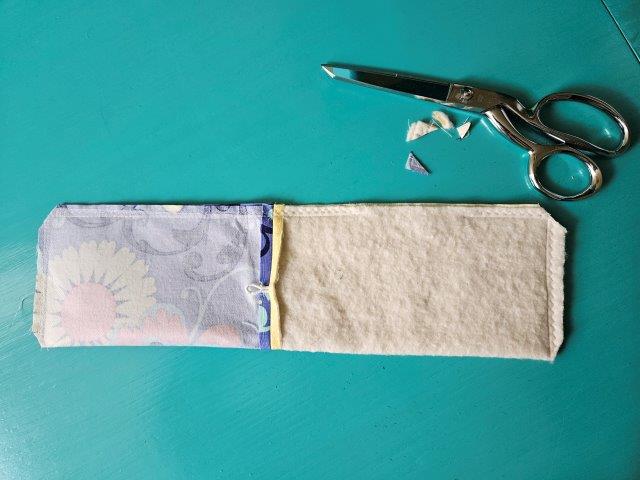
Clip the corners using your sewing scissors.
Turn right side out
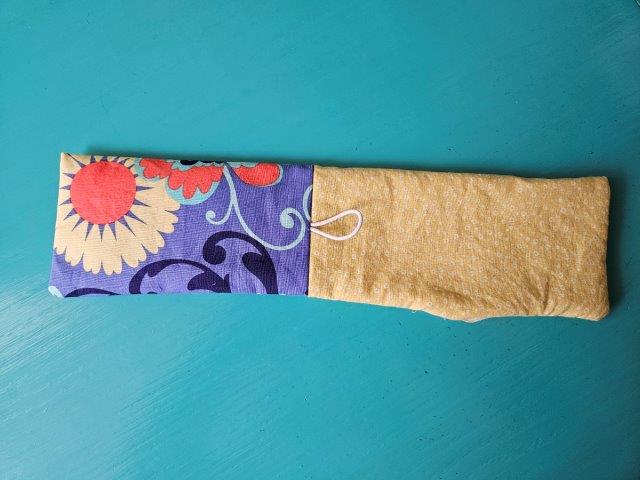
Through the opening, turn the eyeglass case right side out. Fold under the opening and press.
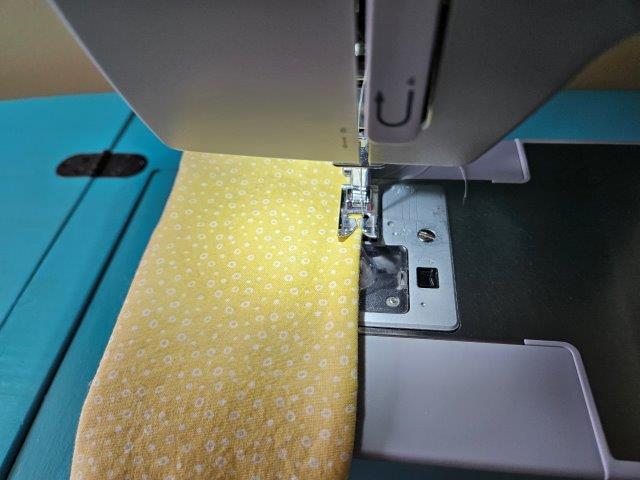
Sew the opening closed using a 1/8″-1/4″ seam allowance.
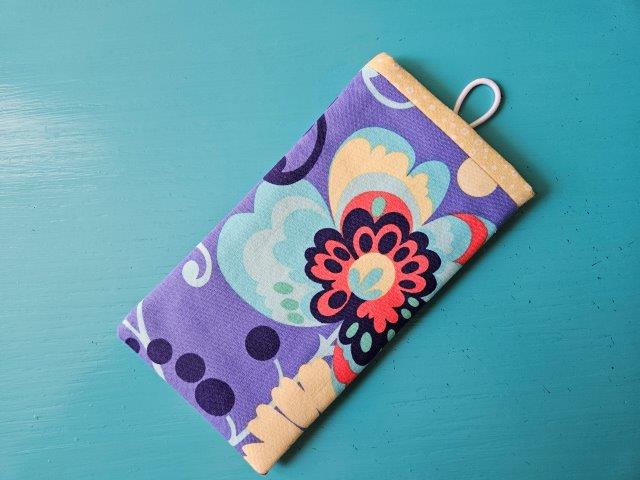
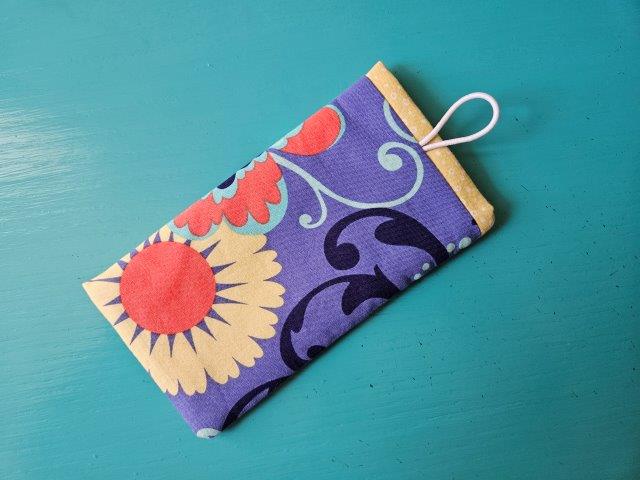
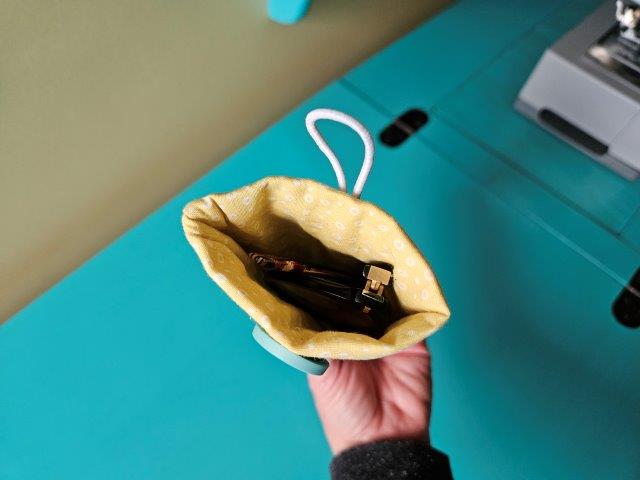
Push the lining into the outer fabric. You should have 1/2-inch of the lining showing at the top. Press to give it a finished look.
Time to add the button
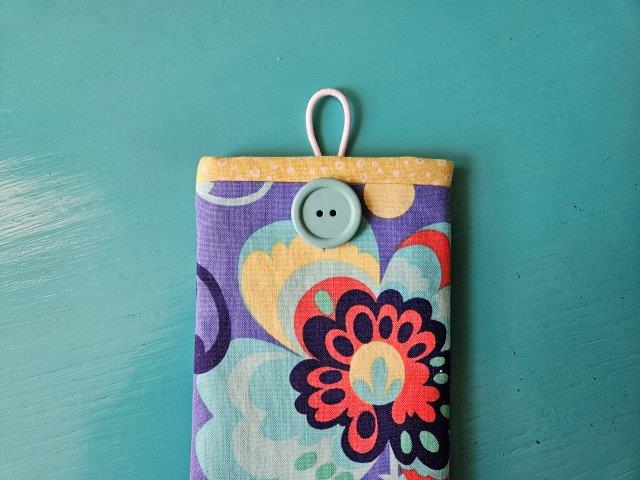
Place the button where the hair tie will reach without being pulled too tight. Hand-sew the button, using a needle and thread, onto the fabric. Press the eyeglass case again, if needed.
Pin for later!
***You can find the AD-FREE, printable PDF version of this sewing tutorial available for purchase in my Etsy shop HERE. Includes 9 pages of step-by-step instructions with pictures. Print a copy to keep next to your sewing machine for easy reference.***
You are finished!
I hope you enjoyed this DIY eyeglass case sewing tutorial and make cases to protect your eyeglasses and sunglasses! Happy sewing!

Try these other fun sewing tutorials:
- How to Sew a Trash Bag for Your Car
- Easy Sewing Machine Cover Sewing Tutorial
- Curved Top Shoulder Bag Sewing Pattern
- Simple Wristlet Sewing Tutorial