Denim Jeans Wristlet Purse Sewing Tutorial
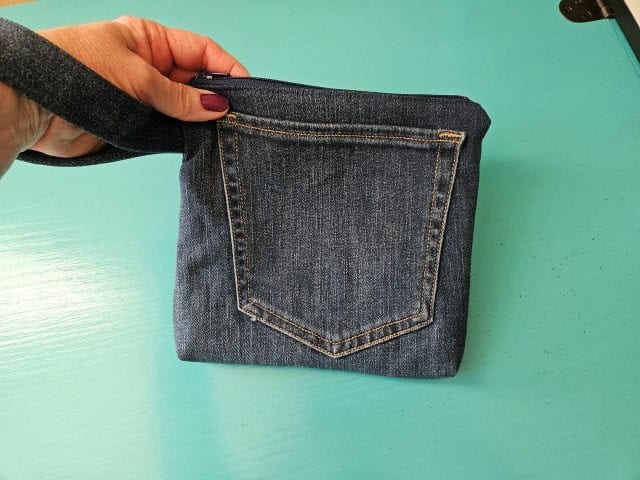
Sew a wristlet purse with zipper closure out of a pair of old jeans using this easy sewing tutorial.
I had a pair of thrifted denim jeans that I cut off for a skirt but no longer wear and decided to make a zipper wristlet purse instead. The jeans I’m using are a size 10 – you may have to adjust the measurements and zipper size based on the size of jeans you are using.
I love giving new life to thrifted items. You might be familiar with my other denim jeans sewing tutorials – the denim jeans handbag (tote bag style) and the denim jeans crossbody bag (no lining needed). I also upcycled a thrifted fabric shower curtain into a drawstring backpack.
This post contains affiliate links at no cost to you. Please see below disclosure for more information.
***You can find the AD-FREE, printable PDF version of this sewing tutorial available for purchase in my Etsy shop HERE. Includes 17 pages of step-by-step instructions with pictures. Print a copy to keep next to your sewing machine for easy reference.***
Denim jeans wristlet supplies needed:
- A pair of denim jeans
- Lining fabric – (2) 8.5″W x 8″H – my favorite fabric shop
- Fusible interfacing – Pellon P44F Fusible Interfacing
- Cutting mat
- Rotary cutter
- Clear ruler
- 7-inch zipper – my go to zipper shop
- Marking pencil
- Sewing scissors
- Sewing machine
Cut the jeans
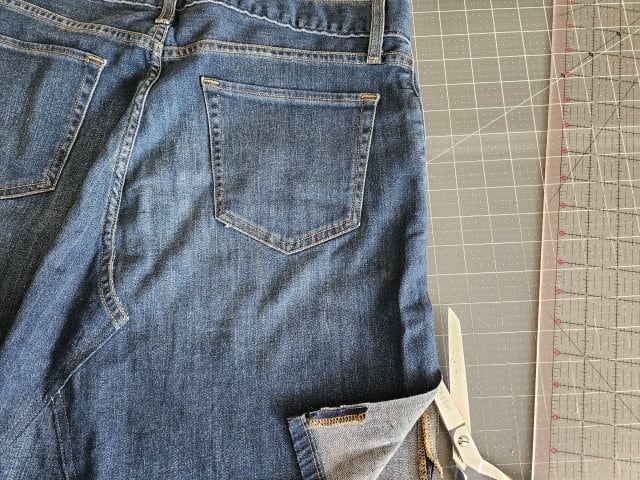
First, cut along the outside side seam of the jeans to see how much denim you have available for the width of the wristlet. I wanted to include the back pocket and also have a zipper closure.
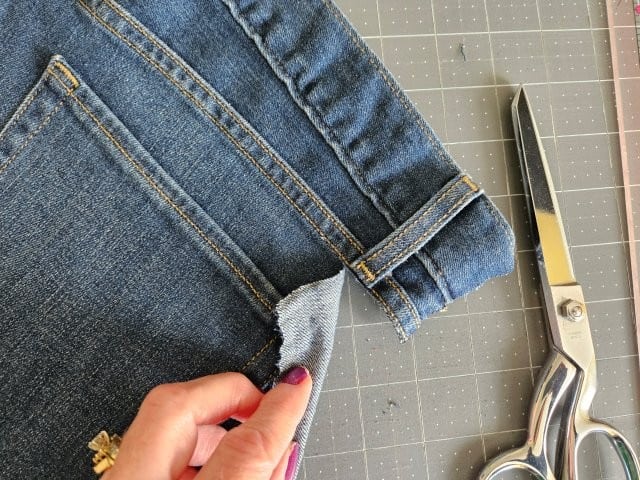
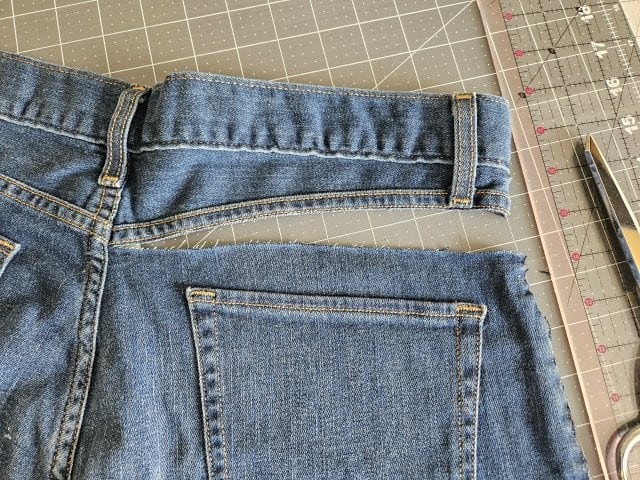
Next, cut just below the stitching above the pocket. You want as much fabric between the stitching and the pocket as possible.
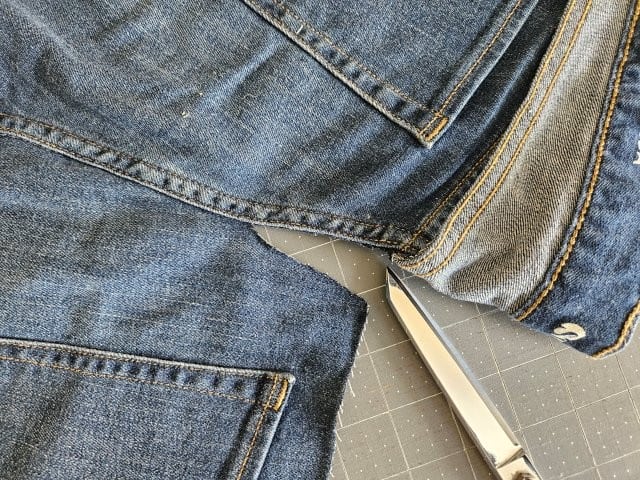
Now, cut along the middle stitching as close to the stitching as possible.
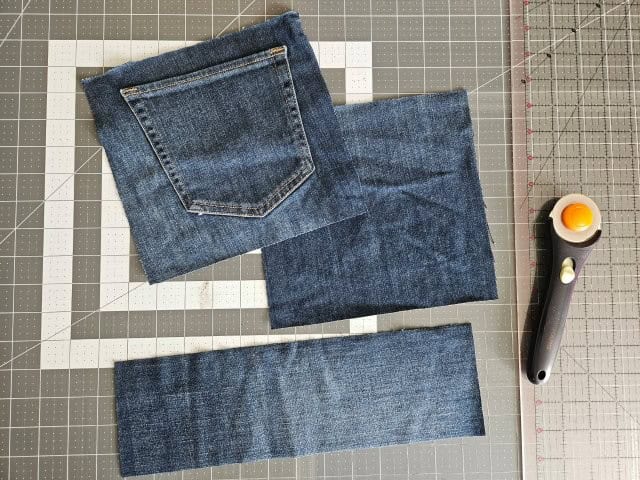
Using your cutting mat, clear ruler, and rotary cutter, with the pocket level, cut the pocket piece so it measures 8.5″W x 8″H. Cut another piece of the denim jeans measuring 8.5″W x 8″H. For the wristlet strap, cut one piece of denim fabric measuring 4″W x 13″H.
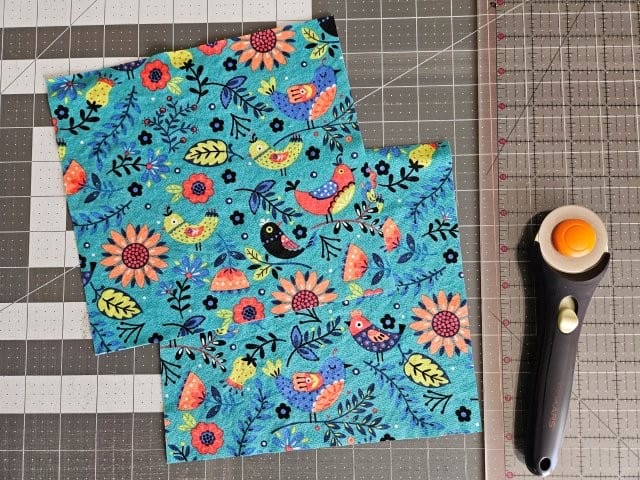
Cut two lining fabric pieces each measuring 8.5″W x 8″H.
Attach the interfacing
I’m using Pellon P44F Fusible Interfacing for this sewing project to give the lining fabric pieces extra stability.
Attach the fusible interfacing to the wrong side of the lining fabric pieces following the package instructions.
Make the wristlet strap
The finished straps will be 1-inch wide.
RULE OF THUMB: decide how wide you would like your finished strap to be, then multiply that number by four and that will be how wide to cut your fabric. For this denim zipper pouch, I wanted the strap to be 1-inch, therefore, I need to cut the fabric 4-inches wide before folding.
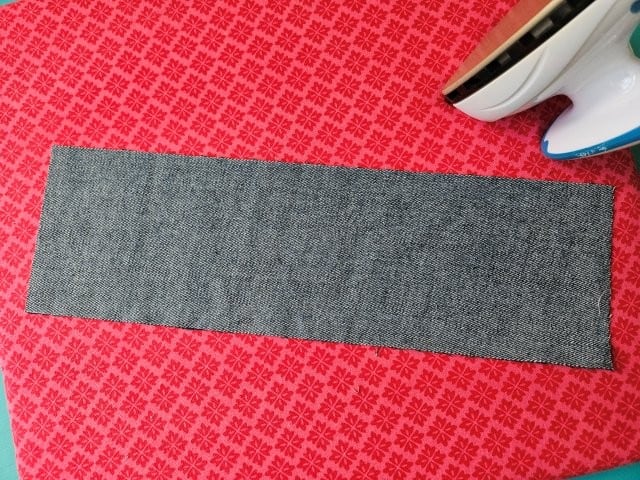
Place the strap wrong side up on your ironing board.
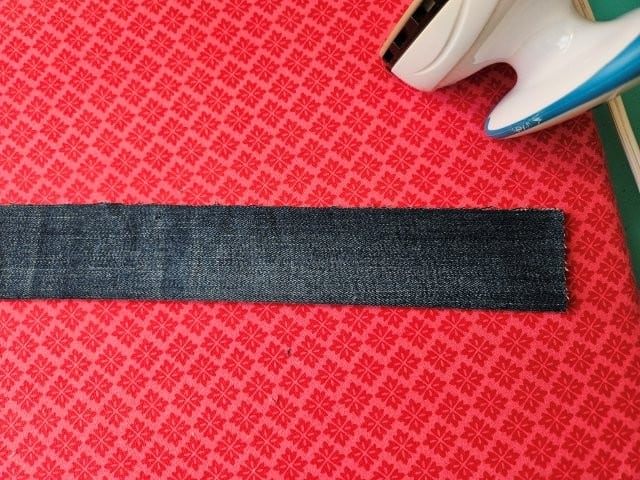
Fold the strap in half lengthwise and press along the fold. Follow these instructions on how to make your own mini ironing board.
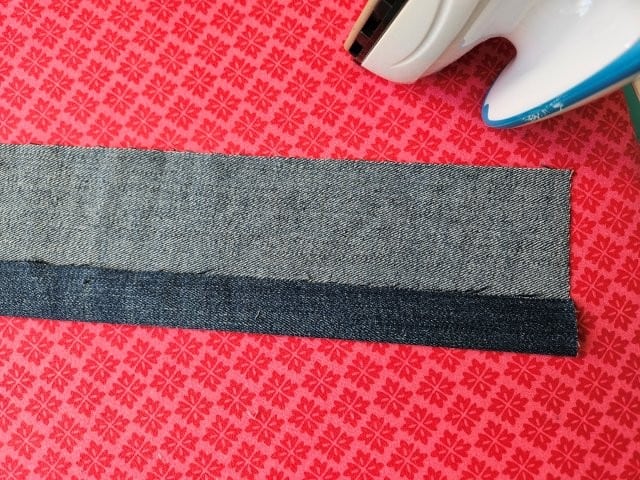
Open back up and fold the outside edge to the center and press.
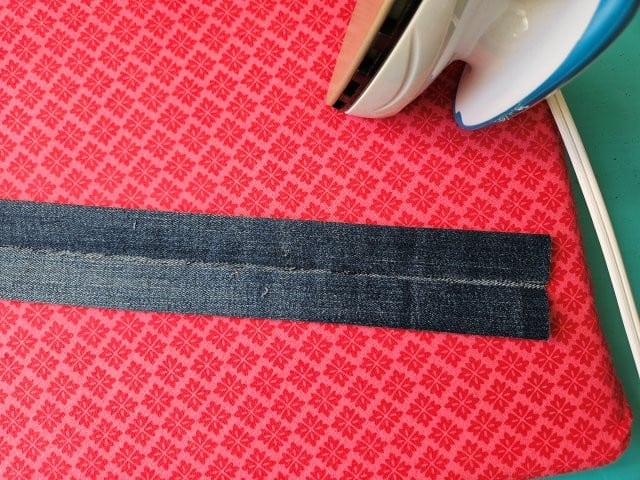
Turn the strap around and fold the other outside edge to the center and press.
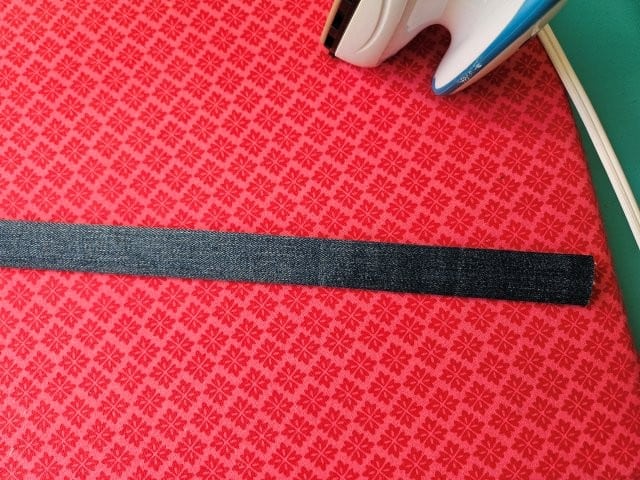
Fold in half again and press.
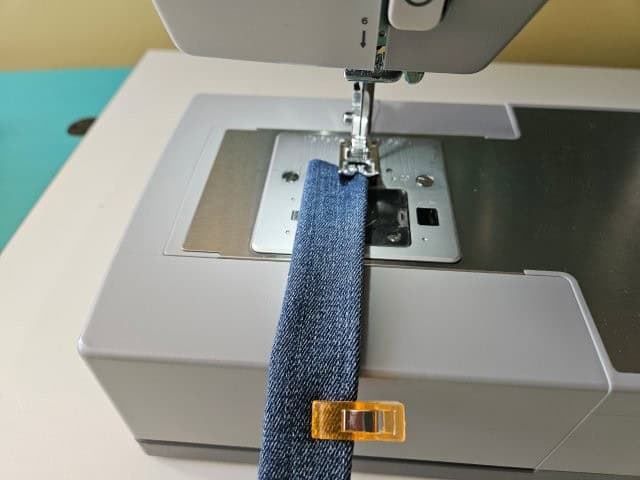
Sew the strap along both folded edges using a 1/8″-1/4″ seam allowance.
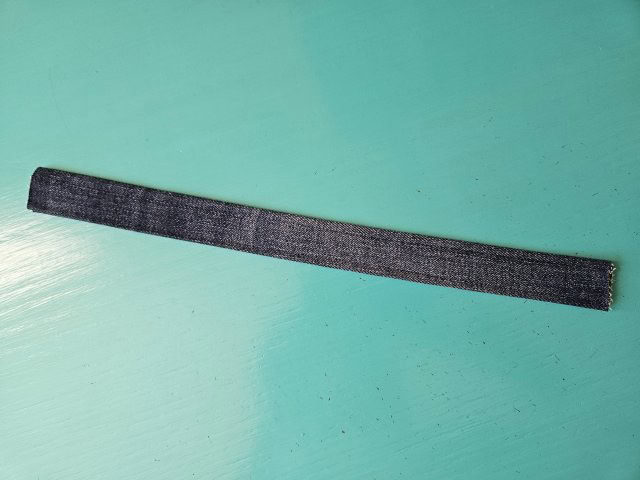
The above picture shows what your wristlet strap should look like.
Add the zipper
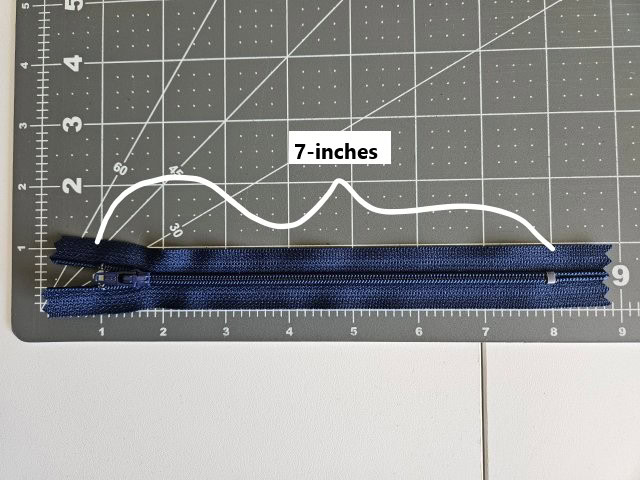
The zipper I’m using is 7-inches and is measured from the top metal stop to the bottom metal stop (see above picture).
RULE OF THUMB: Your fabric pieces are 1.5-inches wider than the length of your zipper. If you wanted to use a 6-inch zipper, for example, you would need to cut the fabric 7.5-inches wide.
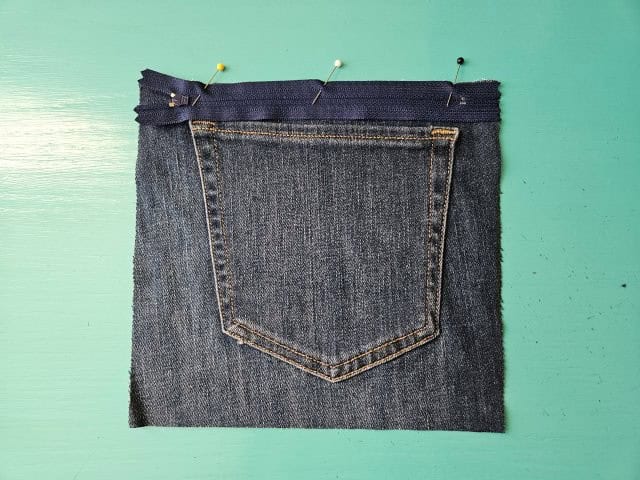
Place your zipper face down on the pocket fabric piece, right side up. Pin to hold in place.
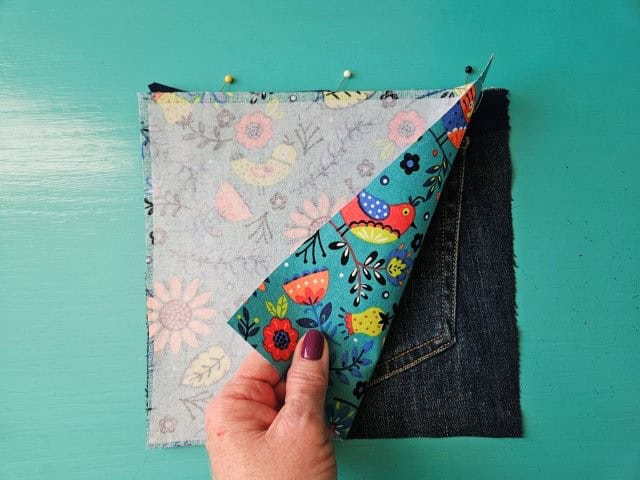
Then place one of the lining fabric pieces on top of the zipper. Pin to hold in place. The zipper should be sandwiched in between the outer fabric piece and lining fabric piece, right sides together.
Sew the zipper
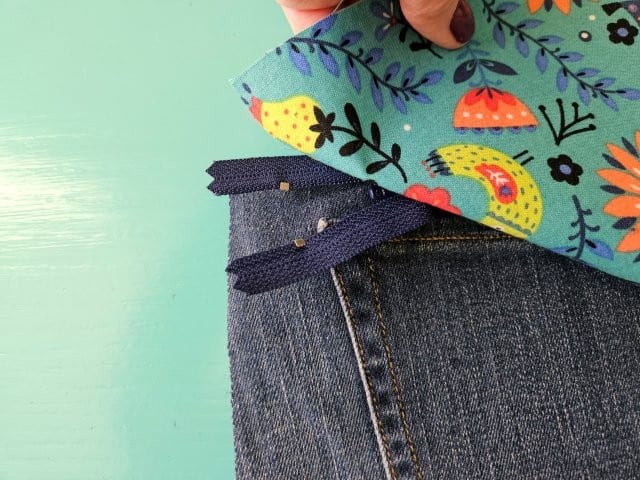
Before sewing the zipper, open the zipper about 1-inch – this will help with a smooth line of sewing. Be sure your upper thread matches the outer fabric and the bobbin thread matches the lining fabric.
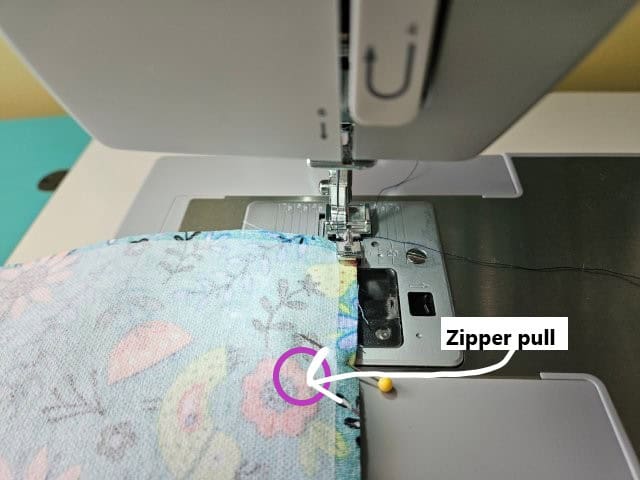
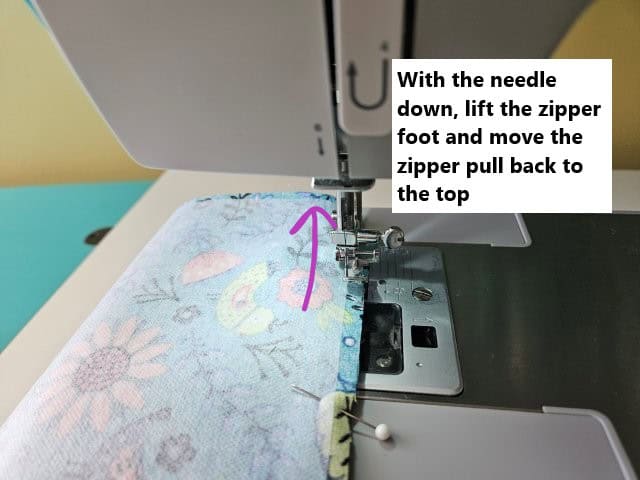
Use your zipper foot for sewing the zipper. Begin sewing the zipper, then when you get to the place almost to the zipper pull, with the needle down, lift the zipper foot and move the zipper pull back to the top. Then lower the foot and continue sewing.
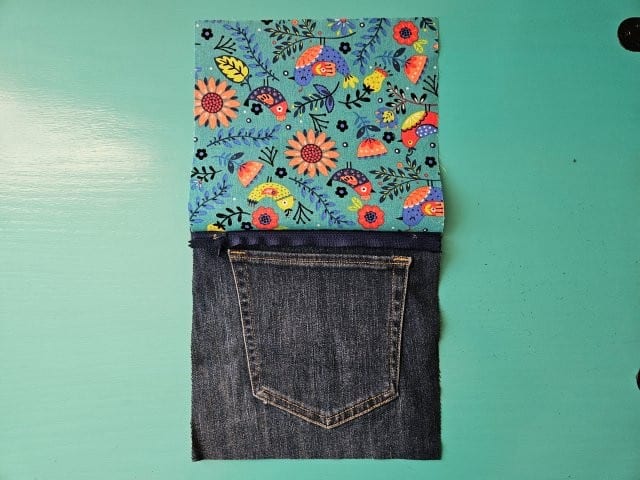
The above picture shows what the first side of the sewn zipper looks like.
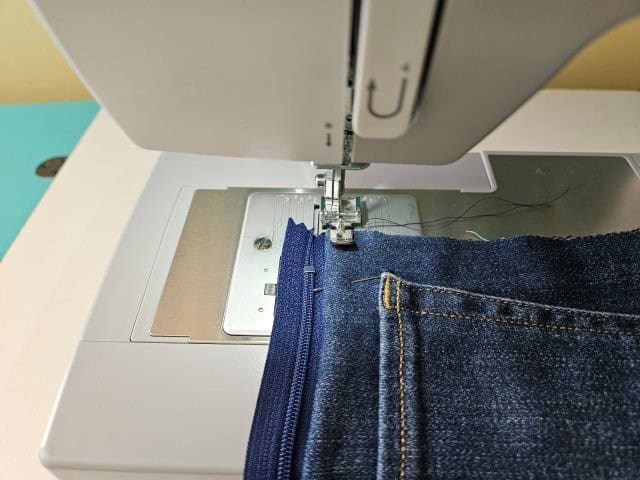
Top stitch along the zipper – be sure the corners and edges are lined up. This gives the denim bag a finished look and keeps the fabric from getting caught in the zipper.
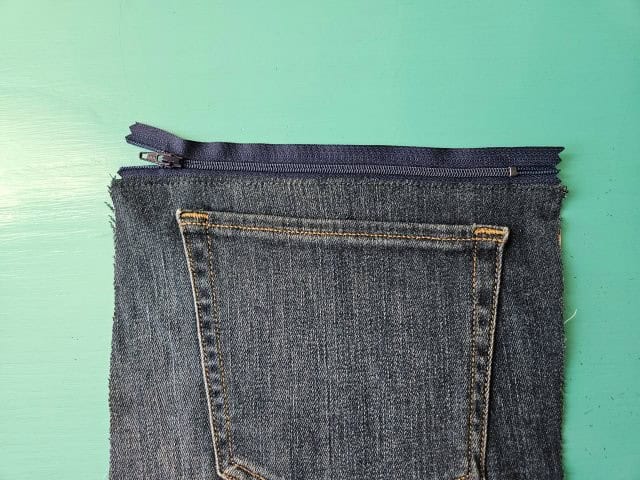
You now have one side of your wristlet finished.
***You can find the AD-FREE, printable PDF version of this sewing tutorial available for purchase in my Etsy shop HERE. Includes 17 pages of step-by-step instructions with pictures. Print a copy to keep next to your sewing machine for easy reference.***
Repeat with the other fabric pieces
Now you are going to repeat the same process to sew the other side of the zipper.
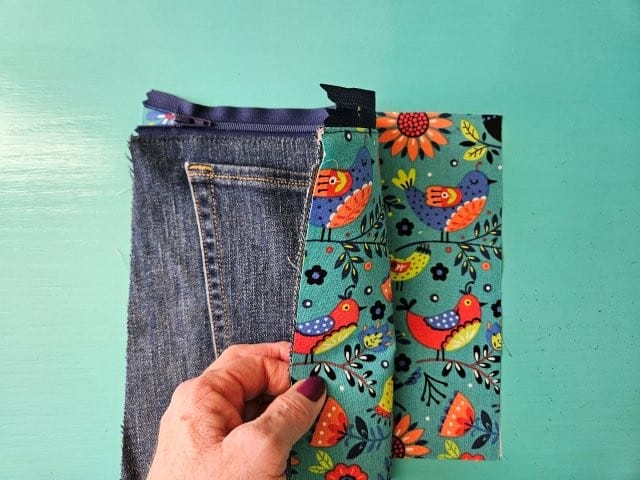
Place the zipper on top of the other lining fabric piece, lining fabrics right sides together. Pin to hold in place.
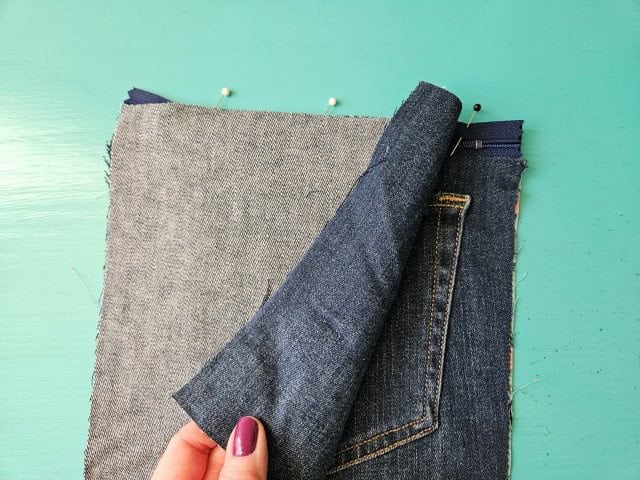
Place the other outer denim piece on top of the zipper, outer fabric pieces right sides together. Pin to hold in place.
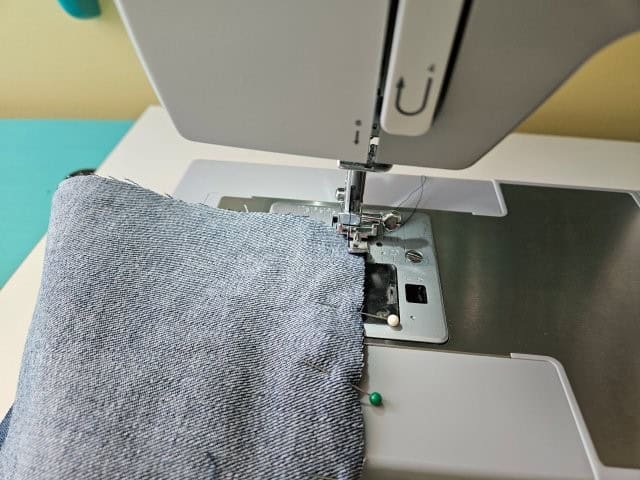
Sew the zipper, repeating the same process of opening and closing the zipper to sew a smooth line.
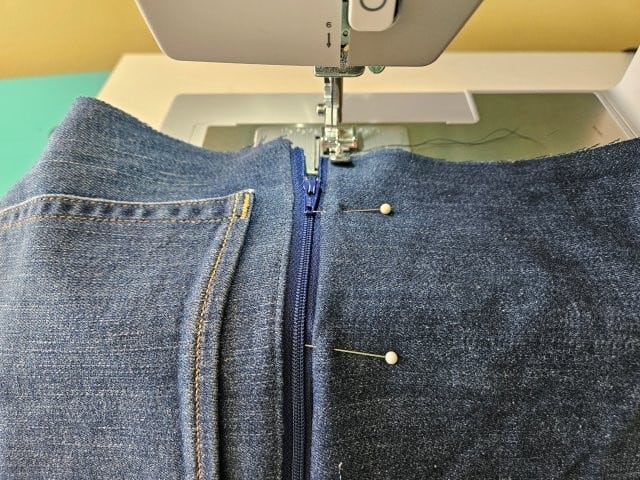
Top stitch along the zipper.
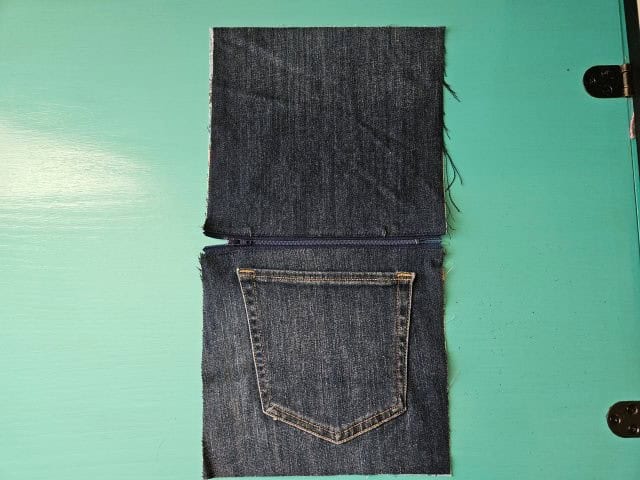
The above picture shows what your denim wristlet bag should look like at this point.
Baste the wristlet strap
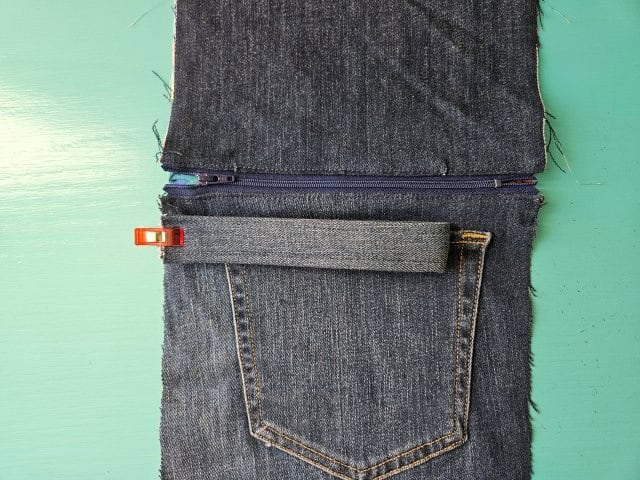
Place the strap on the front outer fabric piece about 1/2″ down from the zipper. The strap should be facing inside.
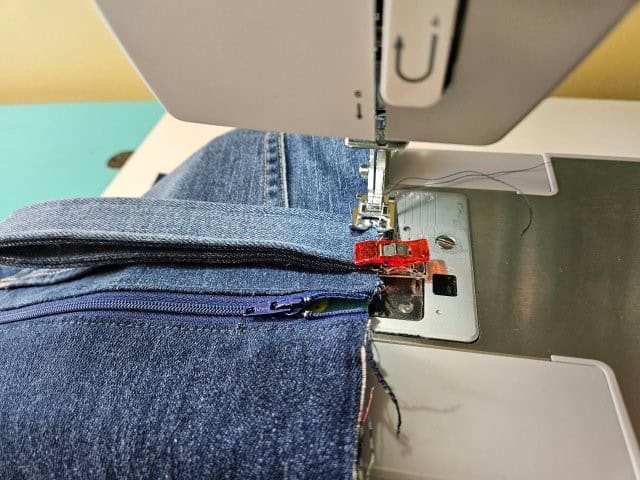
Baste the strap to the wristlet. Be sure you are basting to the outer fabric piece only.
Sew the denim jeans wristlet together
Use a 3/8″ seam allowance.
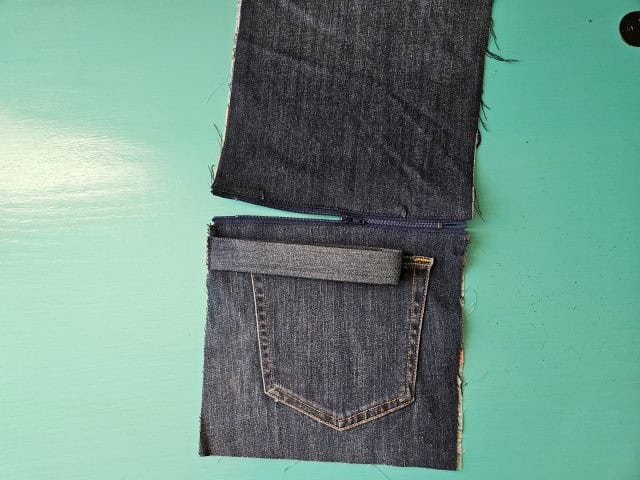
Open the zipper to about halfway – you will need the zipper opened for turning.
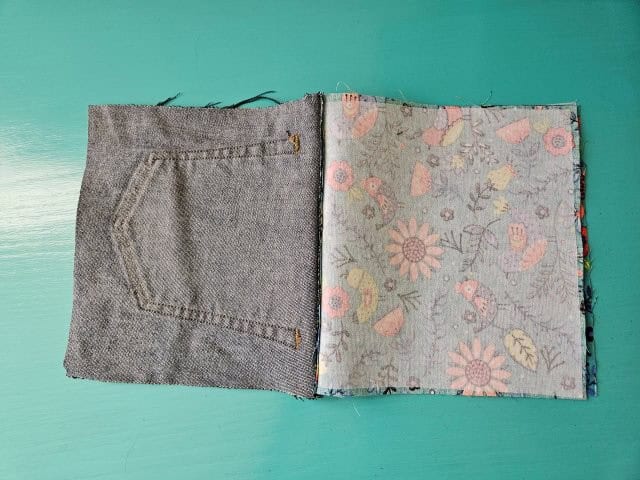
Fold the wristlet so the outer fabric pieces are right sides together and the lining pieces are right sides together.
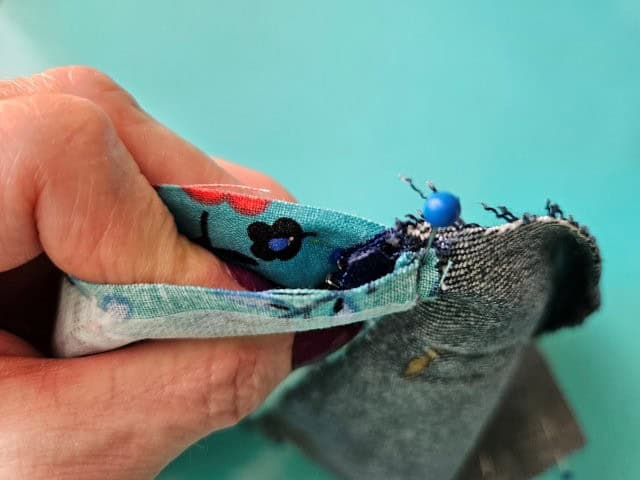
Pinch the zipper so the teeth are facing towards the lining fabric and pin in place.
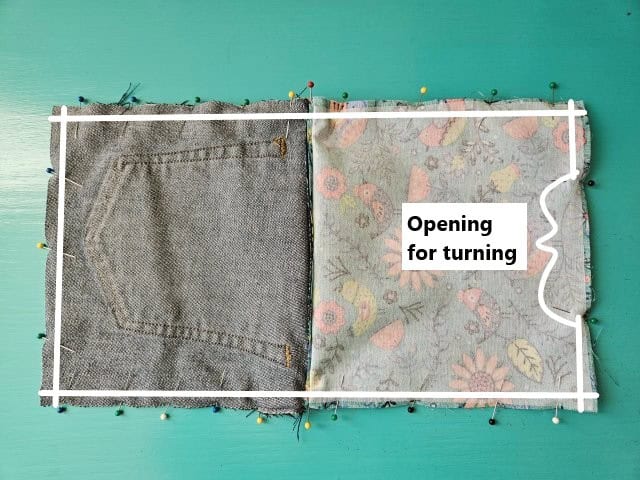
Sew around the perimeter of the denim bag using a 3/8″ seam allowance, leaving an opening at the bottom of the lining fabric for turning. Sew over the strap a couple of times for extra durability.
Measure and cut the bottom squares (optional)
I wanted a little bit of a square bottom on this wristlet but this step is optional. If you want to keep the wristlet as is, clip the corners with your sewing scissors and move on to the “turn right side out” step.
You are going to cut squares from each bottom corner to square the bottom of the wristlet. The size of the square depends on how wide you want the bottom of the bag to be.
RULE OF THUMB: The bottom width of the bag is going to be two times the width of the squares you cut. For this denim bag, I am going to cut 1/2-inch squares which makes the bottom width of the bag 1-inch. If you want the bottom to be 2-inches, you’ll need to cut 1-inch squares.
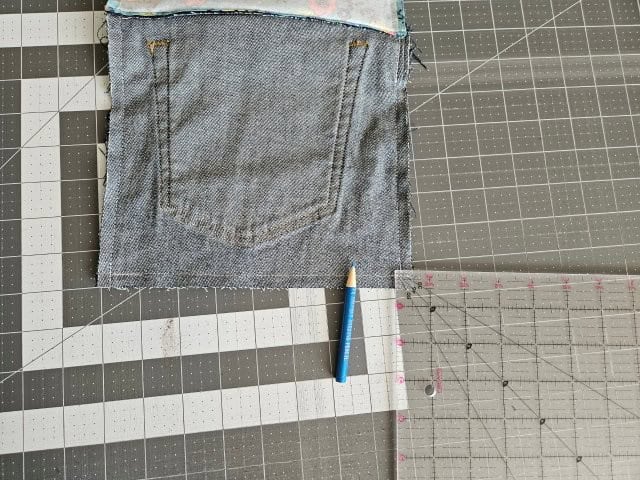
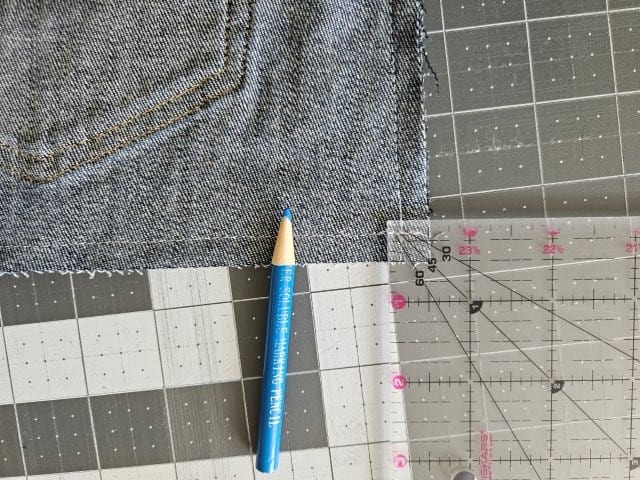
Use your clear ruler and marking pencil to make a 1/2-inch square at each bottom corner.
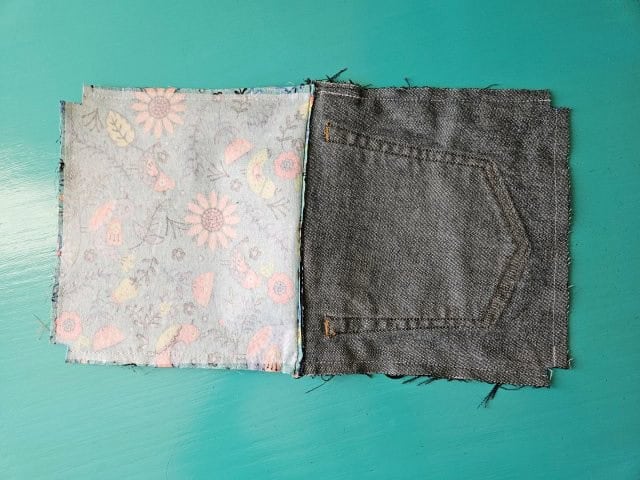
Cut out the squares along the marked lines using your sewing scissors.
Square the bottom
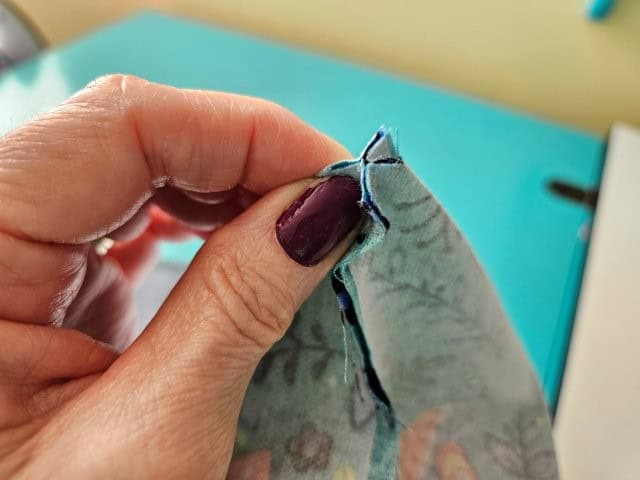
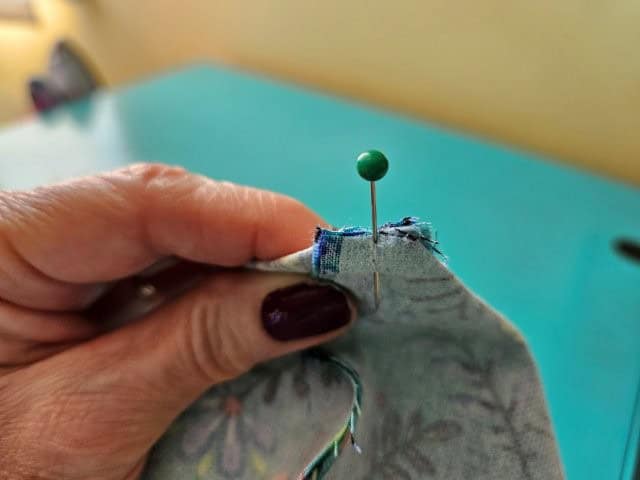
Take one of the corners and pinch together, lining up the seams. Pin in place.
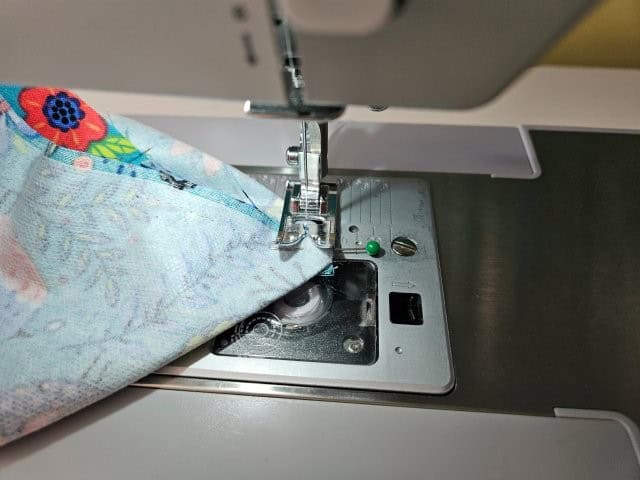
Sew along the edge using a 3/8″ seam allowance.
Repeat with the other three corners.
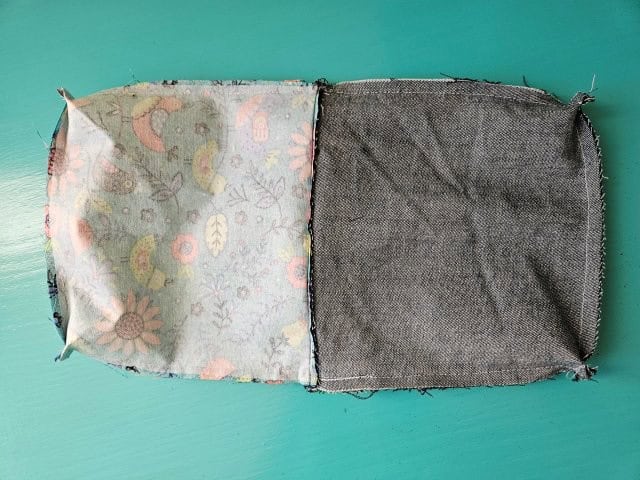
The above picture shows what the denim jeans zipper wristlet looks like at this point.
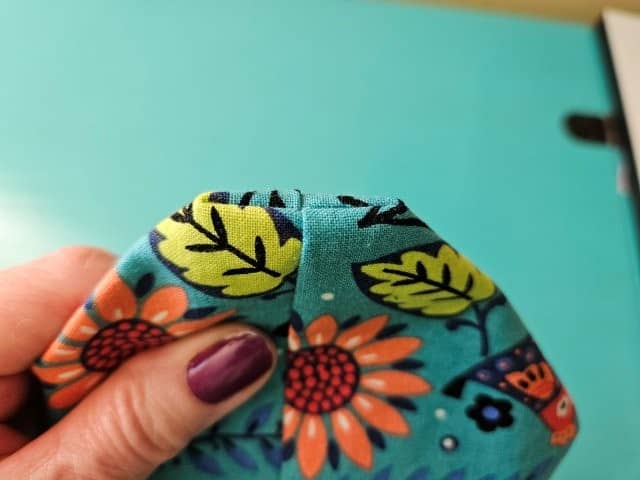
You now have a 1-inch bottom for your wristlet.
Turn right side out
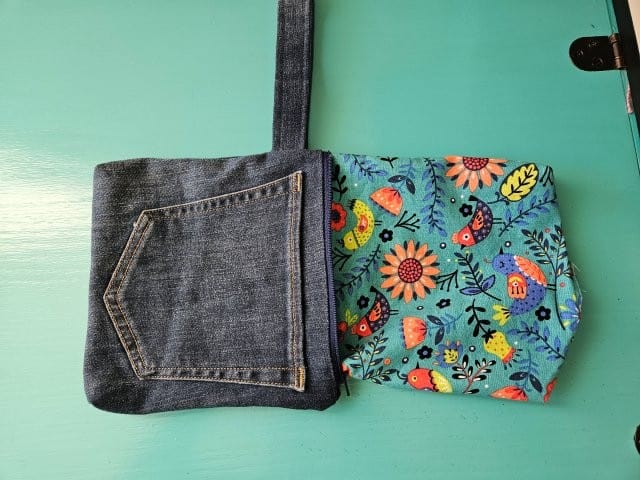
Through the opening, reach in and open the zipper all the way and turn the pouch right side out.
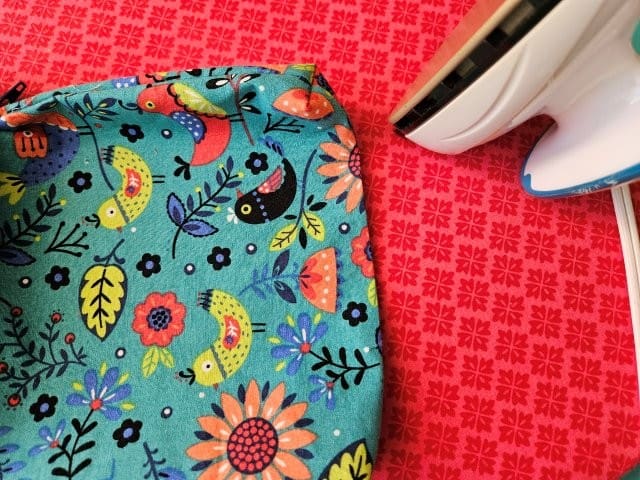
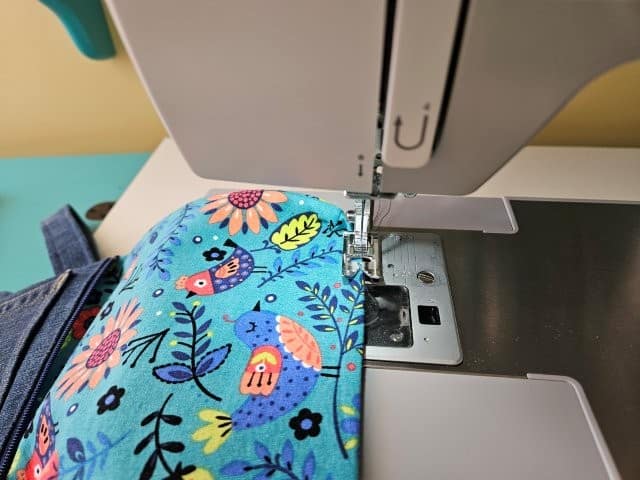
Press the opening. Straight stitch to close the opening using a 1/8″-1/4″ seam allowance.
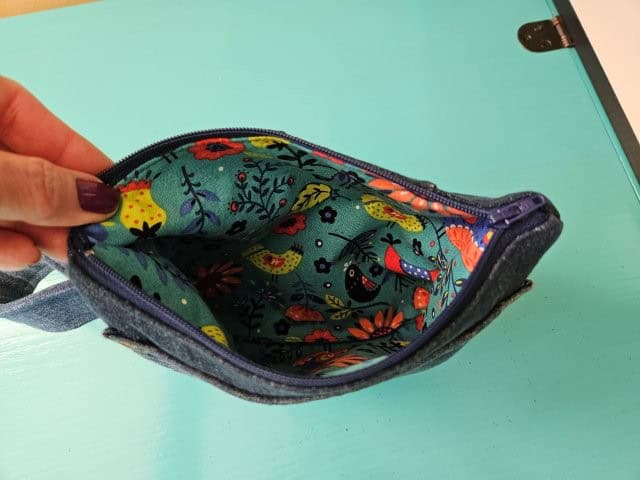
Push the lining down inside the zipper pouch. Press for a nice finished look.
Pin for later!
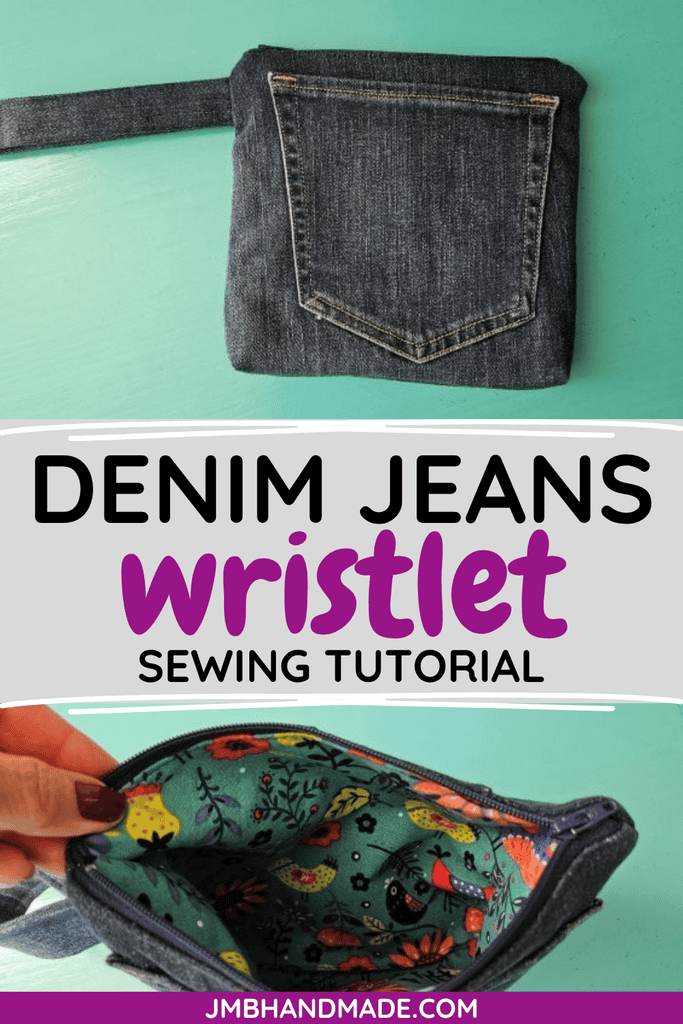
***You can find the AD-FREE, printable PDF version of this sewing tutorial available for purchase in my Etsy shop HERE. Includes 17 pages of step-by-step instructions with pictures. Print a copy to keep next to your sewing machine for easy reference.***
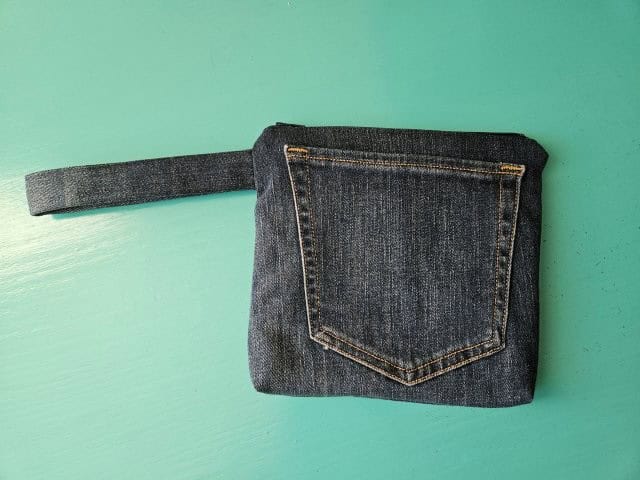
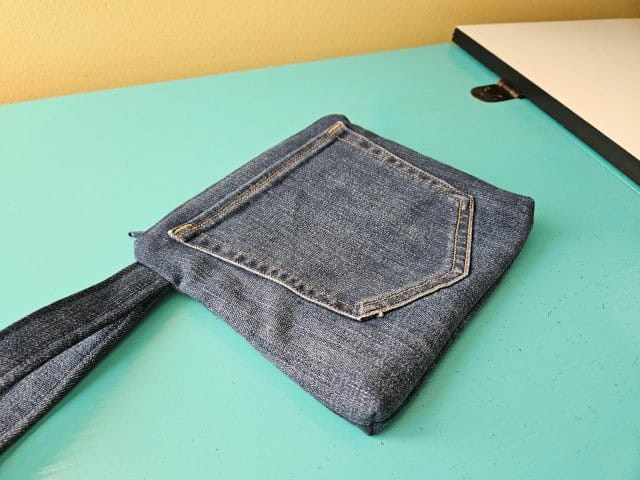
You are finished!
I hope you enjoyed upcycling a pair of jeans into a denim wristlet purse with zipper closure! You can leave it is or add embellishments to the pocket and maybe add a cute zipper pull. Happy sewing!
Other sewing projects to try:
- Wristlet Purse Sewing Pattern
- Belt Bag Fanny Pack Sewing Tutorial
- Small Sling Bag Pattern
- Small Crossbody Messenger Bag Tutorial