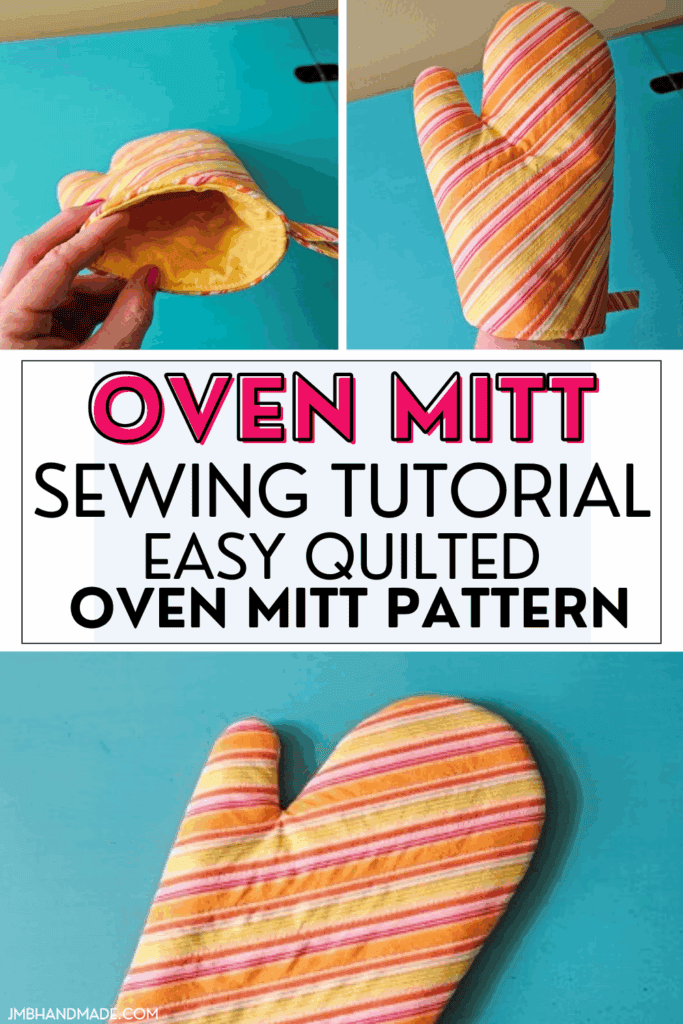
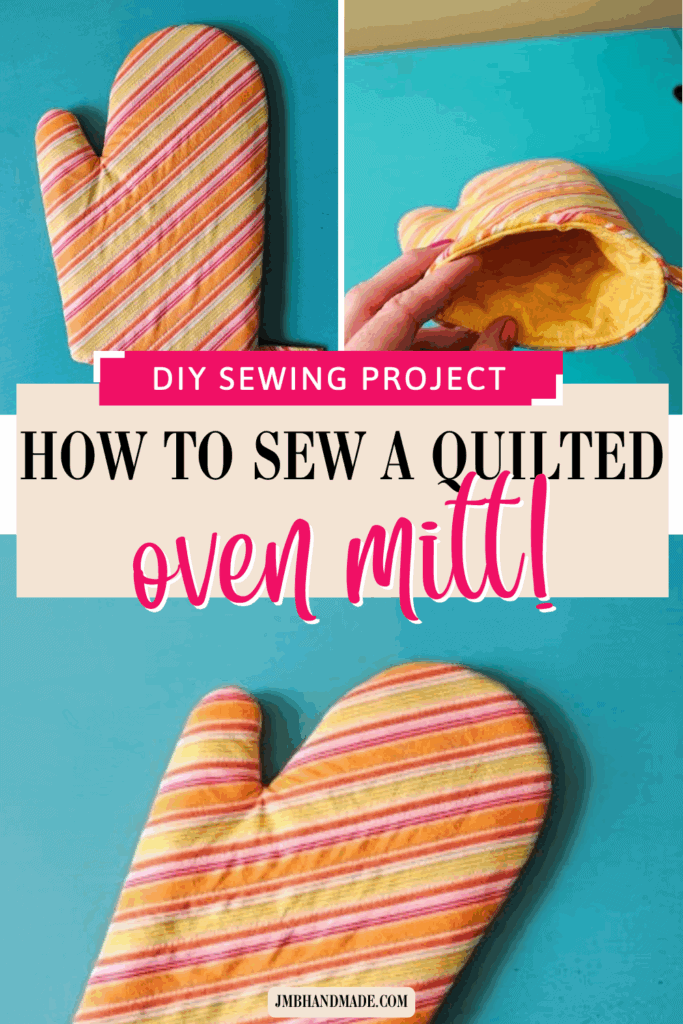
Quilted Oven Mitt Sewing Tutorial

Sew some quilted oven mitts in cute fabric using this easy sewing tutorial.
Sewing a quilted oven mitt in fun fabric is an easy way to spice up your kitchen. I recently made quilted hot pads in the same fabric so now I have a matching set! Add more fun and sew a matching apron!
This oven mitt sewing tutorial is the perfect sewing project for beginners. A template is included for you to download.
You can adjust the pattern to make it bigger by cutting the fabric wider and longer than the lines provided on the template. You’ll have to adjust the measurements of the fabric accordingly.
Fat quarters are perfect for this oven mitt sewing project or you can sew fabric scraps together before cutting and quilting.
This post contains affiliate links. Please see below disclosure for more information.
***You can find the AD-FREE, printable PDF version of this sewing tutorial available for purchase in my Etsy shop HERE. Includes 14 pages of step-by-step instructions with pictures. Print a copy to keep next to your sewing machine for easy reference.***
Oven mitt supplies needed:
- Outer cotton fabric 17″W x 11.5″H
- Lining cotton fabric 17″W x 11.5″ H
- Outer cotton fabric 2″ x 5″ for the hanging loop
- Cutting mat
- Rotary cutter
- Clear ruler
- Cotton batting – one piece 17″W x 11.5″H
- Insul-Bright – one piece 17″W x 11.5″H
- Sewing scissors
- Matching thread
- Straight pins or clips
- Sewing machine
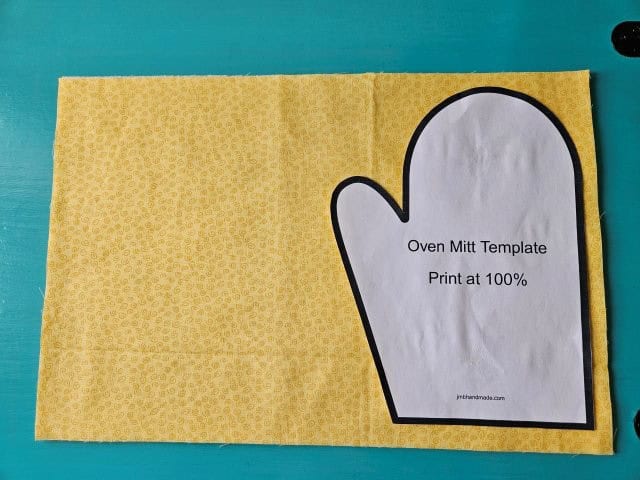
Download the oven mitt template
Download and print the oven mitt template. Be sure your printer is set to print actual size 100%.
Cut out the template on the outside edge of the black line.
Measure and cut the fabric
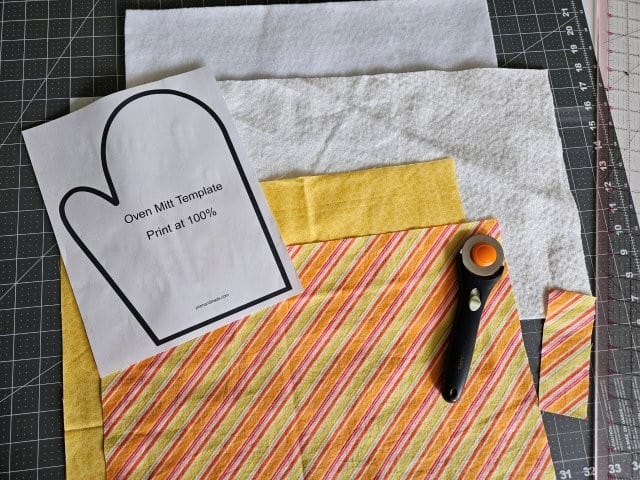
Using your cutting mat, clear ruler, and rotary cutter, cut one outer fabric piece and one lining fabric piece each measuring 17″W x 11.5″H. Cut one piece of outer fabric measuring 2″W x 5″H for the hanging loop.
Batting and Insul-Bright
Cut one piece of cotton batting and one piece of Insul-Bright each measuring 17″W x 11.5″H.
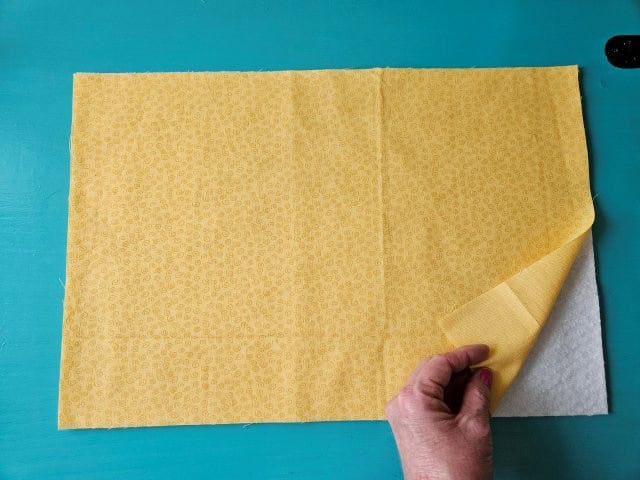
Quilt the outer fabric
You are going to quilt the outer fabric piece to the Insul-Bright. You can use any quilting method you like. I am going to quilt along the lines already on my fabric.
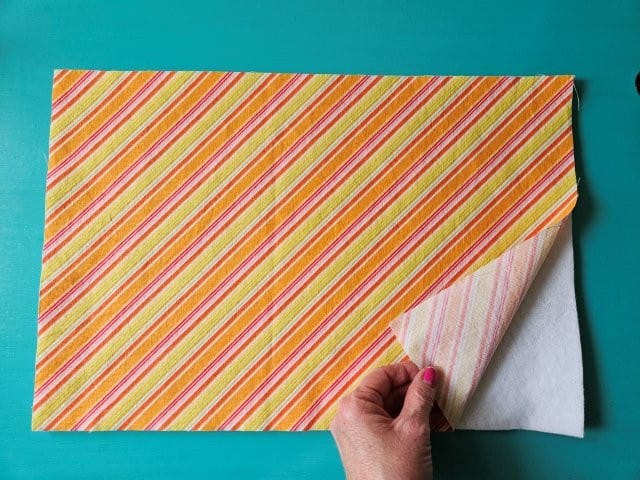
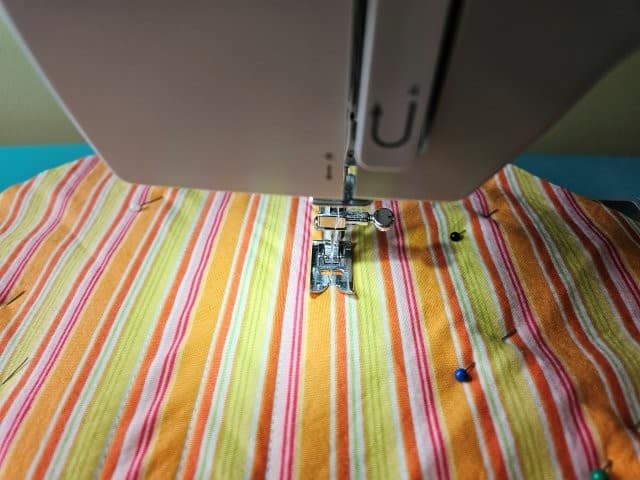
Place the outer fabric, right side up, on top of the Insul-Bright. Pin or clip to hold in place. Quilt together using your method of choice.
Cut the oven mitt pieces
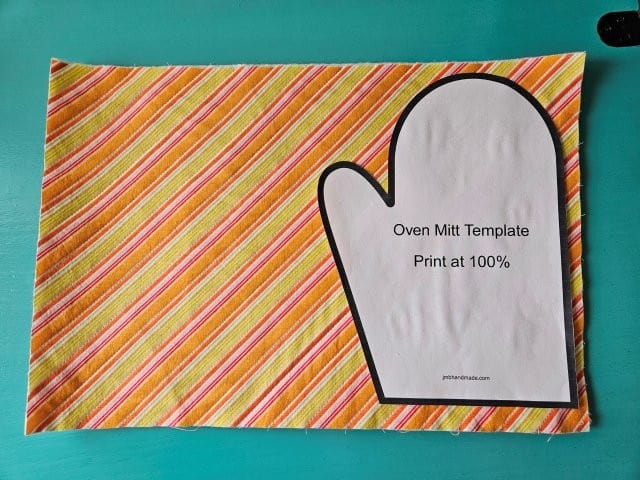
Place the template on top of the right side of the outer quilted fabric. Cut the fabric around the template using your sewing scissors.
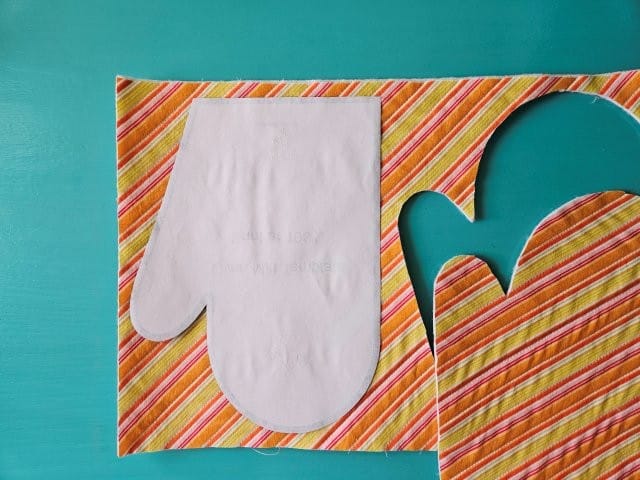
Turn the template over and place it on the left side of the fabric. Cut the fabric around the template.
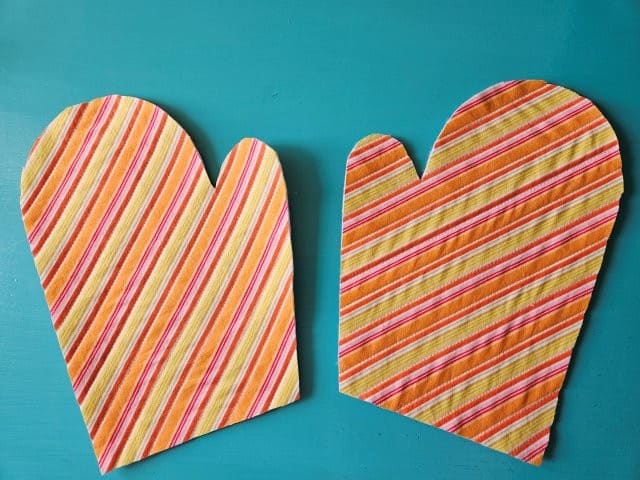
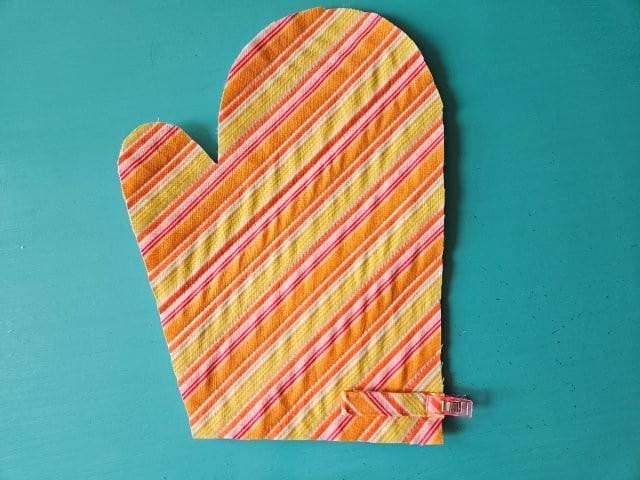
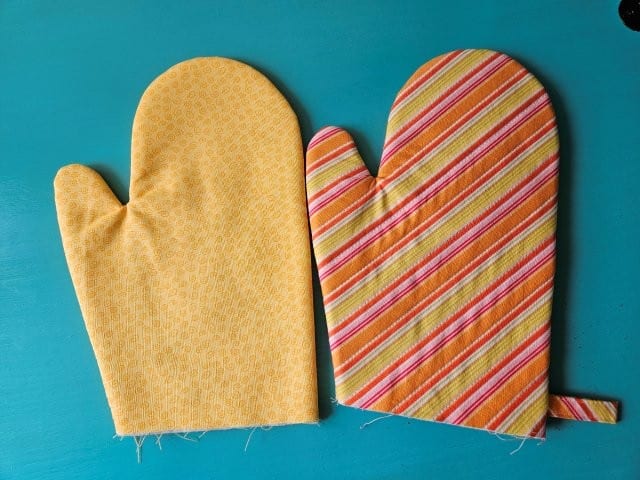
You should have two oven mitt pieces that are a mirror image of each other.
Repeat the same steps with the lining fabric and the batting. The lining does not need to be quilted to the batting.

The above picture shows what your DIY oven mitt looks like at this point.
***You can find the AD-FREE, printable PDF version of this sewing tutorial available for purchase in my Etsy shop HERE. Includes 14 pages of step-by-step instructions with pictures. Print a copy to keep next to your sewing machine for easy reference.***
Make the quilted oven mitt hanging loop
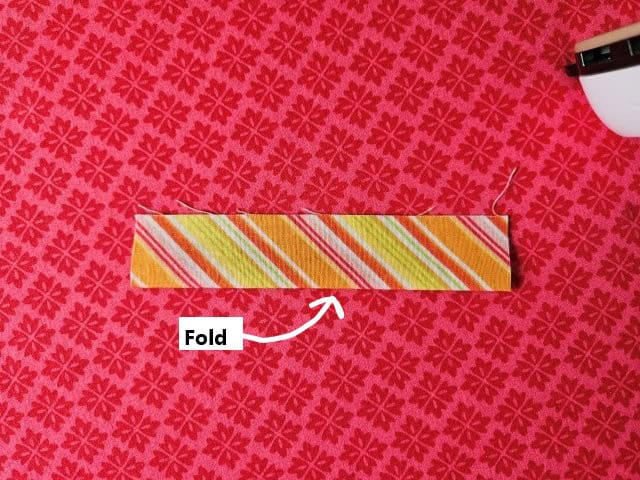
Fold the fabric in half lengthwise, wrong sides together, and press along the fold.
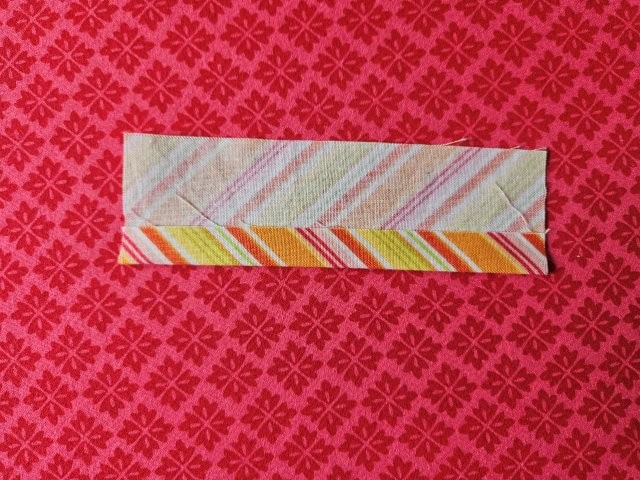
Open back up and fold the outside edge to the center and press.
Turn the strap around and fold the other outside edge to the center and press.

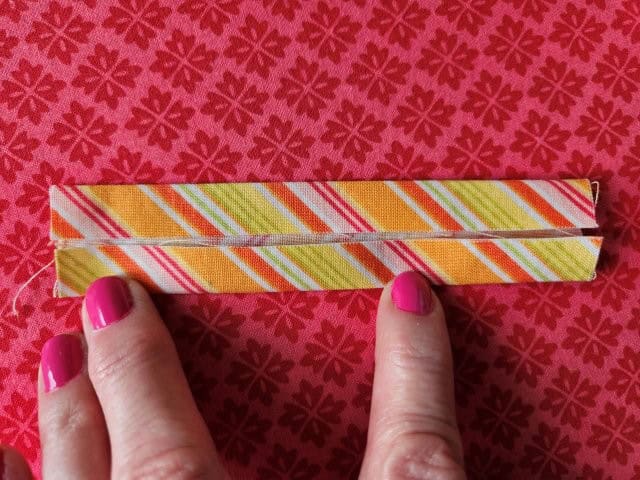
Fold in half again and press.
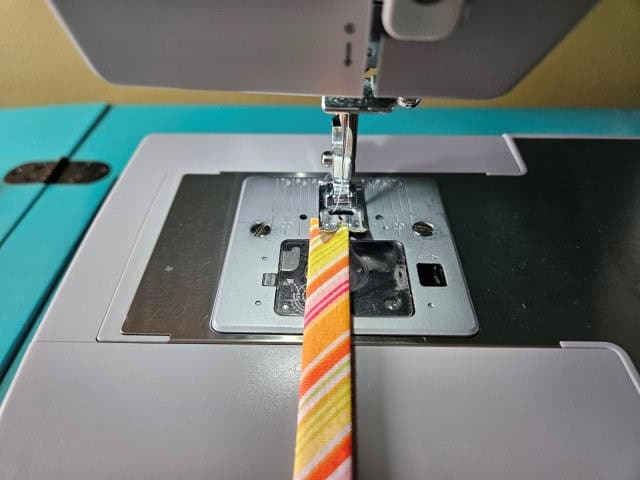
Sew the strap lengthwise along both folded edges.
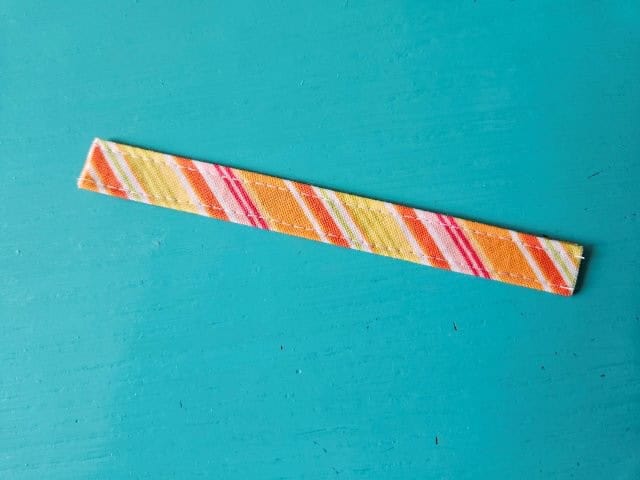
The above picture shows the finished strap.
Baste the hanging loop to the oven mitt
Fold the hanging loop in half (raw edges together) and place in the bottom right corner with the loop facing inside. See above picture. Be sure to save room at the bottom for the seam allowance.

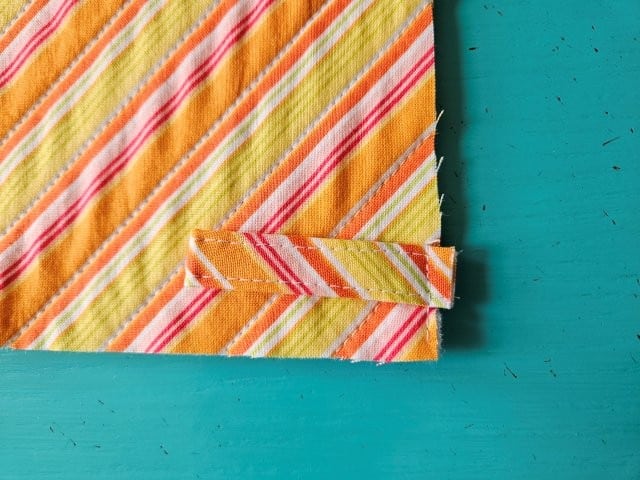
Baste the loop to hold in place.
Sew the mitts
Starting with the outer mitt, place the fabric pieces right sides together. Clip or pin together, leaving the bottom open.
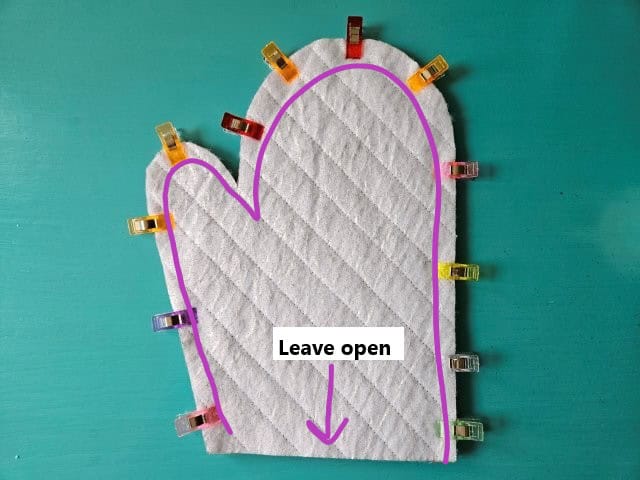
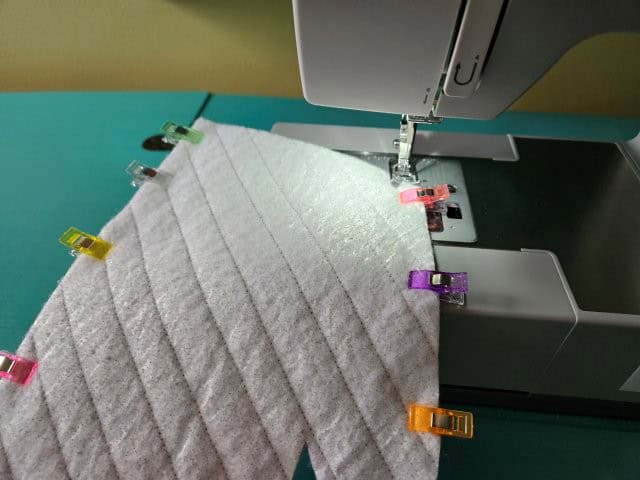
Sew around the oven mitt using a 3/8″ seam allowance, leaving the bottom open.
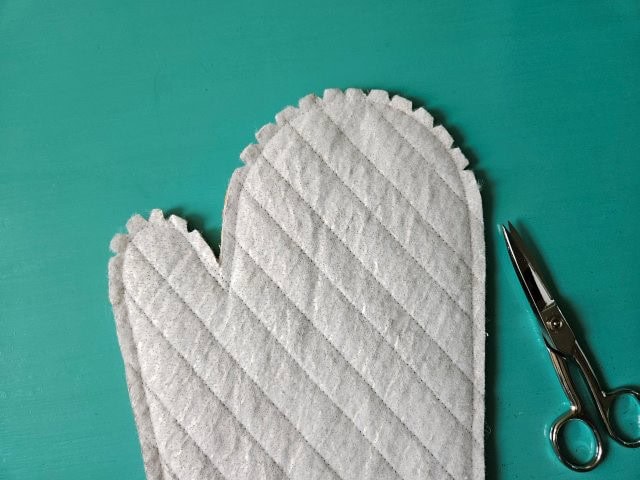
Make little triangle cuts around the curves using your sewing scissors.
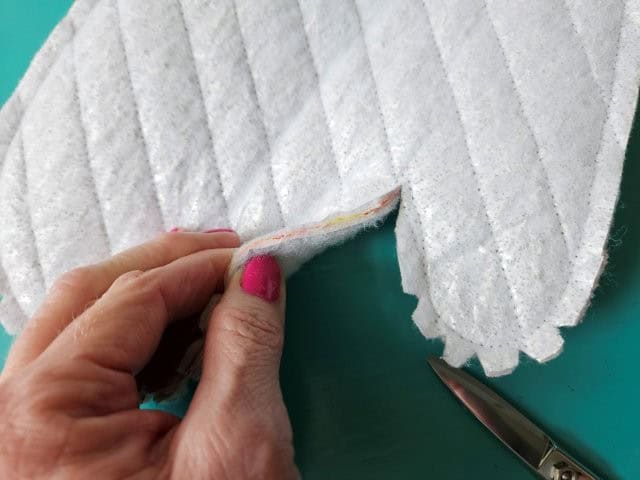
Cut a slit in the sharp corner.
Repeat with the lining mitt.
Turn the mitts right side out and press. You should now have one outer mitt and one lining mitt.
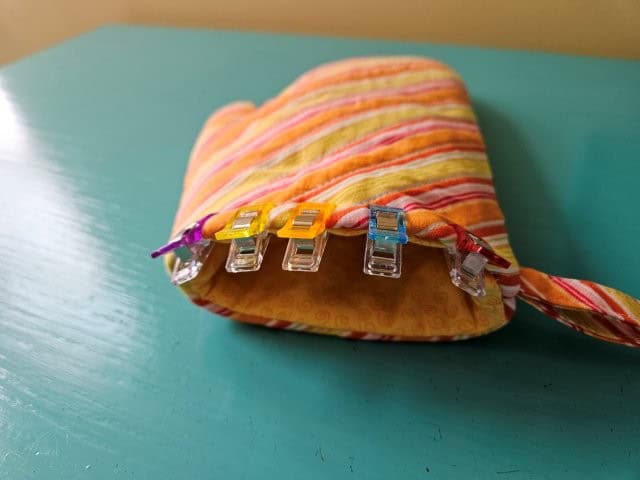
Sew it all together
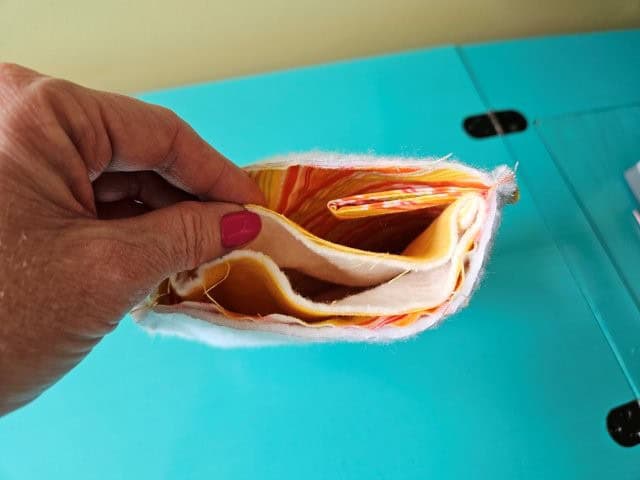
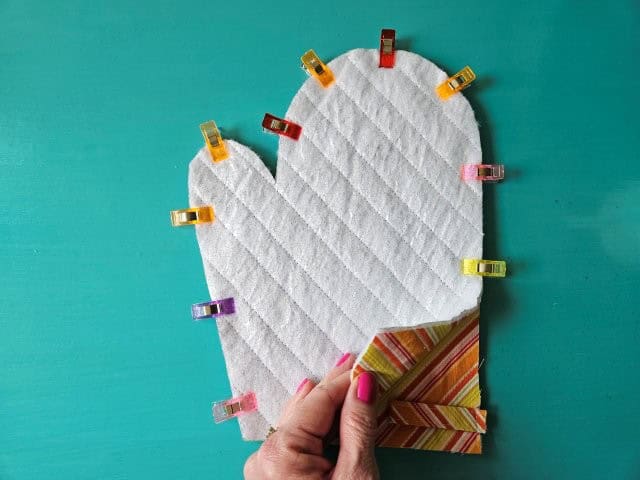
Turn the outer mitt wrong side out. Keep the lining mitt right side out and place inside the outer mitt, lining up the seams. The fabric should be right sides together and the loop strap should be in between the outer and lining mitts.
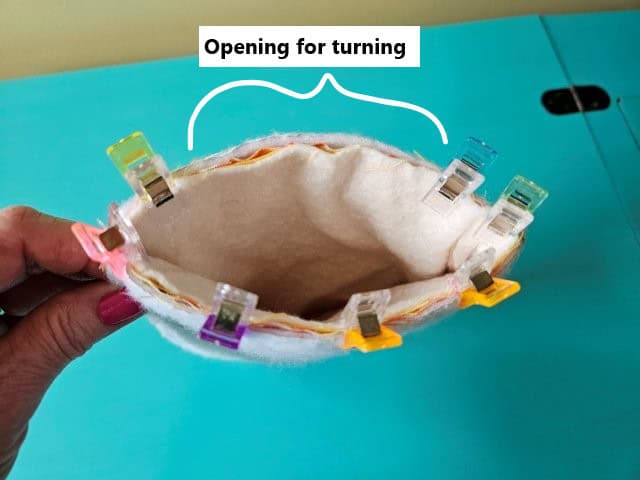
Pin or clip around the bottom, leaving an opening for turning.
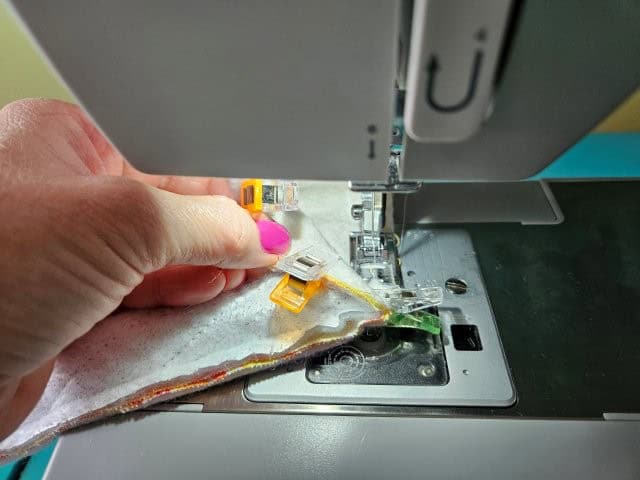
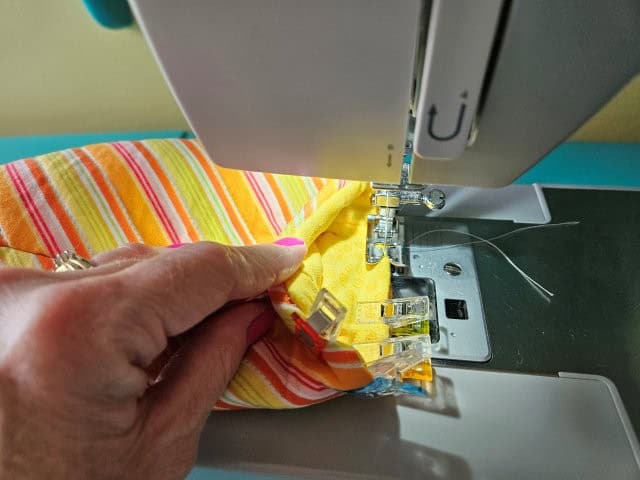
Carefully, sew around the bottom using a 3/8″ seam allowance, again, leaving an opening for turning.
Turn right side out

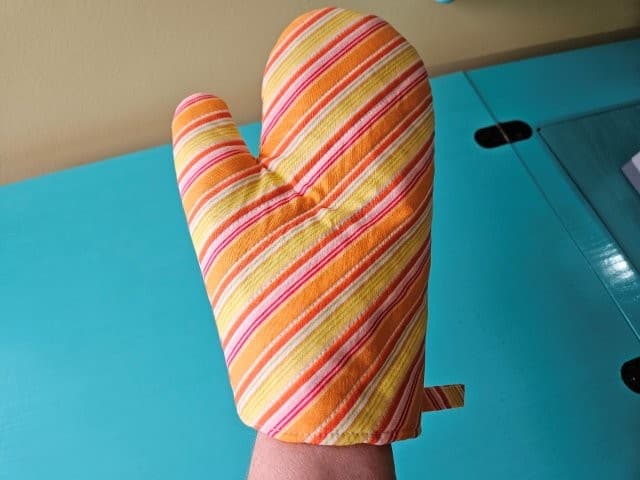
Through the opening, turn the quilted oven mitt right side out.
Push the lining mitt inside the outer mitt.
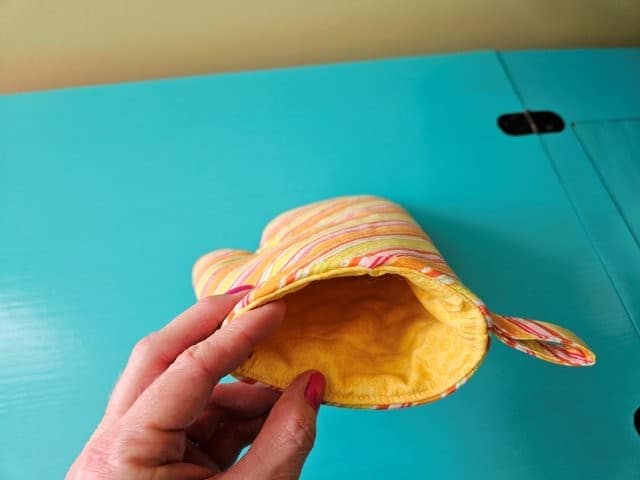
Fold in the opening and clip to hold in place.
Carefully, top stitch around the bottom to give it a finished look and to close the opening. Press again.
Pin for later!
***You can find the AD-FREE, printable PDF version of this sewing tutorial available for purchase in my Etsy shop HERE. Includes 14 pages of step-by-step instructions with pictures. Print a copy to keep next to your sewing machine for easy reference.***
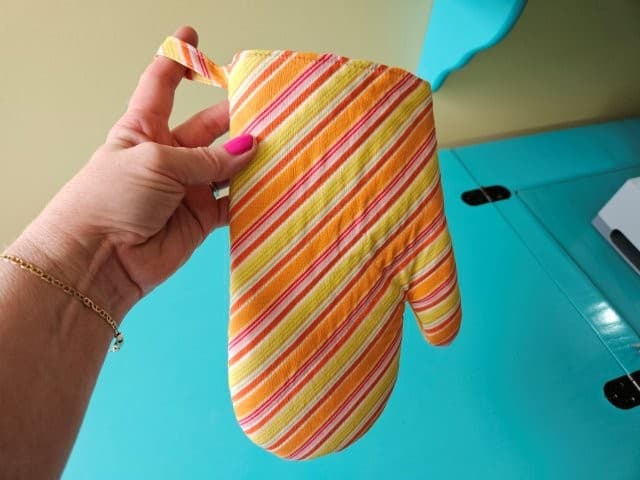
You are finished!
I hope you enjoyed this sewing tutorial on how to sew a quilted oven mitt. Happy sewing!

More sewing projects for the home:
- Easy DIY Placemats Sewing Tutorial
- Fabric Quilted Magnets – Three Shapes
- DIY Fabric Napkins
- Quilted Coasters Using Fabric Scraps