How to Sew Fabric Self-Binding Napkins
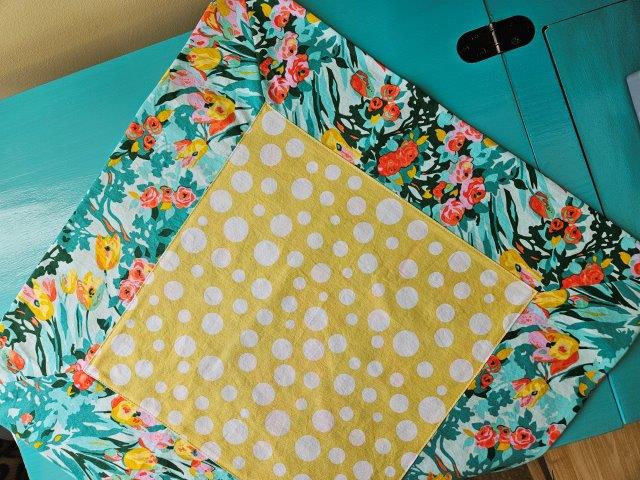
These self-binding napkins (or fabric napkins with a border and mitered corners) are super easy to make and look great on your table!
The fabric self-binding napkins are easy to make and can dress up your table for the holidays or any special occasion. These napkins look great with a table center piece as well.
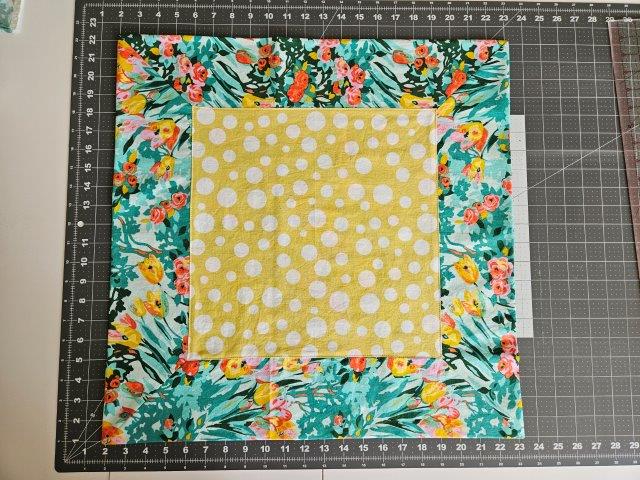
This napkin tutorial is similar to my fabric napkin sewing tutorial but uses two fabric pieces and a border is created. The self binding fabric napkins sewing tutorial below will include a finished napkin measuring 21″x21″ with a 4″ border and mitered corners.
This post contains affiliate links. See below disclosure for more information.
***You can find the ad-free, printable PDF version of this sewing tutorial available for purchase in my Etsy shop HERE. Includes 8 pages of step-by-step instructions with pictures. Print a copy to keep next to your sewing machine for easy reference.***
Self-Binding Napkins supplies needed:
- One fabric piece for the back measuring 30″x30″ – my favorite fabric shop
- One fabric piece for the front of the napkin measuring 14″x14″
- Cutting mat
- Rotary cutter
- Clear ruler
- Marking pencil
- Sewing scissors
- Matching thread
- Sewing machine
NOTE: If you want your napkin to be smaller, cut the back piece smaller. 18″x18″ is a good size for everyday use. Fat quarters are perfect for this size fabric napkin.
Measure and cut the fabric
Using your cutting mat, clear ruler, and rotary cutter, cut the fabric piece you will be using for the back of your napkin 30″x30″.
Cut the fabric you want for the center or top facing piece measuring 14″x14″.
Find the center of each fabric piece
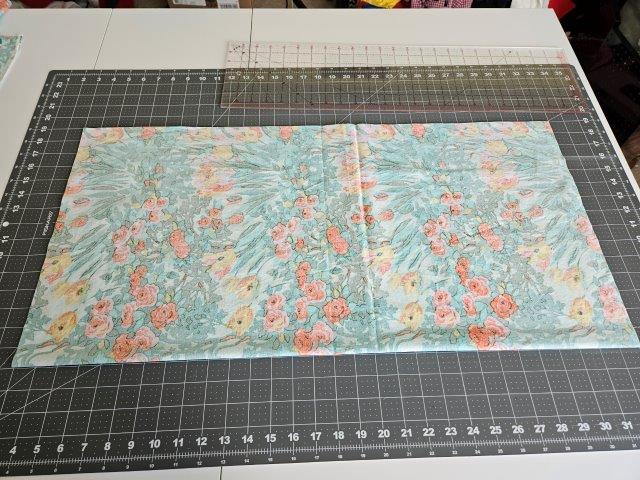
Fold the large fabric piece in half and press along the fold with your hand.
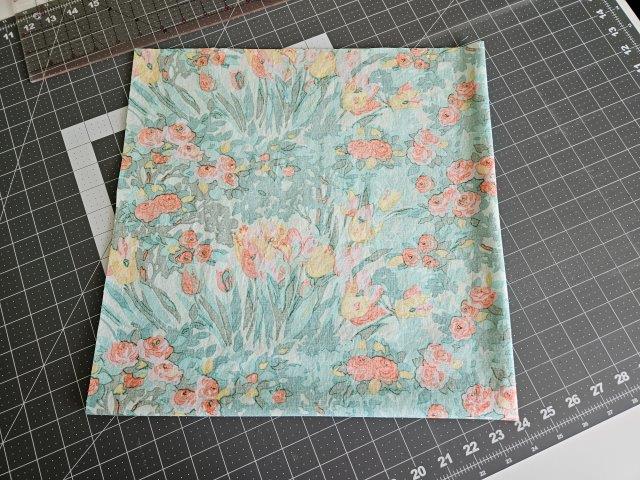
Fold in half again and press. Repeat with the smaller fabric piece.
Open back up and mark the centers with your marking pencil.
Match up the fabric centers
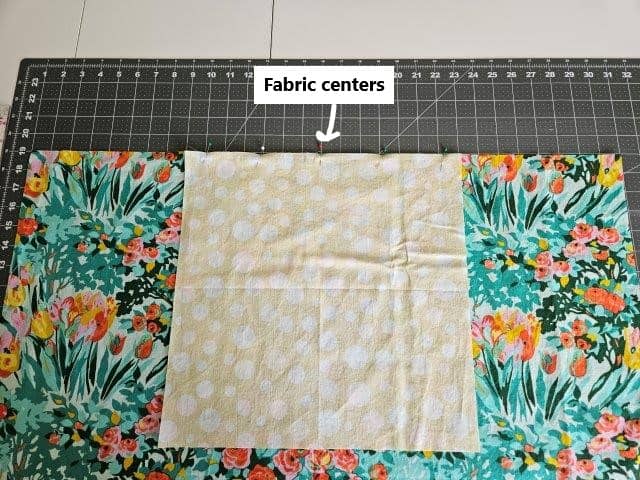
Place the small fabric piece on top of the large fabric piece, right sides together, matching up the centers. Pin in place.
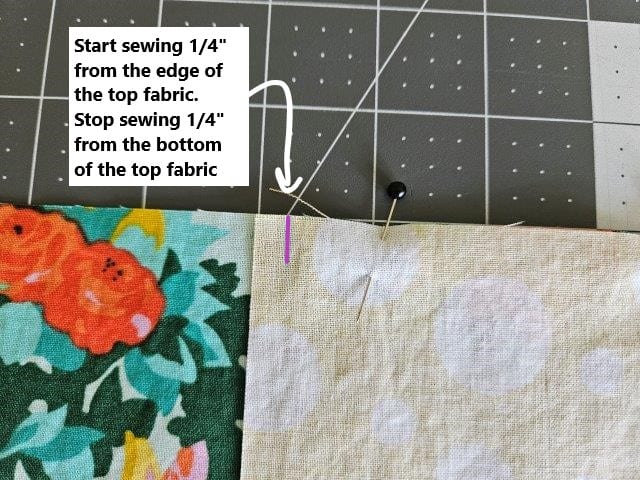
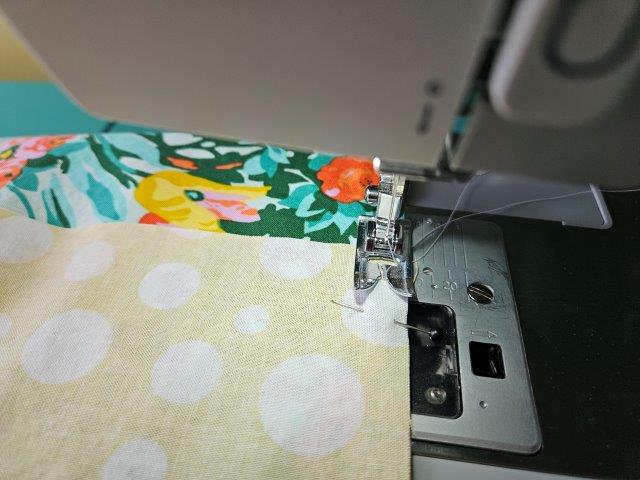
Start sewing 1/4″ from the top edge of the top fabric and stop sewing 1/4″ from the bottom edge of the top fabric, using 1/4″ seam allowance.
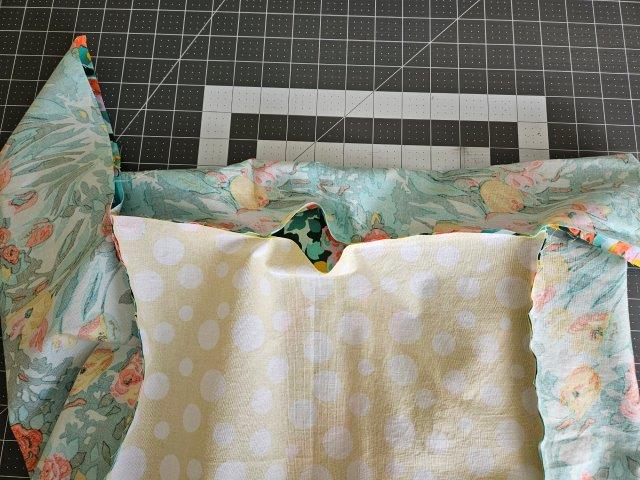
Repeat with the other three sides of the napkin. On the fourth side, leave an opening for turning.
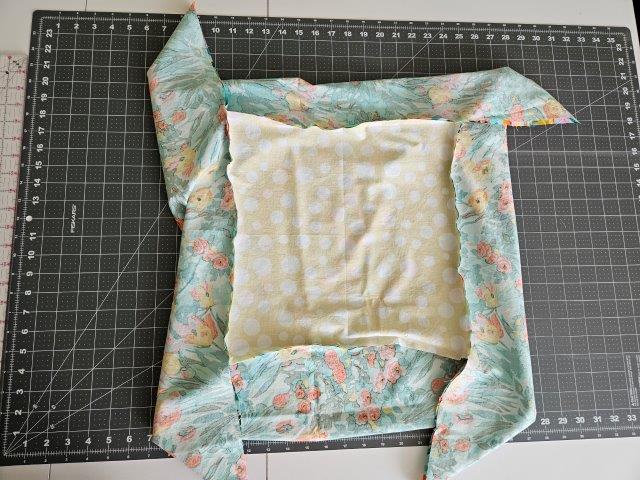
The above picture shows what your self-binding napkin should look like at this point.
***You can find the ad-free, printable PDF version of this sewing tutorial available for purchase in my Etsy shop HERE. Includes 8 pages of step-by-step instructions with pictures. Print a copy to keep next to your sewing machine for easy reference.***
Miter the corners
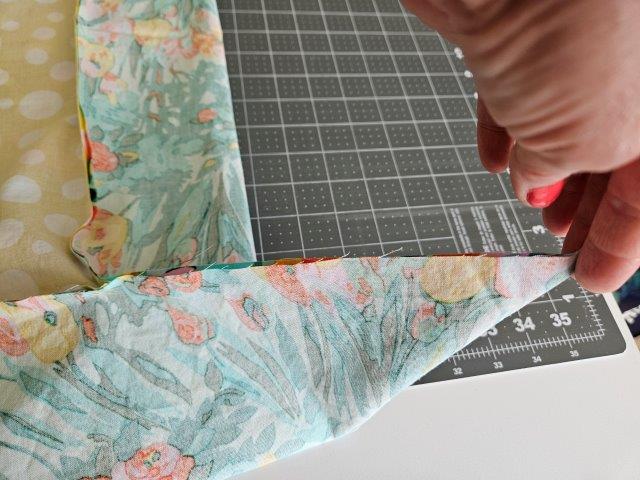
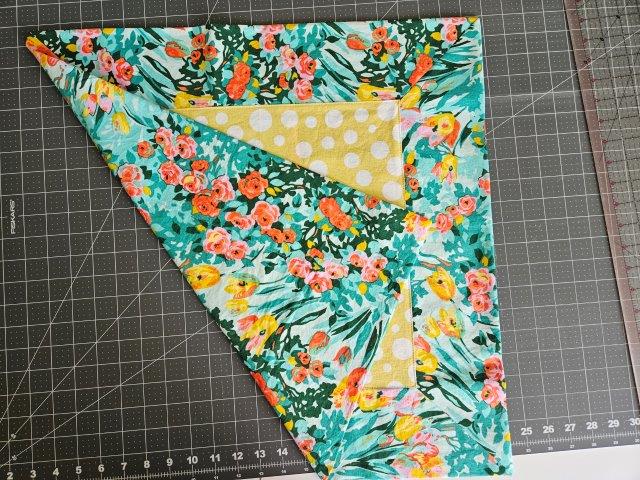
Spread out your fabric napkin as flat as possible. Hold up one of the corners and line up the edges, as shown in above picture.
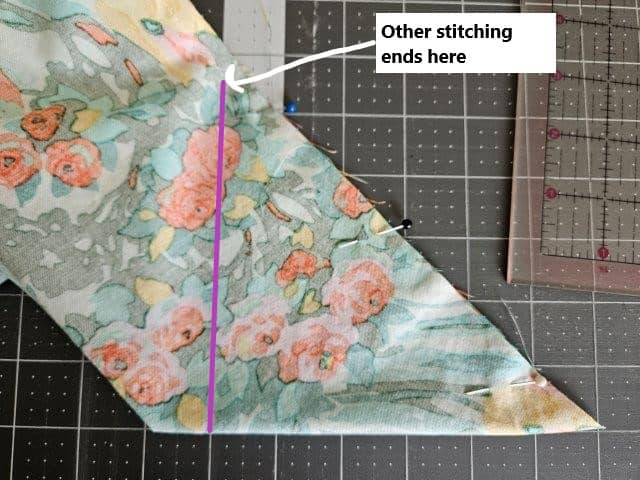
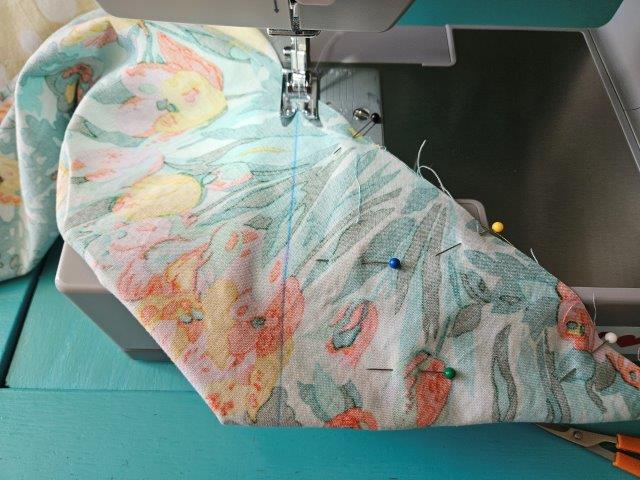
Take the corner and lay it flat on your cutting mat, forming a right angle. Draw a line using your clear ruler. Pin in place. Sew starting where the previous stitches end (about 1/4″ from the edge) to the fold. See purple line in above picture.
Repeat with the other three corners of your self-binding napkin.
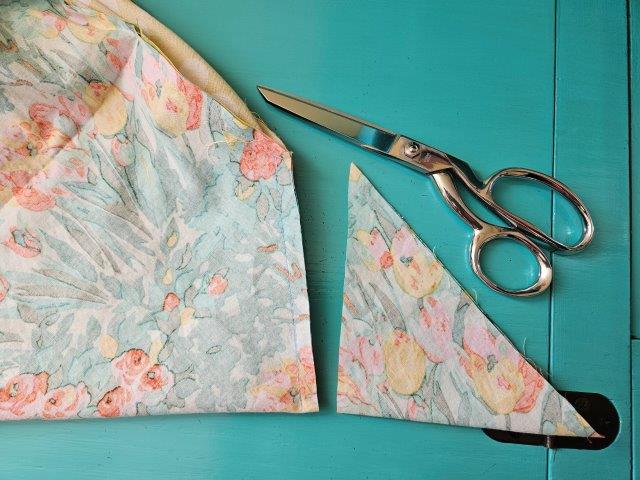
Double check the corners to be sure they are correct, then trim the extra fabric with your sewing scissors.
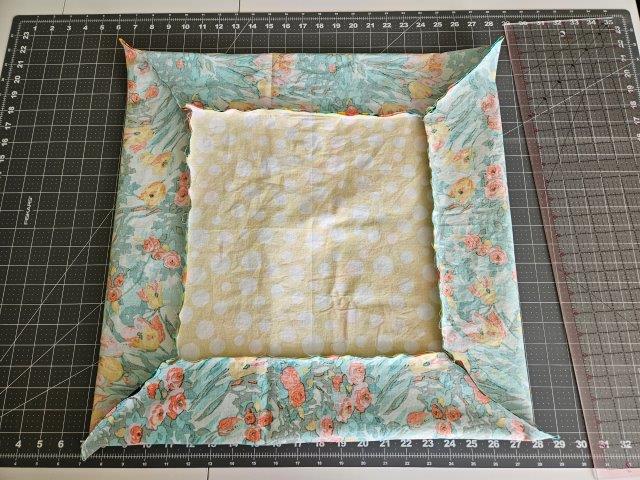
At this point, your self-binding napkin should look like the above picture.
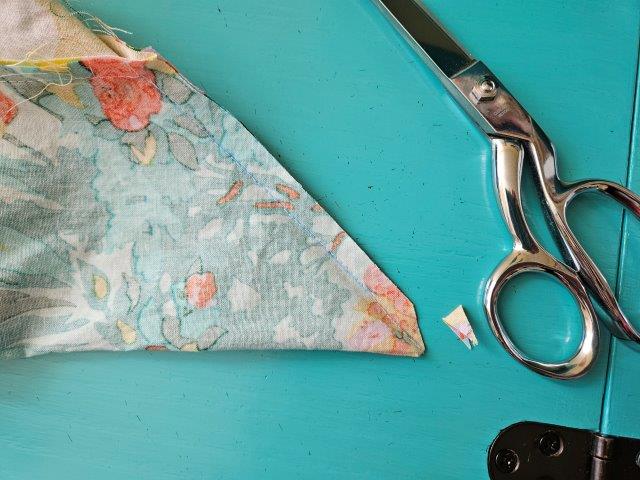
Then clip the very tip of the corner, without cutting into the stitching (see above picture).
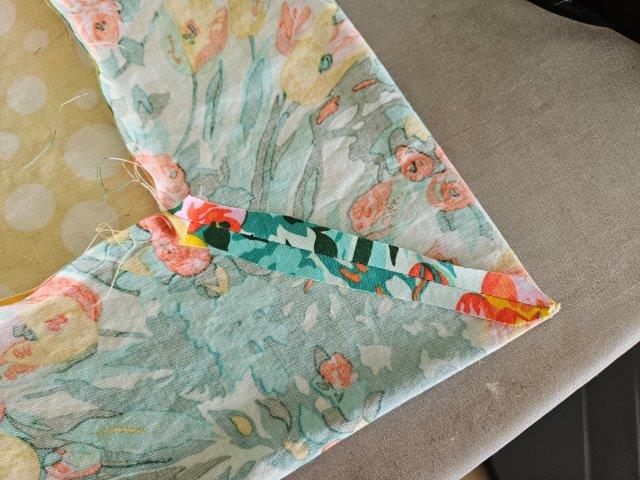
Press the corner seams flat.
Turn right side out
Turn your fabric napkin right side out, pushing out the corners.
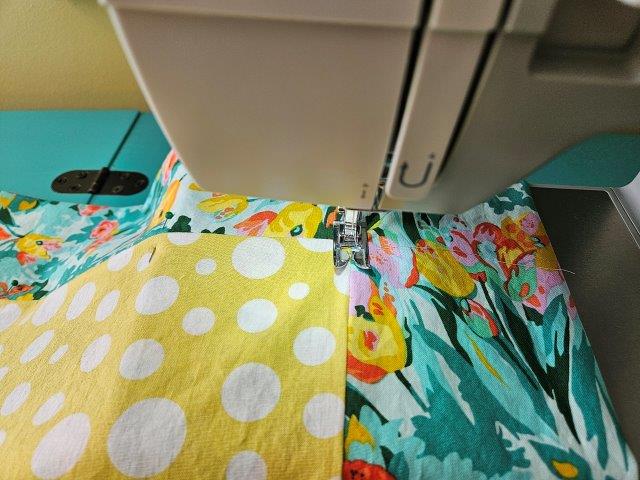
Top stitch around the binding using 1/8″-1/4″ seam allowance, pivoting the corners. This will give it a finished look and close the opening.
Pin for later!
***You can find the ad-free, printable PDF version of this sewing tutorial available for purchase in my Etsy shop HERE. Includes 8 pages of step-by-step instructions with pictures. Print a copy to keep next to your sewing machine for easy reference.***
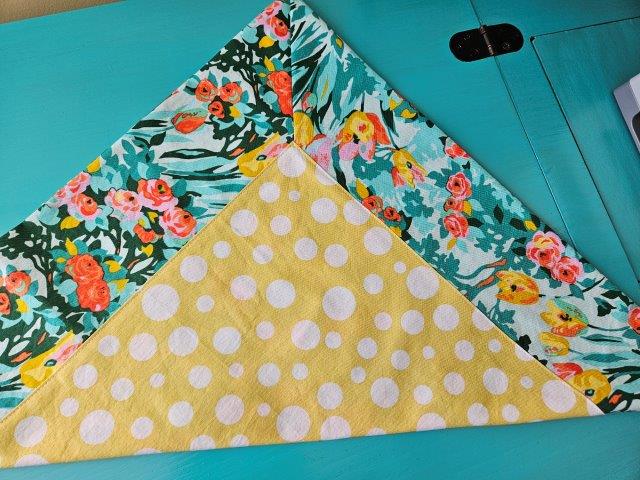
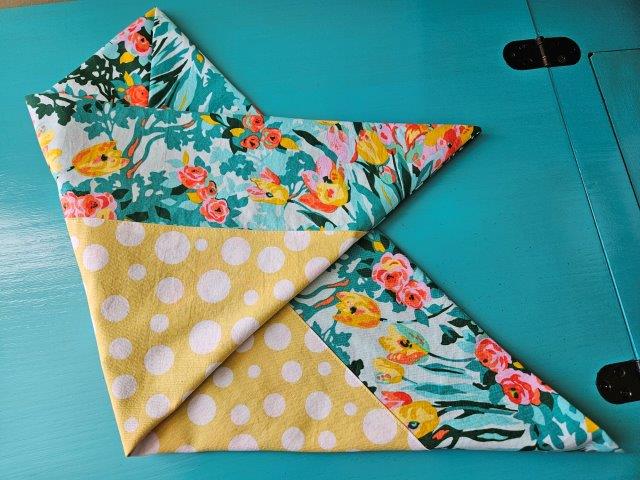
You are finished!
I hope you enjoyed this sewing tutorial and can sew some lovely self-binding napkins for your home!

Other easy sewing projects for the home:
- DIY Quilted Fabric Coasters Sewing Tutorial – Two Styles
- DIY Fabric Basket Sewing Tutorial – 3 Sizes
- Easy Placemat Sewing Tutorial