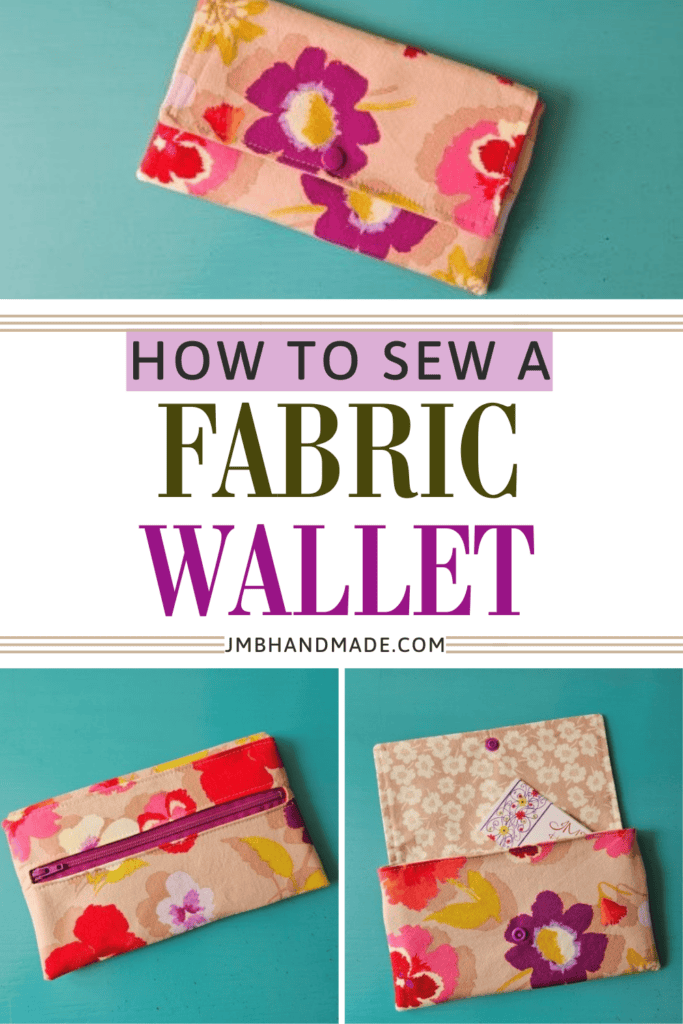
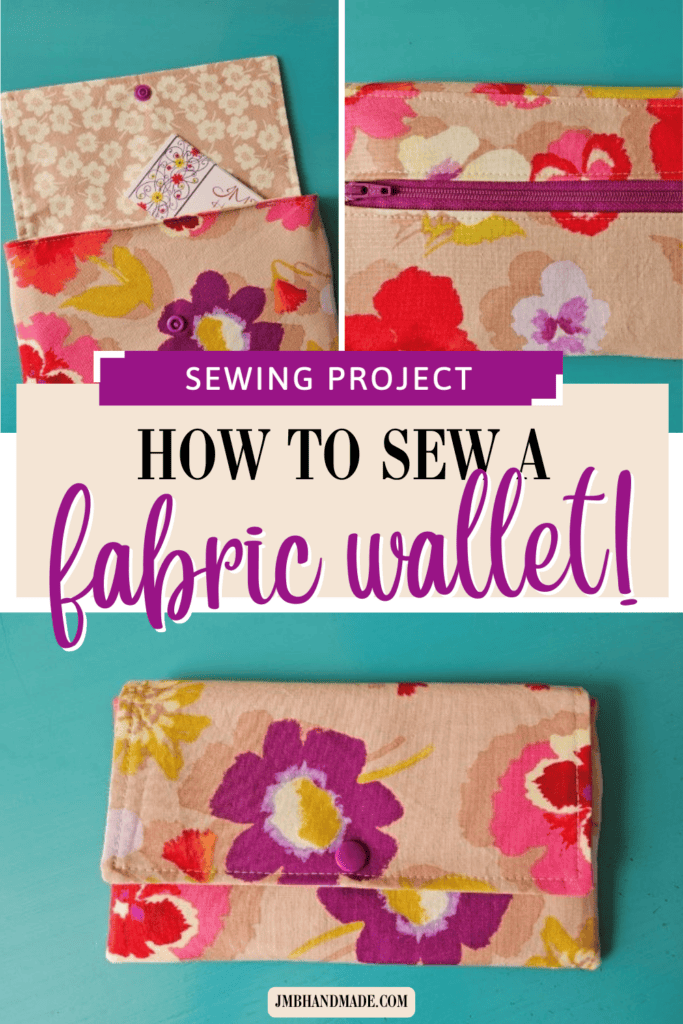
How to Sew a Fabric Wallet with Snap Closure – Sewing Tutorial

Sew a cute fabric wallet with snap closure using this step-by-step tutorial.
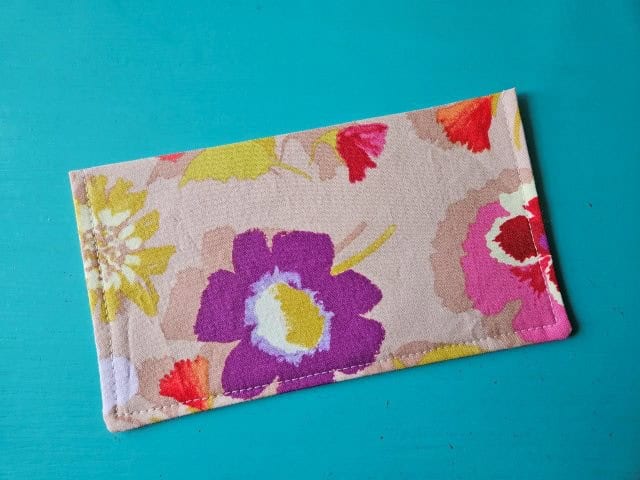
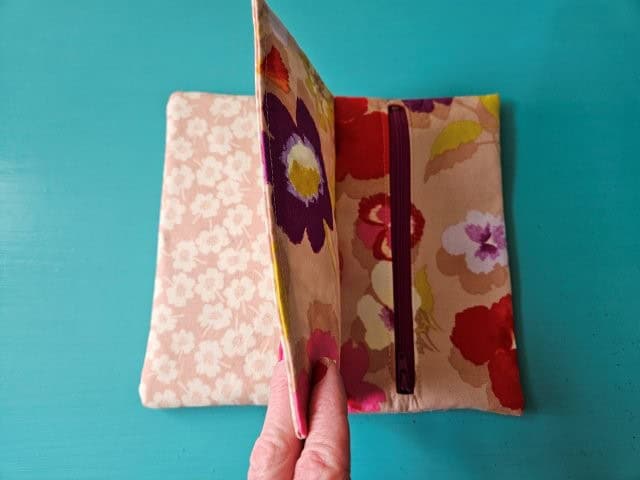
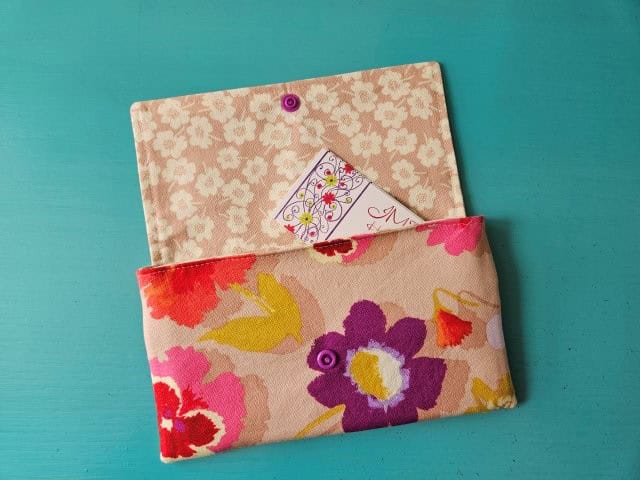
This fabric wallet is big enough to hold all your credit cards, ID, cash / coins, and phone. The wallet features two pockets for your cards and ID, a pocket for cash, and an outside zipper pocket for coins. Two fat quarter fabric pieces are perfect for sewing this fabric wallet.
Use the fabric wallet alone as a clutch or sew a matching messenger sling bag or a simple tote bag to carry the wallet in.
This post contains affiliate links at no cost to you. Please see below disclosure for more information.
***You can find the AD-FREE, printable PDF version of this sewing tutorial available for purchase in my Etsy shop HERE. Includes 15 pages of step-by-step instructions with pictures. Print a copy to keep next to your sewing machine for easy reference.***
Fabric wallet supplies needed:
- One cotton fat quarter for the outer fabric – my favorite fabric shop
- One cotton fat quarter for the lining fabric
- Cutting mat
- Rotary cutter
- Clear ruler
- Fusible interfacing – Pellon P44F Fusible Interfacing
- KAM plastic snap and setting tool
- 7-inch zipper – my favorite zipper shop
- Sewing scissors
- Sewing machine

Measure and cut the fabric
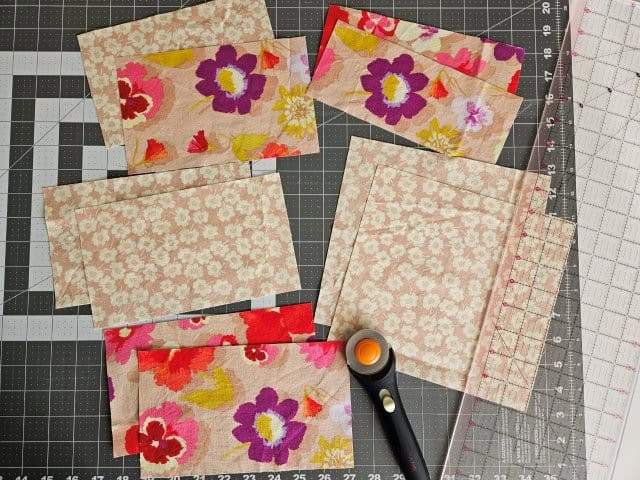
Using your cutting mat, clear ruler, and rotary cutter, cut two outer fabric pieces and two lining fabric pieces each measuring 8.5″W x 5″H for the body of the wallet.
Cut one outer fabric piece and one lining fabric piece each measuring 8″W x 4.5″H for the fabric wallet flap closure.
For the inside pockets, cut two lining fabric pieces each measuring 8.5″W x 8″H.
Cut two outer fabric pieces each measuring 8.5″W x 3.5″H for the outside zipper pocket on the back of the wallet.
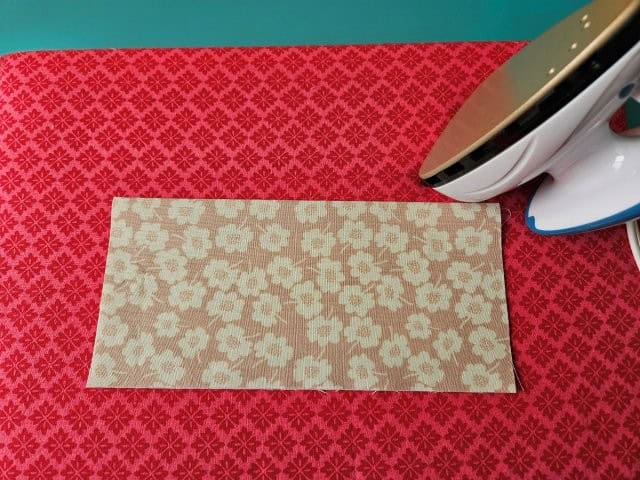
Attach the fusible interfacing
I’m using Pellon P44F Fusible Interfacing for this fabric wallet, but any lightweight fusible interfacing will work.
Attach the fusible interfacing to the back of all the fabric pieces, following the package instructions.
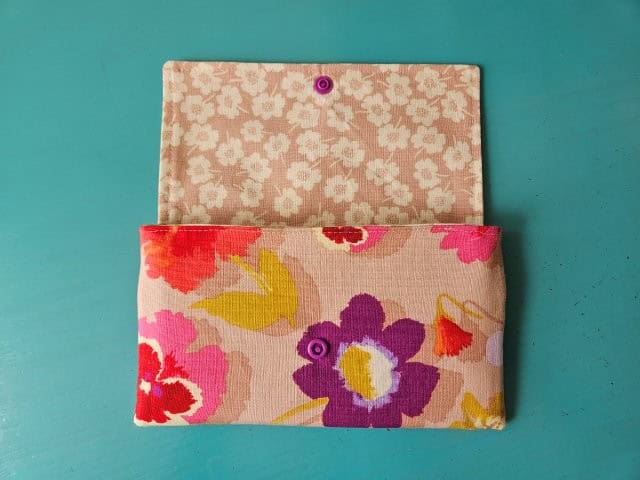
Add the inside pockets
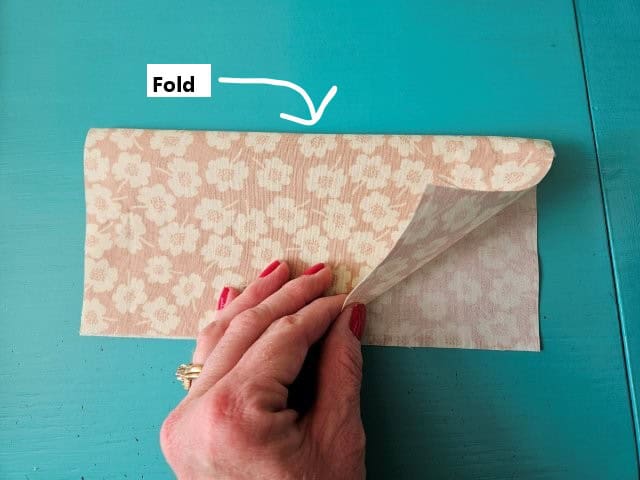
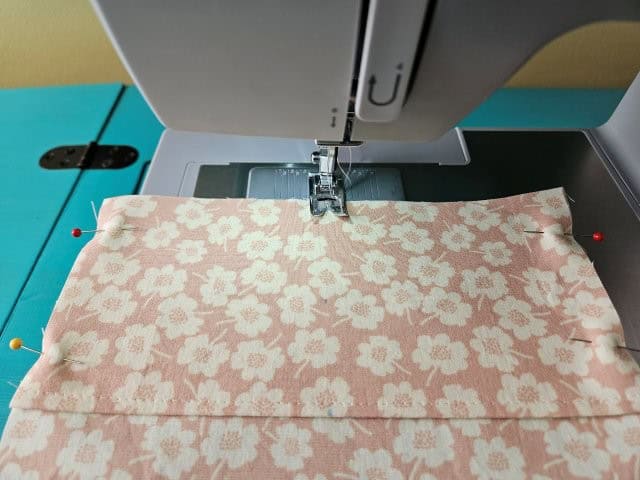
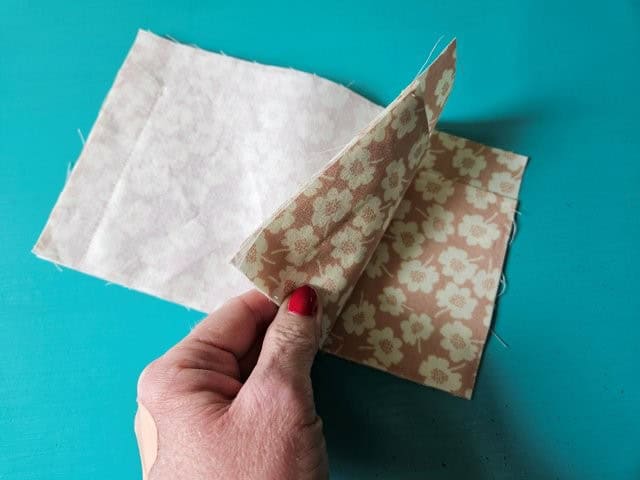
Fold each pocket fabric piece (the pieces measuring 8.5″ x 8″) in half with the fold at the top, wrong sides together. Press the fold.

Top stitch across the fold.
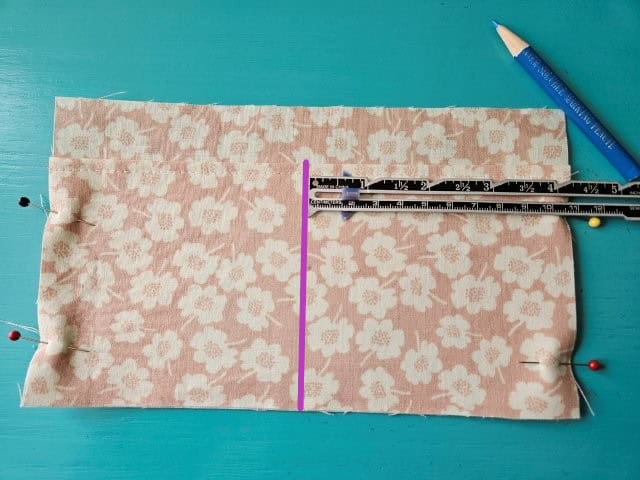
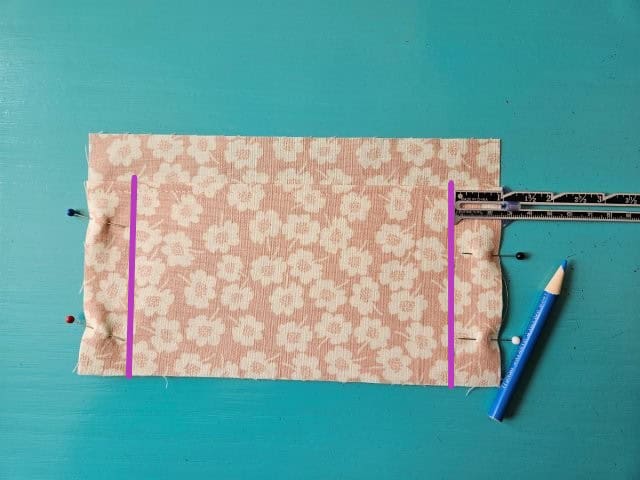
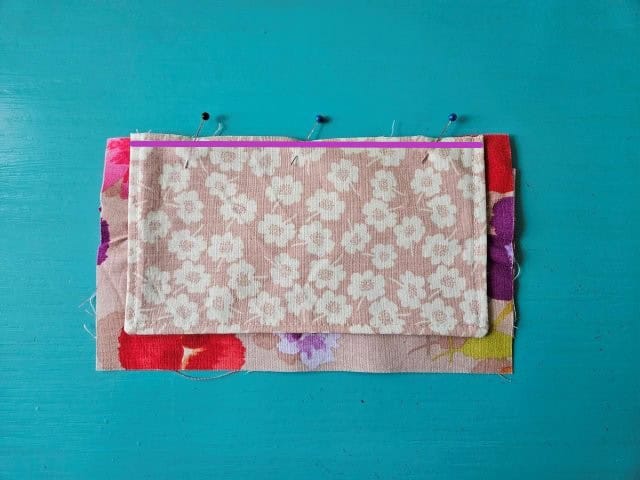
Place one of the pocket pieces on top of one of the lining fabric pieces, lining up the sides and bottom. Pin to hold in place. Mark the center (4.25″) with a marking pencil – I marked the top, middle, and bottom of the pocket.
Starting from the bottom, sew a straight line along the marks you just made. Backstitch when you reach the top of the pocket.
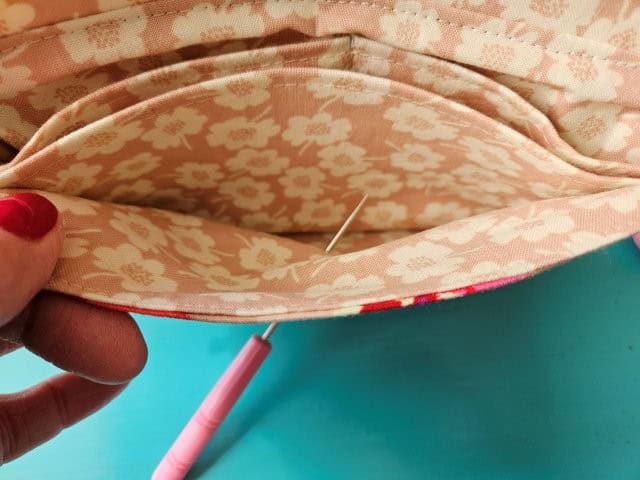
These two pockets are for credit cards, ID, and other smaller items.
Next, place the other pocket piece on top of the other lining piece and pin to hold in place.
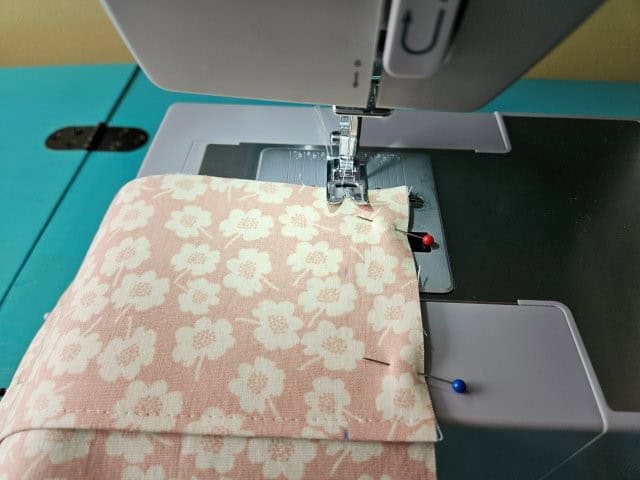
Starting from the bottom of the pocket, sew along each side 1-inch from the edge.
This pocket can be used for cash.
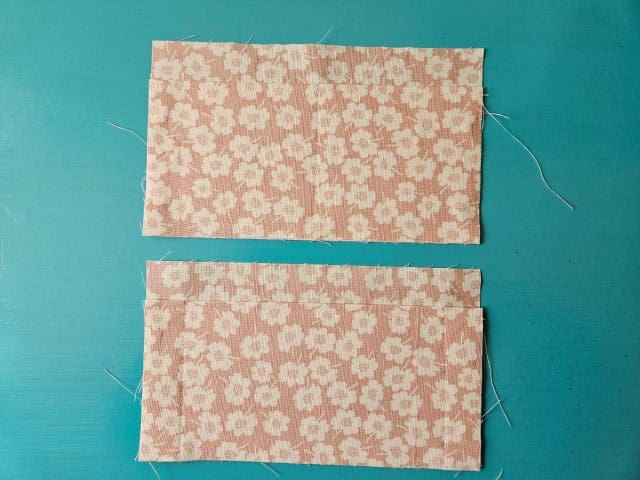
The above picture shows the finished pockets.
***You can find the AD-FREE, printable PDF version of this sewing tutorial available for purchase in my Etsy shop HERE. Includes 15 pages of step-by-step instructions with pictures. Print a copy to keep next to your sewing machine for easy reference.***
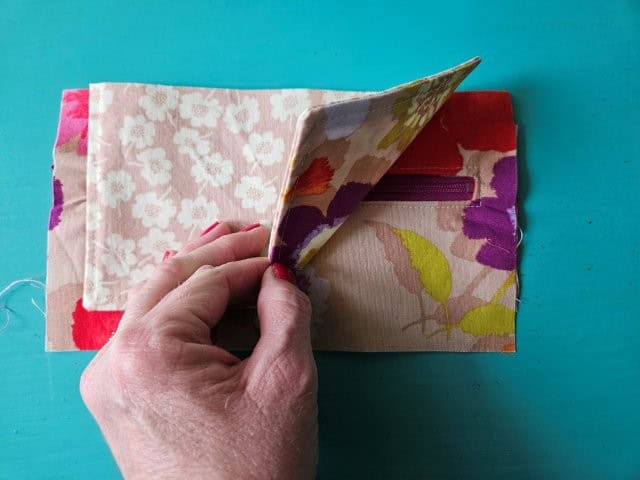
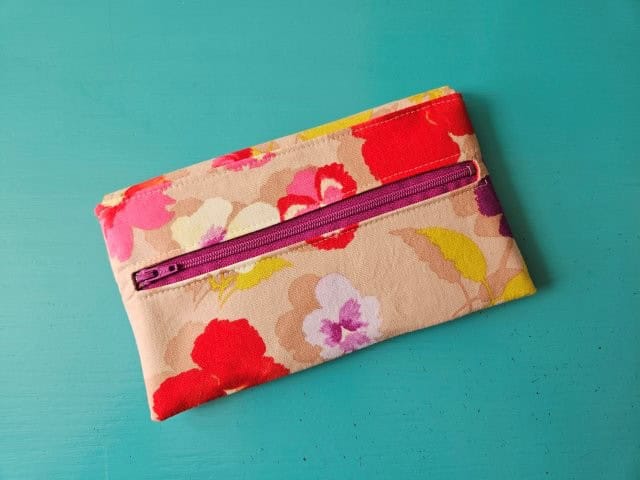
Add the outside zipper pocket
Now is the time to add the outside zipper pocket to the back of the fabric wallet.
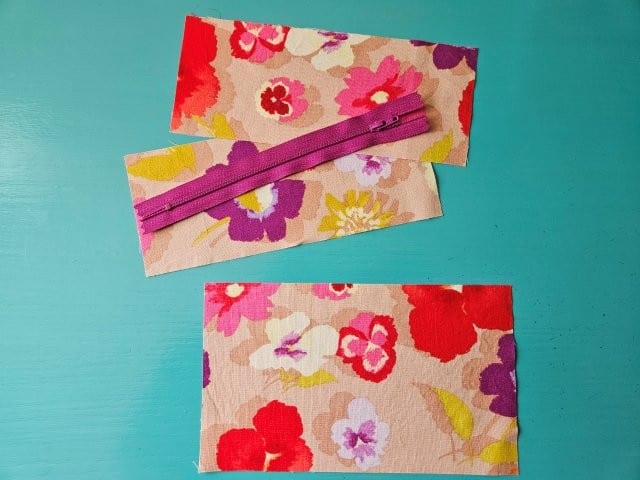
Grab the back fabric piece and zipper and follow these instructions on how to add a zipper pocket.
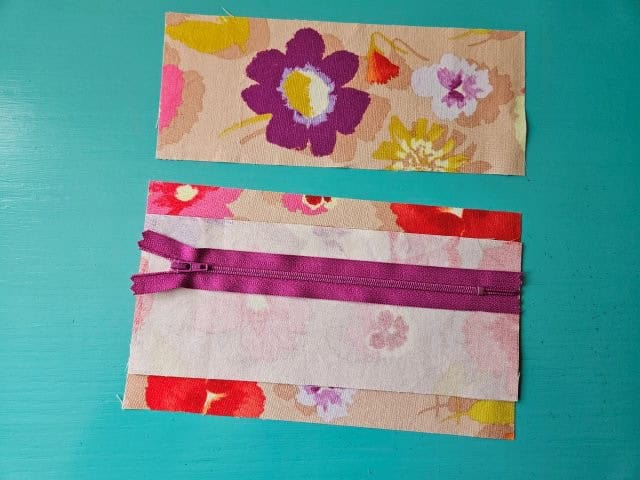
The above picture shows the placement of the zipper.
Sew the fabric wallet flap closure
Place the flap fabric pieces (the pieces measuring 8″x4.5″) right sides together. Pin the sides and top to hold in place.
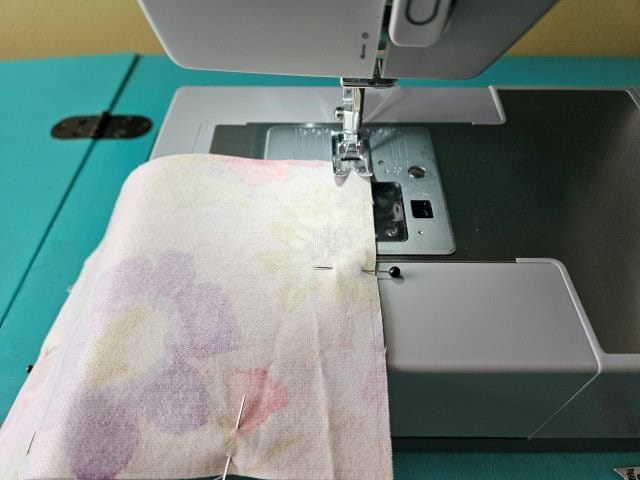
Sew along the sides and top of the flap using a 3/8″ seam allowance, leaving the bottom open.
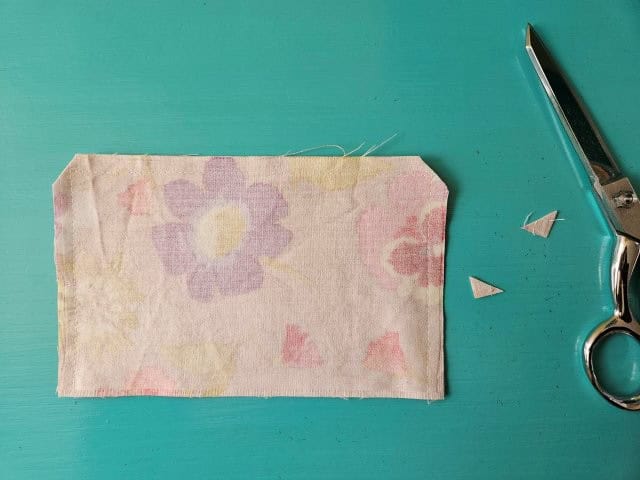
Clip the corners.
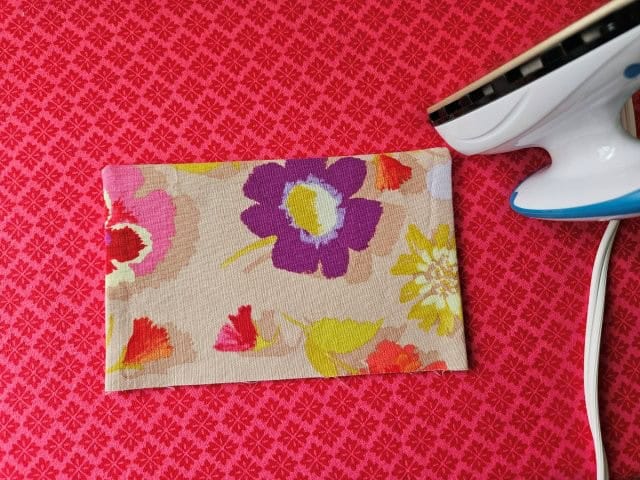
Turn right side out and press.
(You can find my instructions on how to make your own mini ironing board here. And here’s where you can find a mini steam iron to go with it.)
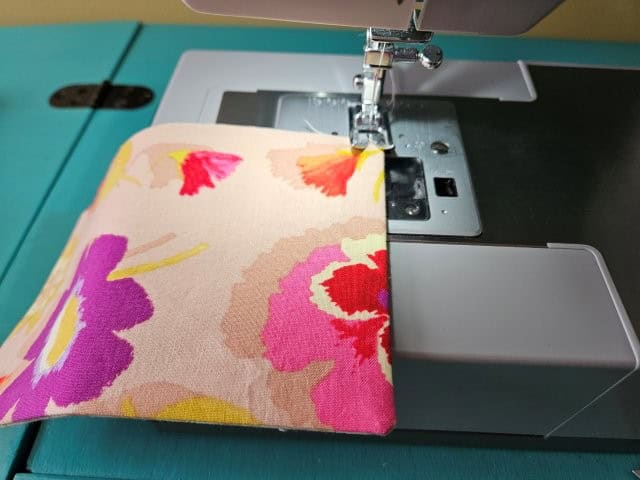
Top stitch around the sides and top of the fabric wallet flap, pivoting the corners.
The above picture shows the finished flap closure.
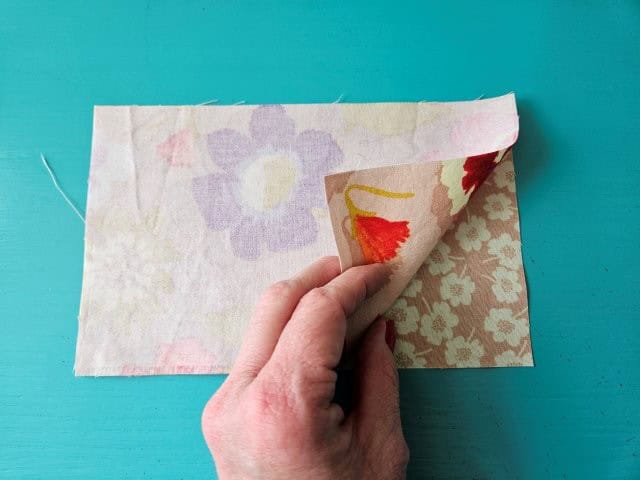
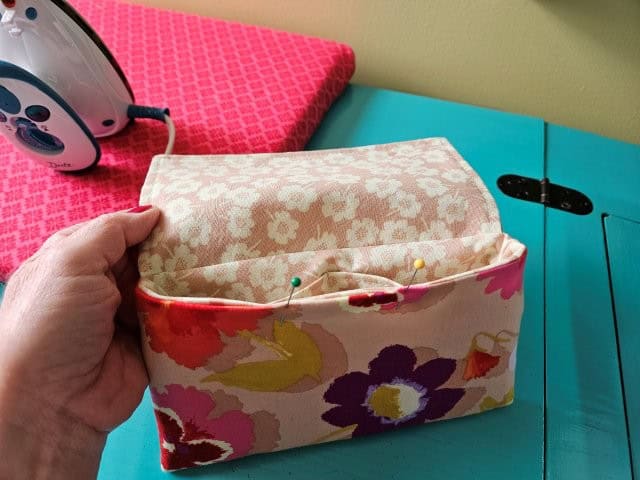
Baste the flap cover to the wallet
You are going to baste the flap cover to the outer back fabric piece of the wallet.
Place the flap on top of the back outer fabric piece, outer fabric right sides together. The flap should be about 1/2-inch from each edge. Pin to hold in place.

Baste along the top edge.
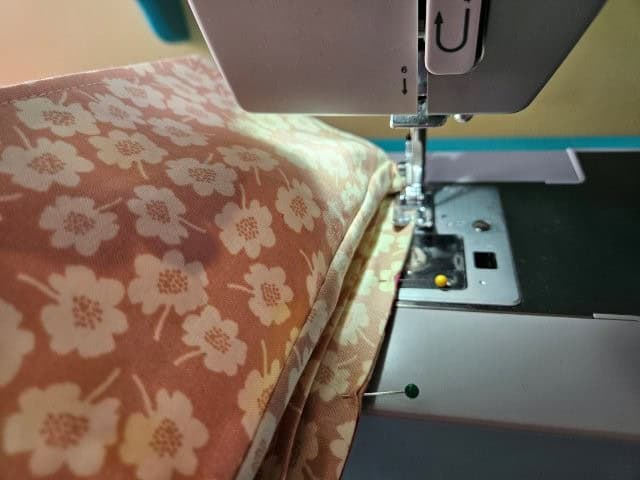
Time to sew it all together
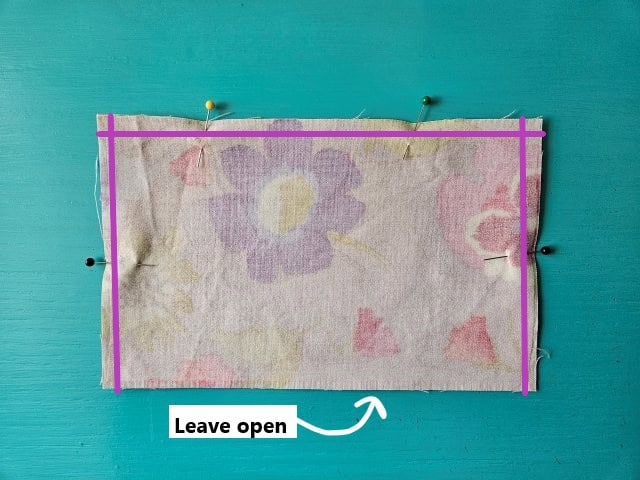
Starting with the lining, place the lining fabric pieces right sides together. Pin the sides and bottom, leaving the top open.
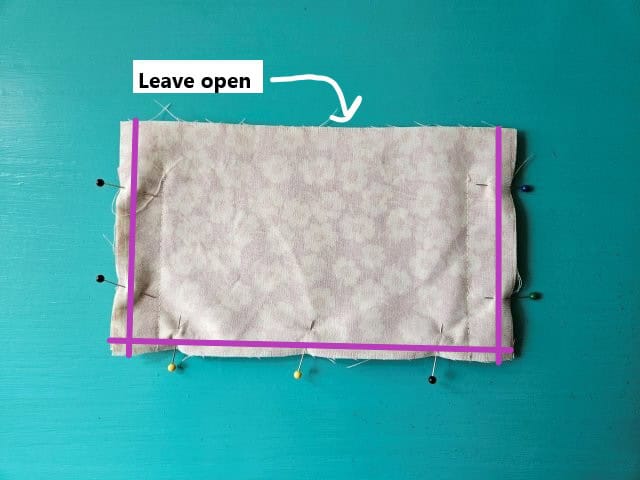
Sew the sides and bottom using a 3/8″ seam allowance.
Repeat with the outer fabric pieces.
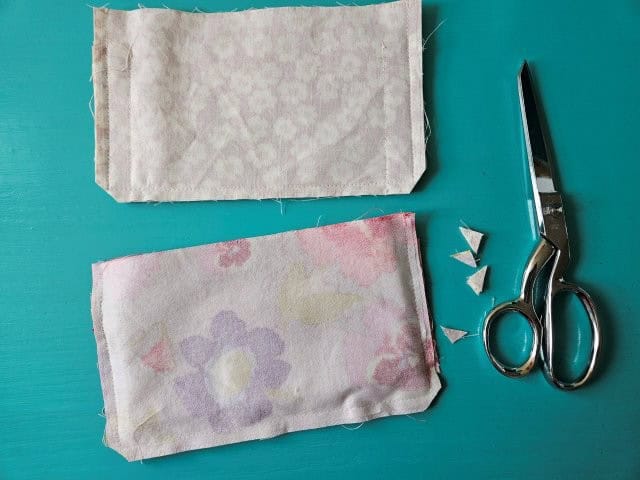
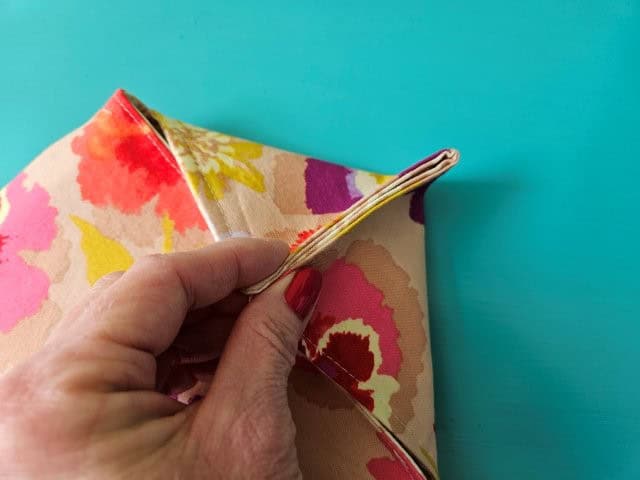
Clip the bottom corners using your sewing scissors.
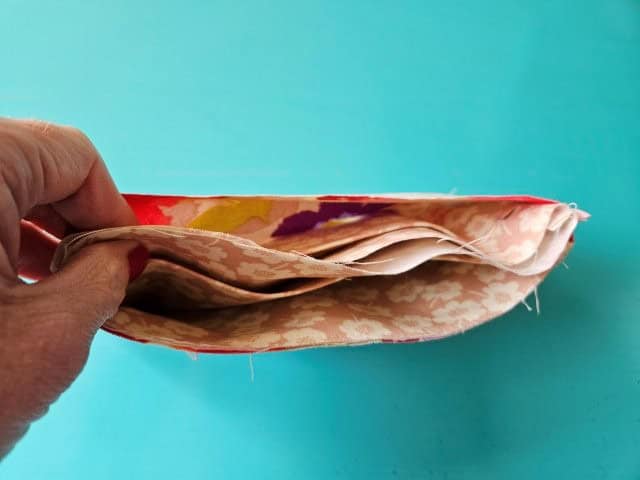
Turn the lining wallet piece right side out. Keep the outer wallet piece wrong side out. Put the lining inside the outer wallet piece (wrong side out. The right sides of the fabric should be facing each other. Be sure the flap is inside, in between the fabrics.
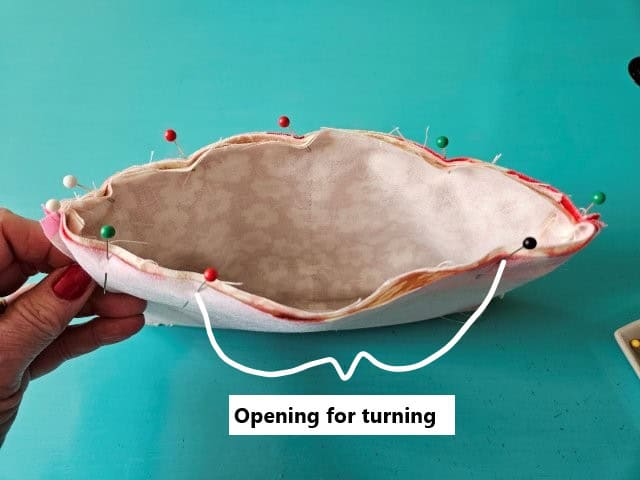
Line up the side seams and pin around the top, leaving an opening for turning.
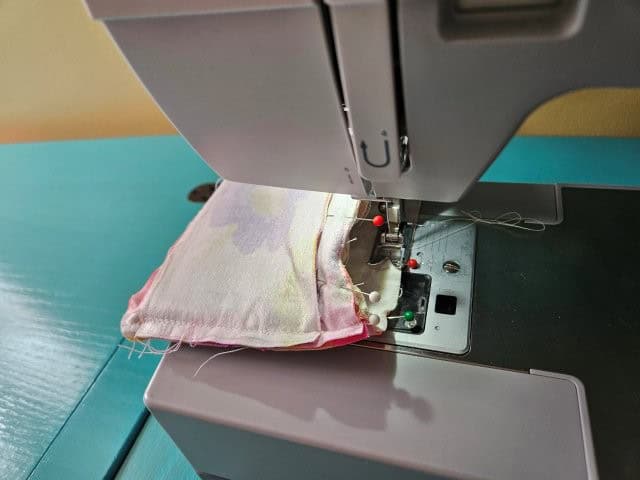
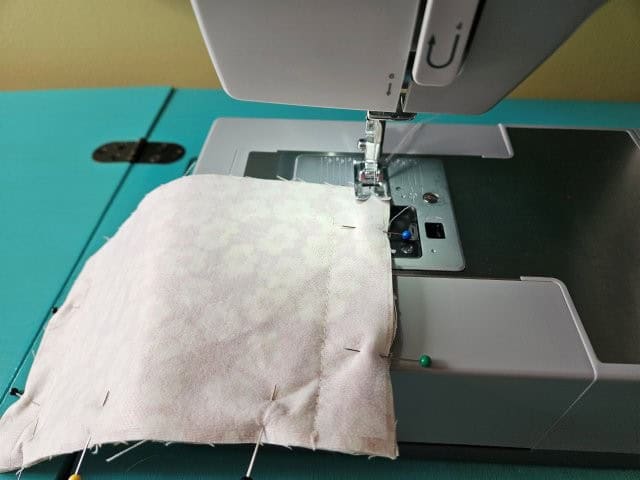
Carefully sew around the top using a 3/8″ seam allowance, again leaving an opening for turning.
Turn the wallet right side out
Through the opening, turn the fabric wallet right side out, pushing out the corners.
Push the lining inside the wallet.
Press around the top and pin the opening.
Top stitch around the top. This will give it a finished look and closes the opening made for turning. Press.
Attach the KAM snap
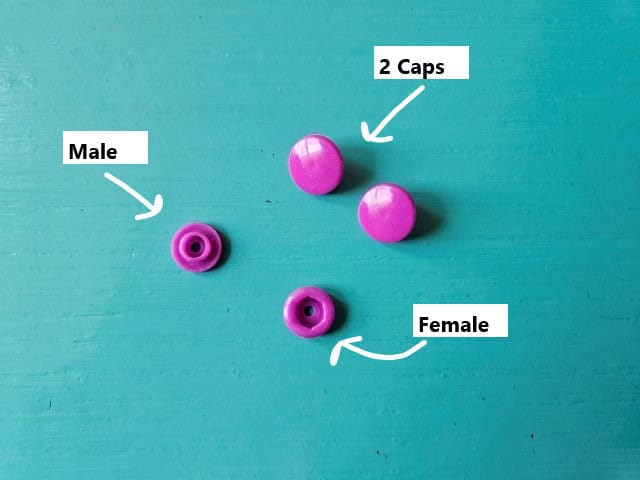
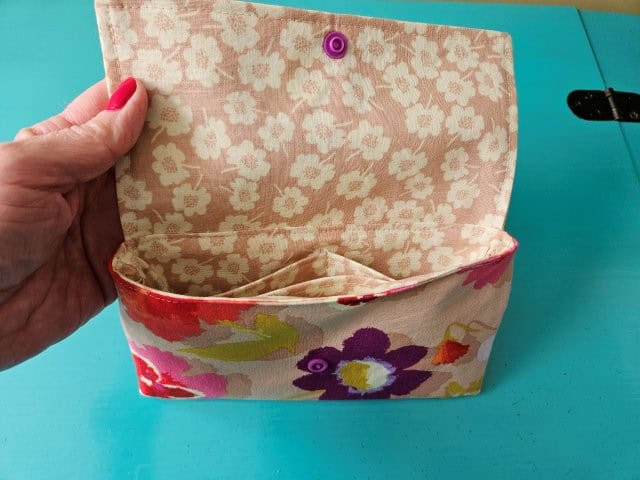
For this fabric wallet, I’m using plastic KAM snaps. The KAM snap has four parts – male, female, and two caps.
First, you’ll need to find the middle of the flap – fold the flap in half and the fold will be the middle.
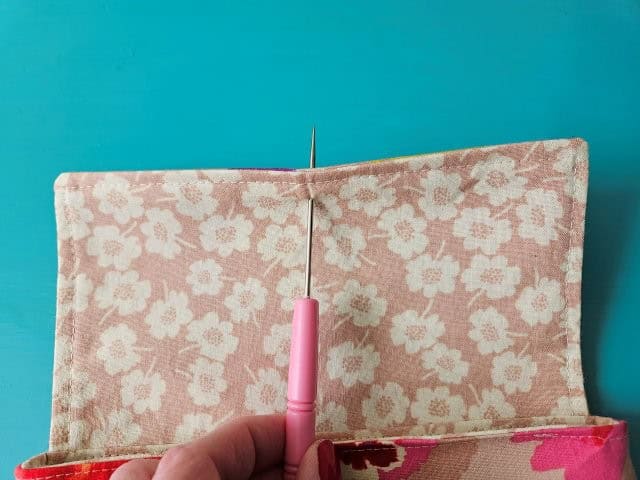
Make a hole in the flap for the snap using the awl tool.

Use the KAM setting tool to apply one cap and the male snap piece to the wallet flap.
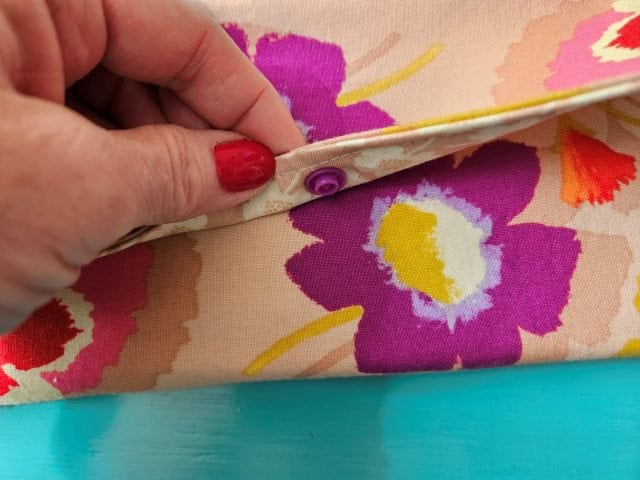
Close the flap and use the awl to make the hole where the other side of the snap should be placed. Use the setting tool to apply the other cap and the female plastic piece.
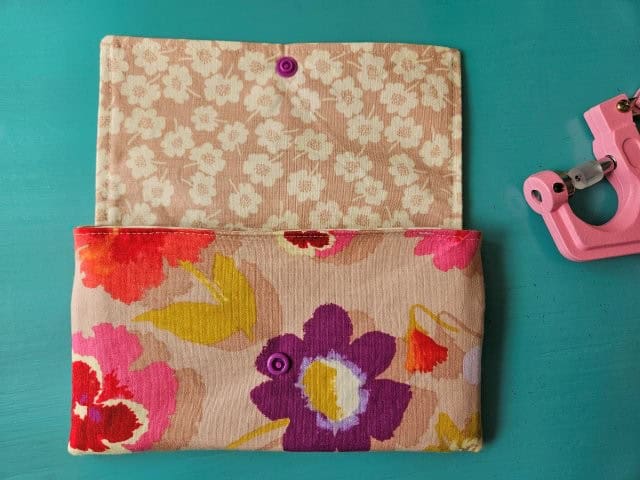
The above picture show the snaps attached.
Press one more time.
Pin for later!
***You can find the AD-FREE, printable PDF version of this sewing tutorial available for purchase in my Etsy shop HERE. Includes 15 pages of step-by-step instructions with pictures. Print a copy to keep next to your sewing machine for easy reference.***
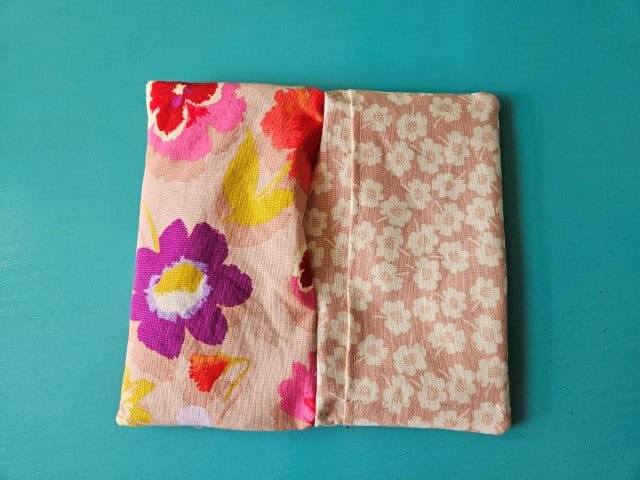
You are finished!
I hope you enjoyed sewing a cute new fabric wallet using this sewing tutorial! Happy sewing!
More sewing projects you might like:
- Mini Card Wallet Sewing Tutorial
- How to Sew a Quilted Patchwork Handbag
- Belt Bag / Fanny Pack Sewing Tutorial
- Simple Wristlet Purse Sewing Project