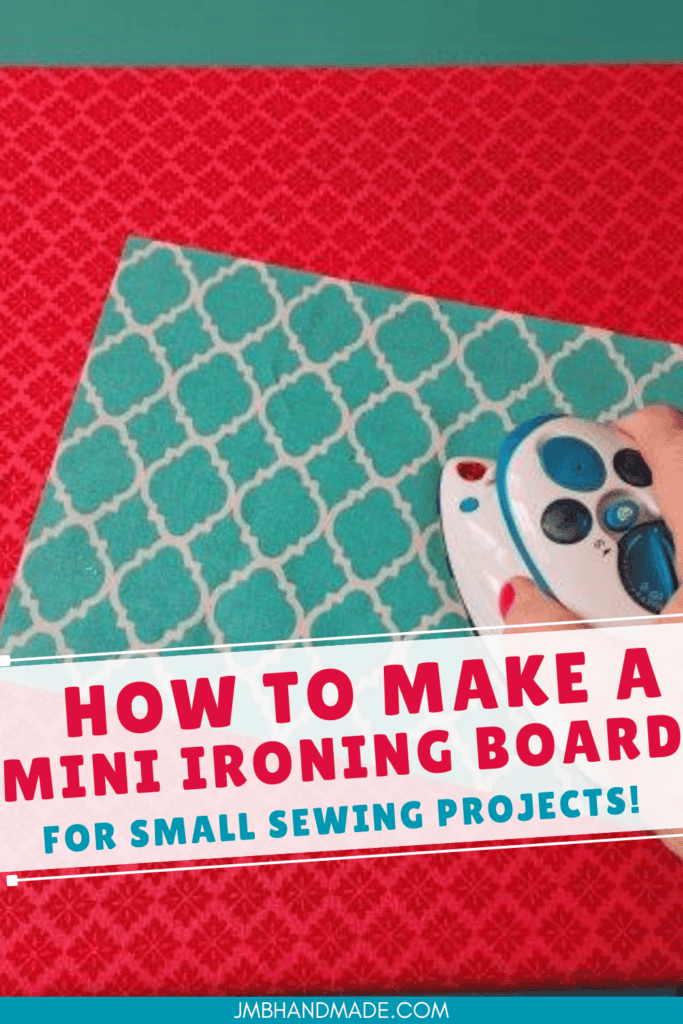
How to Make a Mini Ironing Board for Small Sewing Projects
Make a mini ironing board for small sewing projects with items you might have on hand using these easy to follow instructions.
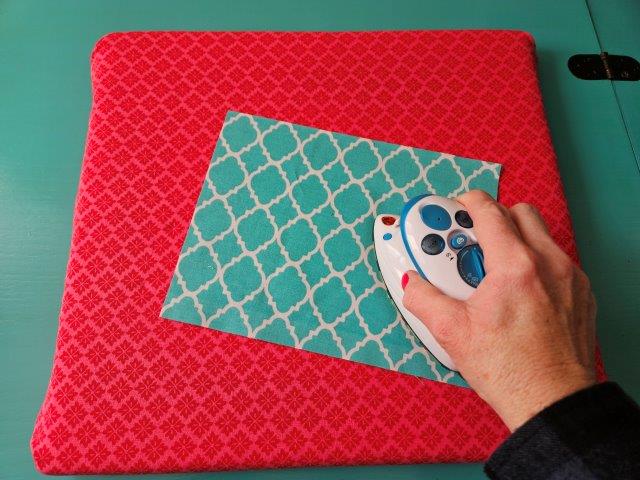
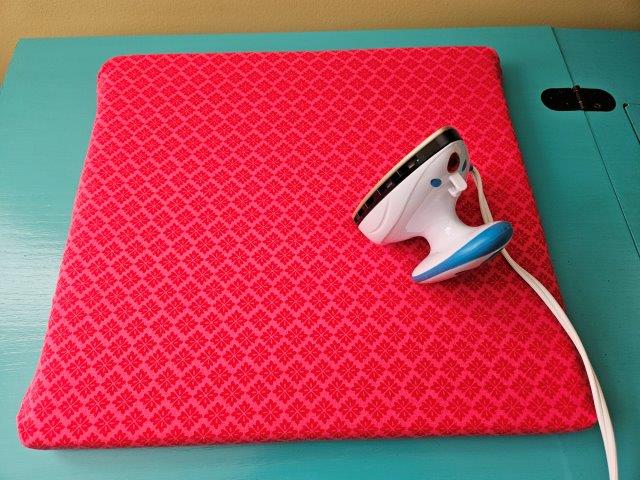
A mini ironing board can come in handy. Sometimes when you’re working on small sewing projects (quilt blocks for example), you don’t want to get up and walk over to your large ironing board. Why not make a mini ironing board to keep next to your sewing machine. It’s also portable so you can take it with you when you travel.
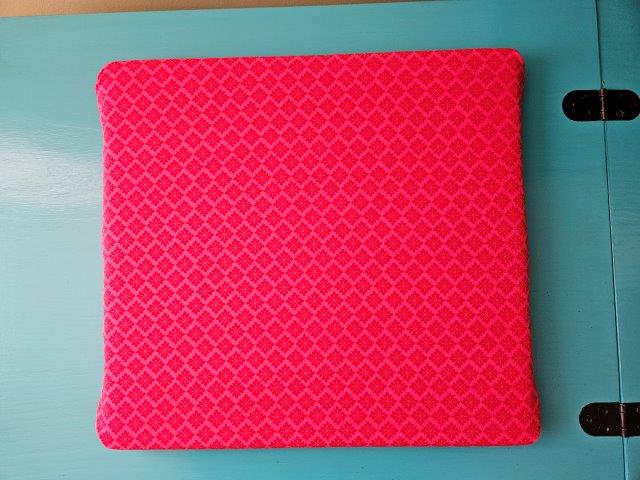
This mini ironing board is made with plywood, cotton batting, and cotton fabric. My husband cut a piece of plywood the size I wanted from wood we had in our garage from another project. You can get a precut piece at your local hardware store if you don’t have wood on hand. I used scrap batting I had from sewing projects. If you don’t have any batting, you can use a thick towel instead.
This post contains affiliate links at no cost to you. Please see below disclosure for more information.
Mini ironing board supplies needed:
- Small plywood board – my board measures 15″ x 14″ x 0.75″ but you can choose the size you want
- Cotton batting – two pieces or enough to double
- Cotton Fabric – 1 yard or enough to double – my favorite fabric shop
- Sewing scissors
- Staple gun
- Mini steam iron to go with it (optional)

Attach the batting to the ironing board
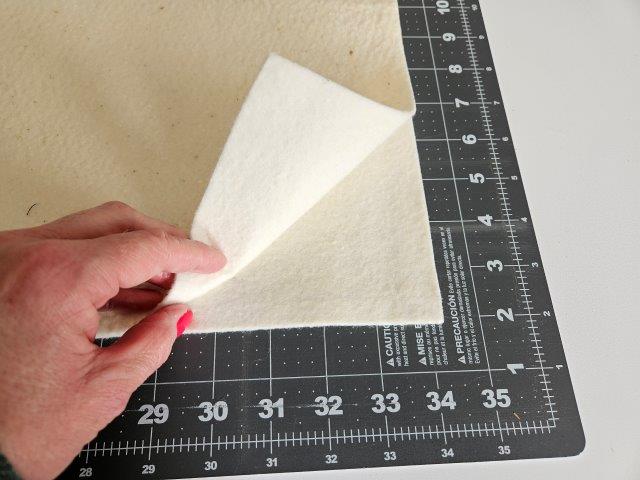
Double your batting and lay out on your table.
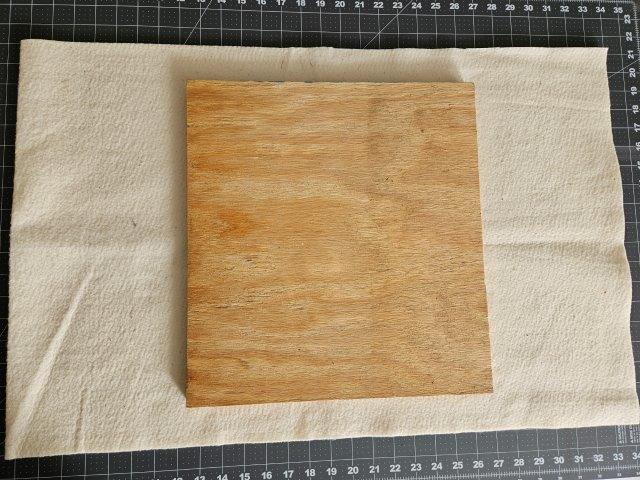
Place the wood for your mini ironing board on top of the batting in the center. Be sure the side of the board you want as the top is face down on the batting.
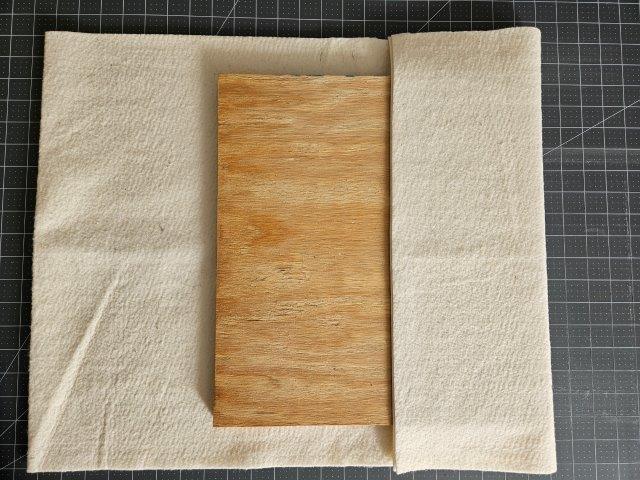
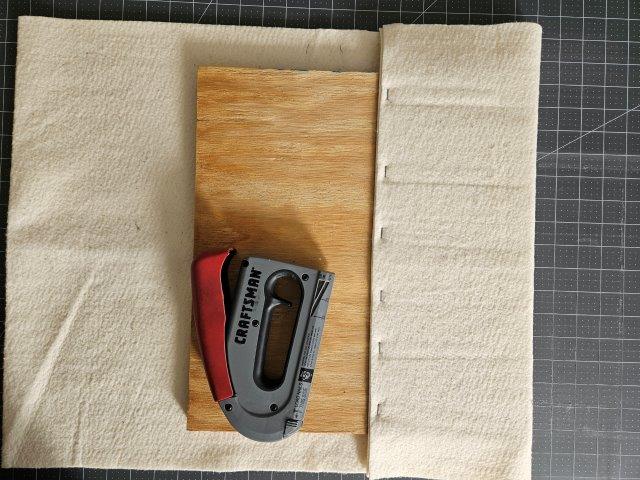
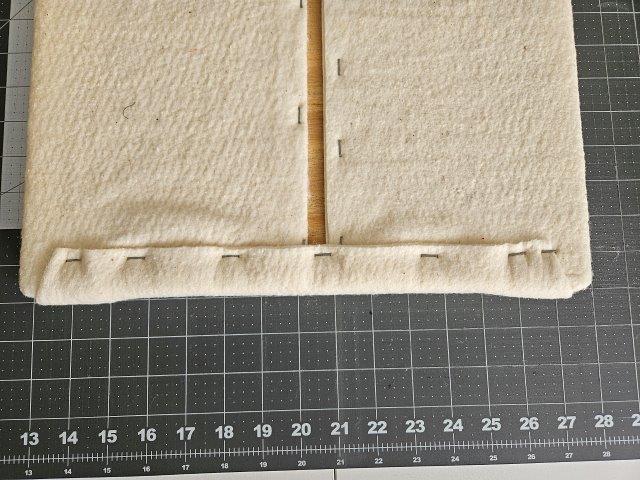
Fold over one side of the batting onto the mini ironing board. Use your staple gun and add a few staples.
Then, fold over the opposite side and staple. Remember not to pull the batting too tight.
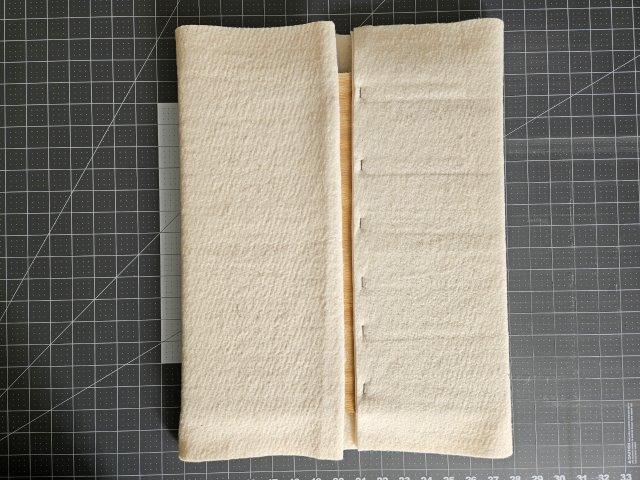
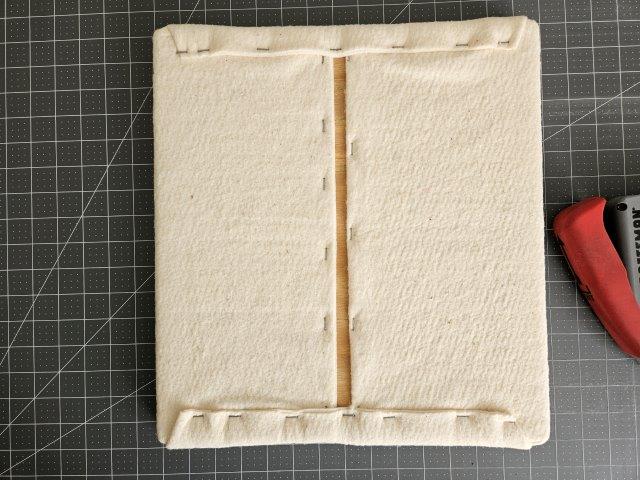
Trim excess batting
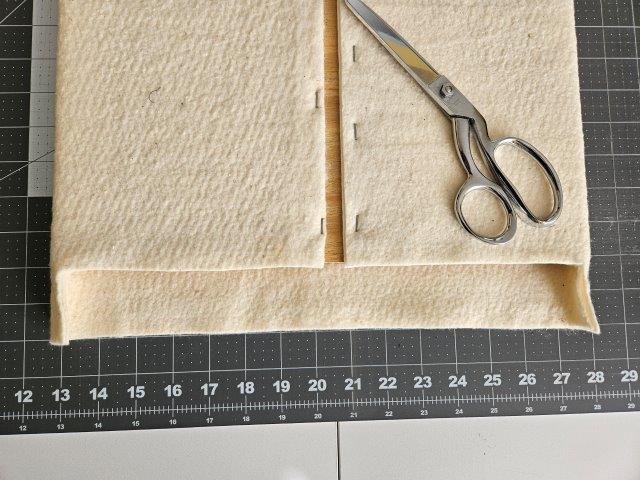
Using your sewing scissors, trim the top of the sides that aren’t stapled to keep your mini ironing board from being too bulky. See above picture.
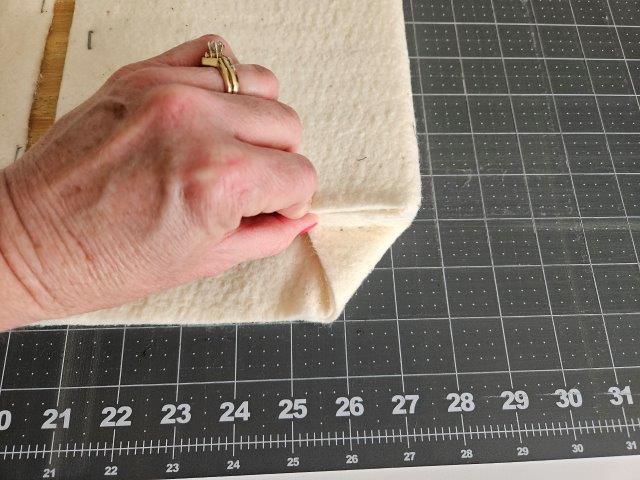
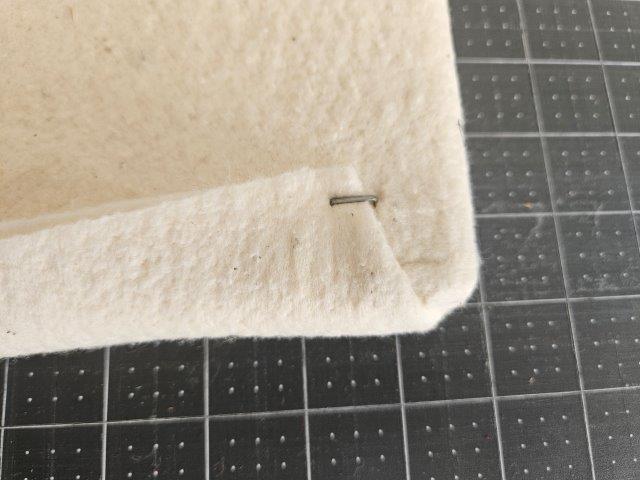
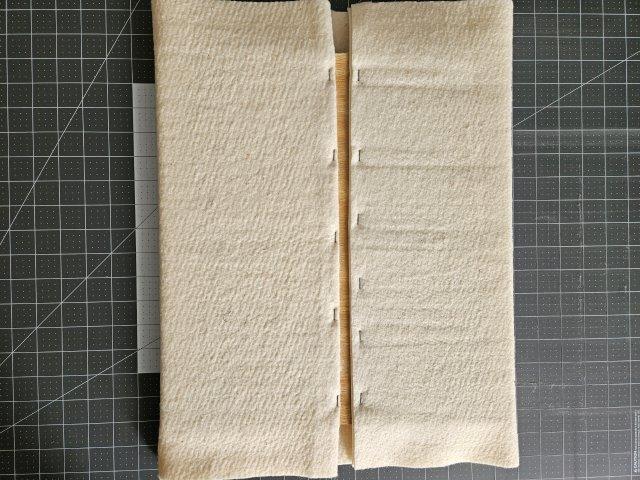
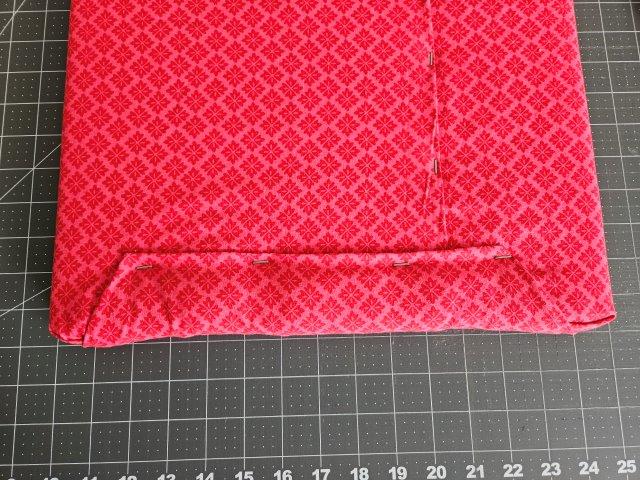
Fold the corner in like you are wrapping a present. Then, fold up over the board and staple.
Do the same with the other corner. Add a few staples to the middle.
Repeat these steps for the other side of the mini ironing board.
Add the fabric
You are going to follow the same steps with the fabric with some slight differences.
Double your fabric and place the mini ironing board on top of the fabric, staple side facing up.
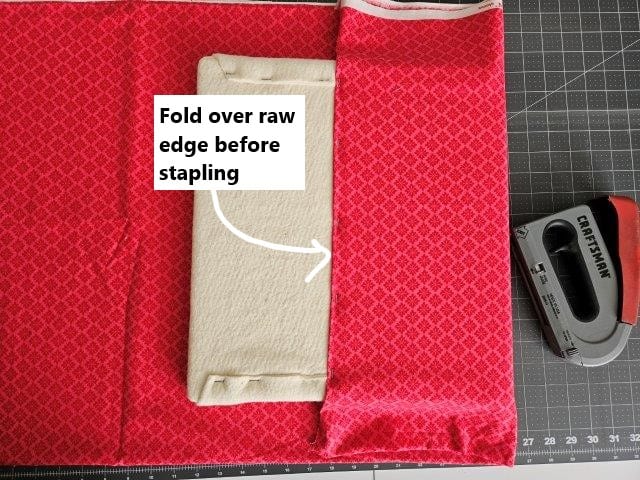
Fold the fabric over the mini ironing board, hiding the raw edges, and staple to the board.

Do the same to the opposite side.

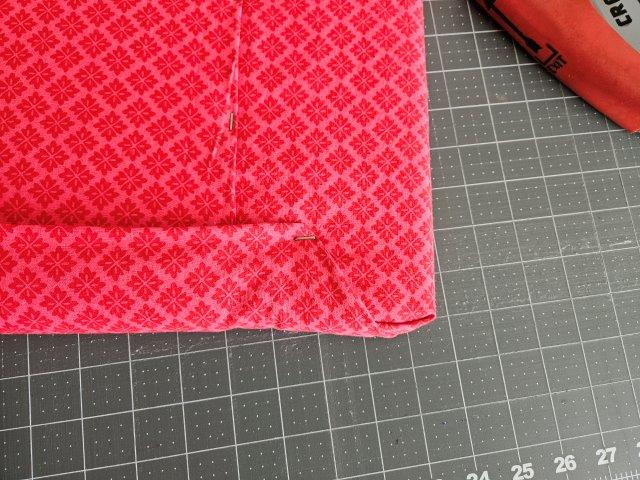
For the other two sides, fold over like you are wrapping a present. No need to trim the fabric first. If you have raw edges, fold those over before stapling.
Remove the staples when you want to replace the fabric or you can add new fabric on top of the old fabric!
Pin for later!

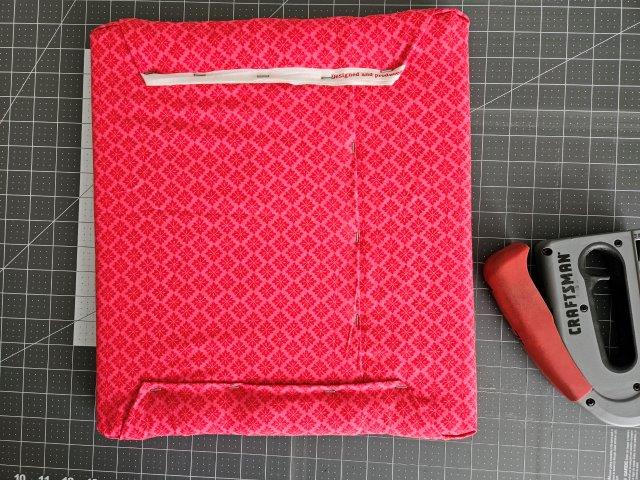
You are finished!
I hope you found this tutorial on how to make a mini ironing board useful. Now you can keep the board next to your sewing machine or take it with you when you travel! Happy sewing and ironing!
Small sewing projects you might like:
- Mini Zipper Pouch Key Chain Sewing Project
- Simple Fabric Tray Sewing Pattern
- DIY Eyeglass Case with Button Closure
- Mini Fabric Storage Basket Sewing Tutorial