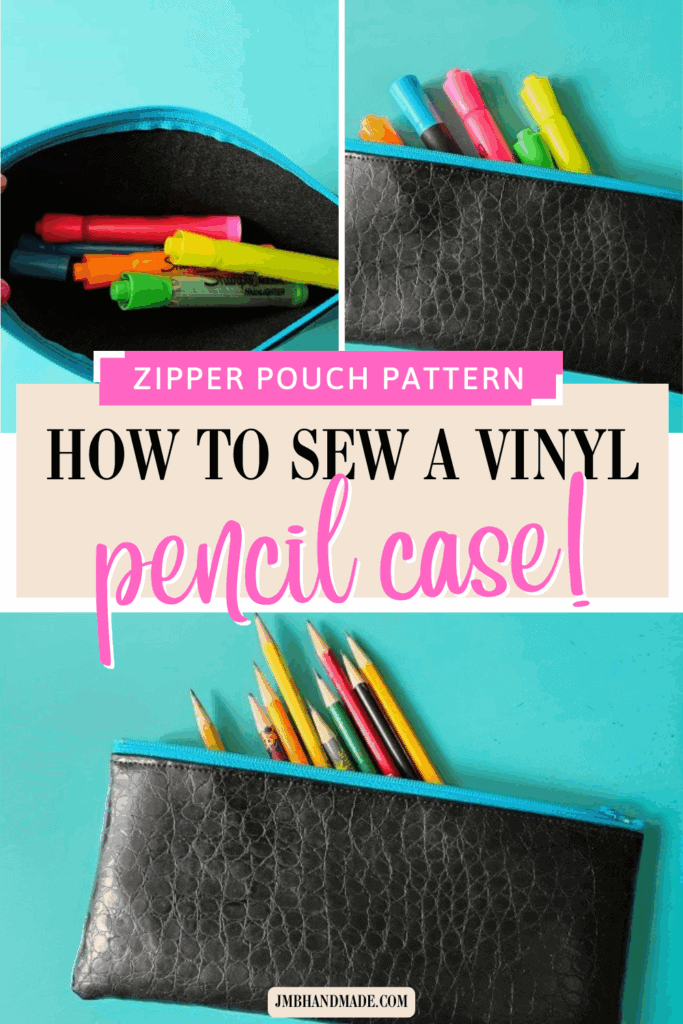
DIY Vinyl Pencil Case Zipper Pouch

Quick and easy sewing tutorial on how to make a DIY pencil case zipper pouch using vinyl fabric.
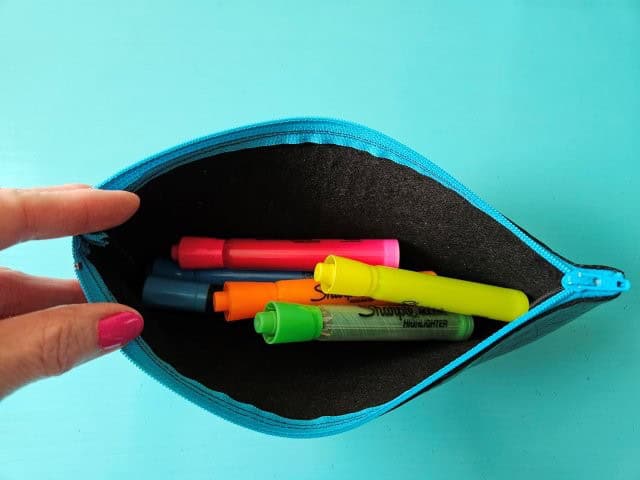
The DIY vinyl pencil case is similar to the small zipper pouch coin purse only it’s sewn without a lining. I love working with vinyl because it doesn’t fray and it’s very durable.
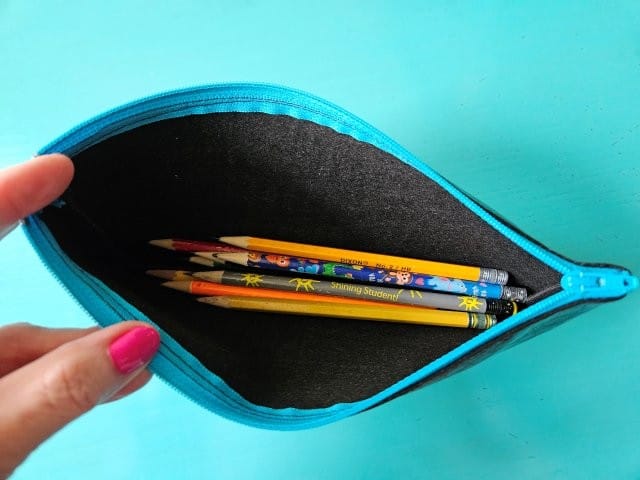
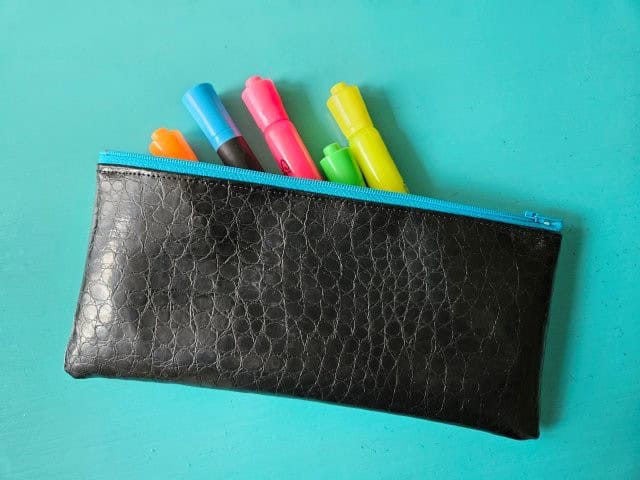
This vinyl pencil case zipper pouch is perfect for not only pencils and pens but also highlighters, markers, crochet hooks, makeup, school supplies, sewing essentials, nail files and polish, and so many other uses. These zipper pouches make great teacher gifts, too!
When working with vinyl, you’ll want to use a sewing machine needle for vinyl / leather and a plastic presser foot. The plastic presser foot keeps the vinyl moving when sewing.
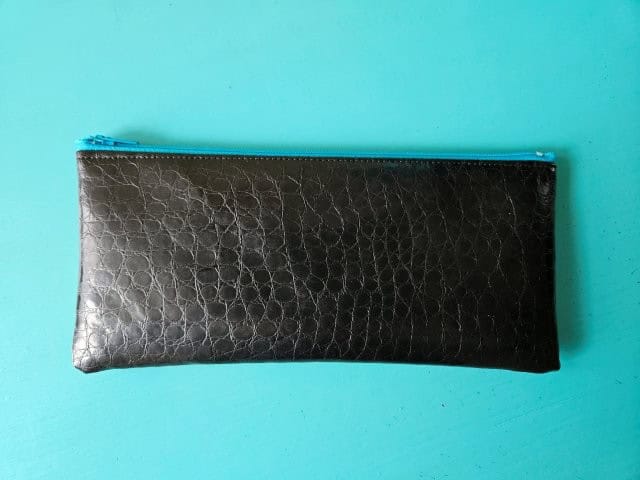
The finished pencil case is 9.5″W x 4.5″H. You can make this zipper pouch any size you want. See below rule of thumb for zipper sizing.
Try using vinyl to make a wristlet purse without the lining or a tote bag with vinyl bottom!
Here are the instructions on how to sew a vinyl pencil case zipper pouch:
This post contains affiliate links. Please see below disclosure for more information.
***You can find the AD-FREE, printable PDF version of this sewing tutorial available for purchase in my Etsy shop HERE. Includes 9 pages of step-by-step instructions with pictures. Print a copy to keep next to your sewing machine for easy reference.***
Vinyl pencil case supplies needed:
- Two vinyl fabric pieces measuring 10.5″W x 5″H
- Cutting mat
- Rotary cutter
- Clear ruler
- 9″ zipper – my favorite zipper shop
- Plastic non-stick presser foot
- Sewing clips
- Sewing machine
Measure and cut the vinyl

Using your cutting mat, clear ruler, and rotary cutter, cut two pieces of vinyl fabric measuring 10.5″W x 5″H.
Sew the zipper
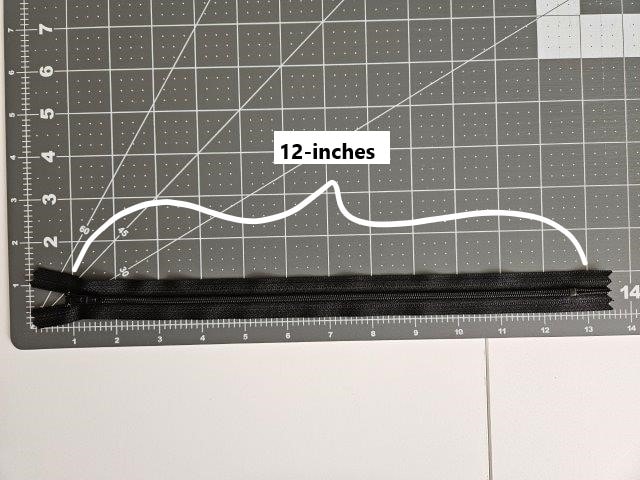
The zipper is 9-inches and is measured from the top metal stop to the bottom metal stop (see above picture showing a 12-inch zipper, as an example).
RULE OF THUMB: Your vinyl (fabric) pieces are 1.5-inches wider than the length of your zipper. If you wanted to use a 7-inch zipper, for example, you would need to cut the fabric 8.5-inches wide.
If your zipper is too long for the project you want to make, follow these instructions on how to shorten a zipper.

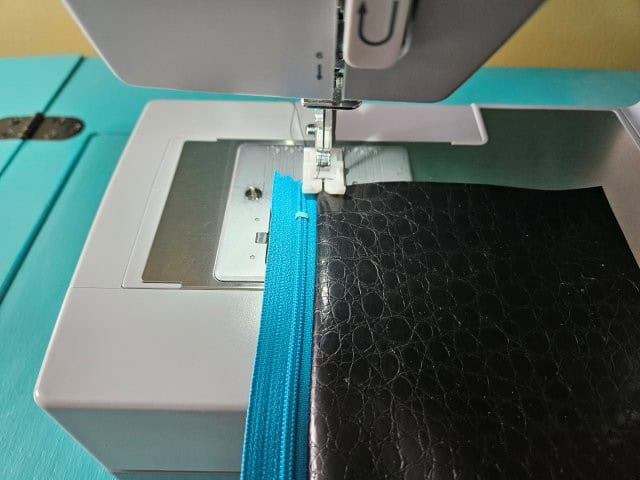
With one of the vinyl pieces right side up, place the zipper face down along the top edge. Use sewing clips to hold in place. (Straight pins will make permanent holes in the vinyl).
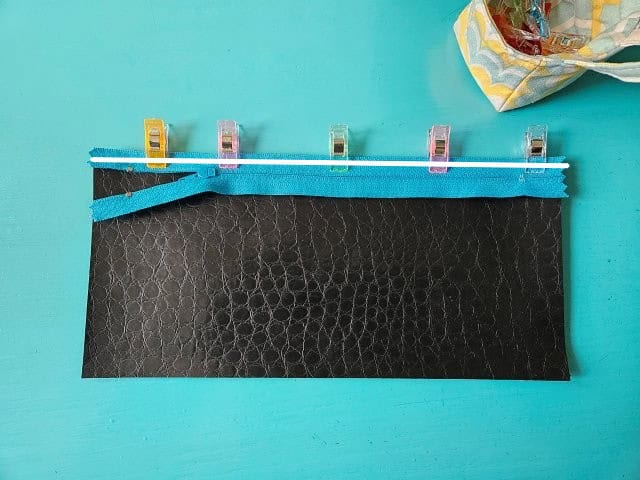
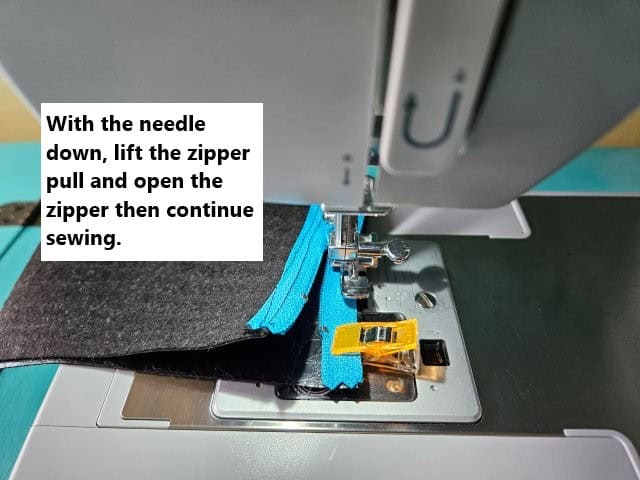
Before sewing the zipper, open the zipper about 1-inch – this will help with a smooth line of sewing.

Use your zipper foot for sewing the zipper. Begin sewing the zipper, then when you get to the place almost to the zipper pull, with the needle down, lift the zipper foot and move the zipper pull back to the top. Then lower the foot and continue sewing.
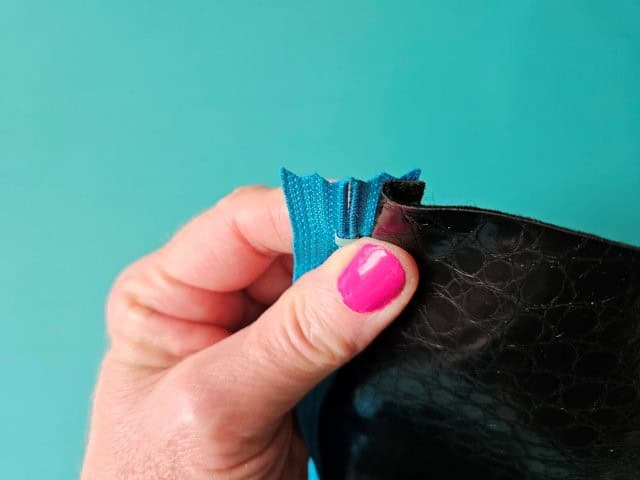
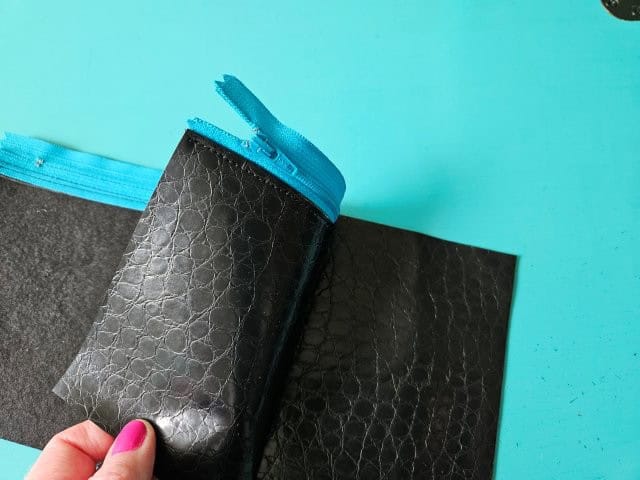
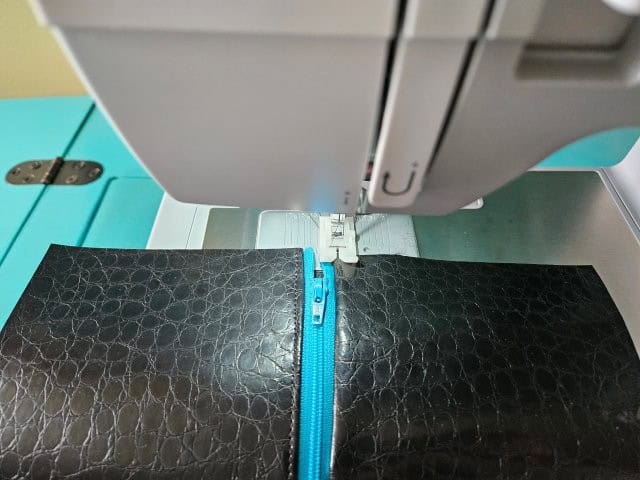
Fold the vinyl, with the zipper flat, and top stitch along the zipper using a plastic presser foot.
***You can find the AD-FREE, printable PDF version of this sewing tutorial available for purchase in my Etsy shop HERE. Includes 9 pages of step-by-step instructions with pictures. Print a copy to keep next to your sewing machine for easy reference.***
Repeat with the other vinyl fabric piece
Now you’re going to sew the other side of the zipper.
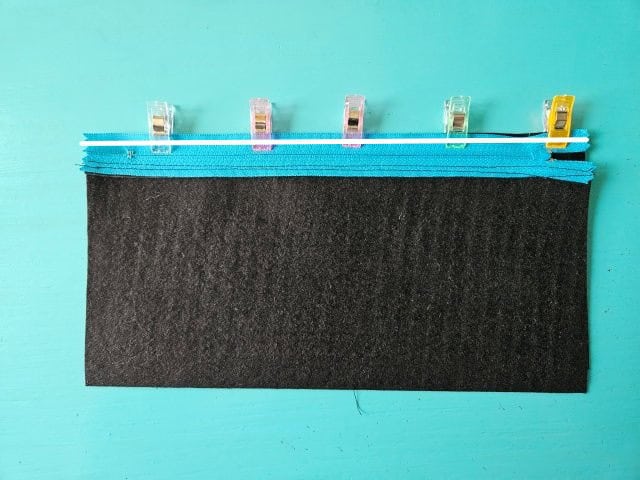
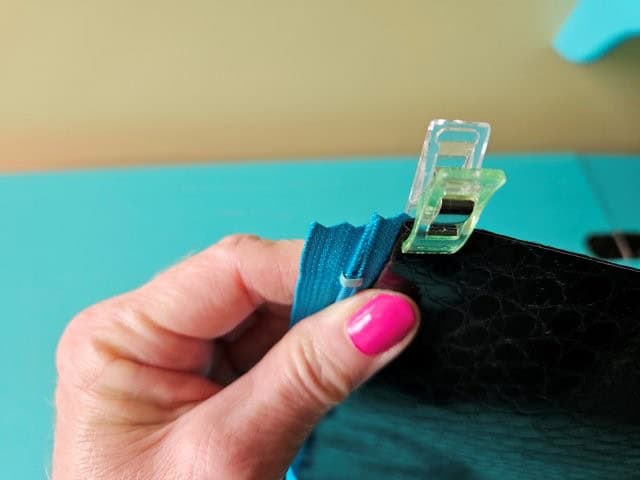
Place the zipper on top of the other vinyl fabric piece, right sides together, lining up the sides. Use sewing clips to hold in place.
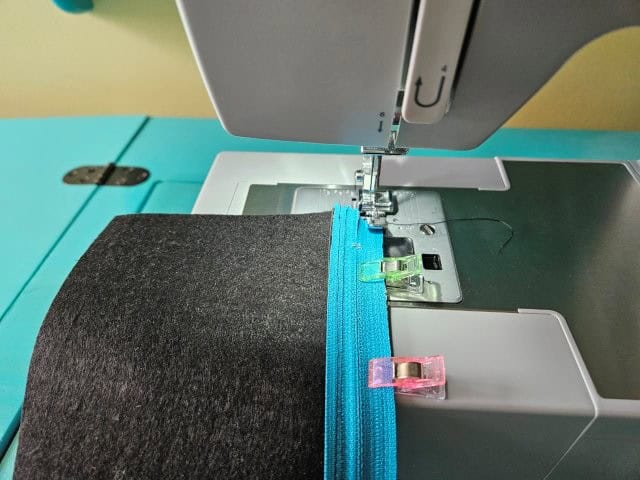
Sew the zipper, repeating the same process of opening and closing the zipper to sew a smooth line.
Top stitch along the zipper.
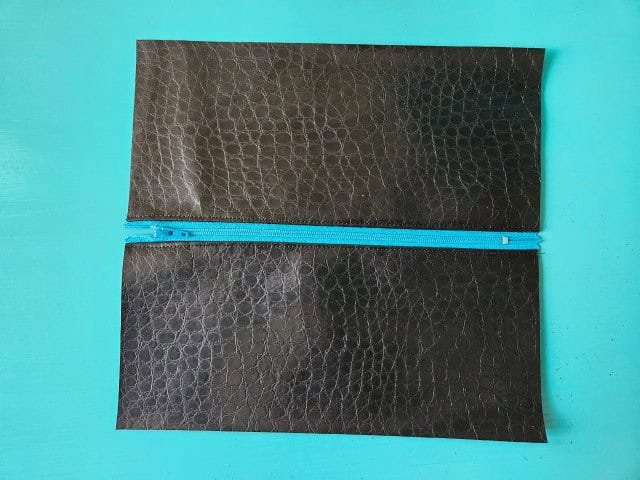
The above pictures show what your DIY vinyl pencil case looks like at this point.
Sew the pencil pouch together

Open the zipper to about half way. You will need the zipper opened for turning right side out.
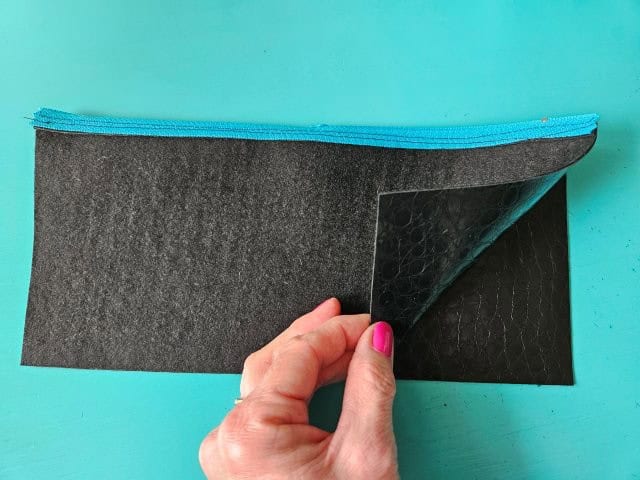
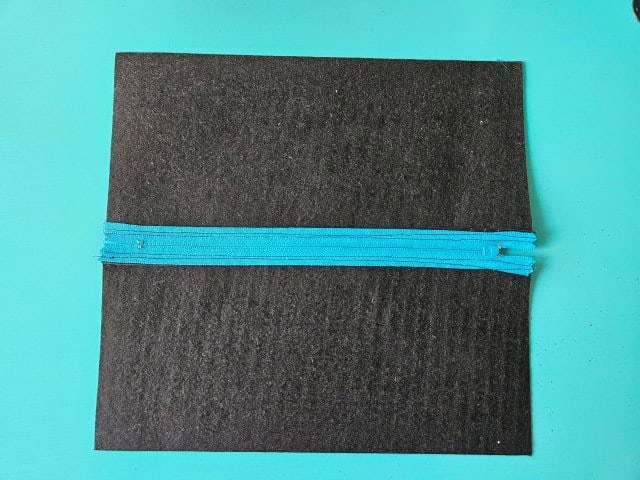
Fold so the vinyl fabric pieces are right sides together, lining up the edges.
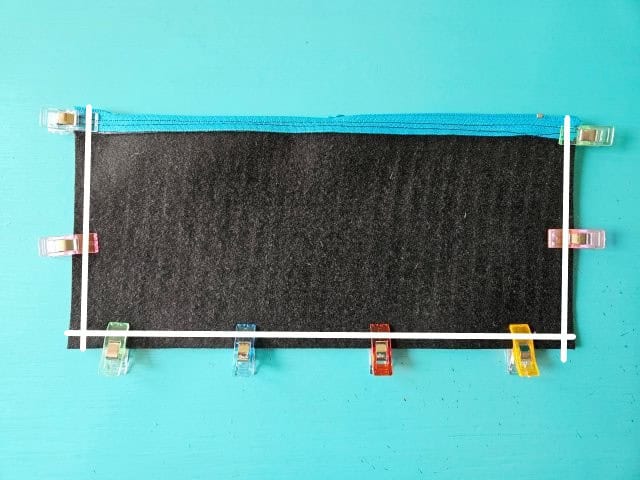
Use sewing clips on the sides and bottom of the pencil case to hold in place. Sew around the sides and bottom using a 3/8″ seam allowance.
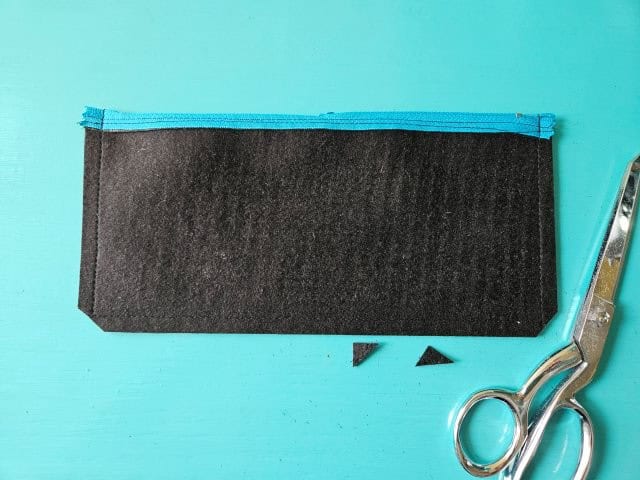
Clip the two corners using your sewing scissors.
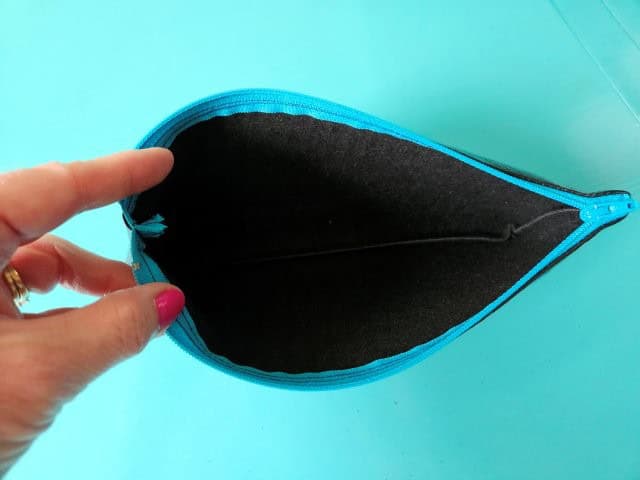
Turn right side out
Open the zipper all the way and turn the DIY pencil case right side out. Push out the corners.
Pin for later!
***You can find the AD-FREE, printable PDF version of this sewing tutorial available for purchase in my Etsy shop HERE. Includes 9 pages of step-by-step instructions with pictures. Print a copy to keep next to your sewing machine for easy reference.***
You are finished!
I hope you enjoyed this sewing tutorial on how to make a quick and easy DIY pencil case zipper pouch using vinyl fabric. These zipper pouches have so many uses make great gifts! Happy sewing!
Other zipper sewing projects:
- Makeup Bag with Two Straps Sewing Tutorial
- DIY Vinyl Leather Purse Straps
- How to Make a Belt Bag Fanny Pack
- Small Sling Bag with Zipper Closure