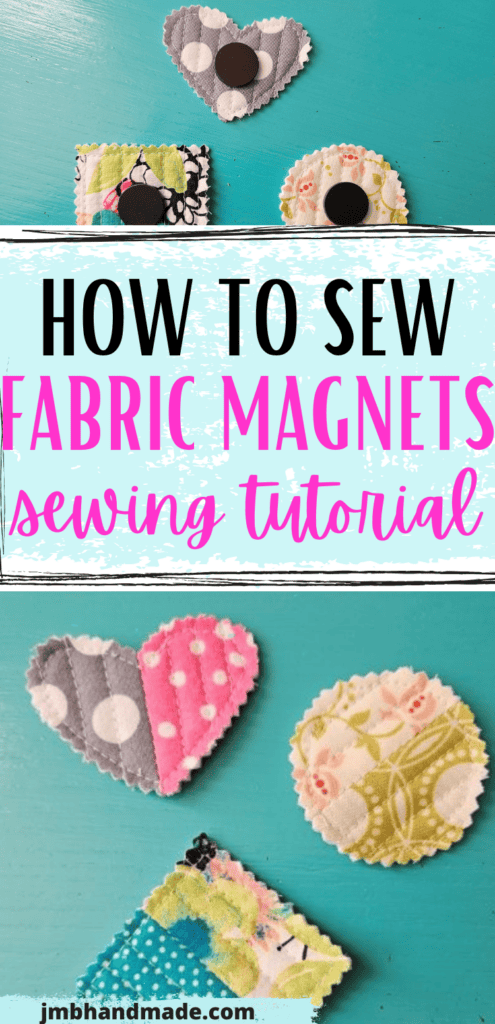
DIY Fabric Magnets in Three Shapes – Sewing Tutorial
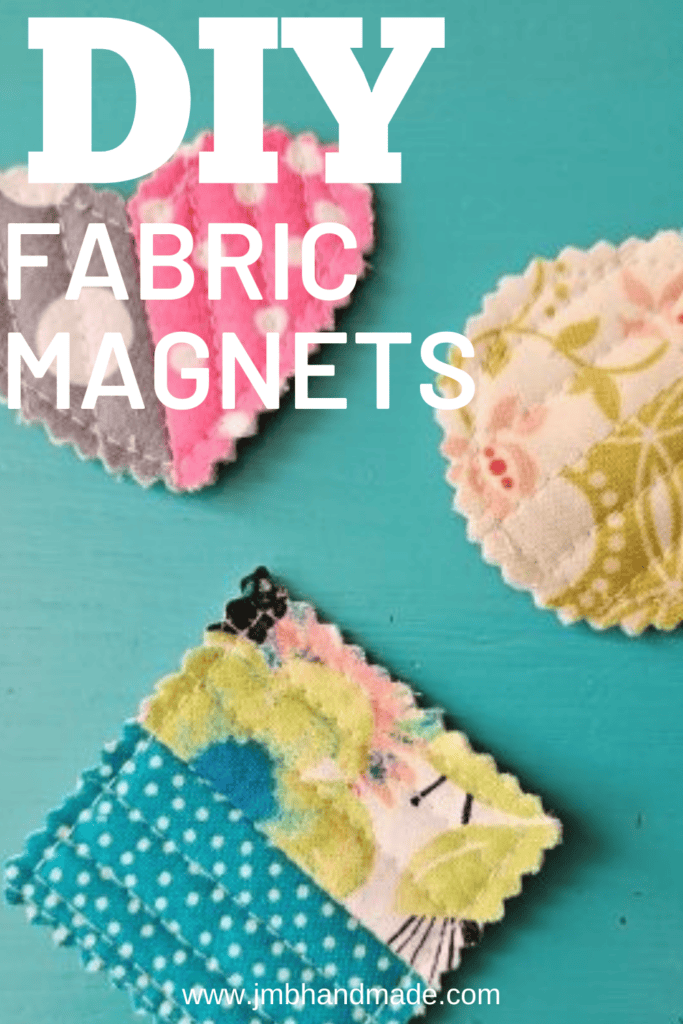
DIY fabric magnets is the perfect sewing project for using up all those small fabric scraps.
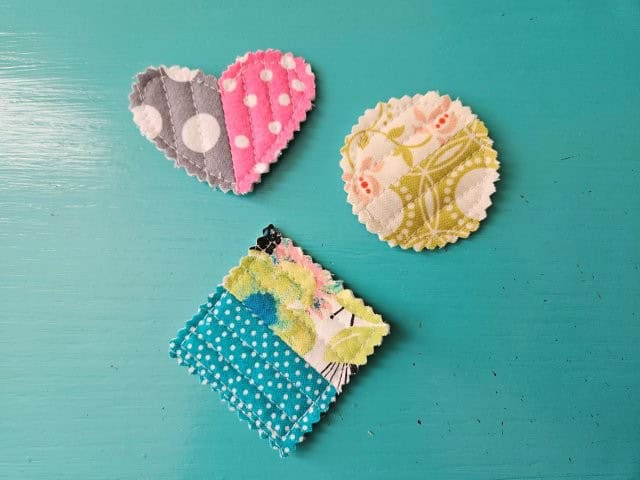
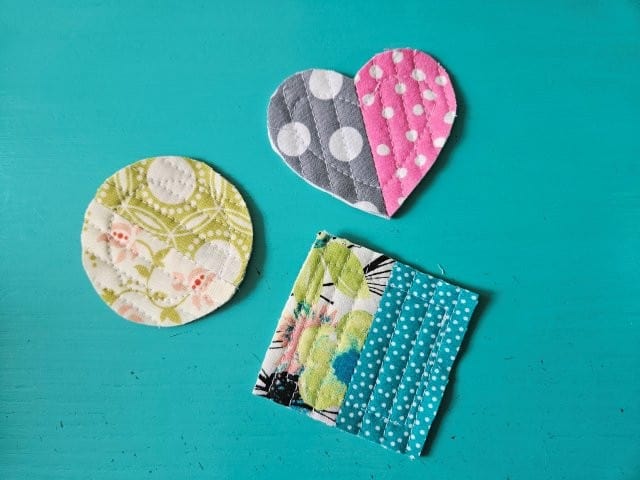
The DIY fabric magnets include three shapes – circle, square, and heart. Choose one shape or all three. I combined fabric strips and quilted them but you do not need to if you have scrap fabric big enough for each shape.
It’s fun to dress up your refrigerator, board at work, or anywhere you use magnets with these cute fabric magnets and using up those fabric scraps at the same time! Sew a mini card wallet or a cute patchwork handbag using fabric scraps!
For even more ideas using fabric scraps, check out 14 Easy Sewing Projects Using Fabric Scraps.
This post contains affiliate links at no cost to you. Please see below disclosure for more information.
***You can find the AD-FREE, printable PDF version of this sewing tutorial available for purchase in my Etsy shop HERE. Includes 11 pages of step-by-step instructions with pictures. Print a copy to keep next to your sewing machine for easy reference.***
Fabric magnet supplies needed:
- 6 cotton fabric strips measuring 2″ x 3″ (2 strips for each magnet front) – my favorite fabric shop
- 3 cotton fabric pieces measuring 3″ x 3″ for each magnet back
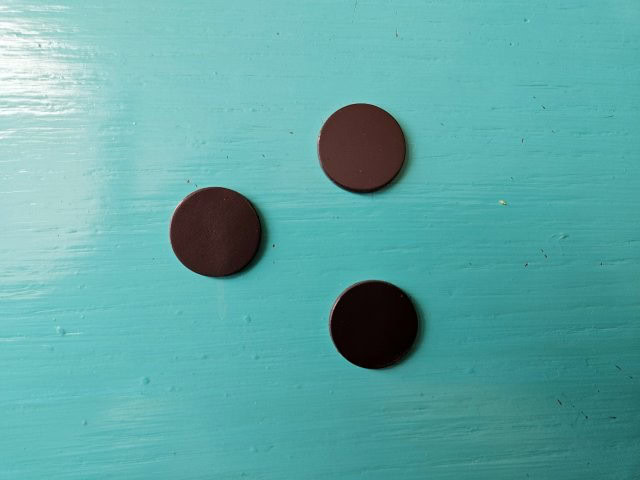
- Craft magnets – 3/4″
- Shape templates (see below download button)
- Cutting mat
- Rotary cutter
- Clear ruler
- Scrap batting – 3 pieces measuring 3″ x 3″
- Sewing scissors
- Pellon 830 Easy Pattern (optional)
- Pins or sewing clips
- Pinking shears
- Sewing machine
- Craft glue gun
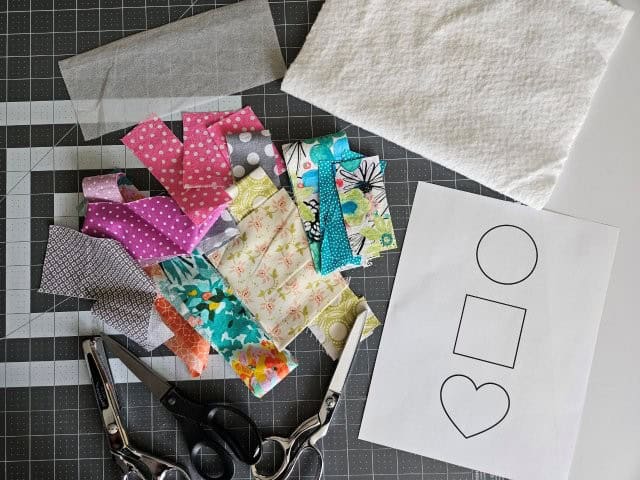
Download shape templates
Download and print the templates for the shapes. Be sure the print setting is set to actual size.
Cut out the shapes
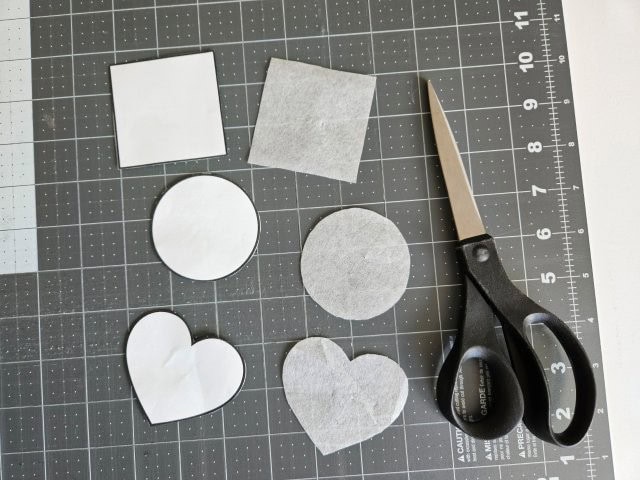
Use paper scissors to cut out the shapes for the fabric magnets. You can use the paper templates for your magnets or you can trace them onto Pellon 830 Easy Pattern. I taped the paper patterns onto the easy pattern and cut out the templates. I like to use the easy pattern because I am planning on making multiple fabric magnets and the easy pattern templates will last much longer.
Gather your fabric scraps and cut
I used two fabric scraps for the front of each magnet shape and one fabric piece for the back. You can cut your scraps any way you like. These instructions are based on two strips of fabric for the front of each magnet and one for the back.
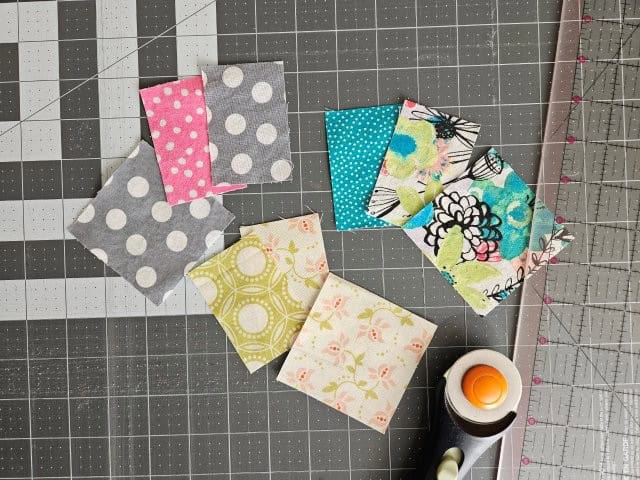
Each shape is about 2.5″ x 2.5″. Using your cutting mat, clear ruler, and rotary cutter, cut 6 fabric strips measuring 2″ x 3″ for the magnet fronts.
Next, cut 3 fabric pieces measuring 3″ x 3″ for the magnet backs.
Cut the batting
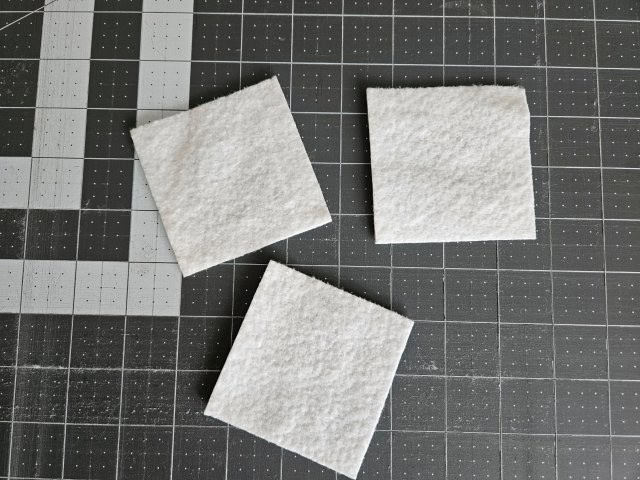
I used Warm & White cotton batting scraps for the magnets. If you don’t have batting, you can use craft felt instead.
Cut three pieces of batting measuring 3″ x 3″ – one piece for each magnet.
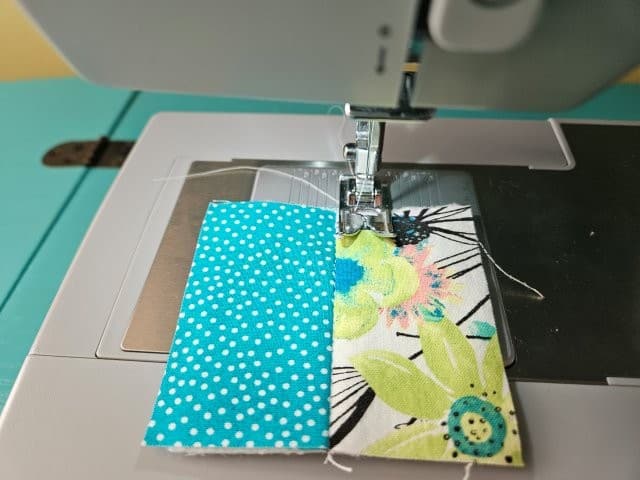
Sew the fabric strips
Time to sew together the fabric strips for the fabric magnet fronts.
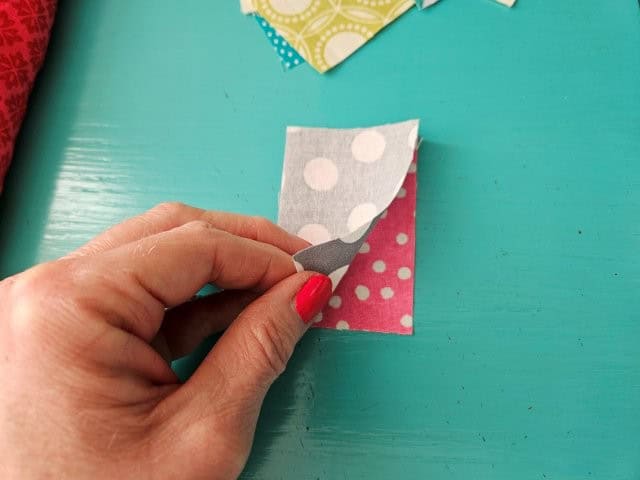
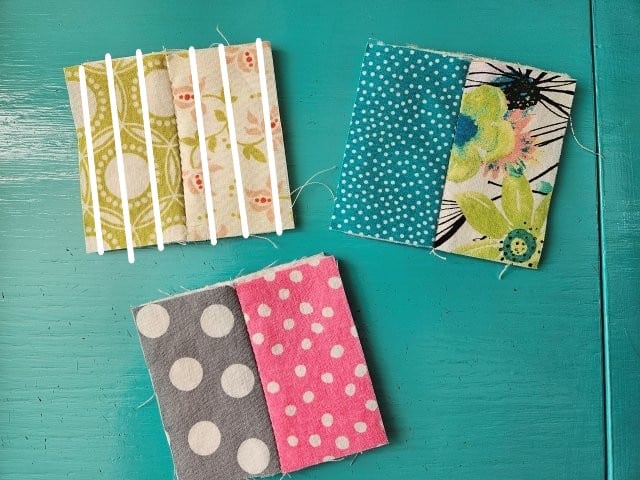
Place two of the fabric strips right sides together.
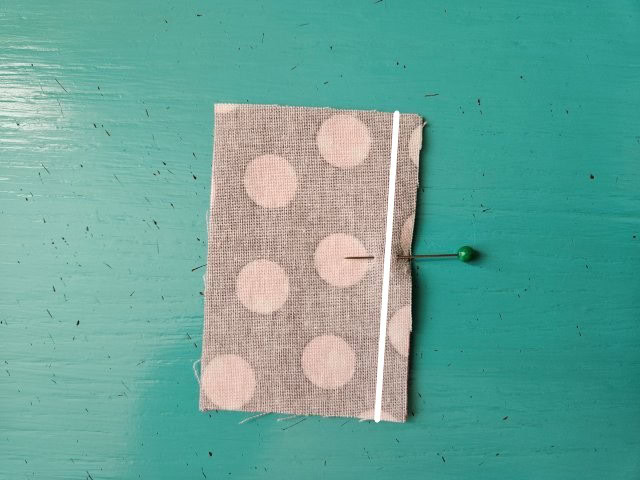
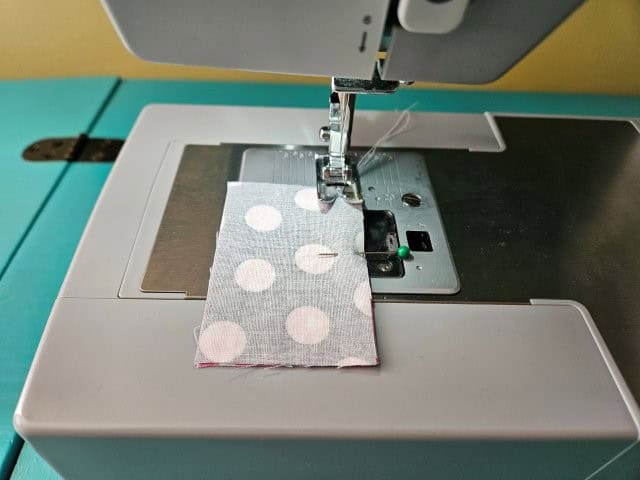
Sew along the right edge using a 3/8″ seam allowance. (See white line in above picture).
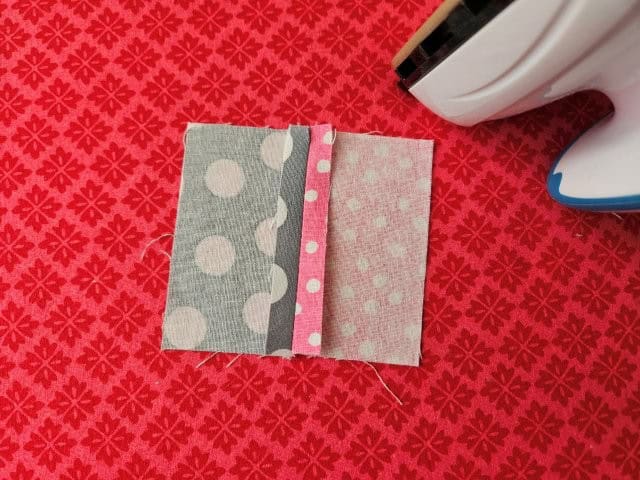
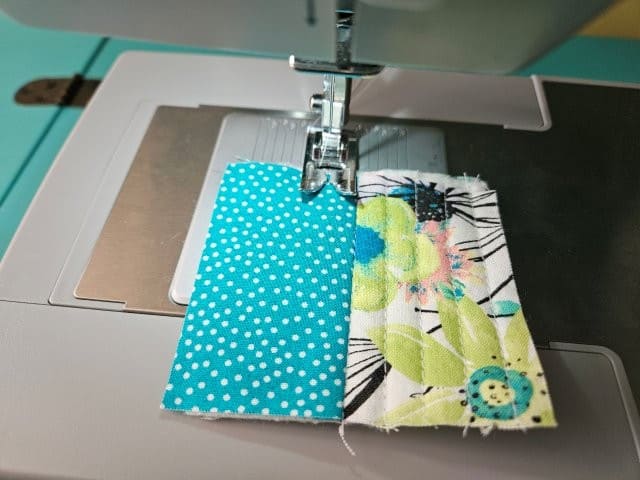
Press the seam flat.
Repeat with the other fabric strips.
***You can find the AD-FREE, printable PDF version of this sewing tutorial available for purchase in my Etsy shop HERE. Includes 11 pages of step-by-step instructions with pictures. Print a copy to keep next to your sewing machine for easy reference.***
Add the batting and back
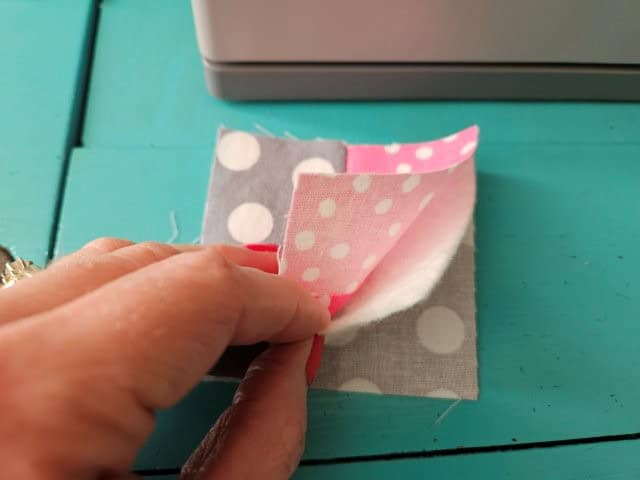
Place the magnet fabric pieces in the following order: Back fabric piece right side down, batting, then the front fabric piece right side up.
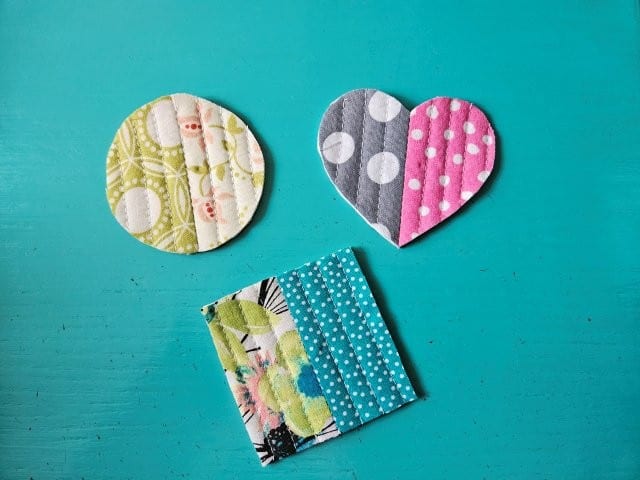
Quilt the fabric magnets
To quilt the fabric magnets, you are going to sew vertical lines from top to bottom starting with the middle seam and working your way out to each edge.
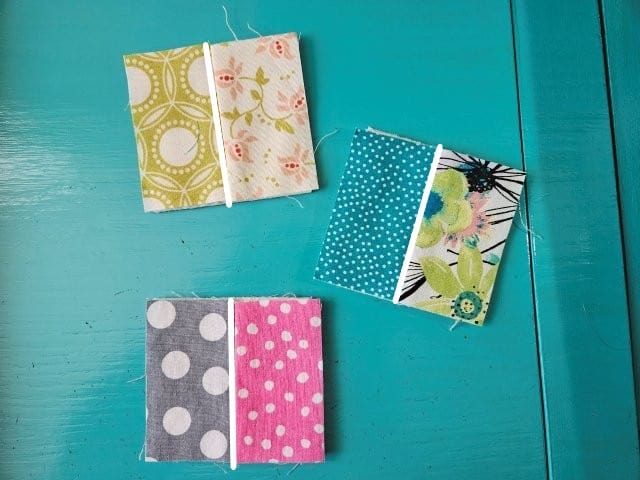
Sew down the middle seam you made when sewing the fabric strips together.
Now sew lines on each side of the middle seam, equal distance apart, until you reach each edge. (See white lines in above picture).
Be sure to sew in the same direction (top to bottom), starting in the middle and working your way out to each edge.
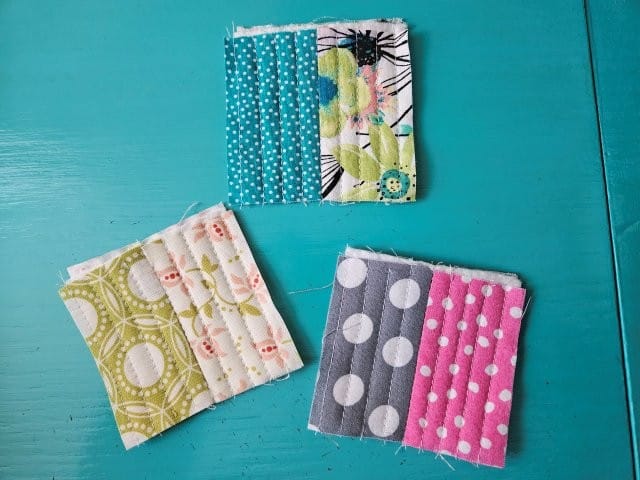
The above picture shows what your fabric magnets should look like at this point.
Cut out the fabric shapes
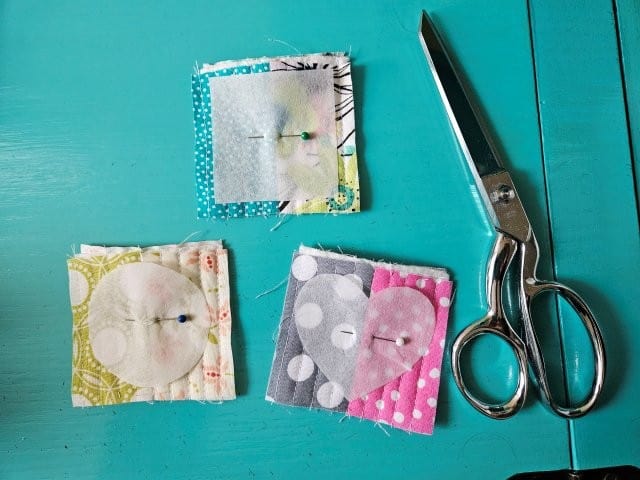
Place a shape on top of the fabric squares and pin to hold in place.
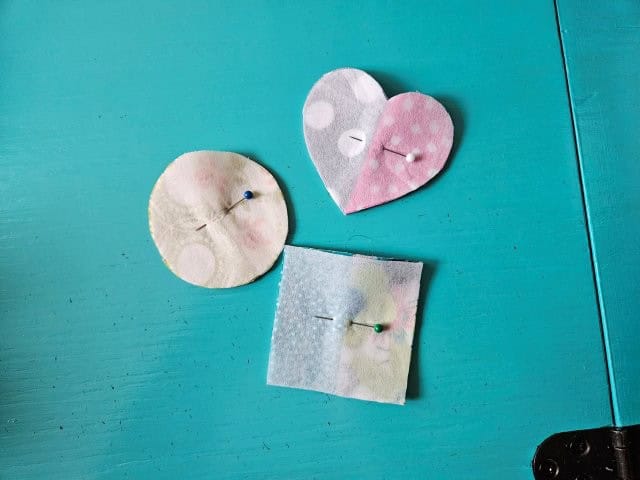
Cut out each shape using your sewing scissors.
Sew around the shape
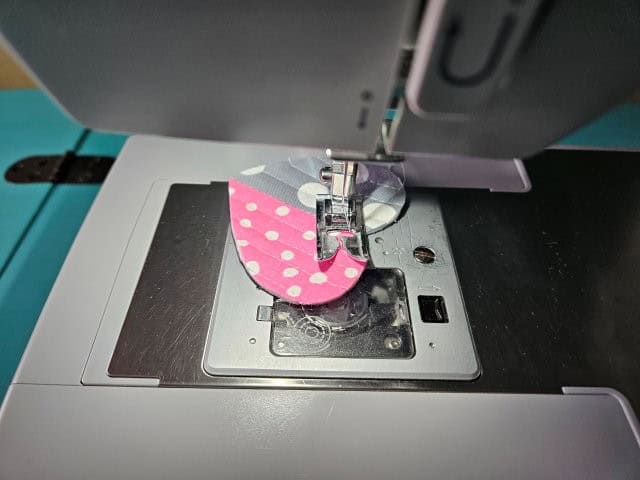
Sew around the outline of each shape using a 3/8″ seam allowance, pivoting any corners. NOTE: If you want your fabric magnetics to be smaller, use a bigger seam allowance.
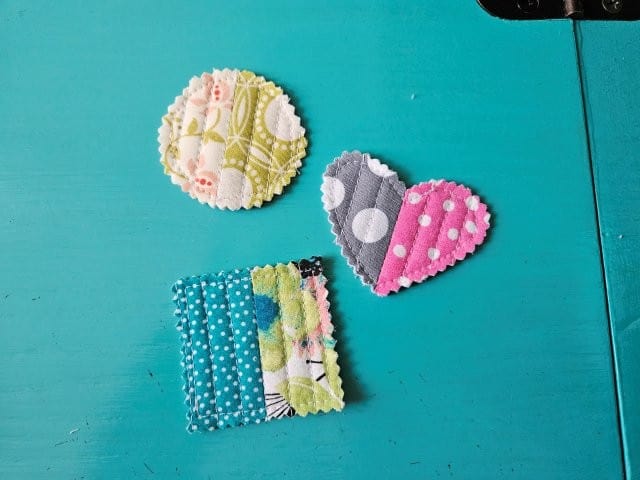
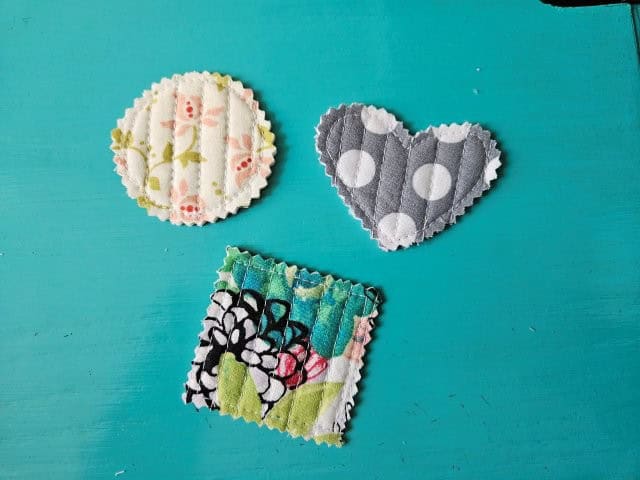
Using your pinking shears, cut around the edge of each fabric magnet.
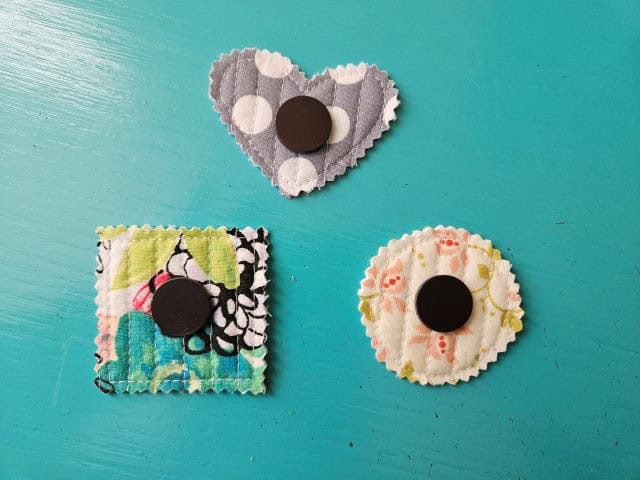
Attach the magnet
I used 3/4″ craft magnets but you can use the type of magnet you want. You might even have some in a drawer you’re not using.
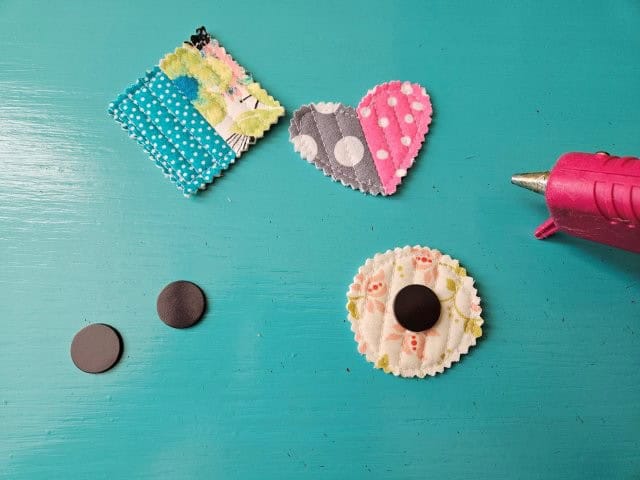
Using the hot glue gun, glue the magnet to the back fabric piece.
Pin for later!
***You can find the AD-FREE, printable PDF version of this sewing tutorial available for purchase in my Etsy shop HERE. Includes 11 pages of step-by-step instructions with pictures. Print a copy to keep next to your sewing machine for easy reference.***
You are finished!
I hope you enjoyed this DIY sewing tutorial on how to make fabric magnets. Now you can use up those fabric scraps and hang pictures and reminders on your refrigerator with your cute fabric magnets! Happy sewing!
More sewing projects using fabric scraps:
- Simple Sewing Pattern Weights Sewing Tutorial
- Fabric Tray Sewing Pattern
- DIY Eyeglass Case with Button Closure
- Mini Fabric Storage Baskets in Two Sizes