DIY Fabric Journal Bookmark Pen Holder Sewing Tutorial
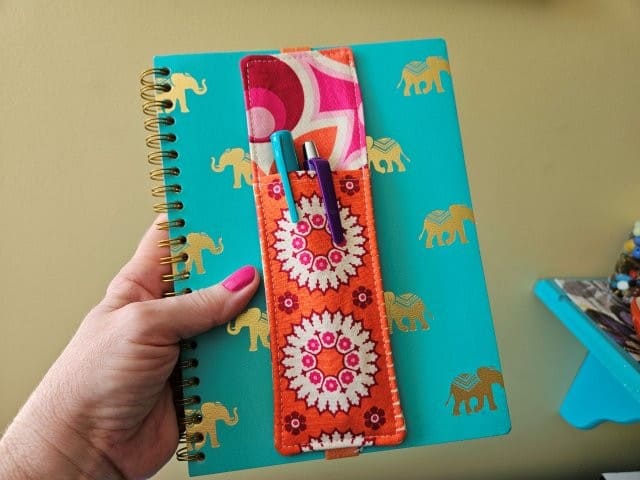
Sew a DIY fabric journal bookmark pen holder using this simple sewing tutorial and never misplace your pen again.
If you love to journal, it can be frustrating looking for your favorite pen you somehow misplaced. Now you can sew a bookmark and pen holder all in one using this super easy sewing pattern and never misplace your pen again! Plus, it’s the perfect sewing project for using up those fabric scraps.
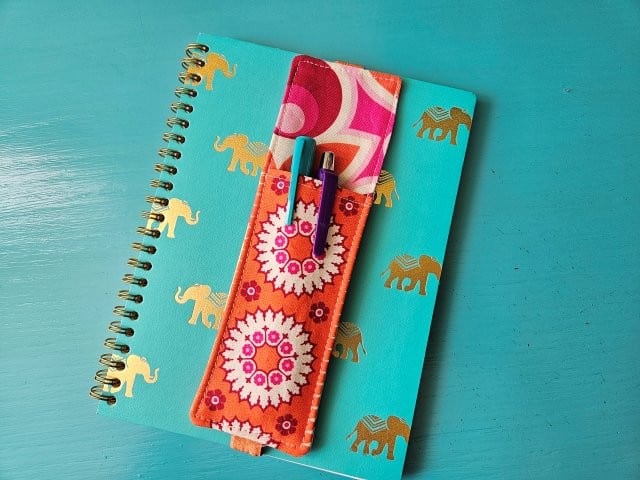
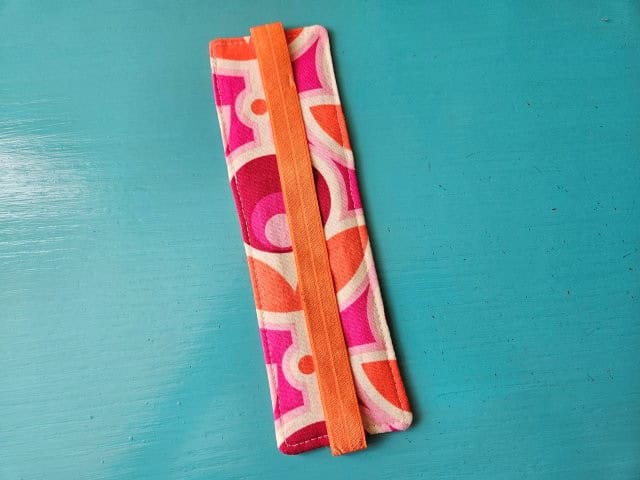
Are you a reader? This elastic fabric bookmark pen holder not only wraps around your journal but also doubles as a regular bookmark.
Benefits of sewing a bookmark pen holder for your journal:
- Always have a pen available
- Doubles as a regular bookmark
- Elastic to hold your place in your journal or book
- Elastic to keep your journal closed
- Super easy to make
You might be interested in checking out the sewing tutorials for my regular bookmark patterns: a simple fabric bookmark and the no sew scrap fabric bookmark.
This post contains affiliate links. Please see below disclosure for more information.
***You can find the AD-FREE, printable PDF version of this sewing tutorial available for purchase in my Etsy shop HERE. Includes 9 pages of step-by-step instructions with pictures. Print a copy to keep next to your sewing machine for easy reference.***
Fabric pen holder sewing supplies needed:
- Two fabric pieces 3″W x 8.5″H – my favorite fabric shop
- One coordinating fabric piece 3″W x 11″H for the front pocket
- Cutting mat
- Rotary cutter
- Clear ruler
- Fusible interfacing – Pellon P44F Fusible Interfacing
- One 1/2″ piece fold over elastic 9.5″ long
- Sewing scissors
- Sewing machine
Measure and cut your fabric
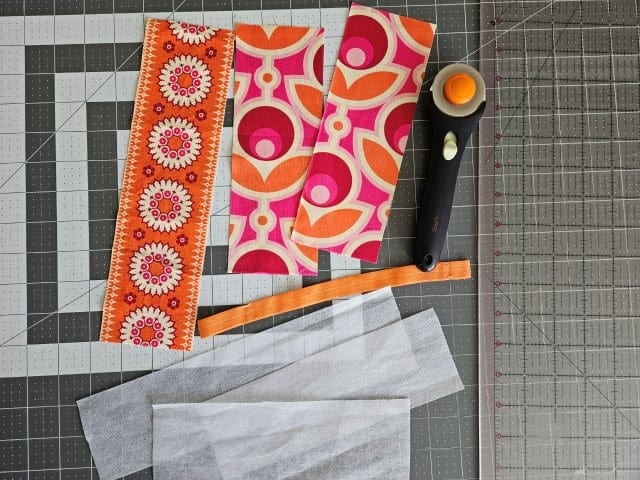
Using your cutting mat, clear ruler, and rotary cutter, cut two fabric pieces each measuring 3″W x 8.5″H for the front and back of the bookmark. Cut one piece of coordinating fabric 3″W x 11″H for the front pocket.
Cut one piece of fold over elastic 9.5″. The notebook I’m using is 5.5″W x 8″H. If your journal is a different size, cut your elastic the height of your journal plus 1.5″.
Attach the fusible interfacing
I am using Pellon P44F Fusible Interfacing for this pen holder bookmark but any lightweight interfacing will work. Cut your interfacing pieces the same size as your fabric pieces.
Attach the fusible interfacing to the wrong side of all fabric pieces following the package instructions.
Make the front pocket
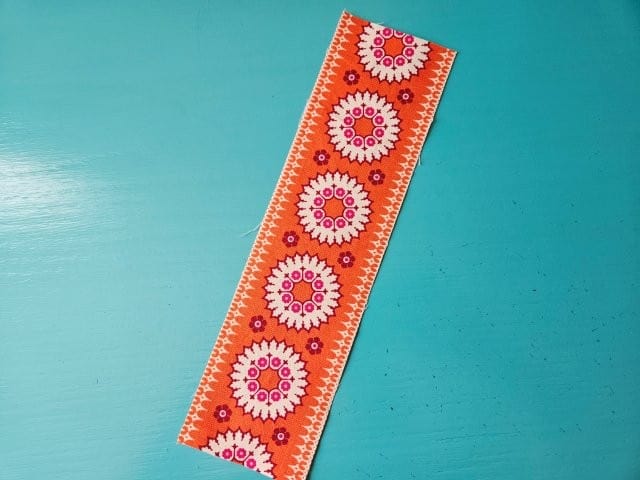
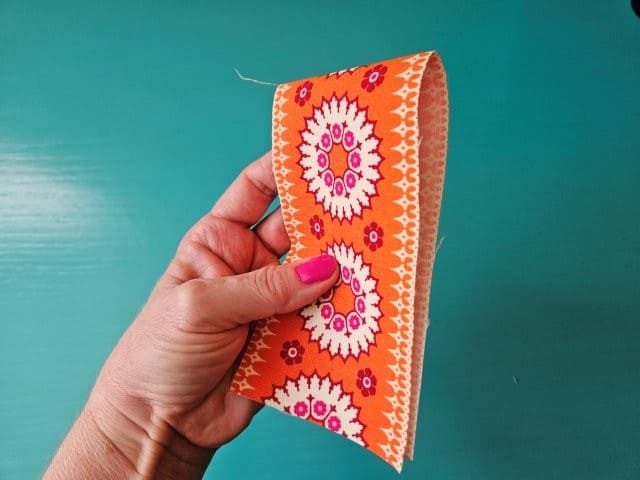
Take the 3″W x 11″H fabric piece and fold in half, short ends together and the right side facing out.
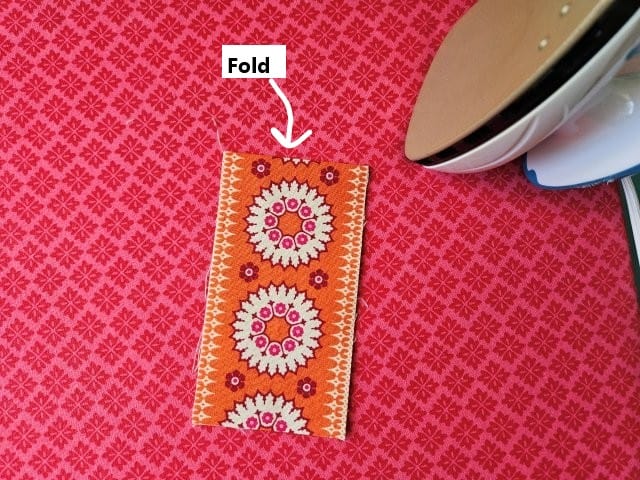
Press along the fold.
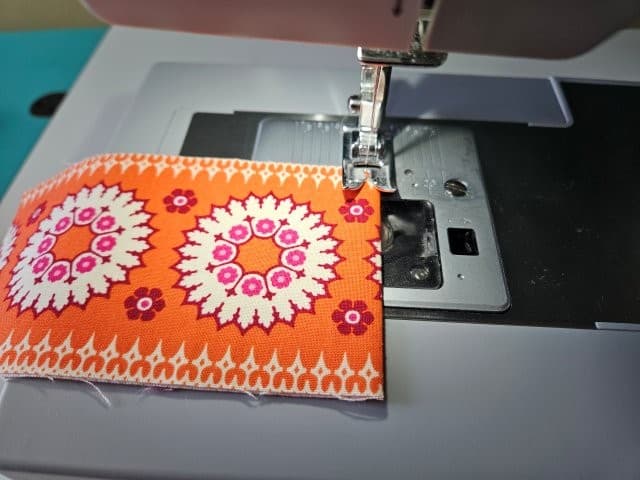
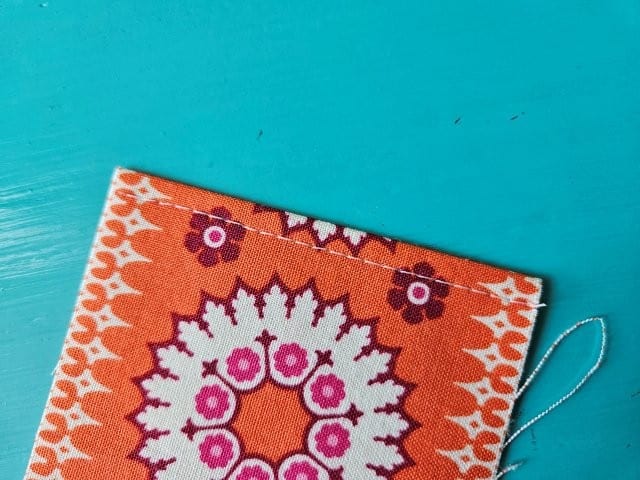
Top stitch the fold using 1/8″-1/4″ seam allowance.
Placement of the pen holder pocket
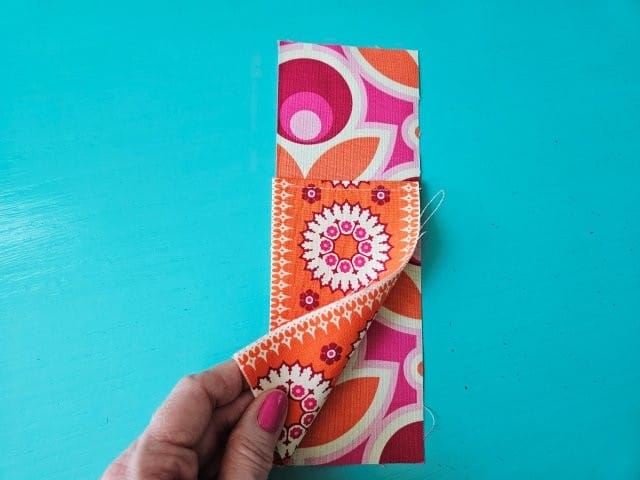
Place the bookmark pen holder pocket on top of the 3″W x 8.5″ fabric piece you want showing on the front of the bookmark, lining up the sides and bottom.
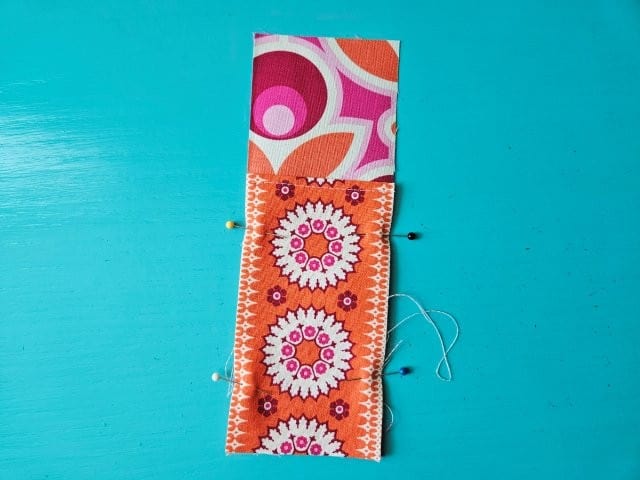
Pin to hold in place.
***You can find the AD-FREE, printable PDF version of this sewing tutorial available for purchase in my Etsy shop HERE. Includes 9 pages of step-by-step instructions with pictures. Print a copy to keep next to your sewing machine for easy reference.***
Baste the elastic
You are going to baste the elastic at the center of the top and bottom of the bookmark. First, you’ll need to find the center.
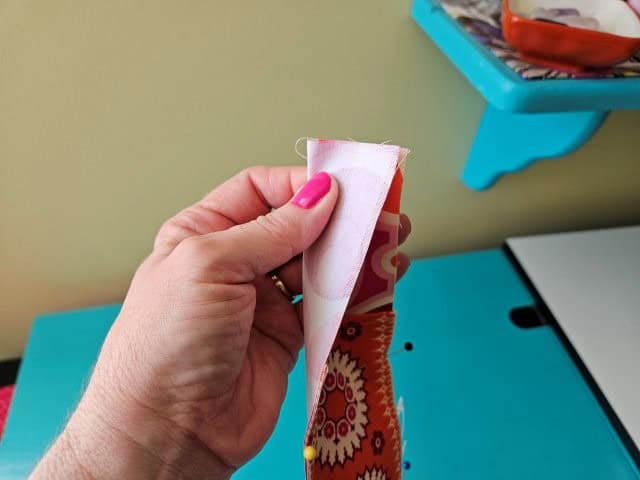
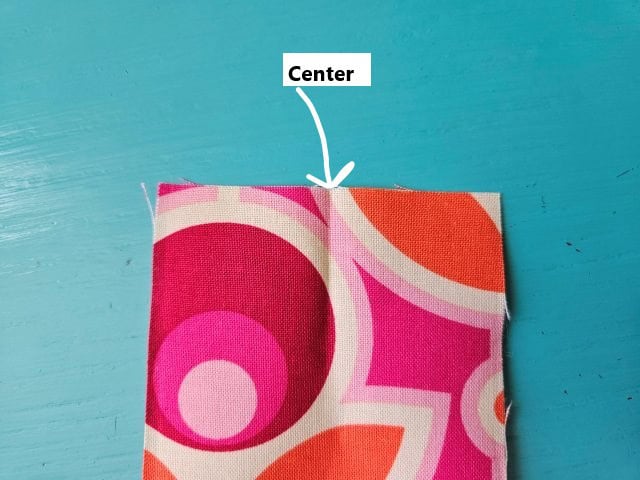
Fold the pen holder in half lengthwise to find the center at the top and bottom. The fold will be the center – 1.5″ from each edge.
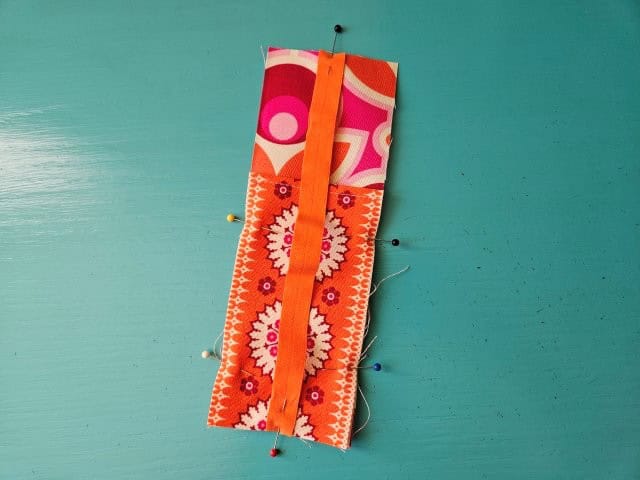
Place one end of the elastic in the center at the top and pin. Place the other end of the elastic at the bottom in the center and pin.
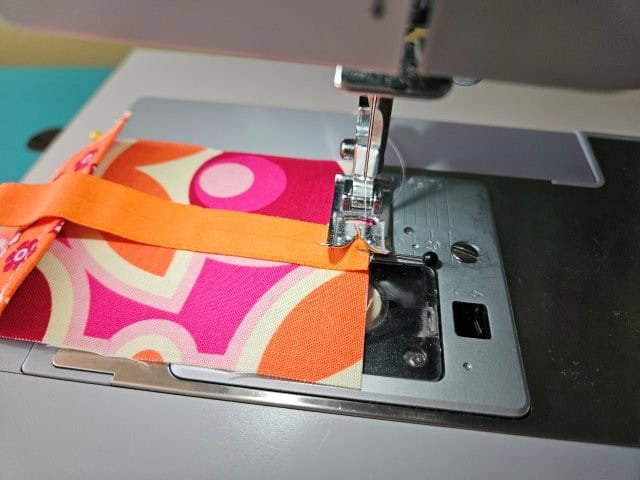
Baste the top and bottom of the elastic to the bookmark pen holder.
Sew it all together
Use a 3/8″ seam allowance.
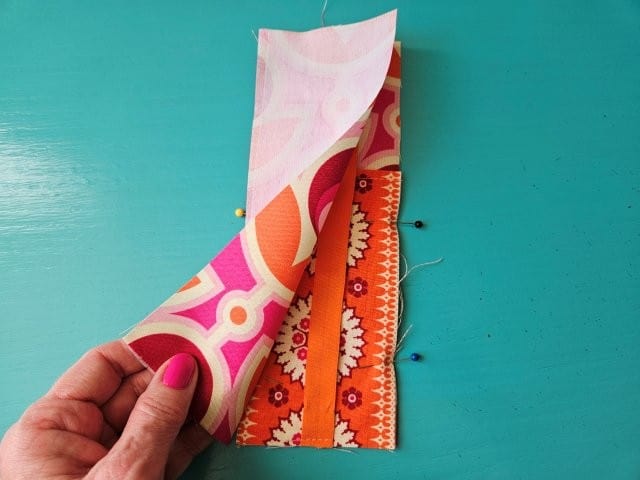
Place the other 3″W x 8.5″H fabric piece on top of the pocket piece, right sides together.
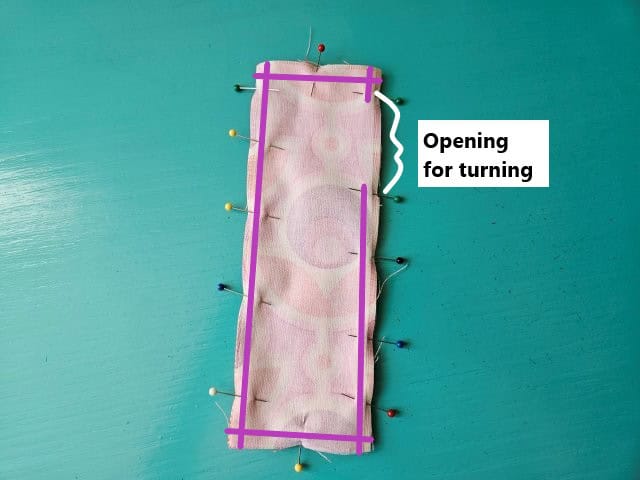
Pin all around to hold in place, leaving a small opening at the top right side for turning. Be sure your elastic is on the inside.
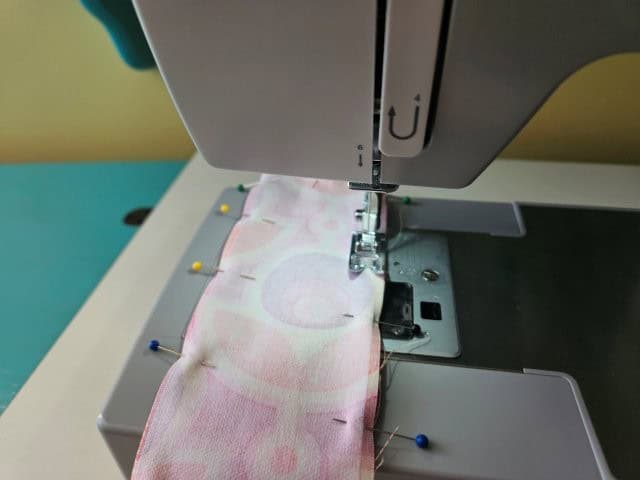
Sew around the bookmark pen holder using a 3/8″ seam allowance, again, leaving an opening for turning. Sew over the elastic a couple times for extra durability.
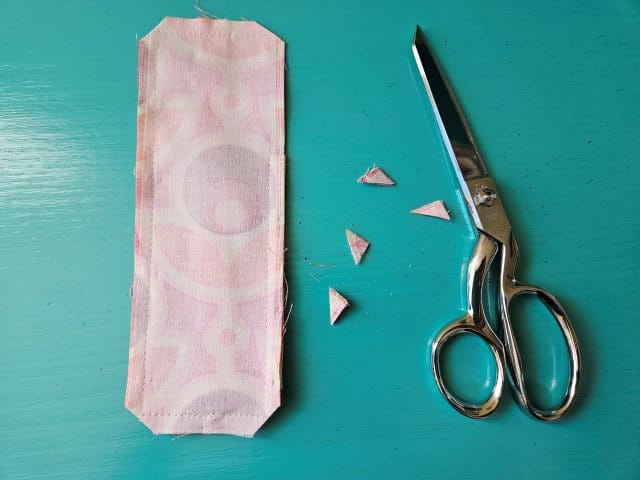
Clip the corners using your sewing scissors.
Turn right side out
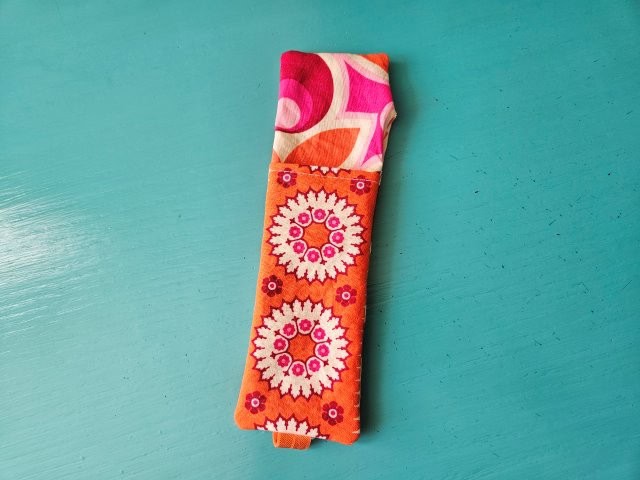
Through the opening, turn your pen holder right side out, pushing out the corners. Fold in the opening and press all around.
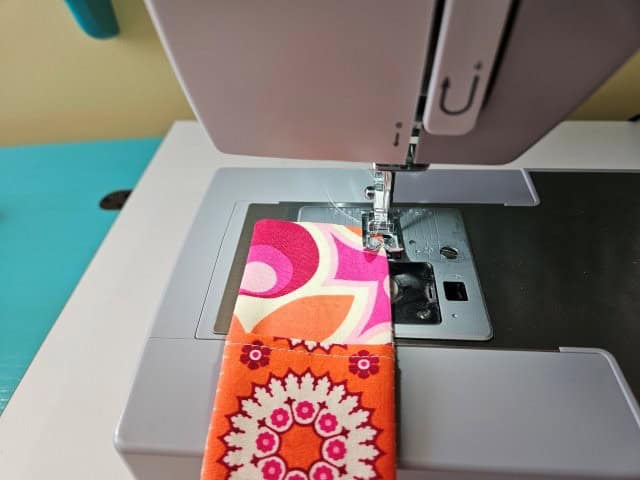
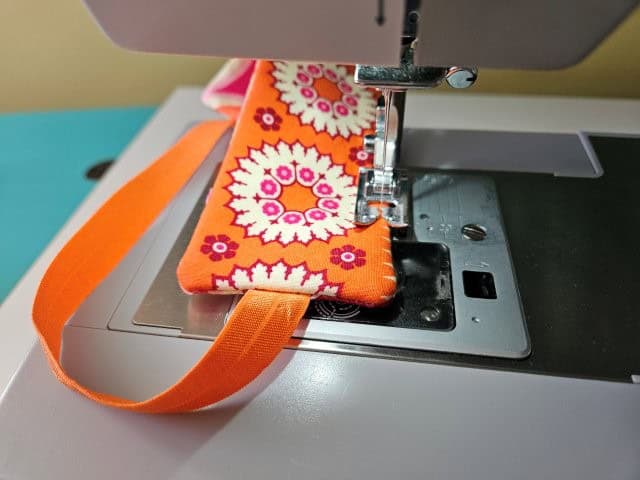
Top stitch all around using 1/8″ – 1/4″ seam allowance, pivoting the corners. Be sure to move the elastic out of the way as you sew. This gives the bookmark a finished look and closes the opening made for turning. Press again.
Check out these instructions on how to make your own mini ironing board for small sewing projects.
Pin for later!
***You can find the AD-FREE, printable PDF version of this sewing tutorial available for purchase in my Etsy shop HERE. Includes 9 pages of step-by-step instructions with pictures. Print a copy to keep next to your sewing machine for easy reference.***
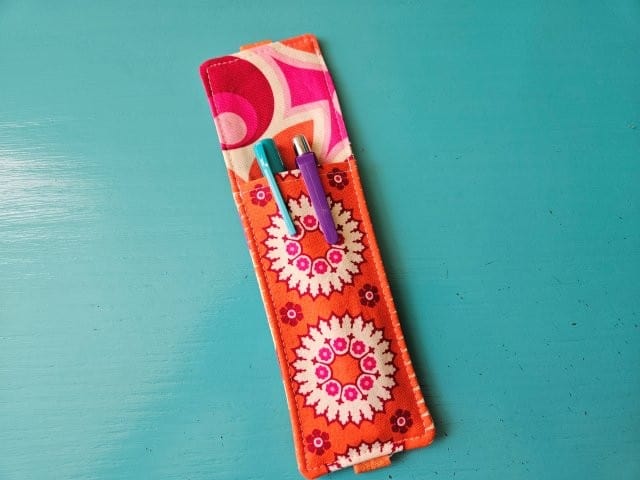
You’re finished!
I hope you enjoyed this sewing tutorial on how to sew a fabric journal bookmark pen holder! This elastic pen holder is super quick and easy to make; you can make one for all the journal and book lovers in your life. Happy sewing!
Other simple sewing tutorials by JMB Handmade:
- DIY Mini Card Wallet Pattern
- Fabric Magnets in Three Shapes
- Small Tote Bag Sewing Tutorial
- Fabric Tissue Box Cover Tutorial