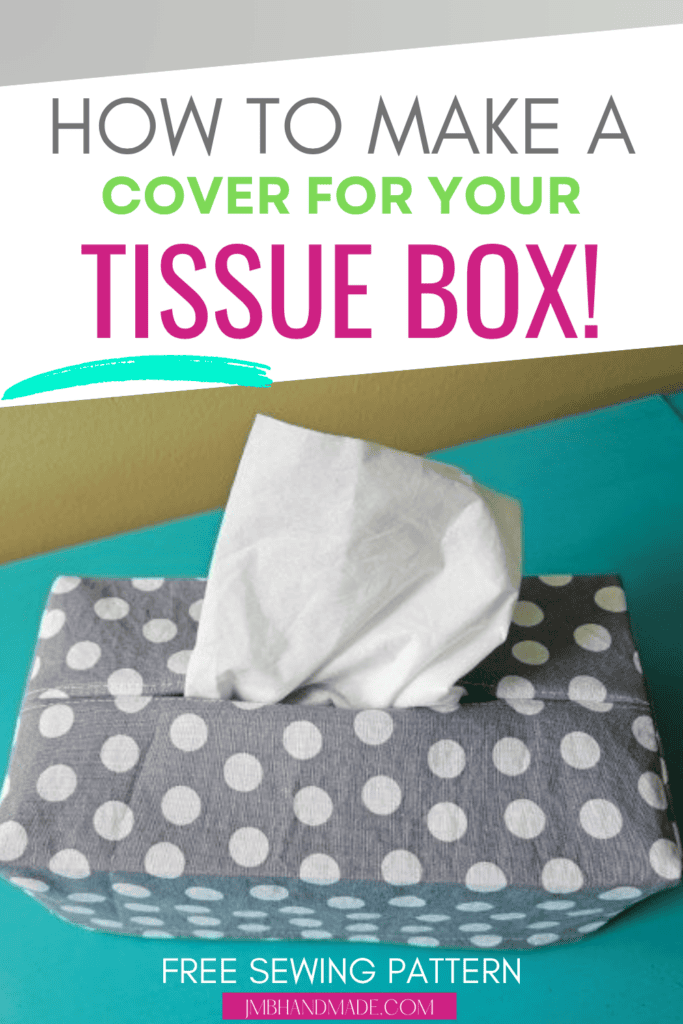
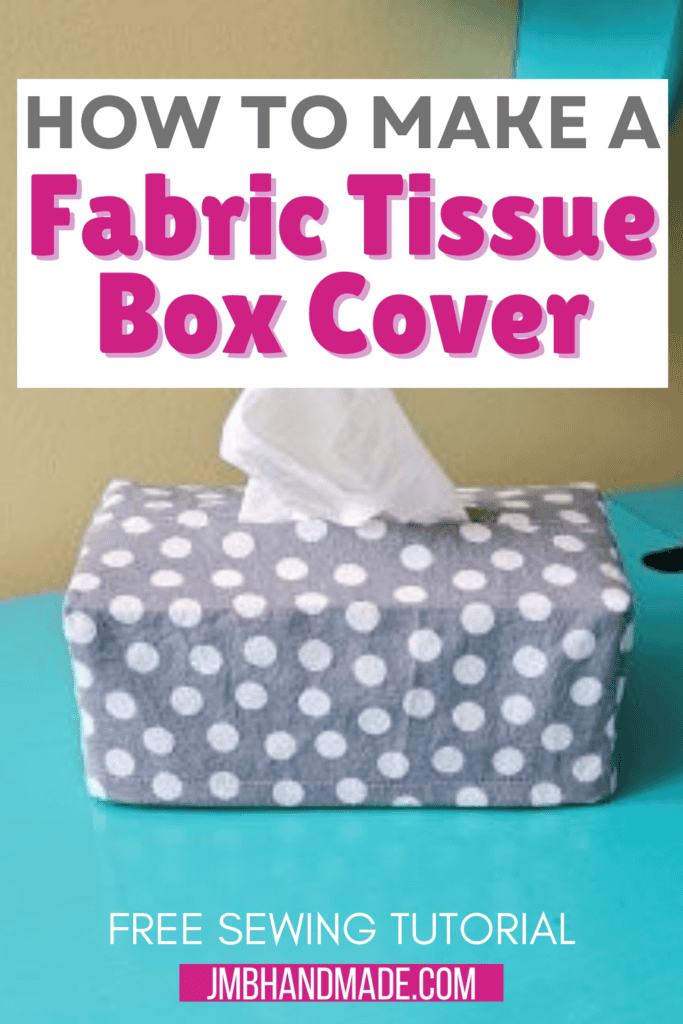
Fabric Tissue Box Cover Sewing Tutorial
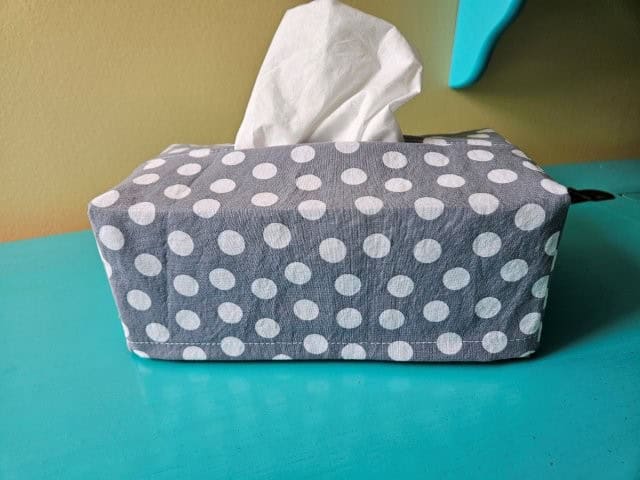
The fabric tissue box cover is a quick and easy sewing pattern. You can make one for all the holidays or sew a pretty one to dress up your home decor.
Learn to sew a pretty fabric tissue box cover using this easy sewing tutorial. Sew multiple tissue box covers to spruce up your home decor especially if you aren’t a fan of the design on the box. Make a cover for all holidays as well to make your home look nice and festive. This DIY fabric tissue cover sewing pattern is quick and easy so you can make multiples at a time.
For this fabric tissue box cover, I’m using a rectangle box of tissues. I assume most rectangle tissue boxes are about the same size, but I’ll show you how to measure your box in case it’s a different size. These instructions will work for the square tissue boxes as well.
One fat quarter is perfect for this tissue box cover sewing tutorial.
The instructions for this tissue box cover are similar to those for my sewing machine cover tutorial. Be sure to check it out if you need a cover for your sewing or embroidery machine.
This post contains affiliate links. Please see below disclosure for more information.
***You can find the AD-FREE, printable PDF version of this sewing tutorial available for purchase in my Etsy shop HERE. Includes 11 pages of step-by-step instructions with pictures. Print a copy to keep next to your sewing machine for easy reference.***
Tissue box cover sewing supplies needed:
- One fabric quarter or (2) 10″W x 8 5/8″H and (2) 5.75″W x 5.25″H – my favorite fabric shop
- Cutting mat
- Rotary cutter
- Clear ruler
- Measuring tape
- Sewing gauge or ruler
- Marking pencil
- Sewing scissors
- Sewing machine
Be sure to check out all my favorite sewing supplies here.
Measure your tissue box
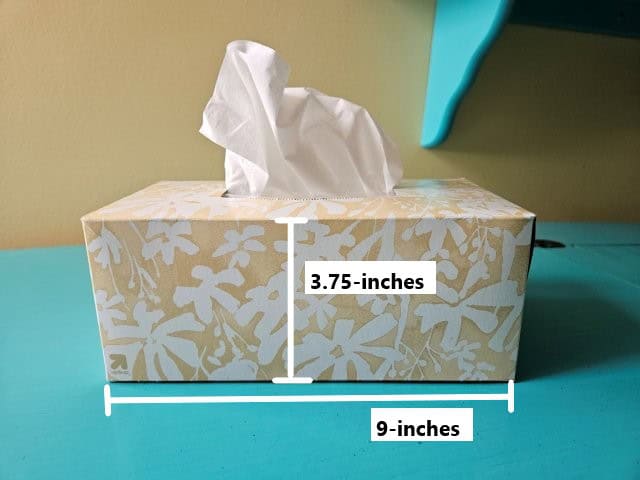
First, measure the width of your tissue box – my tissue box = 9″W. Add 1-inch for seam allowance = 10″W. The height of the tissue box = 3.75″H. Add 1.5″ = 5.25″H (includes hemming and seam allowance).
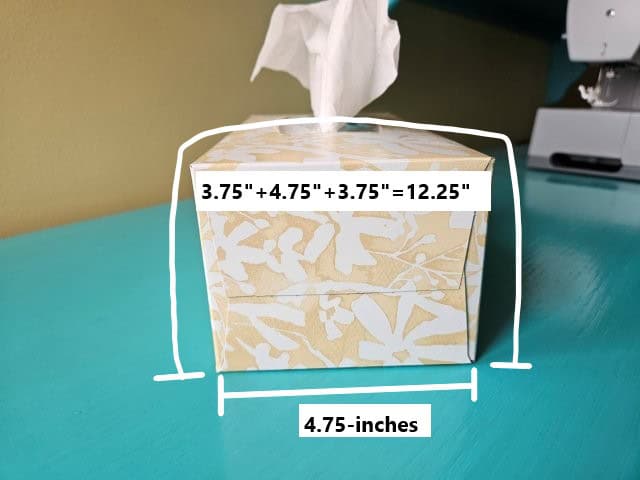
The depth = 4.75″D. Add 1-inch for seam allowance = 5.75″D.
Now calculate the combined height and depth 3.75″+4.75″+3.75″ = 12.25″. Divide this number by 2=6.125″ then add 2.5″ for hemming and seam allowance = 8.625″H (8 5/8″ on your measuring tape).
Final measurements to cut: (2) – 10″W x 8 5/8″H and (2) 5.75″W x 5.25″H.
Measure and cut your fabric
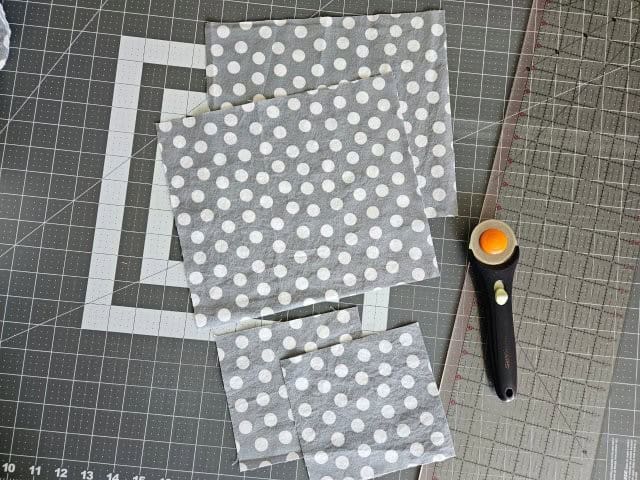
Using your cutting mat, clear ruler, and rotary cutter, cut two fabric pieces measuring 10″W x 8 5/8″H and two fabric pieces measuring 5.75″W x 5.25″H.
Hem the fabric pieces
You are going to hem the top and bottom of the two large fabric pieces.
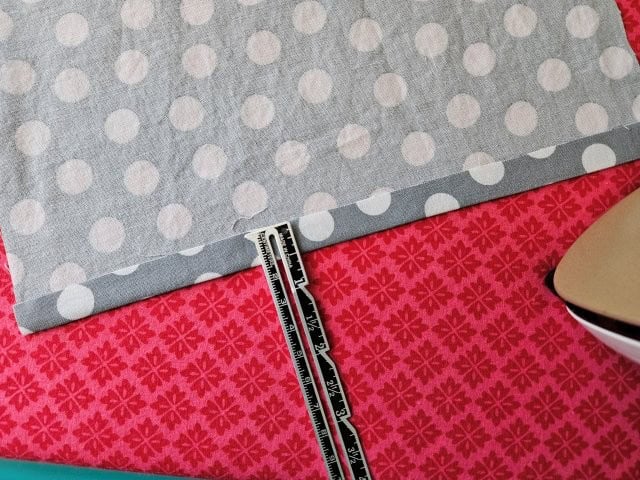
Place one of the large fabric pieces right side down on your ironing board. Fold the top edge 1/2″ and press.
Check out these instructions to make your own mini ironing board. You can purchase a mini iron to go with it here.
Fold over again 1/2″ and press.
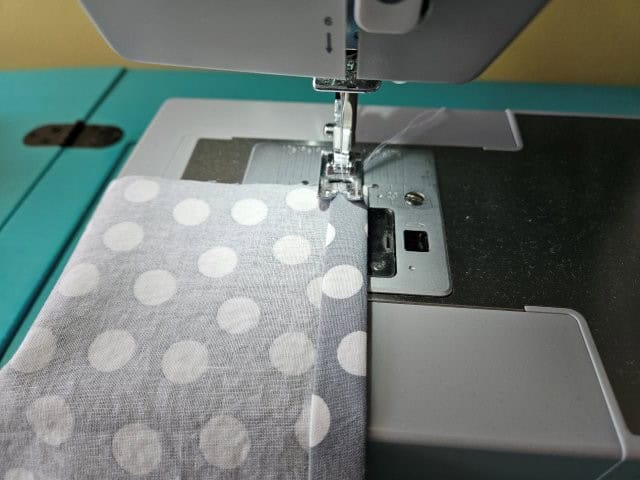
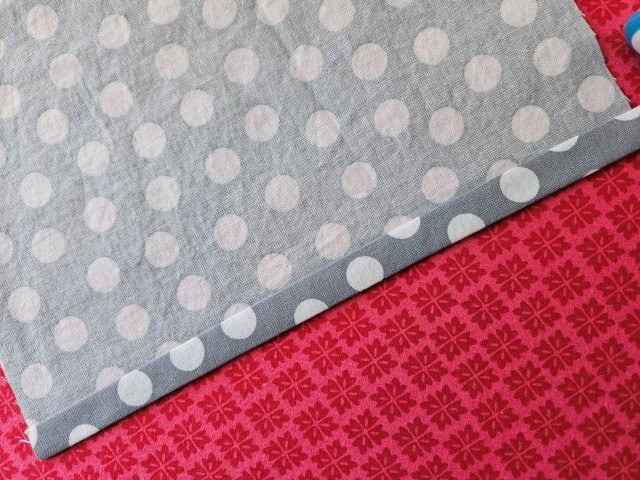
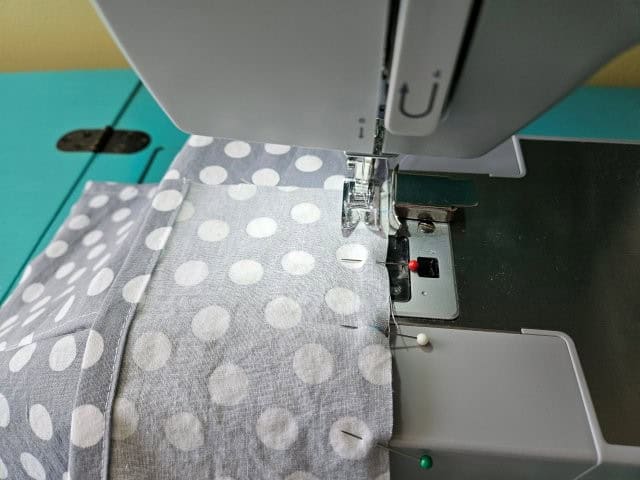
Top stitch along the fold using matching thread.
Repeat this hem on the bottom of the same fabric piece and the top and bottom of the other large fabric piece.
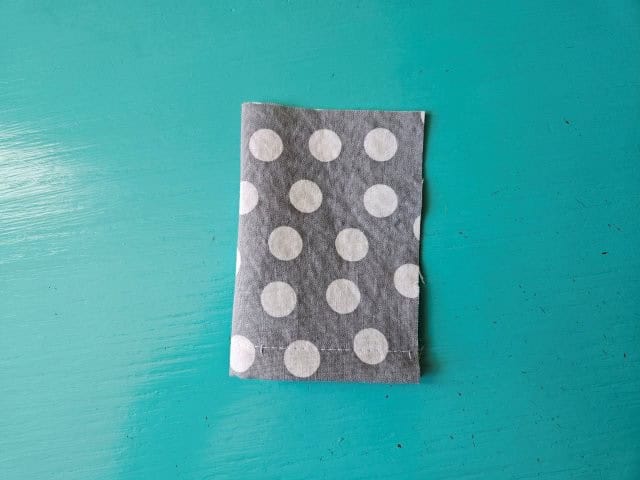
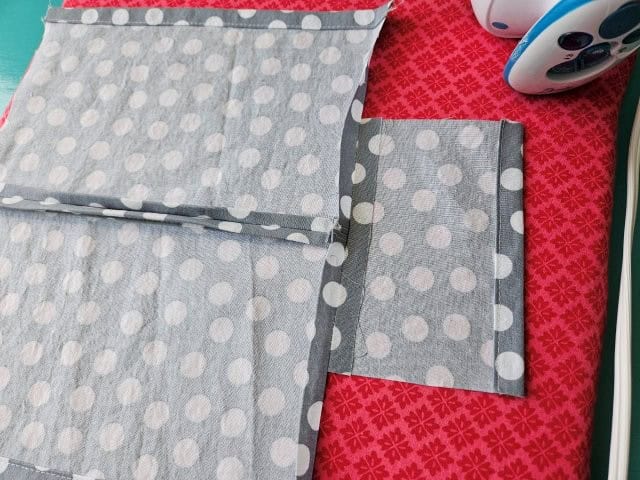
Repeat the hemming process with the small fabric pieces but hem the bottom only.
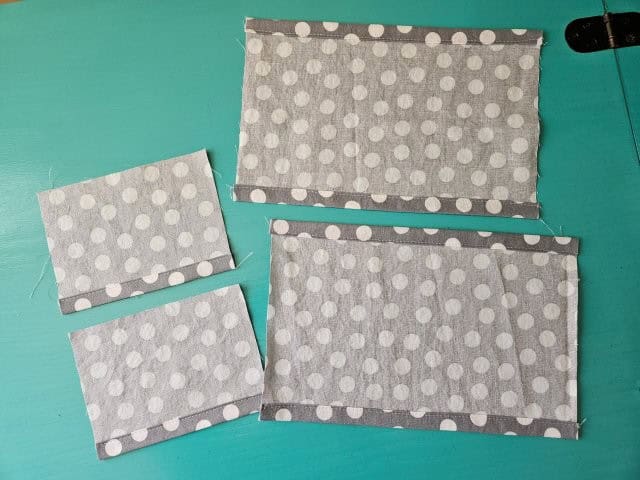
You should now have the tops and bottoms hemmed on the large fabric pieces and the bottoms only hemmed on the small fabric pieces.
Sew the top to create the opening
Use a 3/8″ seam allowance.
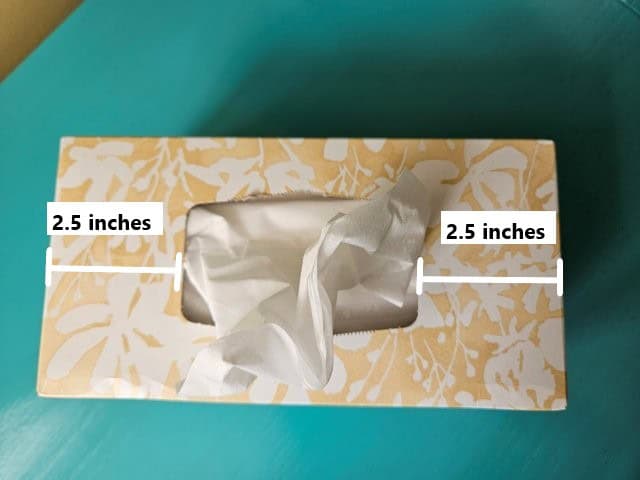
Measure the top of your tissue box to determine how far to sew for the opening. My tissue box tissue opening is 2.5-inches from each end.
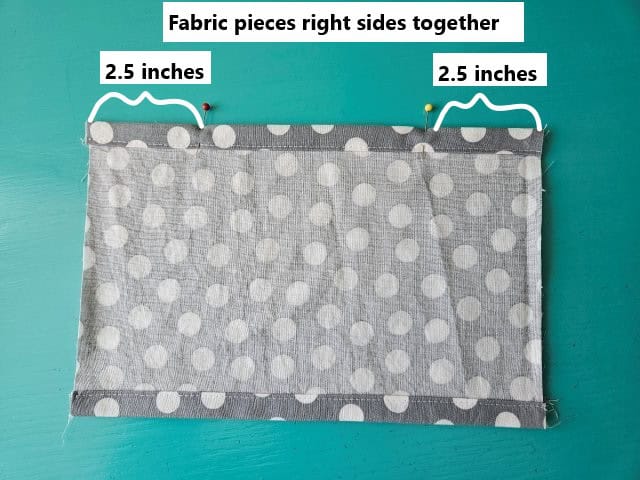
Place the large fabric pieces right sides together. Pin along the top of the fabrics, leaving an opening that you measured.
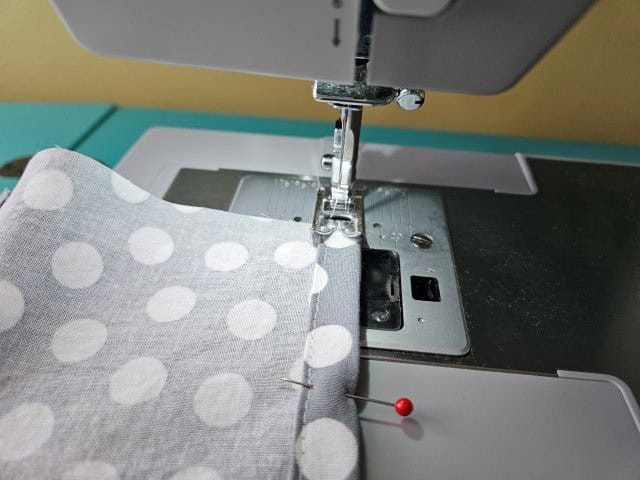
Sew along the top using a 3/8″ seam allowance, leaving an opening for the tissues.

Press the seam flat.
***You can find the AD-FREE, printable PDF version of this sewing tutorial available for purchase in my Etsy shop HERE. Includes 11 pages of step-by-step instructions with pictures. Print a copy to keep next to your sewing machine for easy reference.***
Add the small sides to the cover
Use a 1/2″ seam allowance.
Now that you have the top, front, and back of the tissue cover sewn, it’s time to add the small sides.
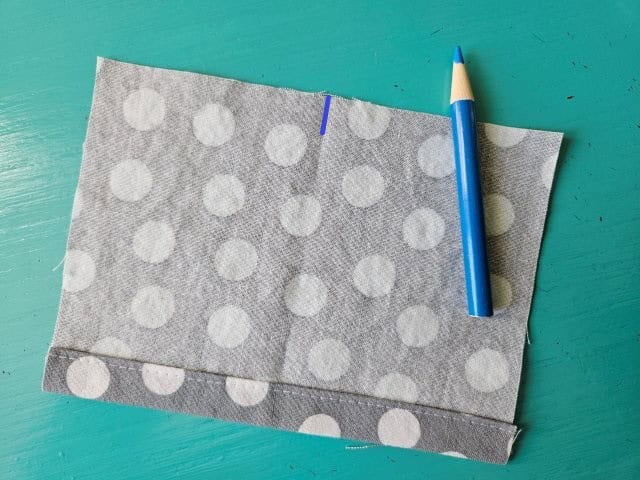
Take one of the small fabric pieces and fold in half lengthwise to find the center. Mark the center with your marking pencil.
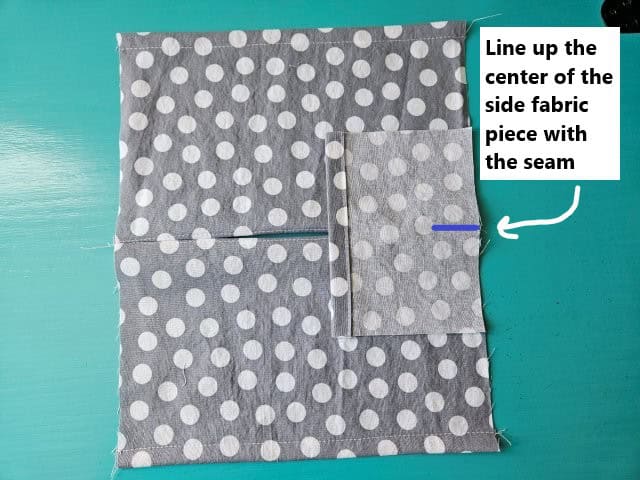
Place the fabric piece on top of the cover piece, right sides together, lining up the center mark with the cover seam. Pin in place.
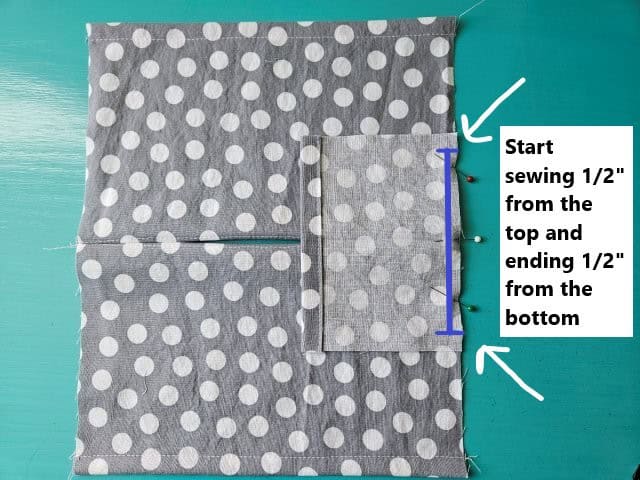
Start sewing from 1/2″ from the top and ending at 1/2″ from the end. You can make marks on the fabric if that’s easier. Sew using 1/2″ seam allowance. Be sure to back stitch at the beginning and end.
Press the seam flat.
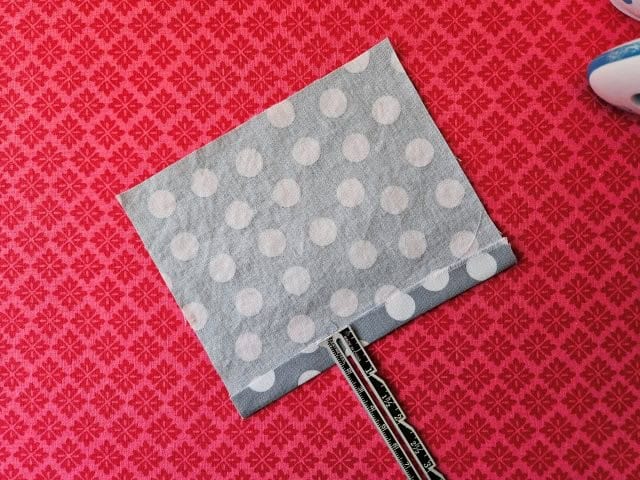
Repeat with the other small fabric piece.
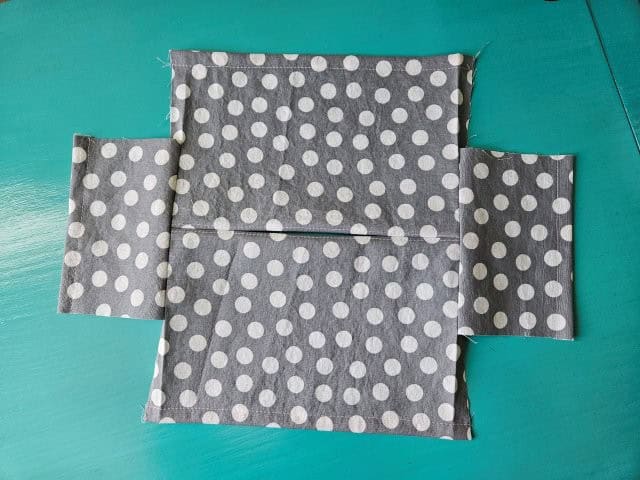
The above picture shows what the fabric tissue box cover should look like at this point.
Sew the side seams
Use a 1/2″ seam allowance.
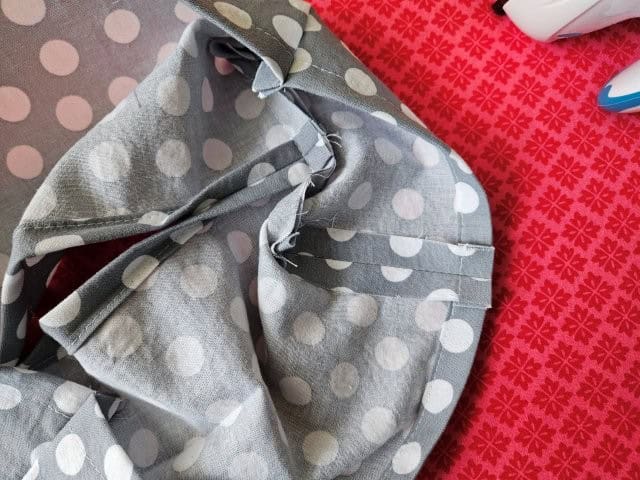
Now you are going to sew the raw edges together to make the corners of the tissue cover.
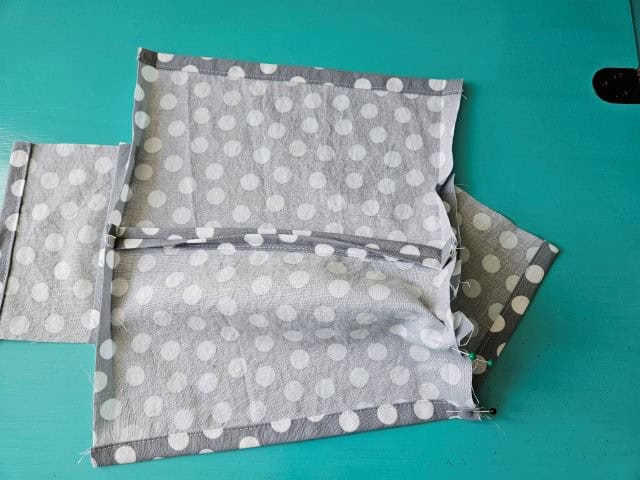
Take one side of the tissue cover and line up the raw edges and hemmed bottom. Pin to hold in place.
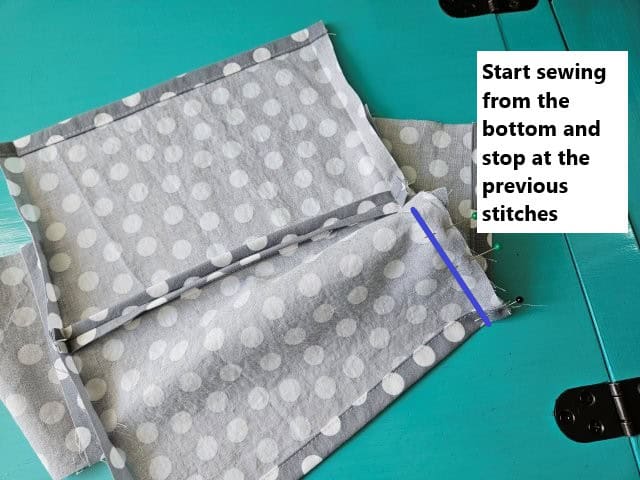
Start sewing from the bottom and end at the previous stitches using a 1/2″ seam allowance. Be sure to backstitch at the beginning and end.
Repeat with the other three corners.
Press the seams flat.
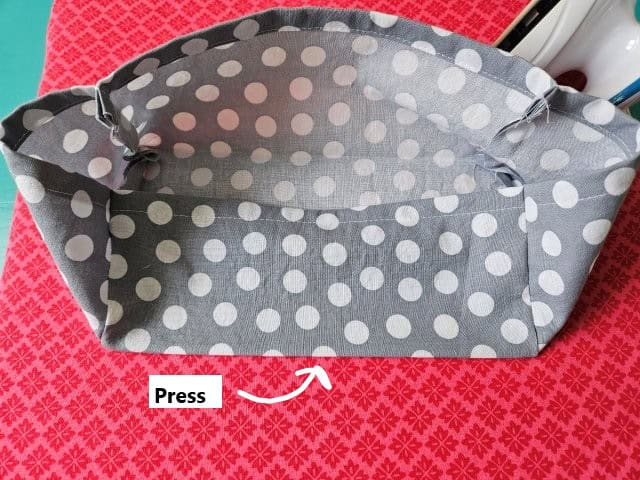
I also pressed along the top from corner to corner to help the fabric tissue cover fit over the box nicely (optional).
***You can find the AD-FREE, printable PDF version of this sewing tutorial available for purchase in my Etsy shop HERE. Includes 11 pages of step-by-step instructions with pictures. Print a copy to keep next to your sewing machine for easy reference.***
Pin for later!
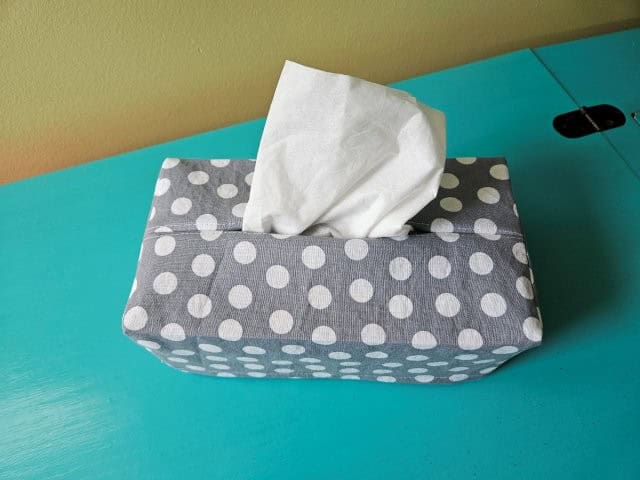
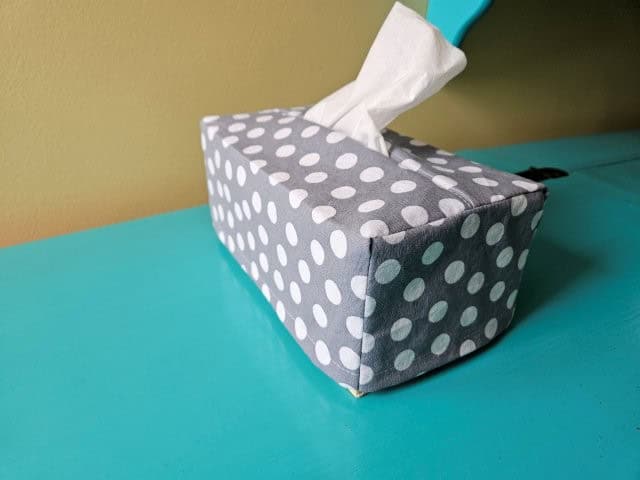
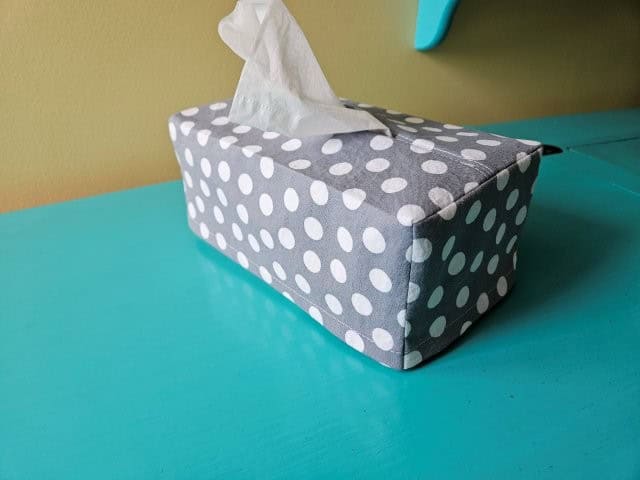
You are finished!
Now that you know how to make a fabric tissue box cover, you can cover all the boxes in your house! These covers also make great gifts! Happy sewing!
Other sewing projects for the home:
- Large Fabric Basket with Handles
- Pillow Cover Using Fabric Scraps
- Fabric Basket Sewing Tutorial – 3 Sizes
- Easy DIY Placemats Sewing Pattern